4th of July Granita Recipe
Post by Rebecca Green of Not-So-SAHM
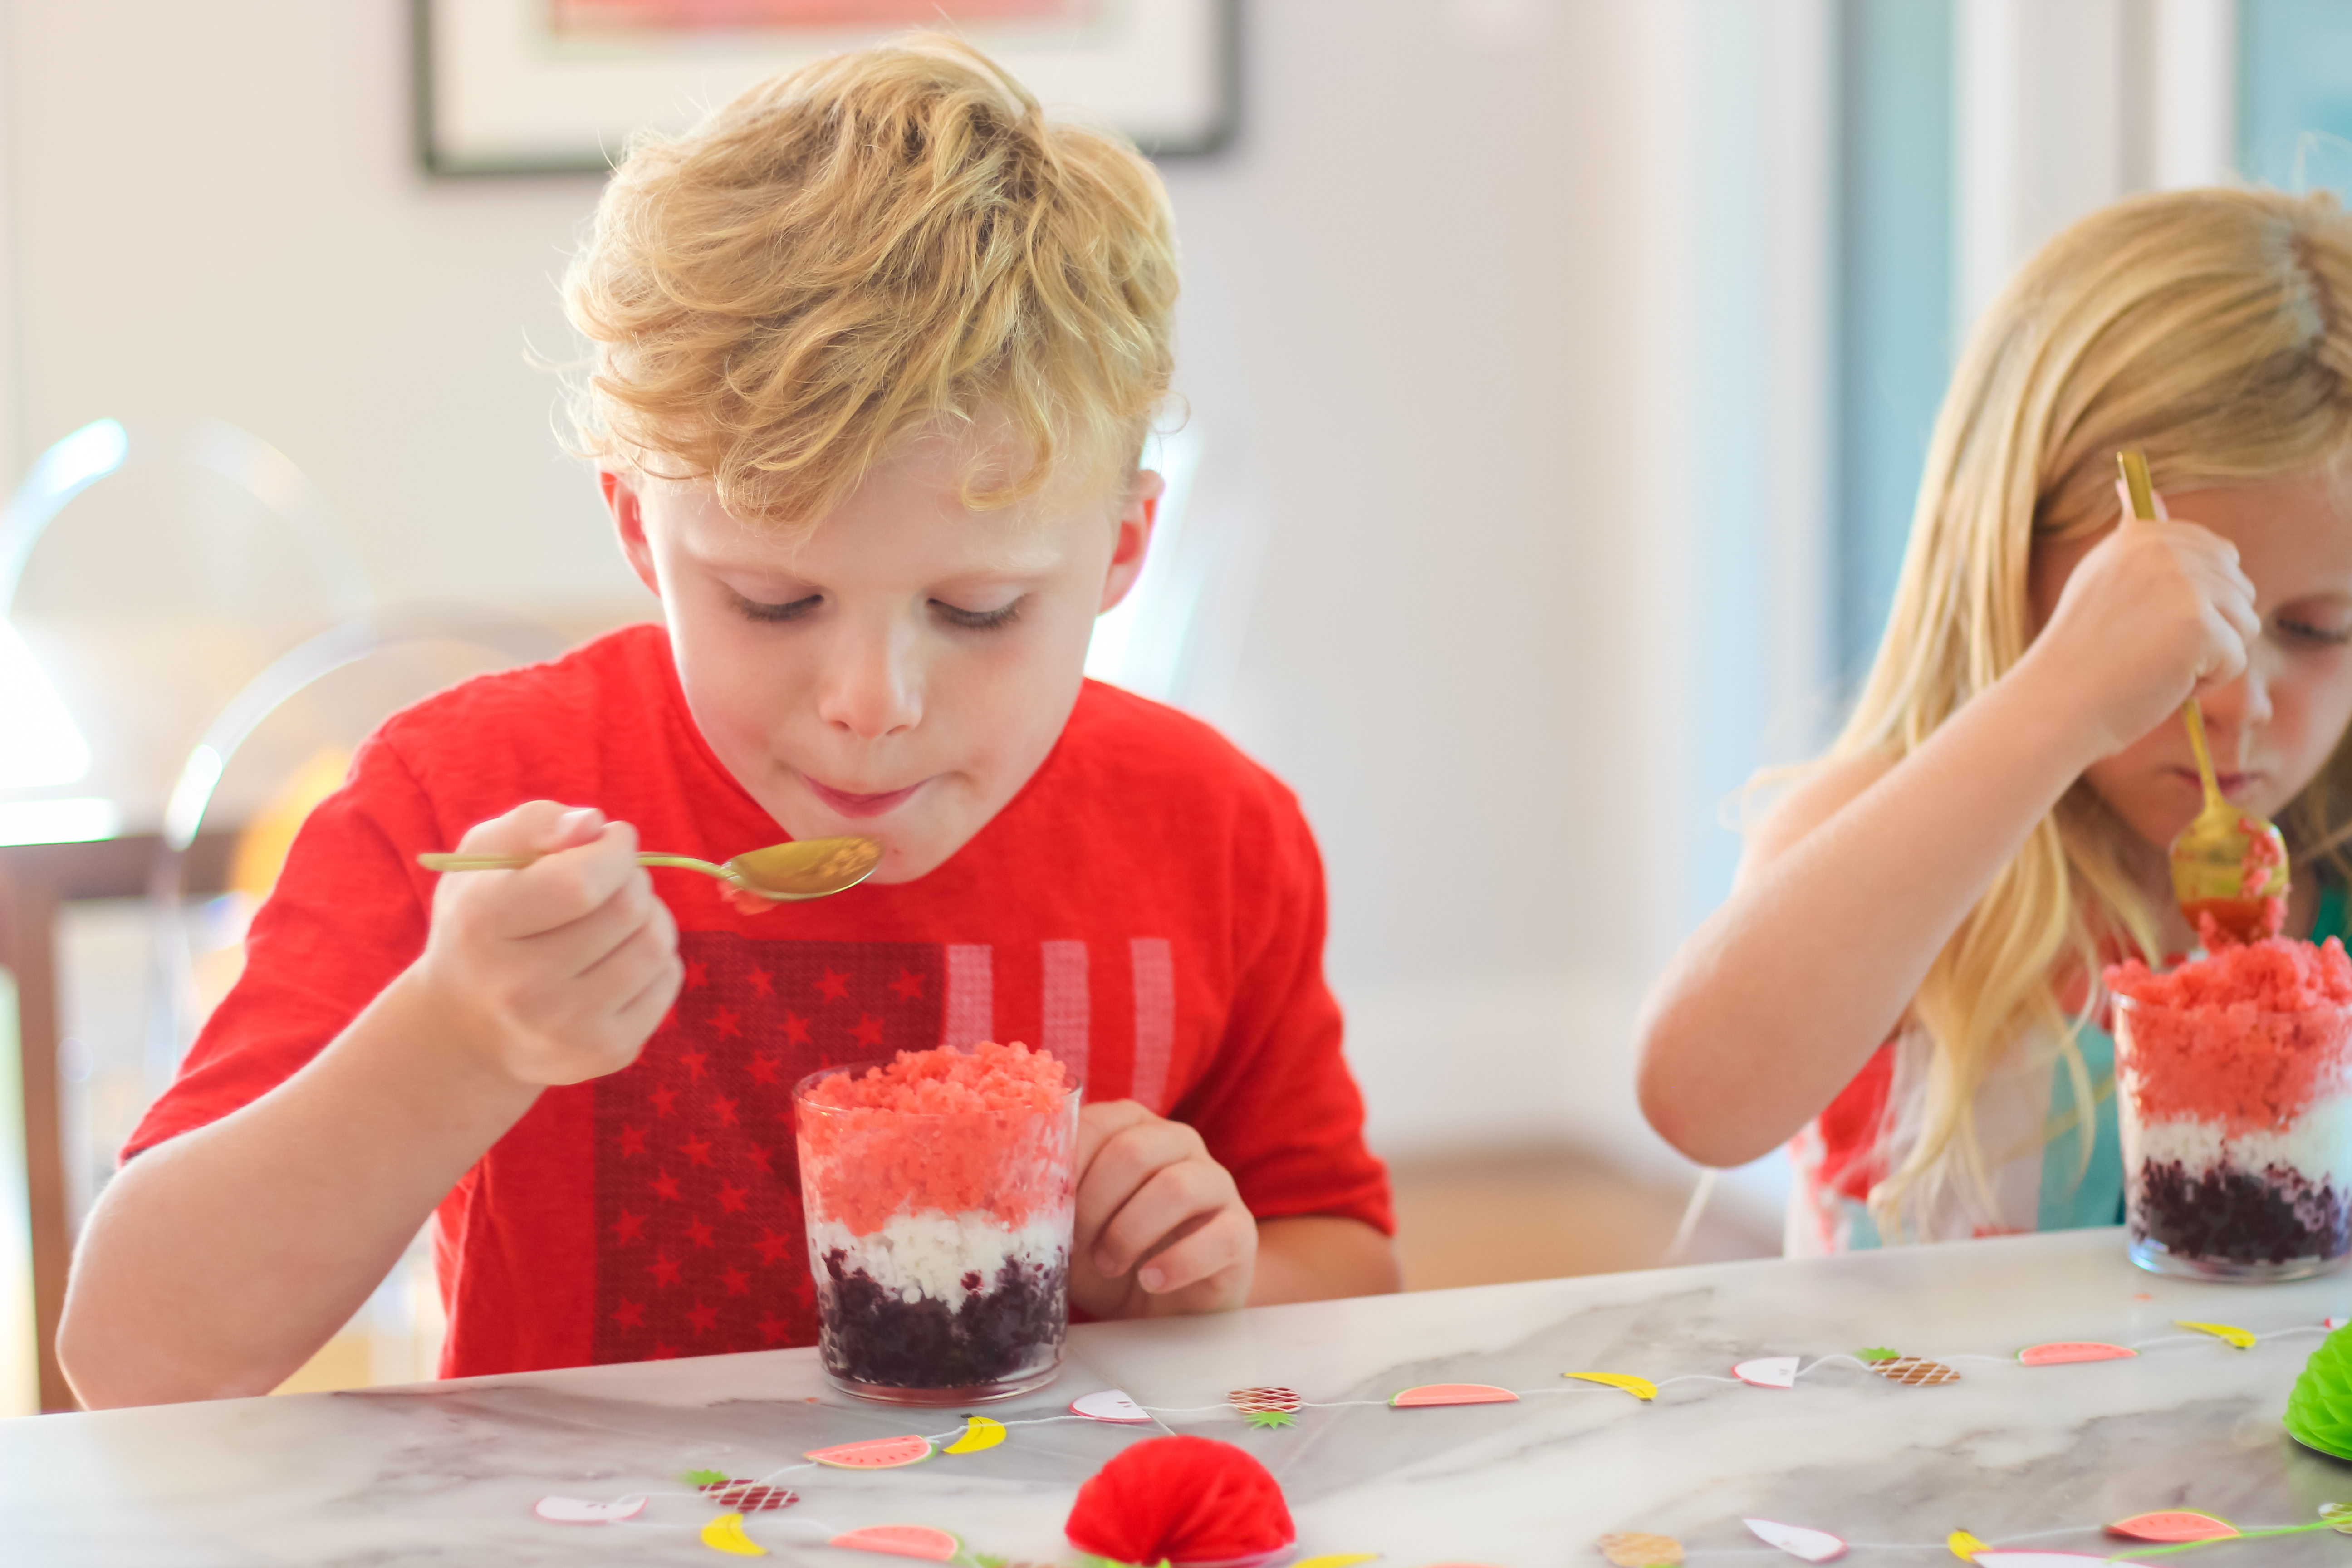
Summer is jam packed with opportunities for celebration and our family loves nothing more than a fab July 4th party. But I try hard to have the kids have fun without loading them up on sugar — the excitement of our annual Family Olympics and the prospect of sparklers gets them riled up enough! So I was so excited when they both LOVED this Fourth of July Granita we tested in anticipation of the holiday. Super easy, plenty of sweet, and just lots of fun.
This whole concept worked so well with the kids that I’m already dreaming of other fruit options to try!
Here’s what you’ll need to make your own:
Strawberry Granita
– 16 ounces frozen or fresh strawberries
– 1 cup water
– 2 tablespoons honey
– juice of 1 lemon
Blueberry Granita
– 12 ounces frozen or fresh blueberries
– 1 cup water
– 2 tablespoons honey
– juice of 1/2 lemon
Coconut Granita
– 1 can light coconut milk
– 1 cup water
– 2 tablespoons honey
For each granita, add all ingredients to a blender and mix well. I liked using frozen berries because I think it took less time for the entire granita mixture to freeze.
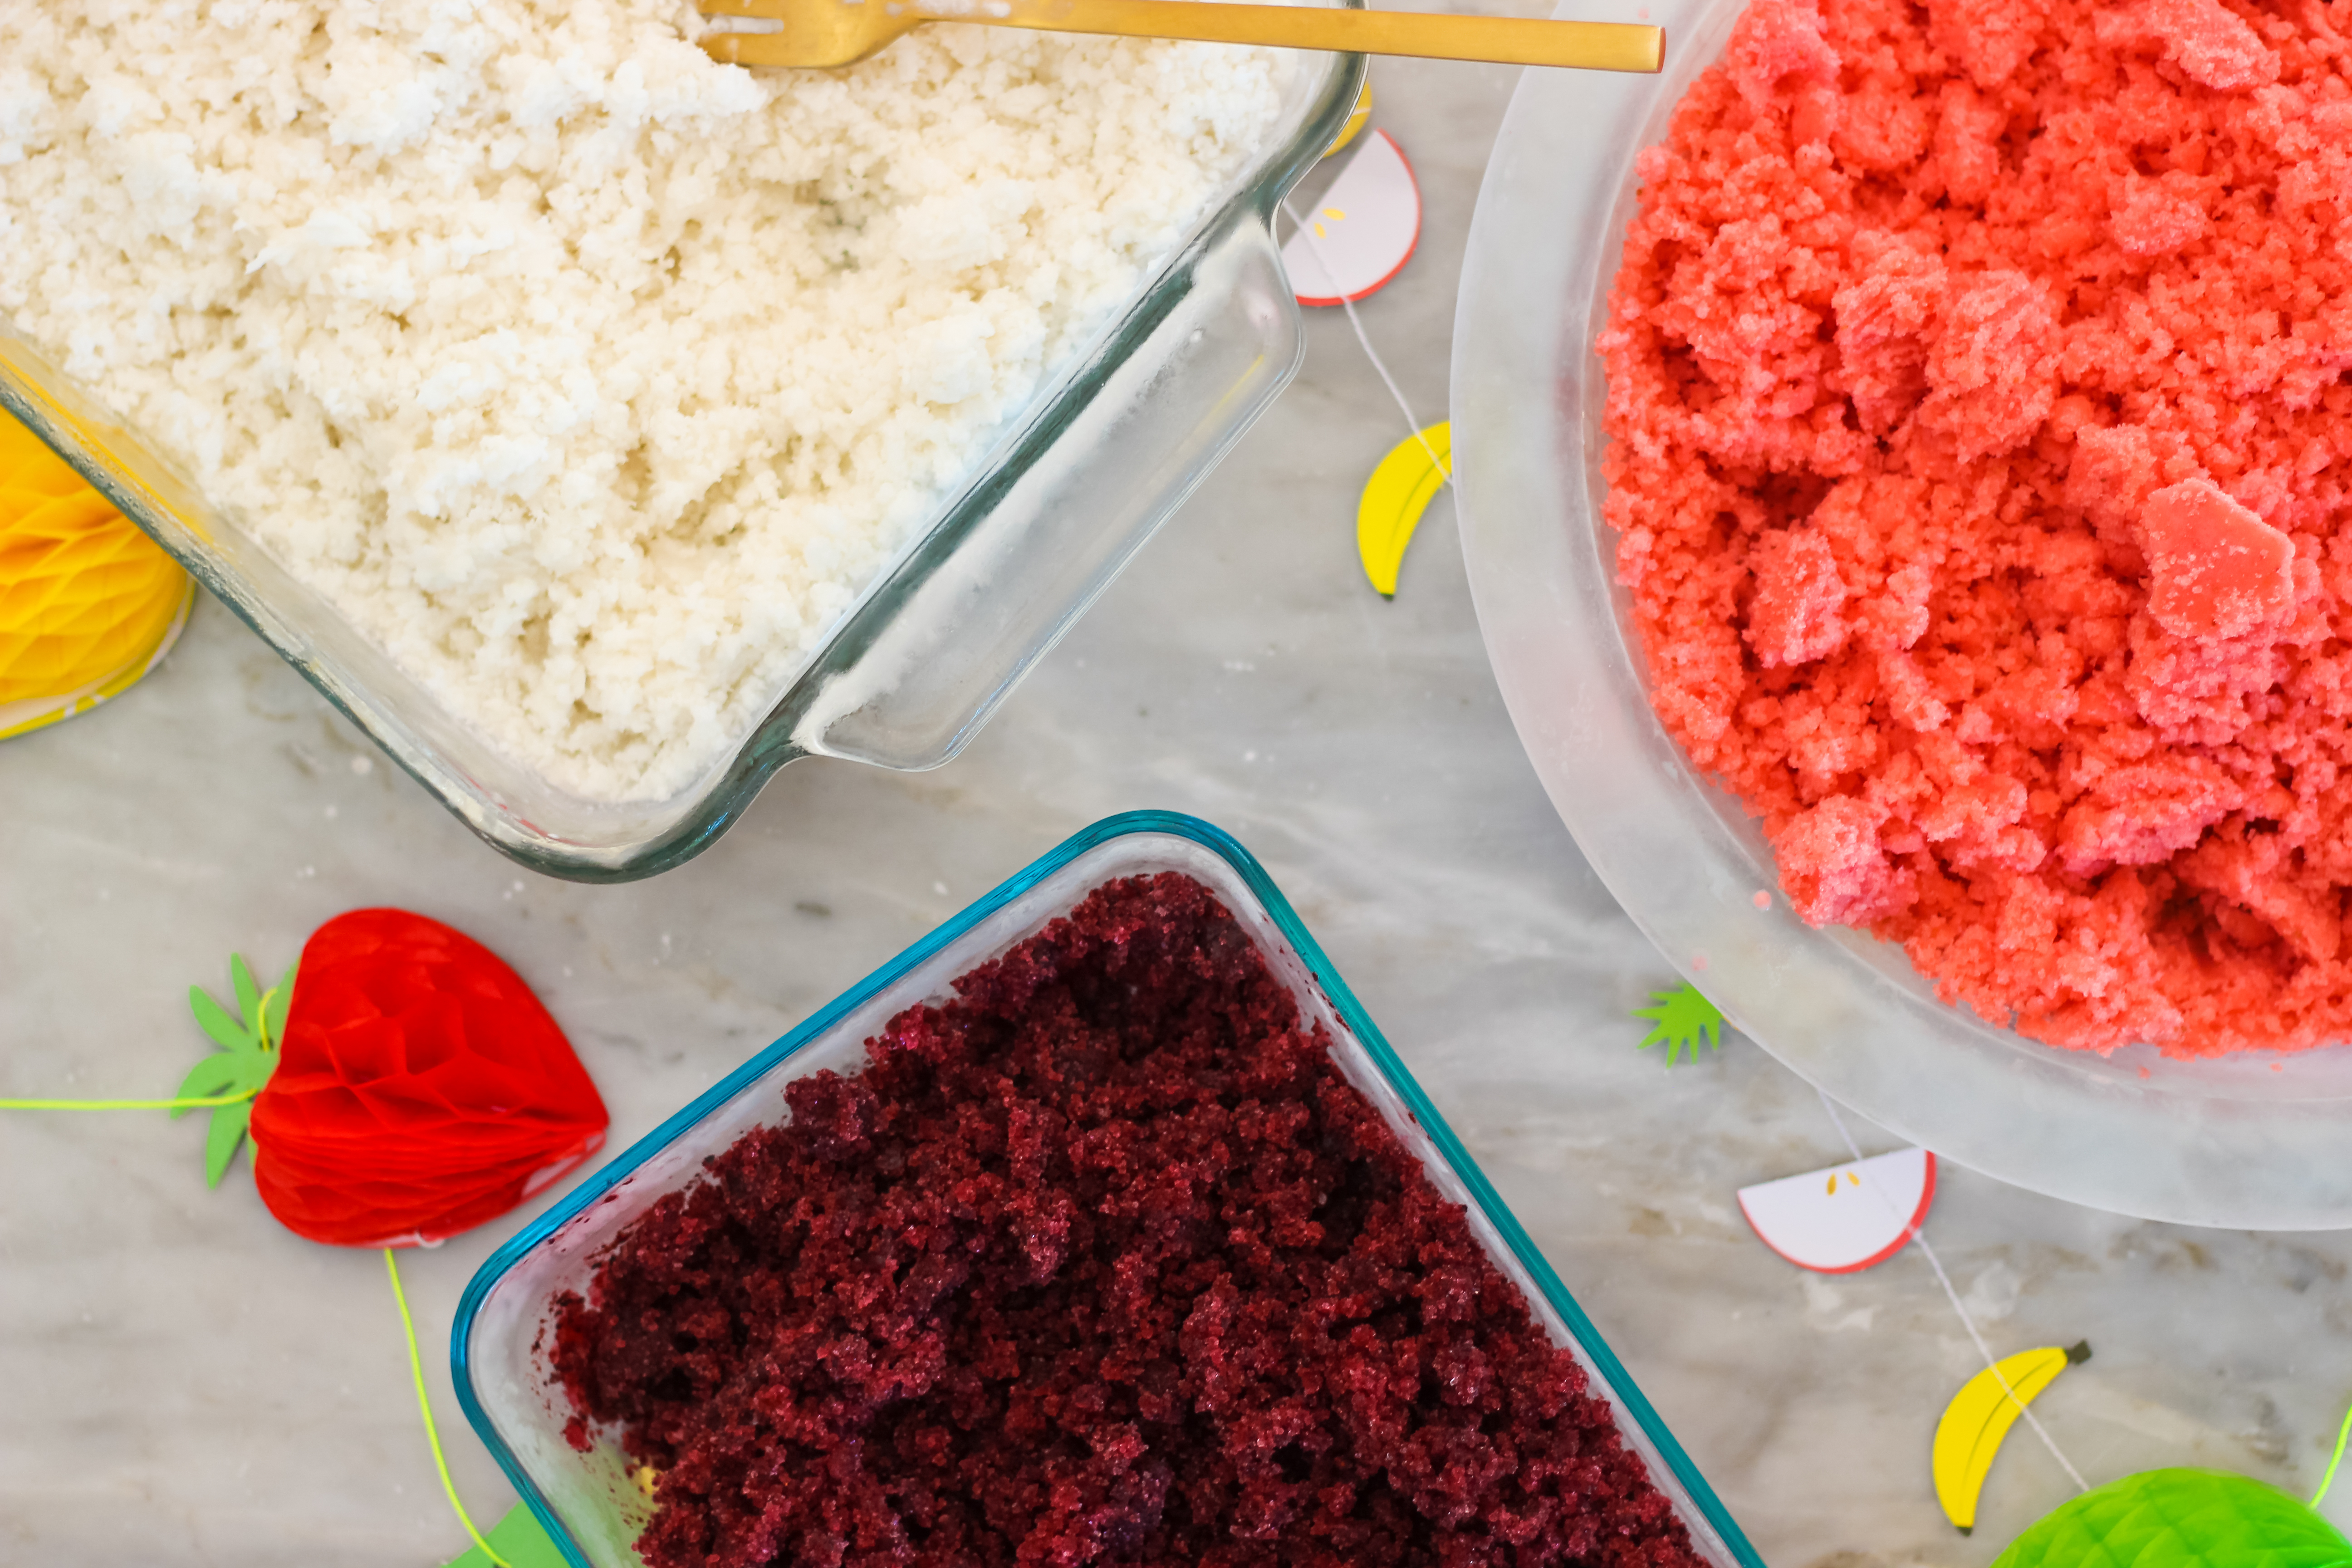
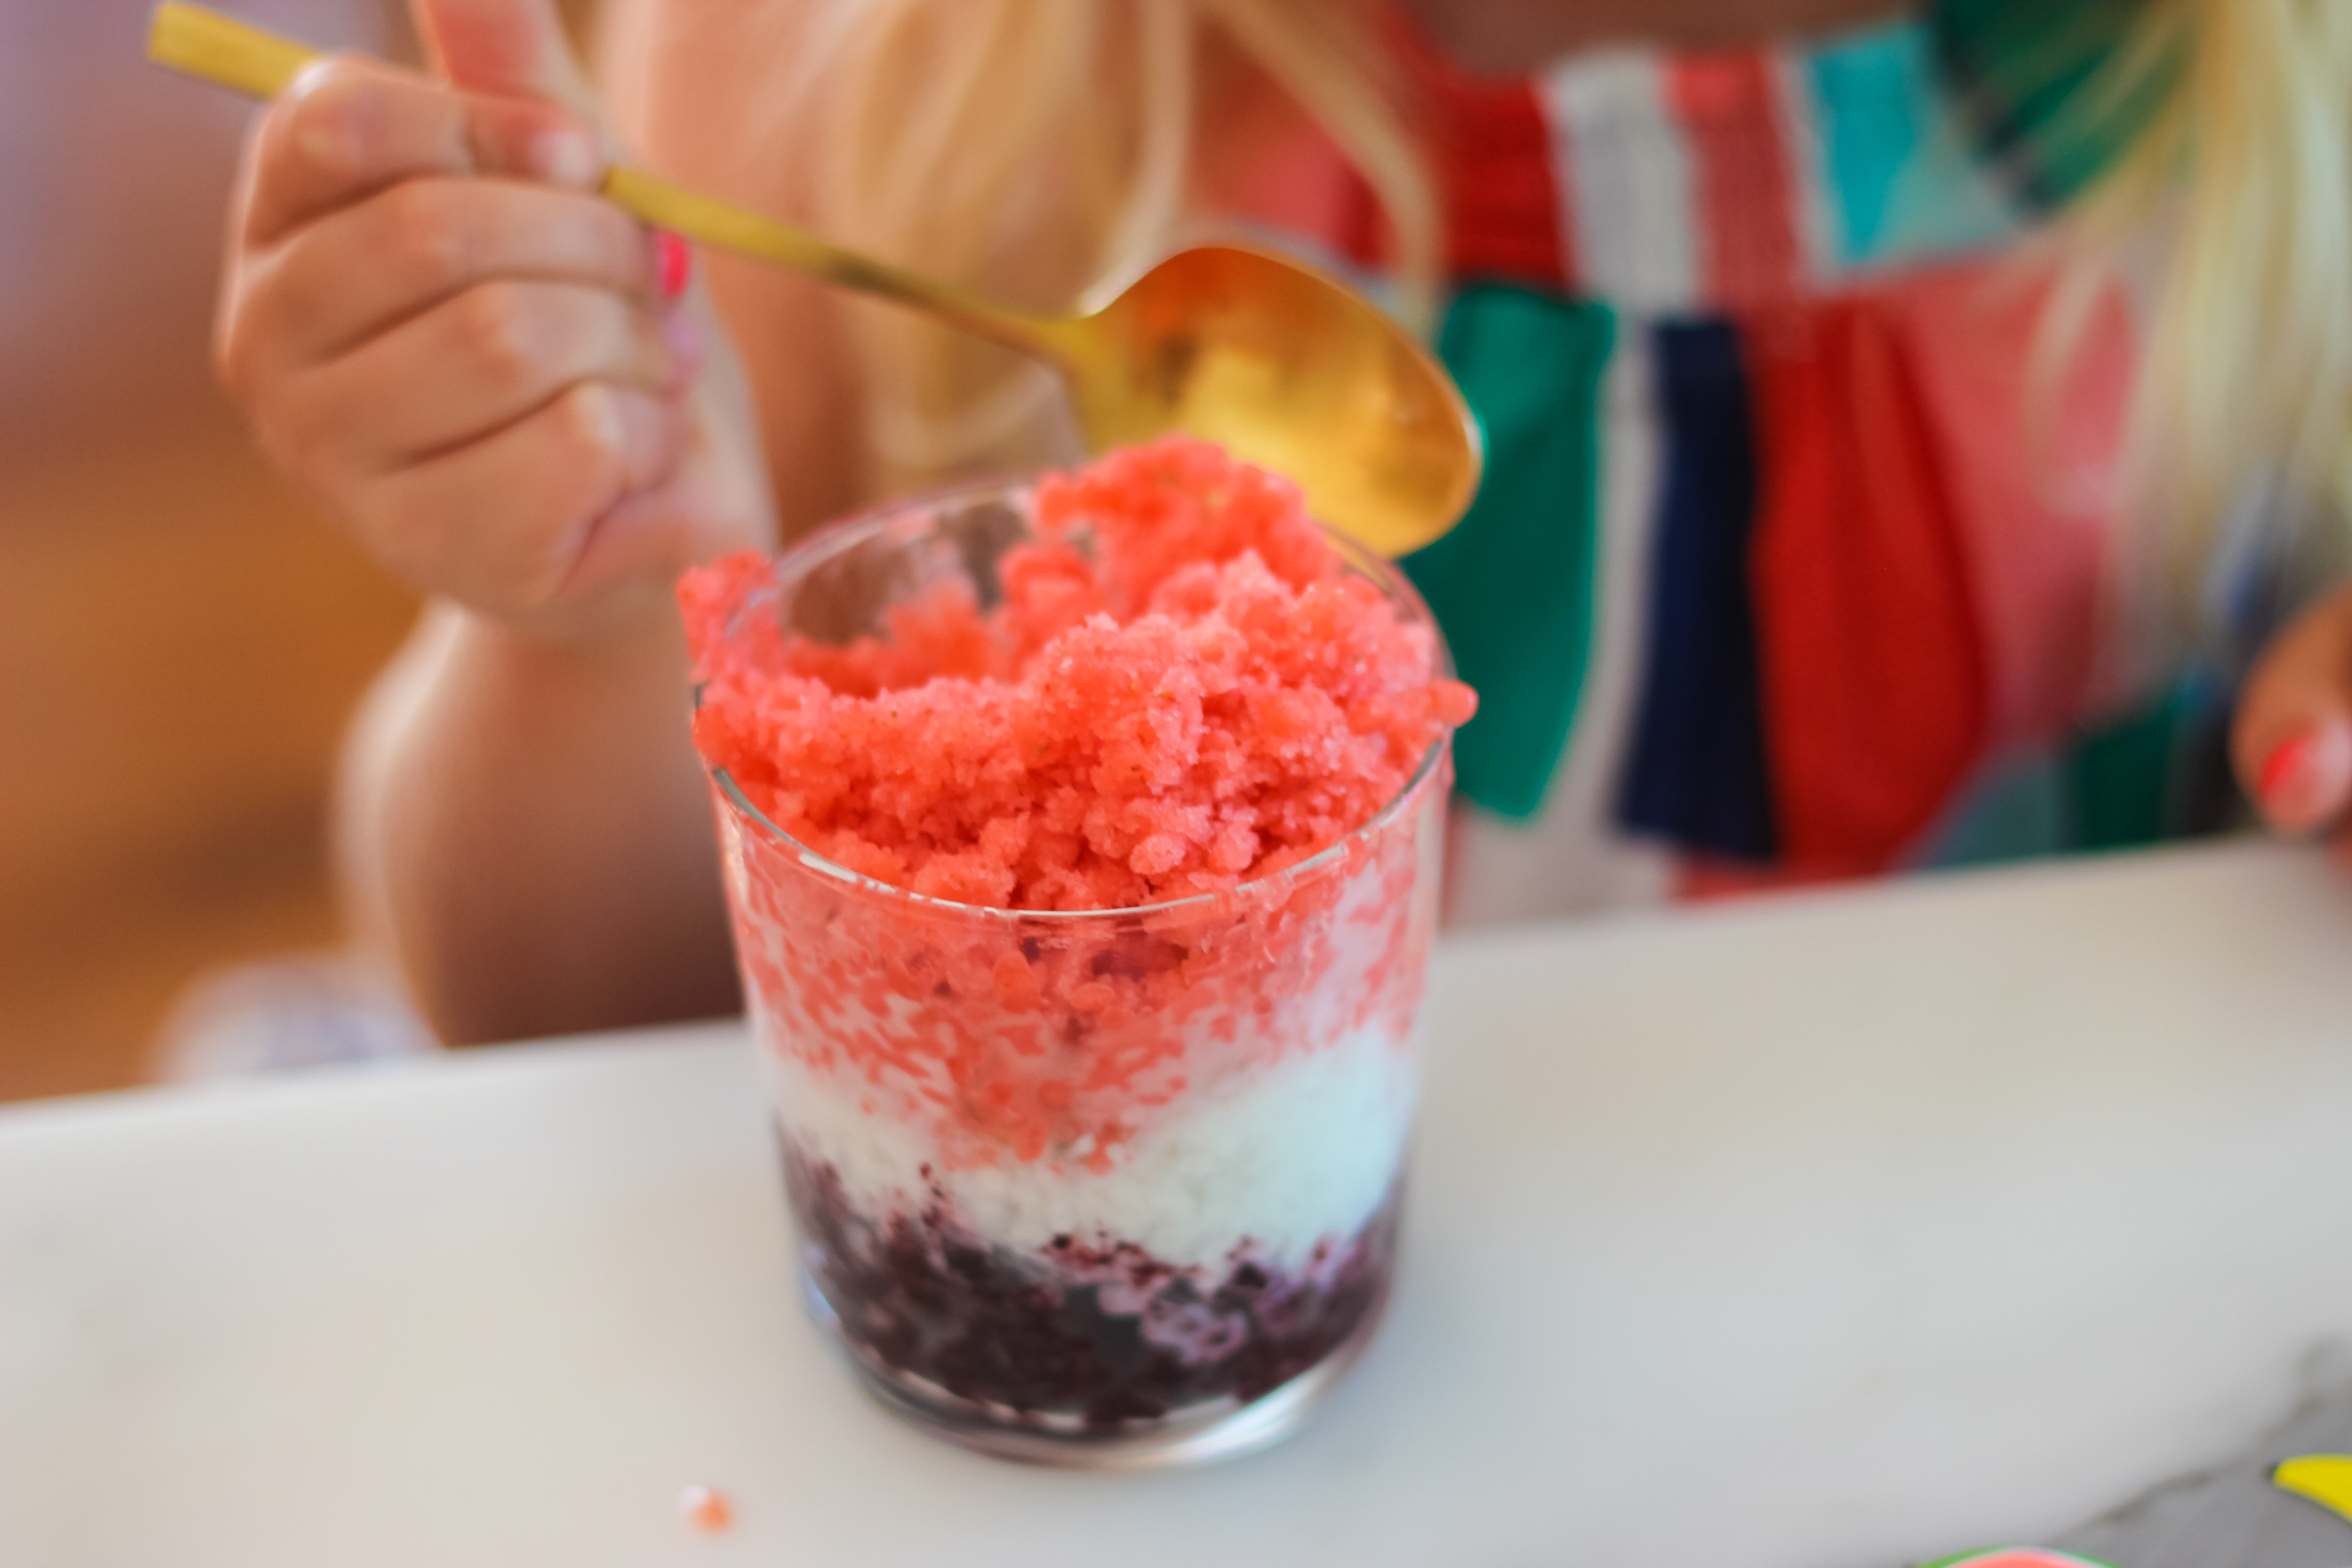
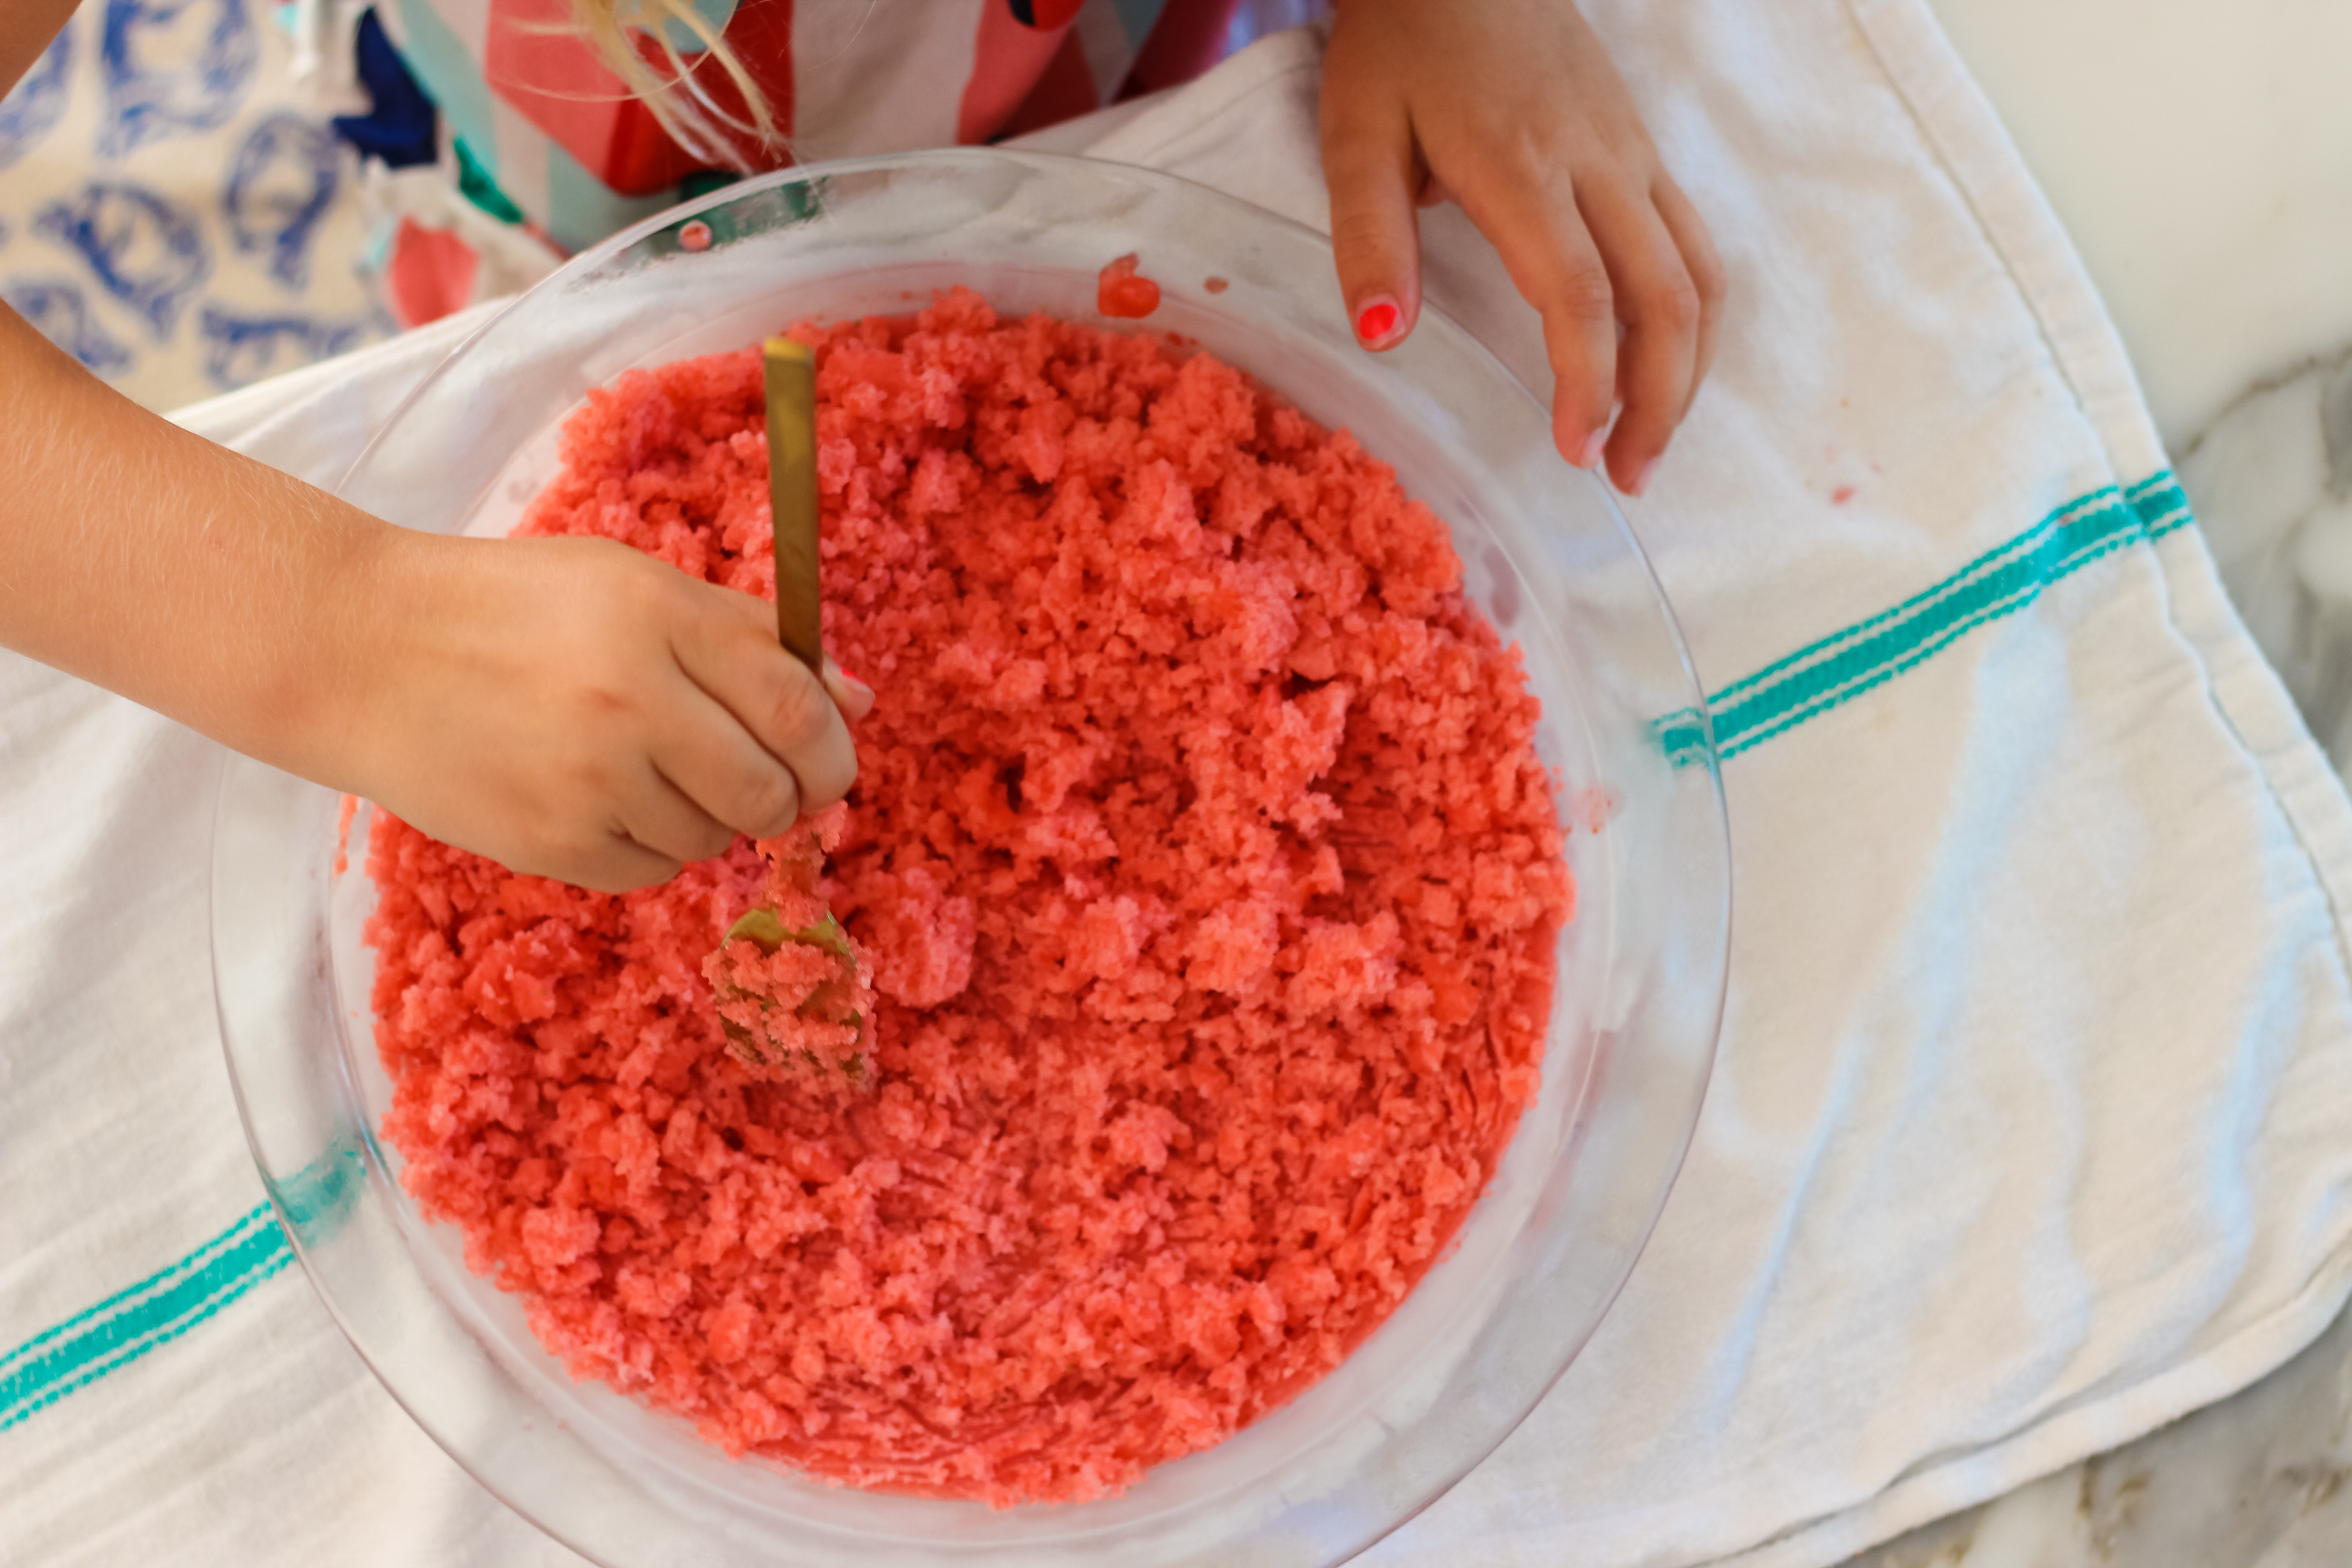
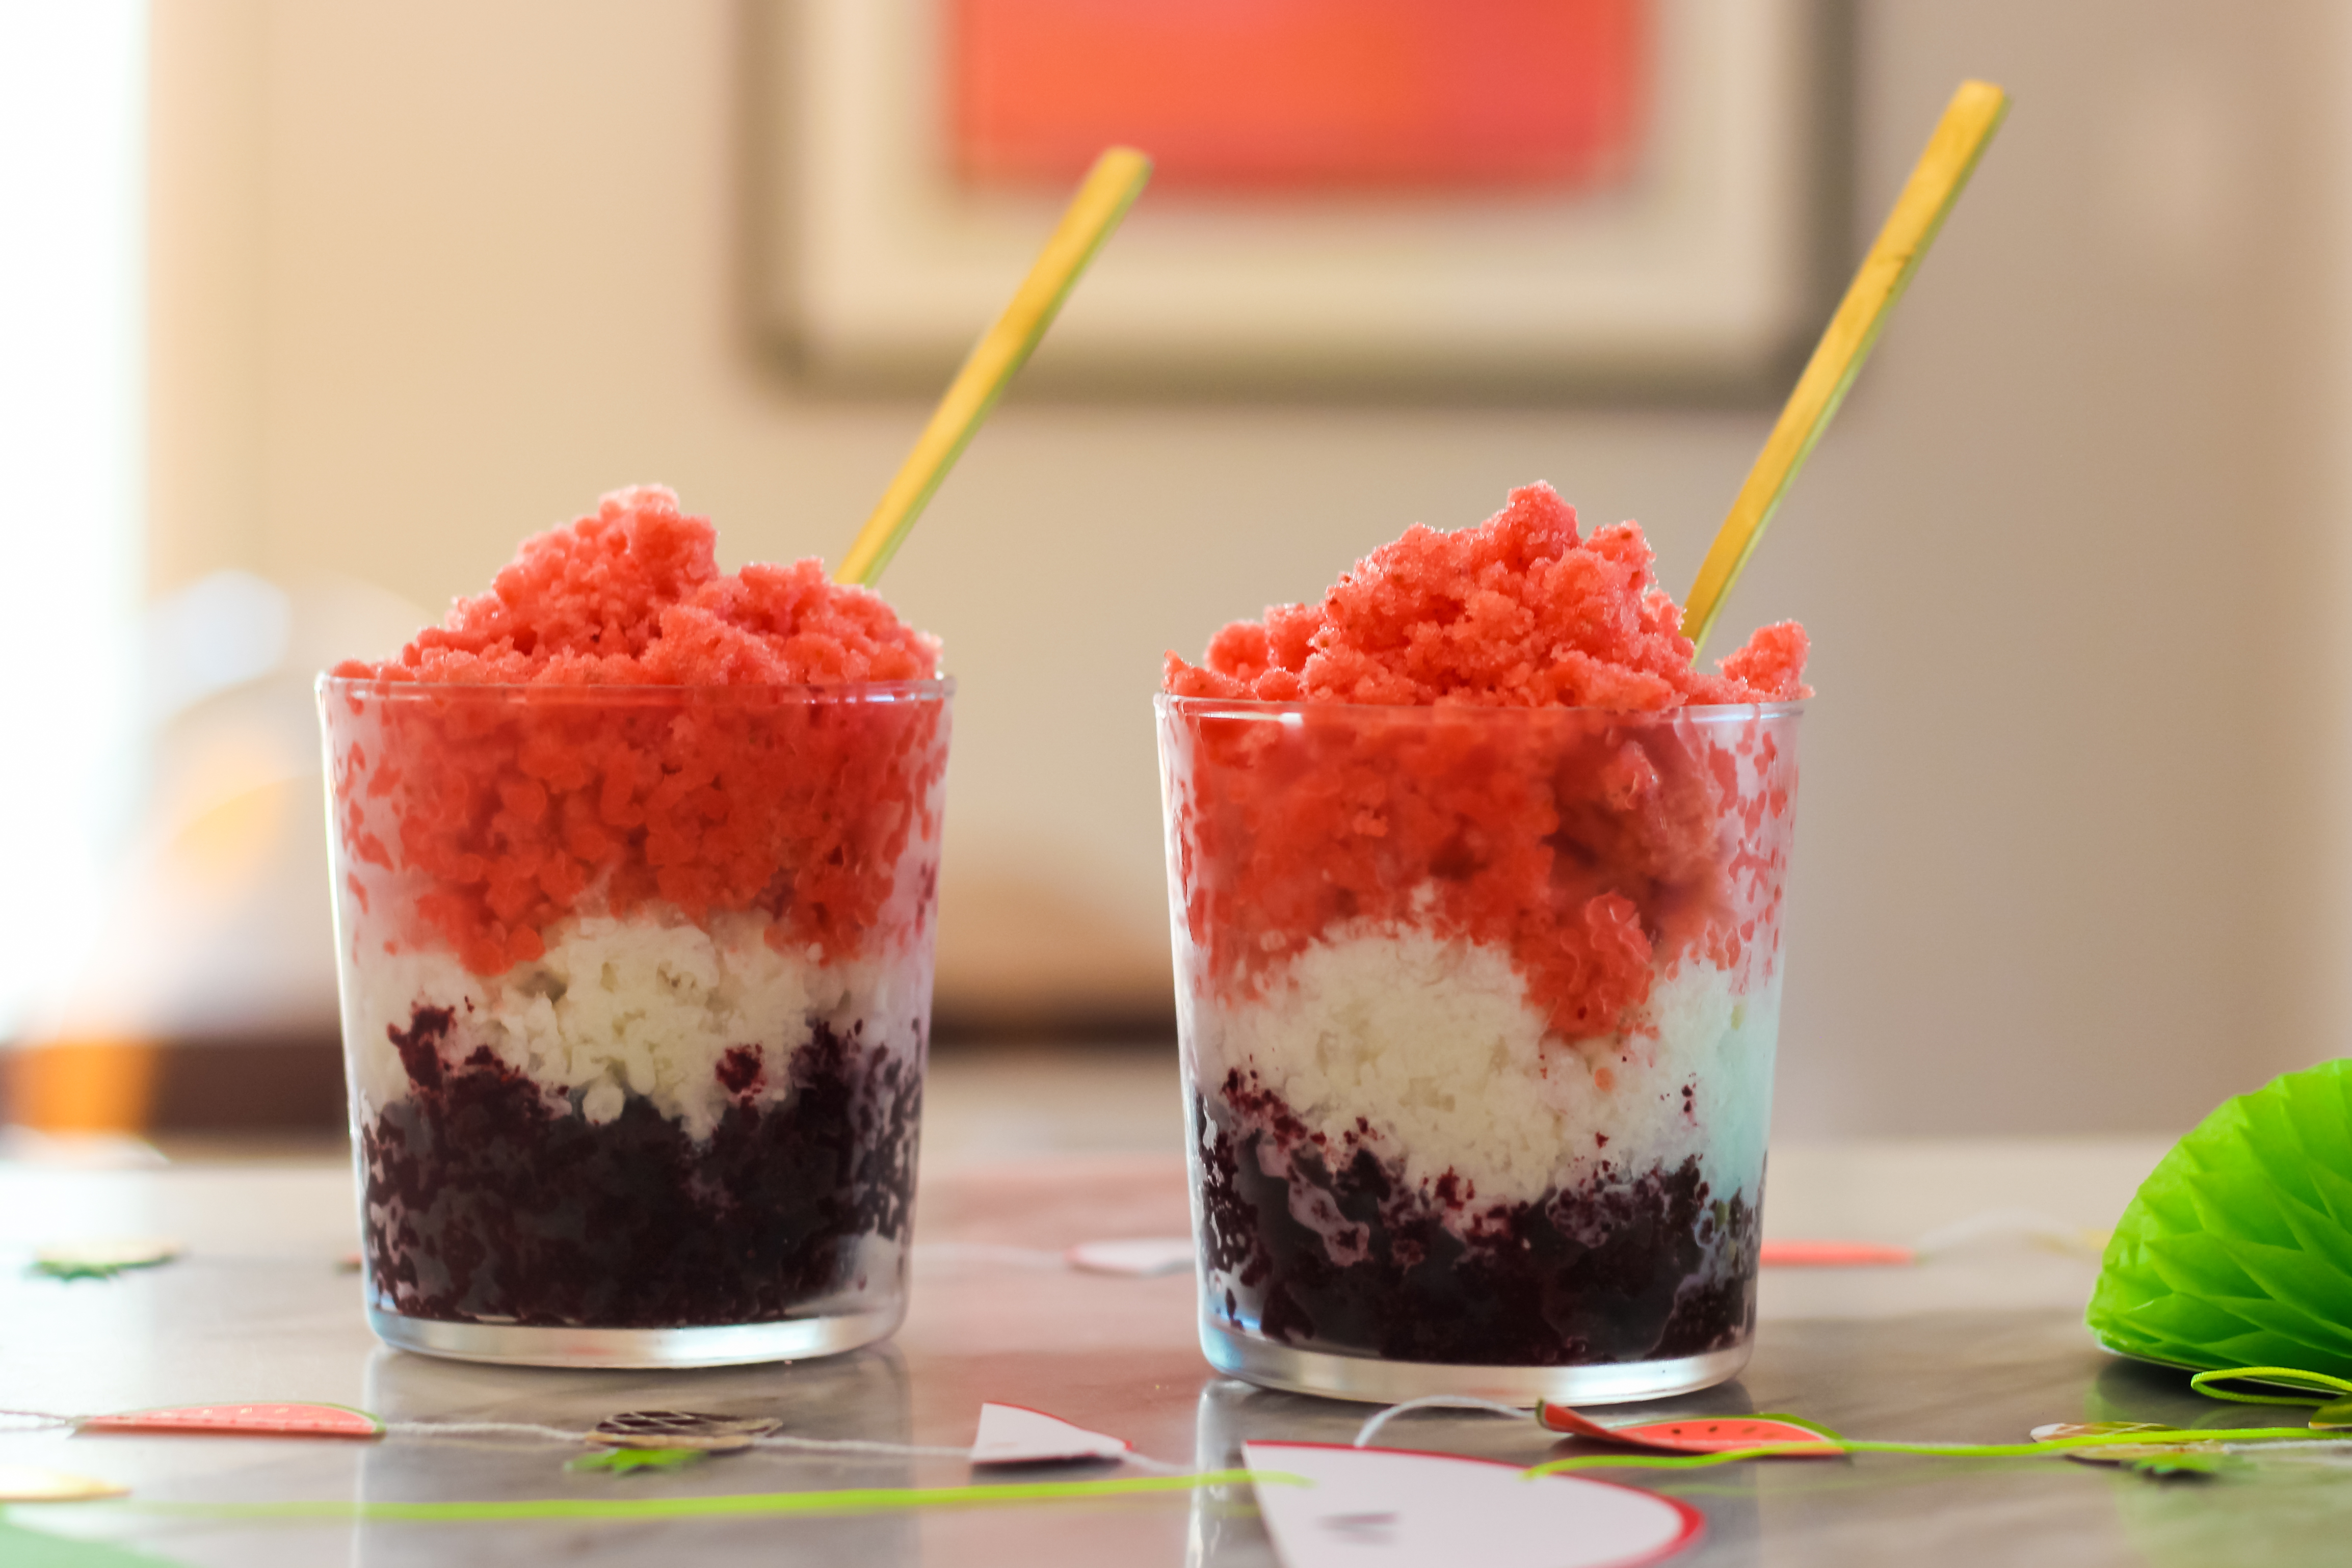
Spread each mixture in separate shallow containers and freeze for 3 hours. Using a fork, scrape each into small shavings. Layer each granita into a glass to get a great red, white, and blue dessert. Keep frozen until ready to serve.
p.s. thanks to The Land of Nod for the super cute fruit garlands — the kids loved picking out our next recipe from the festive strands!
Rebecca is a mom to two young kiddos and, in her spare time (ha!), likes to pretend she’s a back-up dancer, craft cocktails, and run long distances. A relatively recent SAHM, she blogs family-friendly activities, DIYs and celebration fun at Not-So-SAHM and just wrote her first book, Banish Boredom: Activities to Do with Kids That You’ll Actually Enjoy. Her book is a source of inspiration for parents who are looking for fun and educational activities that they can do with their kids, but that are also fun and interesting for parents themselves.