DIY Sprinkle Cones
August 24, 2015
Post by Rebecca of Not So SAHM

Oh, August. You get us every year. We are tired of summer’s heat, but not yet ready to go back to school (well, I’m kind of ready. The kids are not). We all needed a little pick-me-up and I could think of nothing better to help sprinkle a little happiness around then, well, sprinkles. Inspired by The Land of Nod’s super fabulous Ice Cream Party Collection, we came up with a little sprinkle DIY. Because the only thing better than ice cream is ice cream with sprinkles!
Here’s how to make our fun end-of-the-summer (!) treat. You’ll need:
- 1 package of sugar cones (this makes 8 cones)
- 1, 1.45 oz chocolate bar (we prefer dark chocolate!)
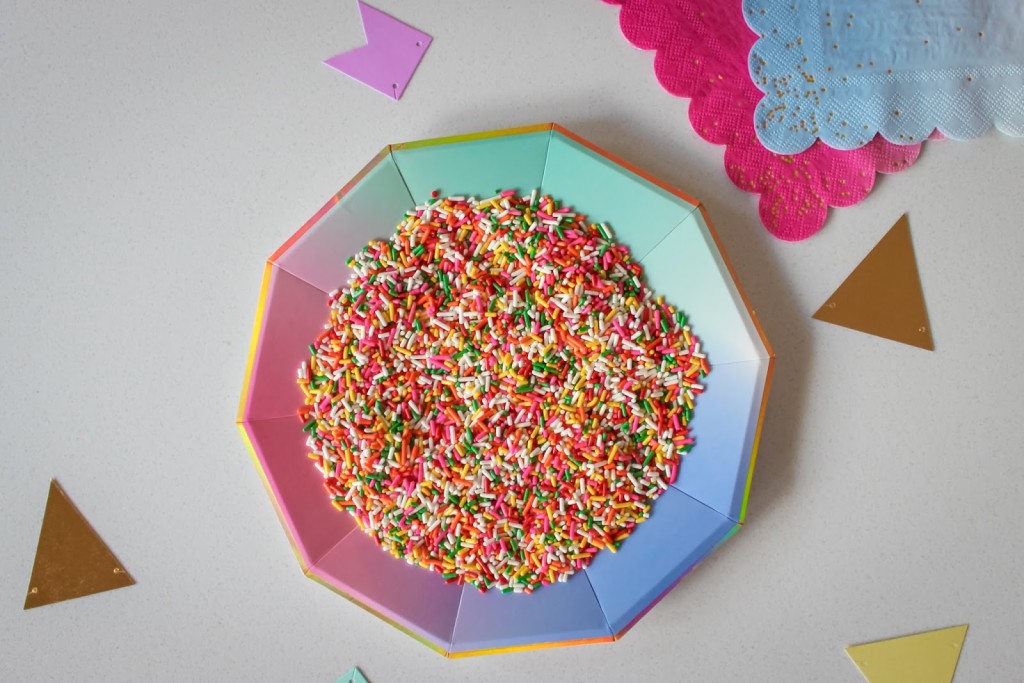
- Candy sprinkles


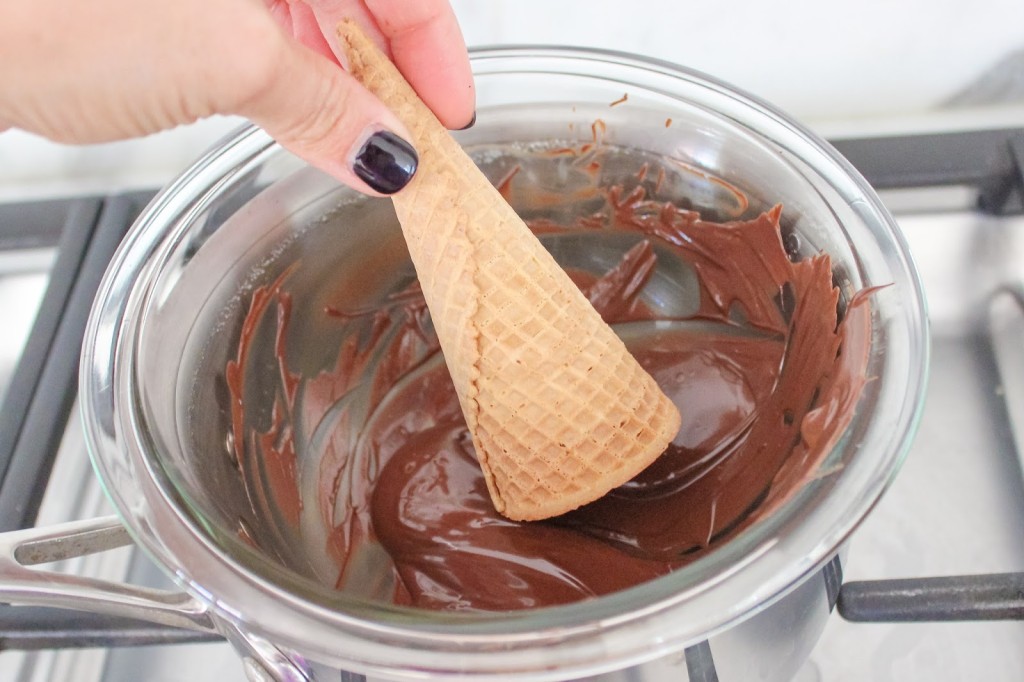
- Break the chocolate bar into pieces and melt it over a double boiler — you don’t need a fancy one, a glass bowl atop a small pot of water does the trick. Just make sure to heat the chocolate slowly and stir constantly to avoid burning it.
- Once it’s melted, dip the top of a sugar cone into the chocolate and twirl a bit to coat the top.
- Let the chocolate-dipped cone cool for about 30 seconds — you want the chocolate sticky, but not too runny.
- Carefully roll the chocolate-dipped cone in candy sprinkles.
- Set upright to dry for about 20 minutes.
Scoop your ice cream in and see the end of summer coming your way!


Rebecca is a mom to two young kiddos and, in her spare time (ha!), likes to pretend she’s a back-up dancer, craft cocktails, and run long distances. A relatively recent SAHM, she blogs family-friendly activities, DIYs and celebration fun at Not-So-SAHM.