Nostalgic Room at Grandma & Grandpa’s
Post by Joni of Lay Baby Lay
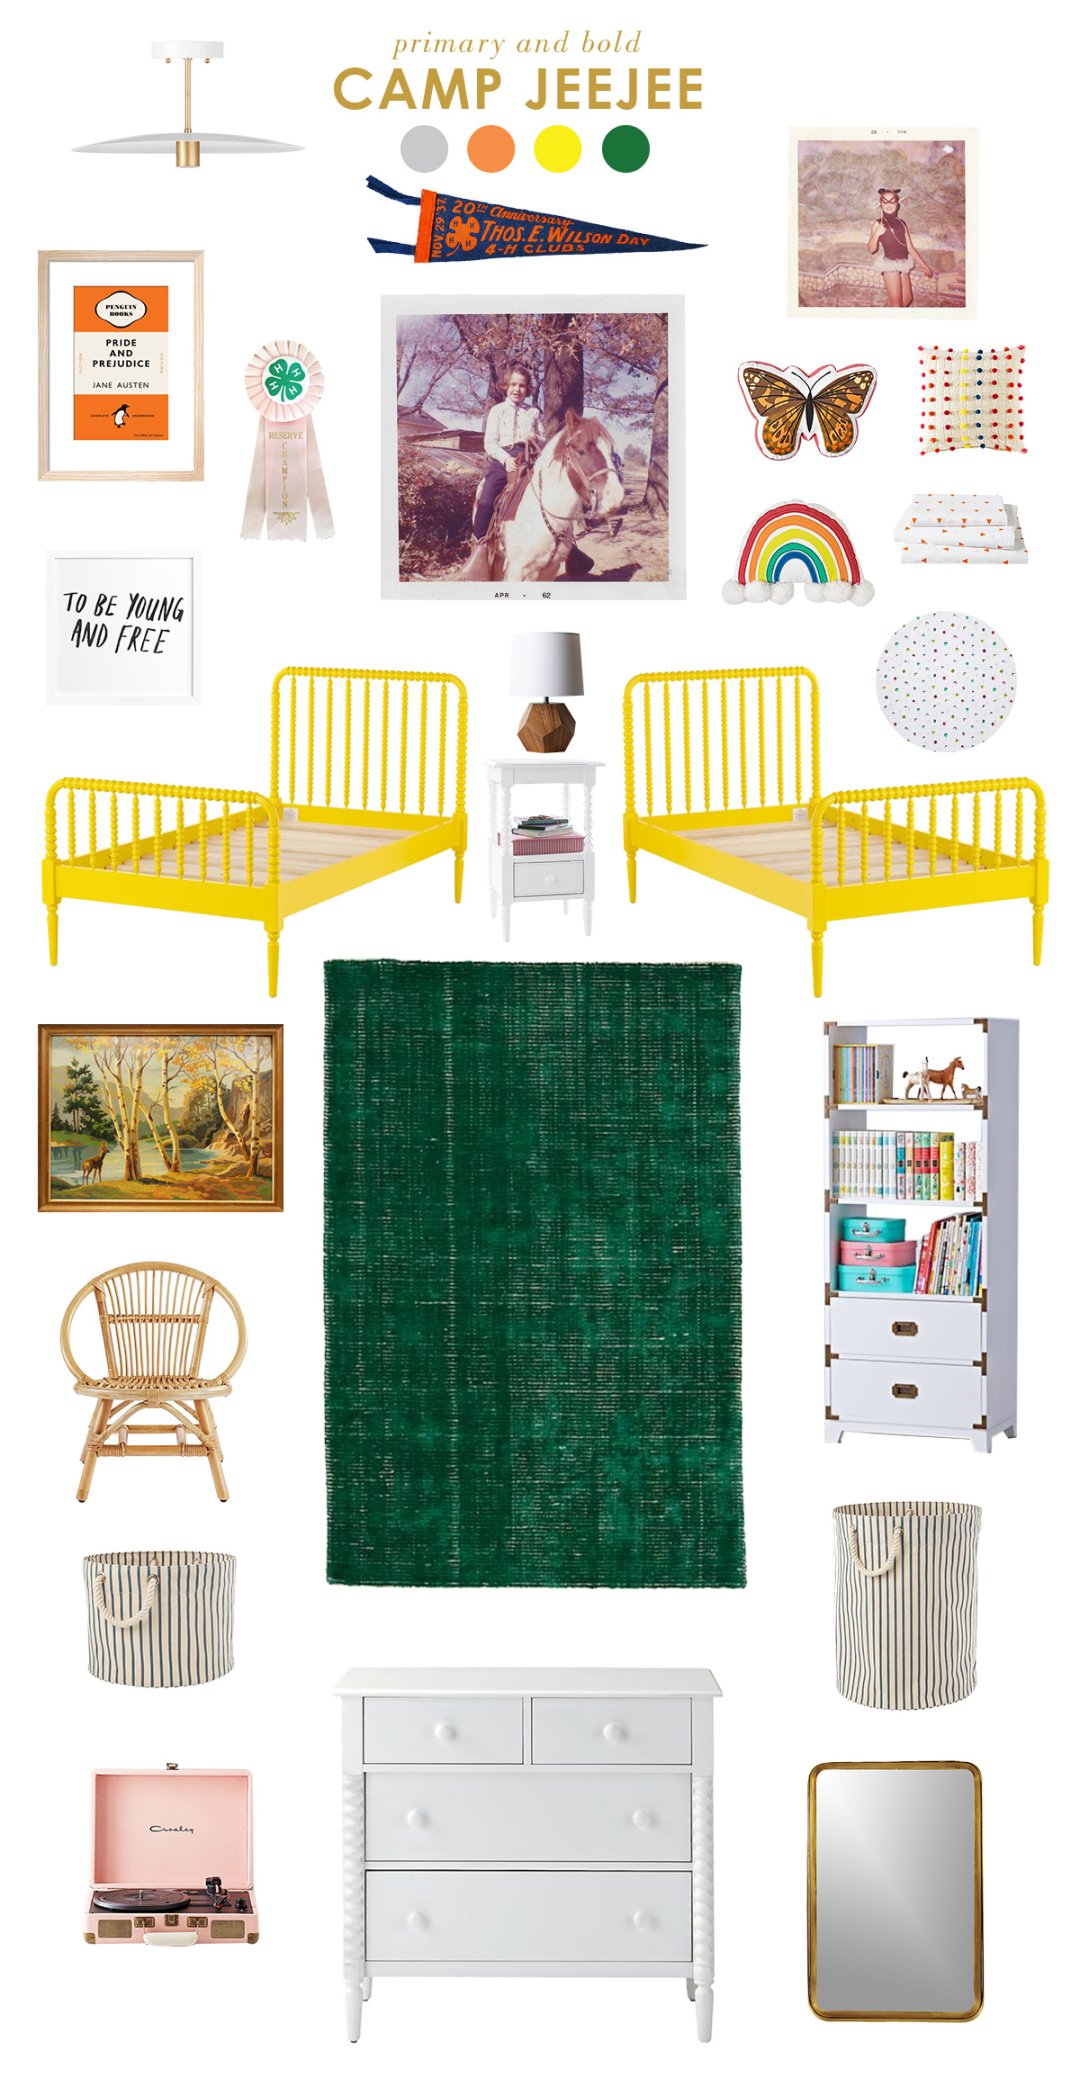
Hi there! It’s Joni from Lay Baby Lay. Recently, I shared plans to update the kids’ room at my parents’ house, using my childhood bedroom as inspiration (see here for the style board!). My childhood bedroom stands out vividly in my memory because of the bold, primary colors that fueled my imagination. The rich green carpet that was perfect for pretend landscapes, and the cheery bright orange and yellow curtains and a large rainbow on the wall made for a space that I adored. I’m so excited to show how the room came together – it’s fun to see how you can take somewhat of a retro color palette and make it feel fresh and nostalgic at the same time.
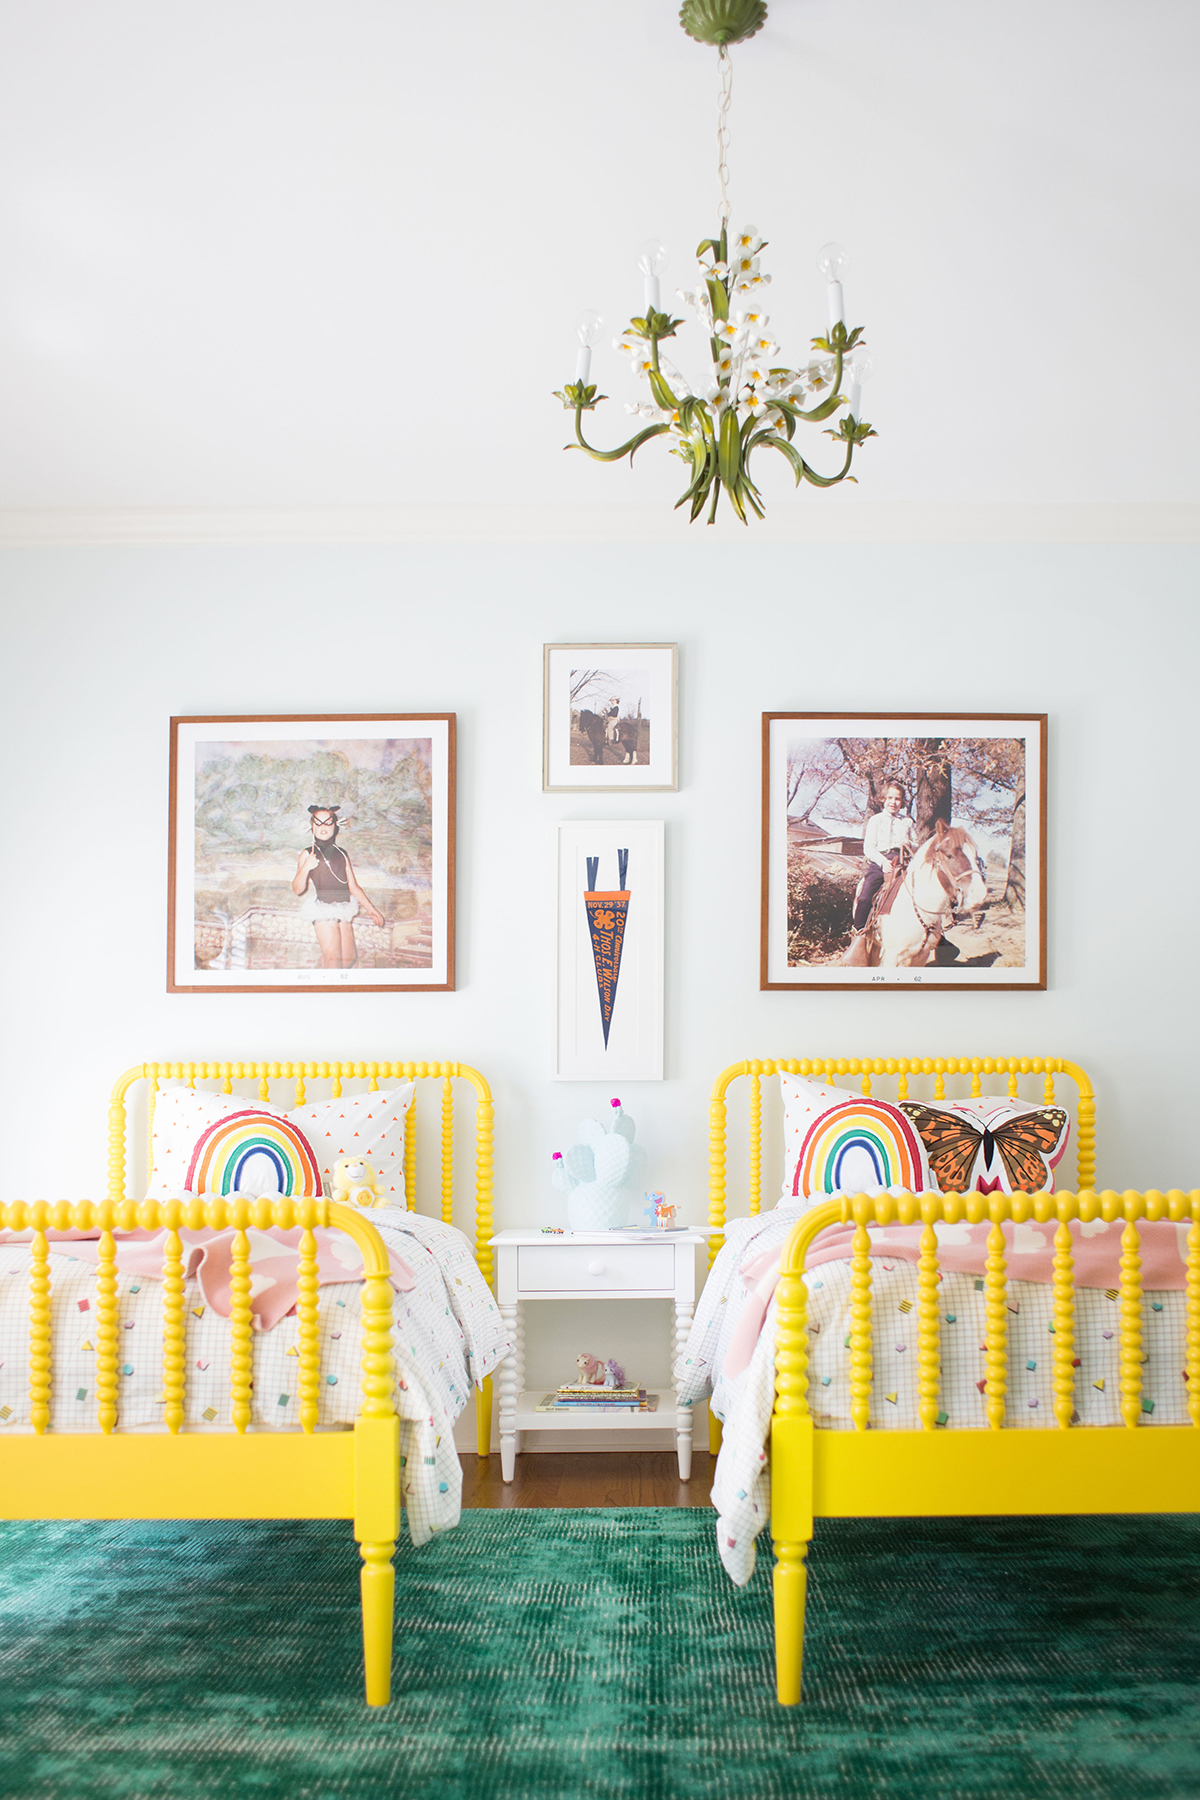
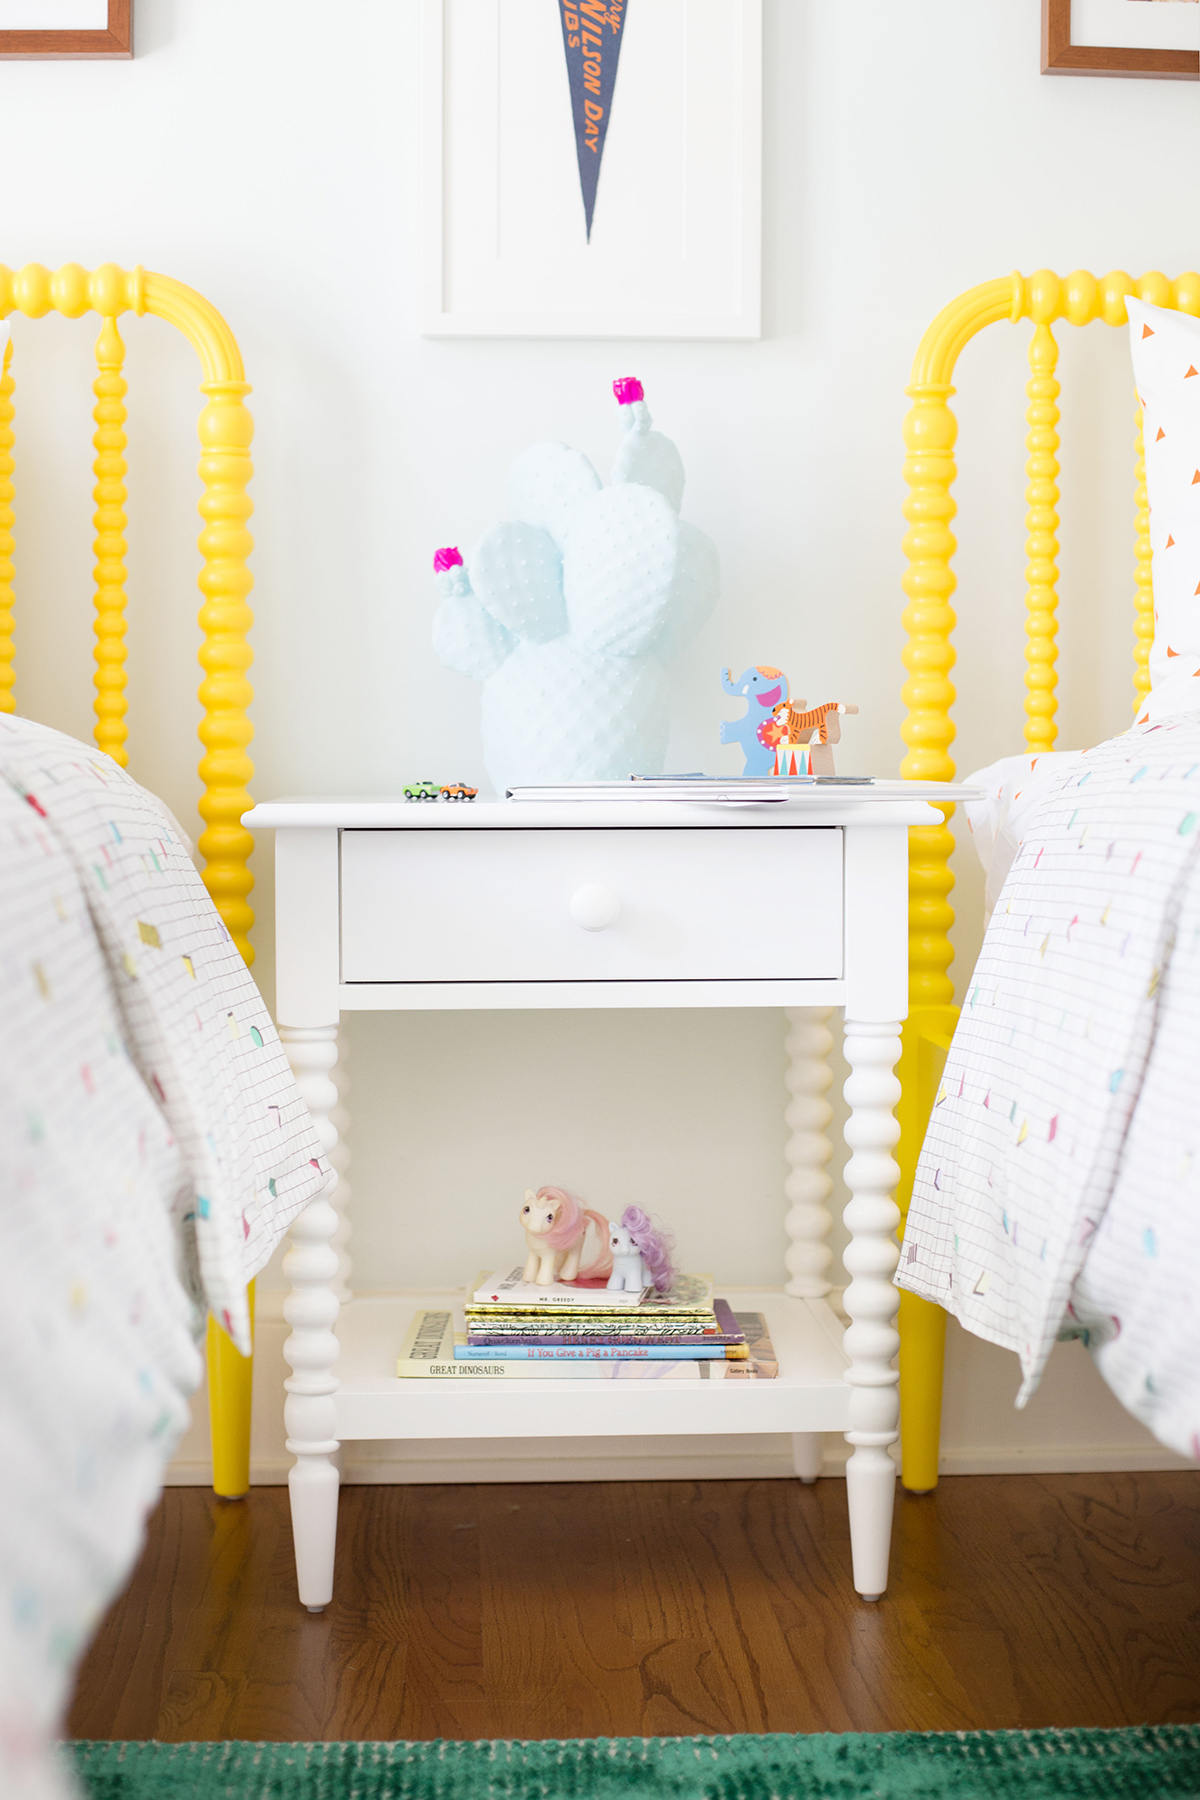
To start with, those yellow Jenny Lind beds simply take the cake. They are positively gorgeous, and I have to say that it would be hard to end the day on a bad note when crawling into one of these. To make them pop, I wanted light colored walls, but didn’t want plain white as I felt that would be too stark; these have the lightest touch of mint green (Glimmer by Sherwin Williams) to really show off this primary palette.
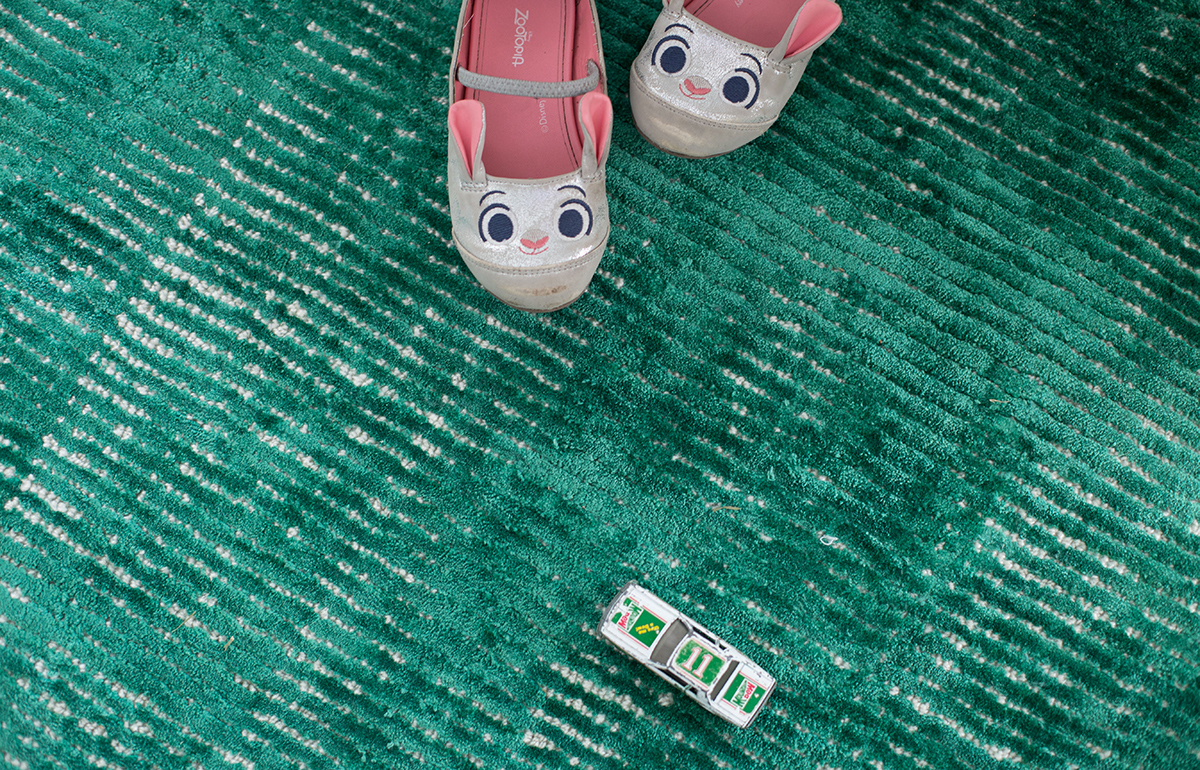
And I think this rug might be the precise shade of the carpet from my childhood. I remember being very upset when it was replaced with newer (I’m sure much better) carpet! I love the texture in this rug, and how it almost feels worn and loved. It’s all green, but it has lots of depth with the green appearing worn in certain places.
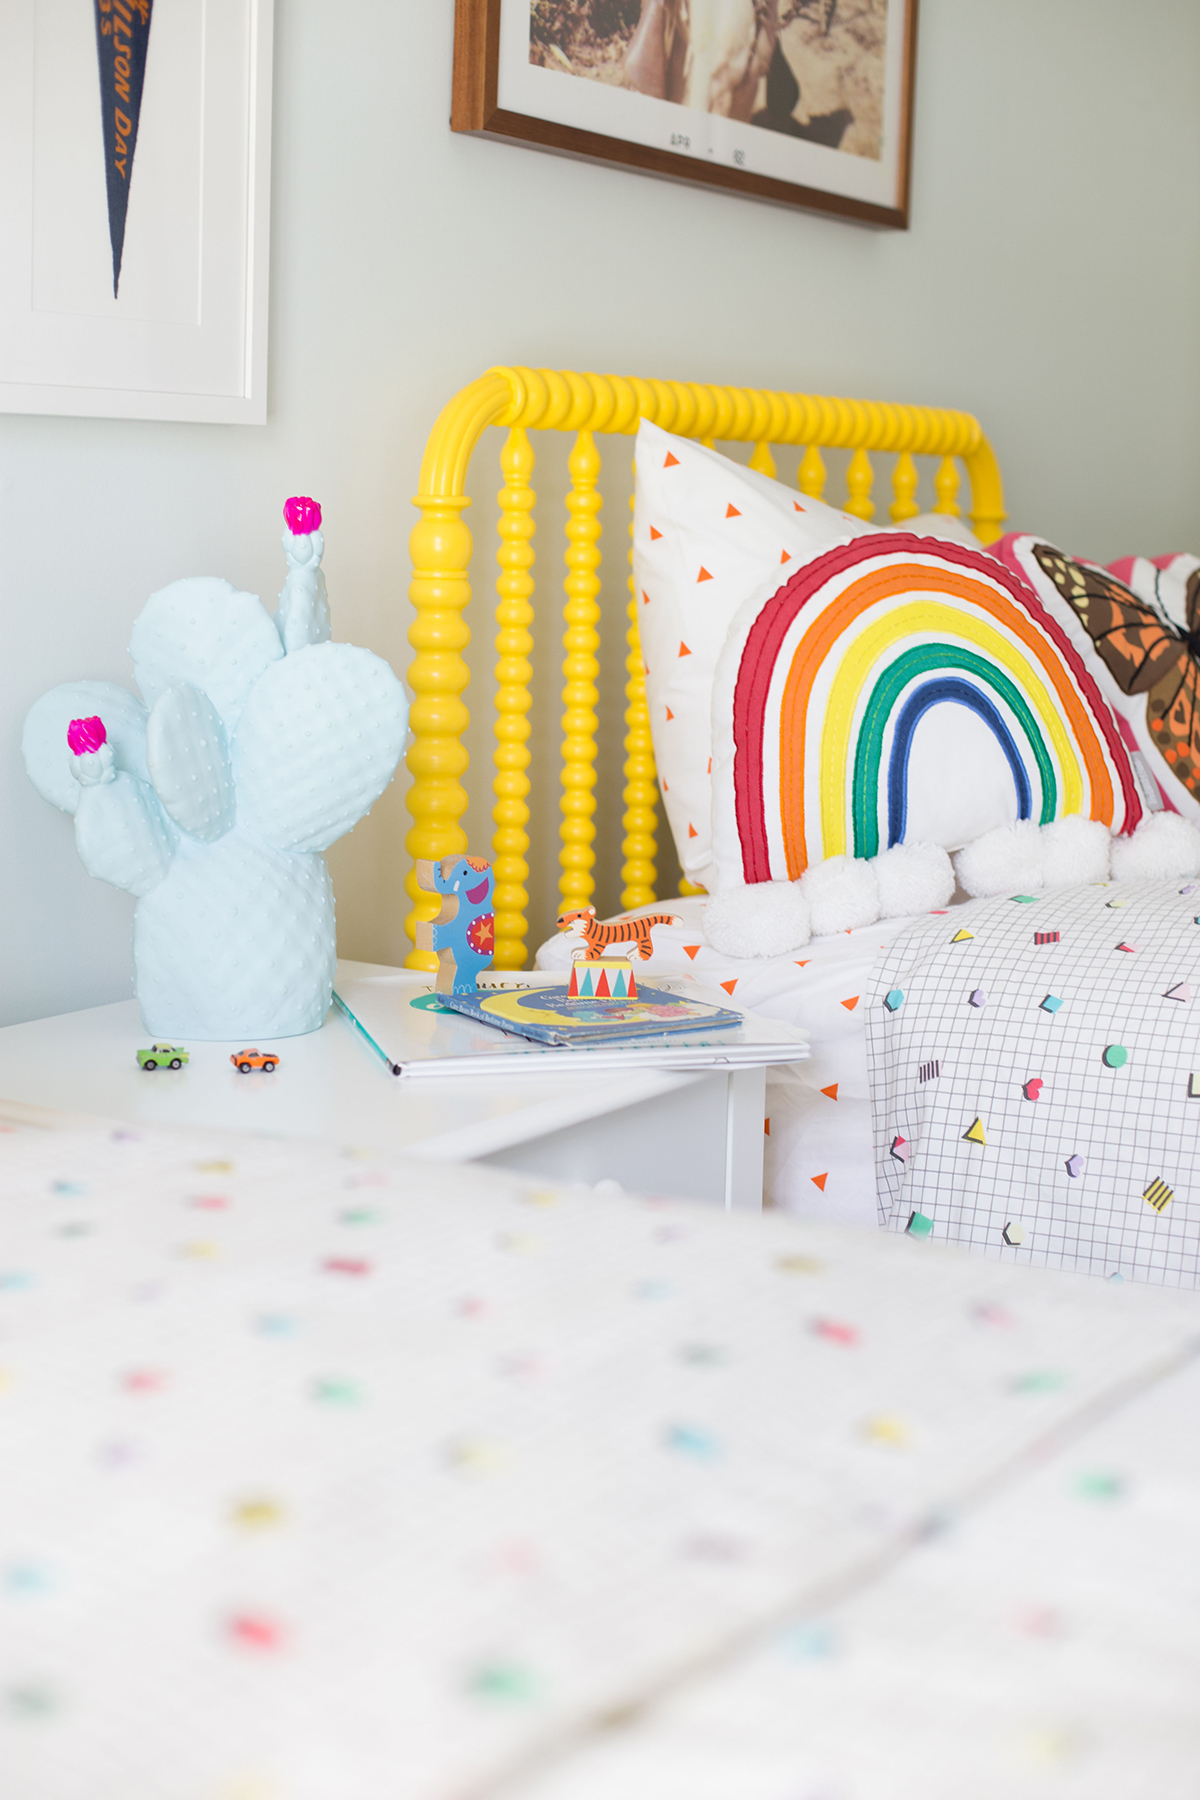
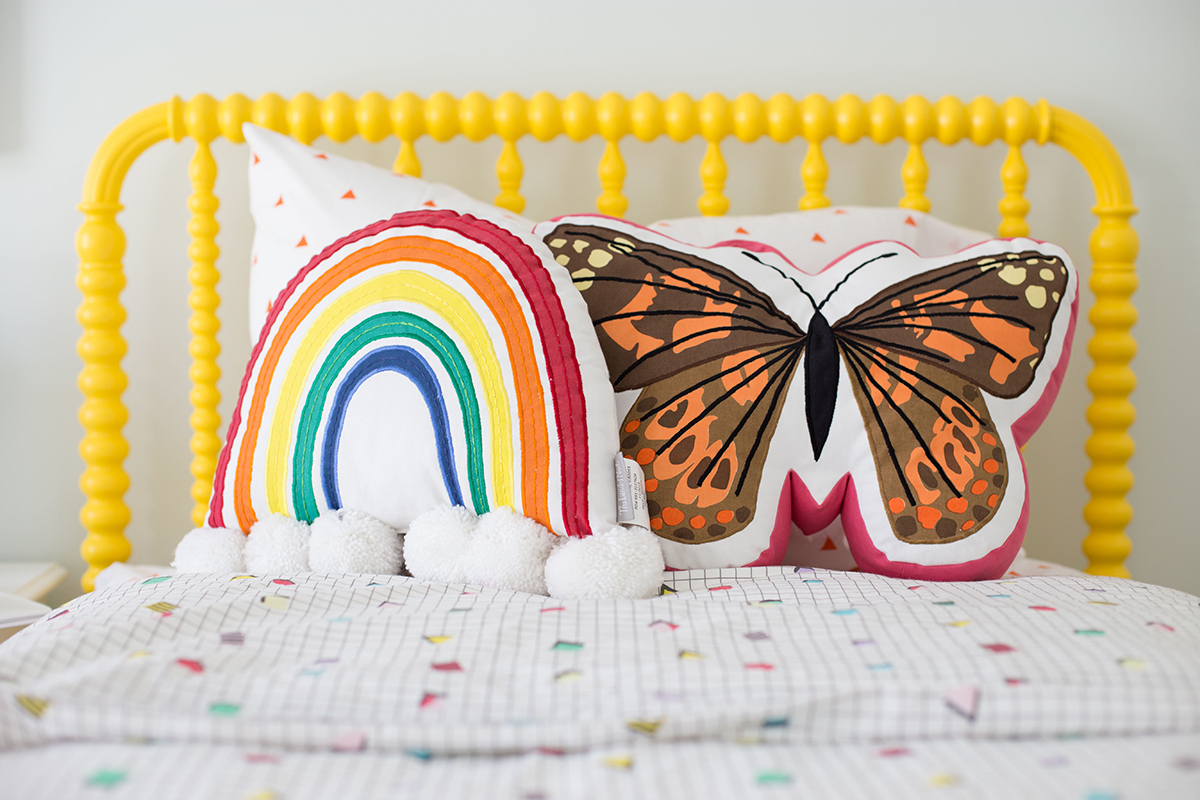
As this room will be shared by my girls when we visit, as well as my nephew and niece, I wanted it to be neutral and appeal to little Henry as well as the girls. I feel like this primary color palette does just that, and I also love how this bedding is neutral but still so much fun. And I can’t get over that 80’s pattern on that duvet cover.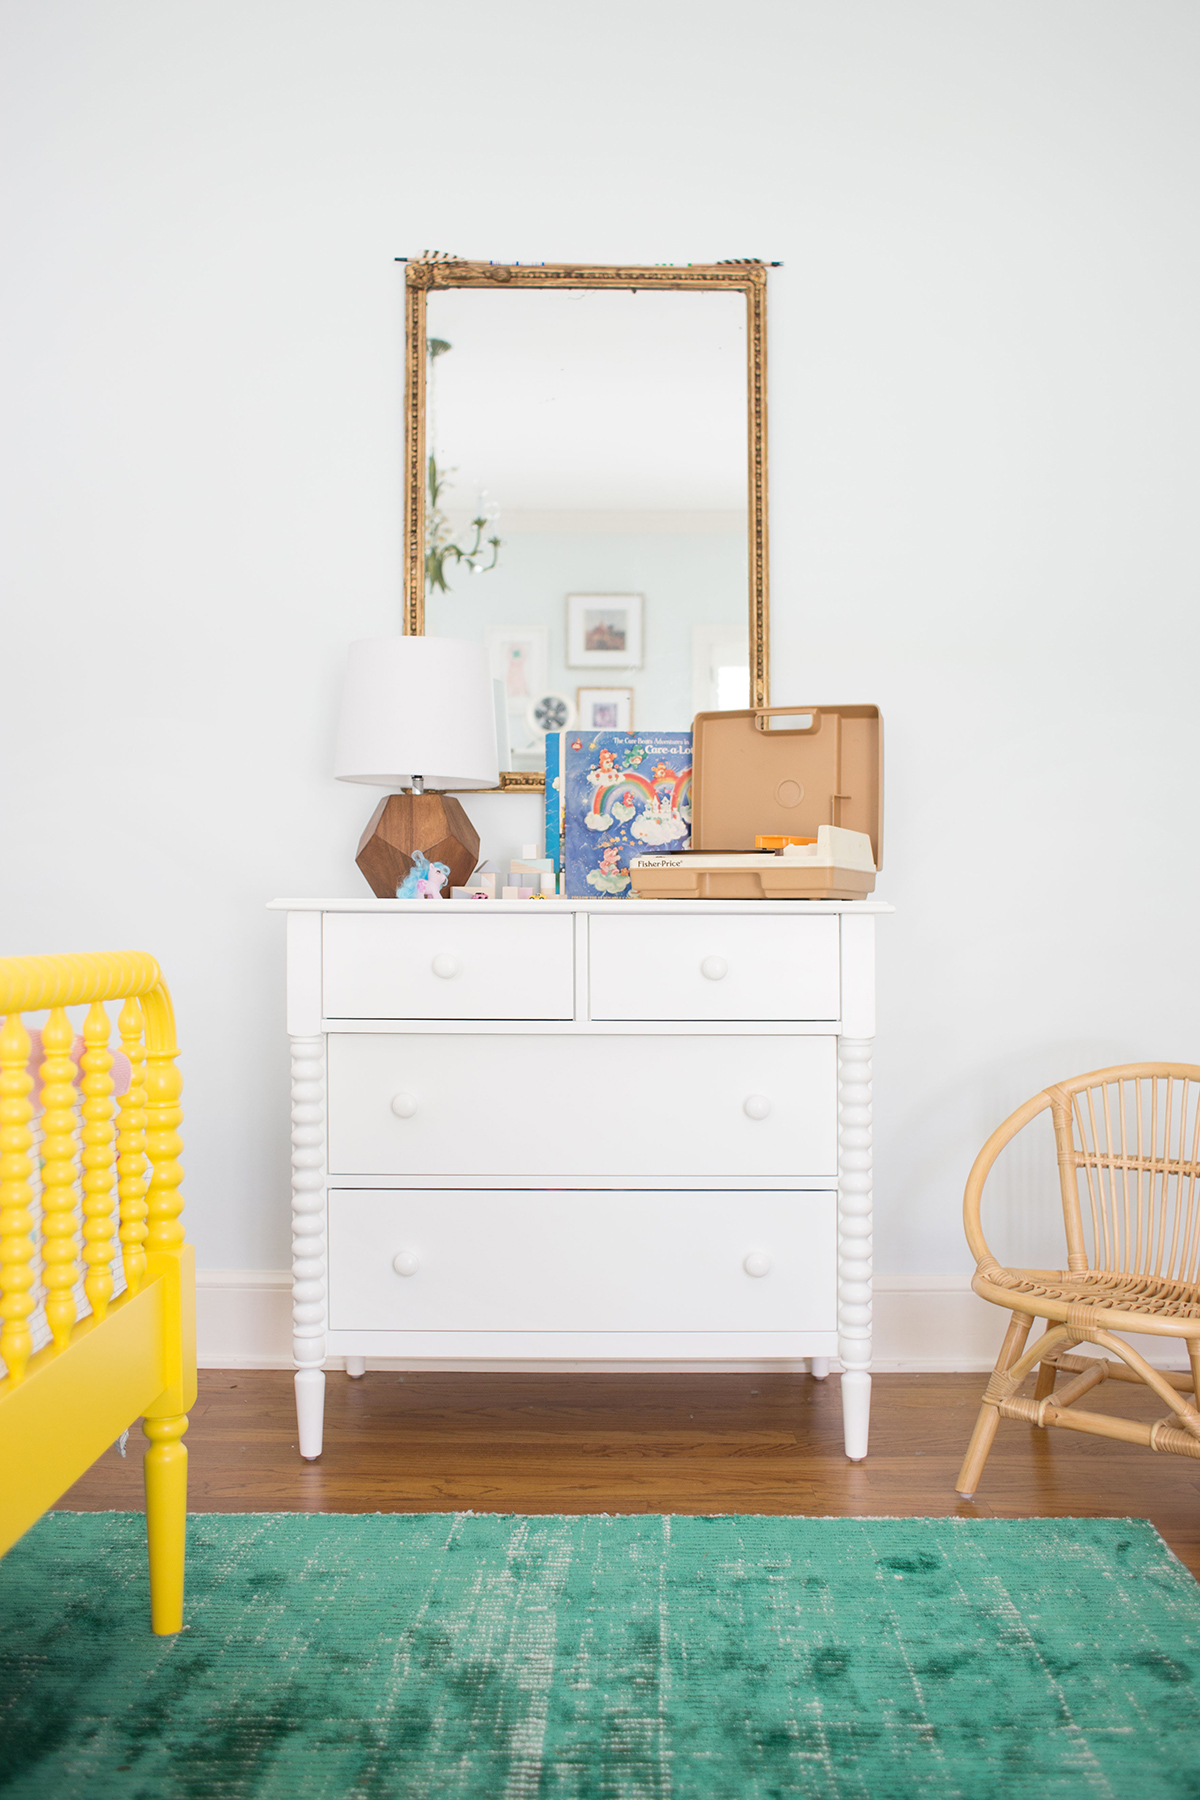
A vintage mirror, my childhood record player, and some sweet photos of my mom as a girl all lend a sense of history to the space. I love mixing old and new; it always makes things more interesting and makes a room tell a story! Check out my post to see more details about the photos used here!
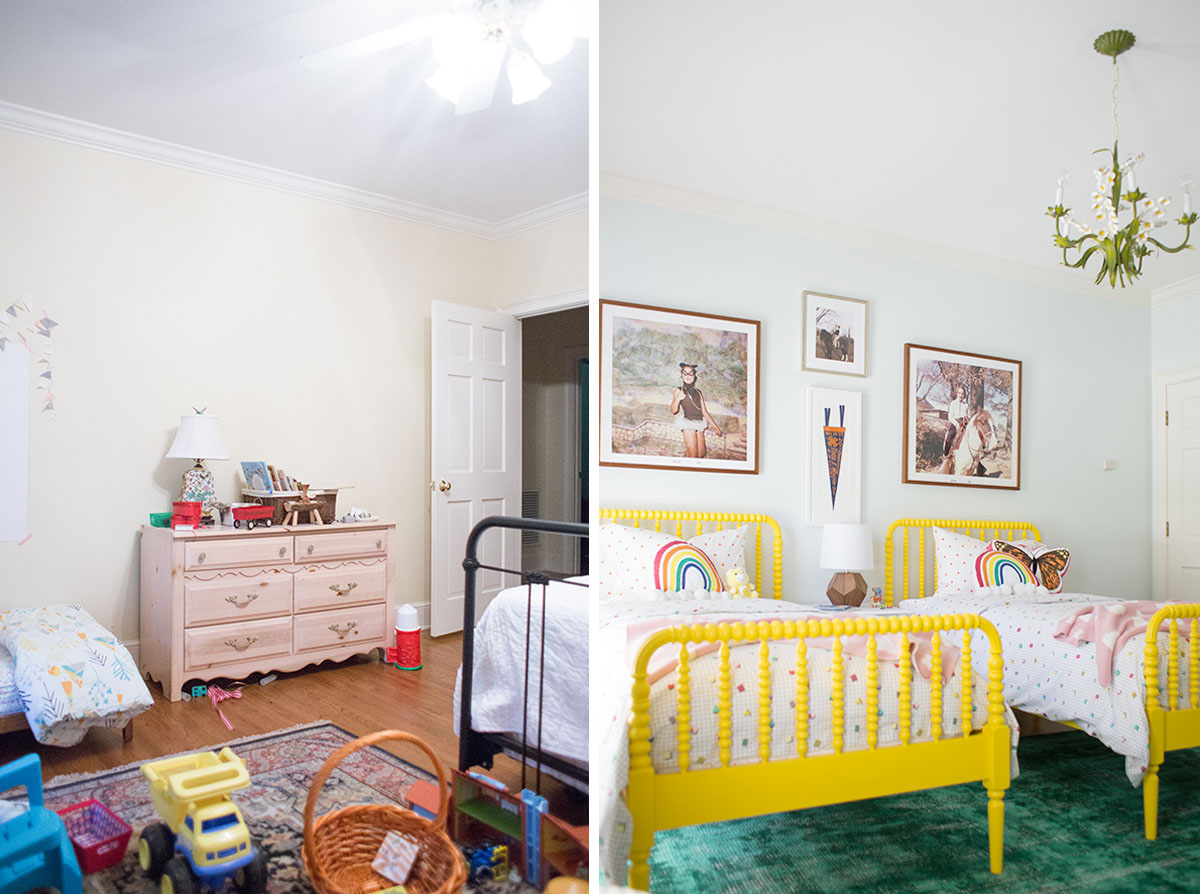
To get a better feel for the transformation, here is a before and after. Formerly the room had a queen bed, which took up a lot of space, and was a bit high for the little ones. (I love that these Jenny Lind beds don’t require a box springs!! The lower profile is so great for kids.) My mom had taken out some things that weren’t really appropriate in a kids’ room, so I was excited to give it a more cohesive look.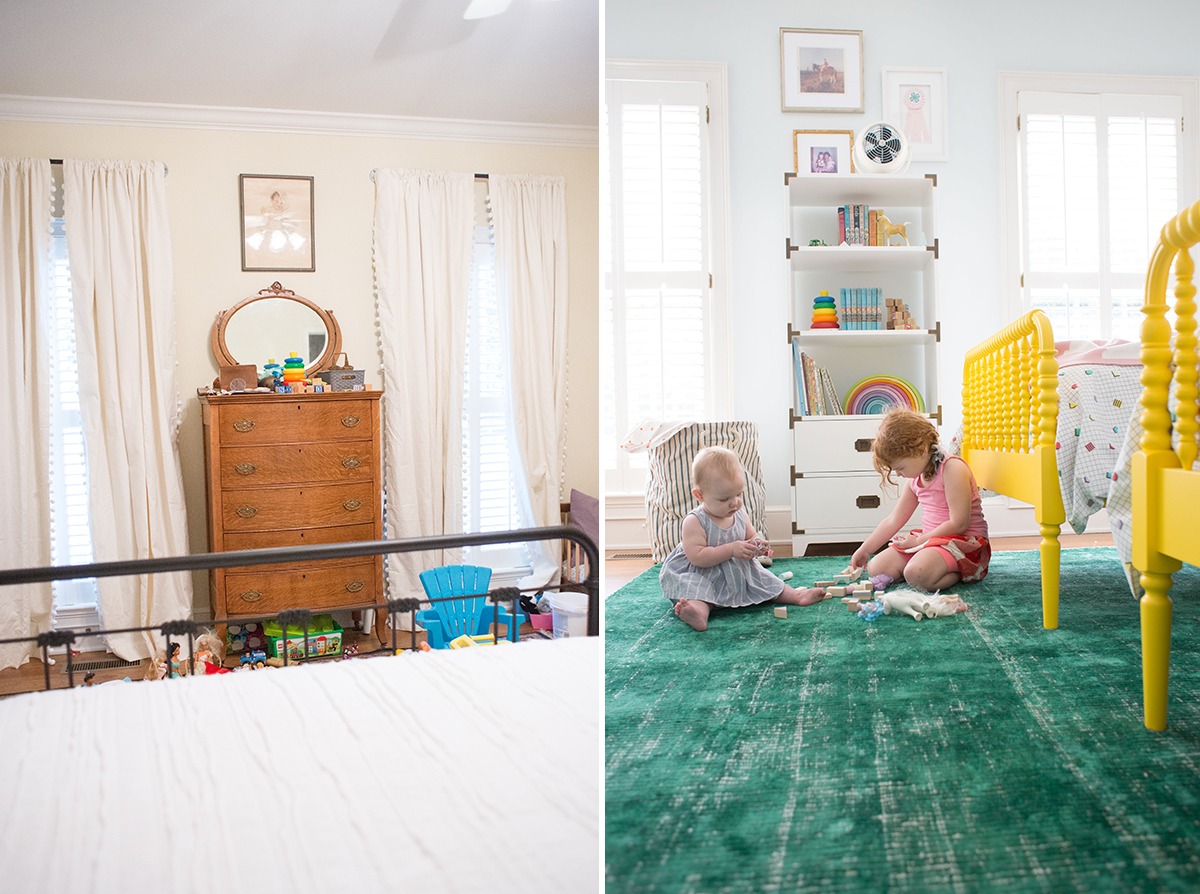
 The girls (and Henry) are completely thrilled with the result, and I can already see that many sweet memories will be made here! Best of all, my mom is also happy with it, and I think she is glad to have this space feel more intentional. It’s also a really fun guest room for adults, as well, and all these beautiful pieces will grow with the grandkids. We already can’t wait to go back!