Vegan, Raw Crunch Bars
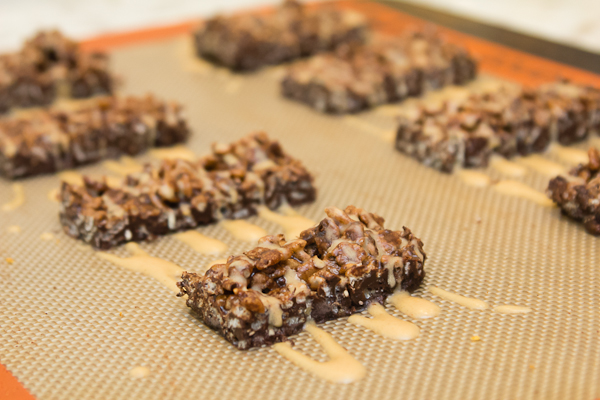
Healthy rice crispy treats? Sign me up! These bars are seriously delicious. They have just enough sweetness to satisfy your cravings but they have nada to feel guilty about because they are literally a healthy treat. AND they are vegan, gluten-free and require zero baking!
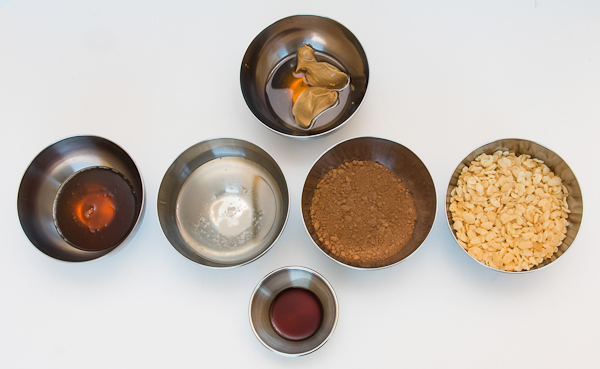
Gather all of the ingredients.
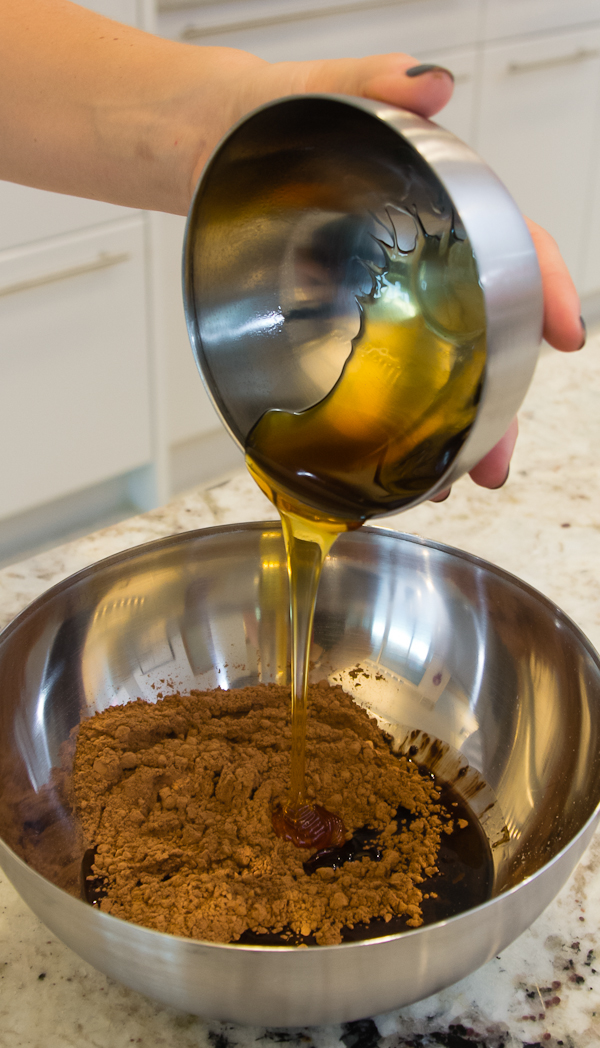
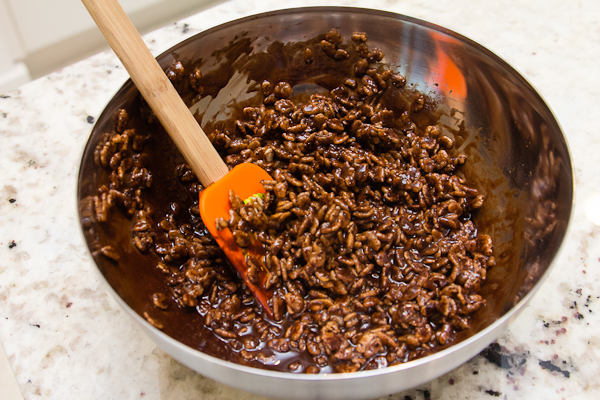
In a small bowl combine 1/2 cup coconut oil {melted to room temperature} with 1/2 cup cocoa powder, 5 tablespoons of liquid sweetener {I used maple syrup}, pinch of salt and 1 teaspoon of pure vanilla. Mix well.
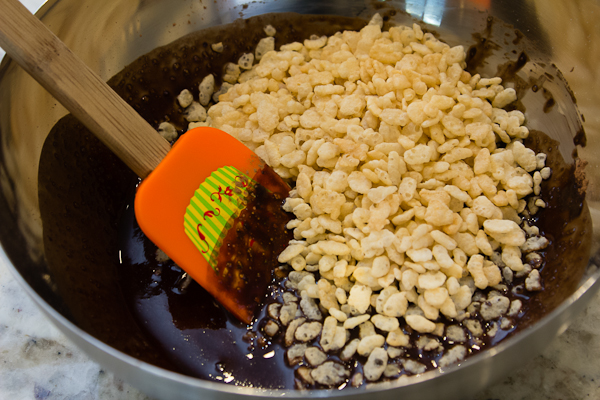
Fold in 1 cup of crisp rice cereal.
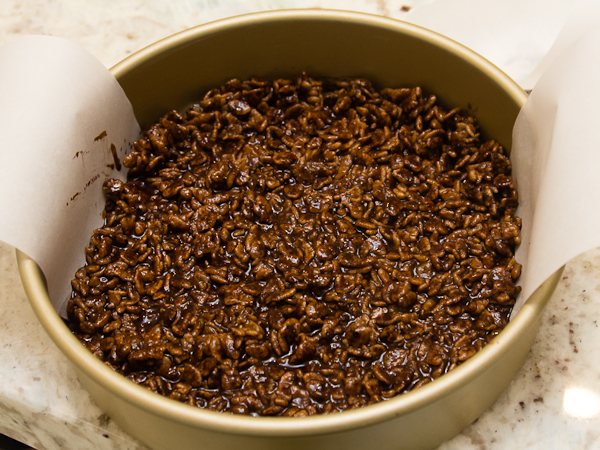
In an 8 x 8 inch pan that has been lined with parchment paper {or a round pan, because that’s all I had at the time}, pour in the crispy mixture and smooth top. Place in freezer to chill/harden.
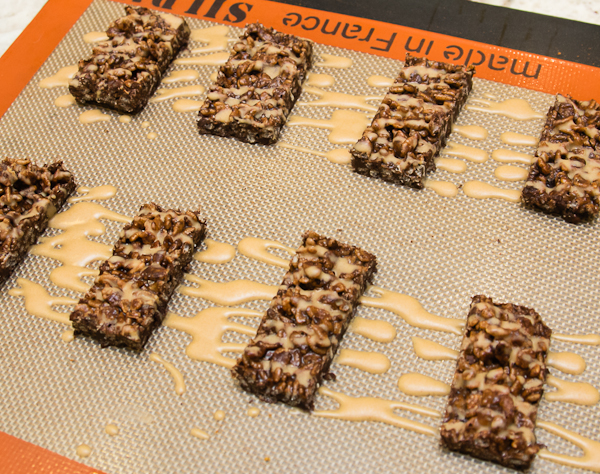
Meanwhile make the drizzle. Mix 2 tablespoons of all natural peanut butter with 1 1/2 teaspoons of coconut oil and 1 teaspoon of maple syrup. Stir to combine.
When bars have hardened {about 15 minutes}, remove from freezer and cut into bars. Simply drizzle the peanut butter mixture over the top of bars and allow to chill again for 10 minutes.
Bars are best served straight from the fridge/freezer as they will melt slightly at room temperature.
For a printer-friendly version of this recipe click here: Vegan Raw Crunch Bars
Post by Ali: Papery & Cakery
