DIY Striped Straw Necklaces
Post by Christina of Just Call Me Chris
When I was a kid, my sister and I used to make beads like this out of magazine pages. We made hundreds of paper beads. It was my goal not to let any magazine ever go wasted again. I bet my mom loved having bags of those paper beads all over the house. Twenty-some-odd years later, I’m still making things… so I guess nothing really changes.
When I remembered all the fun I had making those beads, I thought it might be fun to do a similar project with my four-year-old. She’s not quite old enough to make paper beads on her own yet, so we took a shortcut by using paper straws as our beads. The nice folks at Party Pail sent over some straws for us to use in our craft project. I love the combination of thin and thick stripes on their straws. We combined the straws with some colorful wooden beads and got to work.
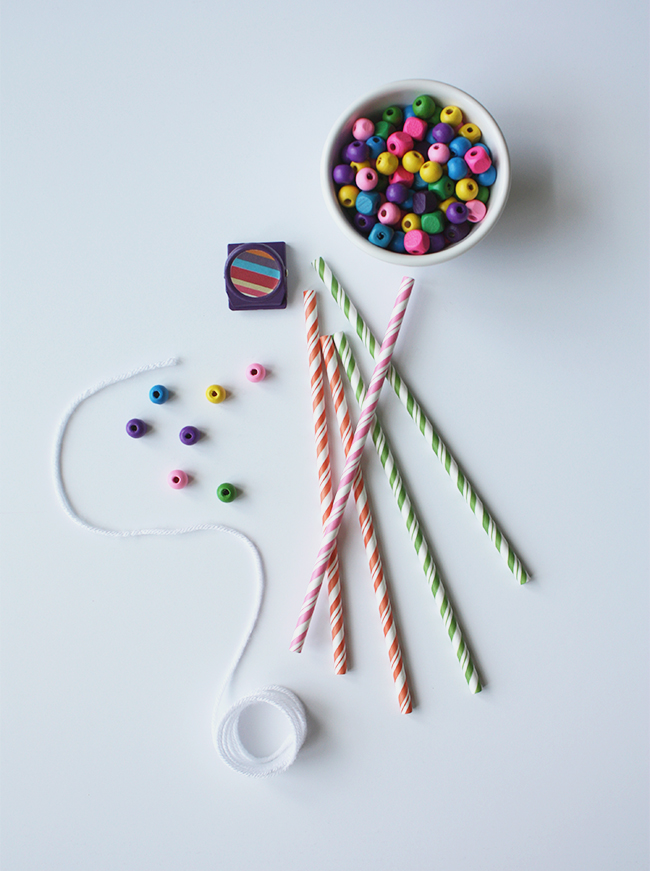
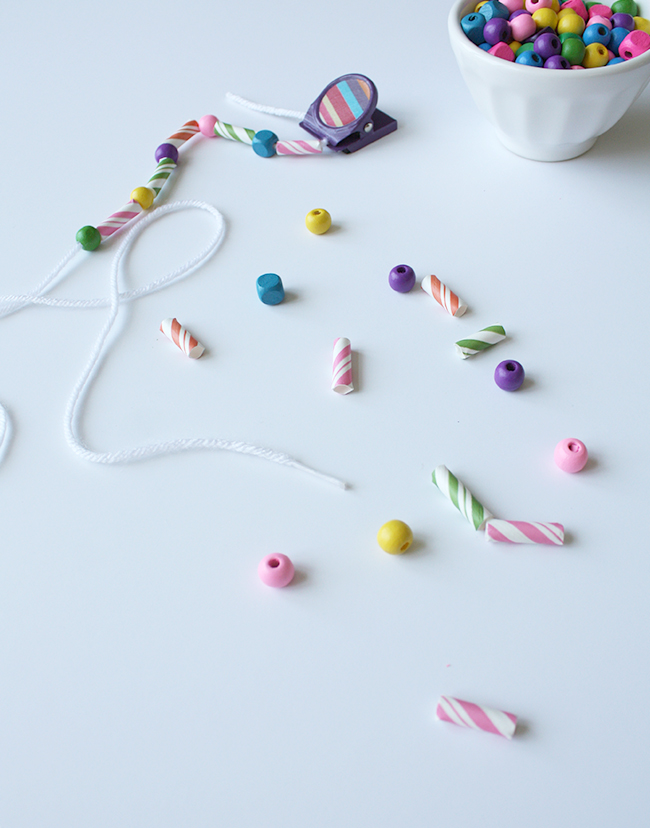
Want to make some necklaces of your own? You probably have most everything you need hanging around the house. Yarn, tape (not pictured), scissors (also not pictured), wooden beads, a handful of striped straws (Party Pail gave us the orange, pink and green ones for this project), and a clip of some sort (or anything else you can attach to the end of the yard to keep the beads from falling off).
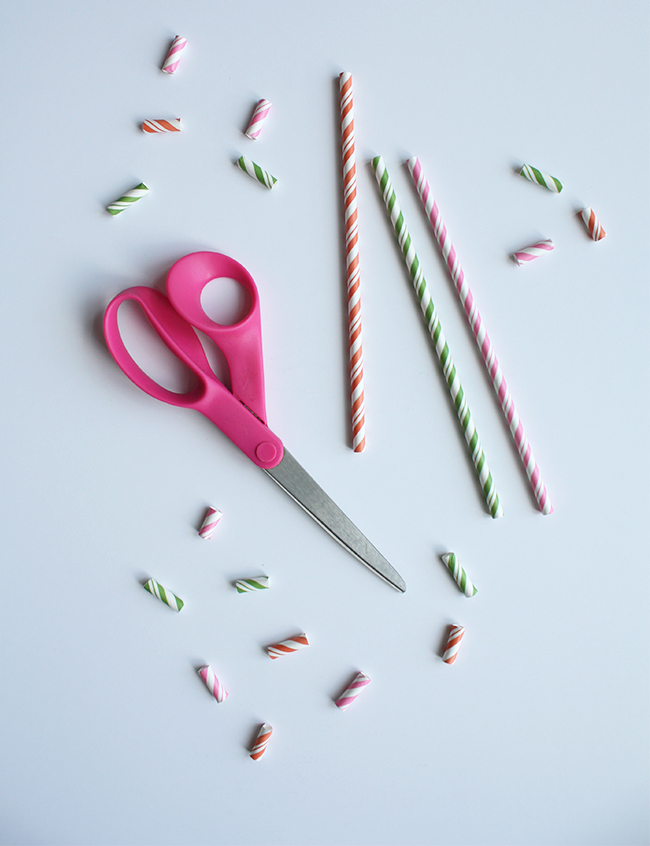
Step 1: Cut up the striped straws. I didn’t measure exactly, but each straw made about 10 beads.
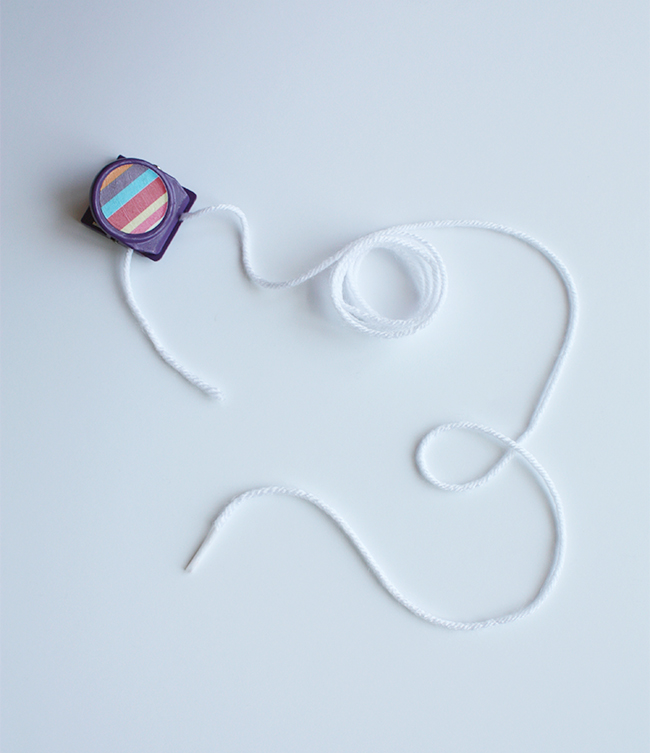
Step 2: Tape one end of the yarn like the end of a shoelace. This makes threading easier for small fingers. Next, attach the clip to the opposite end of the yarn to keep beads from sliding off while you’re working.
Step 3: Start stringing your necklace. Charlotte loved making up different patterns and she named each design. One was called “cotton candy” another was “pink lemonade” and one was the “unicorn necklace,” of course. Once you’re done beading the necklace, tie the ends together with a square knot, and cut off all but about .5″ excess yarn. You can easily tuck the ends into one of the straws to hide them.
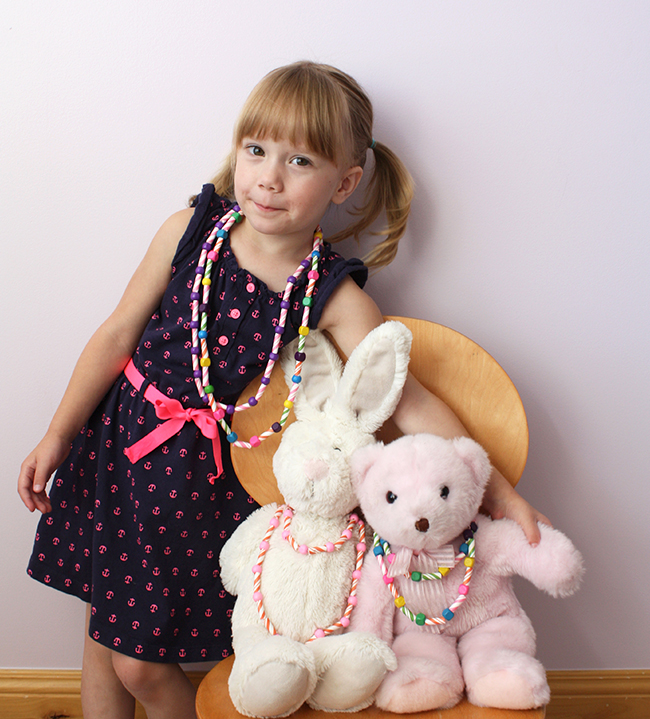
That’s it. Now throw on a necklace (or six) and hit the town. We made necklaces for our stuffed animals, for our friends and neighbors and we still have plenty of supplies to pull out for our next play date.
Christina Williams is a blogger and graphic designer living in Salt Lake City, Utah. She’s a night owl and a bookworm, as well as a mother to three children ranging in age from two to eight. She shares her latest DIY and design projects along with her adventures in parenting on her blog, Just Call Me Chris.