DIY Gold Dot Lampshade
Post by Jeran of Oleander and Palm
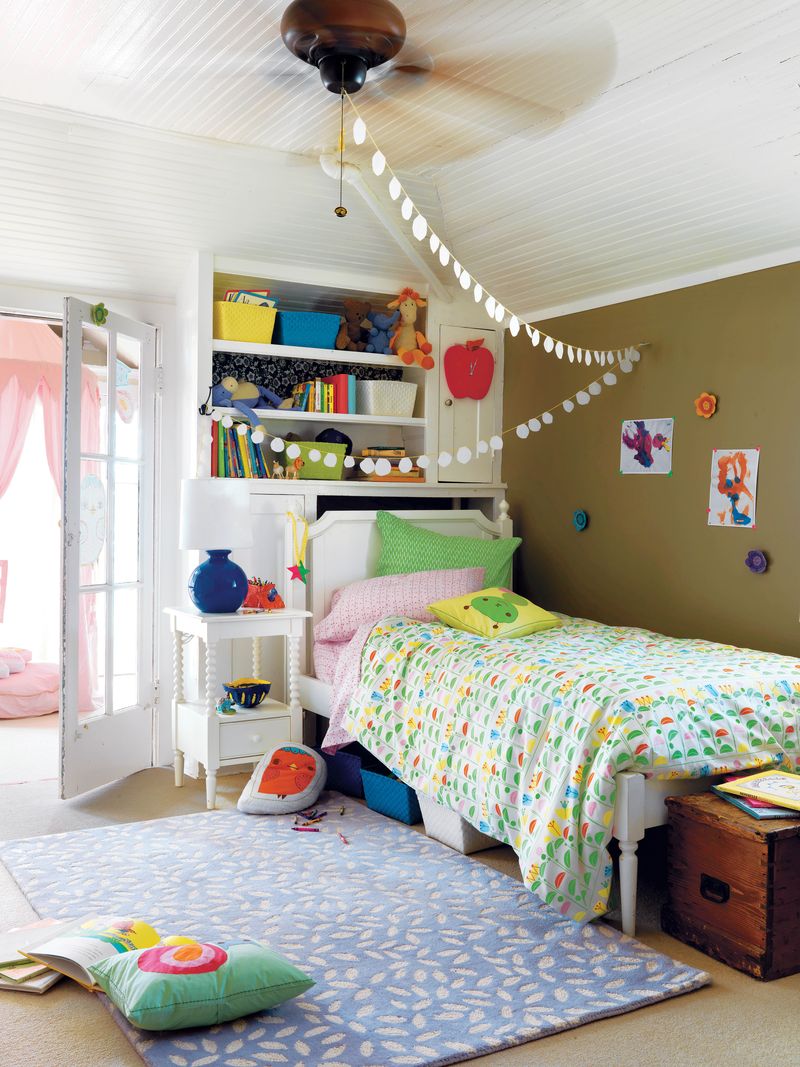
How about a custom lamp and lampshade that doesn’t cost a fortune? You can do it! I gave an old lamp new life with a coat of metallic gold paint and a new custom shade. I recently gave my daughters’ Toddler and Tween shared room a mini makeover. To give the bed a new fresh modern feel I got Land of Nod’s fabulous gold dot sheets. I was so impressed and inspired by them, that I decided to mirror the playful pattern on the lampshade.
I think the results are pretty fantastic, and the sheets and lampshade definitely go together. Their room is far from matchy-matchy, but I think it’s fun to repeat themes once in awhile.
I bought a very inexpensive white lampshade (I paid only $12 for mine) and then with a few simple supplies and a little measuring, I painted on metallic gold polka dots.
Here’s how I did it:
1. Start by taping off equal lines around your lampshade with blue painters tape. I did a bit of measuring and figured out that leaving about 1 1/2″ gap between the tape at the top of the shade worked well.
2. Using a 3/4″ foam stencil brush, load the brush with craft paint (I used Martha Stewart’s metallic gold). Dab the brush on a paper towel to make sure you don’t have too much paint. This will cause blobs and make your dots not very round.
3. Between each line of tape, make three evenly spaced dots. One right in the middle and then one on both the top and bottom. To make even, round circles, press the brush onto the lampshade and then spin the brush in a semicircle. This will give the edge of the circle a nice crisp, even line.
4. Remove the tape.
5. Then place two dots right between the two rows you just made both vertically and horizontally.
6. Continue steps 3, 4, and 5 until you have made it all the way around the lampshade. Let the shade dry over night.
With a simple white lampshade, the possibilities are endless. I had so much fun doing this, I’m ready to polka dot something else very soon.
Post by Jeran of Oleander and Palm