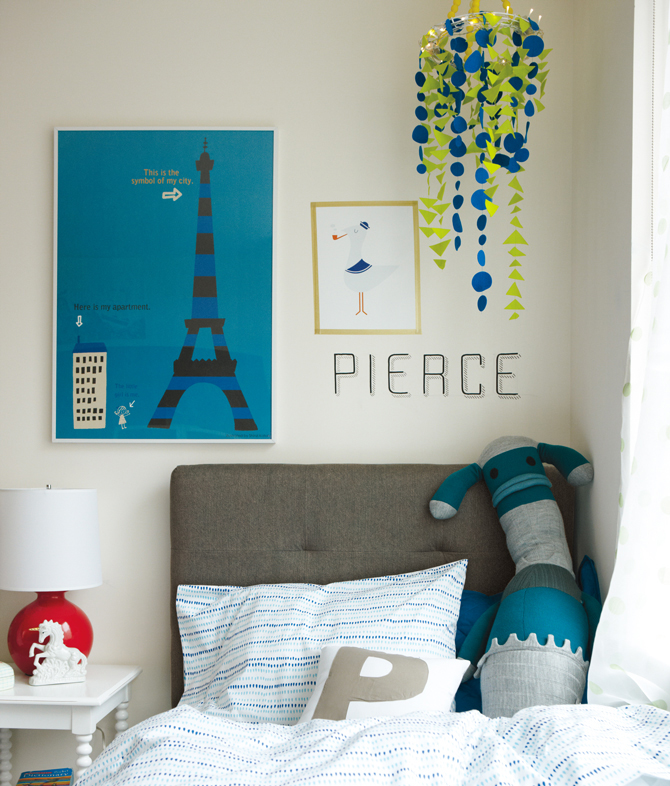
Garland Mobile DIY
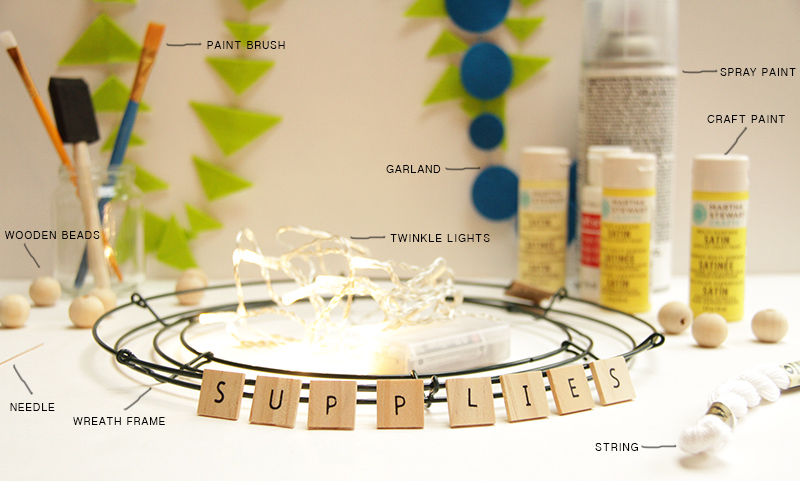
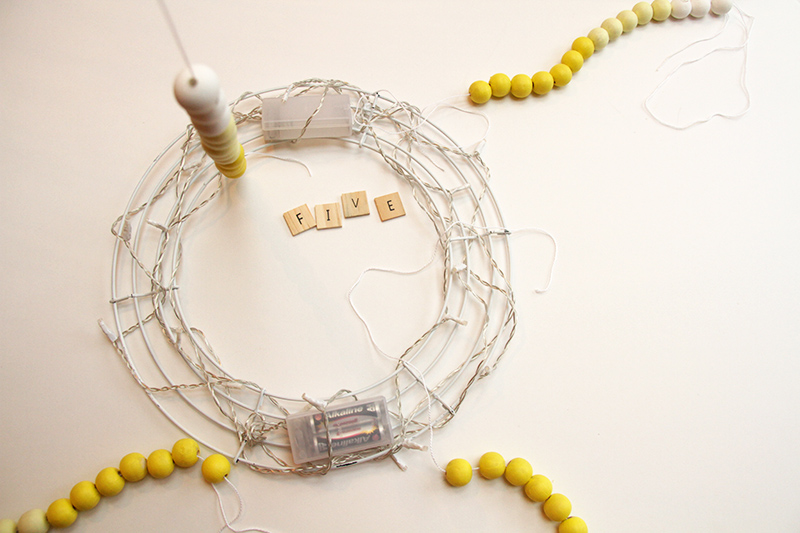
Supplies : A paint brush, wooden beads (sixty 3/4 inch wooden beads + one 1 inch wooden bead), a needle, wreath frame, battery operated twinkle lights (I purchased mine at Ikea but have seen similar sets at Michael's in the floral dept), this garland is shaping up, spray paint, craft paint, string and a hook for hanging.
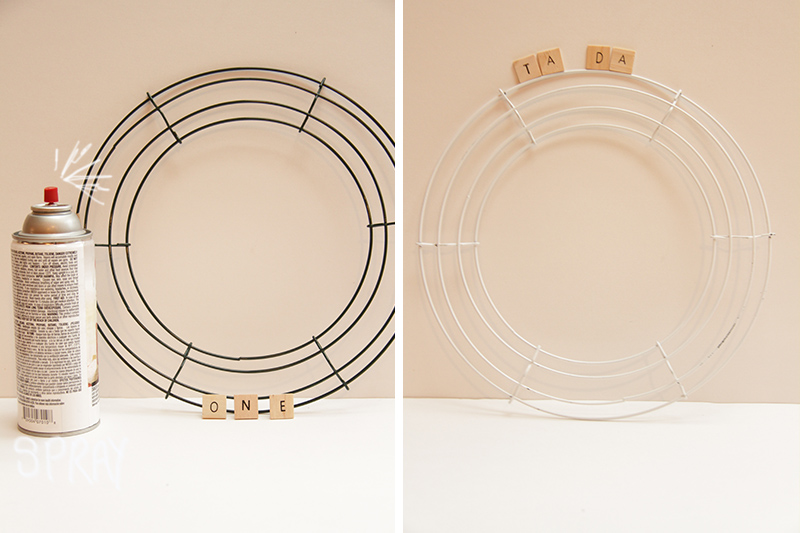
Step 1 : Spray paint the metal wreath frame.
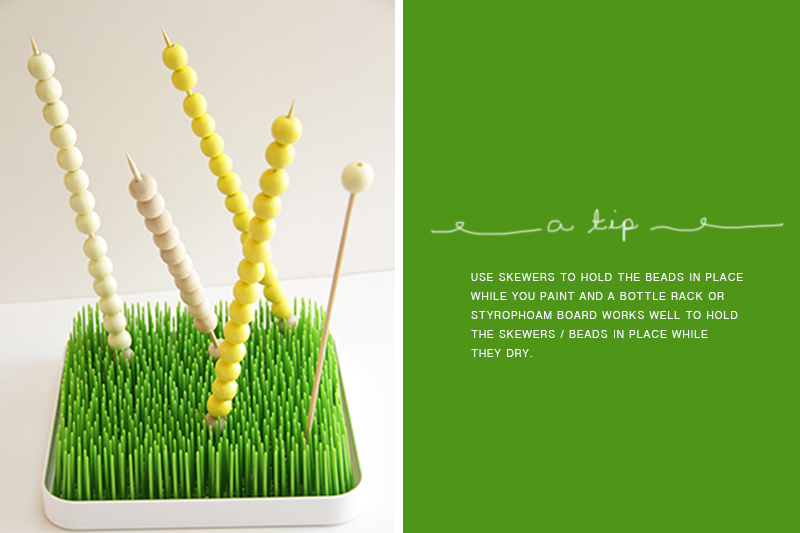
Step 2 : Paint the wooden beads in 3 gradual shades for an ombre effect. I did 7 beads in the darkest shade, 5 beads in the medium shade and 3 beads in the lightest color.
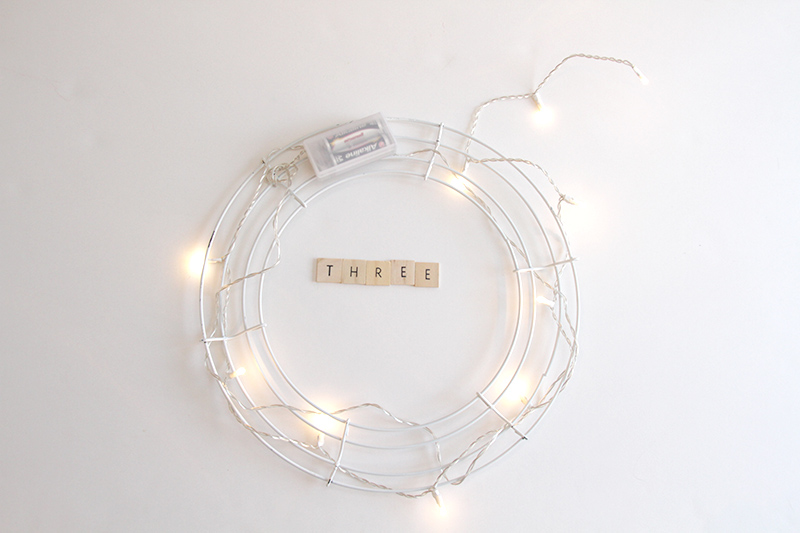
Step 3 : String the flower lights onto the metal wreath, weaving in and out of the metal rows. It's also a good idea to start each set of lights on opposite ends so the battery packs balance each side out.
Step 4 : Thread the beads onto the string leaving room on each end for tying up. Repeat until you have 4 strands of beads.
Step 5 : Tie the strands onto the base of the metal frame. I find it a good idea to place a strand, evenly, on each side of a battery pack to, again, give balance.
Step 6 : Holding onto the 4 loose strings at the top, string on the larger bead to keep all of the strings together. Then give about 3 inches of string above the large bead and tie a knot. You can then use the slip through to hang onto a ceiling hook or wherever you like.
By Trina McNeilly. Who blogs at la la L O V E L Y, a lifestyle blog with an eye for design in all areas of life. She started la la a few years back to keep track of this + that + everything pretty in between. And, it just so happened that la la Lovely is where the lovely things land.
