Things to Make – Nature Art, Faces
April 24, 2013
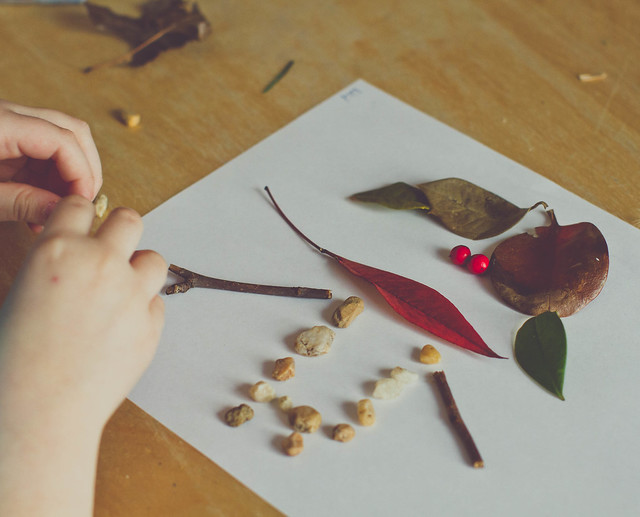

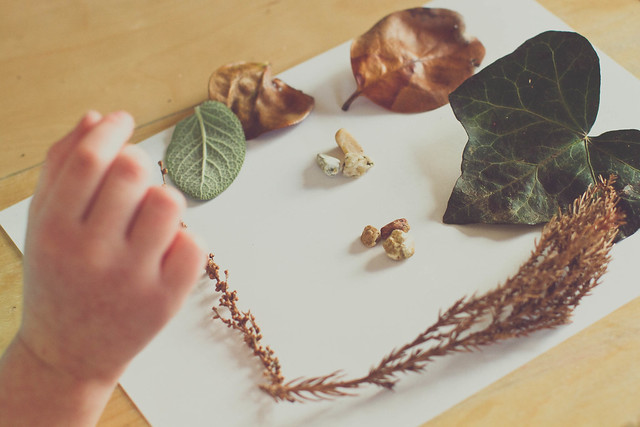
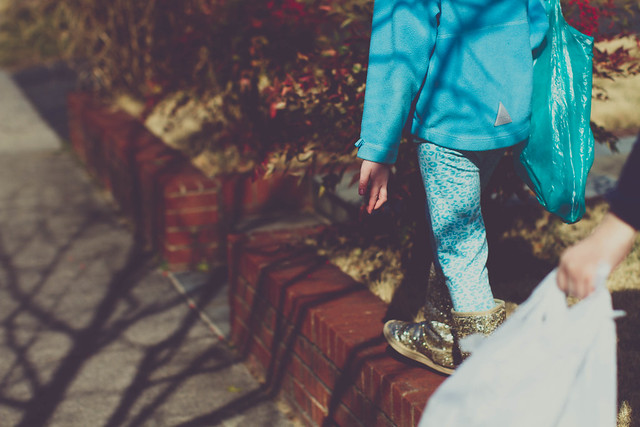
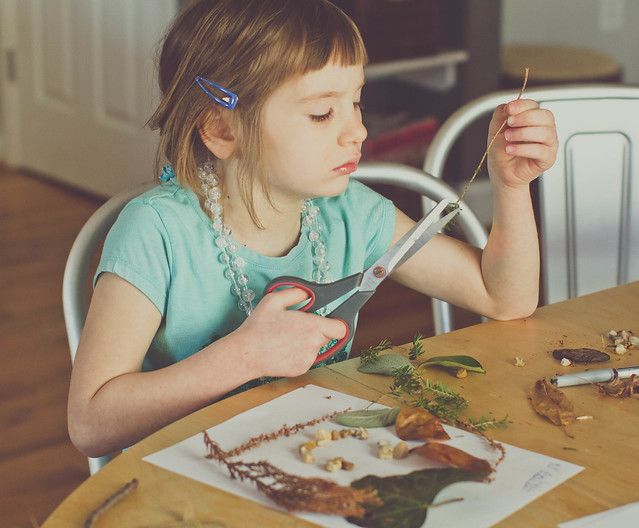
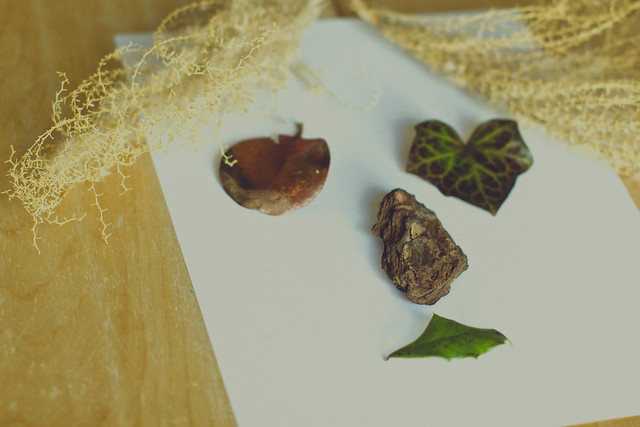
A few weeks ago, Under the Pecan Tree posted about using household items and art supplies to make portraits and I loved what they came up with. I planned on trying something similar, but then the temps actually rose above 45 degrees. So we scavenged outside for portrait-making materials. And then we arted. What have you been making lately? We'd love to hear!

Post by Darcy : bedtimemonsters.blogspot.com