Nod Products in a Grown Up Space
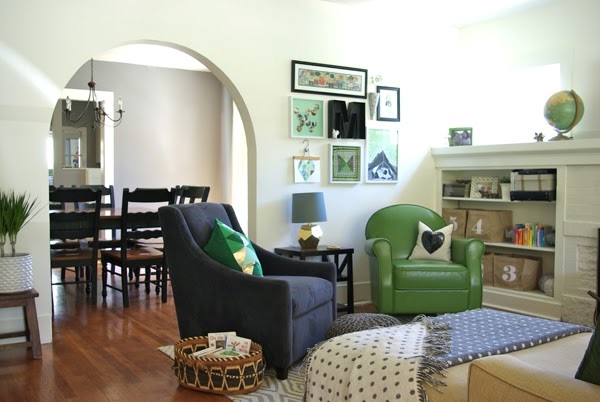
Hi, it's Jeran from Oleander and Palm. I was here a few months ago and shared my girl's Toddler and Tween bedroom makeover. I'm back because, with the help of The Land of Nod, I've been working to give our living room a more modern feel. Yes, I'm using Nod products in a grown up space!
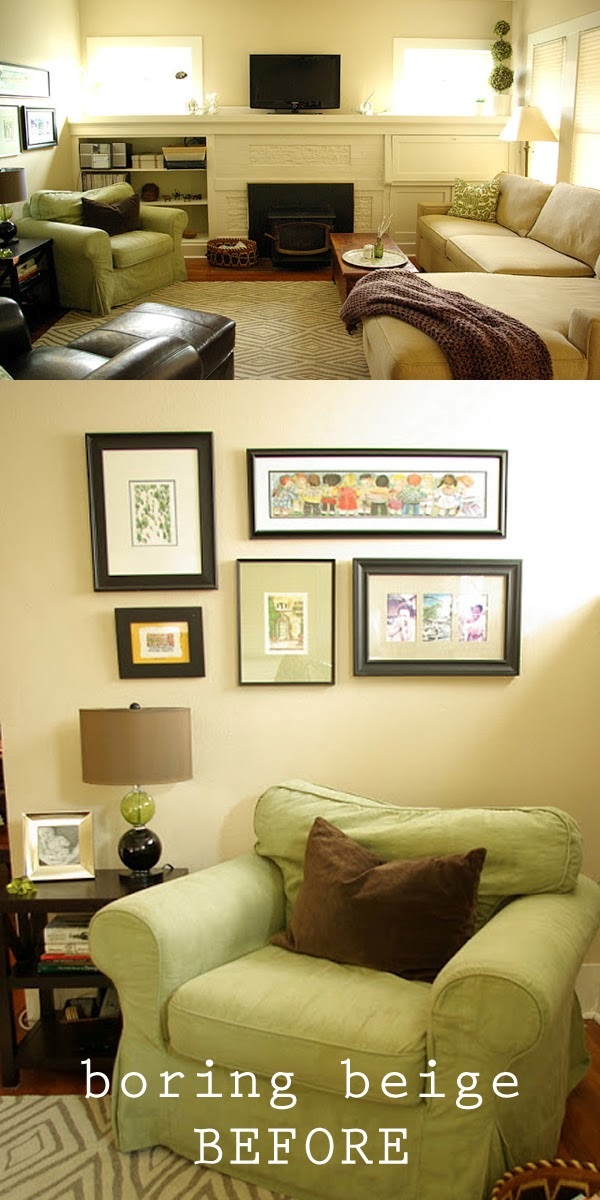
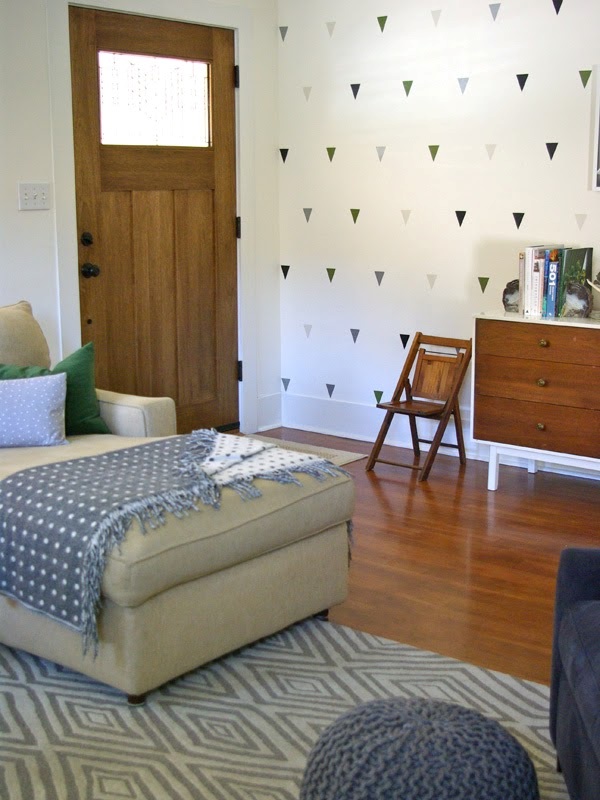
I started with a fresh coat of white paint. This was our living room before, boring beige, bleh. It's funny how your taste can change in just a few years. But, I find myself drawn to more clean lines and geometric shapes. Yes, our house was built in 1920, but I really think trendy, modern and fresh can be achieved in any home with Nod's products. And I'm not talking about stripping the room bare and starting with all new furniture. Most of my furniture, even my rug did not change. I believe a room's feel, mood and even style can be changed with just a few accessories and a little paint.
Here's what I chose from The Land of Nod's fabulous products to give my room that quirky, playful vibe, that only Nod can do.
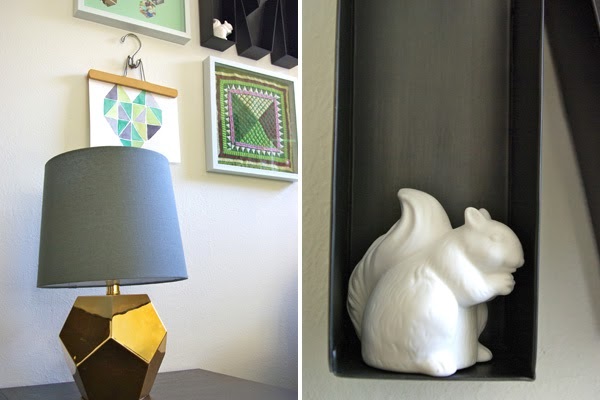
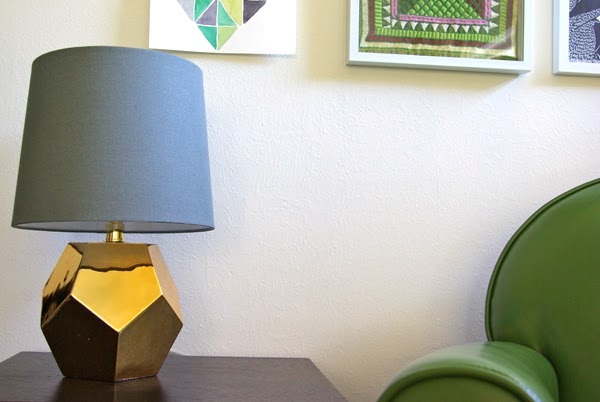
1. I got the Between Rock and a Lamp in gold (because the geometric goldness of it was too much to handle).
2. The cute Squirrel night light (because who doesn't love a woodland animal?).
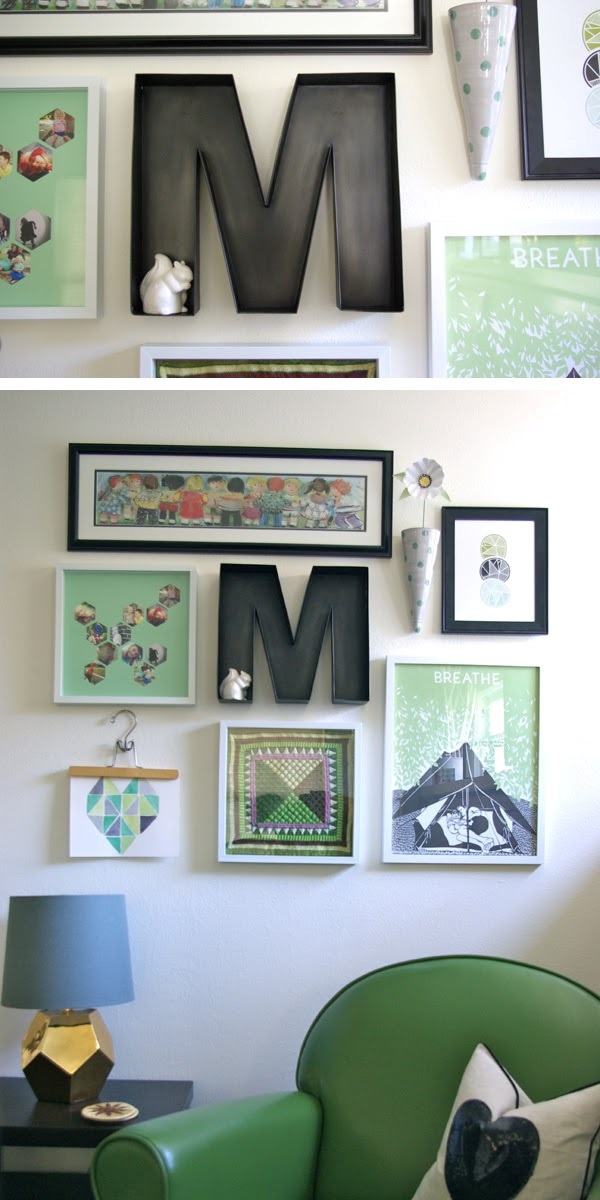
3. M Magnificent Metal Letter (because type adds a graphic element).
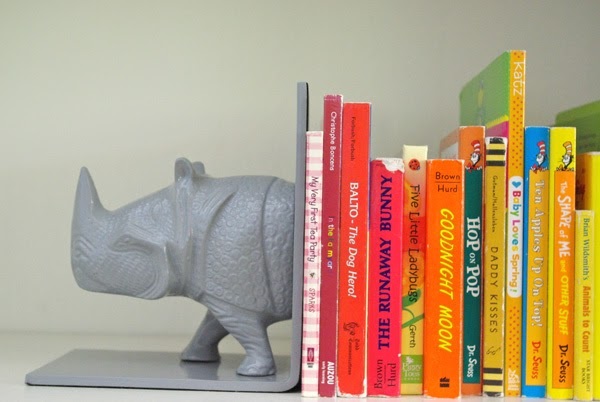
4. Rhino Book Ends (because we are both teachers, so we have LOTS of books and rhinos are my biology teacher hubby's favorite animal).
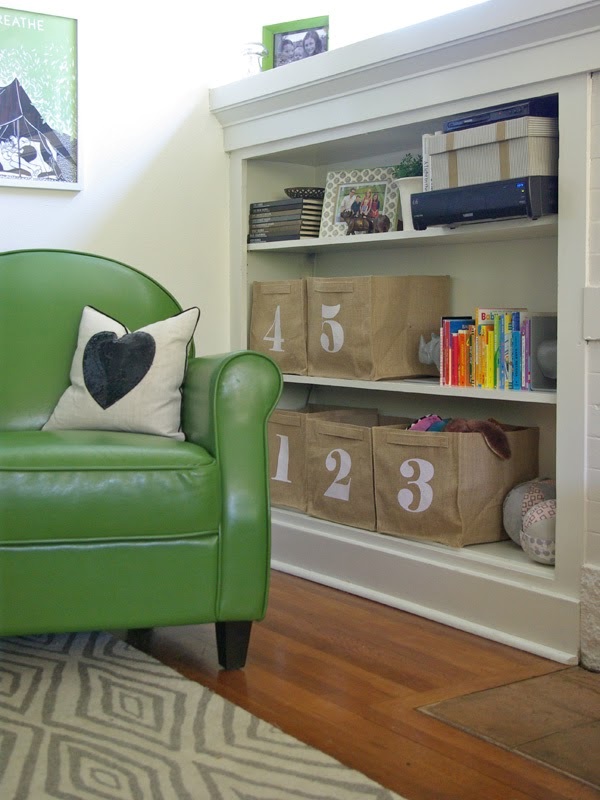
5. Store by Numbers Cube I'll need numbers 1-5 (because we need to get those toys under control and we might as well encourage learning to count at the same time).
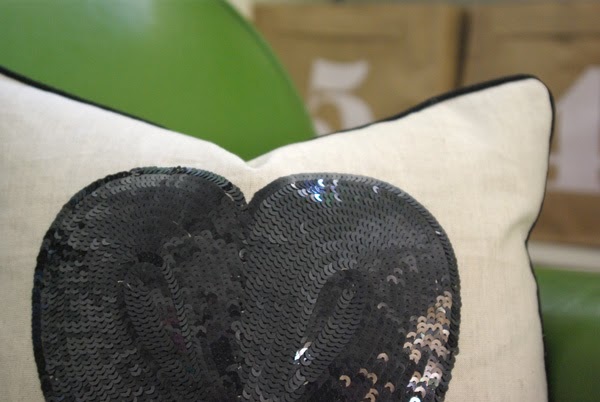
6. Black Sequin Heart Pillow (because it's so totally awesome!).
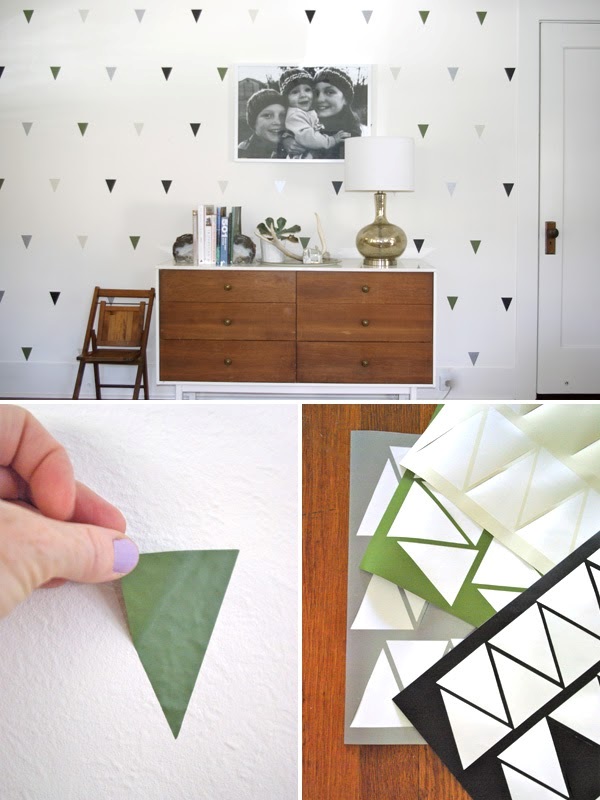
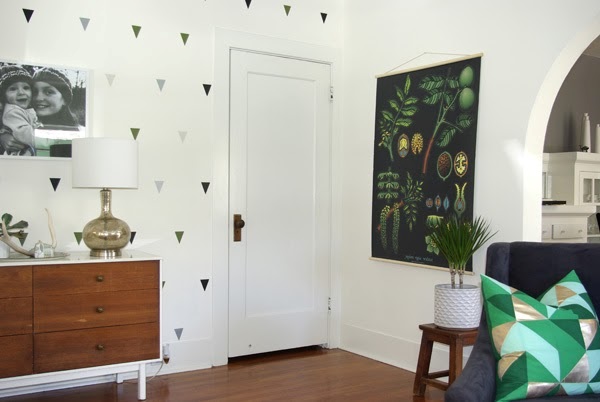
I also spent a Saturday morning cutting and sticking on my wall of triangles. I was inspired by Nod's dot decals, but wanted something more angular and geometric. I used my Cricut machine to cut 2" triangles out in green, silver, cream and black vinyl. Then I did a whole bunch of measuring and taping to get them all in neat rows and columns. I placed the colors in random order and I'm so pleased with this inexpensive, totally removable, addition to the space.
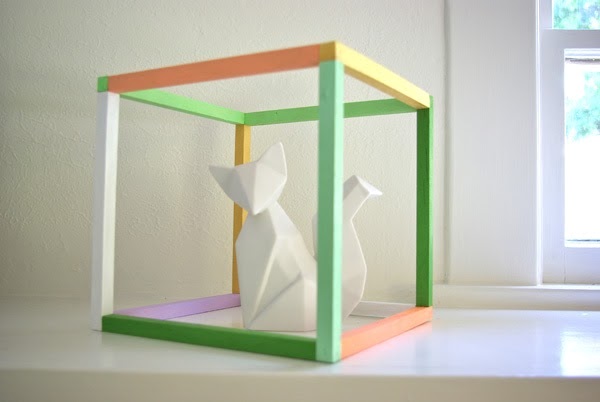
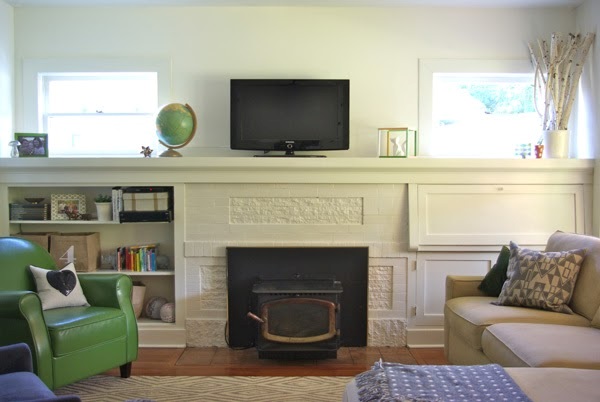
I mostly rearranged my nicknacks on the mantel, but I did make a fun DIY colorful cube (I'm calling it a 3D frame). I'll be back to share the how-to with you later.
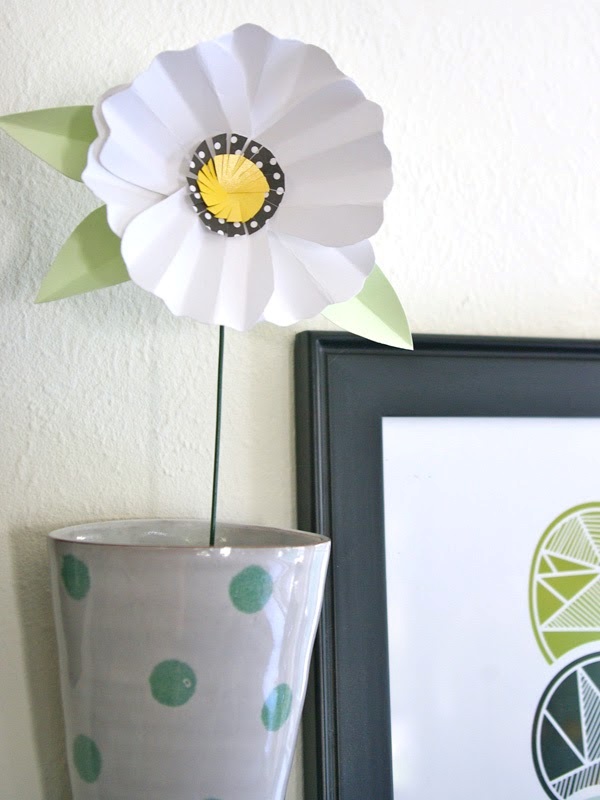
Probably my favorite part of the room is the new grouping of art the sits over my green chair (which I just moved from my bedroom to the living room). There's some of my old favorites in the mix and some new pieces as well. I used the M Magnificent Metal Letter as the anchor and then arranged everything around it. There is a collage of my instagrams, a framed textile from Yemen, a simple little water color I painted, a treasured painting of children I bought in Rome many years ago, my gorgeous Breathe print, and a hanging vase with a little paper flower I made (from this tutorial). I love using a grouping of little pieces to create one big statement.
And last, but not least, a got some order of my book shelf. It doesn't look like an explosion of toys and junk anymore. I'll be back later to share how you CAN live with toys stylishly in grown up spaces.
There you have it friends, playful, modern style can be achieved quite reasonably with Nod products. Wouldn't you agree?
Post by Jeran: Oleander and Palm
