Half Apron Tutorial
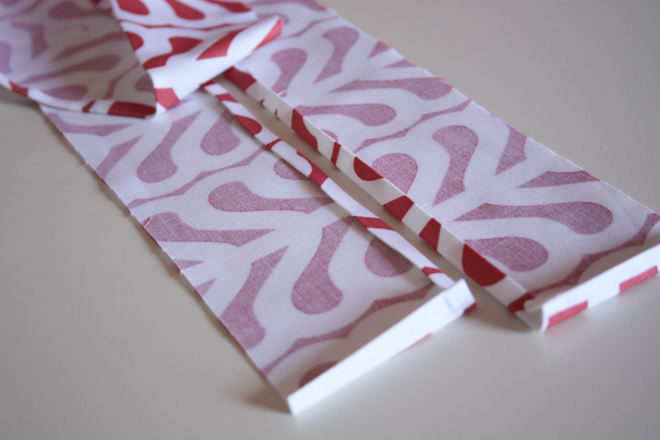
Your ruffle is all one piece, so let’s jump right to the hemming. Hem one long edge and both short edges in 1/4″, then another 1/4″ to conceal the raw edges.
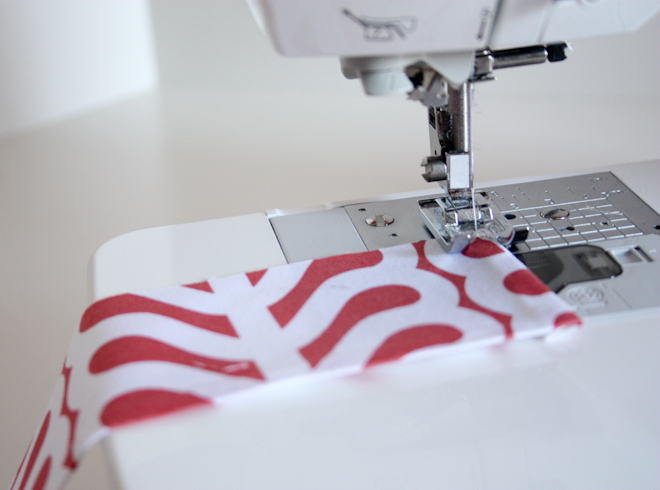
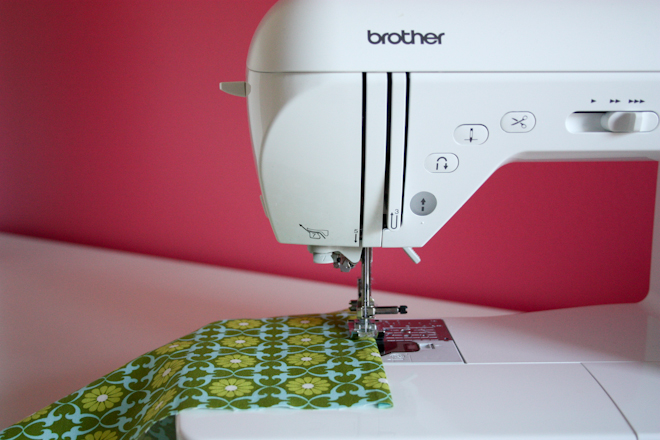
Now, stitch that pretty little hem in place.
Begin on the raw end of the fabric and stitch toward the corner. Do this rather close to the edge.
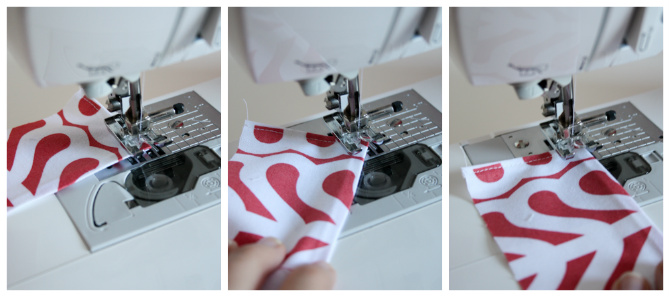
When you get to the corner, drop your needle, lift your presser foot, rotate the ruffle fabric 90-degrees, drop the presser foot, and keep on going. Fancy.
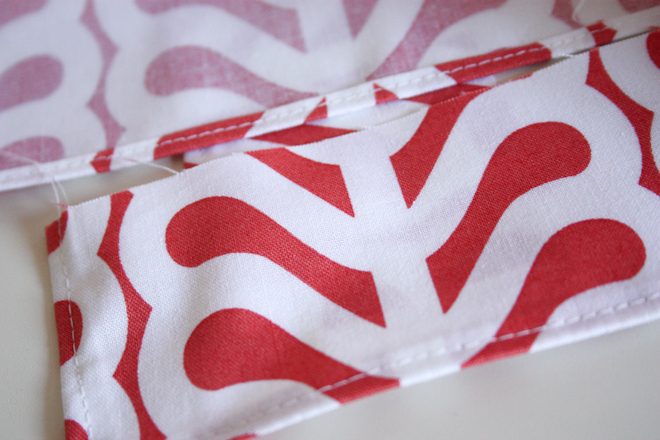
Nice looking hems, y’all!
Okay, last bit of hemming, I promise. And, this will be quick!
On the two short ends of your main body fabric, turn your raw edges in 1/4″ two times (just a typical narrow hem). Stitch them in place and be excited that you’re halfway through for sure!
Now, things get interesting.
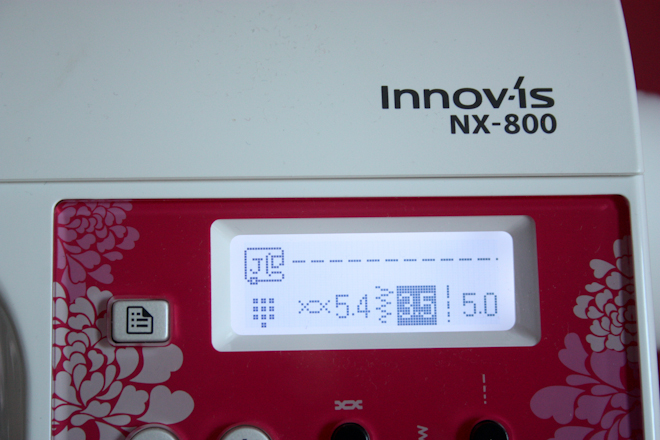
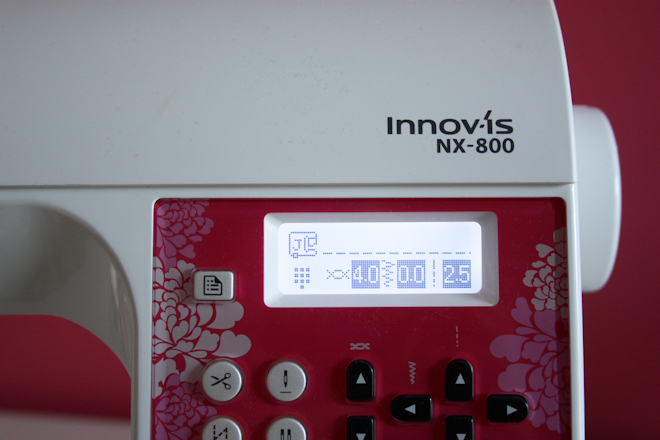
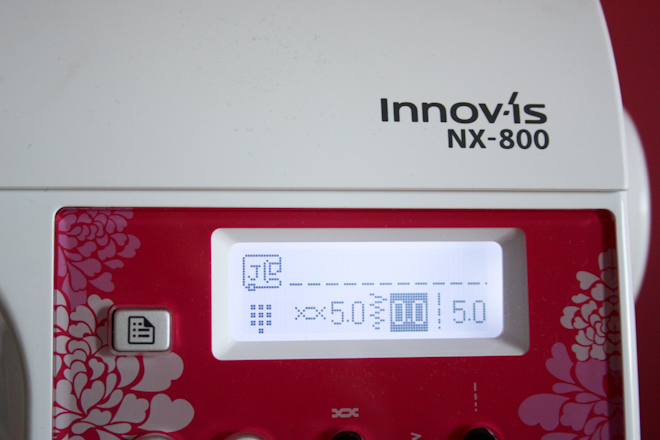
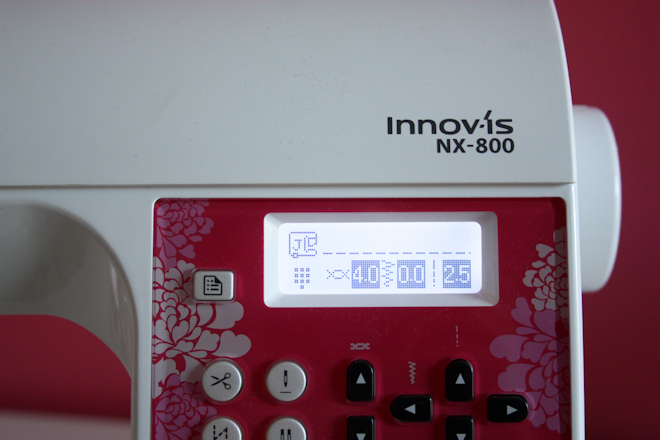
This is where we adjust some setting on our machine. Don’t worry if you don’t have a digital machine, you can adjust your dials the same way. We want to ruffle our ruffle fabric, so set your stitch length as long as it goes (5 for me) and increase your tension as well (5.4 for me). (Don’t worry about the 3.5 – that’s just my needle position and it was just a personal preference at that moment.)
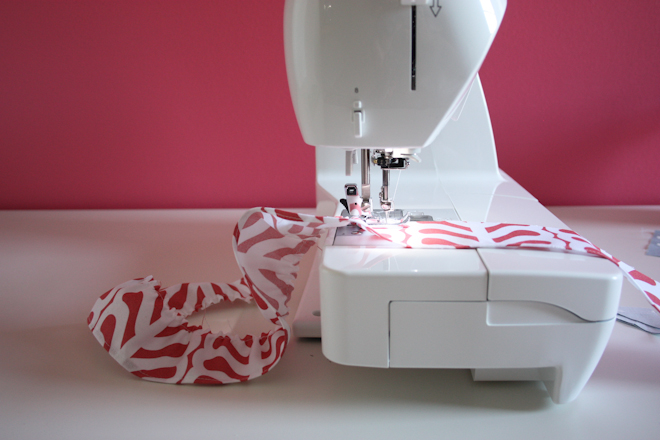
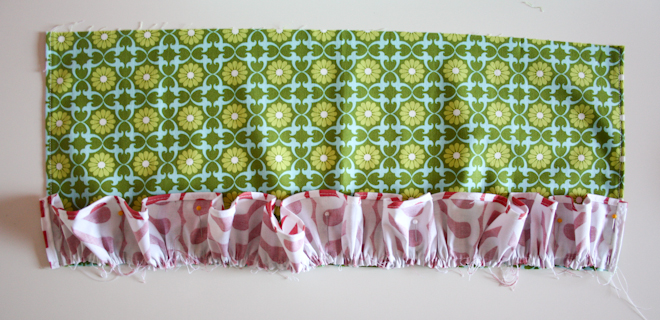
Now, run this stitch about 1/4″ from the raw edge of your ruffle fabric. Be sure to leave plenty of thread at the beginning and end for grabbing/gathering.
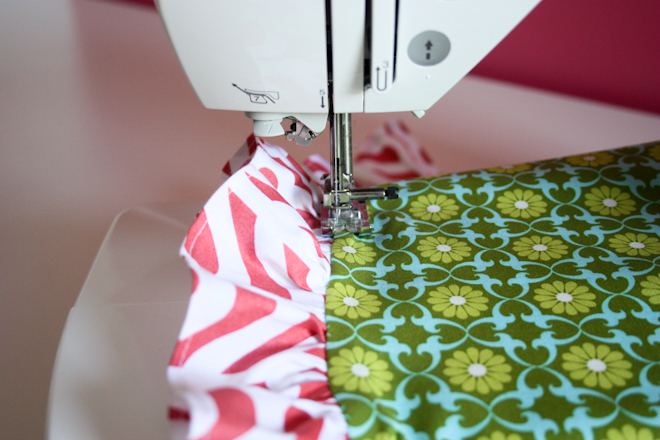
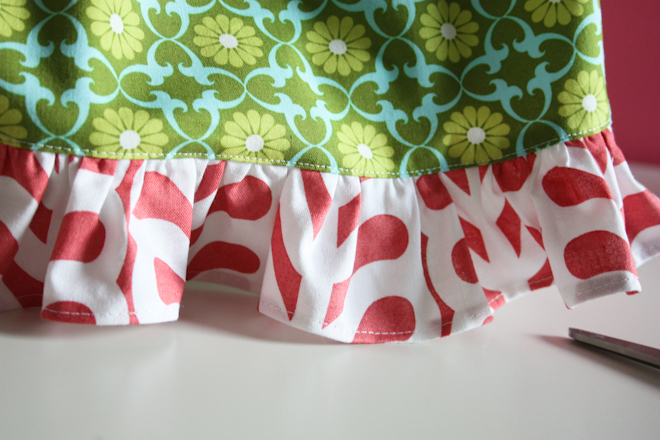
See the fabric going in straight and coming out ruffled? Pretty fancy, eh?
Now, it’s pretty unlikely that your ruffle came out the exact same length you’ll need to match with your apron body. You’ll have to make some manual adjustments and that’s perfectly normal. Just hold tight on one thread while sliding the ruffle along the line until you’ve got it evenly dispersed and the length (or width or whatever you’d call it) you need. Definitely nothing to get nervy about – ruffles are flexible!
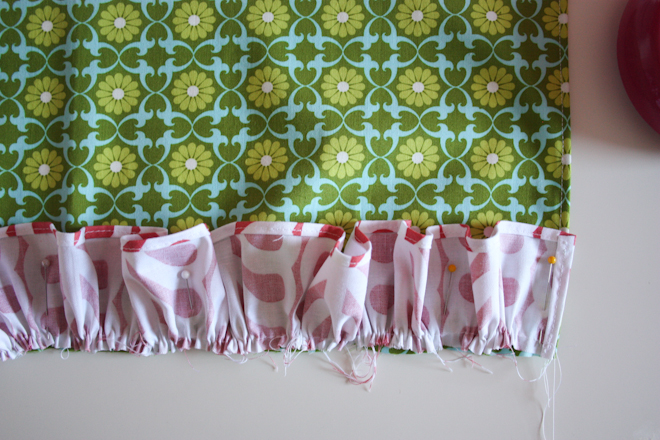
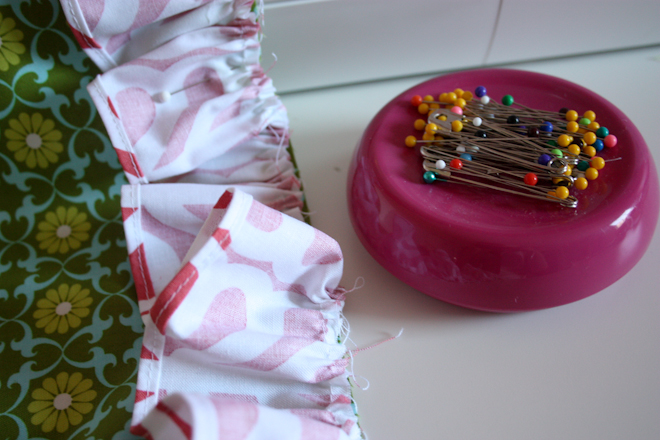
Once your ruffle is the same length as your main body fabric, pin it in place, because it’s time to attach it!
PSA: Don’t forget to switch your machine back to its normal settings. You will be sad if you further ruffle your ruffle with the body fabric. *ahem* not that that’s ever happened to anyone here… *cough*
(I keep my tension at 4 and my stitch length at 2.5 or 3 most of the time and I’m very happy there.)
Now, stitch away! Stitch just on the inside of your gathering stitch so it (the gathering stitch) won’t show when you’re all finished. Keep your pincushion nearby – pins will be flying at this point. (Oh, and take your time on this step. Definitely not a race – be sure and get it right the first time so you don’t have to spend the next 30 minutes muttering unkind words under your breath while wielding the seam ripper of grief and angst.)
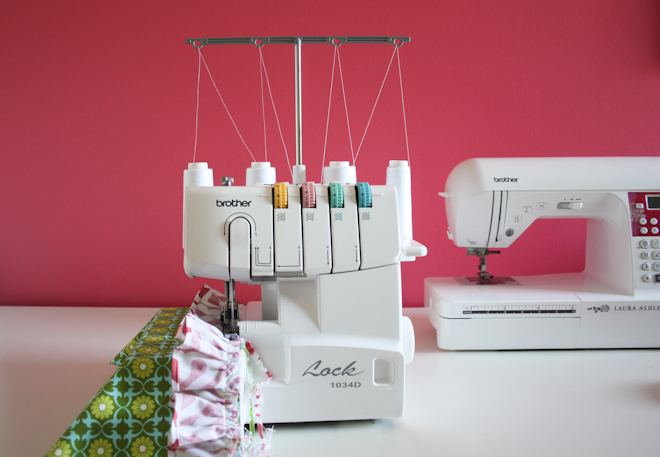
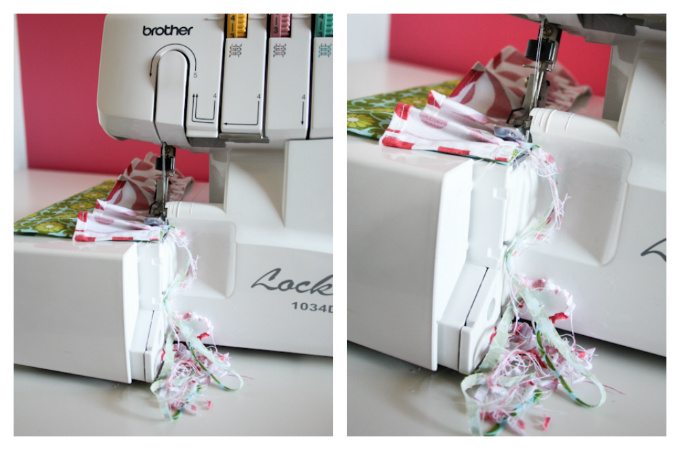
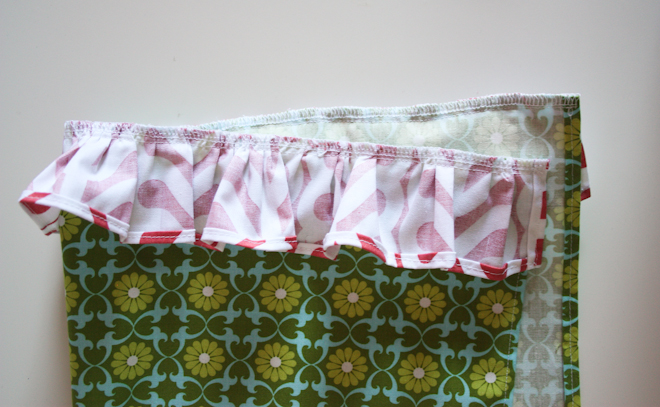
Now, this is an extra step, but I’ll include it for those of you that have a serger. This is definitely a serging moment. Tidy up your raw edges and tell this garment who’s boss. (And, if you don’t have a serger, you might like to trim loose threads here and maybe even secure these edges with a zigzag stitch.
Just a few pretty photos of Sergio (my serger) in action. He trims and stitches and smiles as he goes. This bad boy will not fail to simultaneously terrify and thrill you just about every time you turn him on.
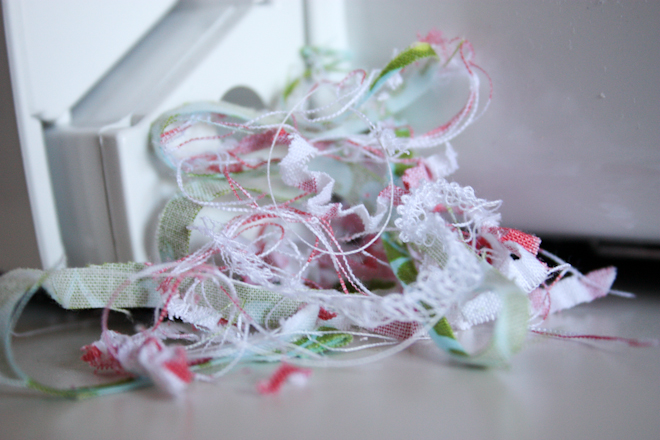
I call the trimmings confetti. It’s always so pretty. Keight calls it cole slaw. Do y’all call it anything?
Okay, sorry. Back on track! Oh, we’re getting close!
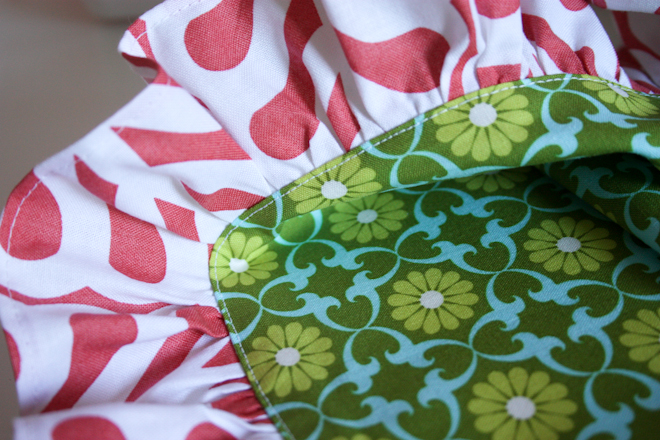
Now, press that ruffle down (or really, try to avoid the ruffle with your iron – just try to press the seam allowance up so that you can topstitch it in place. Nice and close to the edge, of course.
Beautiful.
Okay, we’re gathering again. Switch your settings again to a longer stitch length and a higher tension. (Yes, I realize my tension is a little higher here than last time. Pardon my waffling.)
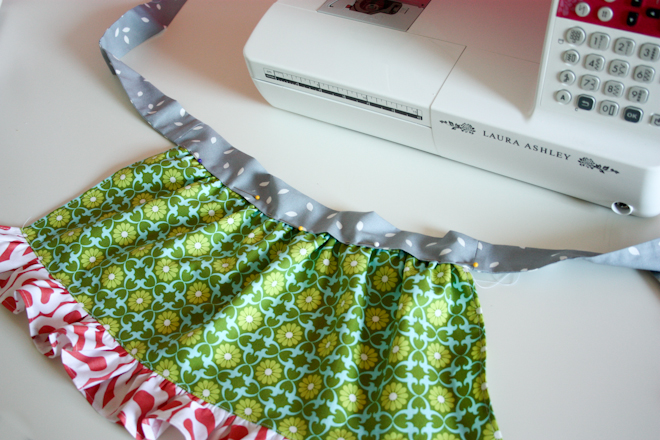
Gather the top raw edge of your main body fabric just like you gathered the top raw edge of your ruffle. Then, adjust it to fit your target length (this time, it’s the inside measurements of your sash opening), just like last time.
As you get things in place for stitching, use lots of pins to keep it in place. Now we really are almost done!
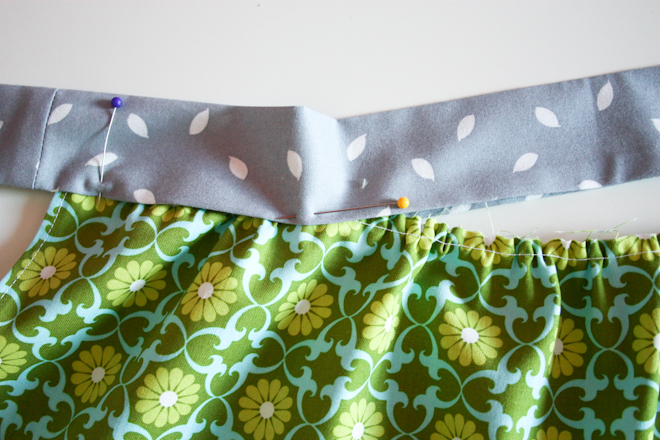
Pinned and ready to stitch!
But first! Get those setting back before you have sad time with seam ripper. You’re welcome.
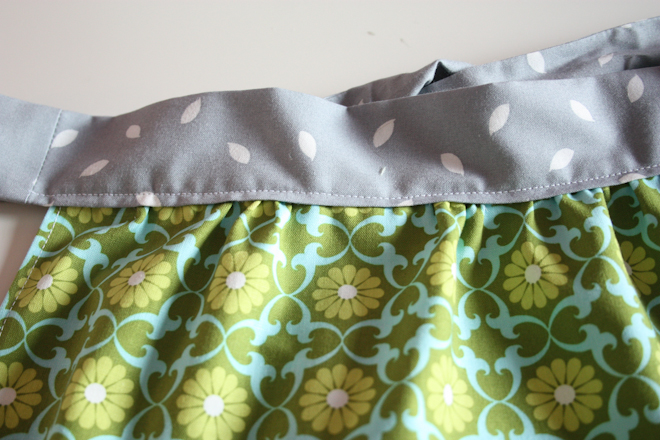
Begin your stitch this time at that first vertical joining seam you made and run it all the way across to the other joining seam. Backstitch on both ends and try to stay about 1/8″ from the edge. This stitch will show, so take it slow, keep it straight, and use thread that matches your fabric. (I used white the first time, then ripped it all out and used grey when I shortened my apron. Sorry it’s white here. Also, sorry I had to sit down and rip it all out. Sheesh.)
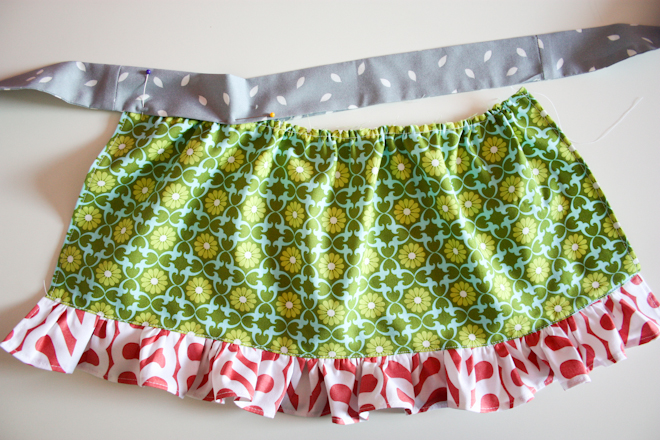
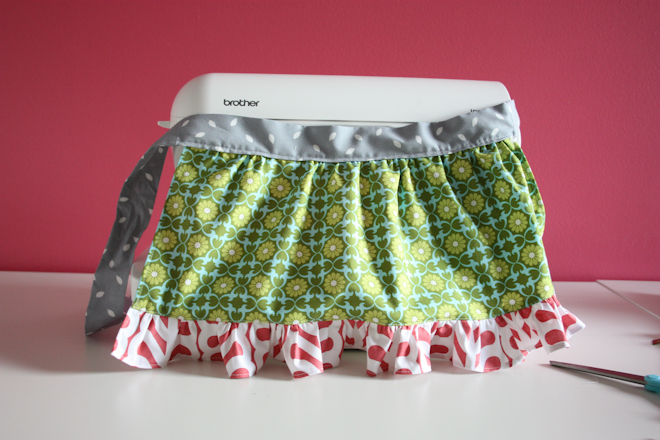
All finished! Congratulations!! (Hazel was napping when I finished my project, so my sewing machine served as my model. Told you that bad boy was versatile!)
See how that topstitching makes such a nice difference? And a nice, even hem stitch makes things look so carefully made. It’s nice to have projects that aren’t difficult and don’t take weeks or months to complete, but it’s still worth it to take time to make little details just right!
Variations: embellish your apron! Add pockets, ricrac, appliques, whatever! And definitely don’t feel like these baby & kid aprons are only for baking – it’s one of Hazel’s favorite accessories for going out! Tres chic!
Oh, and definitely feel free to poke around my Tutorials Pagefor other fun handmade Christmas project ideas!
Post by Raechel : www.raechelmyers.com
