Mini Flower Pots
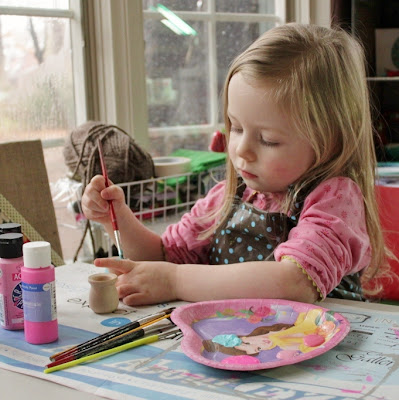
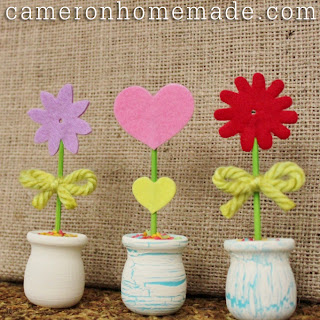
Here is a project to make some flowers that should be able to stand up to anything – frost included! I found these little wooden pots on clearance, and my design assistant was so excited to paint them for our daily "project." (We try to do a project every day – she's a pretty strict task master – won't let me slide even when I'm tired from work!).jpg)
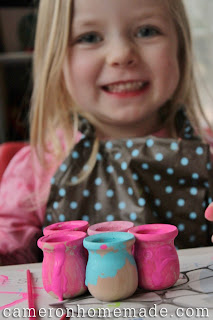
My pots got painted first – I didn't put quite as much creative energy (or as many coats of paint) into them as my design assistant.
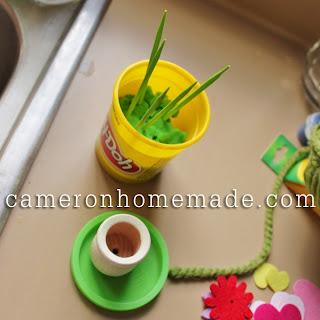
To attach the "stems" to the pots, I put a blob of hot glue around the base and then put it into the pot (mine came with holes in them – perfect!). Stick it into the pot pretty quickly and then hold it straight for a few seconds while the glue firms up. And look – the glue doesn't come out the bottom – it's like a miracle!
Ah, she's finally done – and SO proud of herself. I love how much she loves to get crafty with me. It's fun, it keeps us both happier while I'm doing stuff, and I think she probably is learning important skills that she'll use someday – maybe in a toy factory . . . just kidding!
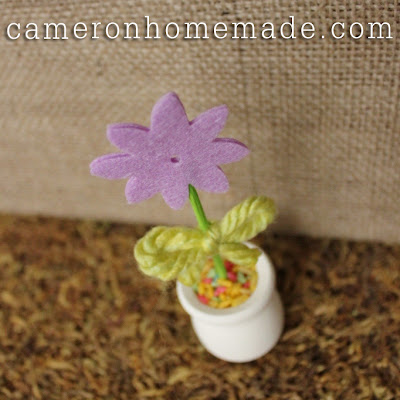
For some reason, I stopped taking pictures after this step. This is very unusual for me…and I apologize. Anyway, it's not too hard to explain without visual aids – I took two felt shapes, put a bit of hot glue between them, and carefully placed the "stem" skewers in the center. Then, we added a yarn bow or more felt shapes for "leaves." Finally, we took that worn out play dough and stuck a little in the pots, then topped it with glue and rainbow rice.
My design assistant immediately took hers and put them in the dollhouse – so they didn't make the final picture. Too bad, because we added some extra rhinestone bling to them! She also took two of them in to give to her teachers – she really loves giving people her art. I think she thinks that's what I'm doing when I ship out orders from my shop . . . ah well, still a good lesson.
Set them around the house (or the dollhouse) to brighten up these last few days of winter!
Post by Cameron : Homemade by Cameron
.jpg)
.jpg)

.jpg)
.jpg)
.jpg)
.jpg)