DIY Sock Monsters
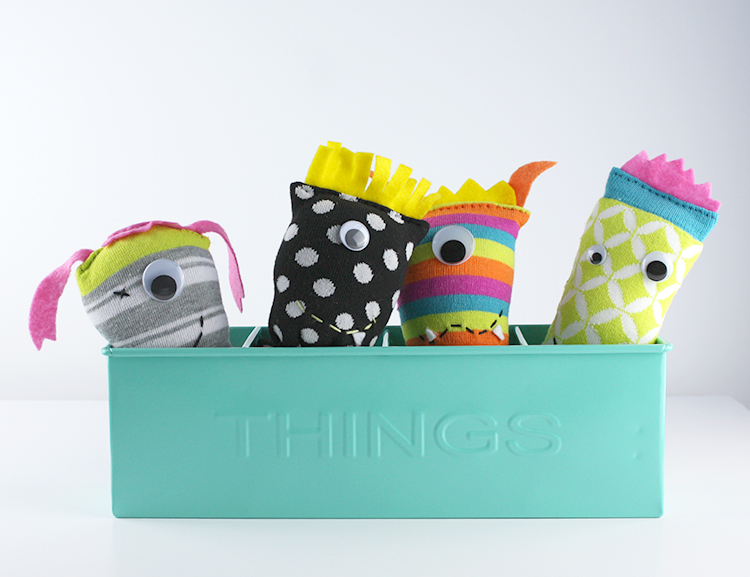 A couple years ago, I threw a monster-themed birthday party for my daughter, whose birthday is on Halloween. As party favors, I made some super-simple monster toys out of colorful socks. Those monsters have made the rounds on Pinterest, and I’ve had several emails from readers asking for me to make sock monsters for their parties! I wish I could make sock monsters for everyone; but I think it’s high time for a tutorial for this great kids craft, DIY sock monsters!
If you don’t have any monster-themed parties in your immediate future, don’t let that hold you back! On my blog today, I’m sharing a way you can make a whole bunch of these buddies for a great cause, so stop by and join in the fun!
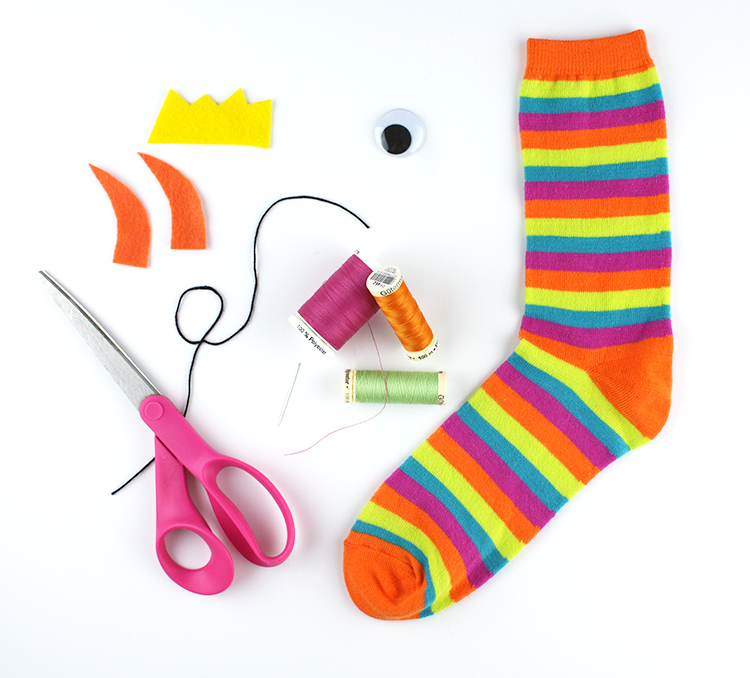 With a quick raid of your craft stash, and a trip to Target or Michaels, you’ll have everything you need to make a whole pack of monsters. Here’s what you’ll need:
- Colorful socks – look for long ones from the dollar section
- Assorted felt scraps
- Wiggly eyes – the sew-on kind
- Thread – any color
- Scissors
- Embroidery floss – any color
- White felt with an adhesive back
- Polyfill, or any other filling material
Let’s get to work!
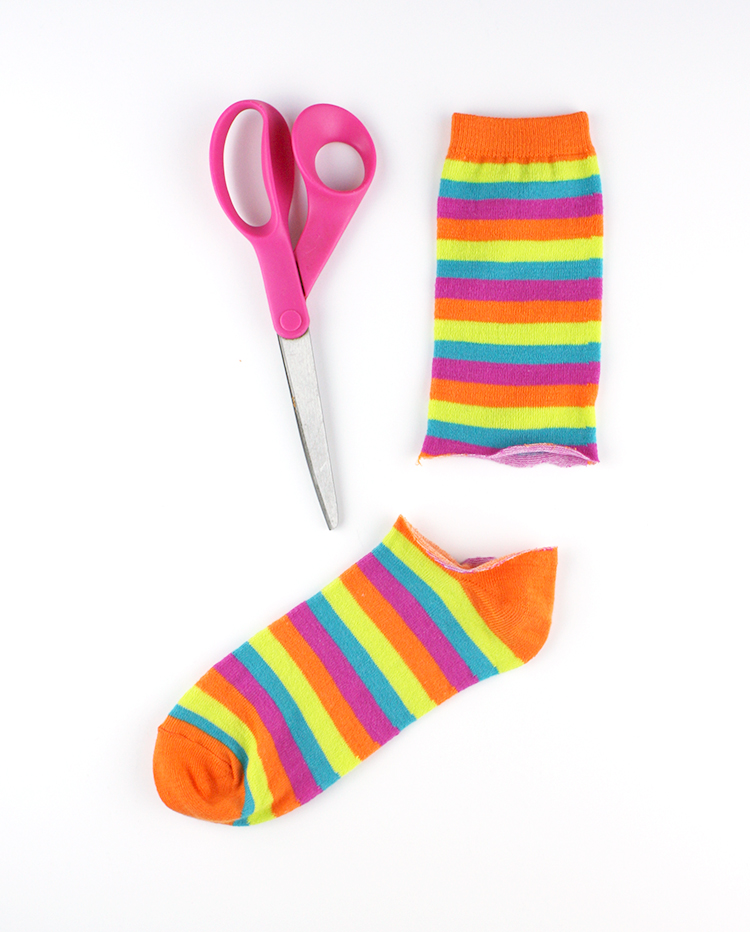 First, you’ll need to cut the sock roughly in half. I usually cut right above the heel, so I’ve got a straight line. Save the other half of the sock…usually you can get two monsters out of one sock.
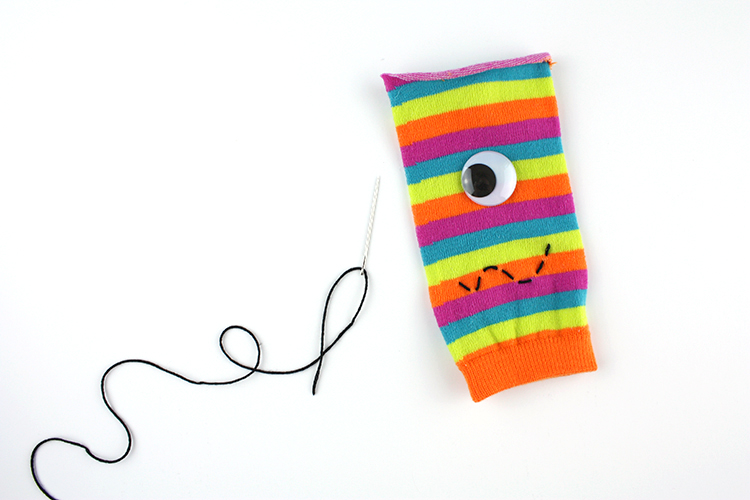 Next, sew on the eye and embroider a mouth. Don’t be too neat, monsters are not neat and tidy creatures, after all.
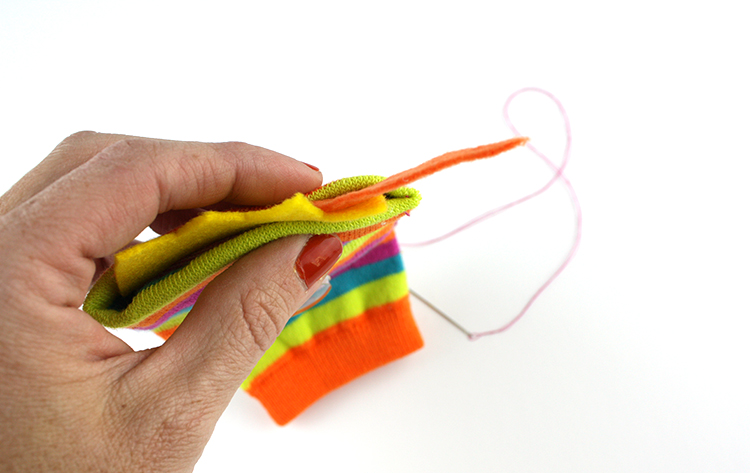
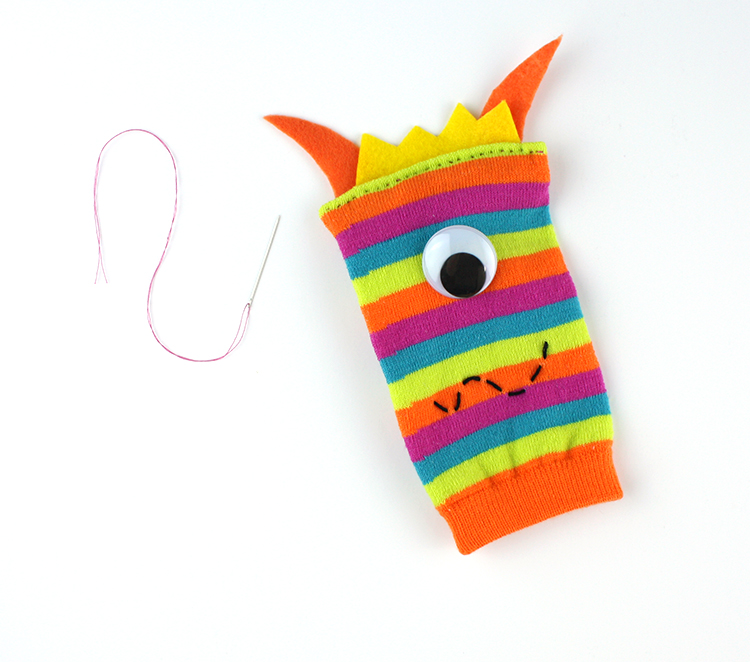 After you’ve got your mouth and eye in place, it’s time to add the hair. Cut some scraps of felt to make horns/spikes/hair, etc. Then fold the top of the sock inward about 1/4″, and sandwich the felt scraps in between. Hand-sew along the edge, making sure to get all the felt scraps and and the top of the sock in with each stitch.
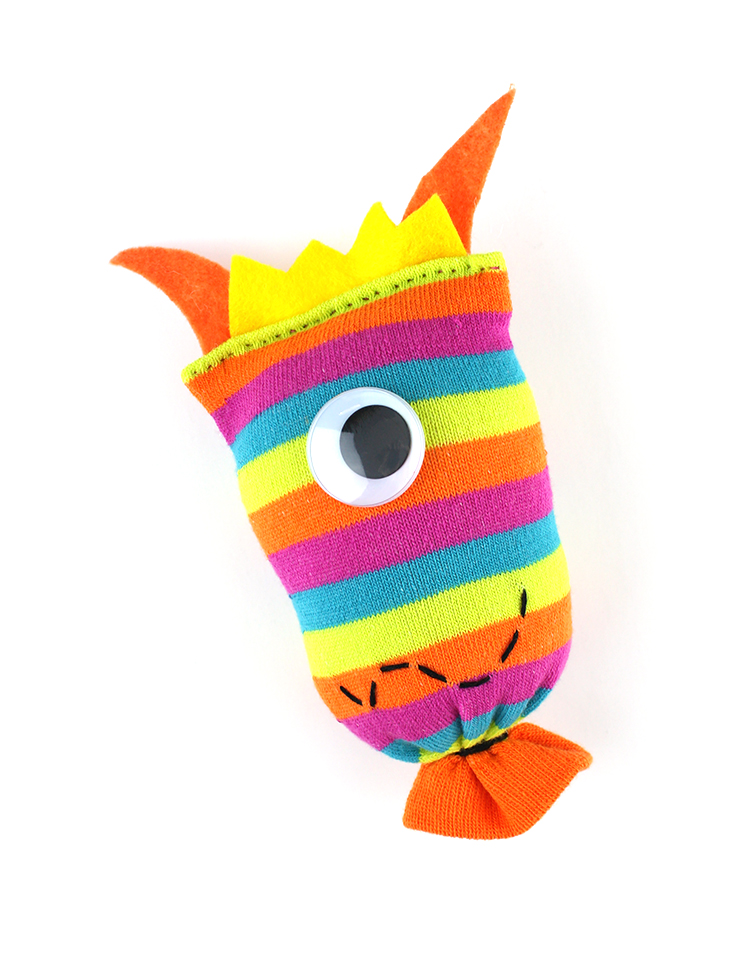 Fill the body with the polyfill, and tie off the bottom with some embroidery floss. You could also sew along the bottom for more of a square body shape.
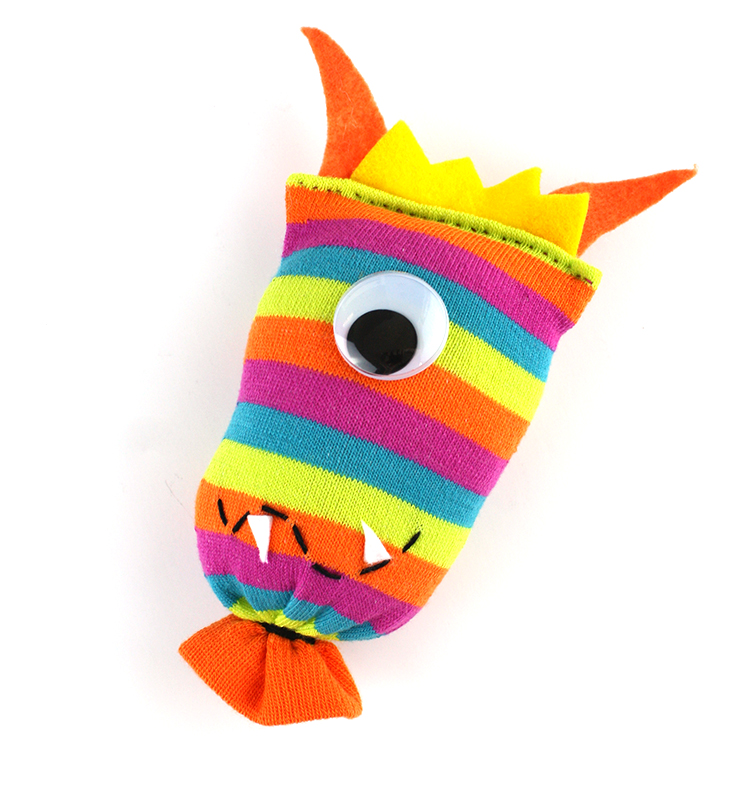
Then add the finishing touch: fangs. Cut some small triangles with the adhesive felt and stick them on near the mouth. If you have adhesive felt in other colors, you could add an eye patch, or heart or anything else you want.
 Now that you’ve got the basics, it’s time to get creative! Make boy monsters and girl monsters, add hair or accessories. These guys usually cost about 25¢ – 50¢ each if you can find socks in the dollar section…so make a bunch! And if you get out of control and make too many – you can send these to my friend Julie for her Monster Project, to help brighten the day of kiddos in the hospital.