A Magical Place Called The Land of Nod
remember that really exciting project i said i was working on and that i couldn’t wait to share with you? well, today, i’m sharing and all starts like this…..
sometimes really exciting things can happen all because of an e-mail. you know, the kind of things that you might not even imagine up, even on your most, “i can do anything,” kind of days.
it all started last summer when i worked on the project of completing ella’s room re-design. i sent an e-mail to one of my fave kids stores, the land of nod, to see about incorporating a few of their products. then there was this super cute video reveal that i collaborated on with frank and harvey. when i sent it to the land of nod, they kind of loved it. not long after, i traveled to the land of nod (i like going to other lands, really i do). a few meetings and phone calls later we schemed up a really fun collaboration to feature my home as well as my friends nyc home in their upcoming spring book for their real families | real kids series. crazy, right? crazy and very exciting!
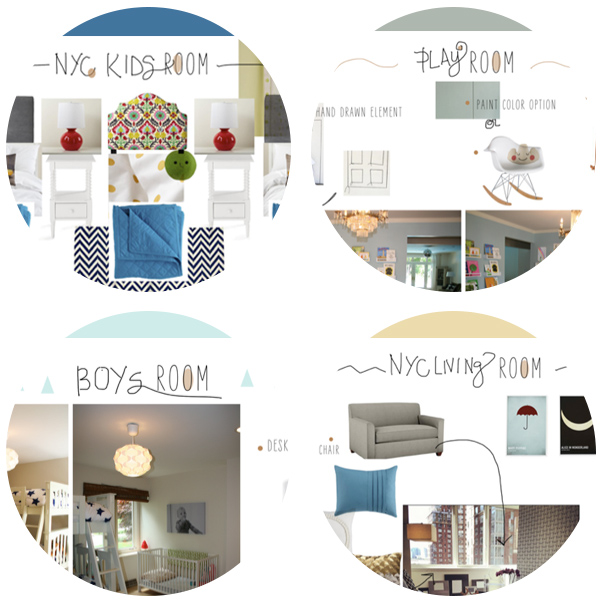
i got to planning, designing and working closely with the lovelies at the land of nod. it initially looked a little like this :
then there where those many moments in between here and there, where i pinched myself, squealed a bit and thanked god for such a fun opportunity.
i thought you all might like to see some a bit of the process and some of the behind the scene moments that i captured. before we get to my house, we should start with new york.. i think that is the most perfect kind of place to start, don’t you?
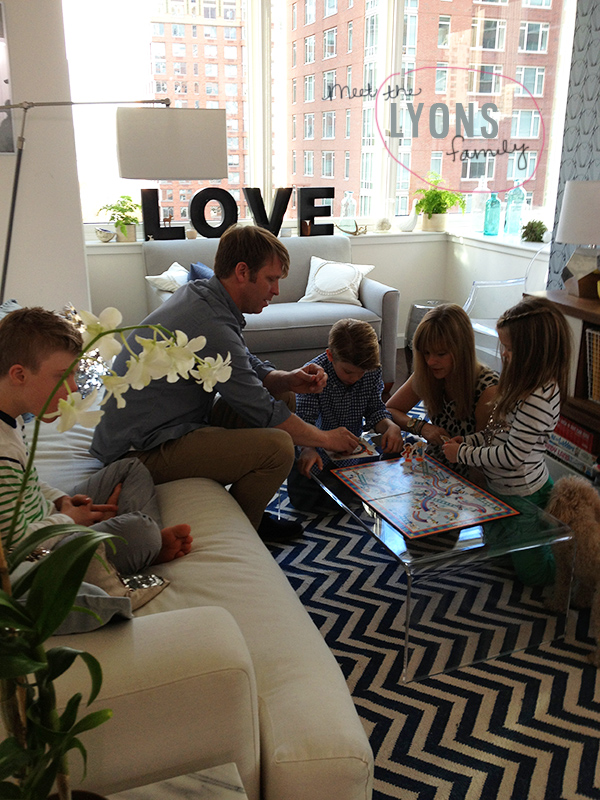
meet, the lyon’s family. they are long time, life long, friends of mine. gabe and rebekah live in a small, 2 bedroom apartment in manhattan with their 3 sweet children (and two super cute pups).
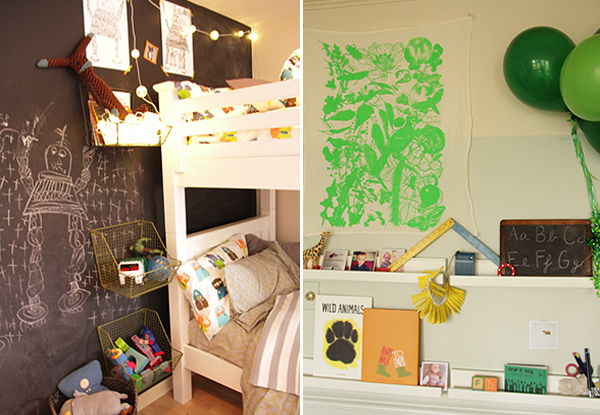
i had the fun job of helping to design their kids shared room (yes, all 3 in, one room) and living room, where everyone hangs out. i worked closely with the land of nod on incorporating many of their gorgeous pieces.
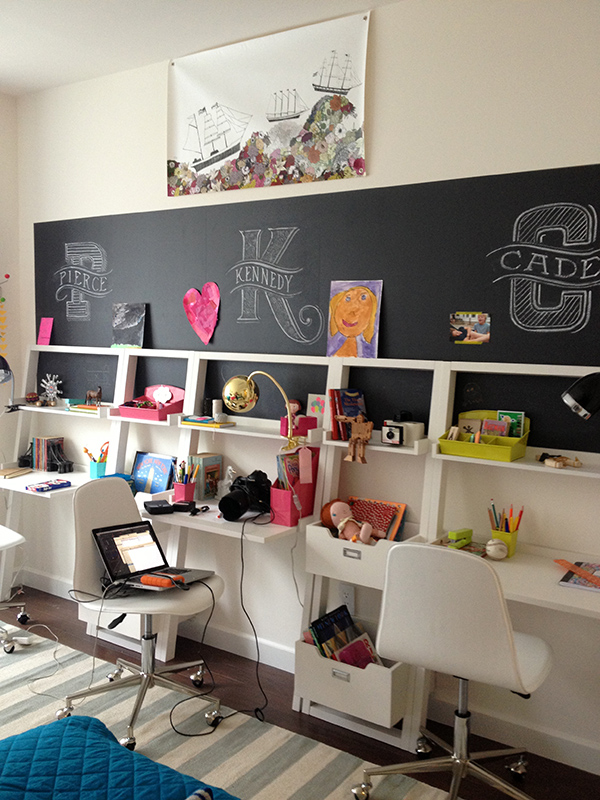
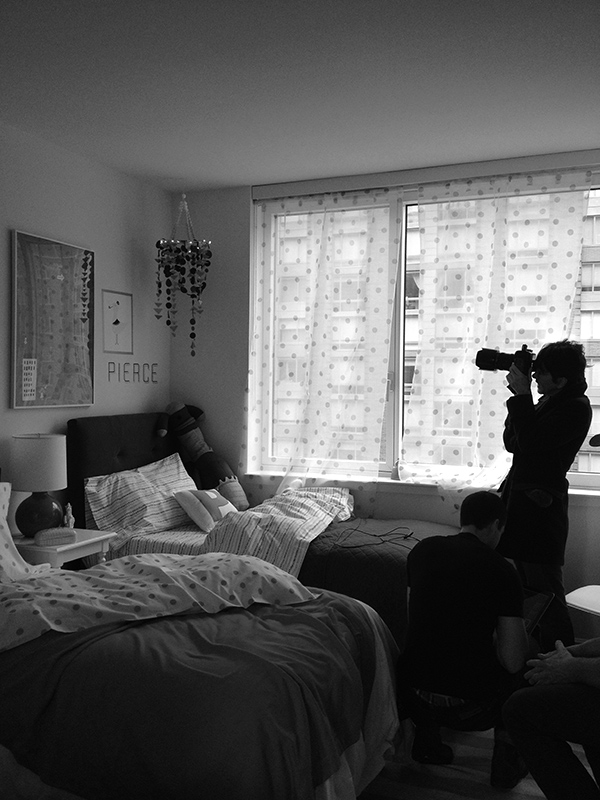
after all of the planning, i was off to new york to help style the space and see it all come together (these little sloane desks are my fave).
i had the best time working with the land of nod creatives, stylist and photographer. i would have been happy to just have been on a fly on the wall that day, but to be able to help out was tops. there is so much hard work and talent that goes into this type of work. i have a lot to learn when it comes to styling and the creative process but i feel pretty darn lucky to have learned a thing or two.
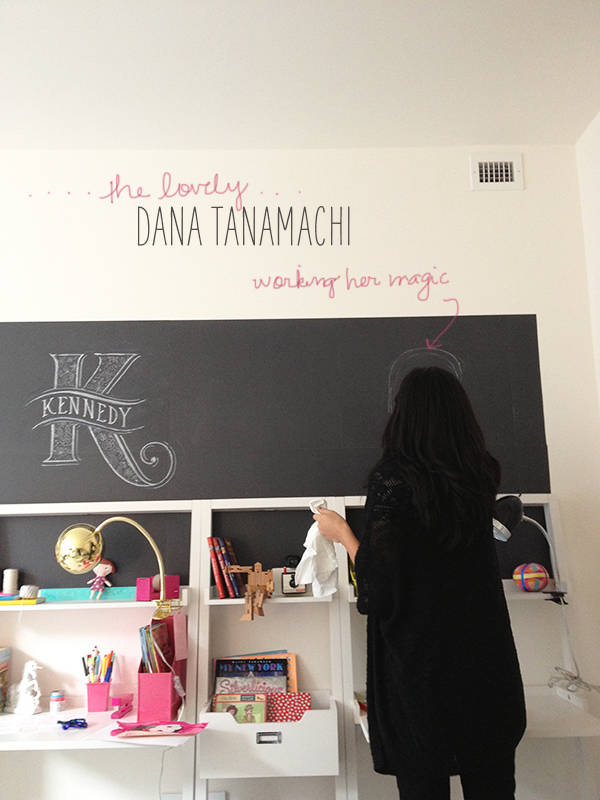
chalk artist dana tanamachi even came by to deck the walls
between traveling and planning for new york, i was spending late (ok, very late) nights planning and making a few updates around the house. now, fast forward a few weeks (with a holiday and sick kids in between it all) and it was time to shoot at my house. 3 days for shooting 3 rooms, again, with a wonderful stylist, photographer and crew from the land of nod (and this time we even shot video).
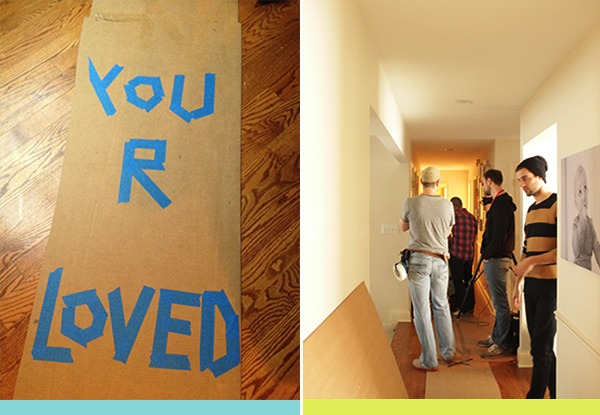
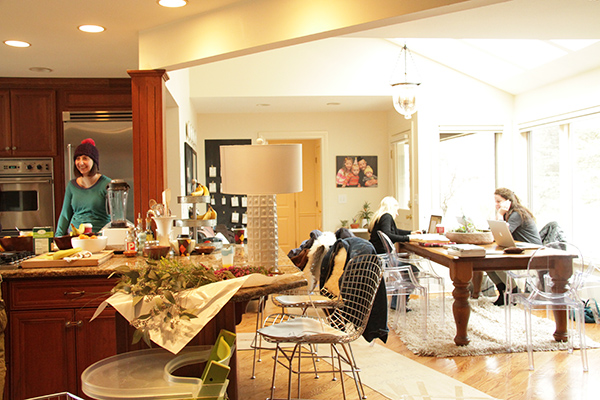
for 3 days my house was turned into a “location”
floor lamp = “wow, that’s a big lamp,” from land of nod. isn’t it insanely fabulous?
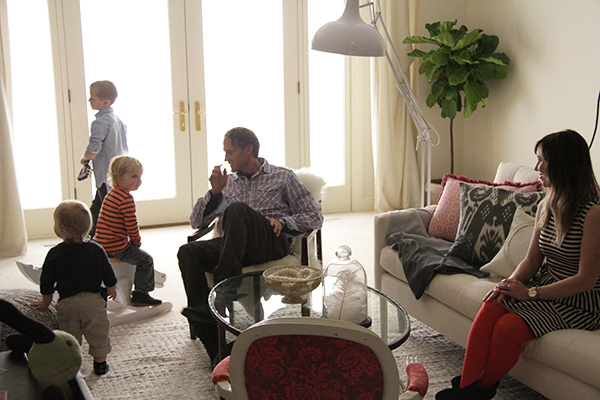
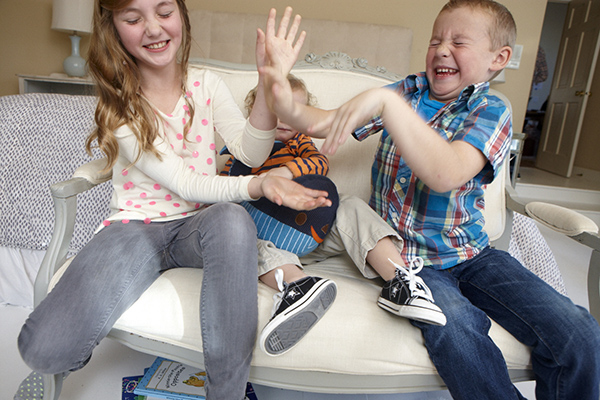
there was a lot of this going on….my kids had the best time!
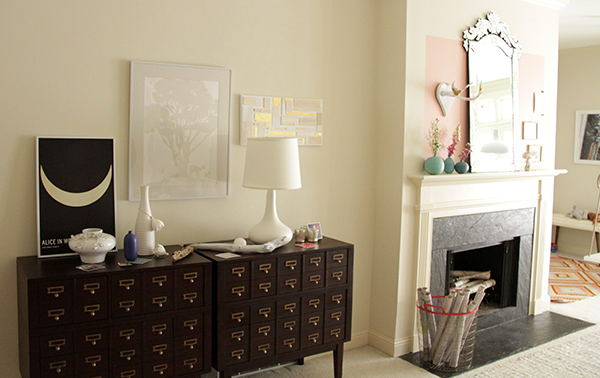
and things got to looking magical :
and speaking of magical……i should tell you, the land of nod, really is just that. everyone (and i mean, everyone) is the nicest of nice (like i think my little la la’s were about to cry when they left…no seriously). but the thing is, when talent meets niceness there is just no telling what can happen – well, really great things happen, that’s what.
now, i can’t wait to show you the finished rooms for both New York City and myhouse. i promise you are going to love it. For the next 4 weeks, i’ll be posting each space and DIY’s that we incorporated, as well as a super rad video. so, check back each wednesday and thursday, there is so much pretty to share. first up is NYC, next week.
and be sure to sign up for the land of nod catalog (if you are not already on their mailing list. so you can see how it all turned out! you can sign up right here.
By Trina McNeilly who blogs at la la L O V E L Y, a lifestyle blog with an eye for design in all areas of life. She started la la a few years back to keep track of this + that + everything pretty in between. And, it just so happened that la la Lovely is where the lovely things land.
