Countdown to Christmas – Kids DIY Activity Advent Calendar
Post by Christina Williams of justcallmechris.blogspot.com
Last year, I scrambled around to come up with a fun advent calendar the day before I needed it. Well, here’s what I came up with. It actually turned out to be such a hit that we’re using it again this year.
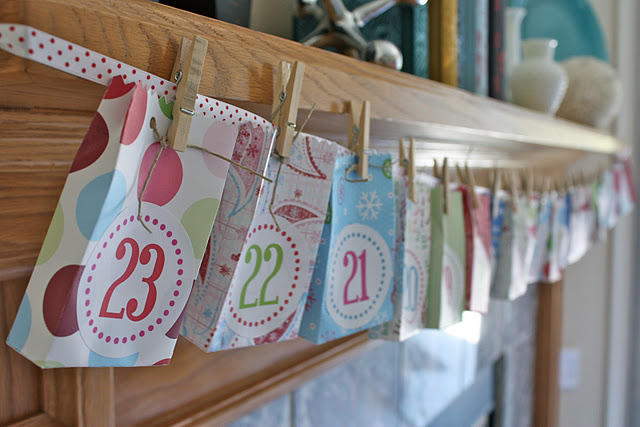
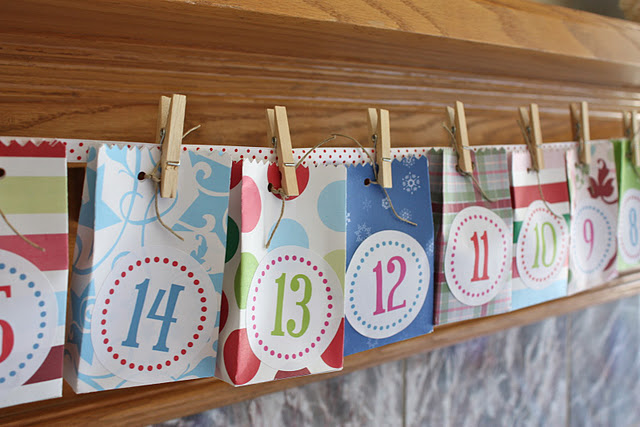
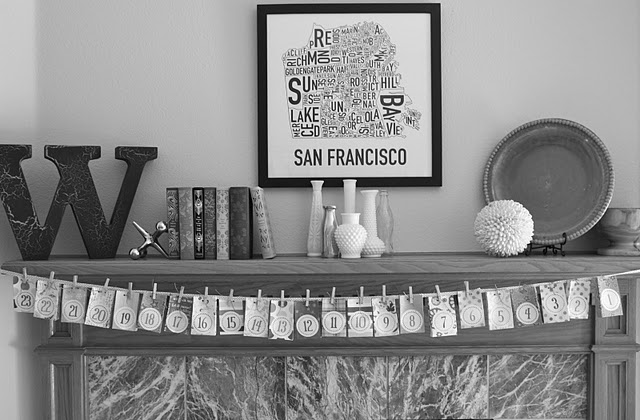
 We made these little bags out of holiday paper, printed a sticker for each day, filled the bags with little activity cards and pinned them up on the mantle.
 I actually used a cutting machine to cut the bags. And I had some mini clothespins that worked perfectly for pinning them up. Inside each bag is a fun (inexpensive) holiday activity that we can do together.
Here’s a little peek at this year’s activities:
 Looking under the couch and in the closet are activities that reveal a fun surprise: this year, it’s an Elf on the Shelf, and a gingerbread man kit. I also took to pinterest to find some inspiration for other fun activities. I can’t wait for our indoor snowball fight and the snowman craft.
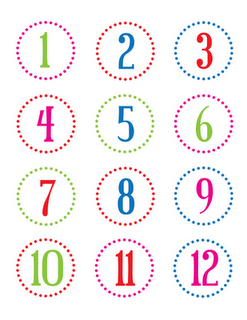
 And in case you’re like me and do your best work at the last minute (or a bit on the late side), I’ve created some free printables for the number stickers and the activity cards. I think this would be so cute with little envelopes or tiny brown bags instead of the paper bags.
Post by Christina Williams of justcallmechris.blogspot.com
