Baby Onesie Cutoffs
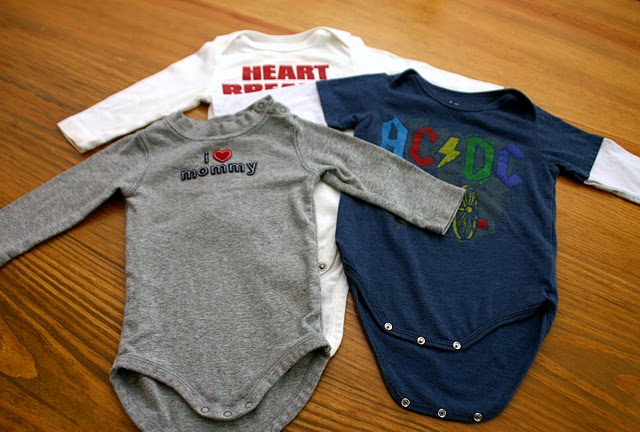
When Clyde was born and I realized I had another boy in the house I thought to myself, perfect! I have a closet full of boy clothes. Well… Finn was born on August 6th and Clyde was born on February 6th. Their dates are exactly six months apart to the day.
So, we got home from the hospital with Clyde, I opened the closet and BAM a closet full of sleeveless and short sleeved shirts on the only day that Houston ever had a "hard freeze". Why didn't I realize that all of these clothes were for the opposite season? Now once again all of Finn's old 9 month onesies are for winter and I am about to die of a heat stroke. My poor little poopsie is hot natured just like his Mommy.
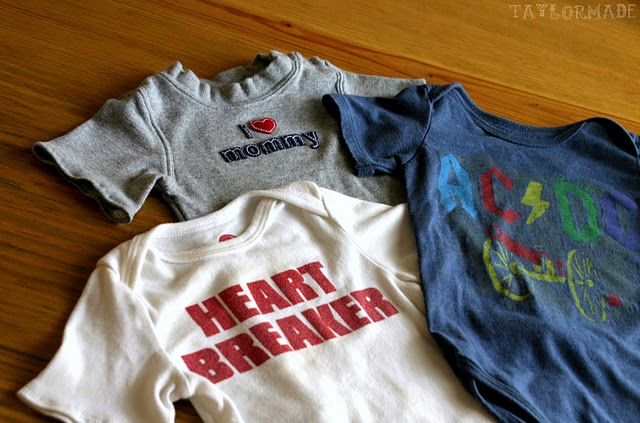
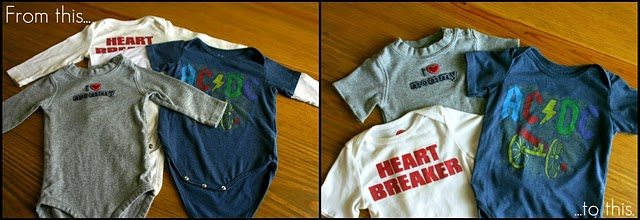
Solution… Baby Cutoffs!
I did this to some pants a few weeks ago too. I am now on a Baby Cutoff Spree at my house and nothing is safe. Watch out old baby jeans… its over 100 degrees and mama's hot.
These make me hot just looking at them…
(I really can't describe my hatred for the heat enough)
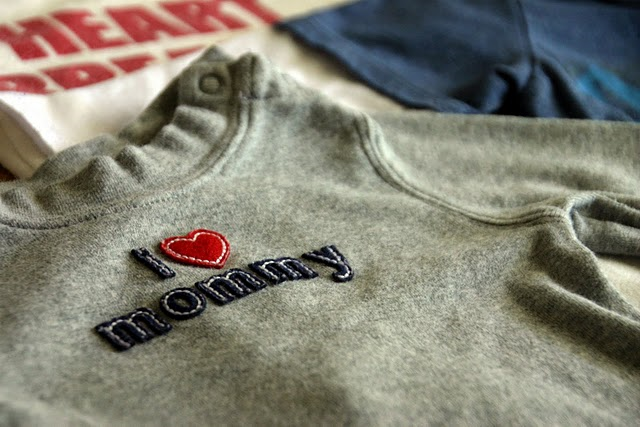
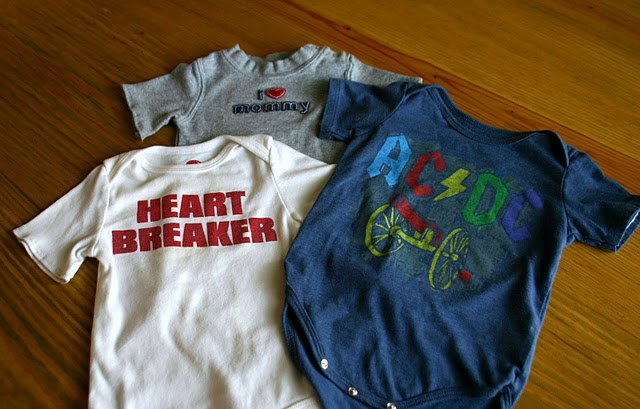
I really wanted Clyde to be able to wear this shirt because it has a special meaning. When I first found out I was pregnant with Finn this was the first thing I bought, so really the first "baby thing" I ever bought in my life 🙂
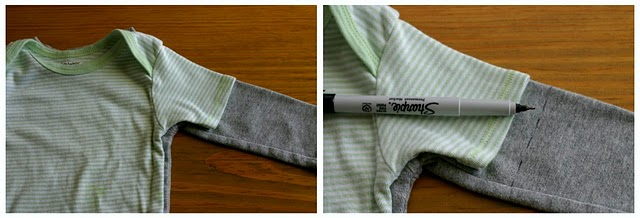
Use a short-sleeved onesie as your pattern and mark 1/2" past the edge of the sleeve.
(Yes I use a sharpie, I don't like tailor's chalk)
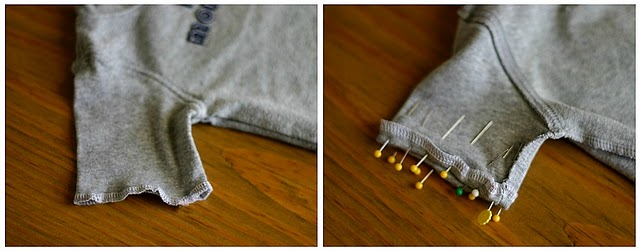
Serge around the edge and then pin and sew two parallel lines for the seam.
Ahhh…. relief!
How cute is this little model of mine? What a Happy Boy!
So, what sort of summer refashioning have you done lately?And are you now going to run through your house with scissors looking for clothes to cutoff?
Post by Taylor Urban : www.itstaylormade.com
