Beeswax Crayon Fall Leaves Kids Craft
October 22, 2014
Blog post by Rebecca of Not-So-SAHM
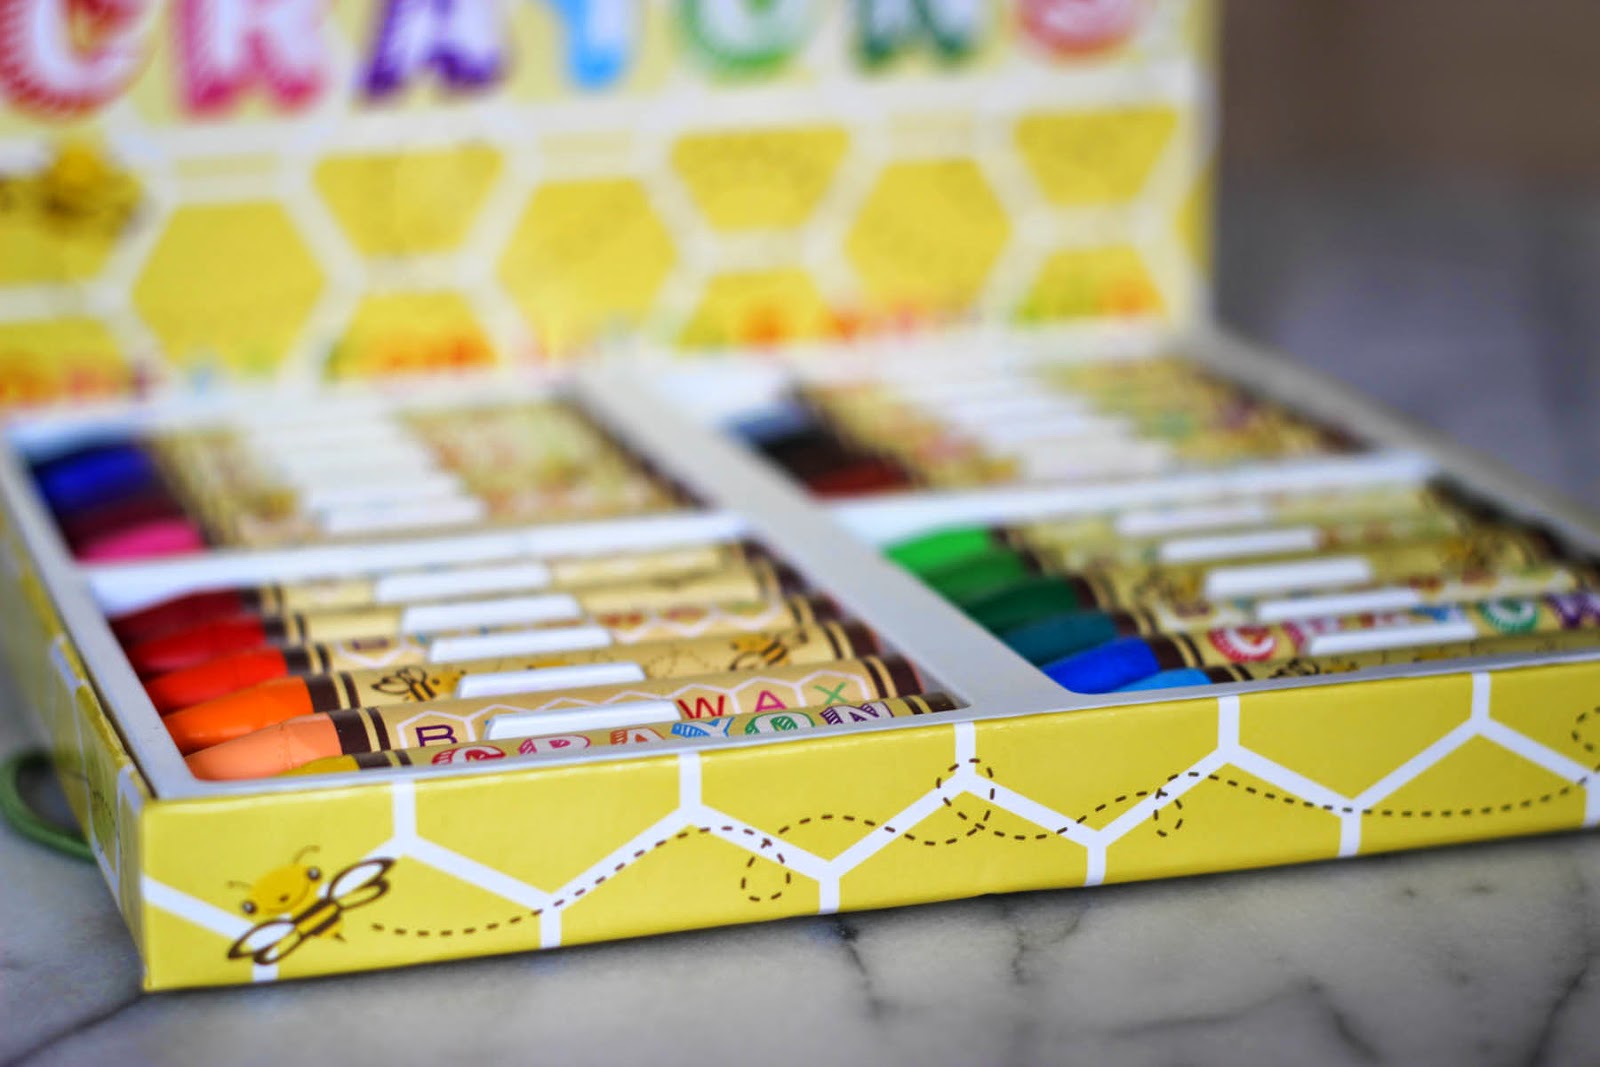
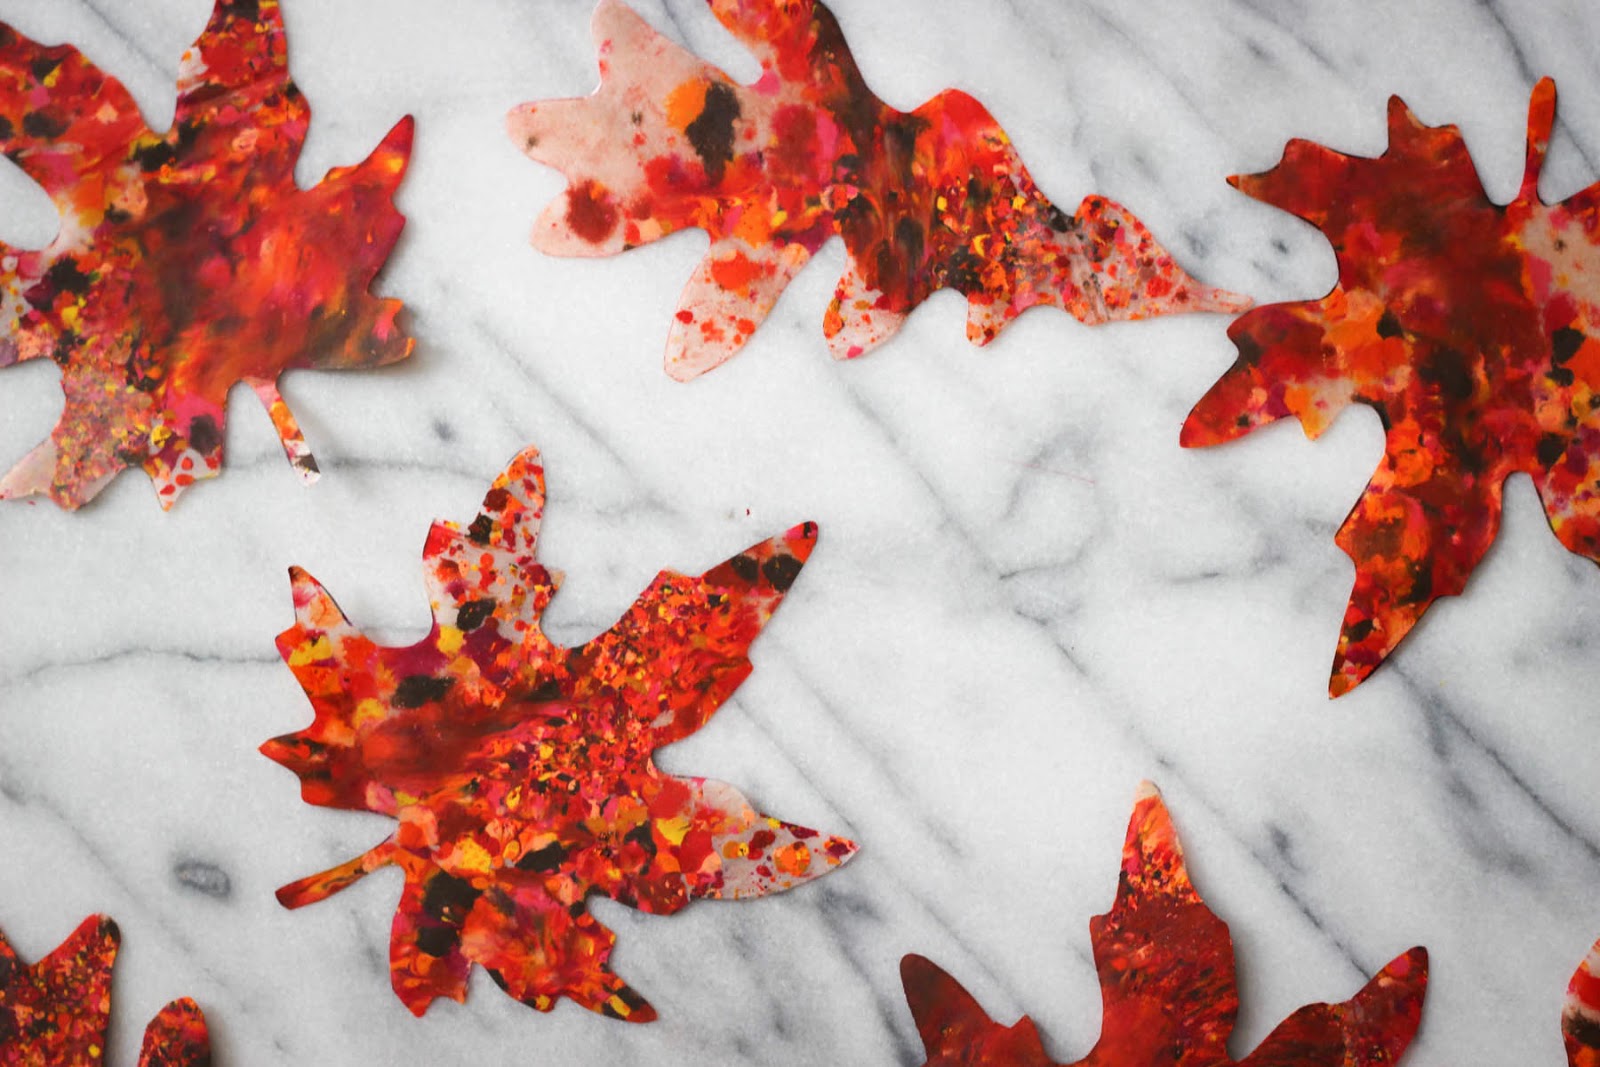
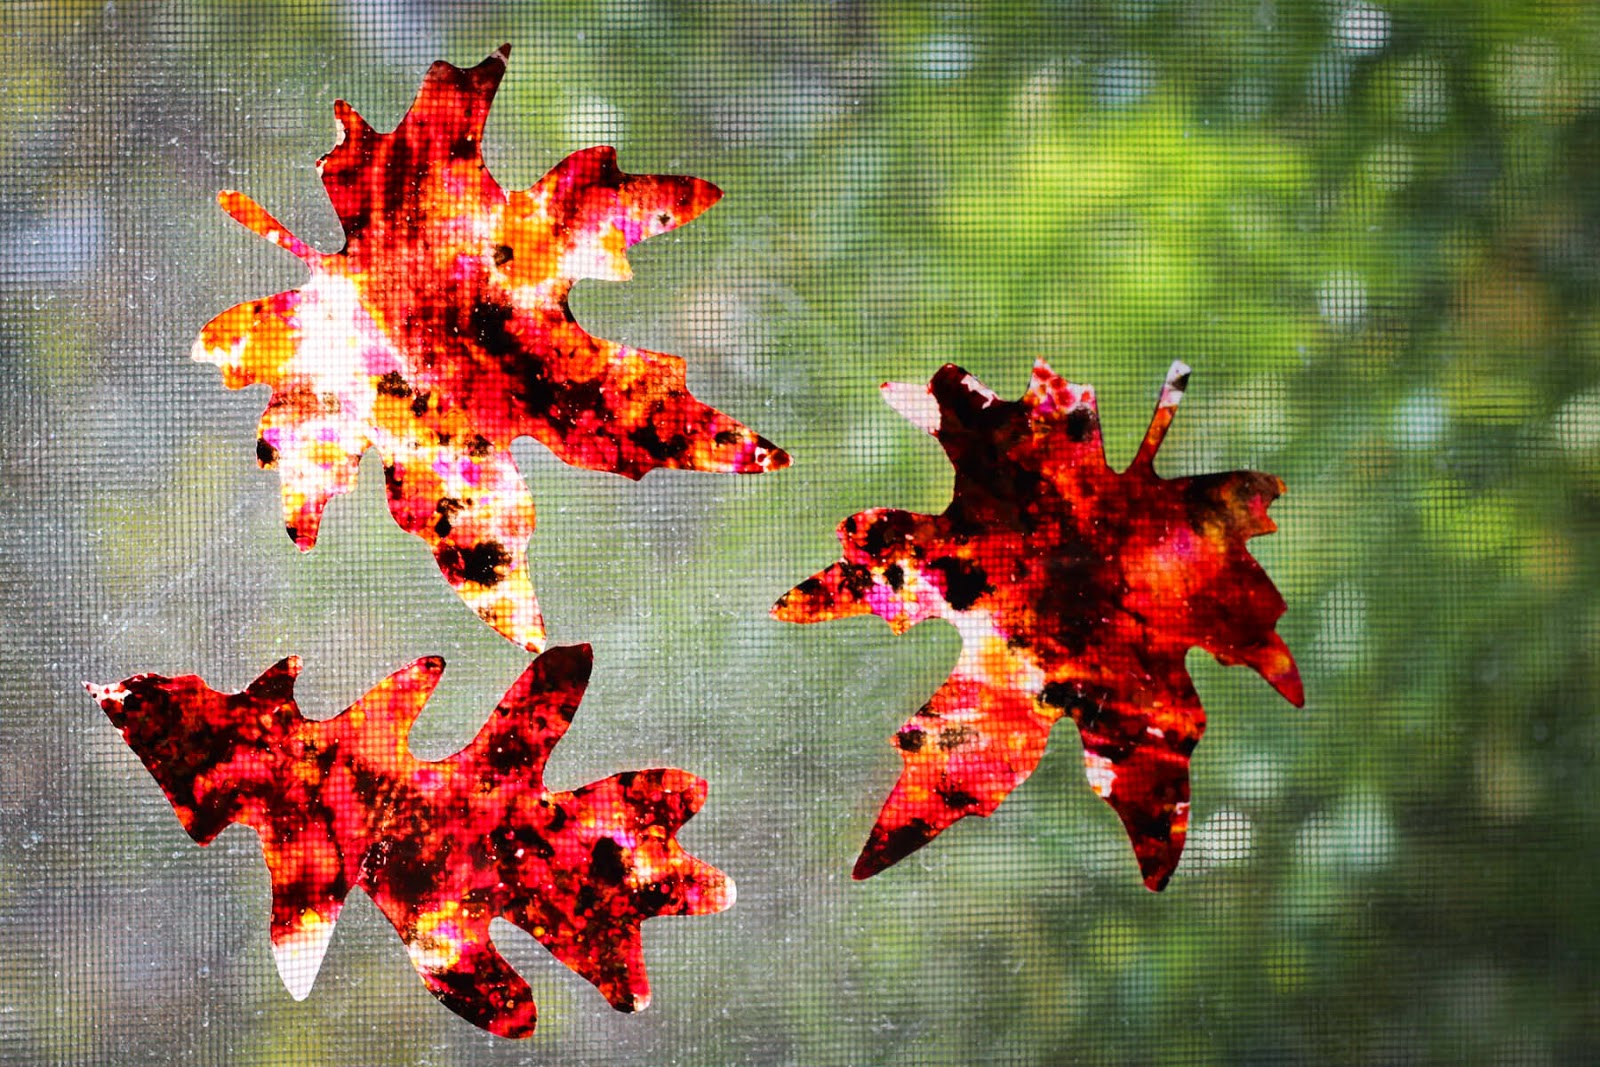 We are in full-on fall decorating mode around our house and now that the kids are a bit older I thought it would be fun to tackle an arts and crafts project making some beeswax crayon fall leaves (a favorite of mine from when I was young). The Land of Nod’s Beeswax Crayons were the absolute perfect fit for this art project — the colors are gorgeous and the larger, triangular shape lends itself to easy use for young fingers (particularly during the grating process!). We loved how they turned out. A little abstract and a whole lot of bright fall color. Here’s how to make them yourself!
You’ll need:
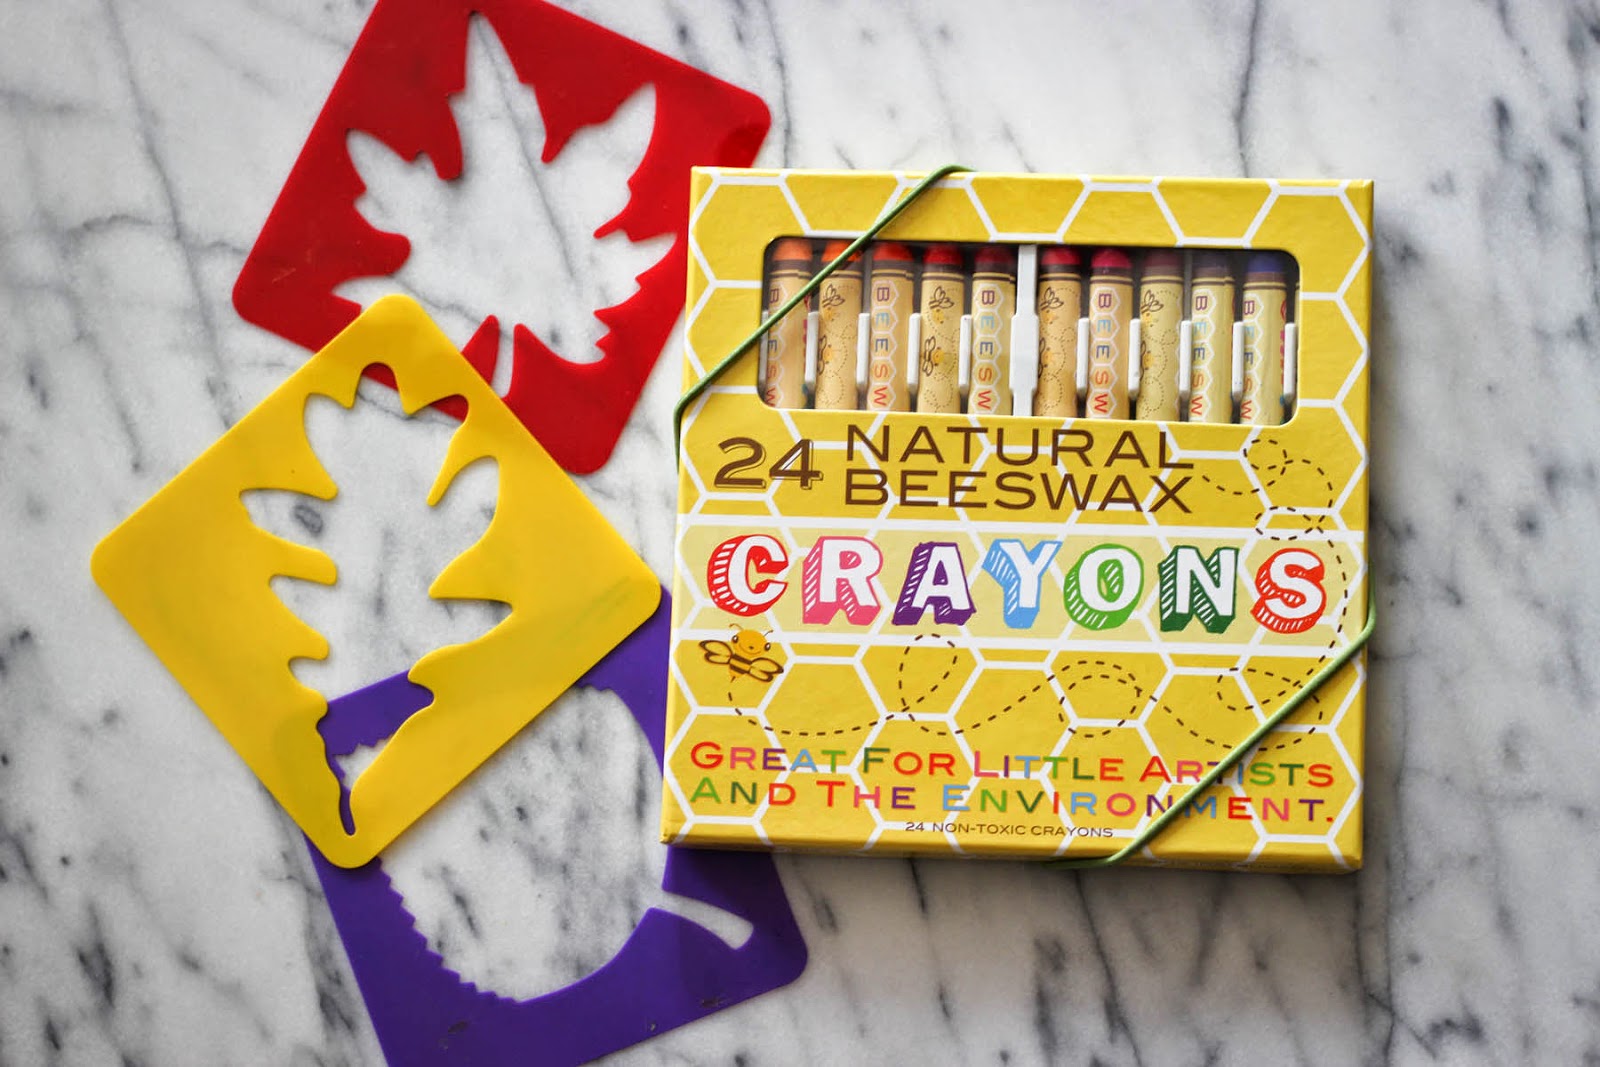
- Beeswax crayons
- Wax paper
- Leaf templates (you can purchase these at an arts/crafts store or even print an outline out to trace)
- An old kitchen grater or oversized pencil/crayon sharpener
- Old dish towels and paper towels
- An iron (to be used with adult supervision)
Once you have your supplies:
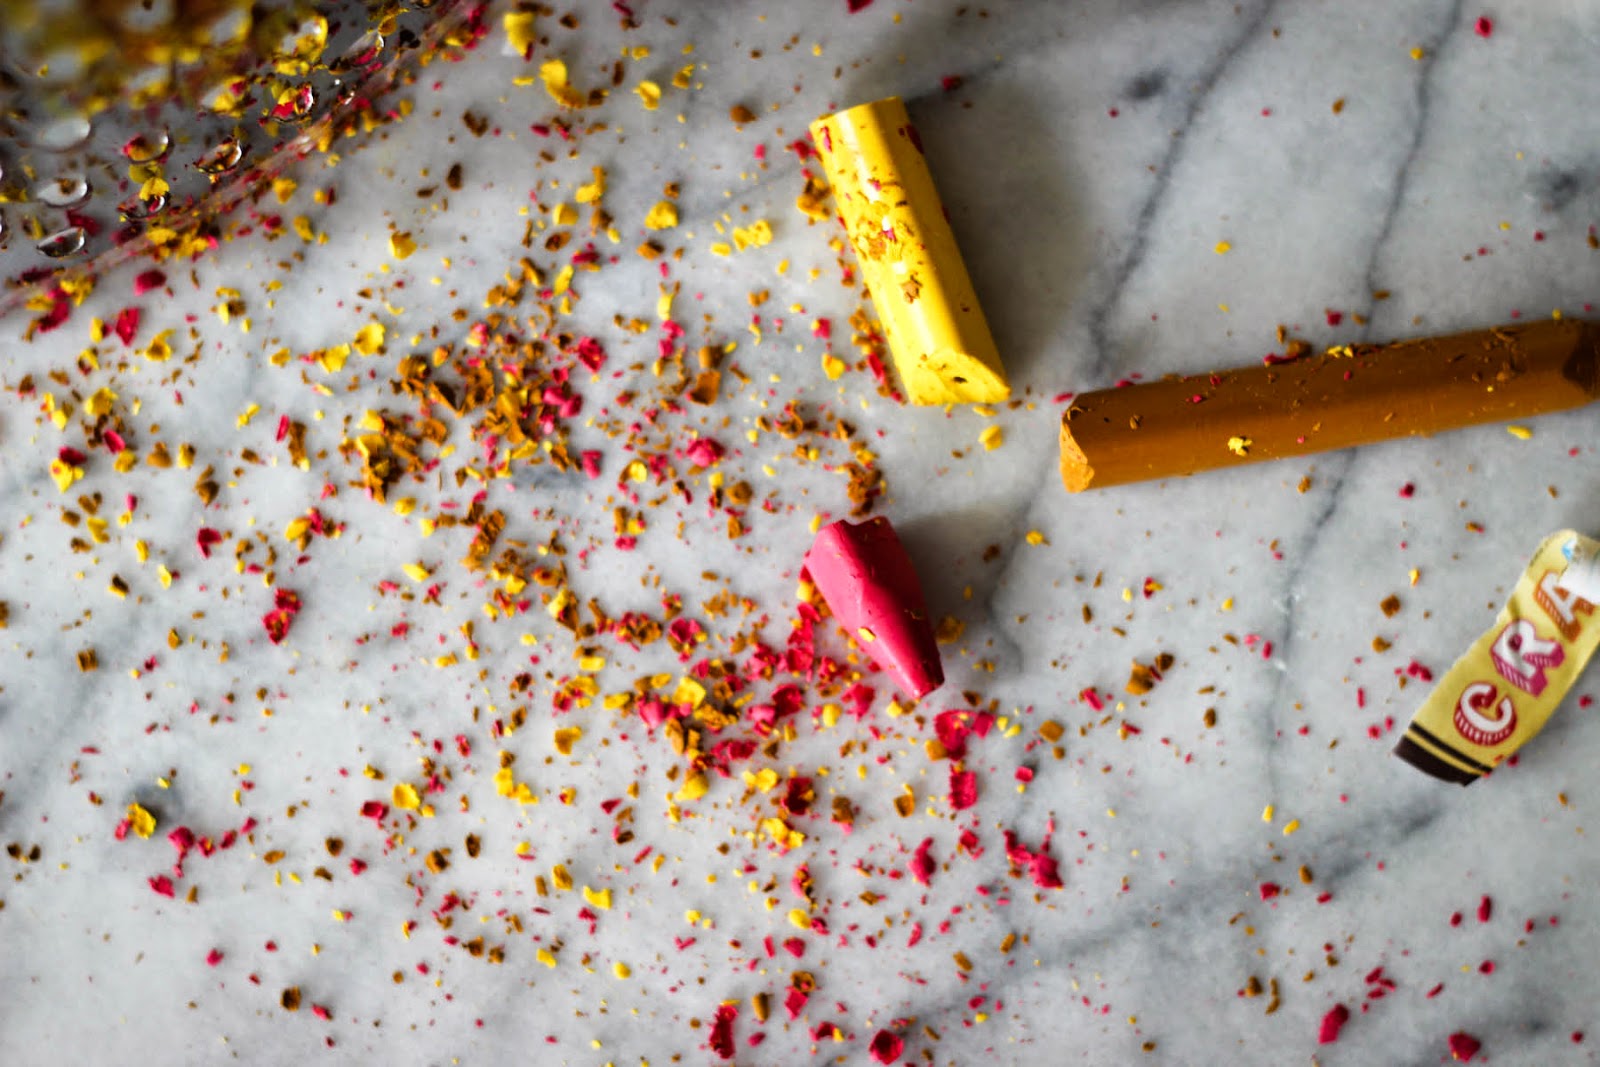
- Grate the crayons into small pieces (this gets messy, so plan for a good work spot ahead of time!)
- Place a dish towel onto an ironing board, and then a piece of wax paper on top
- Sprinkle grated crayons on one half of the wax paper — spreading the colors out and keeping the layer thin
- Fold the other half of wax paper over the grated crayon and cover with a piece of paper towel
- Using an iron set on the lowest setting, iron over the wax paper, melting the crayon shavings sandwiched inside
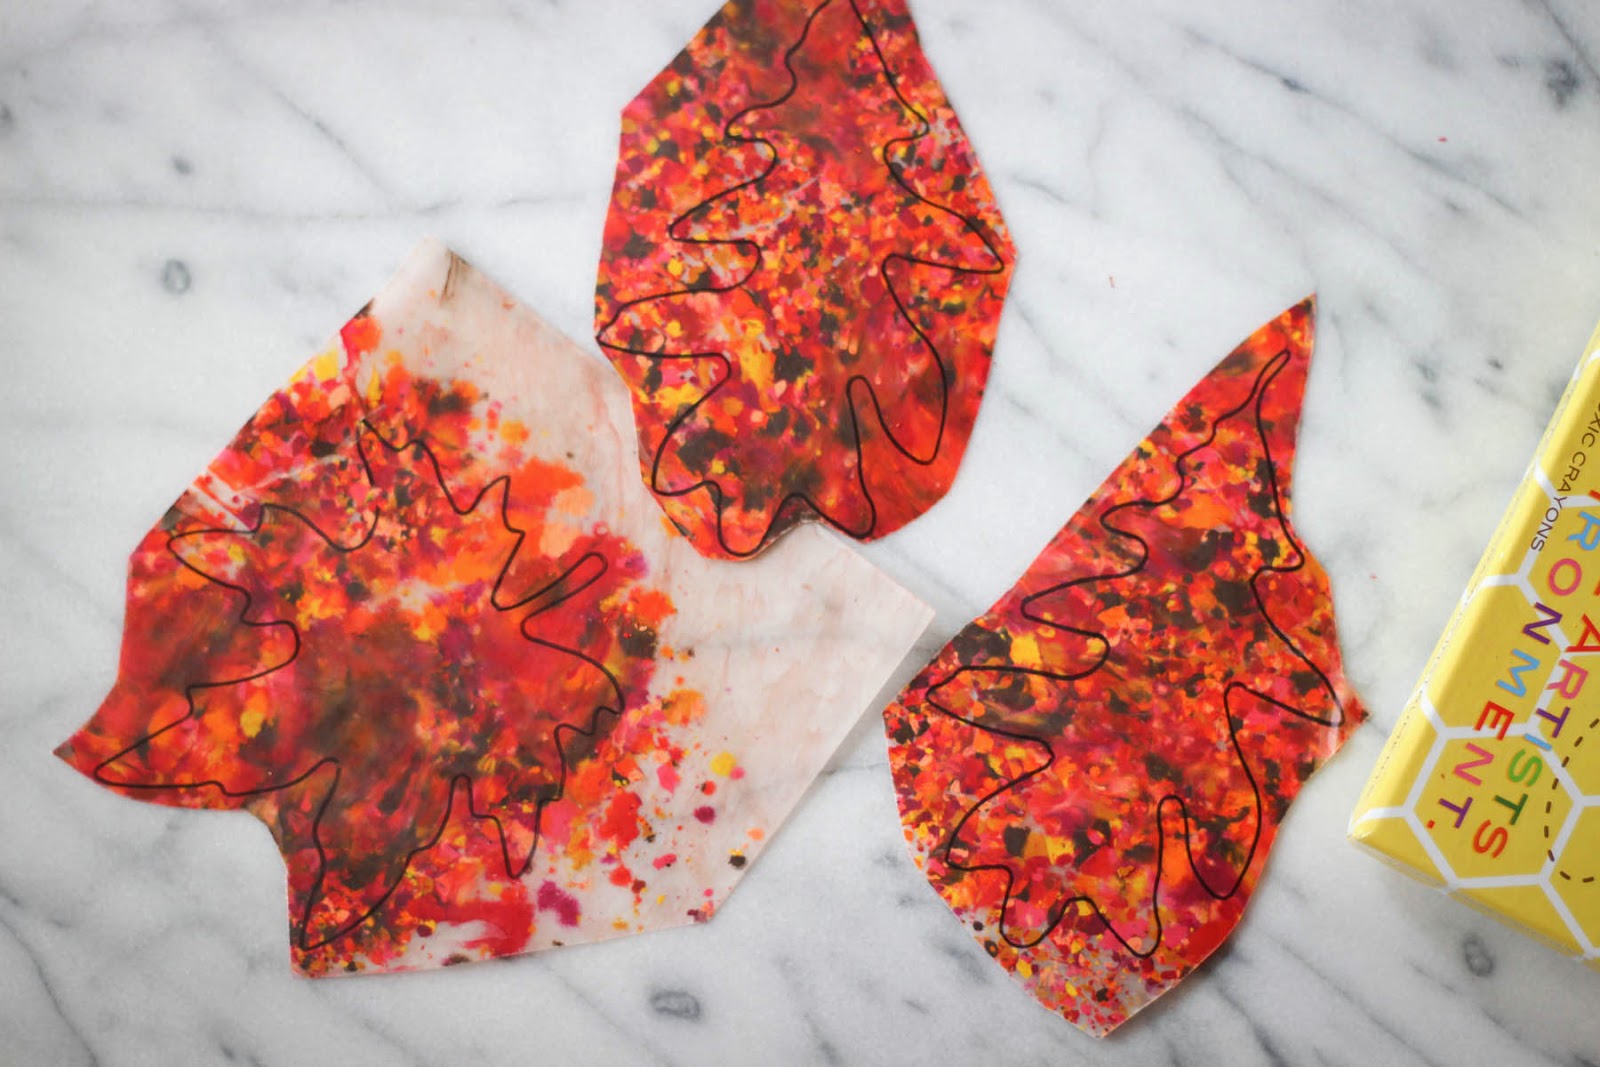
- Trace a leaf outline and cut out. If necessary, repress the leaf with the iron to fuse the edges again
It’s fun to experiment with amount and placement of the shavings as well as how long to iron each one. My favorites are those with a thin layer of melted wax and some spottiness — I love how the light shines through each one a bit differently. Happy fall, all and enjoy this fall kids craft!
 Rebecca is a mom to two young kiddos and, in her spare time (ha!), likes to pretend she’s a back-up dancer, craft cocktails, and run long distances. A relatively recent SAHM, she blogs family-friendly activities, DIYs and celebration fun at Not-So-SAHM.