Not All Bins & Baskets are Created Equal
June 17, 2016
Post by Danielle Kurtz, Creative Director at The Land of Nod
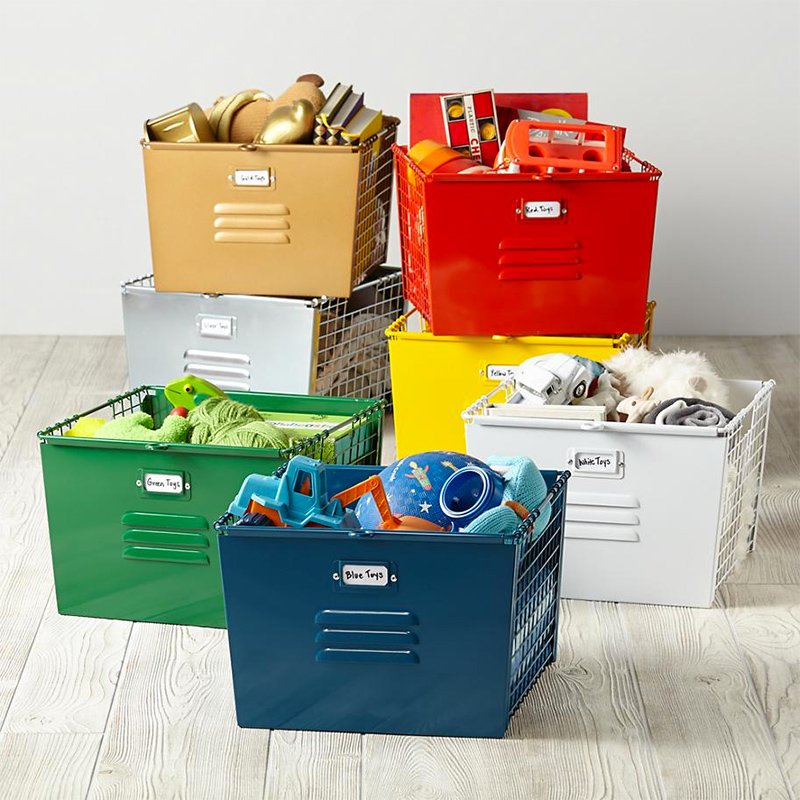
From crayons and building blocks to diapers and action figures, at Nod we have a wide range of bins and baskets for all your storage needs. But, when it comes to choosing just the right bin for the job, there are definitely a few things to look out for. Here are a few tips to choosing just the right storage vessel to keep your kid’s mess in check.
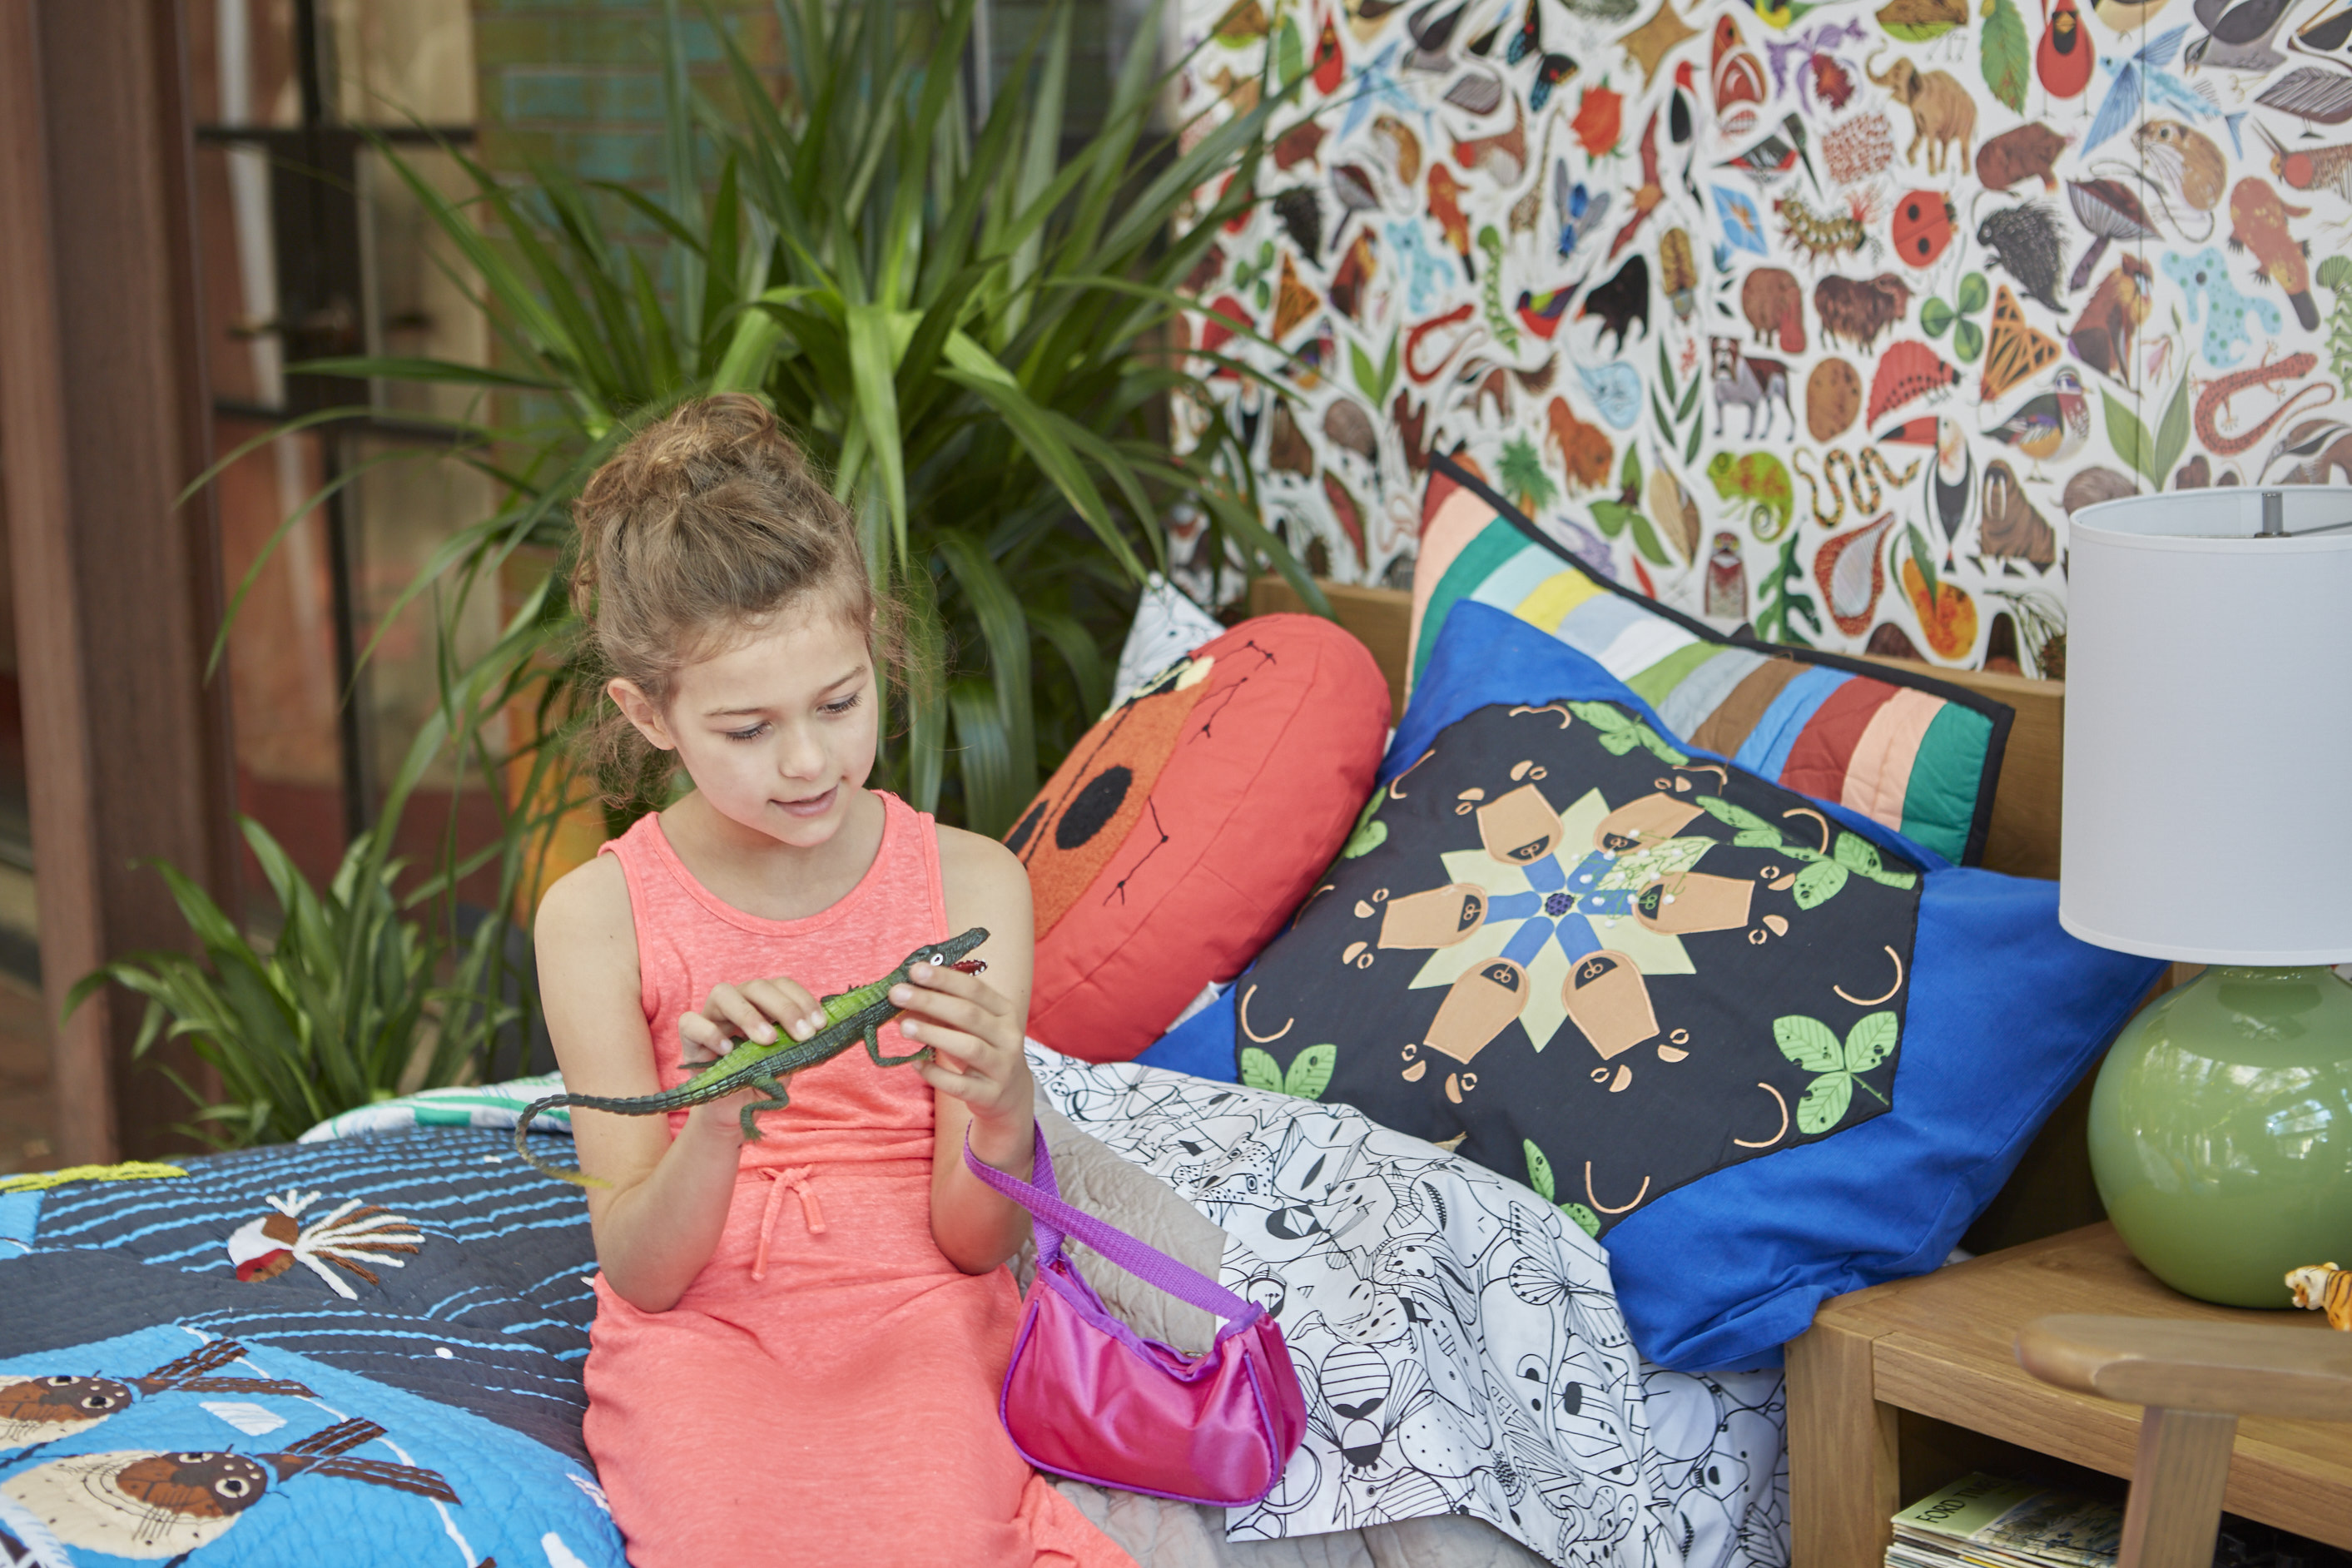
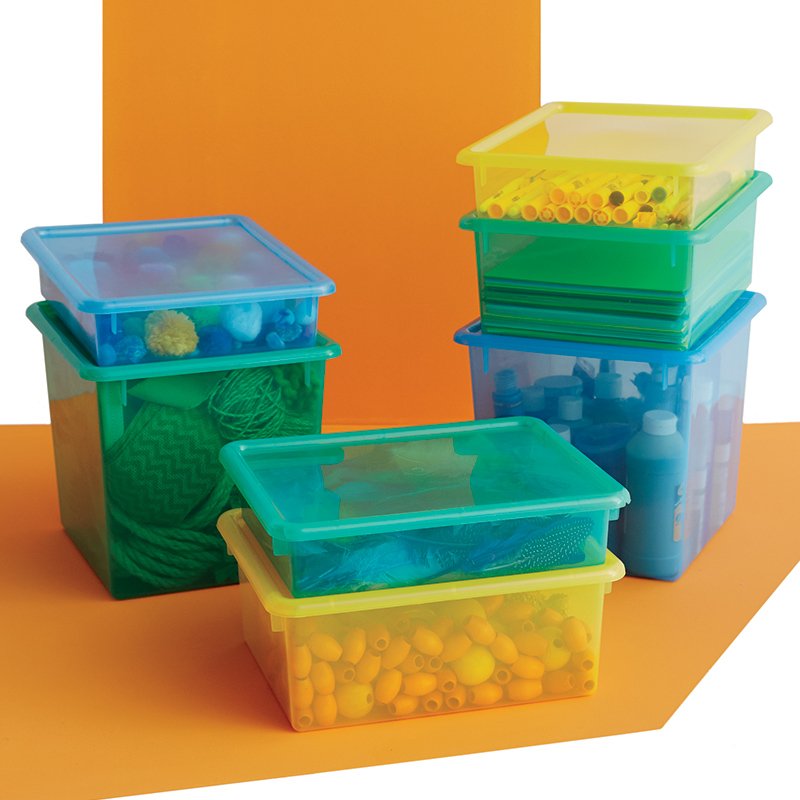
Arts & Crafts Storage
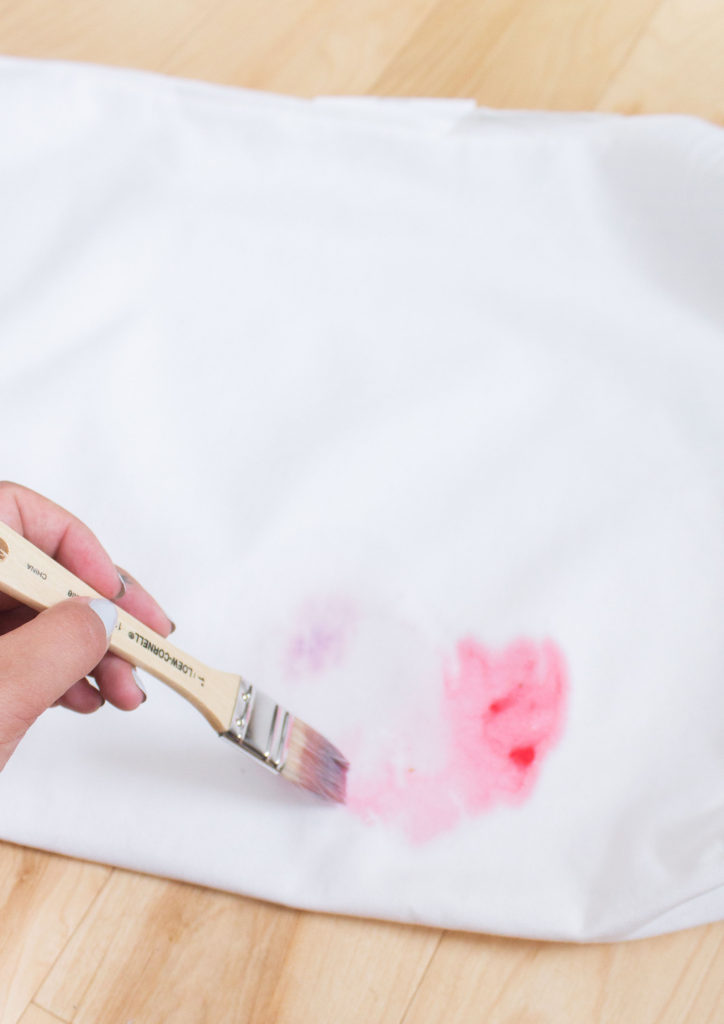
Between my daughter and I, we have a huge inventory of random crafting supplies. From paints, pencils and crayons to glue, construction paper and glitter. It can definitely be a challenge to corral all of it. When it comes to art supplies, it’s important to look for a material that can easily be wiped clean in case of spills. Plastic is the perfect choice. I also like to look for baskets that aren’t too large, so each item can have its own container (one for pom poms, one for markers one for feathers, etc). I’ve also found that transparent bins are best for finding just what you need in a hurry.
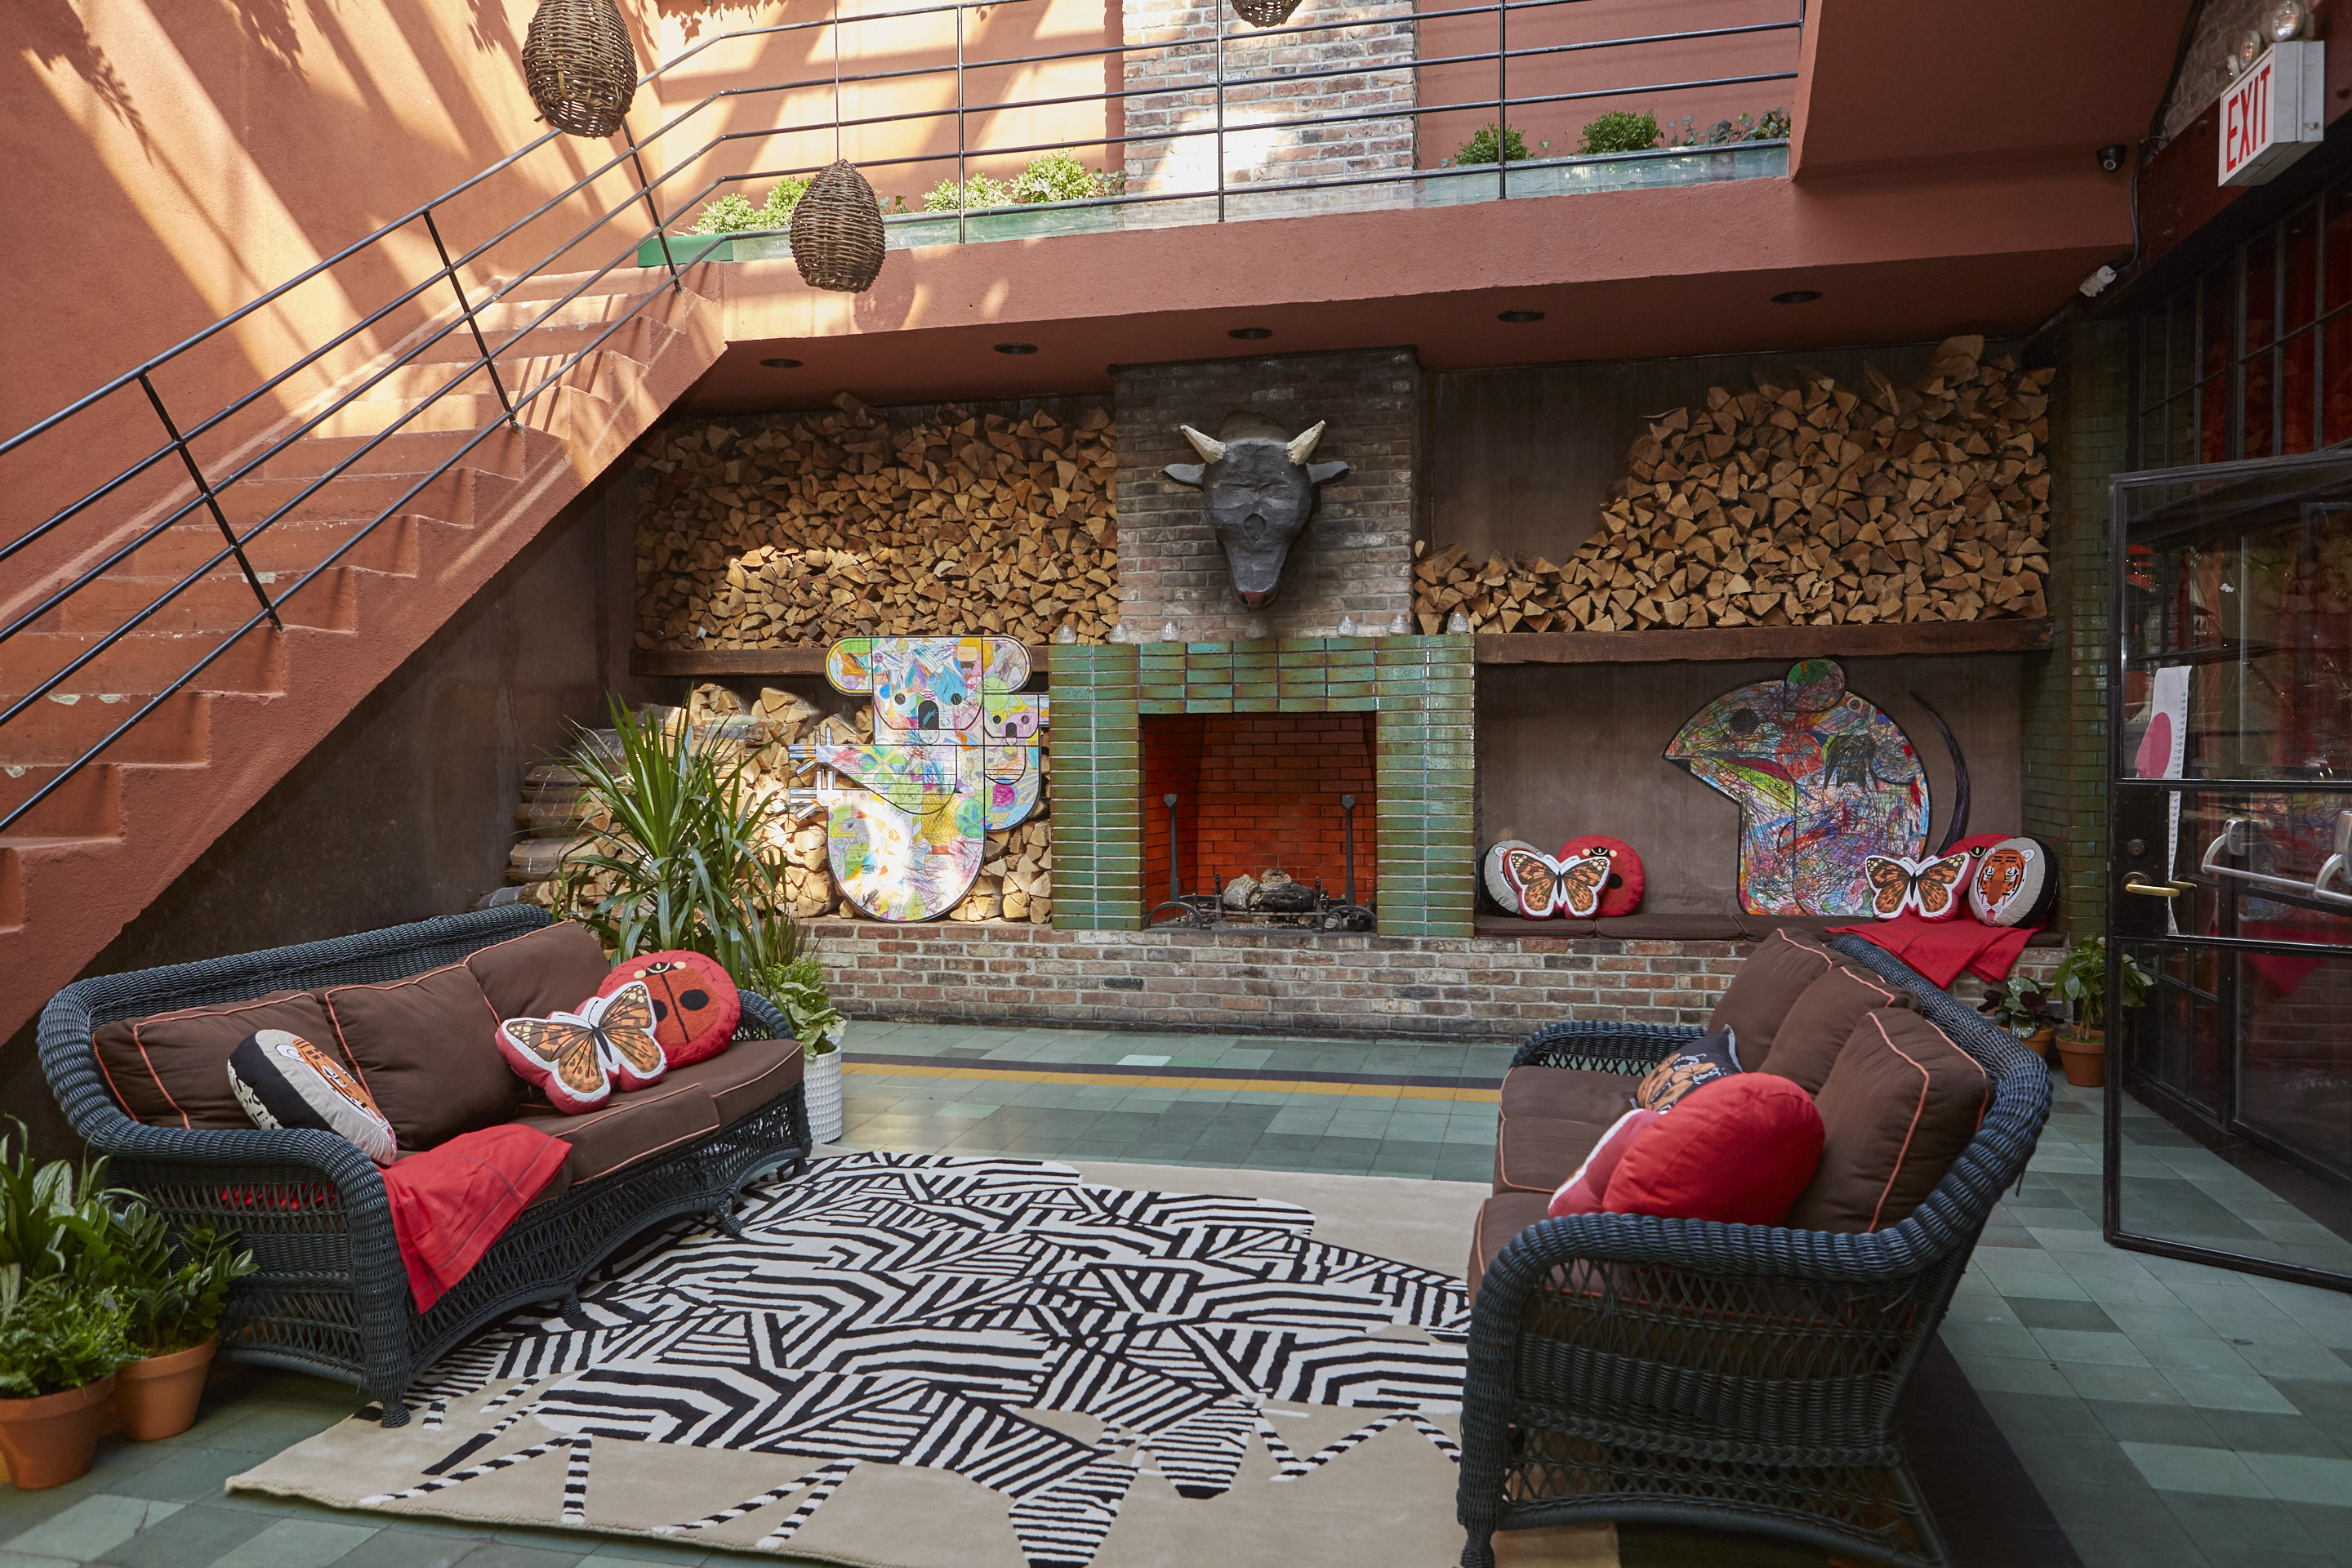
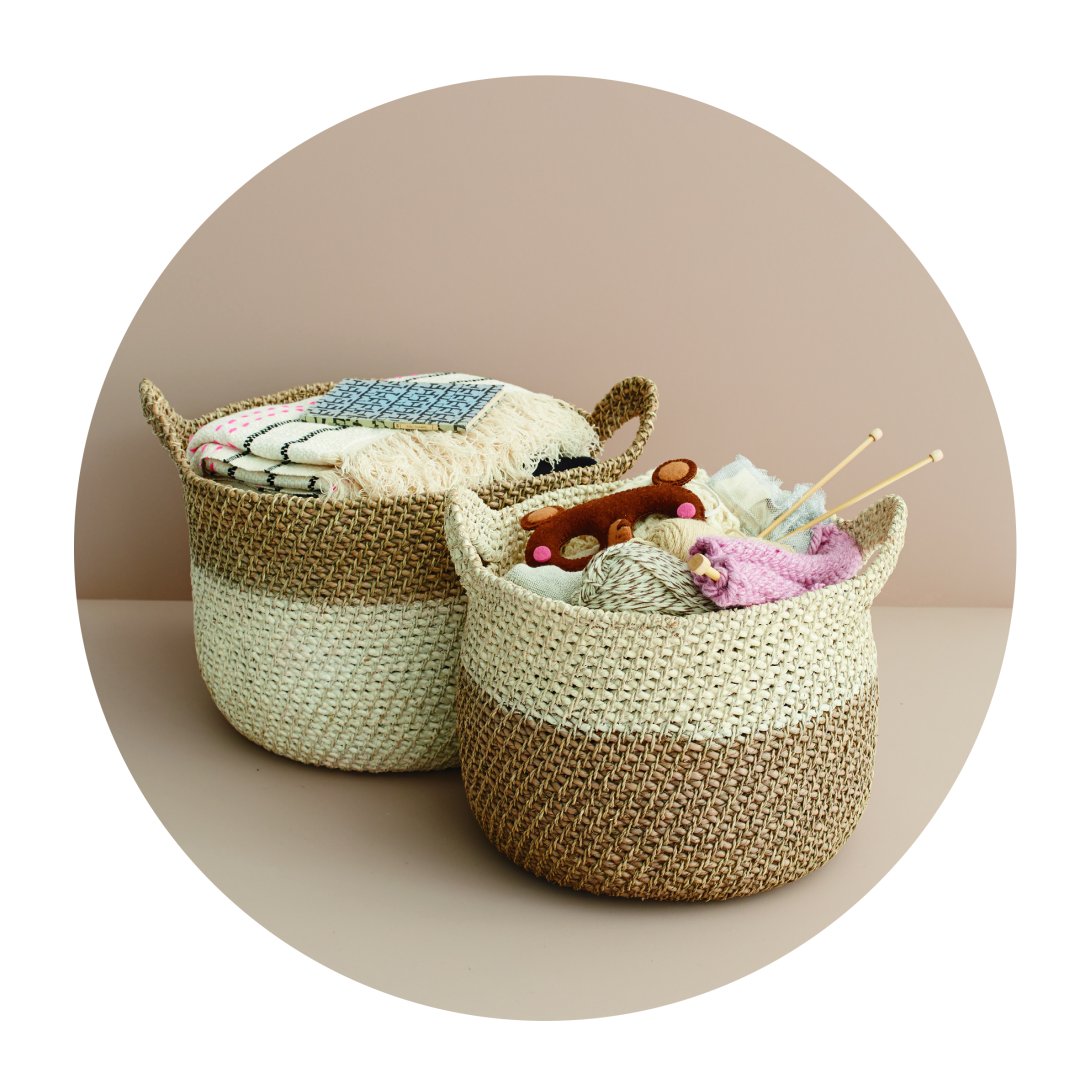
Shared Space Storage
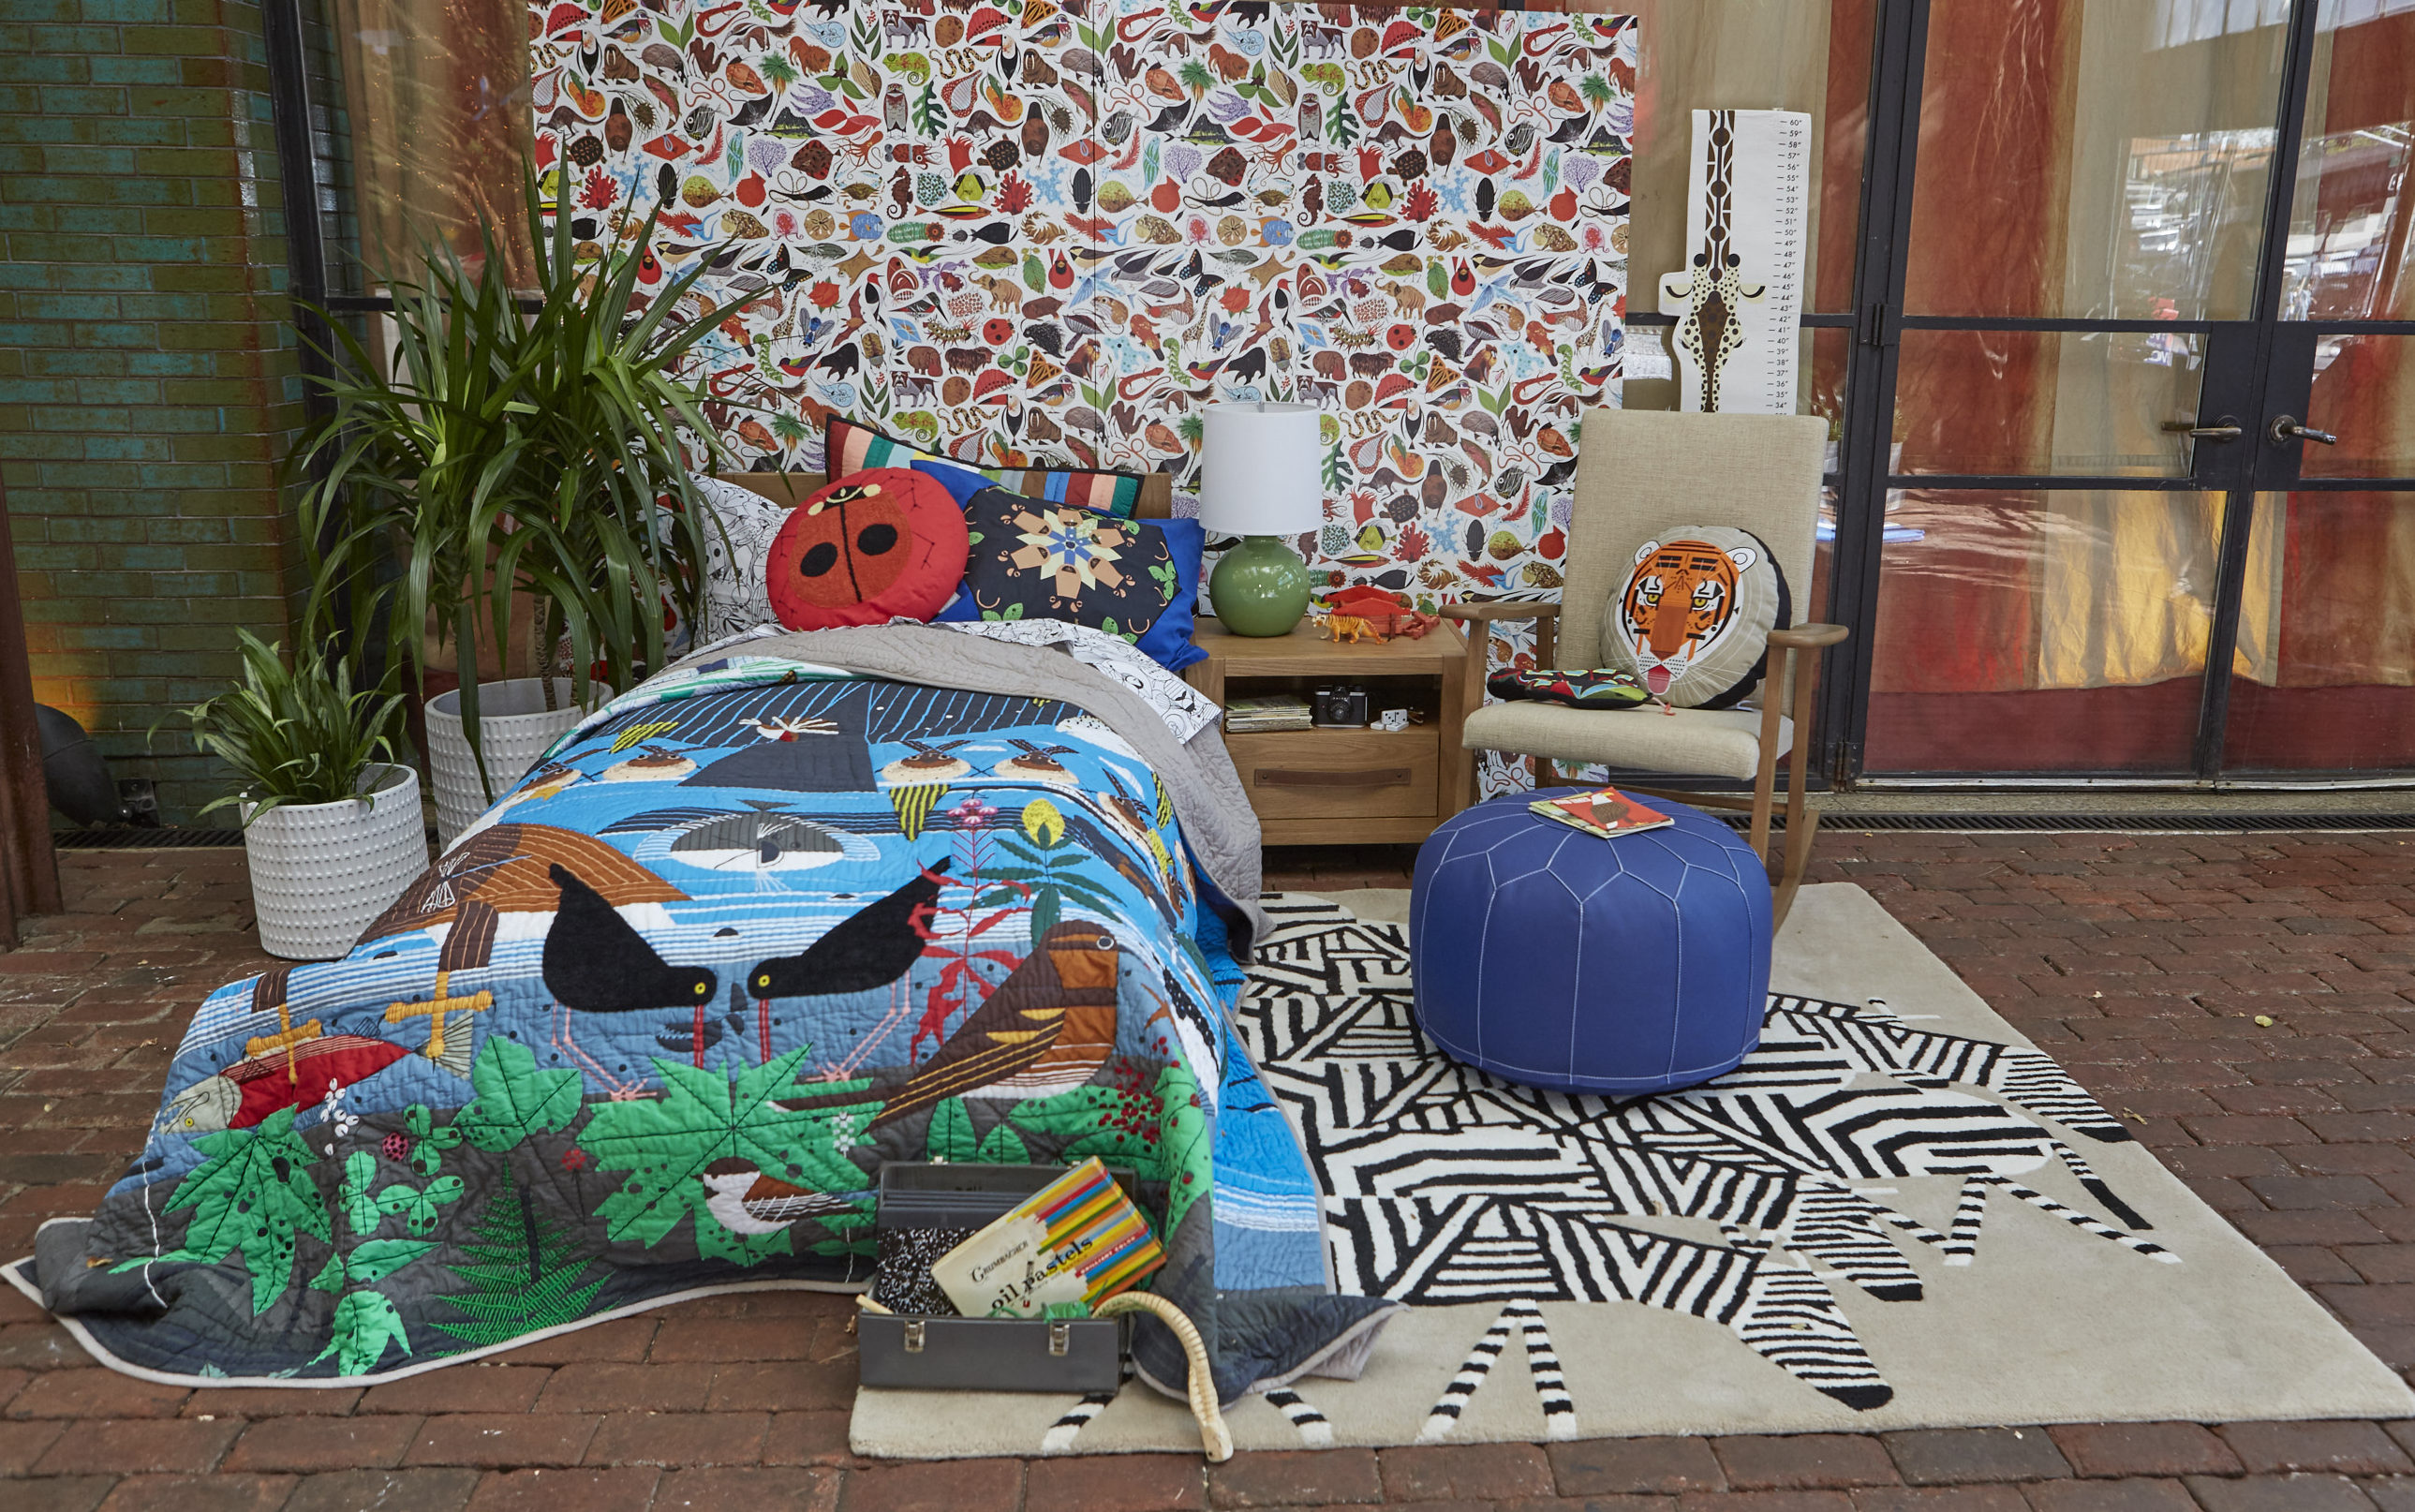
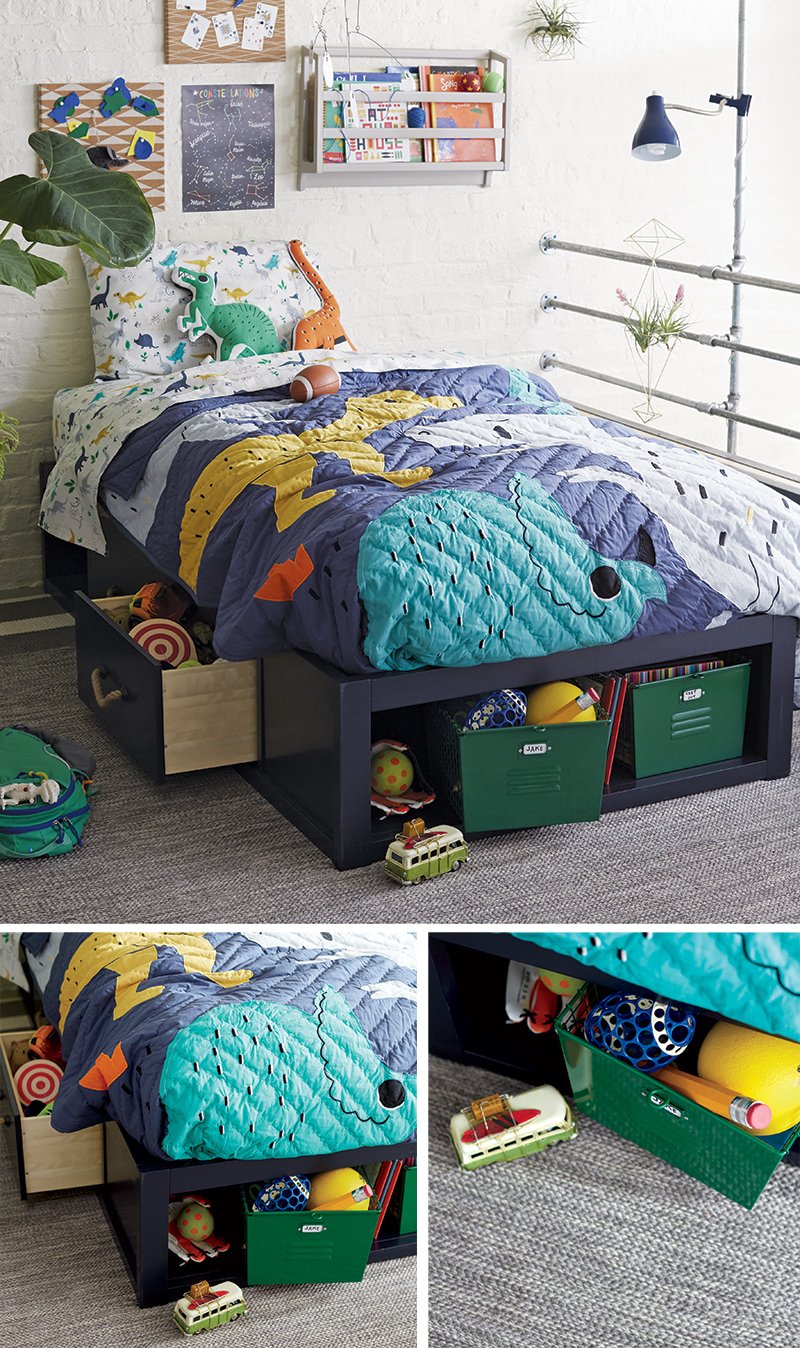
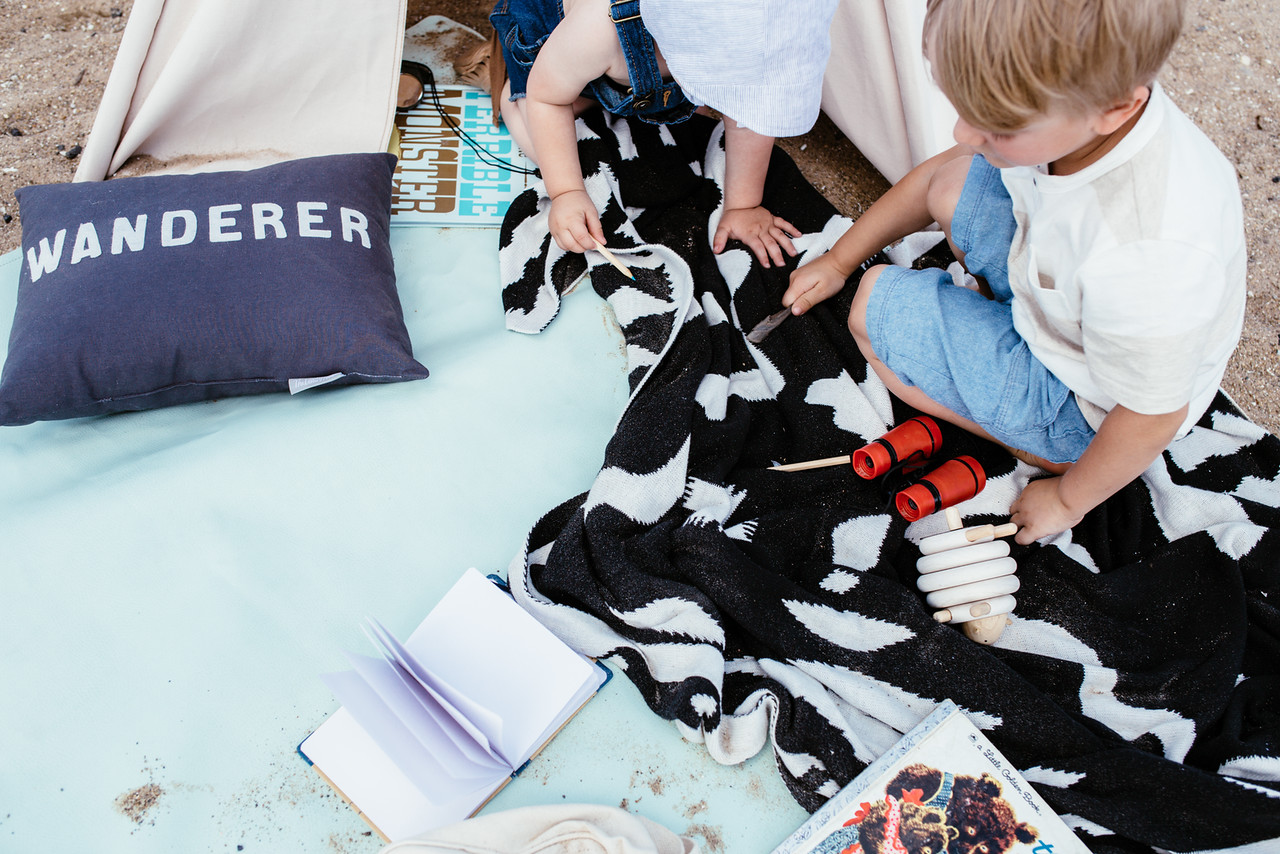
When it comes to toys in the living room, there’s really no way to avoid it. And, I like the idea of keeping my kids stuff close at hand in all the spaces in my home. That way we can all hang out together. That said, sometimes you need to get things cleaned up in a hurry. So, I opt for larger bins that can hold a lot of toys easily. You can just drag them around the room and fill them up at a moment’s notice. Plus, the kids can get in on clean up. Also, I tend to opt for more sophisticated materials and color-palettes for the living space, think wicker in natural tones.
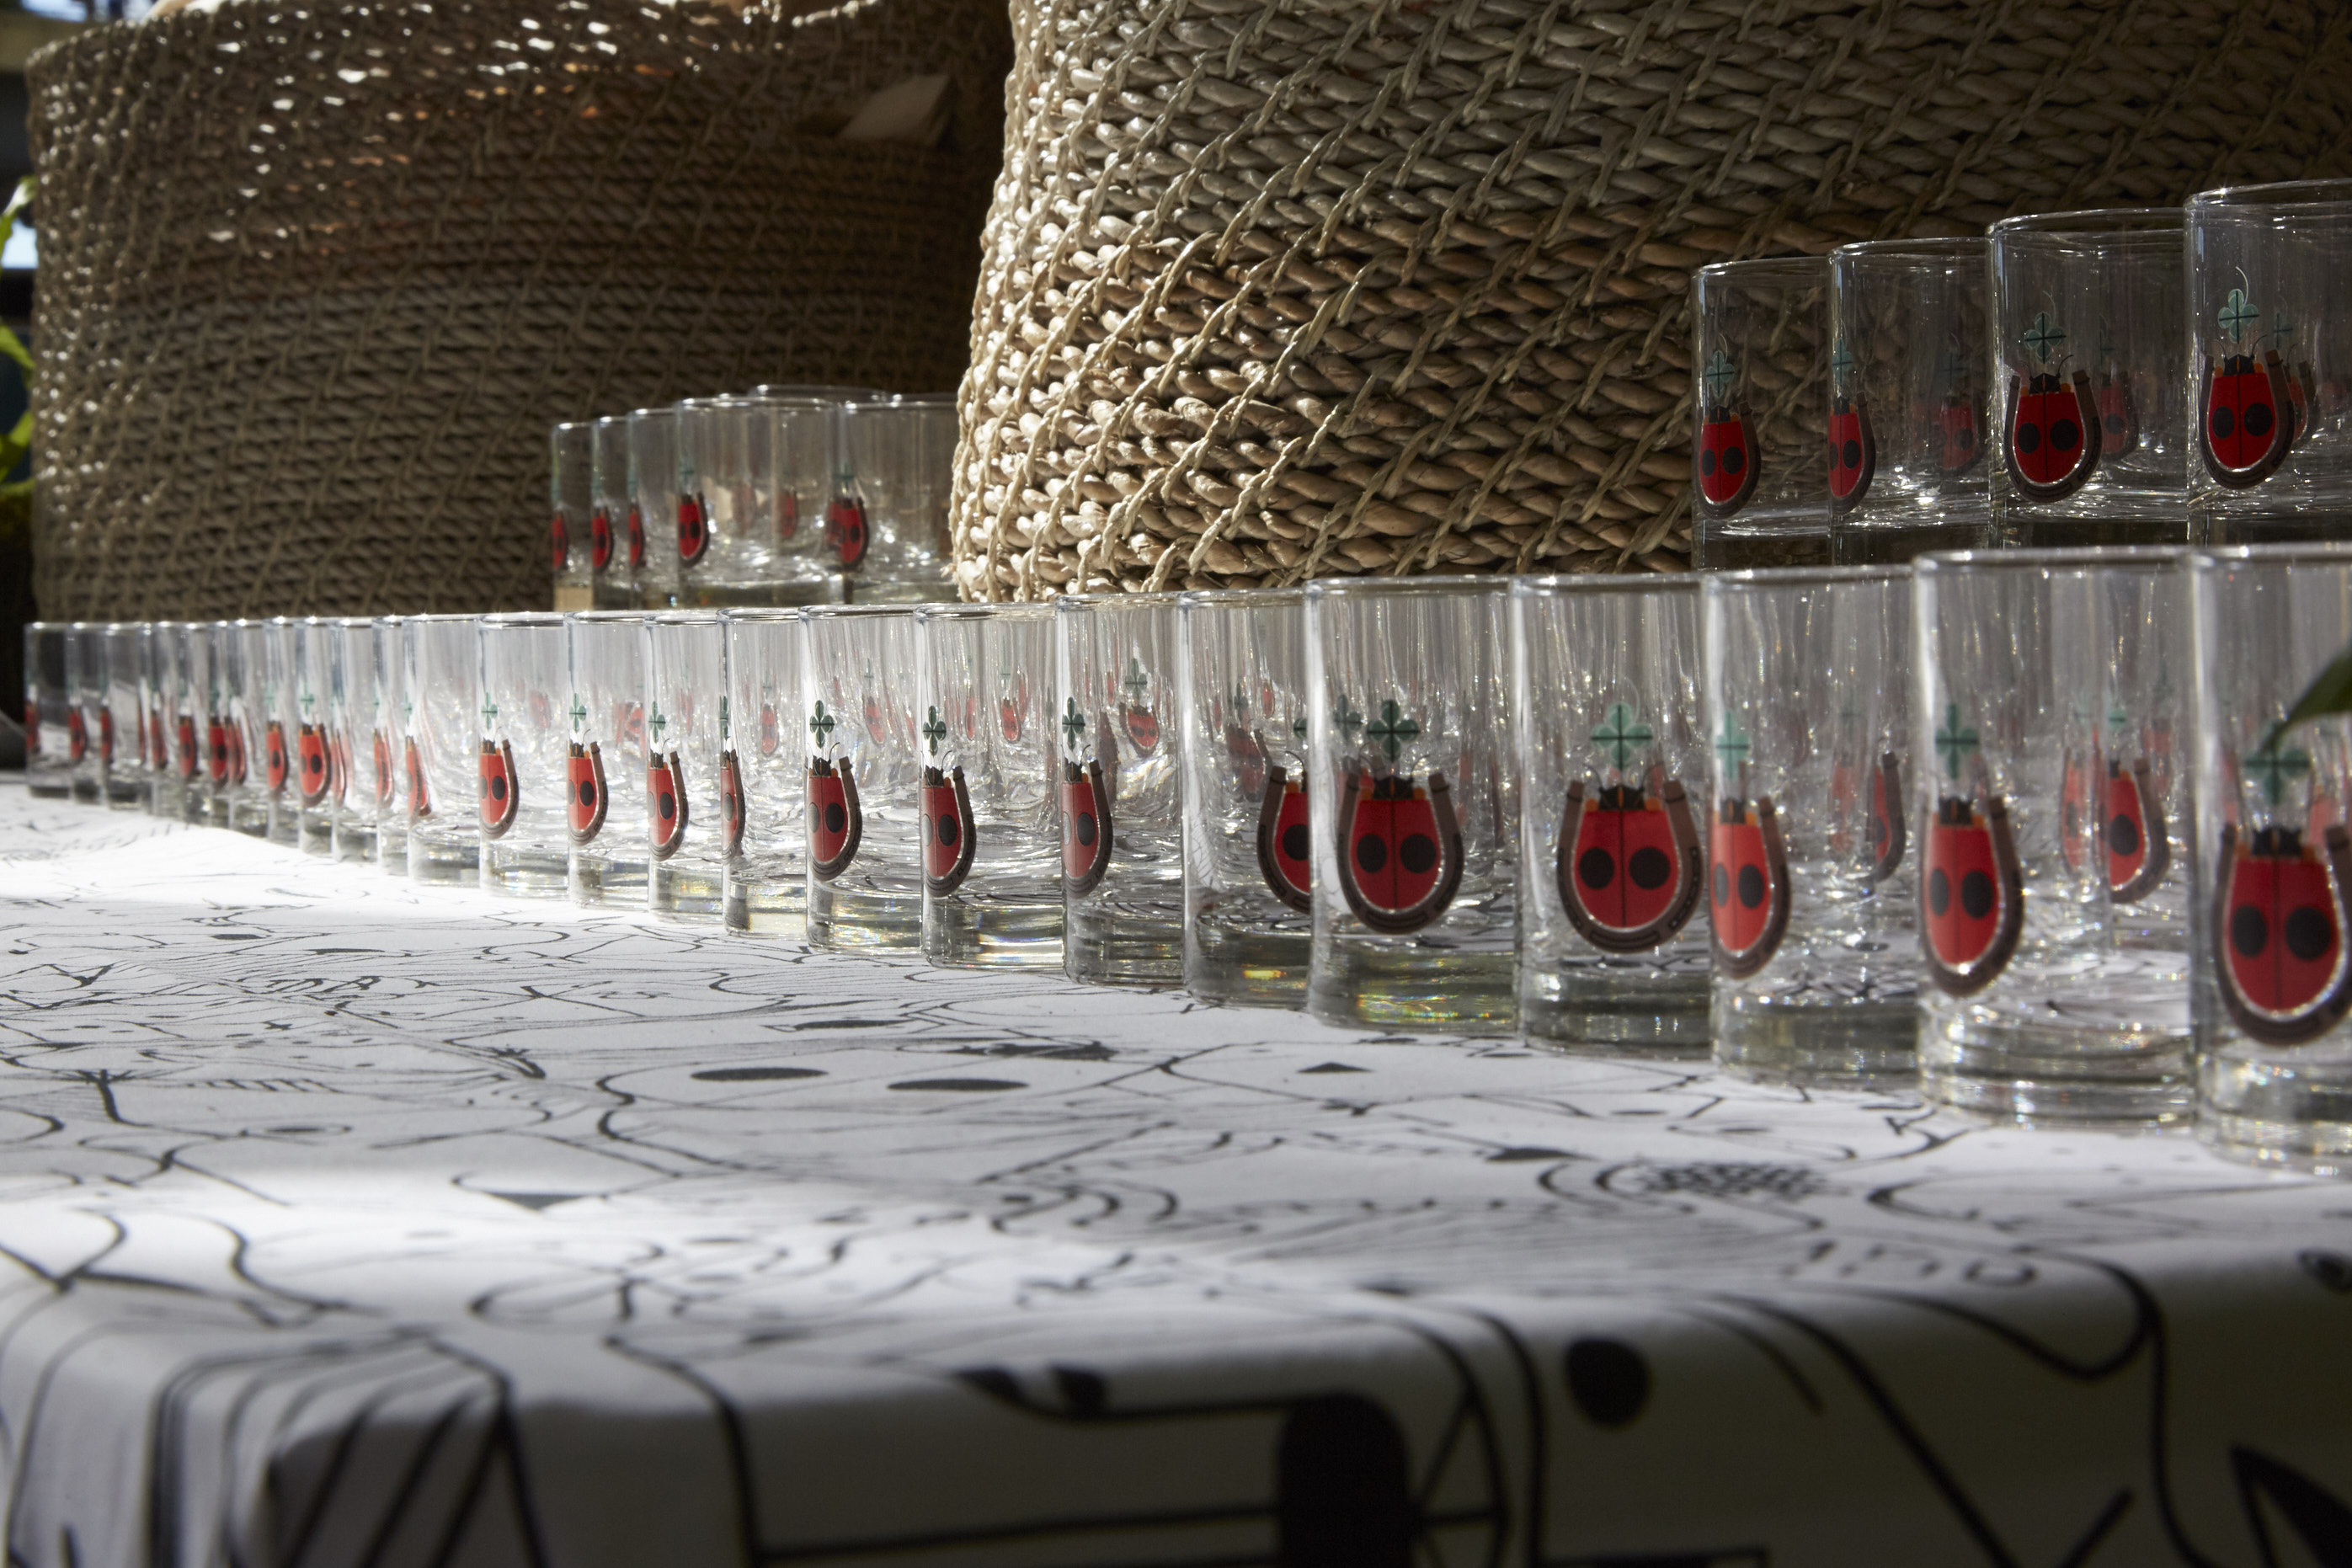
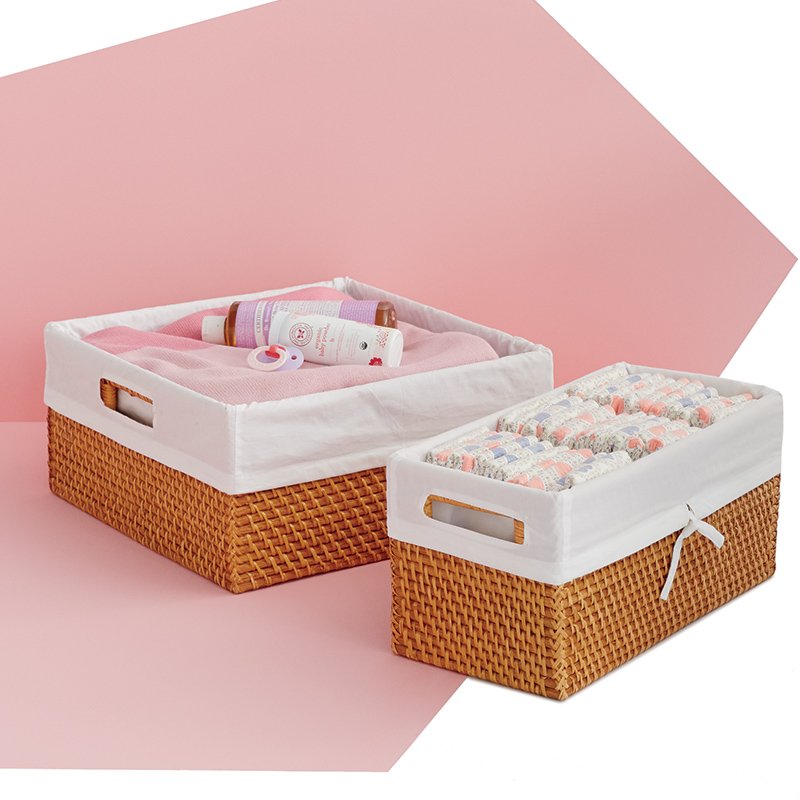
Baby Essentials Storage
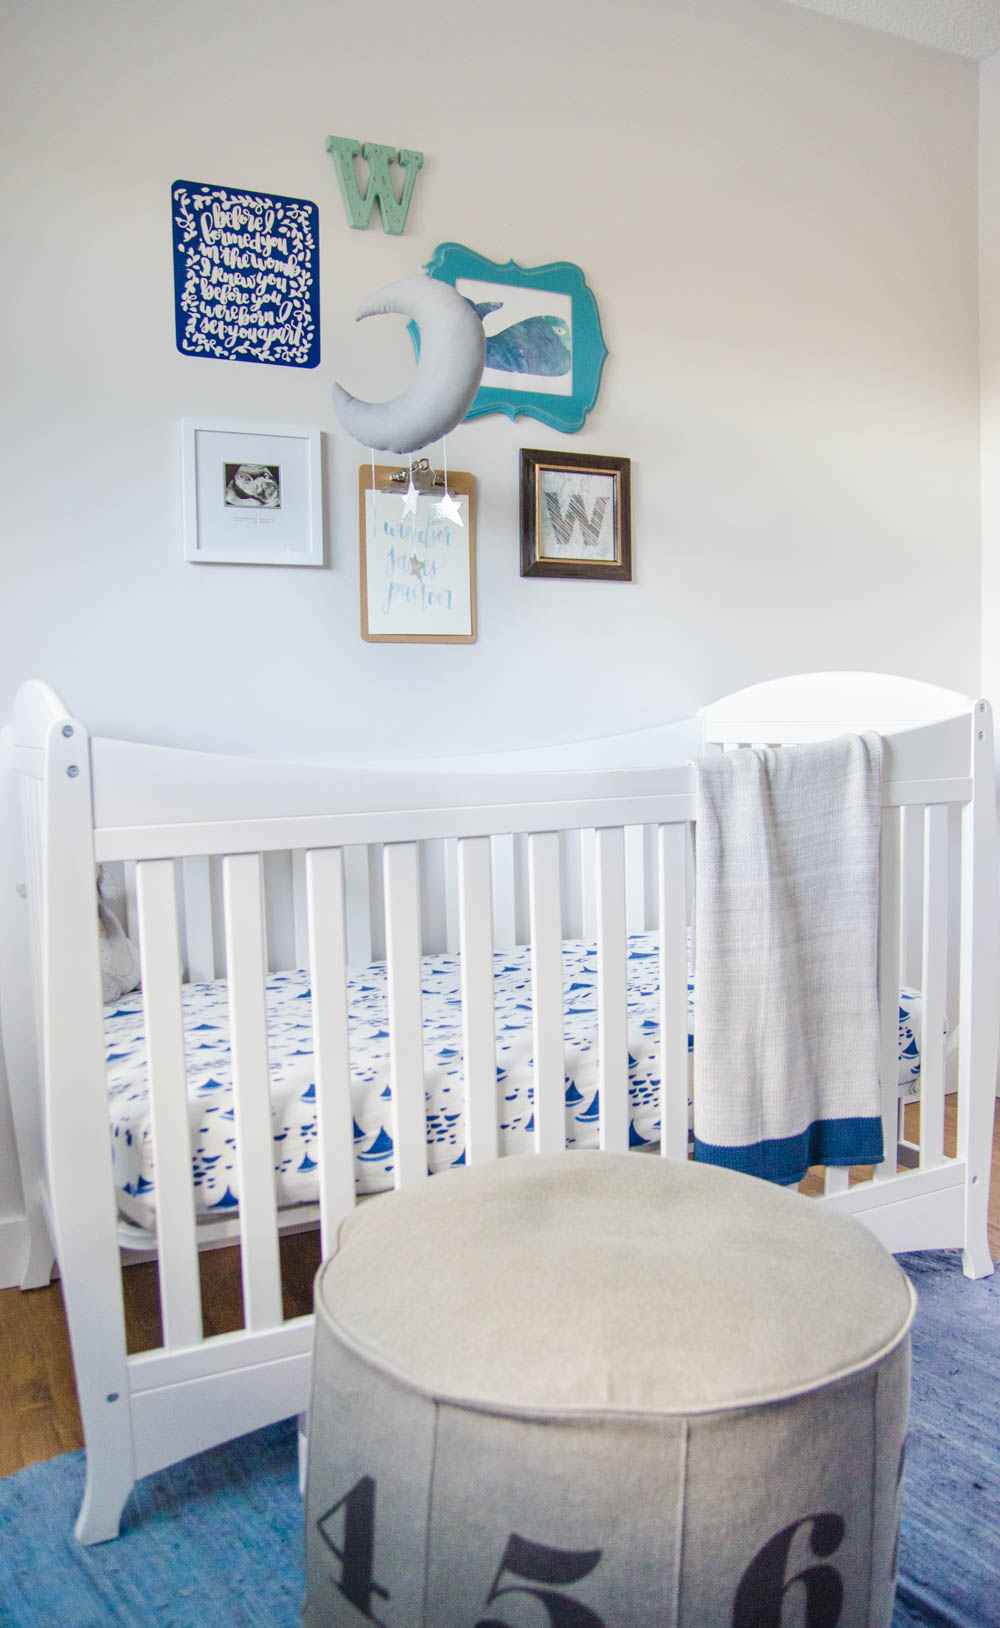
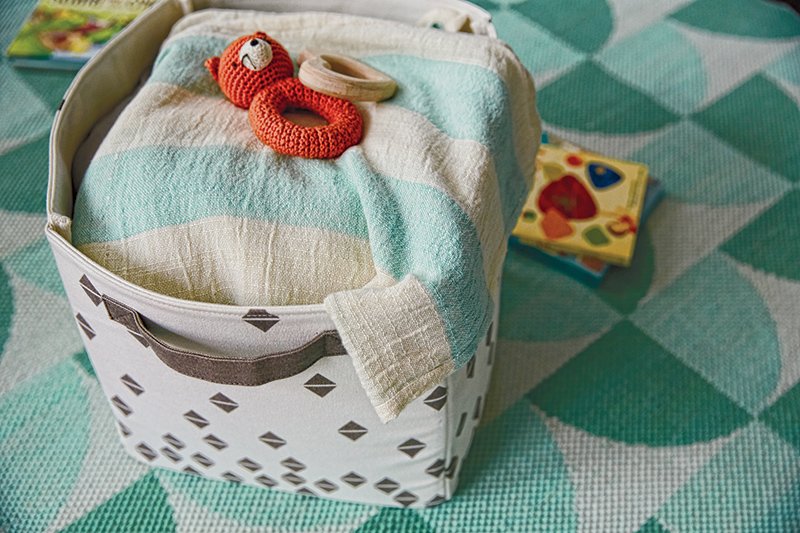
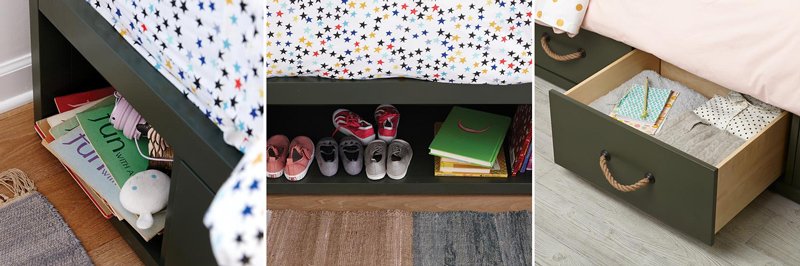
When changing baby’s diapers, the most important thing is that all the supplies are close at hand. There’s nothing worse than removing a dirty diaper, only to realize you’ve left the wipes in the other room. So, baskets that keep everything organized and nearby are super important. You’ll need things like diapers, lotions, swaddle blankets and spare onesies all within arms reach. I recommend choosing something structured like rattan. And opt for shallow baskets, so you aren’t digging around with one hand while keeping your baby safely on the changer table with the other. You need to be able to find things without even looking.
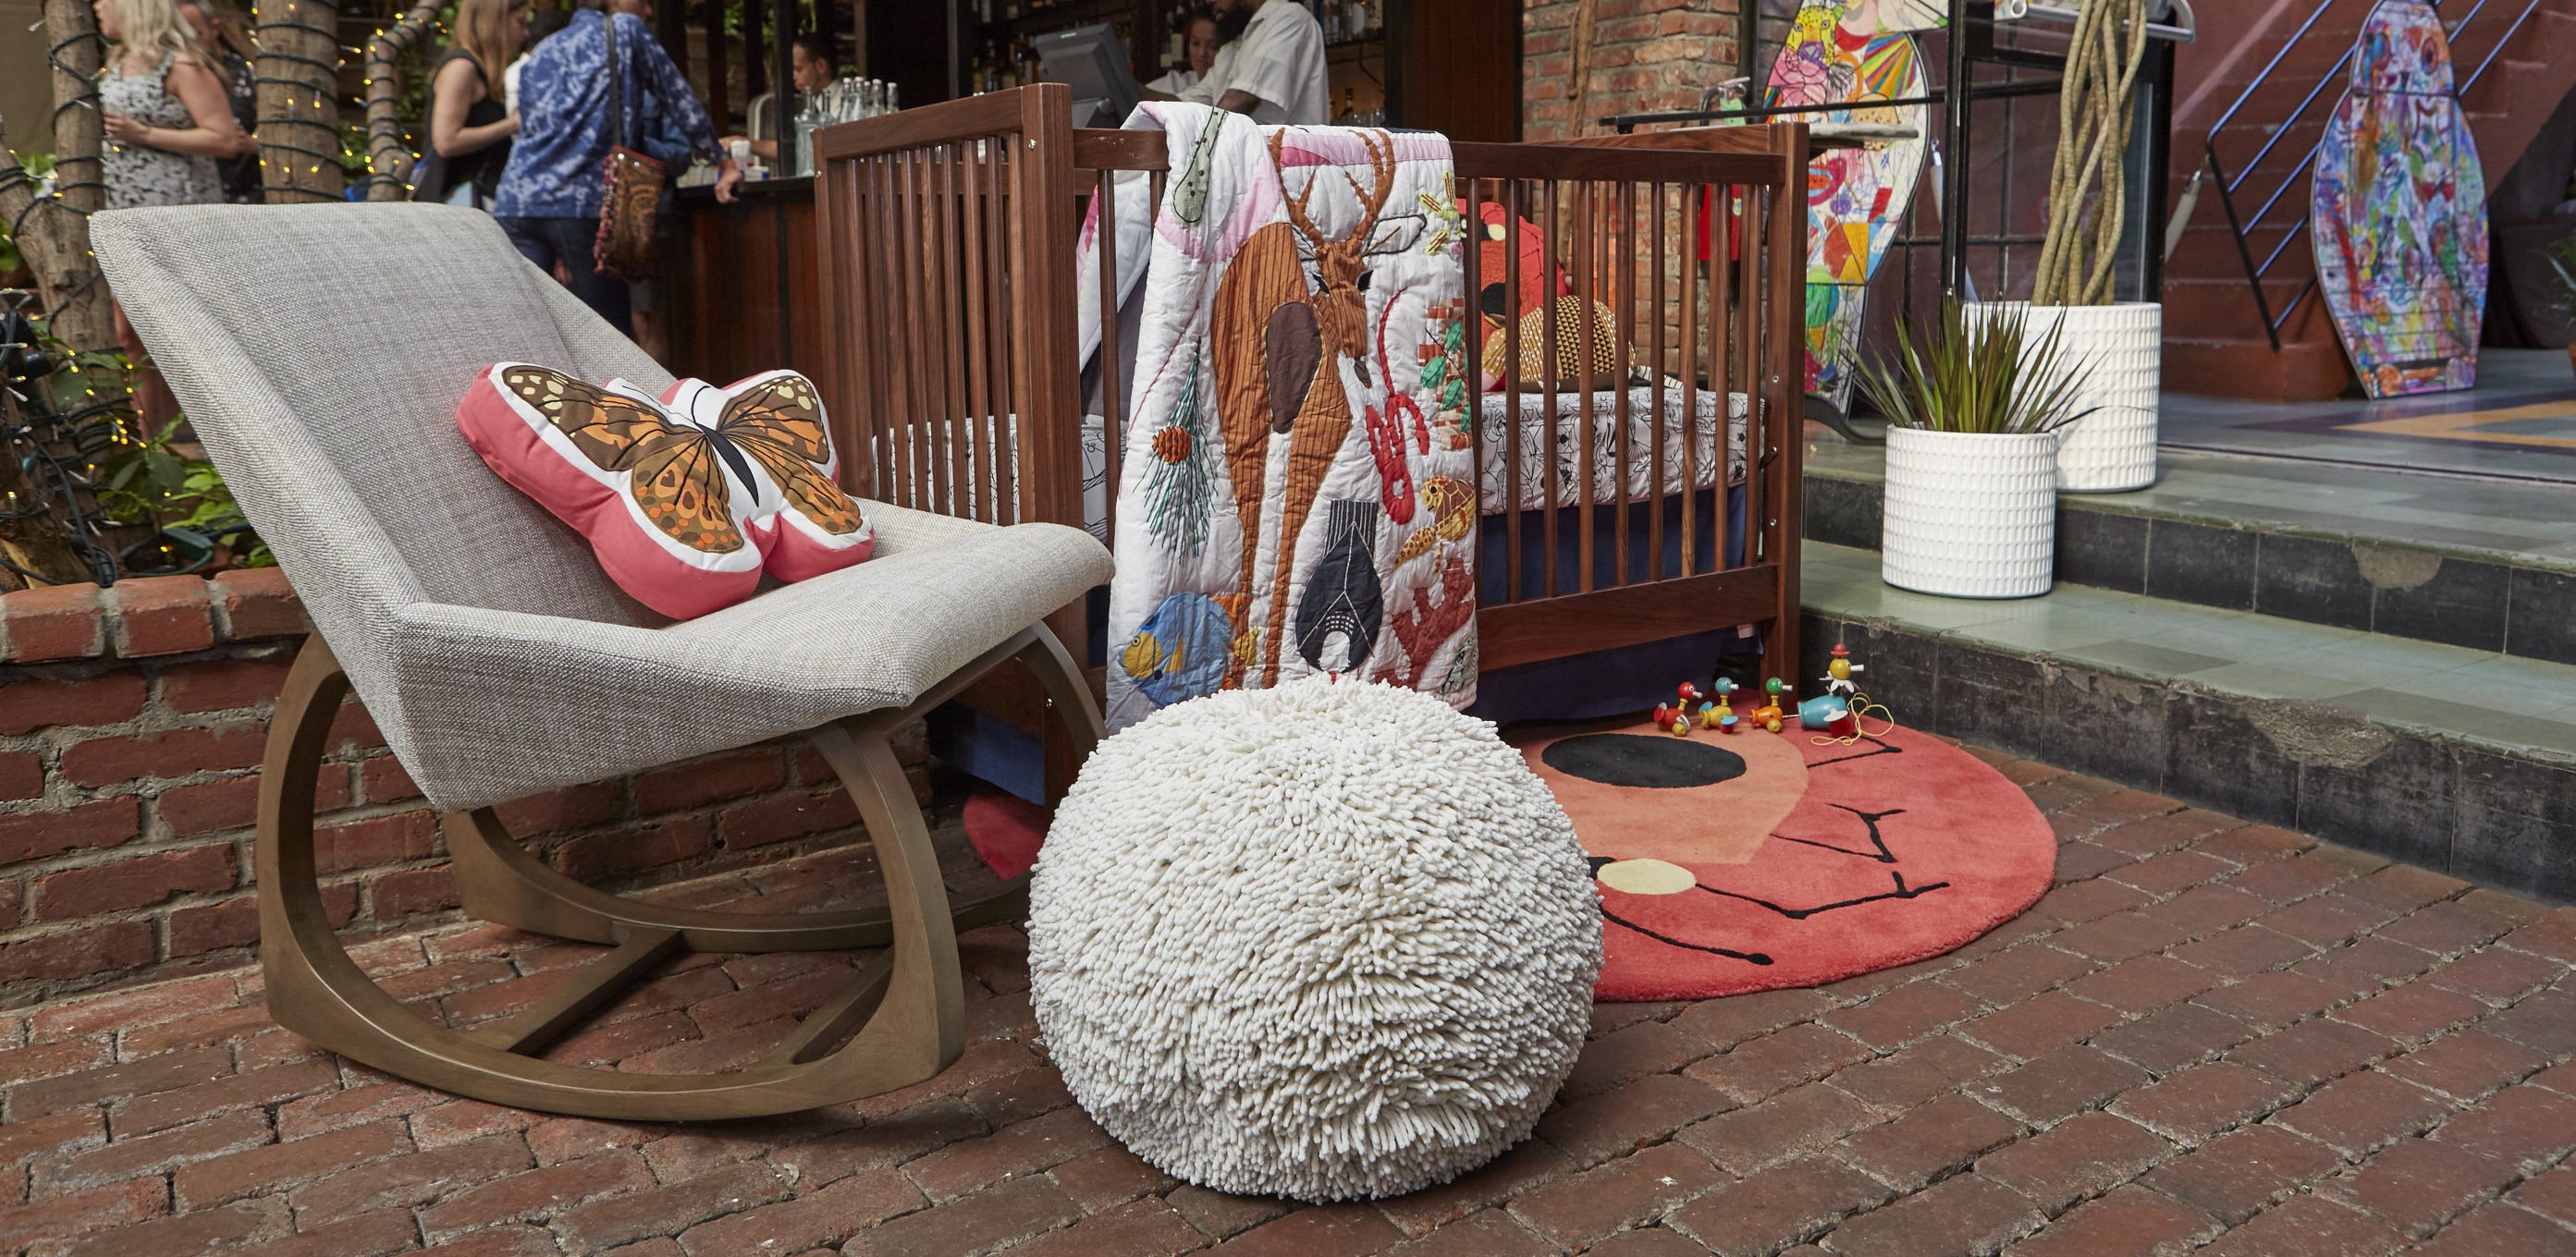
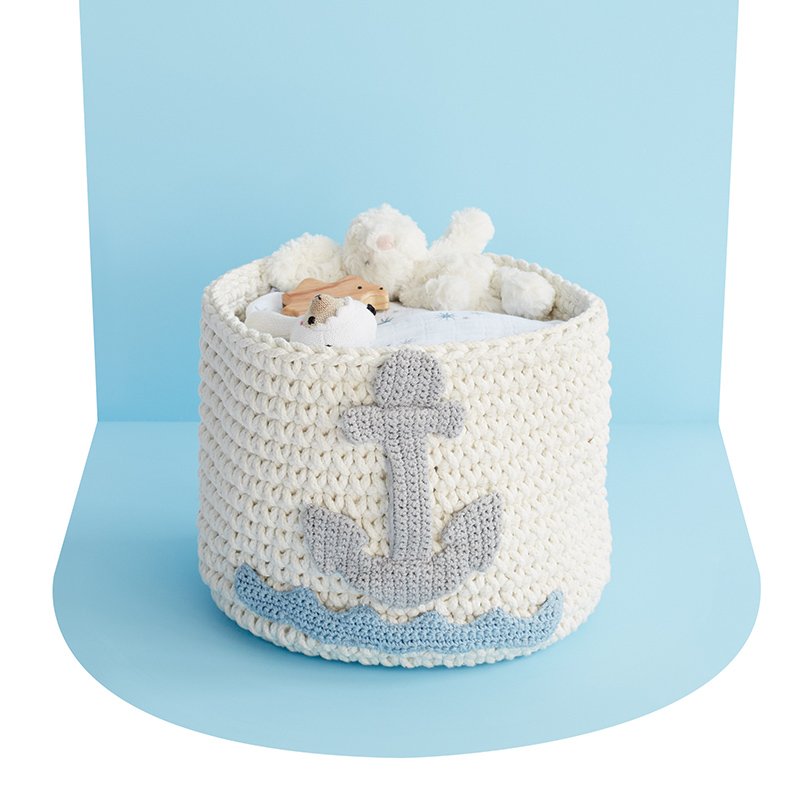
Baby Toy Storage
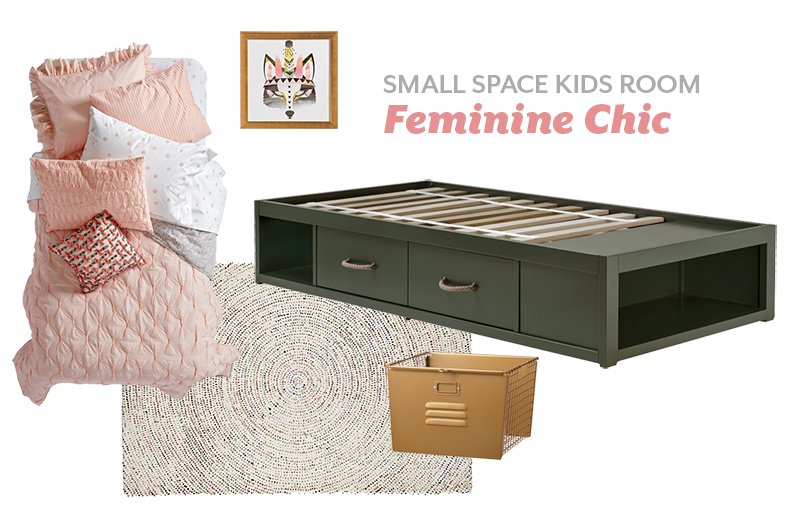
When my kids were little, I liked having a floor basket or two in the nursery. I could keep their favorite toys of the moment on the floor for tummy time. I’d opt for softer materials, since baby will likely be interacting with the basket, pulling up on it, bumping into it, etc. Also, look for something that’s neutral enough that it can transition into other rooms once your baby gets bigger. Whether it’s their eventual big kid room, or your family room, make sure you choose a design that can work beyond infant-dom.
Overall, the biggest thing I consider when I buy any type of storage for my kids is what can this item do next. Because, just as soon as a storage need arises, it soon disappears and is replaced with another….think diapers then stuffed animals then action figures then sports equipment. So, I always choose bins and baskets that have a life beyond my current need because I never know what need might come up next.
Danielle is the Creative Director at Nod and an over-protective mother of two. She’s also completely obsessed with Pinterest, Twitter, Instagram and her Kindle, but not necessarily in that order. Danielle loves to craft, sew and crochet. Her current craft of choice is weaving tiny wall tapestries.
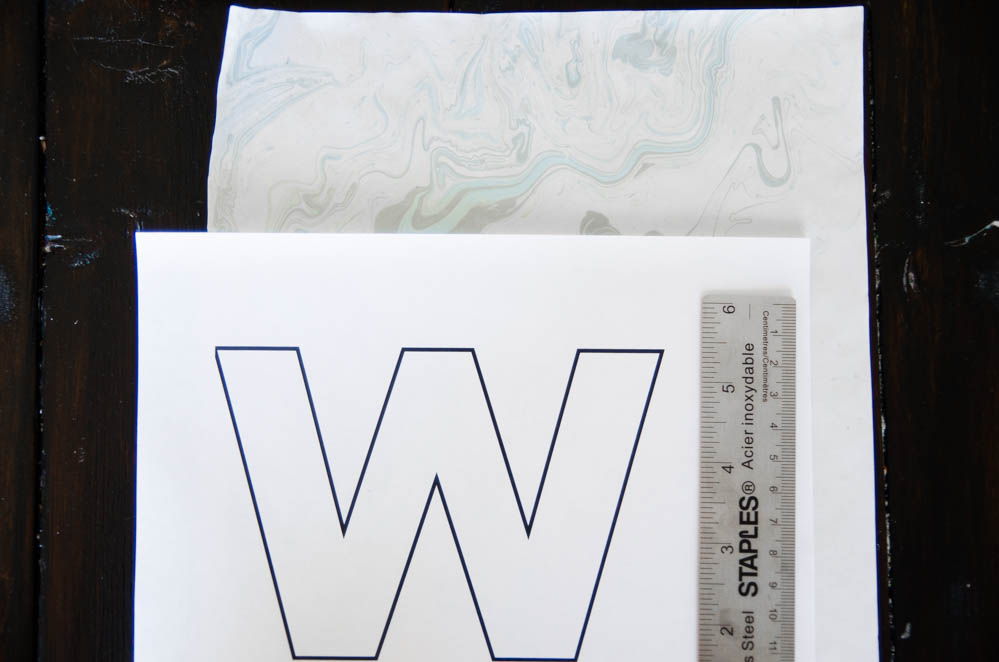
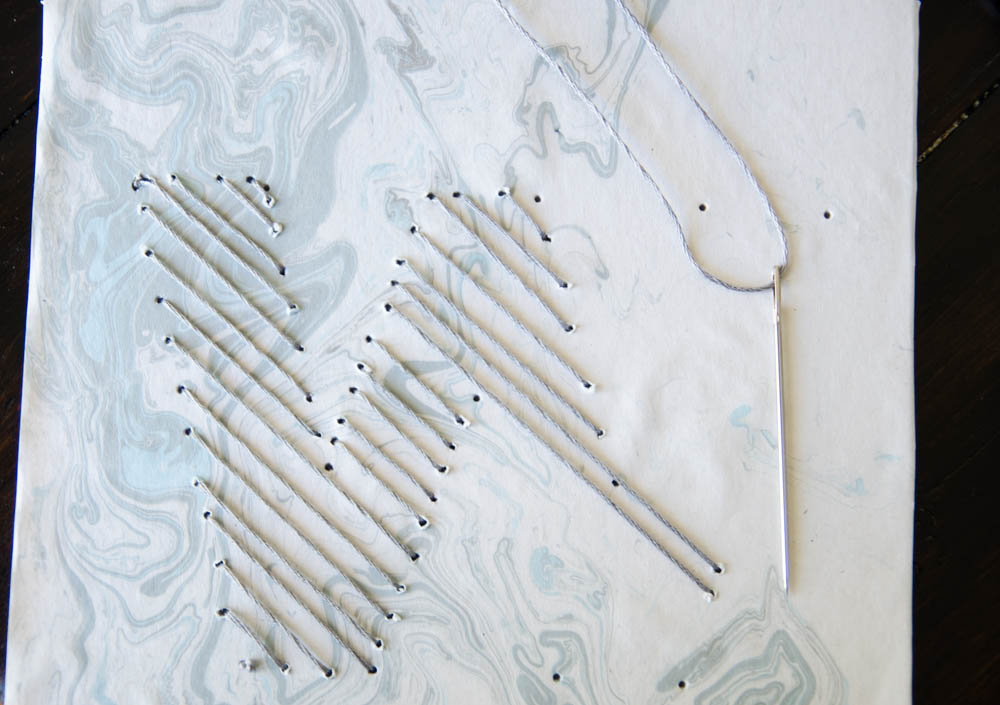
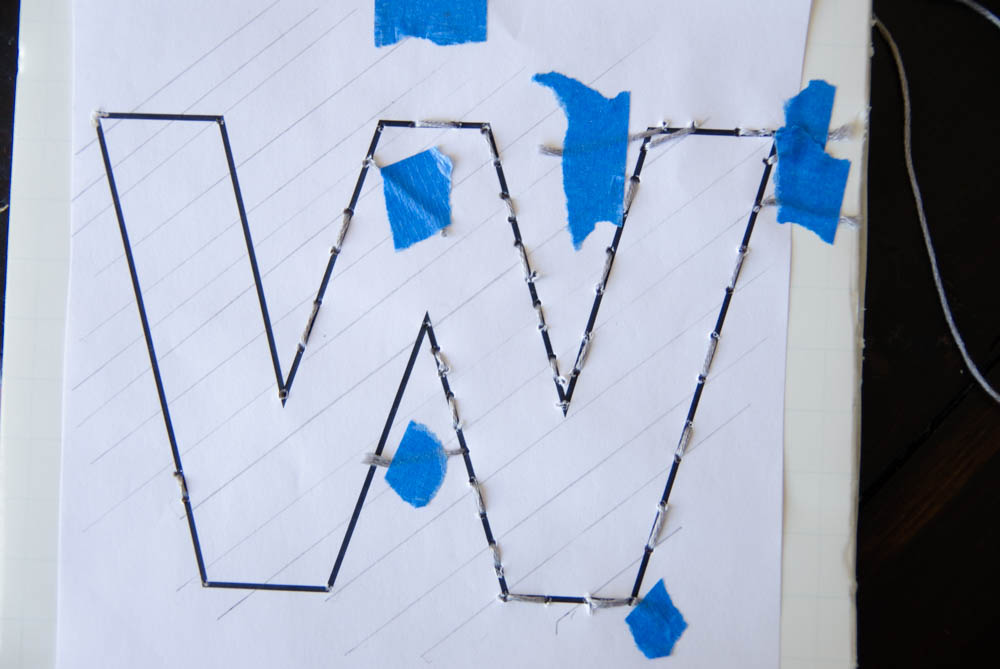
 Use painters tape to attach the outline to the BACK of the foam board. I put it on the back so I could keep all my knots on the reverse. Use a ruler to draw lines in the direction you would like your stitches.