On Raising a Creative Kid
May 16, 2016
Post by Danielle Kurtz, Creative Director at The Land of Nod
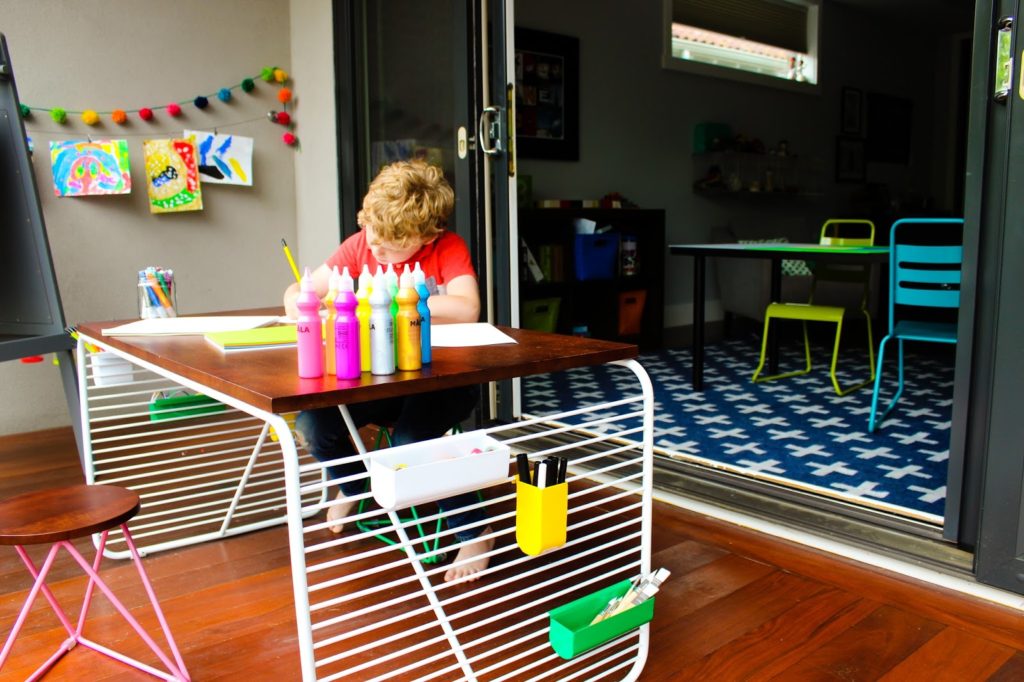
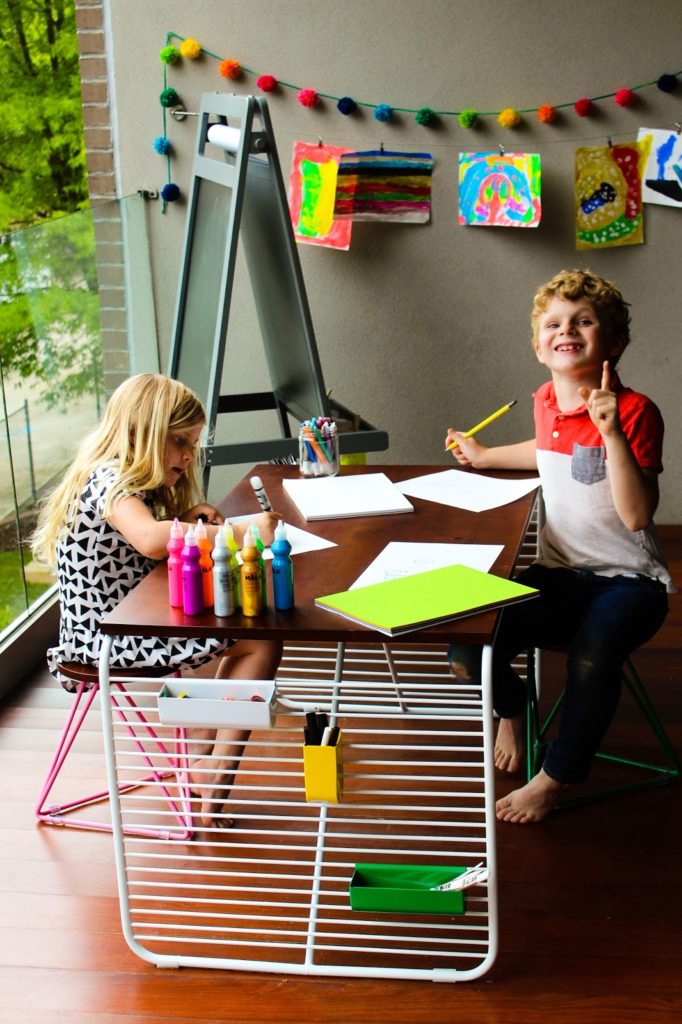
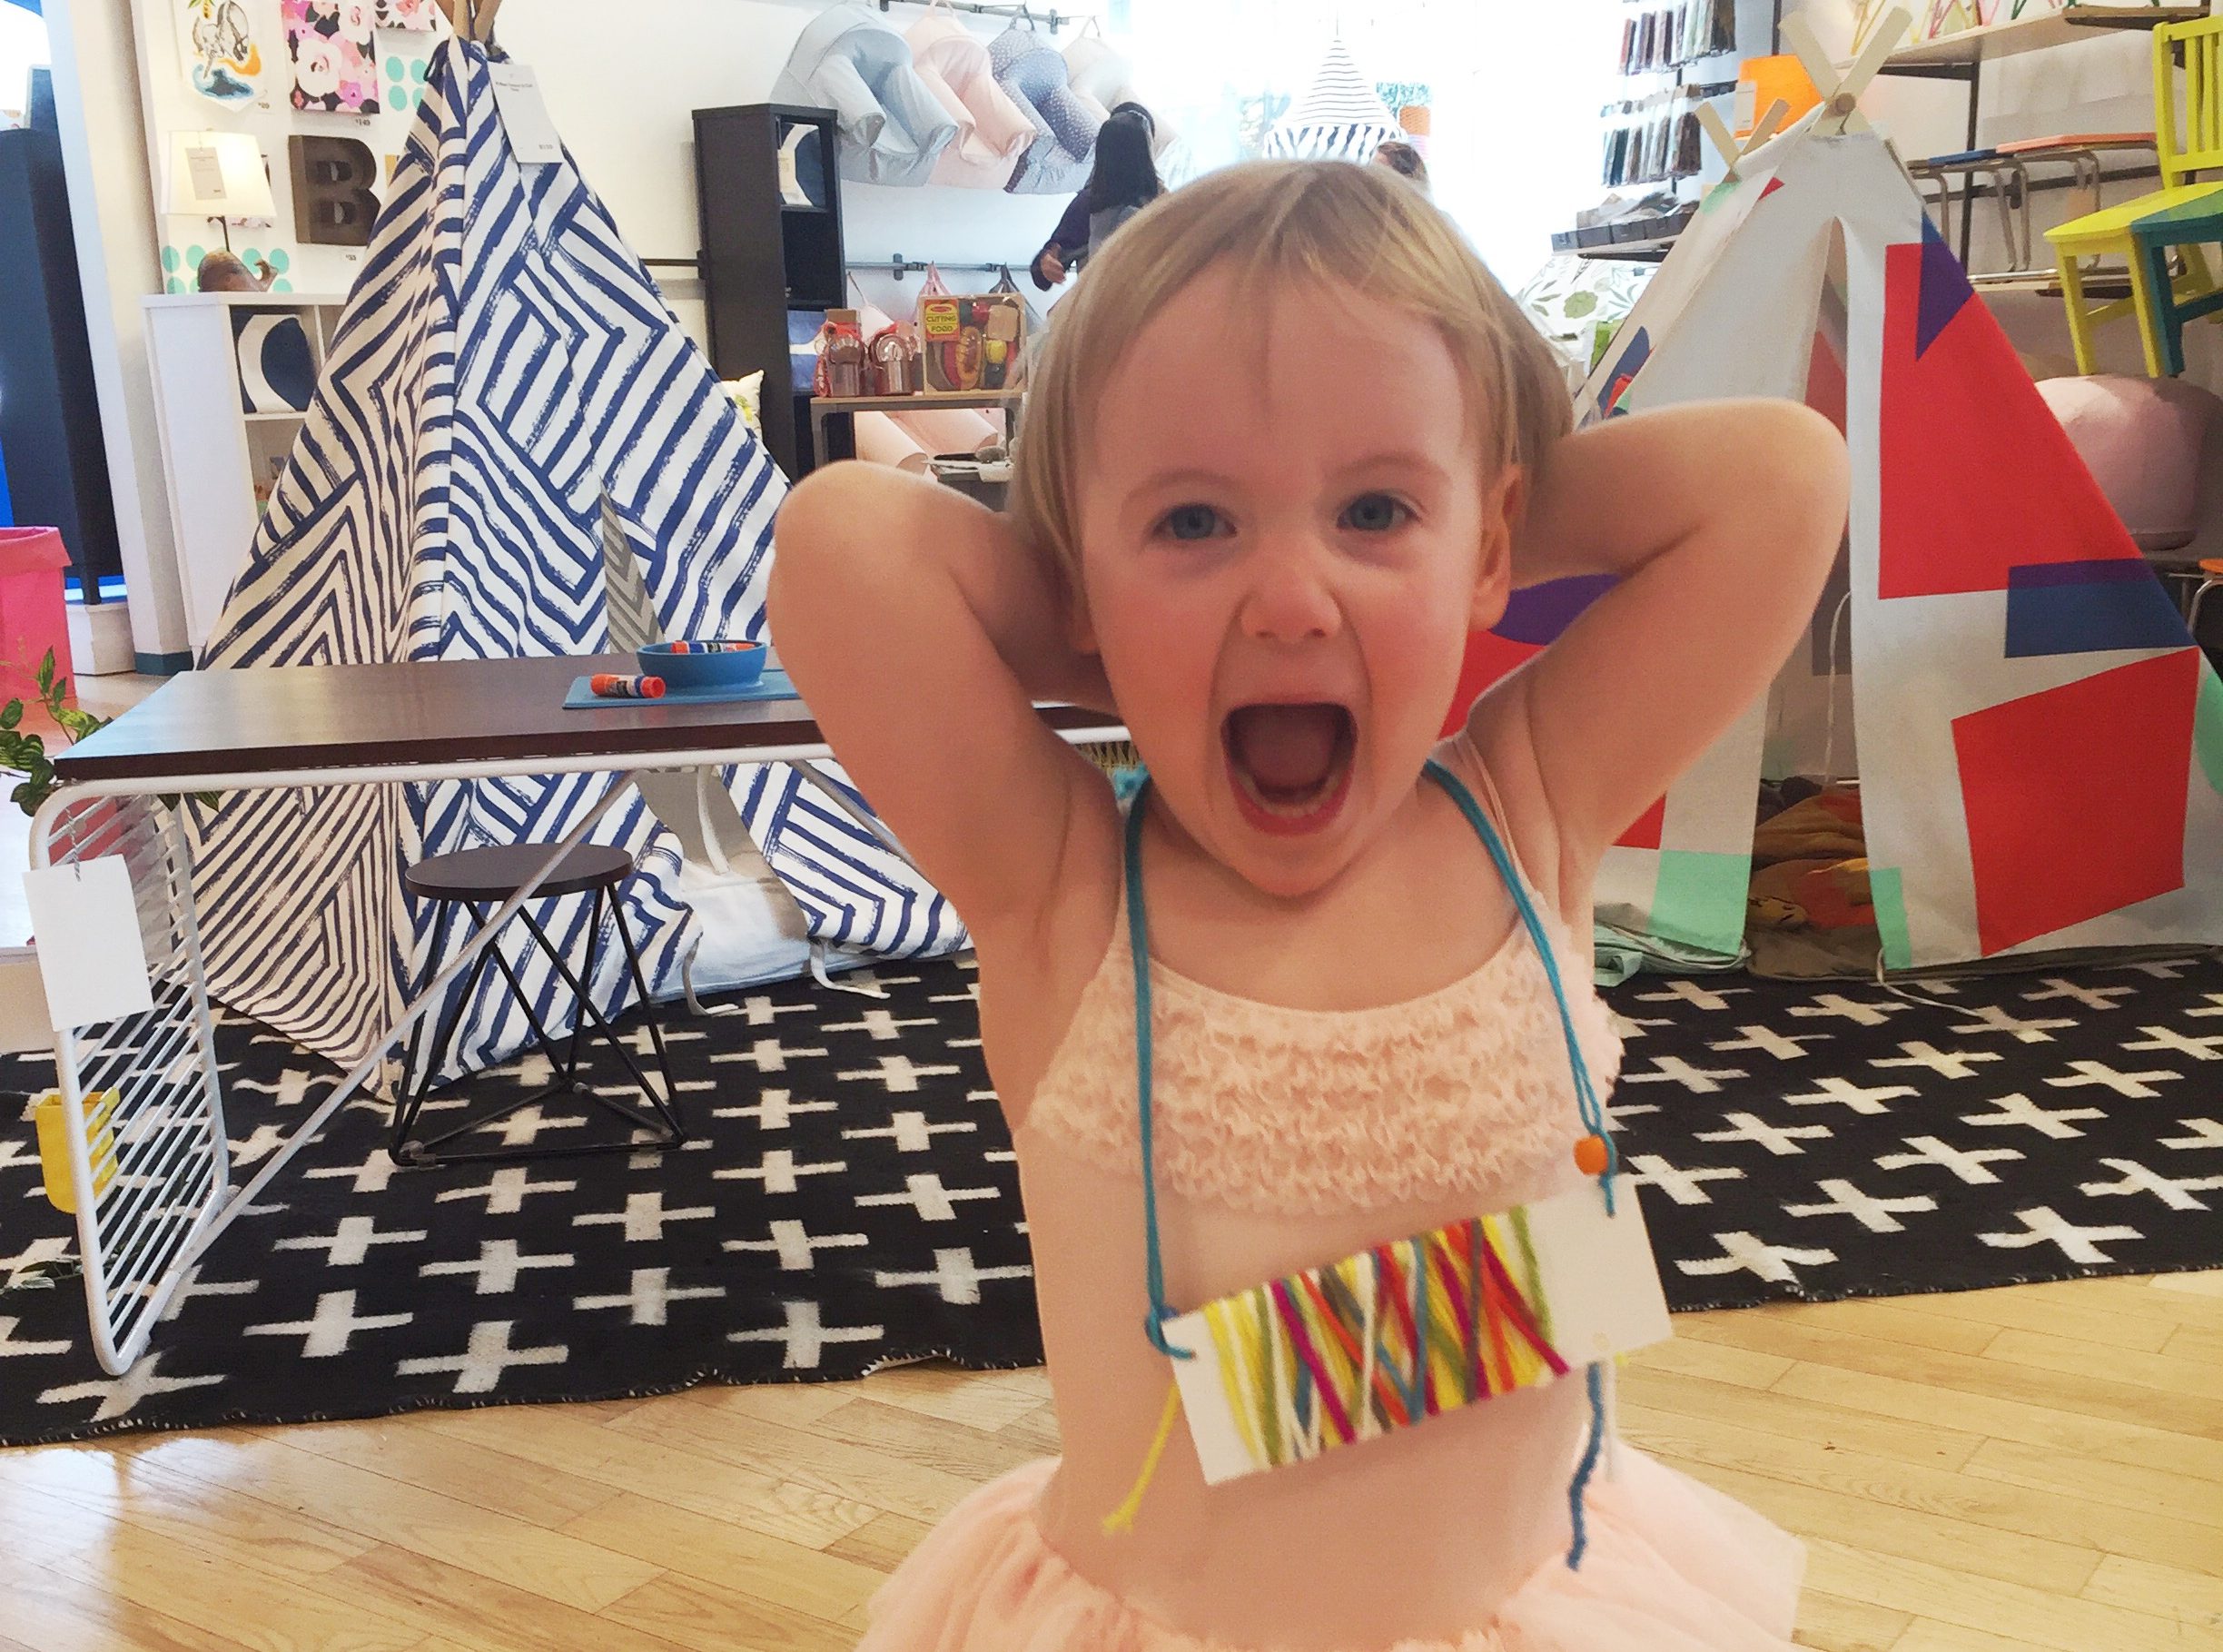
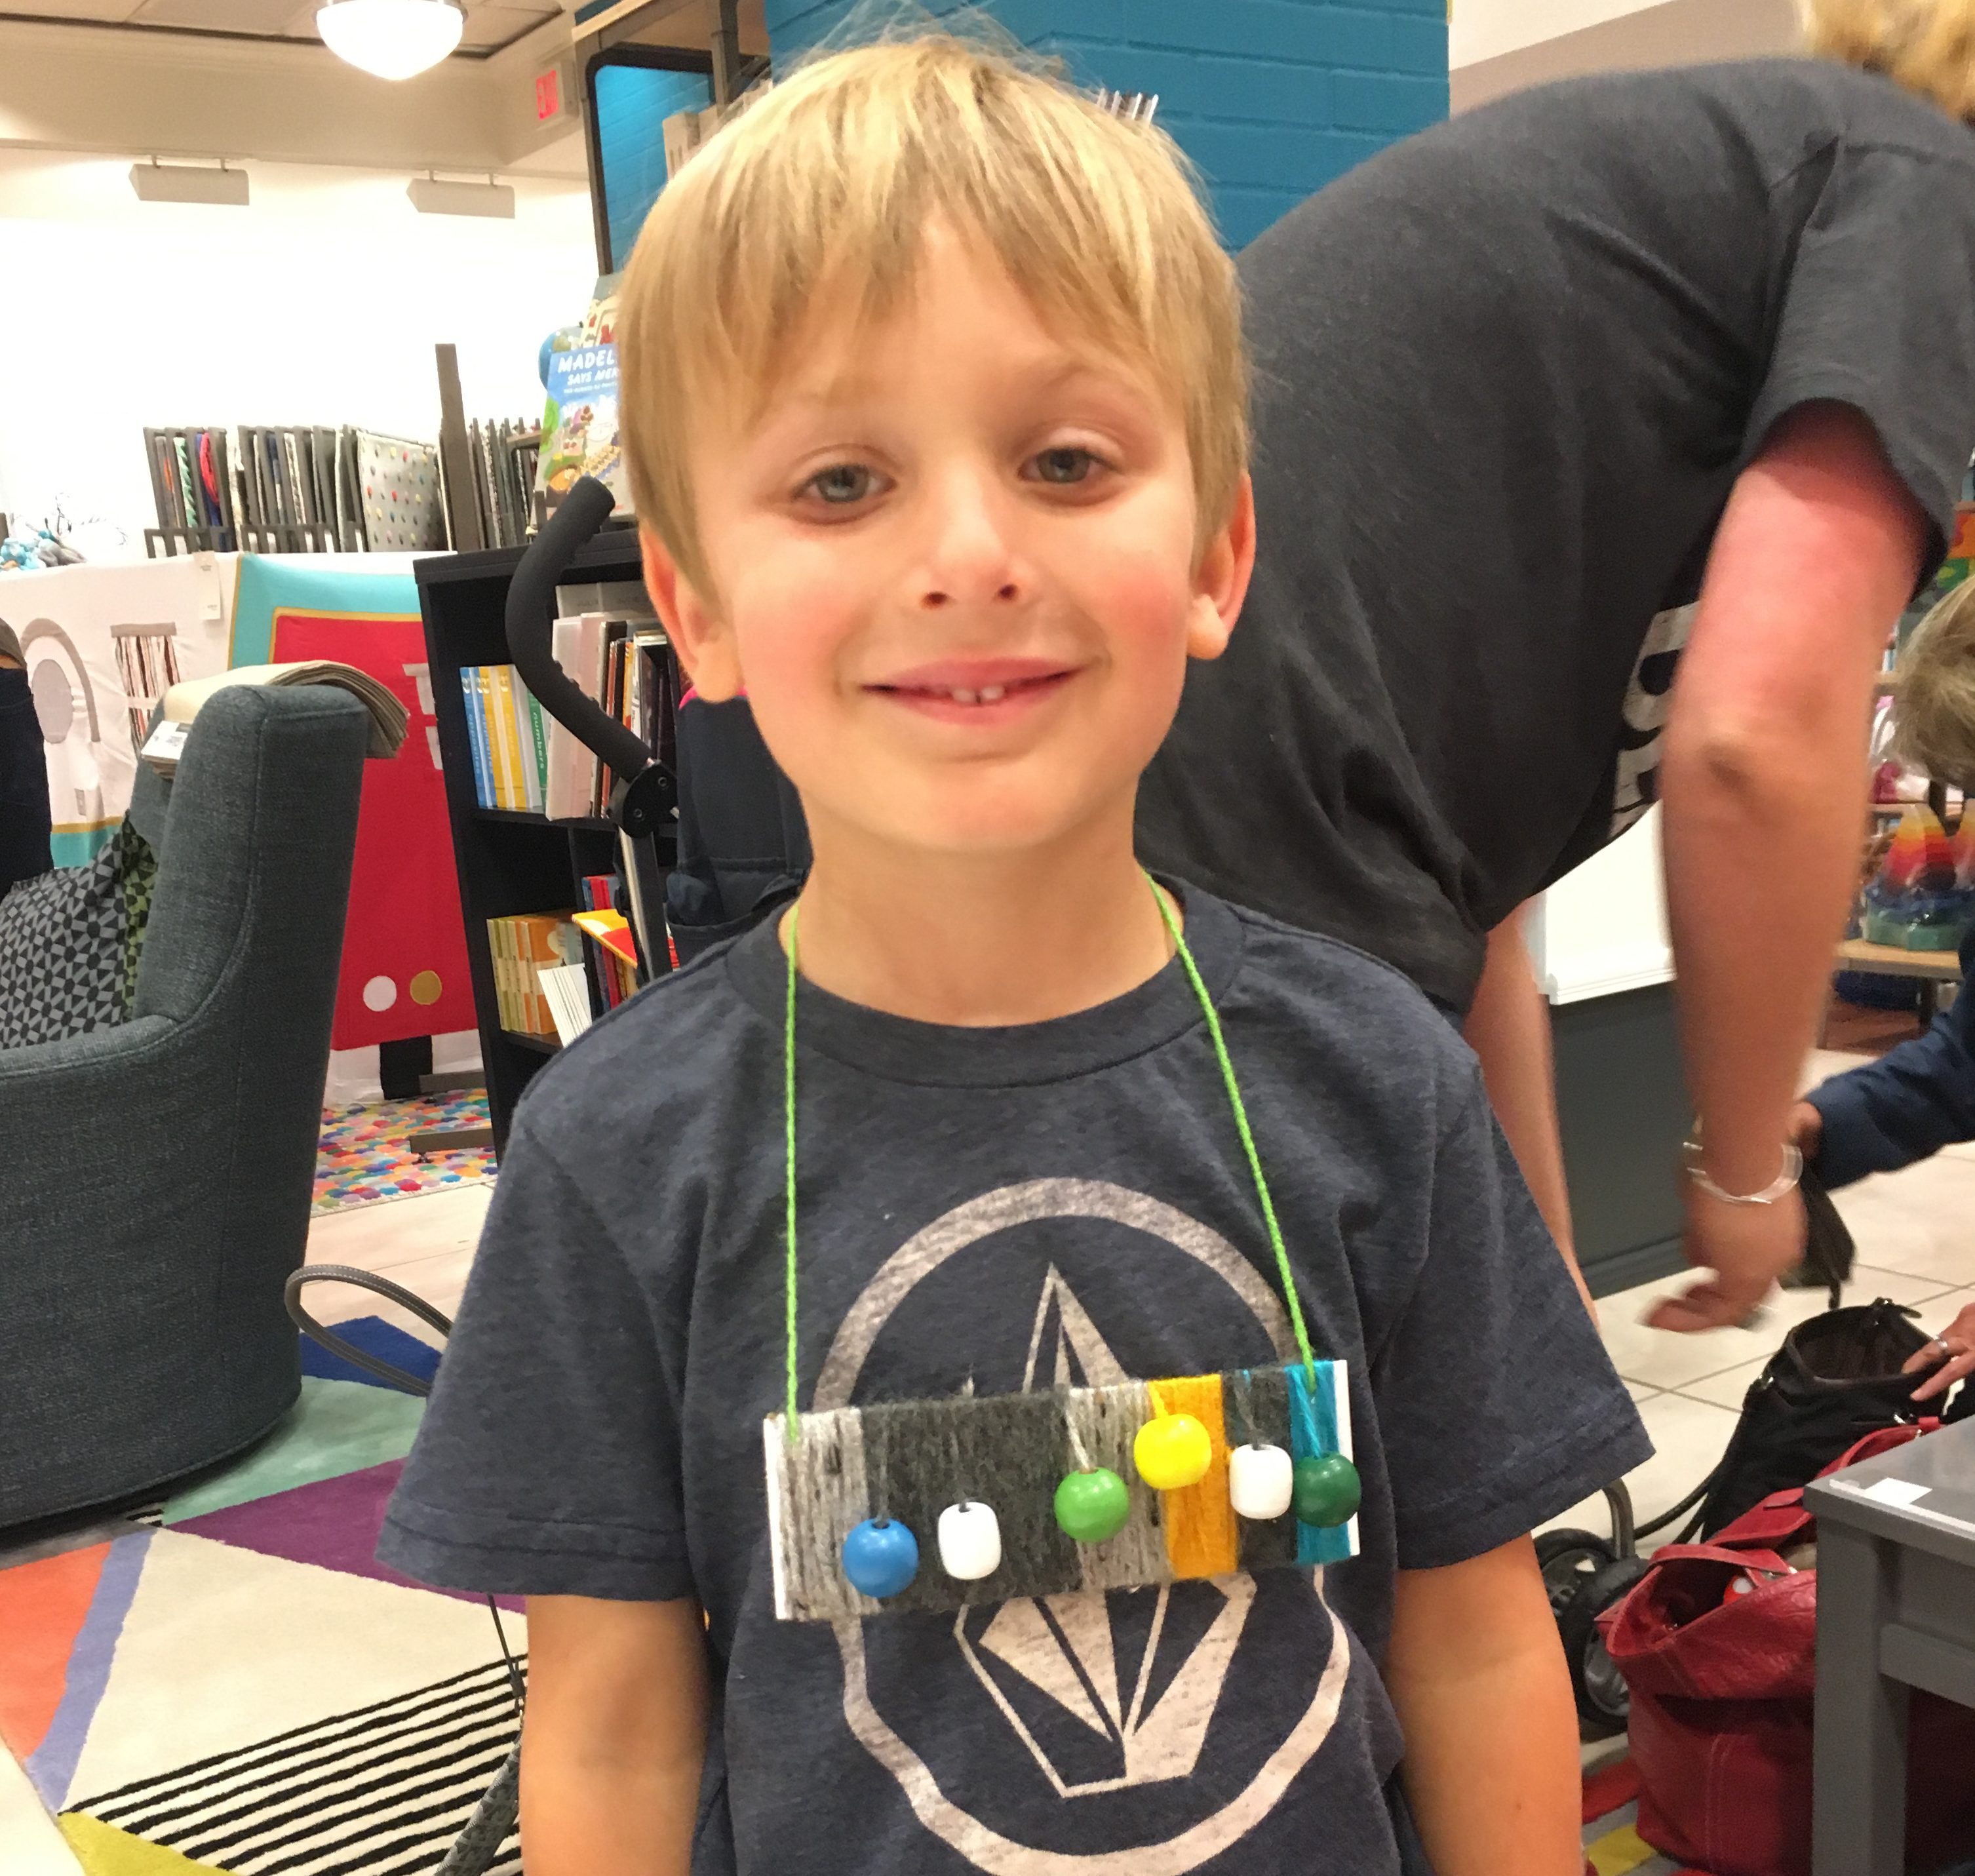
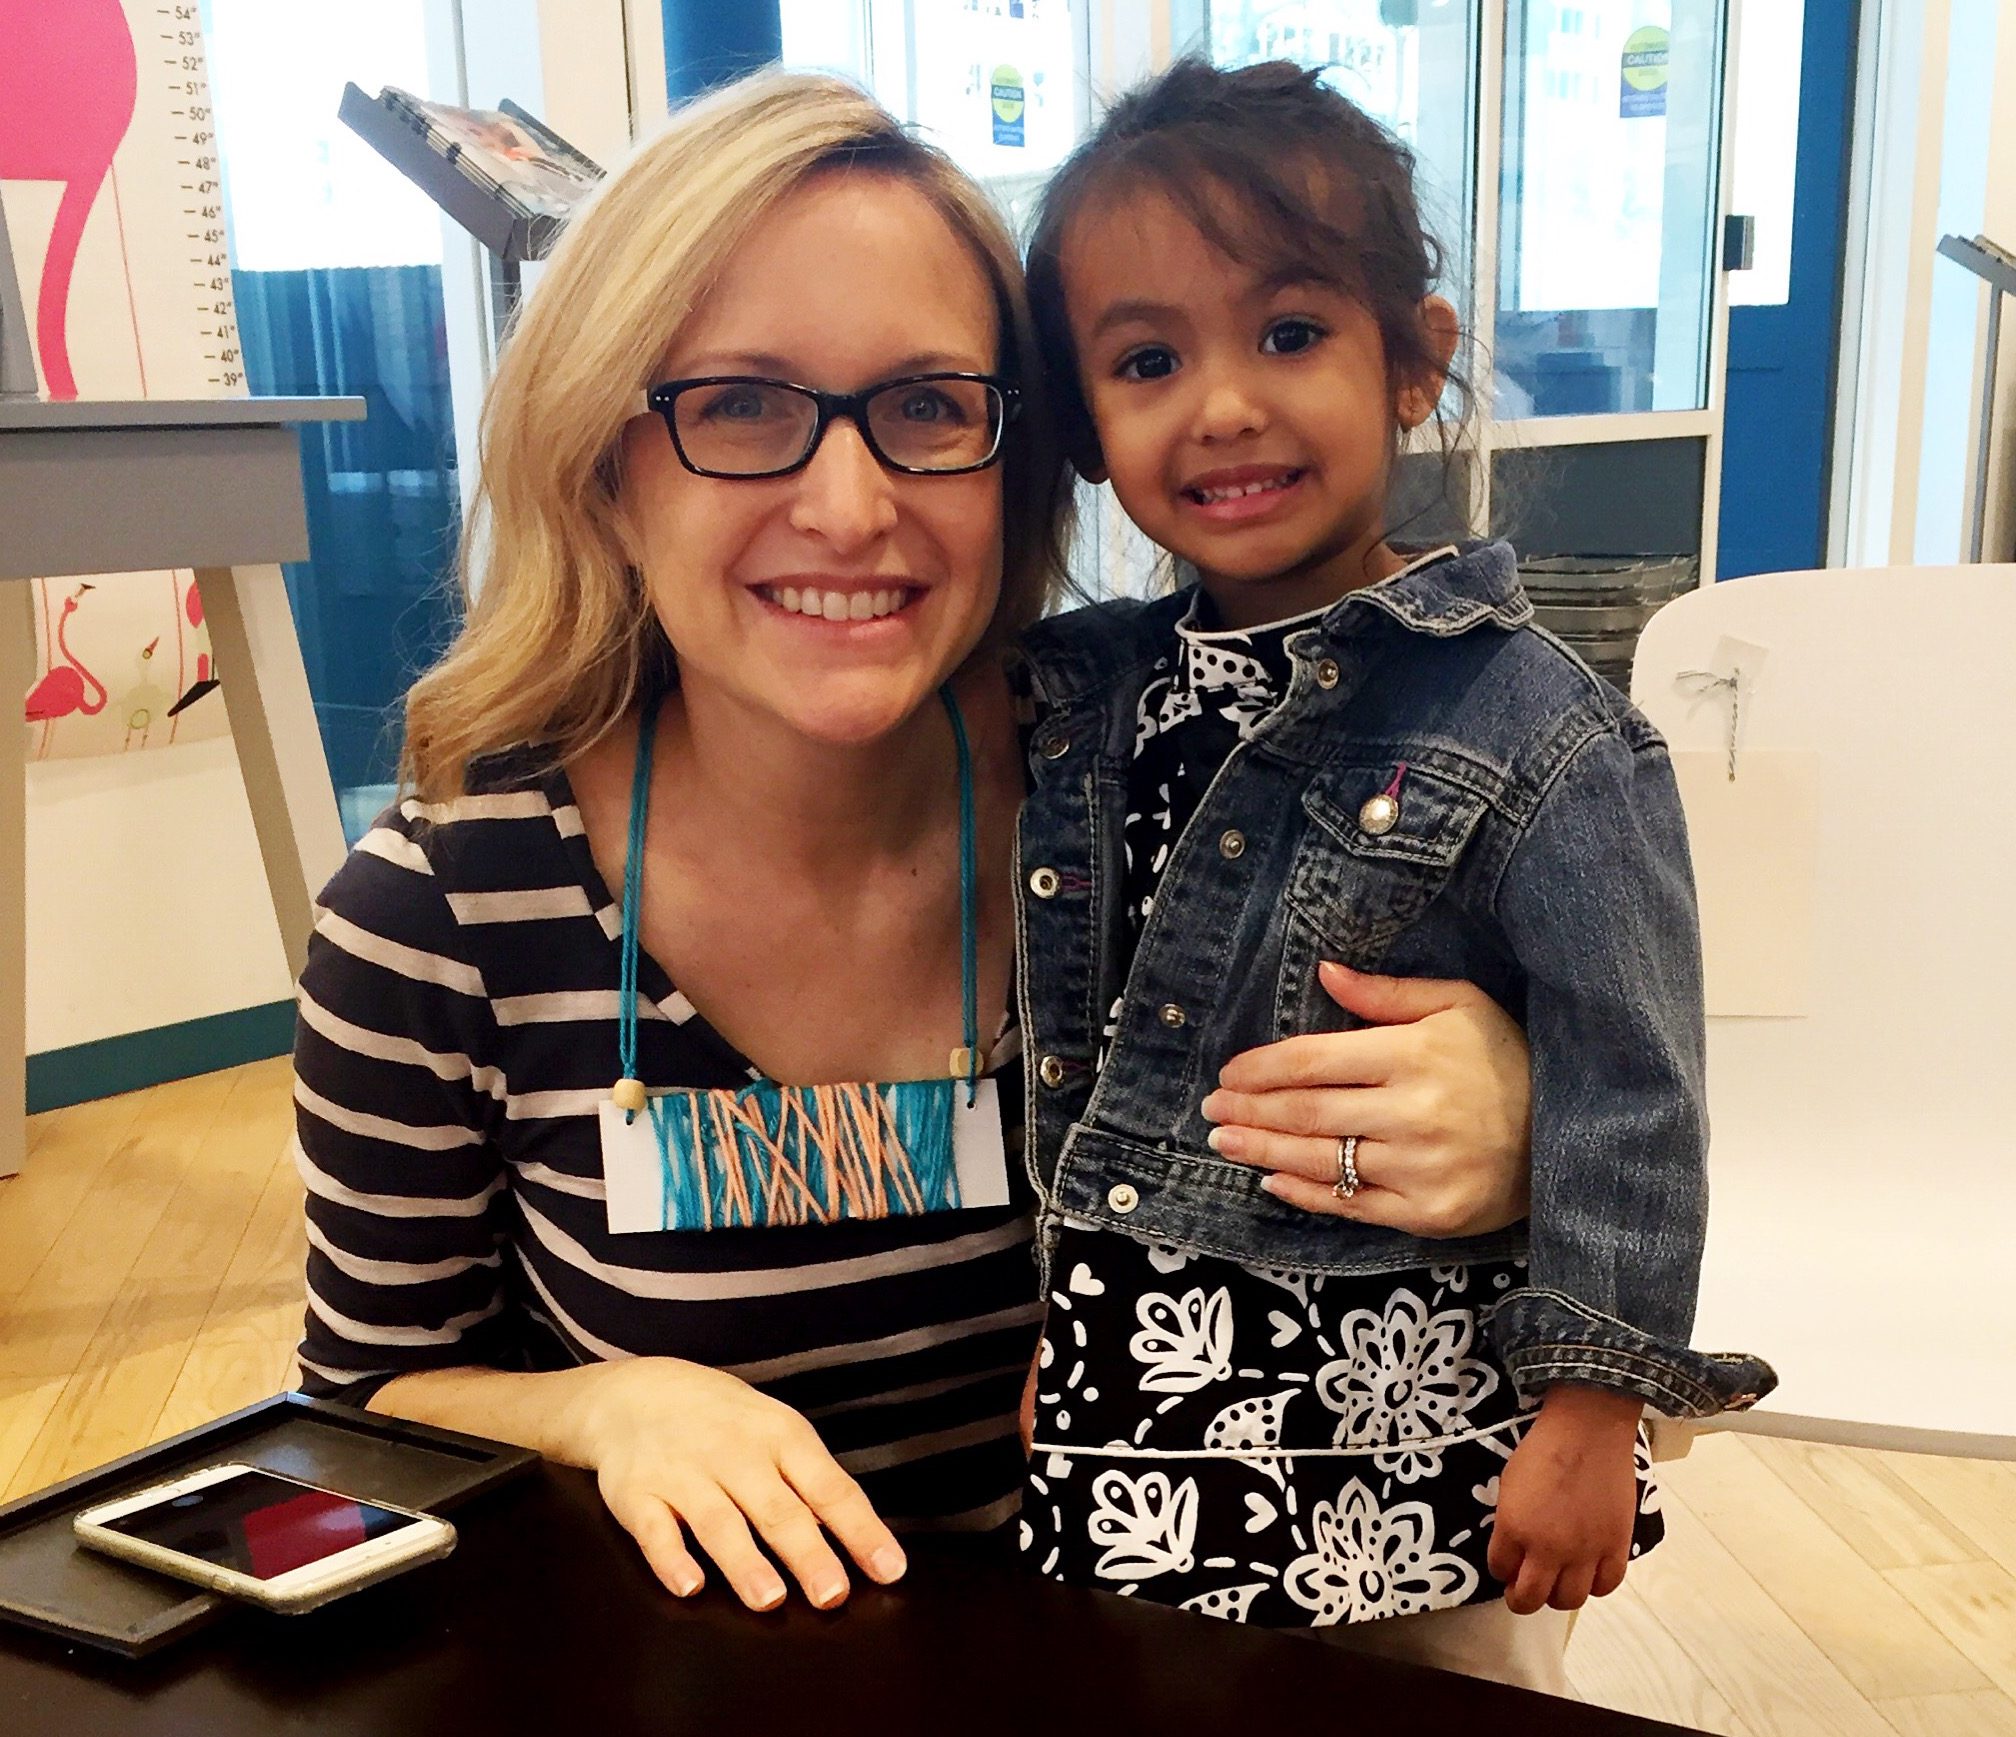
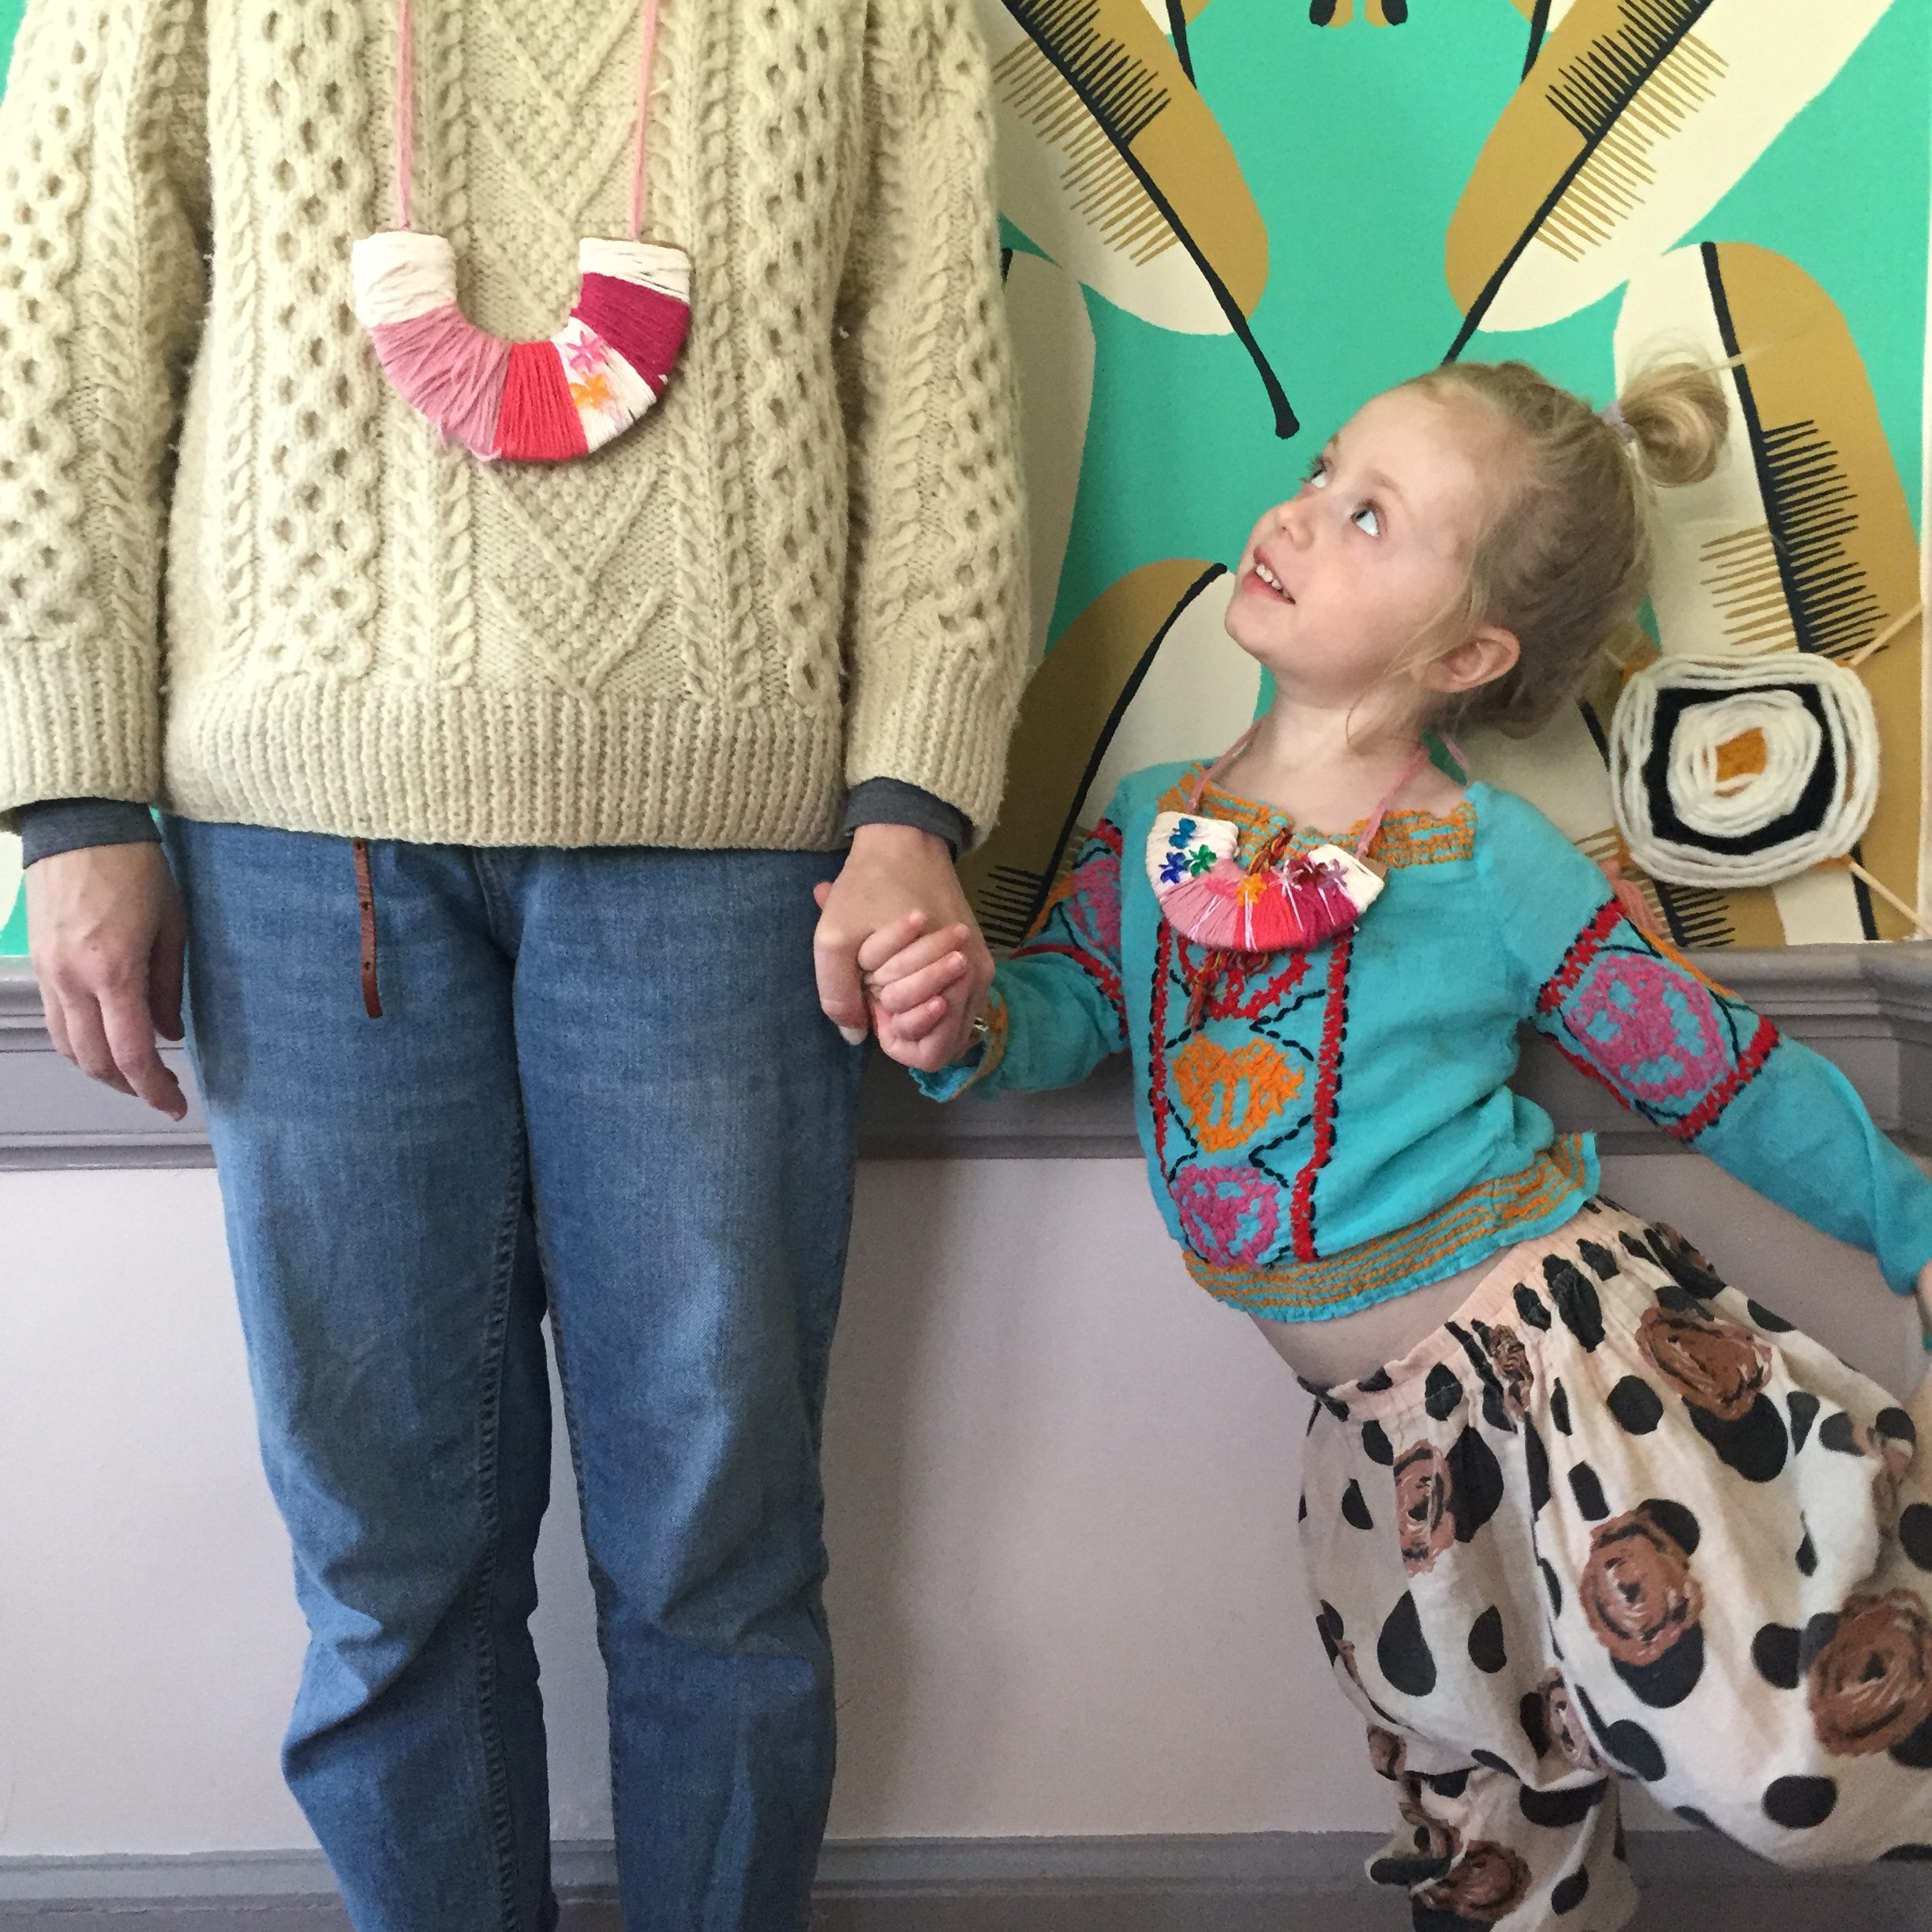
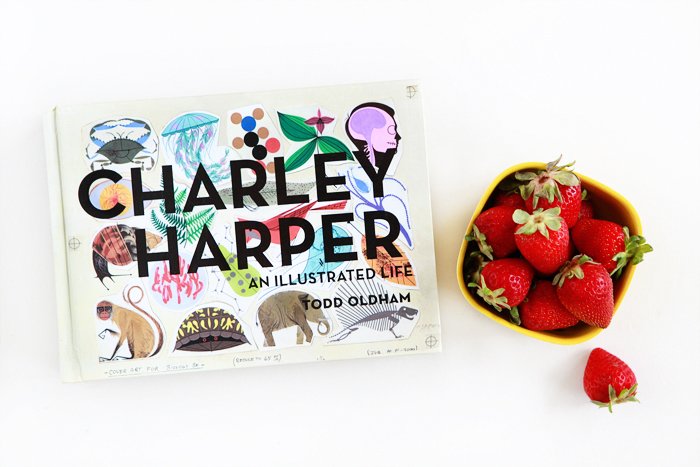
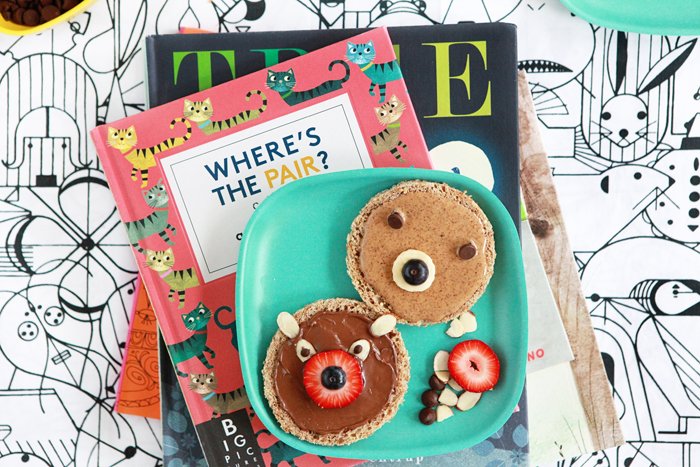
My five-year-old daughter Lottie is an avid crafter/artist/inventor. I’m constantly amazed at the things she creates out of random scraps she finds around the house. (Check out #createdbylottie for a peek at some of her creations.) I’m pretty sure she was simply born with her epic imagination, and she clearly inherited the incessant-need-to-craft gene. My mom, sister, grandma, aunts, cousins and great aunts are obsessive makers of all types (think weaving, crocheting, sewing, painting, doll making, etc). There aren’t a lot of idle hands in our family.

That said, I’ve definitely made a conscious choice to encourage her need to create. I’ve found a few methods to keep her more engaged in her crafting endeavors, and less interested in watching the latest toy review on YouTube Kids.
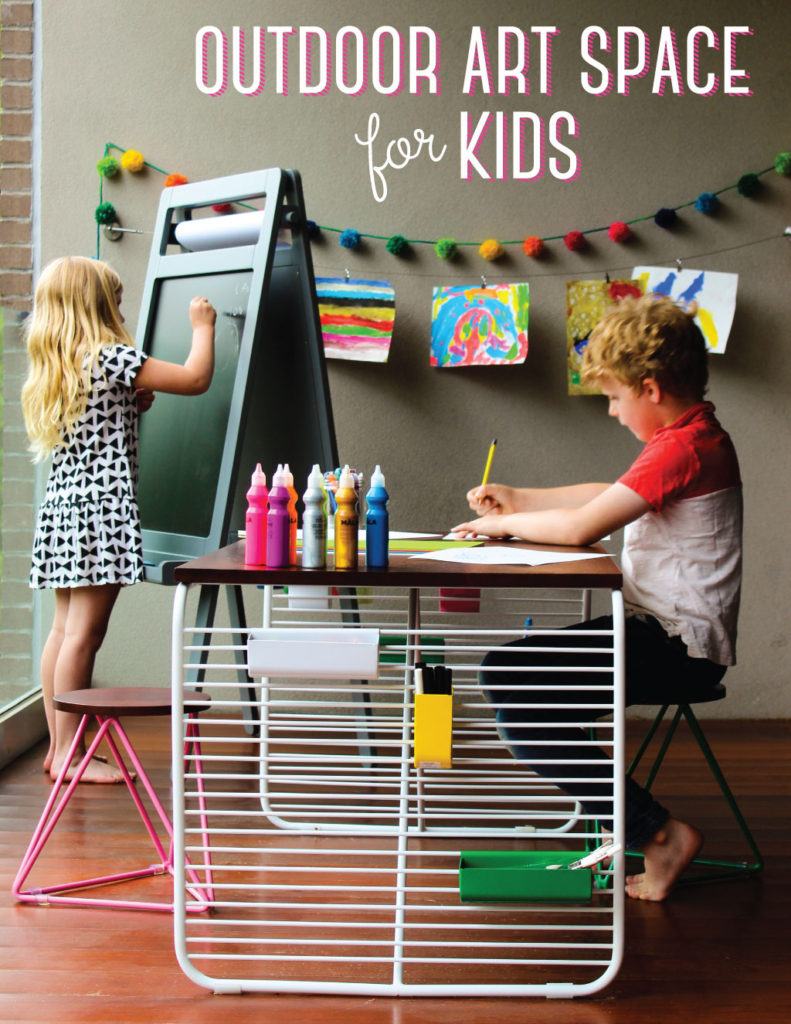
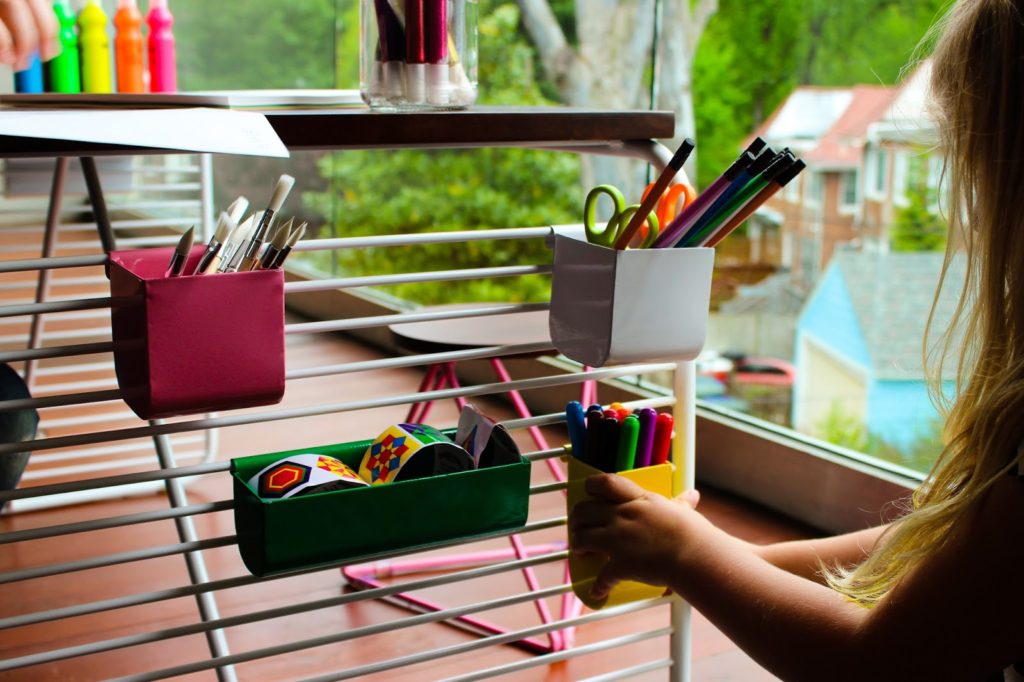
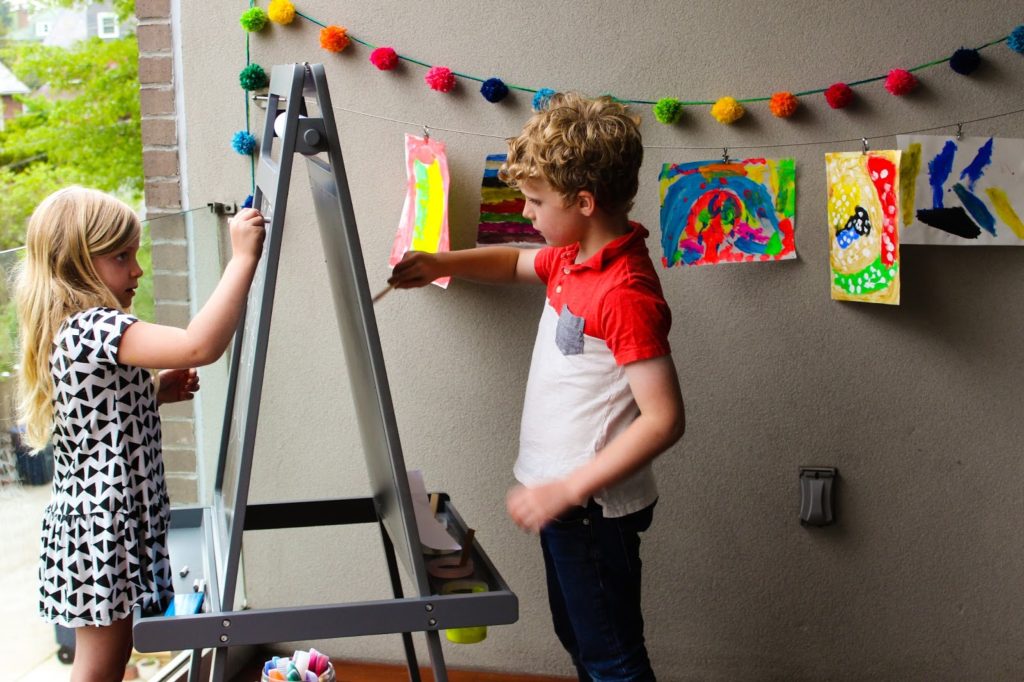
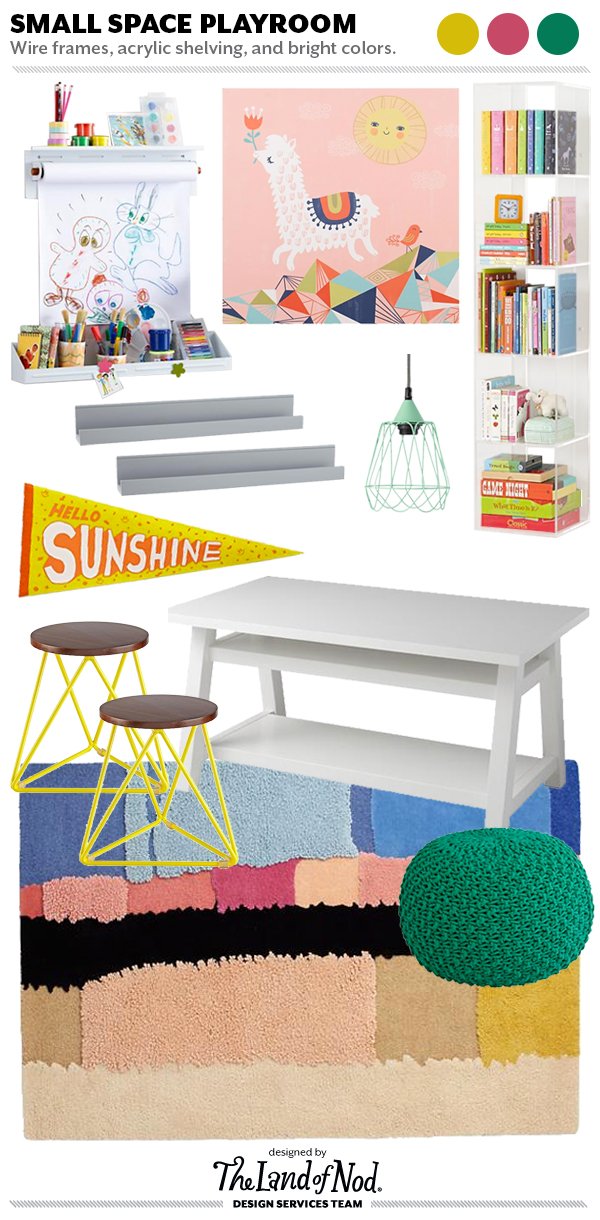
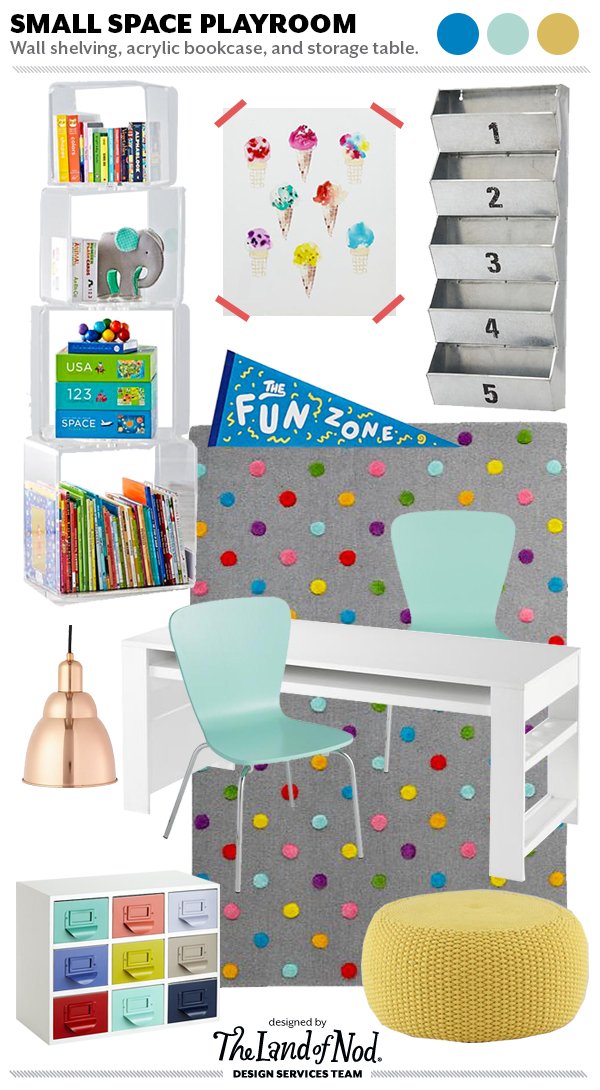
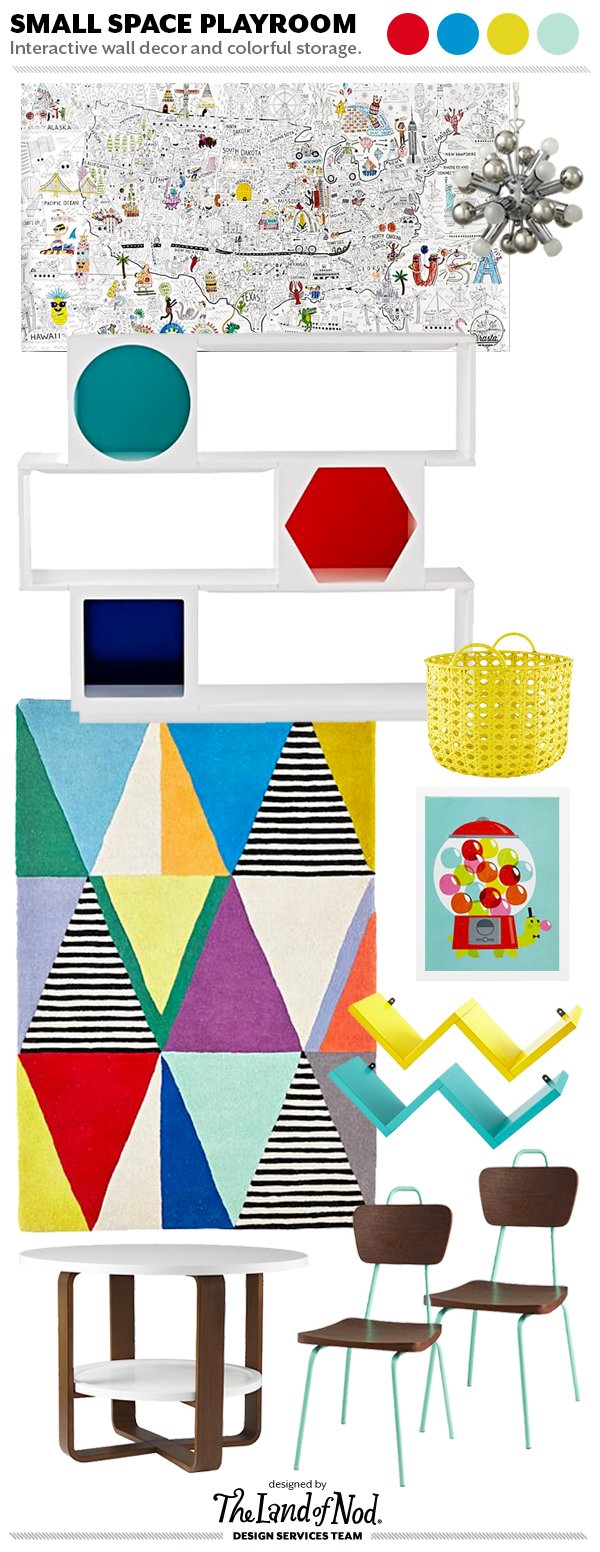
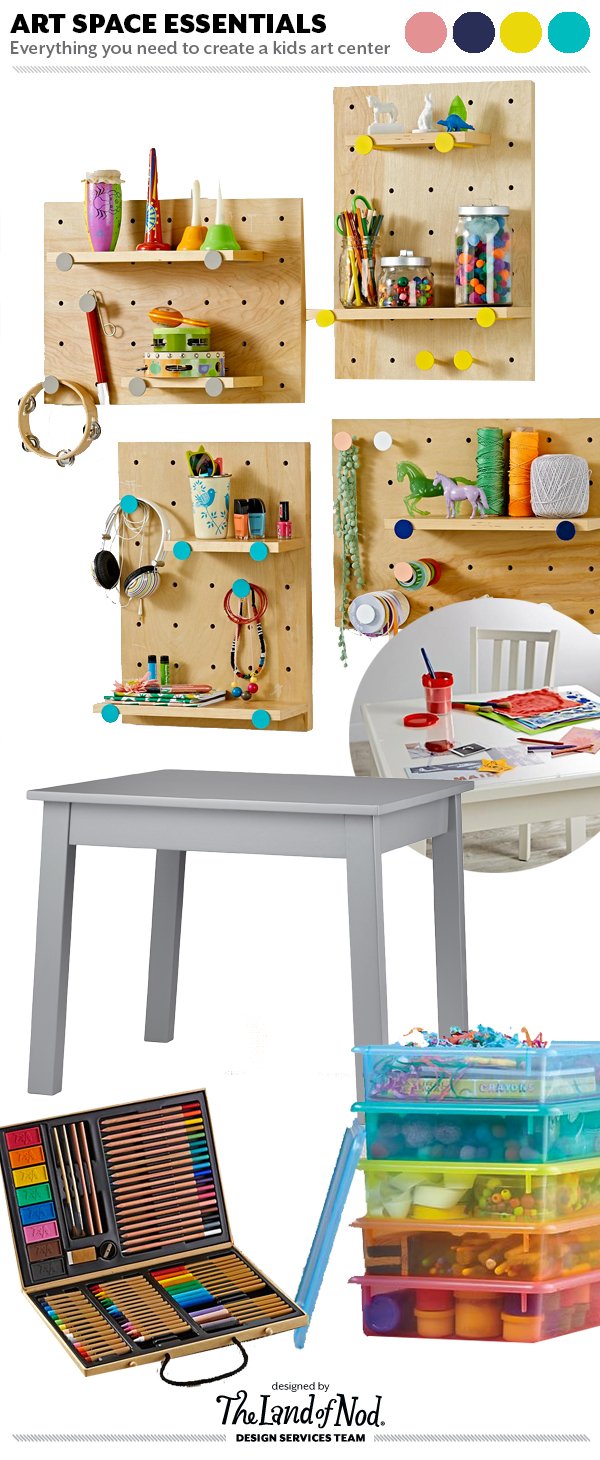
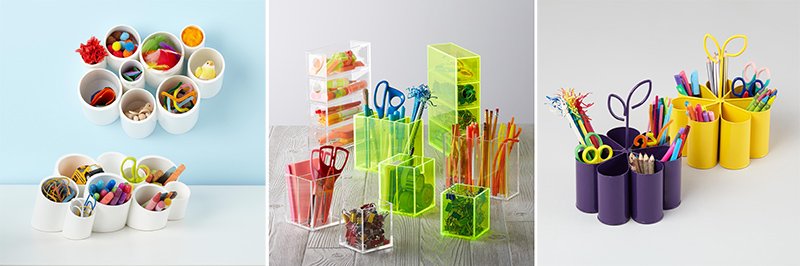
The first is simply to keep craft supplies out in the open and easily accessible. I know the easiest way to keep my living room clean would be to tuck all the art supplies neatly away in a bin on the top shelf of the bookcase in my basement playroom. But, out of sight out of mind. I’ve found that by keeping scissors, markers, glues, colored pencils and plenty of construction paper out in plain sight, she’s much more likely to pick up a pad of paper and start drawing, than if she had to make an effort to ask me to get it out for her. Also, she is much more likely to put it away when she’s done.
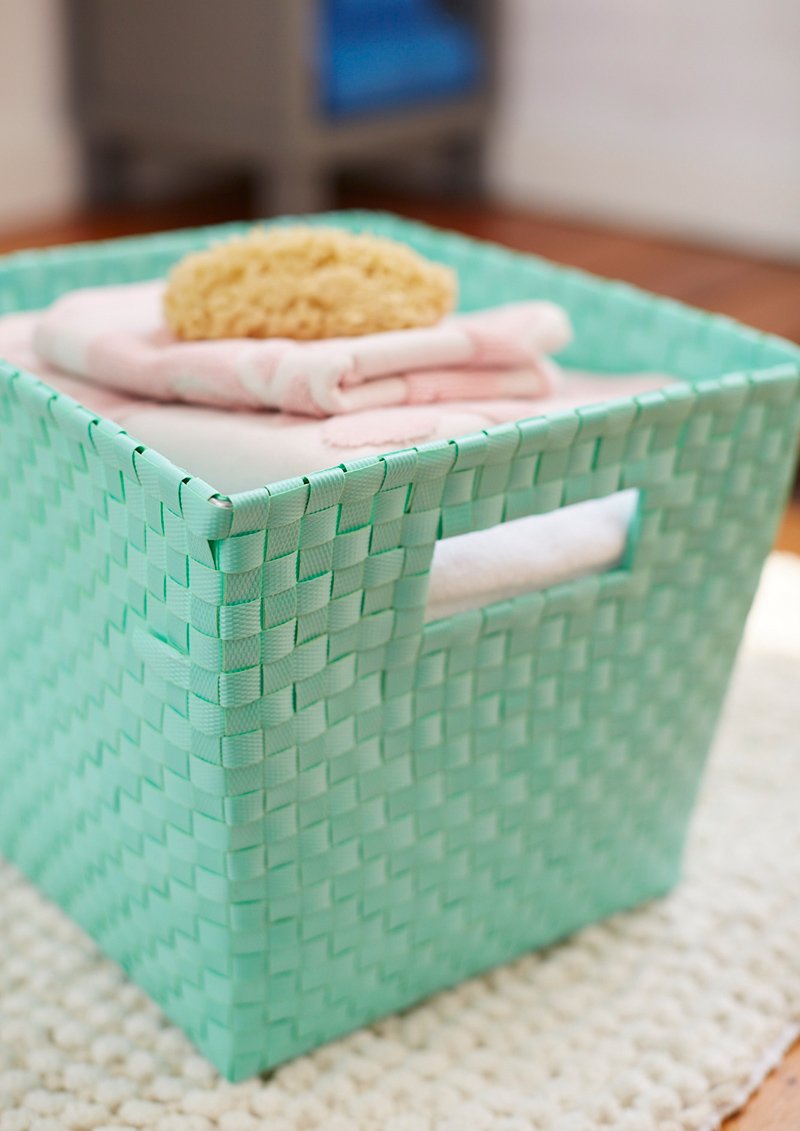
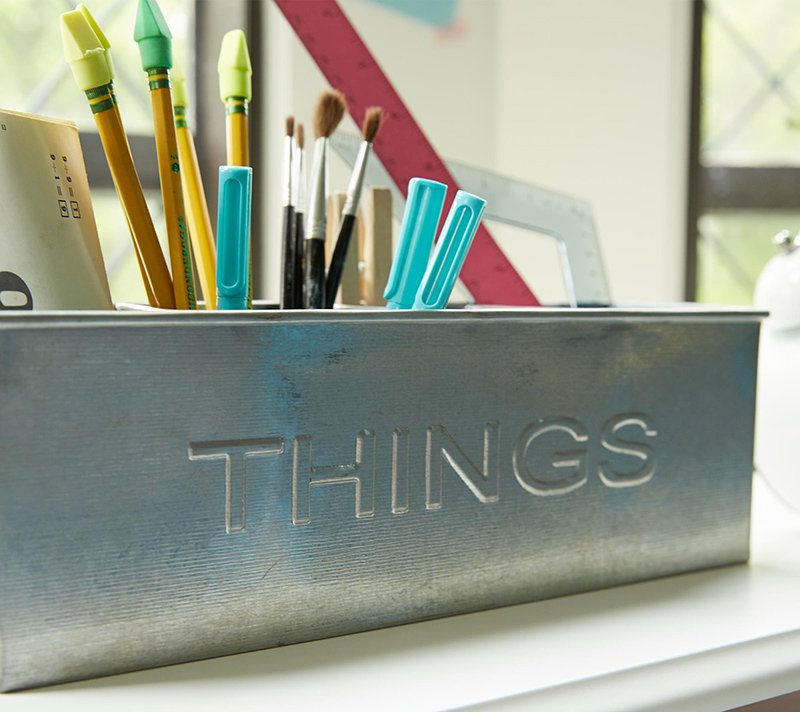
The key to this is to have containers designated to hold each type of supply. A bin for markers, one for crayons, another for scissors. And, maybe choose a drawer in your end table for pads of paper. Here are a few of my favorite storage bins for keeping all the supplies corralled, but easy to access.
But, you might be saying that you can’t possibly trust your 5 year old to have glue and markers on your living room couch. And, here’s where my second tactic comes in. Start ‘em early. I’ve let Lottie use all of these supplies since she was able to hold a crayon. And, I’ve always kept them out. It’s actually easier to police when they’re younger because they’re rarely hanging out alone. So, she learned the boundaries and rules early. I’ll be honest, I’m not totally insane, I don’t leave tubes of oil paint, loads of sharpies or buckets of glitter out on my coffee table, though she knows where all of that is and could get it if she wanted. That said, I also have an expectation that accidents might happen, which is exactly why I haven’t filled my family’s home with priceless heirlooms that can’t withstand a little scrubbing if needed, and I do buy washable markers.
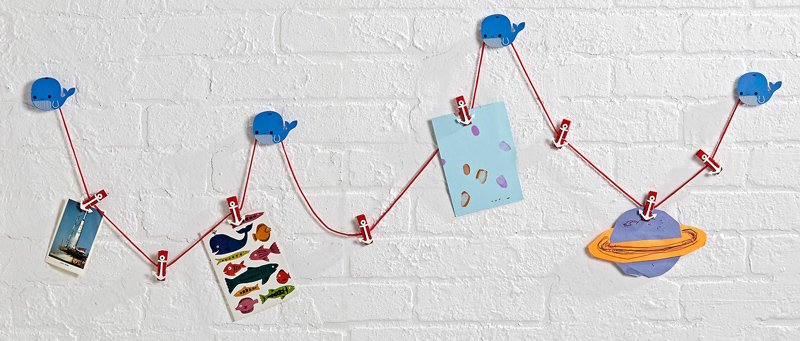
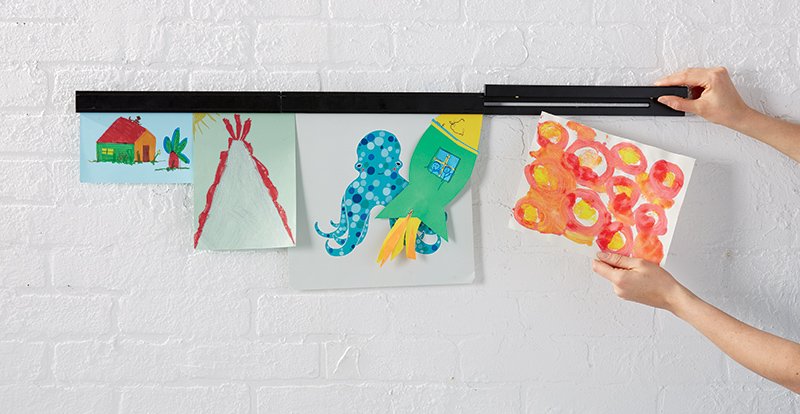
And, finally, the real key to embracing her creativity for me has been to take a deep breath and accept the mess. She’s crazy about making things out of paper. Lots of collaging and such, so she’s basically a one-woman confetti factory. It’s not always easy to have my living room covered in her paper creations. I have to fight the urge to scoop it all up and toss it in the recycling bin, but then she’d just raid the recycling bin and turn it into something else. Kind of a futile battle. But, I do try to keep it somewhat under control by recycling what she’s done with, archiving what I imagine I’ll love looking back on in 30 years.
I have to say, being the mom of an artist is pretty awesome. And, as I said, it’s likely more nature than nurture. But, if I can help her hang onto that crazy incredible imagination even a little longer, then it’ll be worth all the cleanup.
Danielle is the Creative Director at Nod and an over-protective mother of two. She’s also completely obsessed with Pinterest, Twitter, Instagram and her Kindle, but not necessarily in that order. Danielle loves to craft, sew and crochet. Her current craft of choice is weaving tiny wall tapestries.


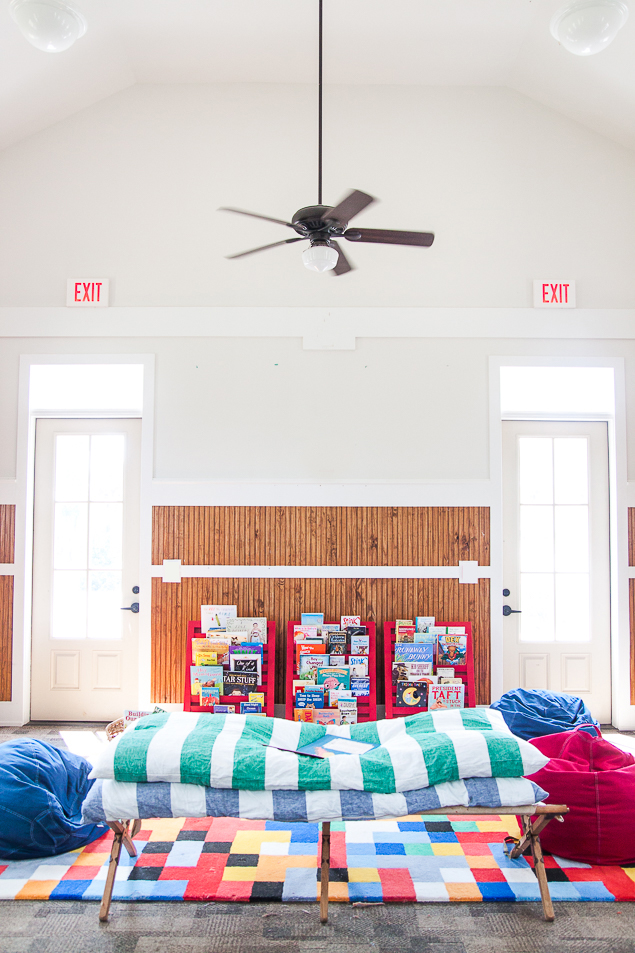

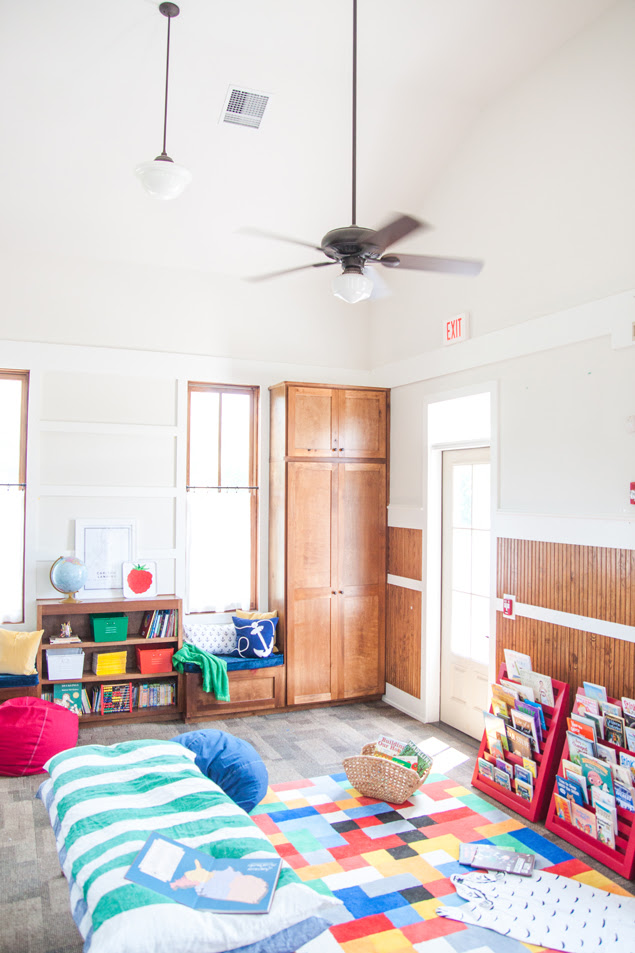
 Before we refreshed the room, it was housing broken pieces of play equipment, old art supplies and was used as a catch-all. We saw the potential for this room along with Yolanda, the tall ceilings and huge windows provided great bones to work with.


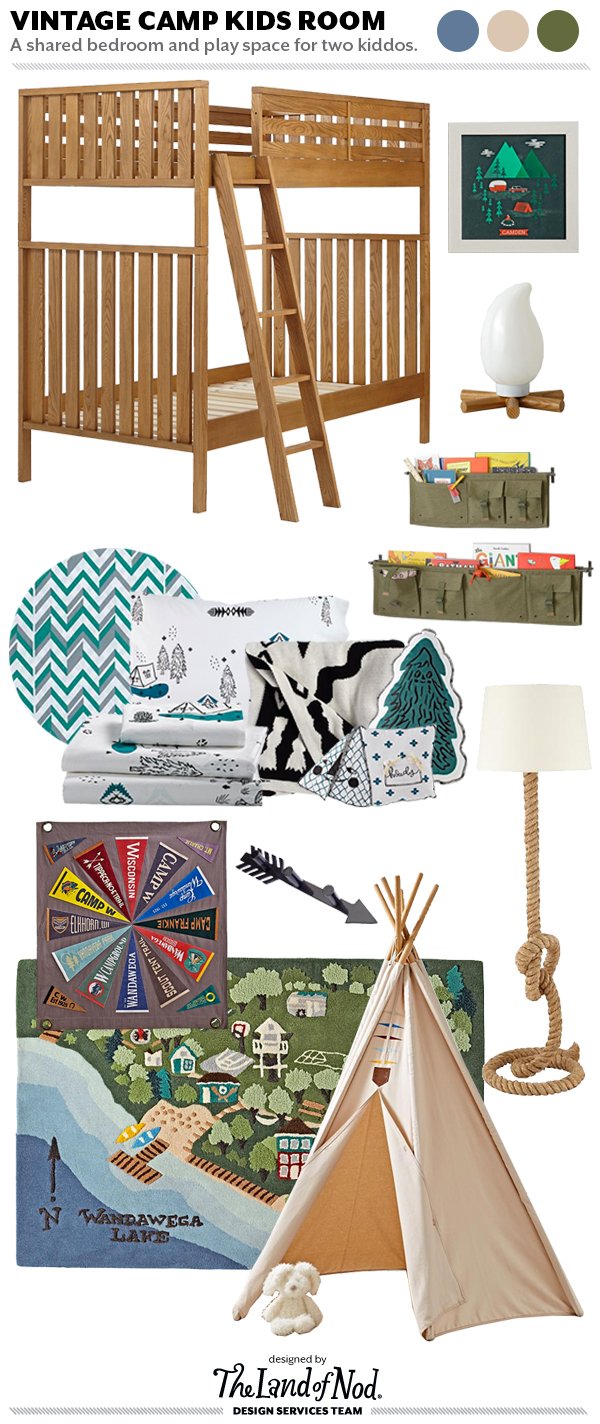
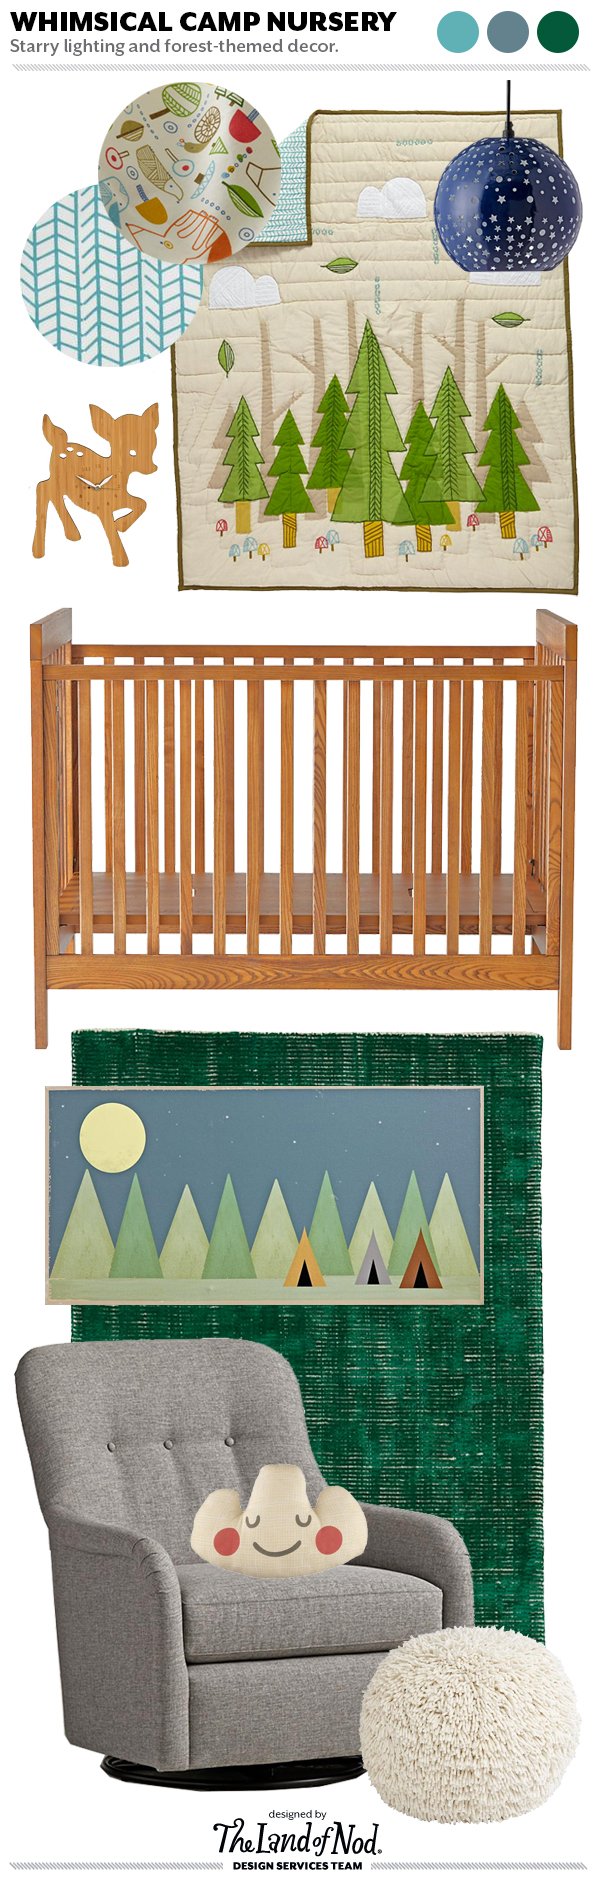


 We were excited when The land of Nod asked us to explore the design possibilities for their