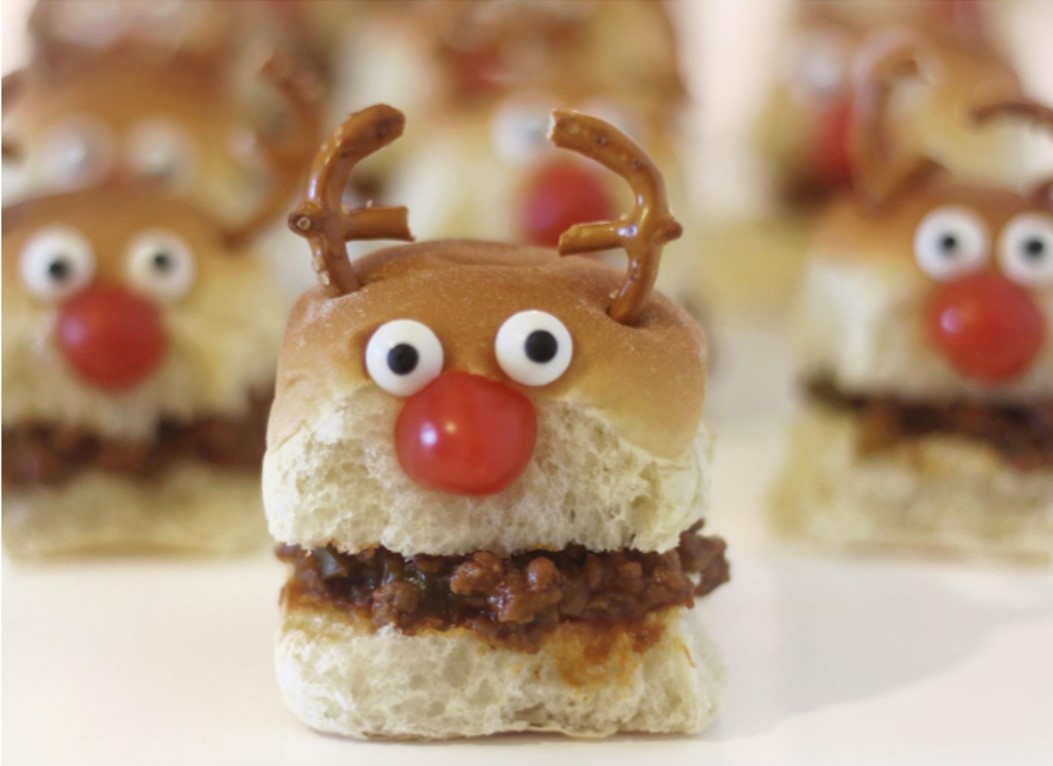
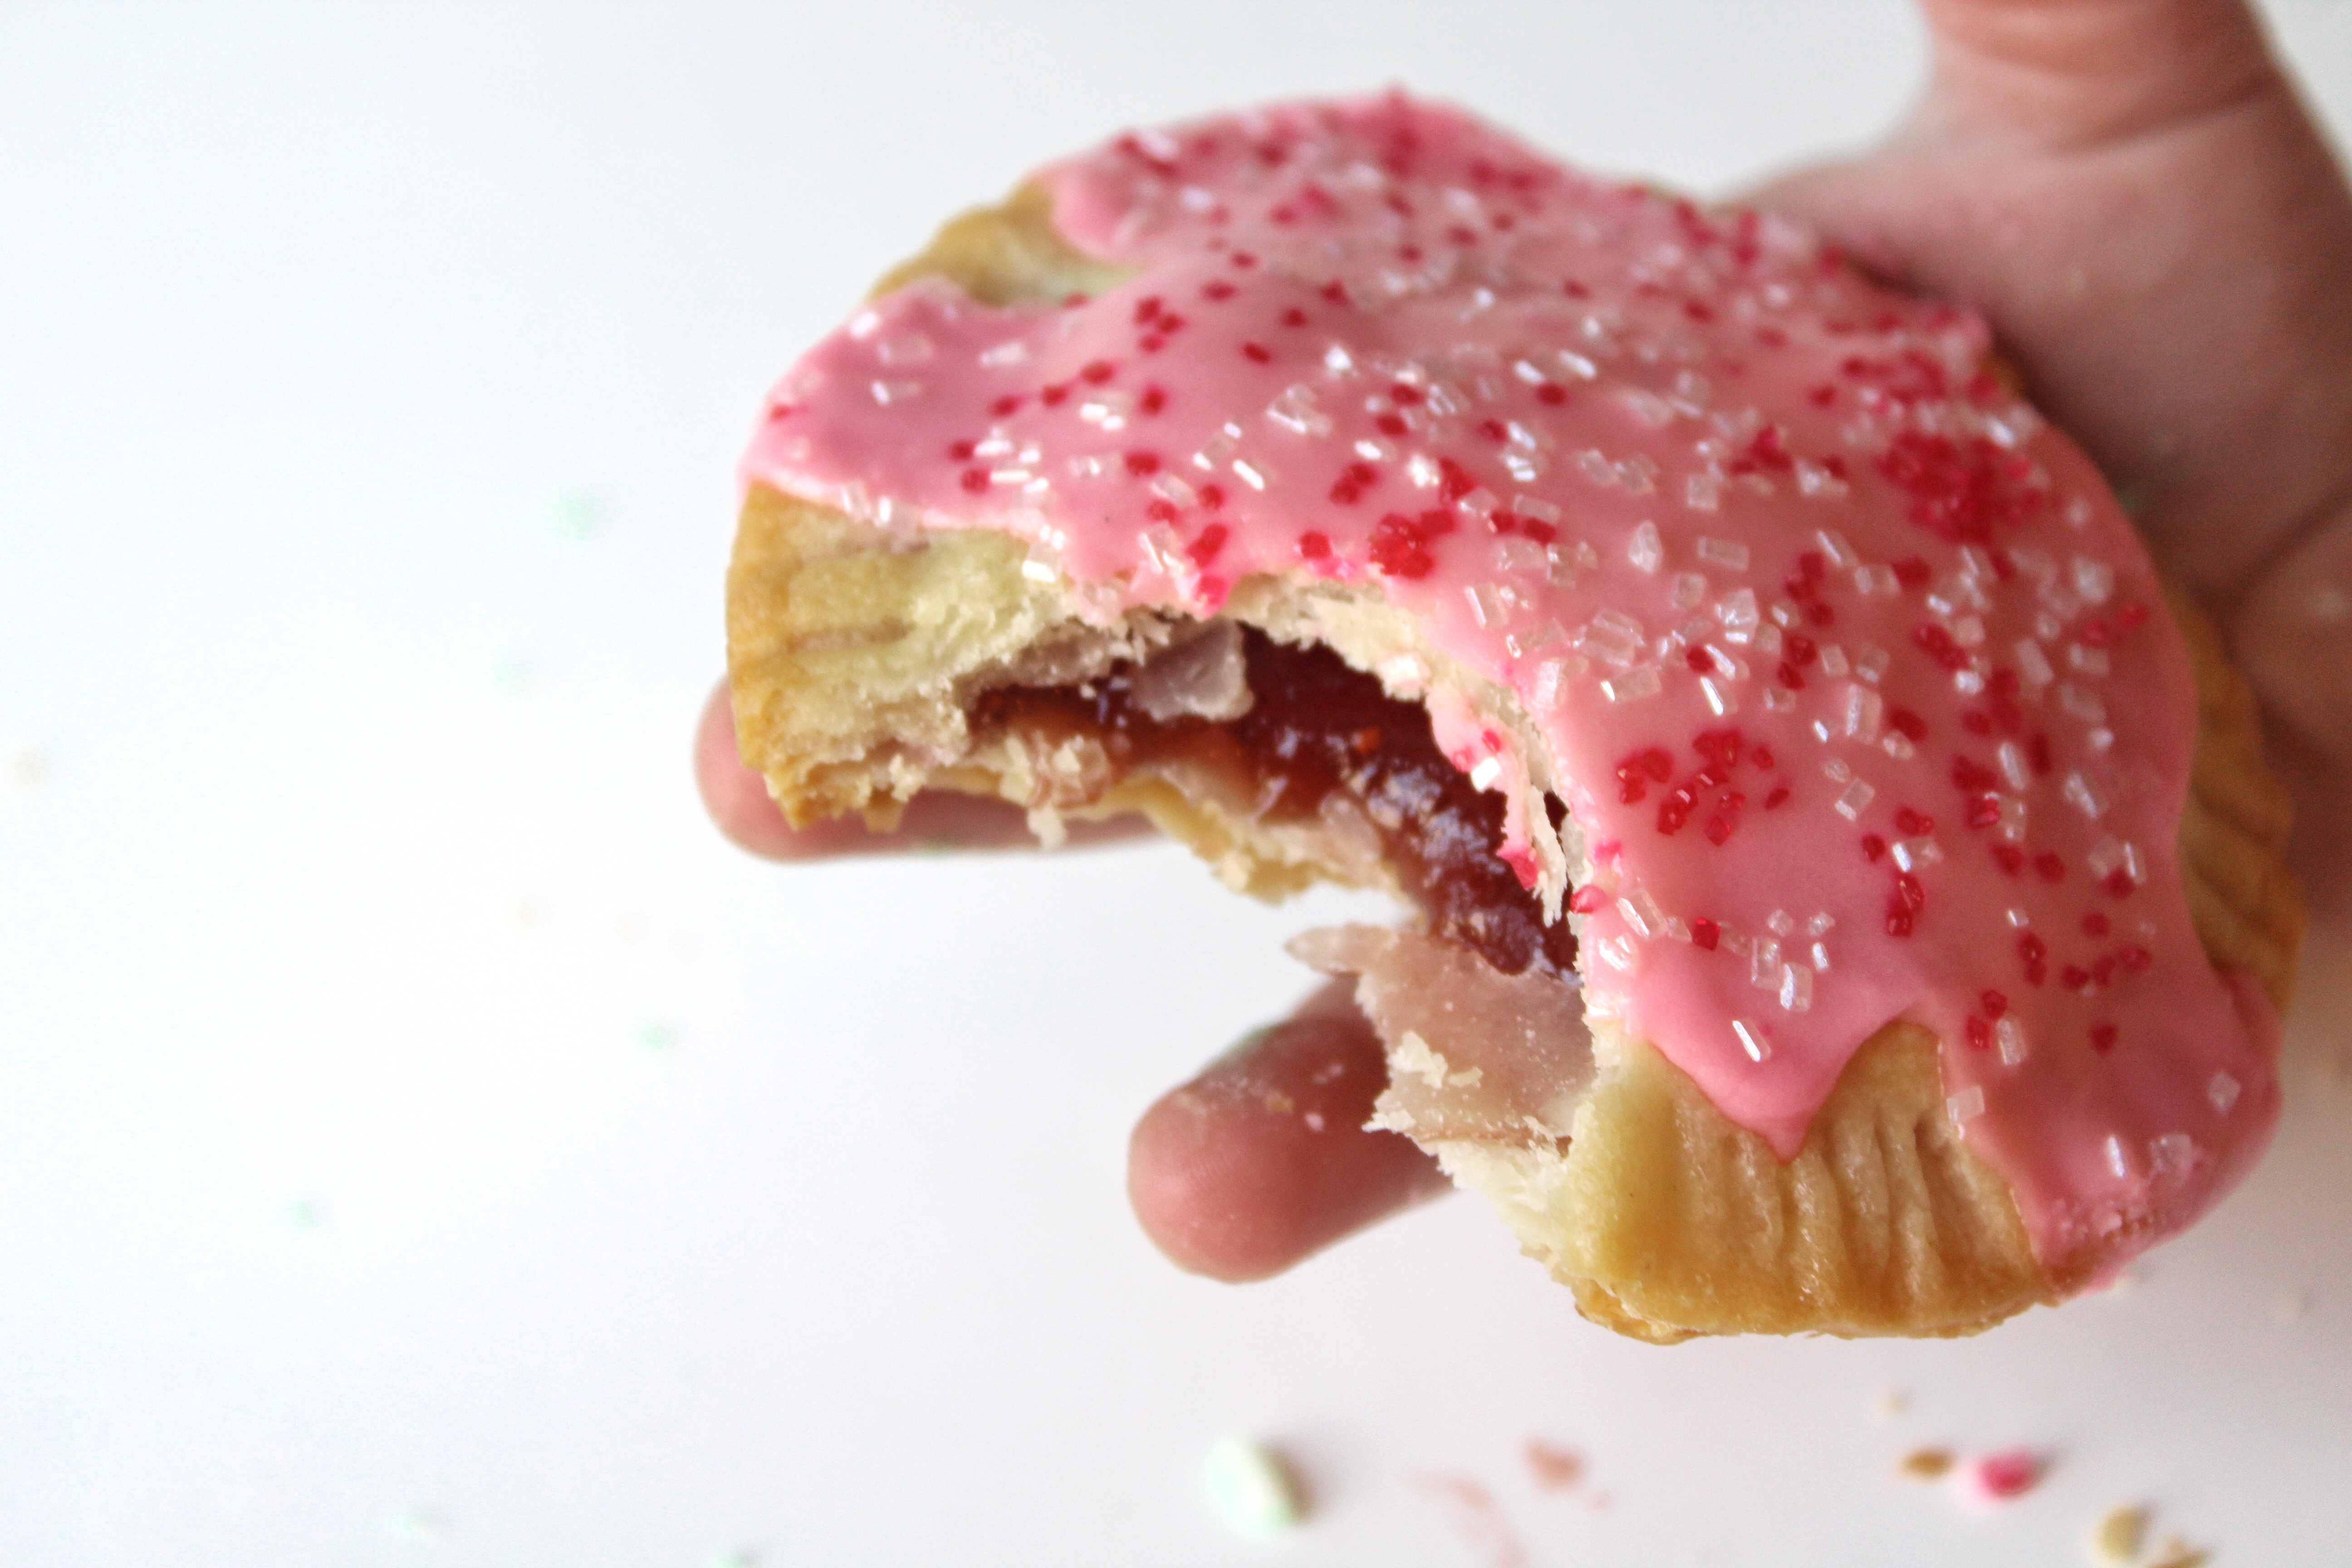
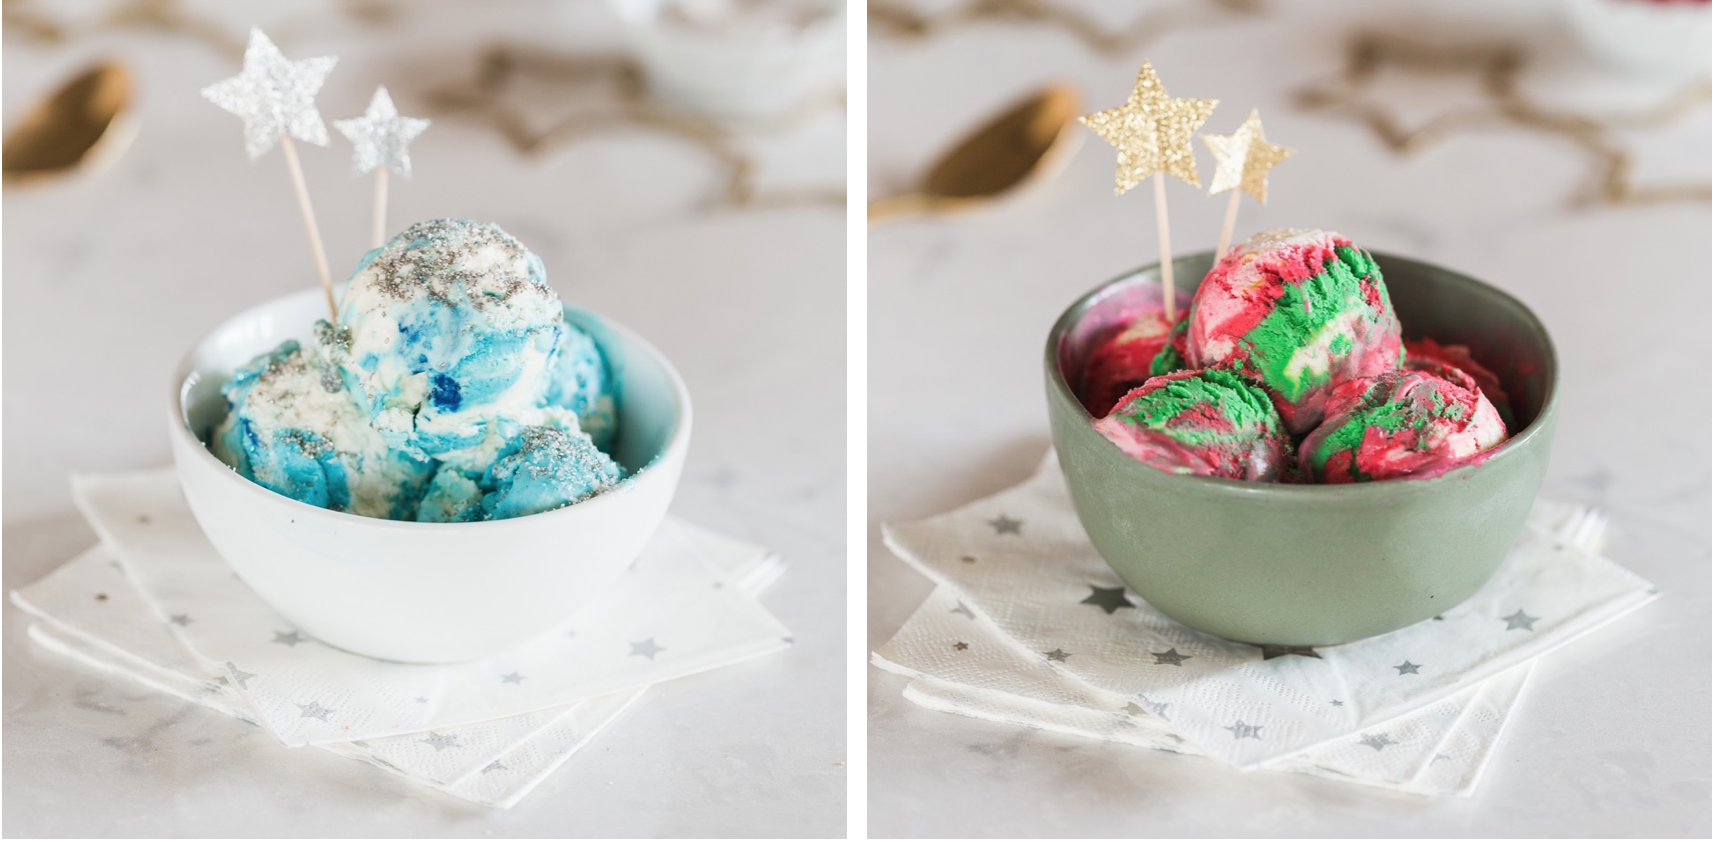
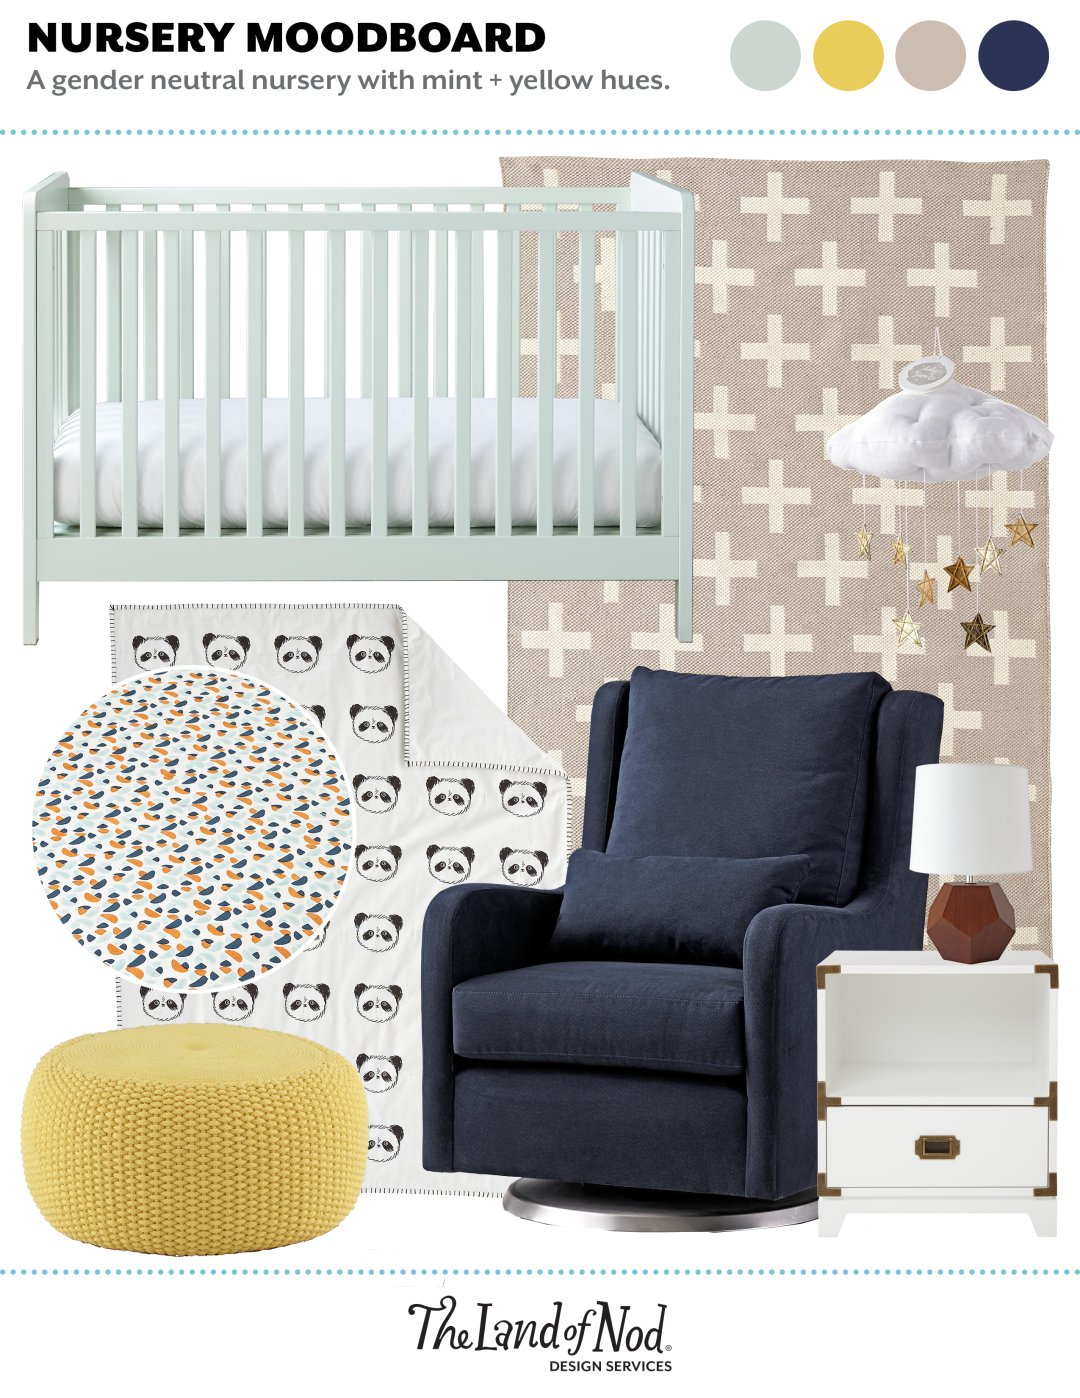
The BEST Chocolate Chip Cookie Recipe
I love to cook, but I am not a baker. I just don’t have the patience. So you won’t find me mixing up cakes, pies, or other delicious pastries. But, I LOVE chocolate chip cookies. So when I saw that The Washington Post declared that their search for the best chocolate chip recipe was over, I knew we’d have to whip up a batch for the holidays.
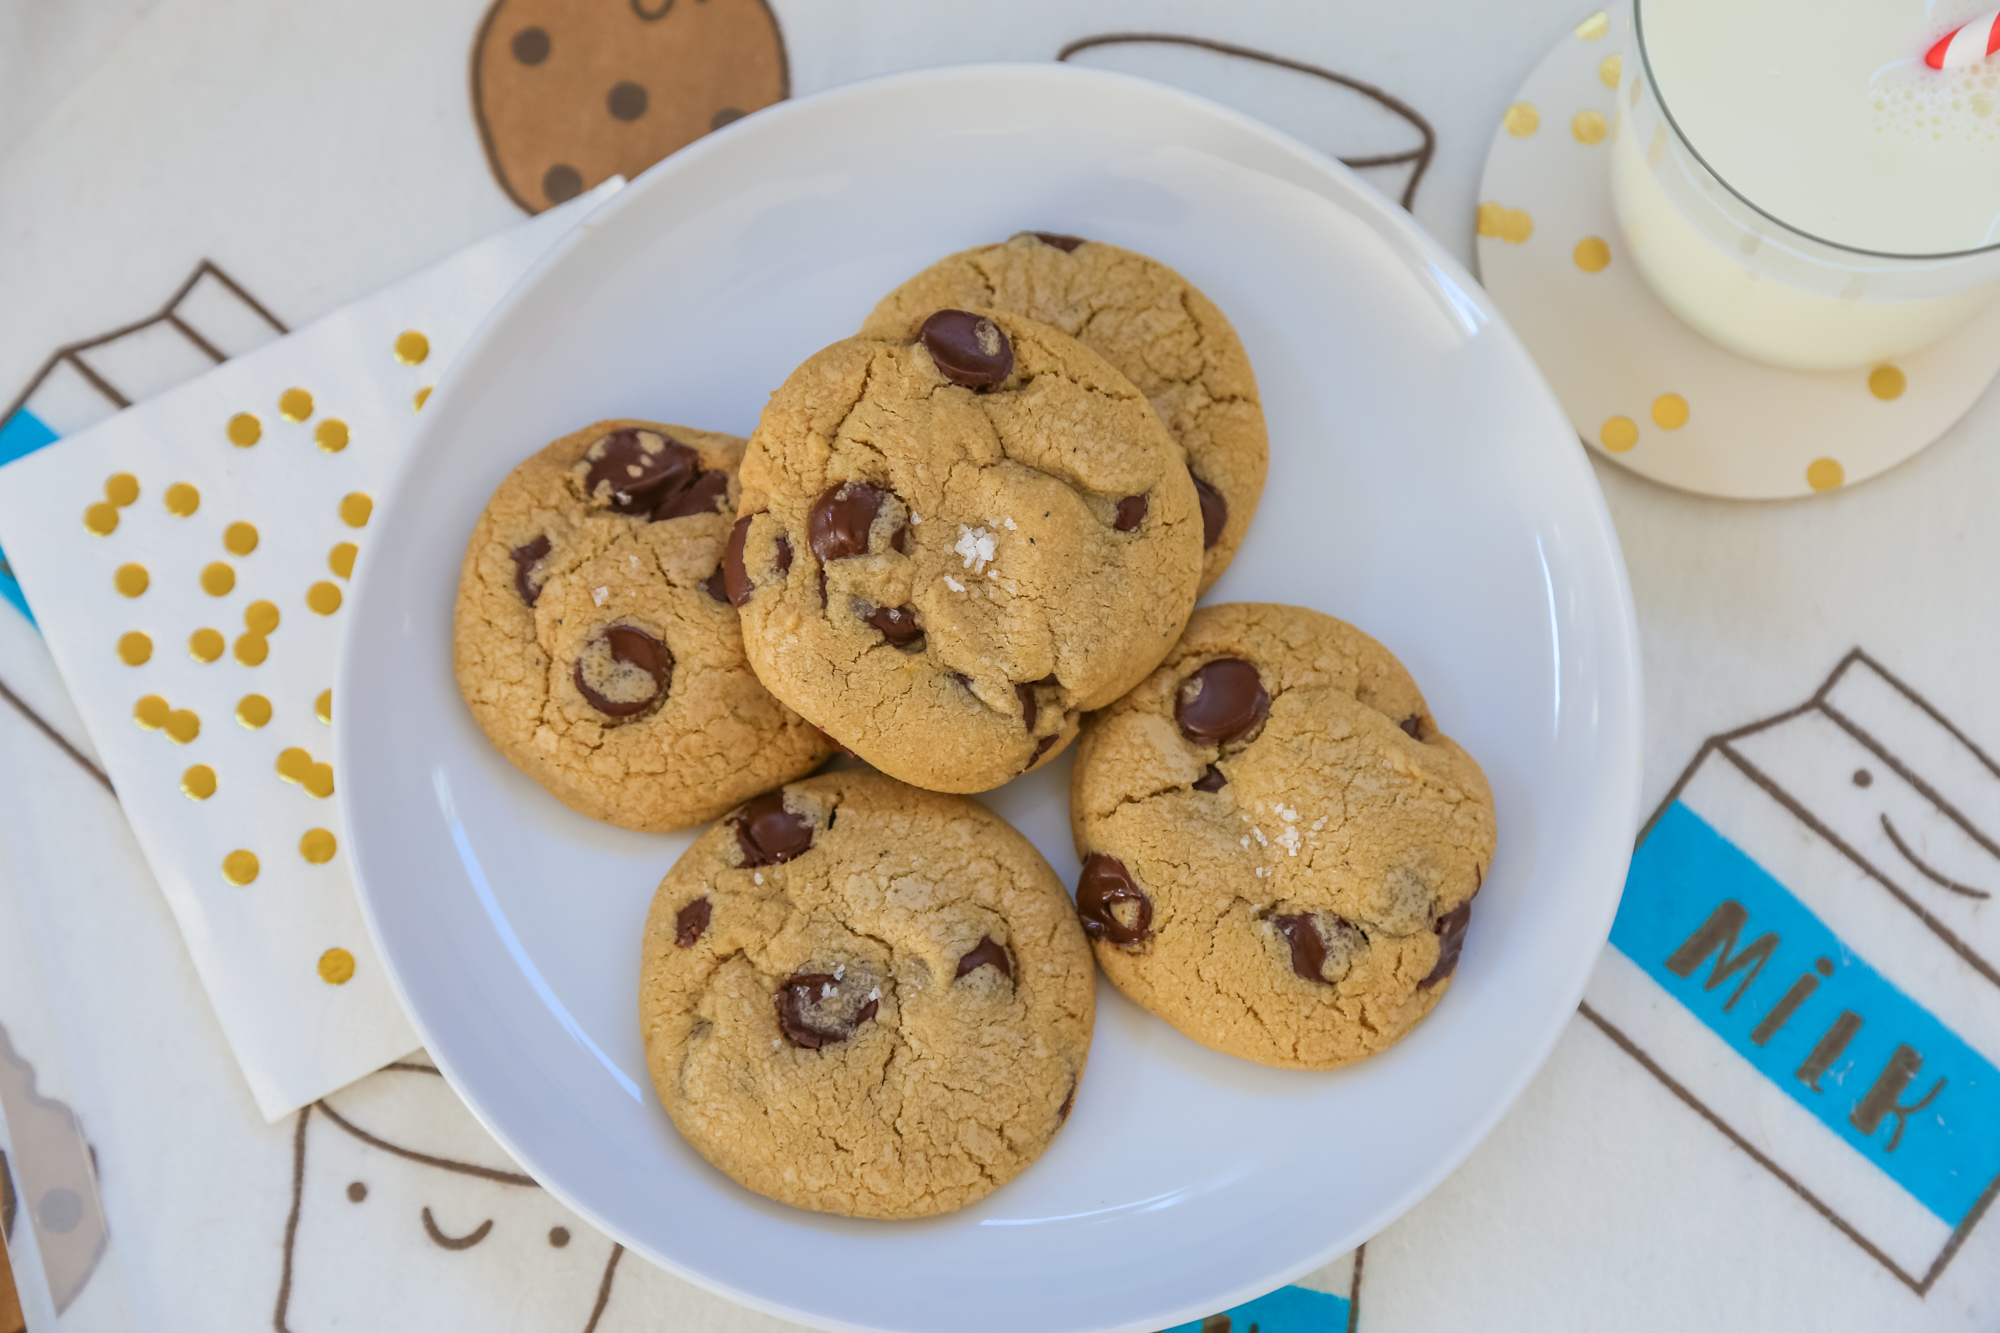
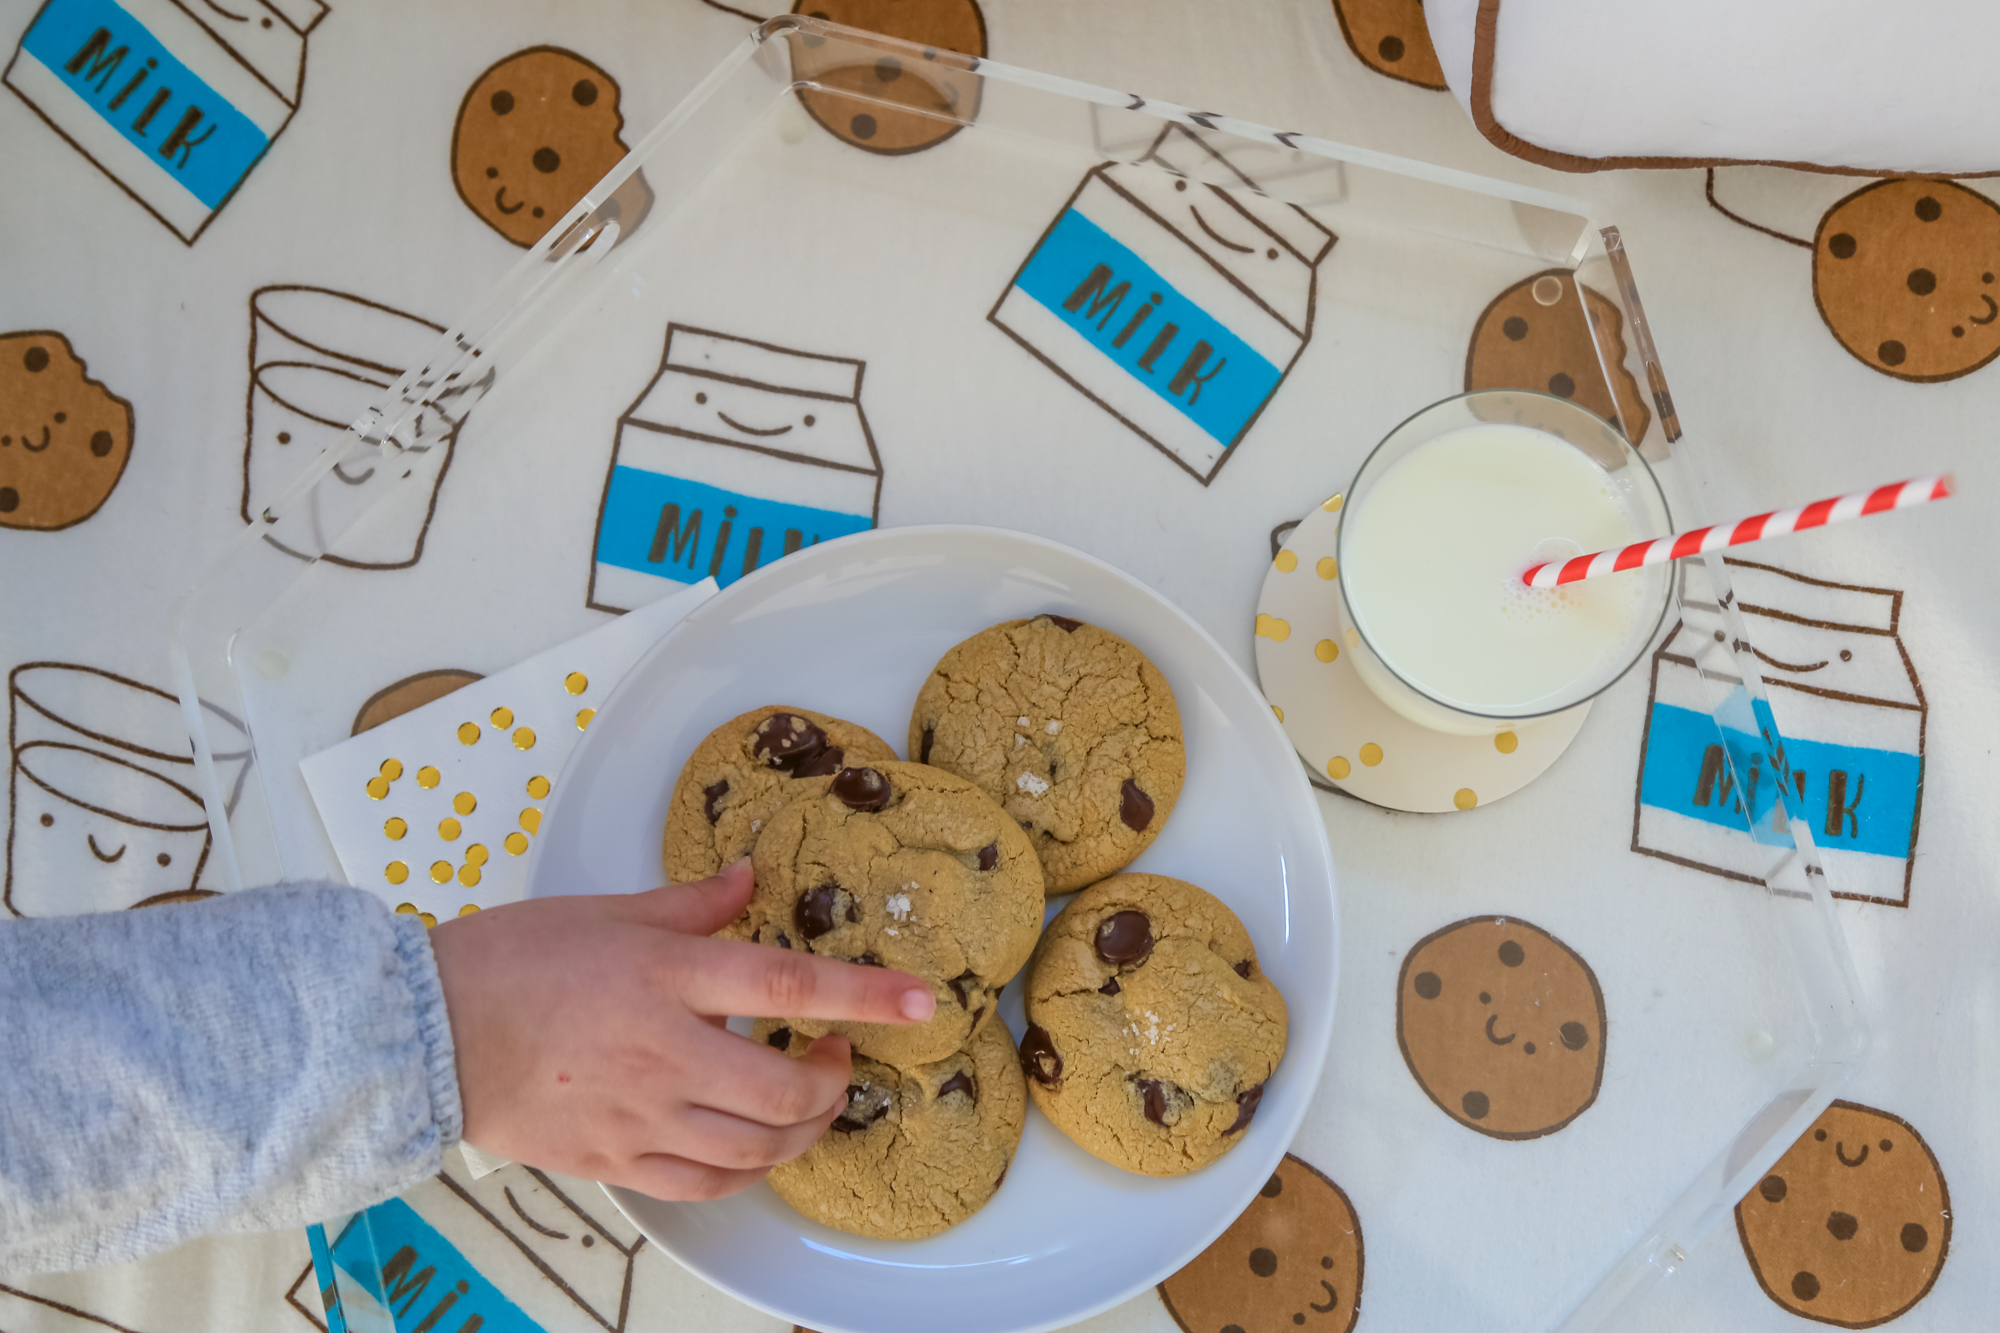
I added a few of my own twists and still ended up with super fluffy pillows of chocolate goodness. The brown butter adds something really special and I just love the balance between dark chocolate and flaky sea salt. If you’re looking to contribute something sweet this holiday season, look no further!
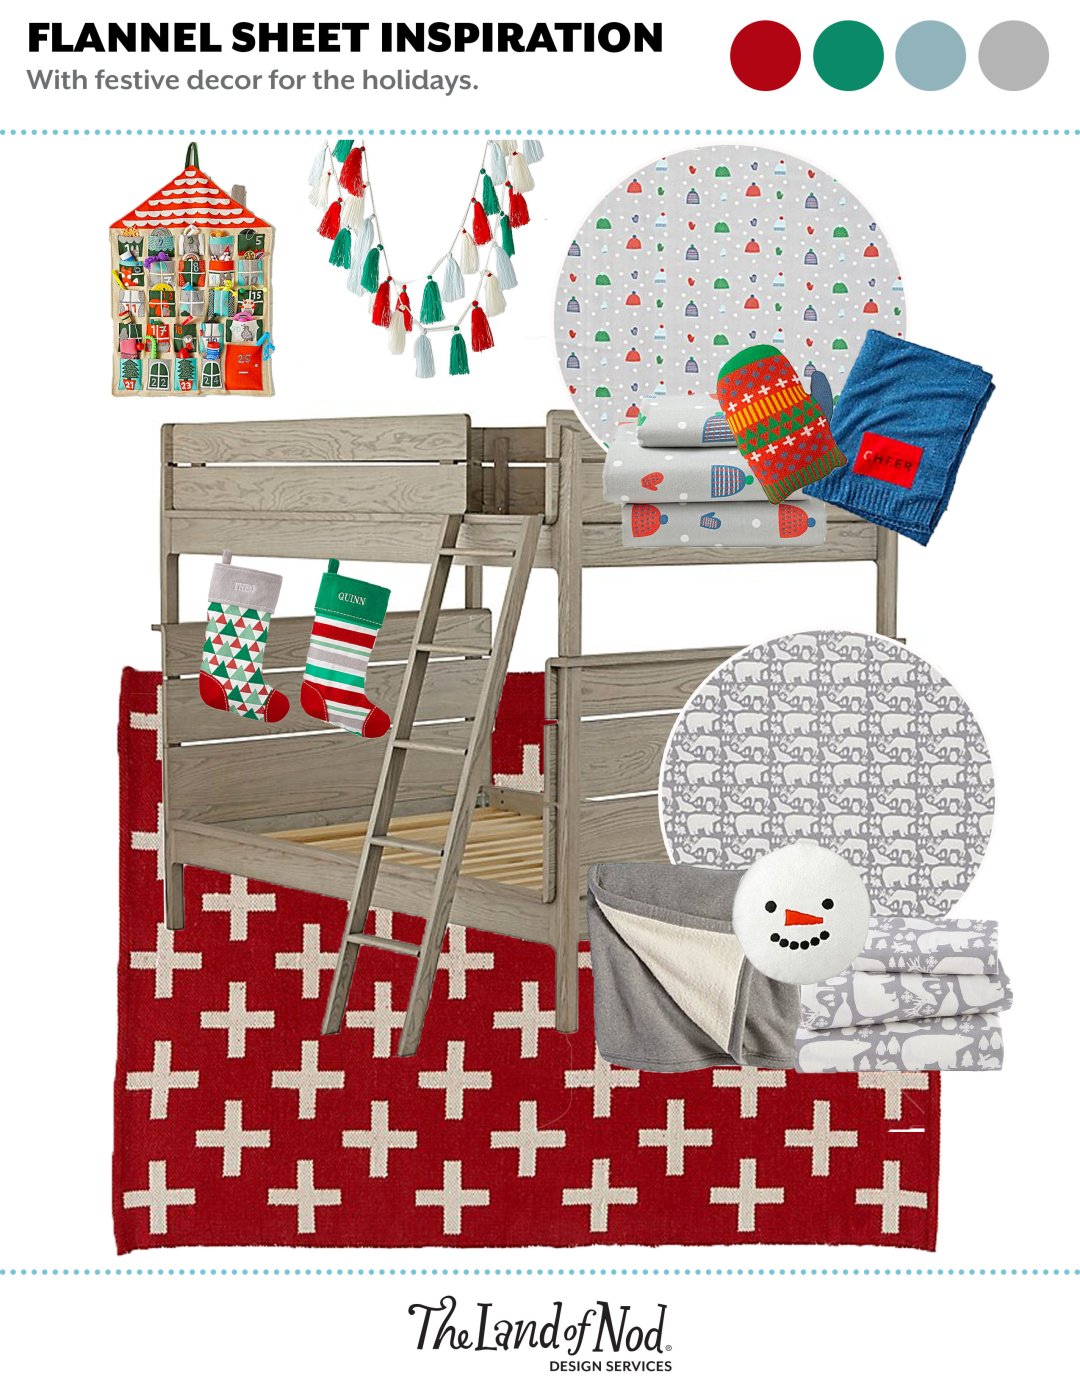
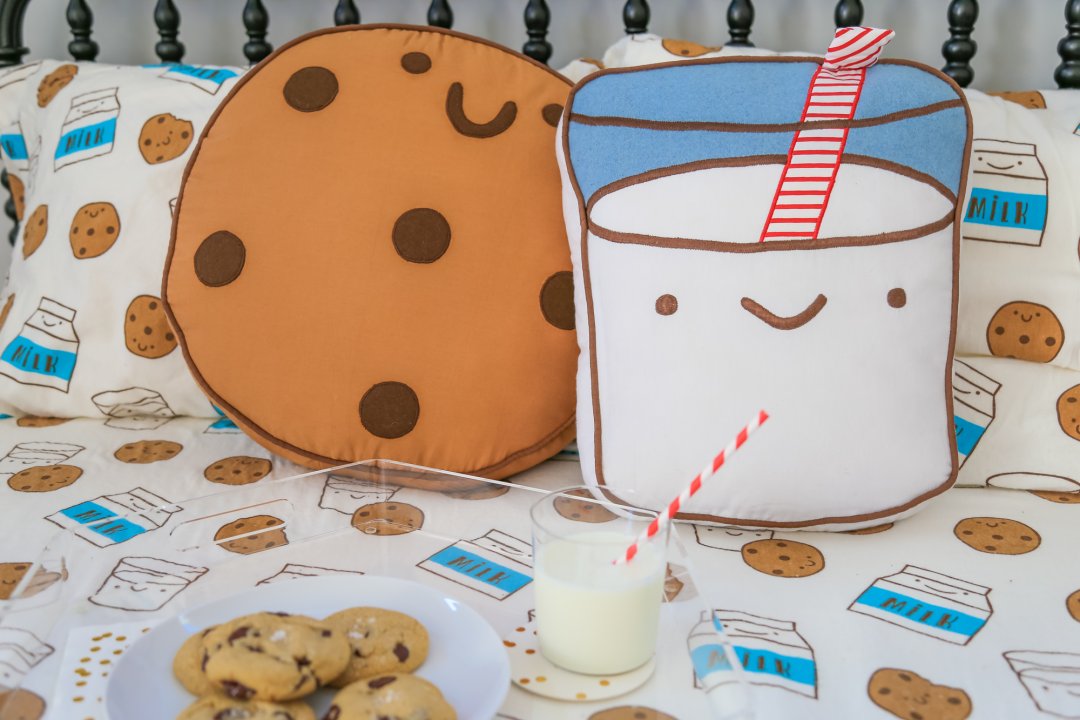
p.s. how cute are Nod’s Milk and Cookies Flannel sheets + matching throw pillows!? As if these cookies aren’t good enough to make you dream about them already…
The BEST Chocolate Chip Cookie Recipe
makes about 24 cookies (slightly adapted from The Washington Post’s adaptation of Joy the Baker’s recipe)
Ingredients
- 16 tablespoons (2 sticks) unsalted butter, at room temperature
- 1 cup packed light brown sugar
- 2 teaspoons vanilla extract
- 1 teaspoon molasses
- 1/2 cup granulated sugar
- 1 large egg, plus 1 large egg yolk
- 2 1/4 cups flour
- 1 teaspoon kosher salt
- 1 teaspoon baking soda
- 1 cup dark chocolate chips
- flaky sea salt, for sprinkling
Directions
- Melt half the butter in a medium skillet over medium heat, swirling it in the pan occasionally. Let it foam and froth as it cooks, and start to crackle and pop. Once the crackling stops, keep a close eye on the melted butter, continuing to swirl the pan often. The butter will start to smell nutty, and brown bits will form in the bottom.
- Once the bits are amber brown (2 1/2 – 3 minutes or so after the sizzling stops), remove the butter from the heat and immediately pour it into a small bowl, bits and all. Let it cool for 20 minutes.
- Position racks in the upper and lower thirds of the oven; preheat oven to 350 degrees. Line several baking sheets with parchment paper.
- Combine the remaining 8 tablespoons of butter and the brown sugar in a bowl. Using a handheld electric mixer (more fun for kids to use than a stand mixer!); beat on medium speed for 3 to 5 minutes, until mixture is very smooth. Reduce the speed to medium-low; beat in the vanilla extract and molasses until well incorporated.
- Pour the cooled brown butter into the bowl, along with the granulated sugar. Beat for 2 minutes (medium-low), until smooth; the mixture will lighten in color and become fluffy.
- Reduce the speed to low; add the egg and egg yolk, beating for 1 minute, then stop to scrape down the bowl. Add the flour, kosher salt and baking soda; beat on low speed just until everything is incorporated. Use a spatula and fold in the chocolate chips and finish incorporating all of the dry flour bit into the dough.
- Scoop the dough 2-tablespoon-size balls onto the prepared baking sheets, leaving about 2 inches between the balls. Use a light, two-fingered pinch to sprinkle each portion of dough with flaky sea salt.
- Bake (upper and lower racks) for 15 minutes until golden brown, rotating the baking sheets top to bottom and front to back halfway through. Let the cookies rest on baking sheet for 5 minutes before transferring to wire rack to cool.
POST BY REBECCA OF NOT-SO-SAHM
Rebecca is a mom to two young kiddos and, in her spare time (ha!), likes to pretend she’s a back-up dancer, craft cocktails, and run long distances. Author of Banish Boredom and Content Creator (and Herder of Cats) at Not-So-SAHM


 POST BY LUNCHES + LITTLES