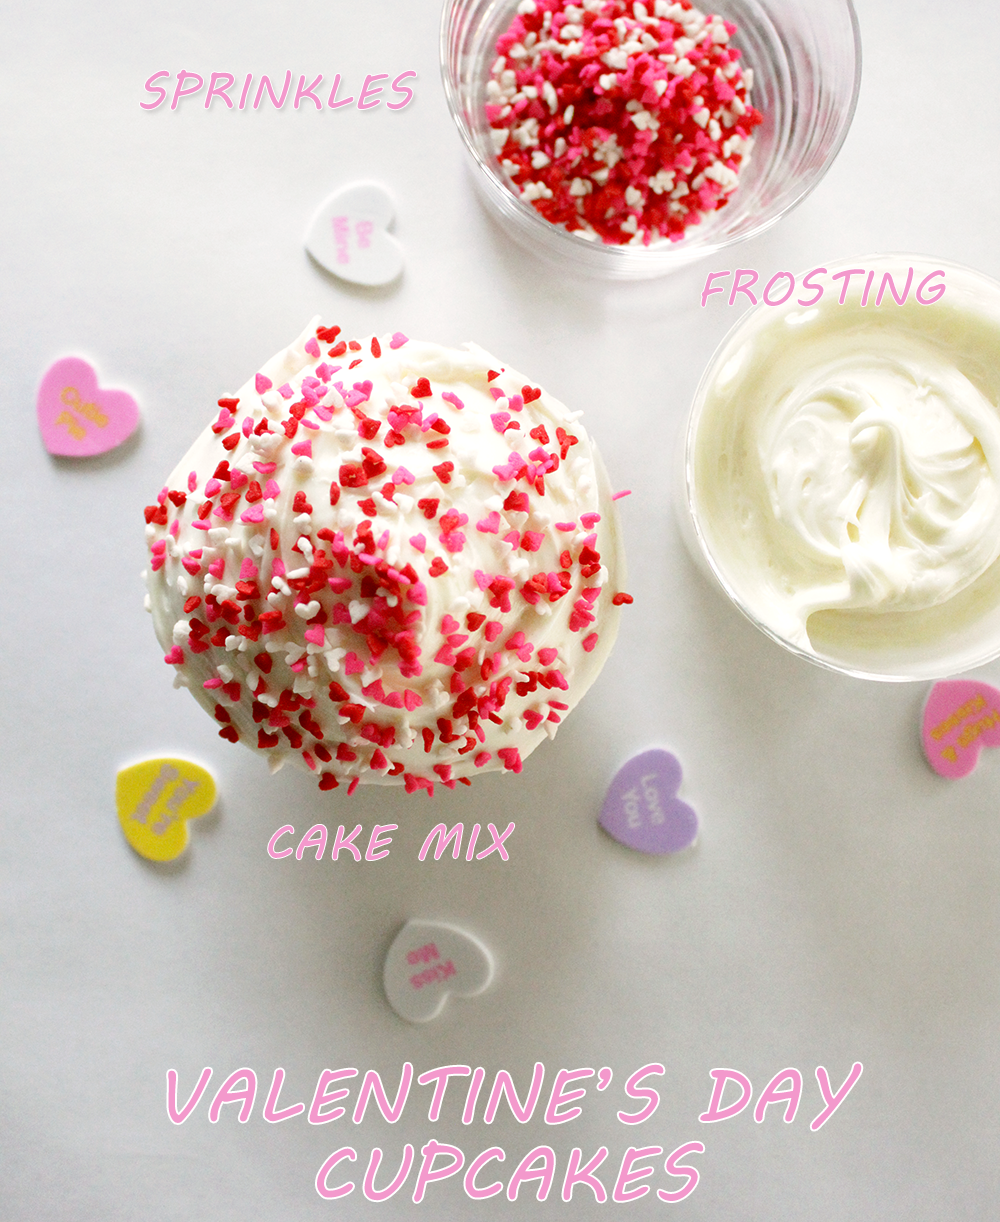
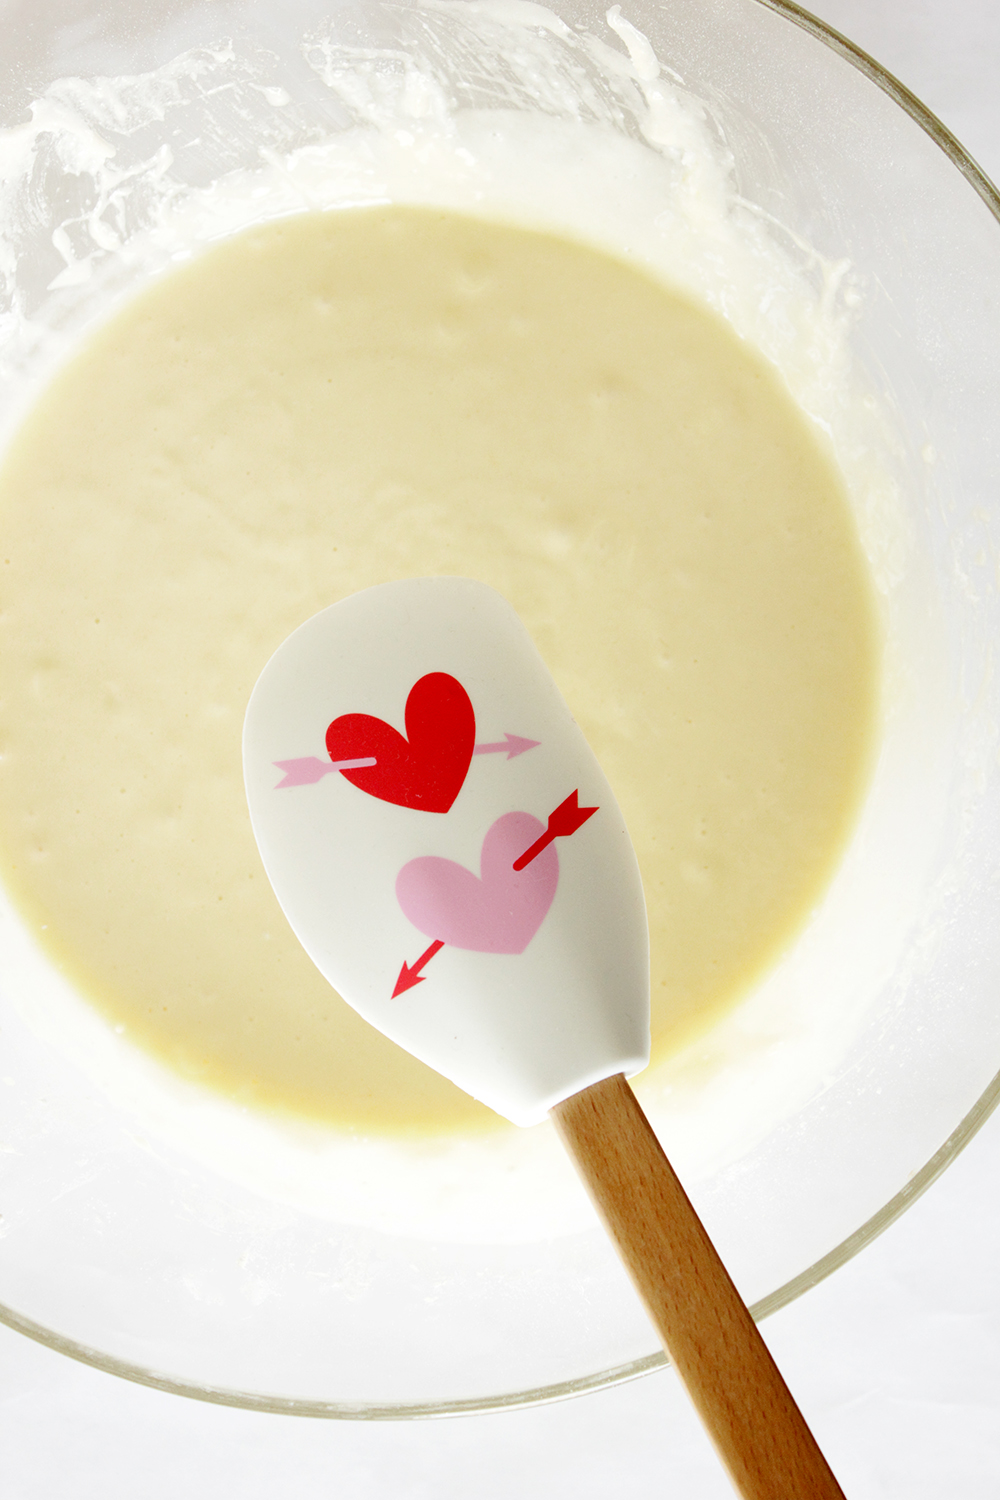
Valentine’s Day Class Party
February 11, 2015
Post by Christina of Christina Williams Blog
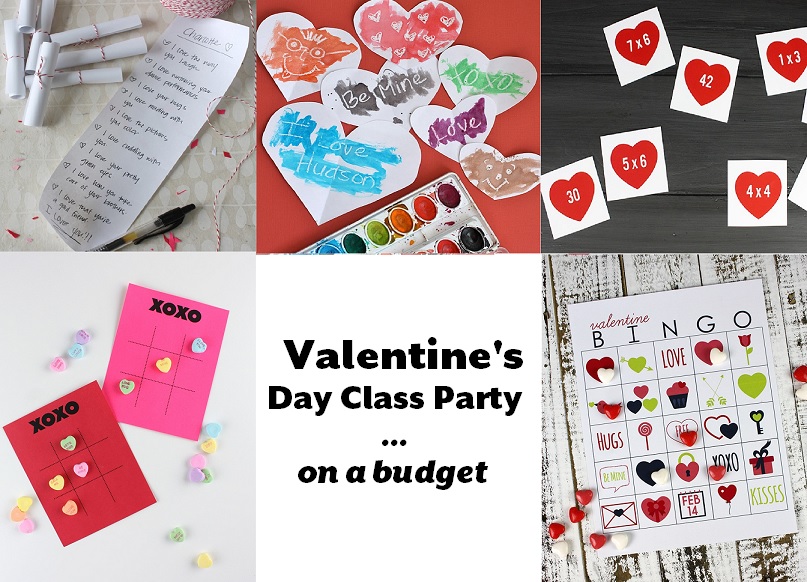
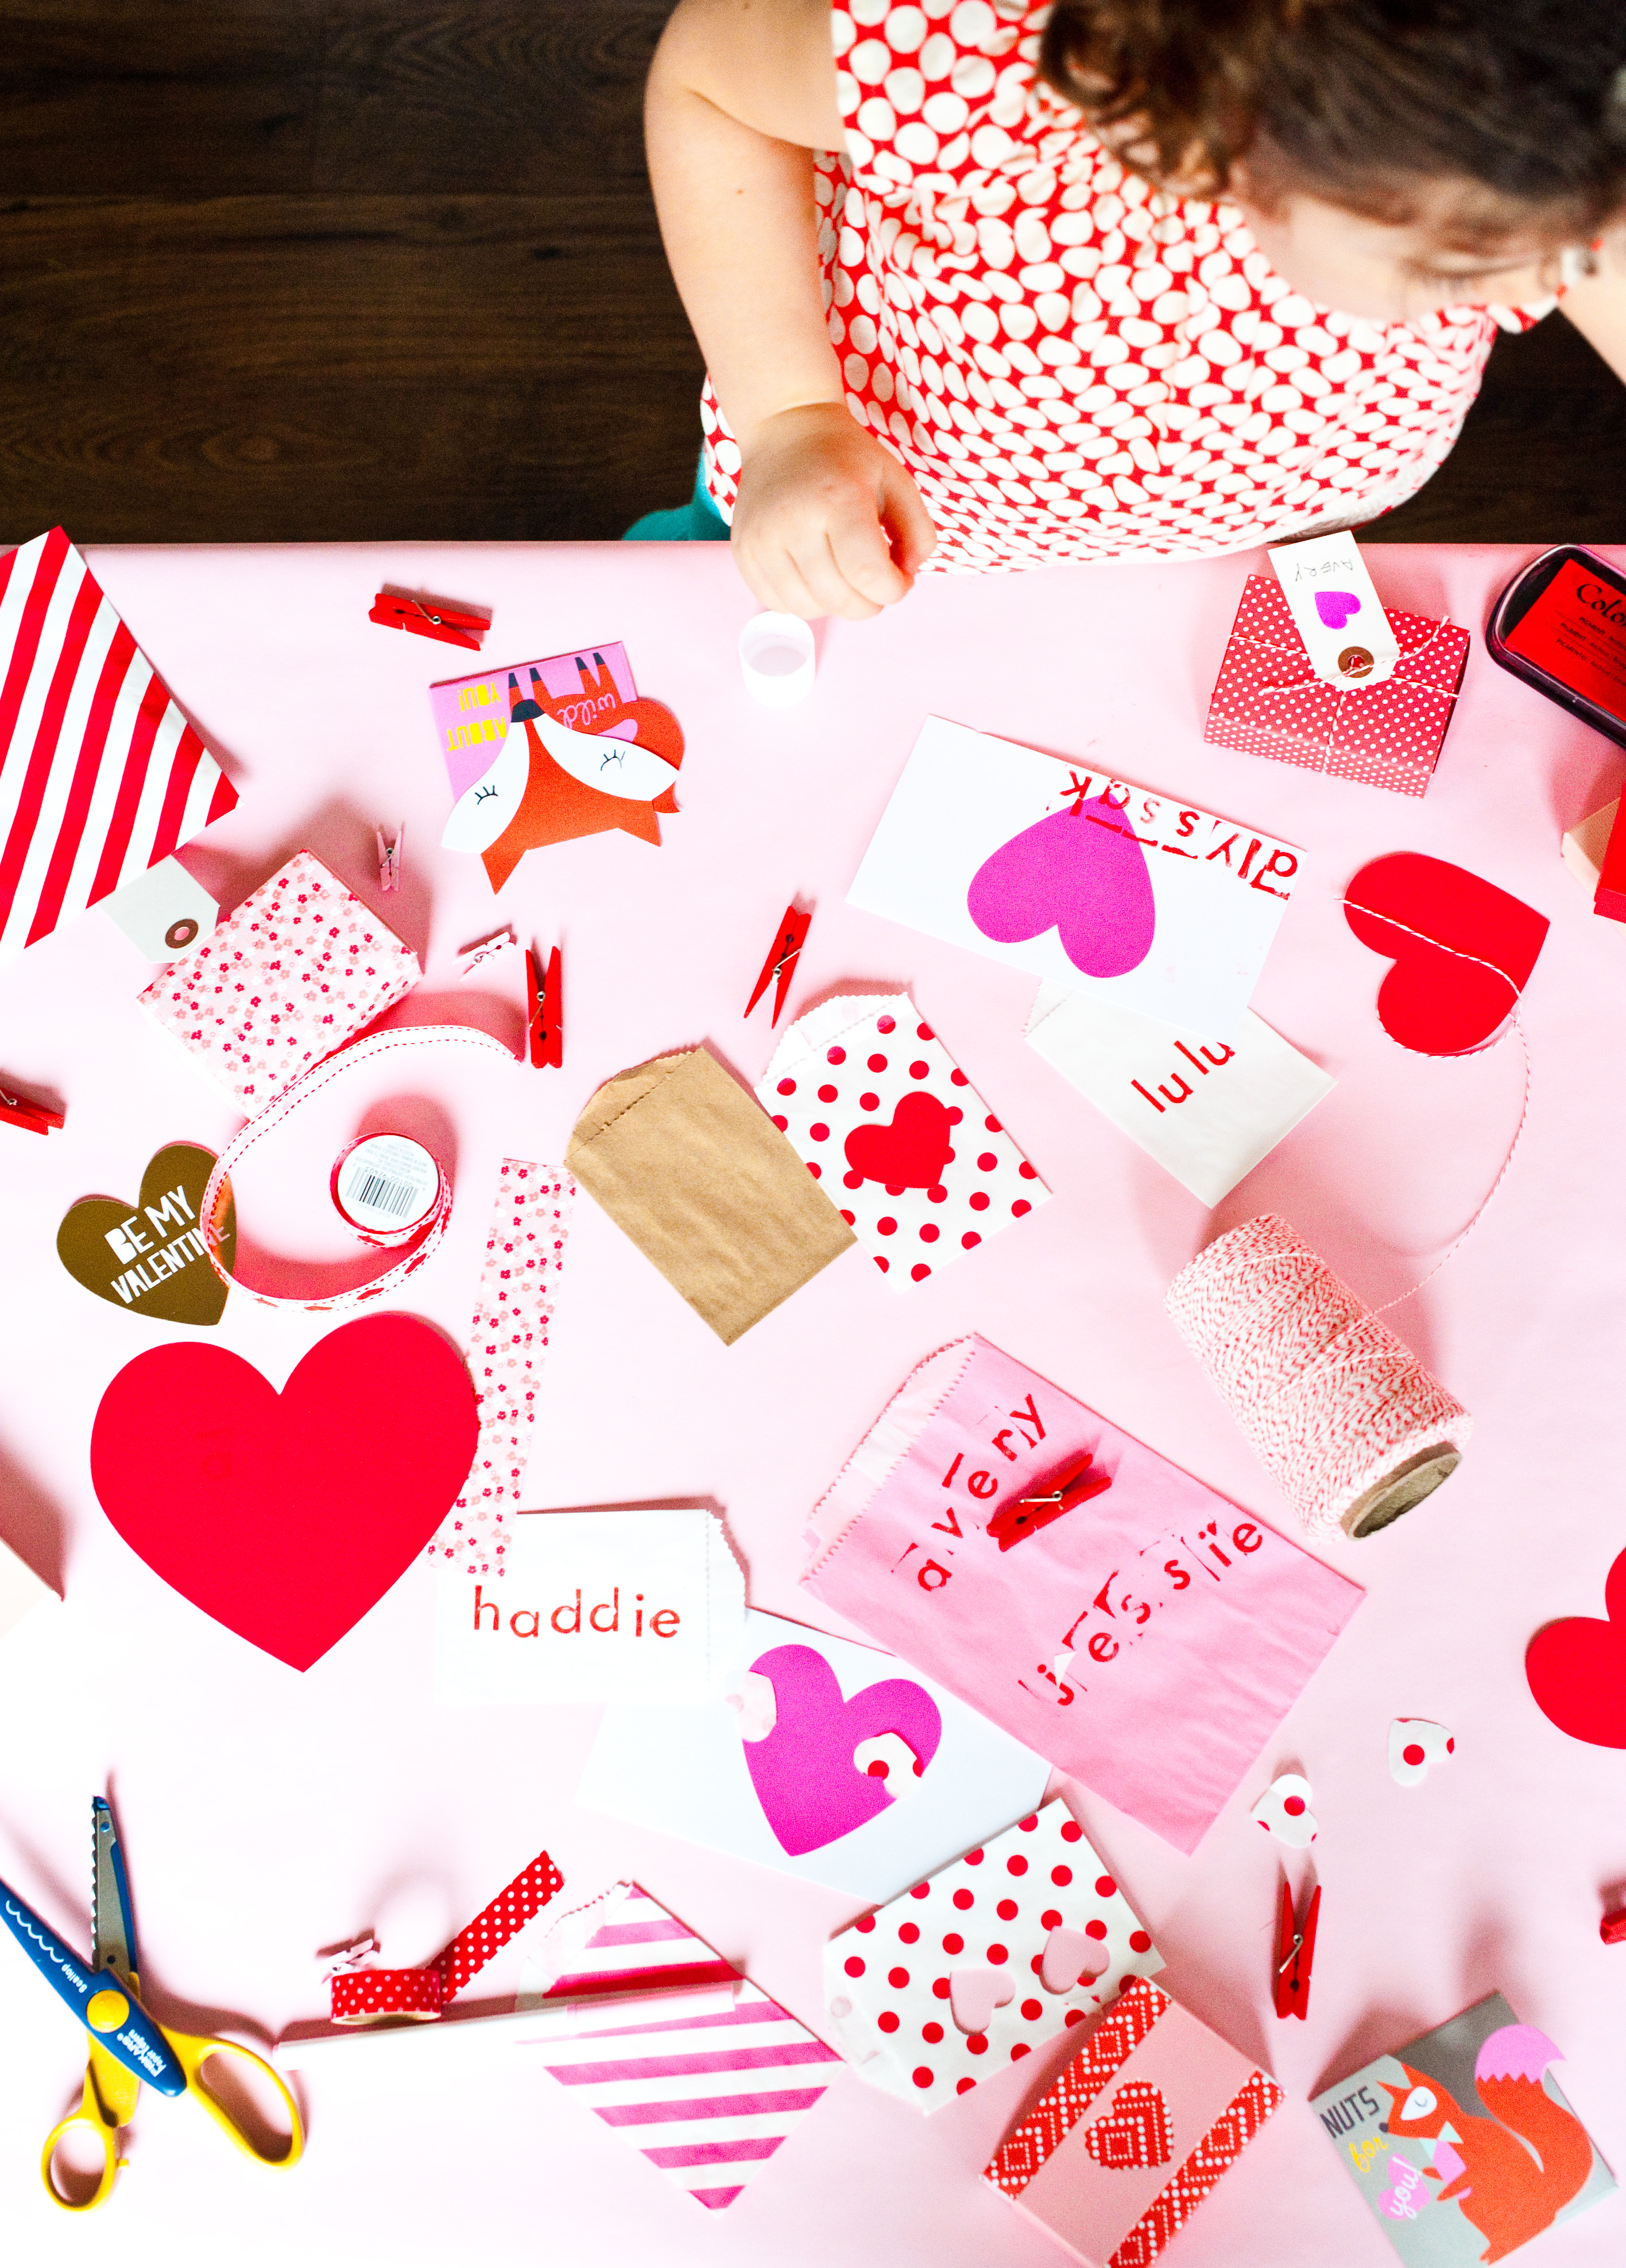
It’s that time again! Class parties are back in full swing this week. I’ve put it off until the last minute, as usual, and now I’m kicking it into high gear to pull off an awesome Valentine’s Day Class Party on a tiny budget. If you’re in the same boat, don’t worry! I’ve got a plan for you right here; and most of these activities are inexpensive. If you remember my recipe for a class Halloween party, the format is the same. Divide the class into small groups, and rotate to different stations to fill the time. Depending on how your teacher wants to do the Valentine exchange, you’ll have to factor that into your plans. I’ve included the “ingredients” for each party game so you can choose each activity you want and add the items to your shopping list.
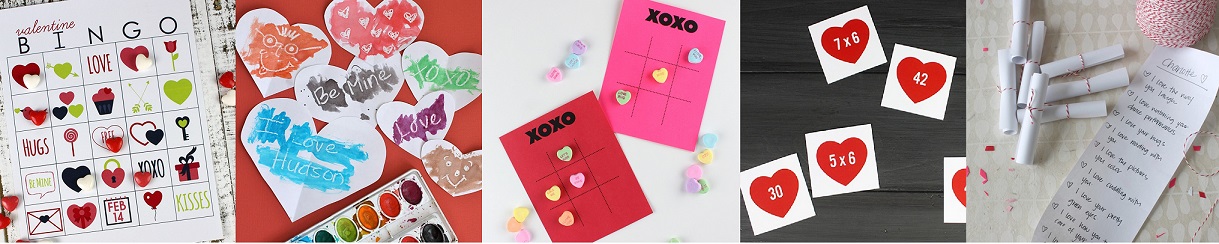
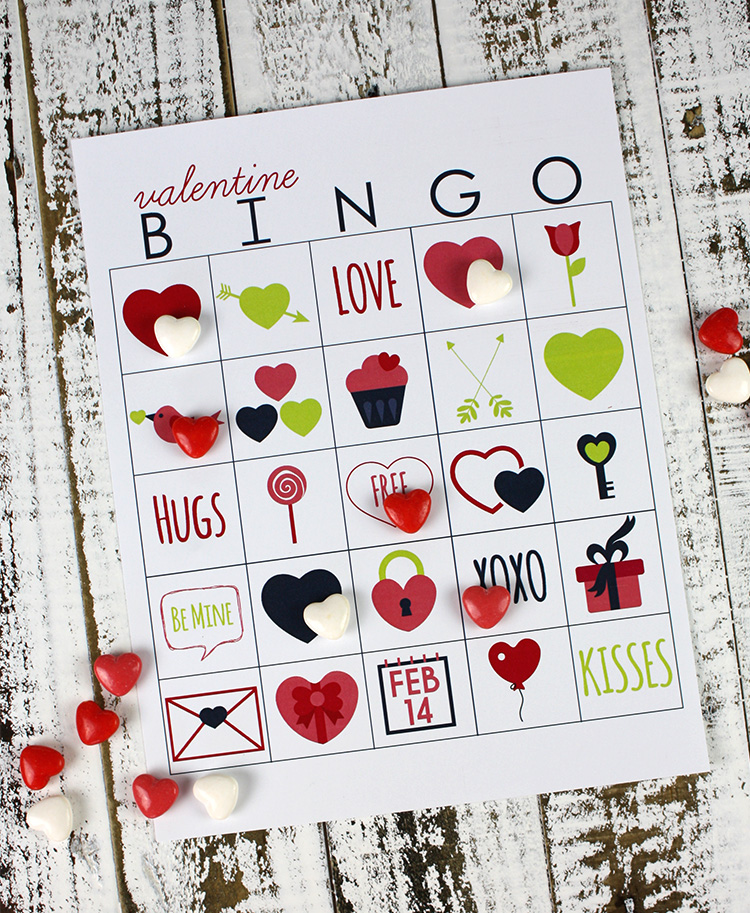
Valentine Bingo
Always a hit, and always easy to prepare. I’ve got this free Valentine Bingo printable over on my blog…so head over there to grab the bingo cards. Just grab some small candies to use as markers; or simply cut out some red/pink paper squares if you want to eliminate one more expense, and one more candy consumption for the day. Also make sure to print out an extra board and cut the squares apart so you’ve got calling cards.
- Ingredients: printable bingo cards, small candies
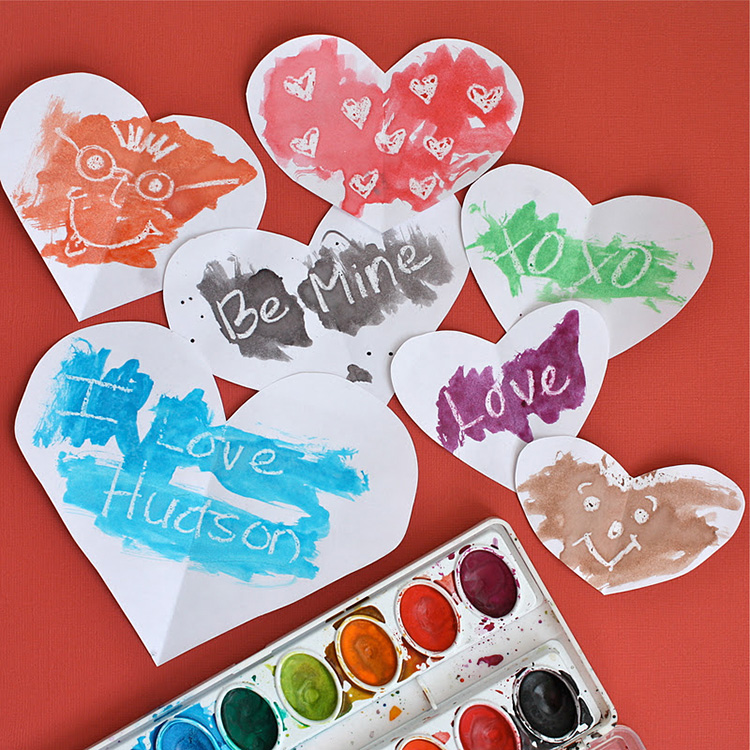
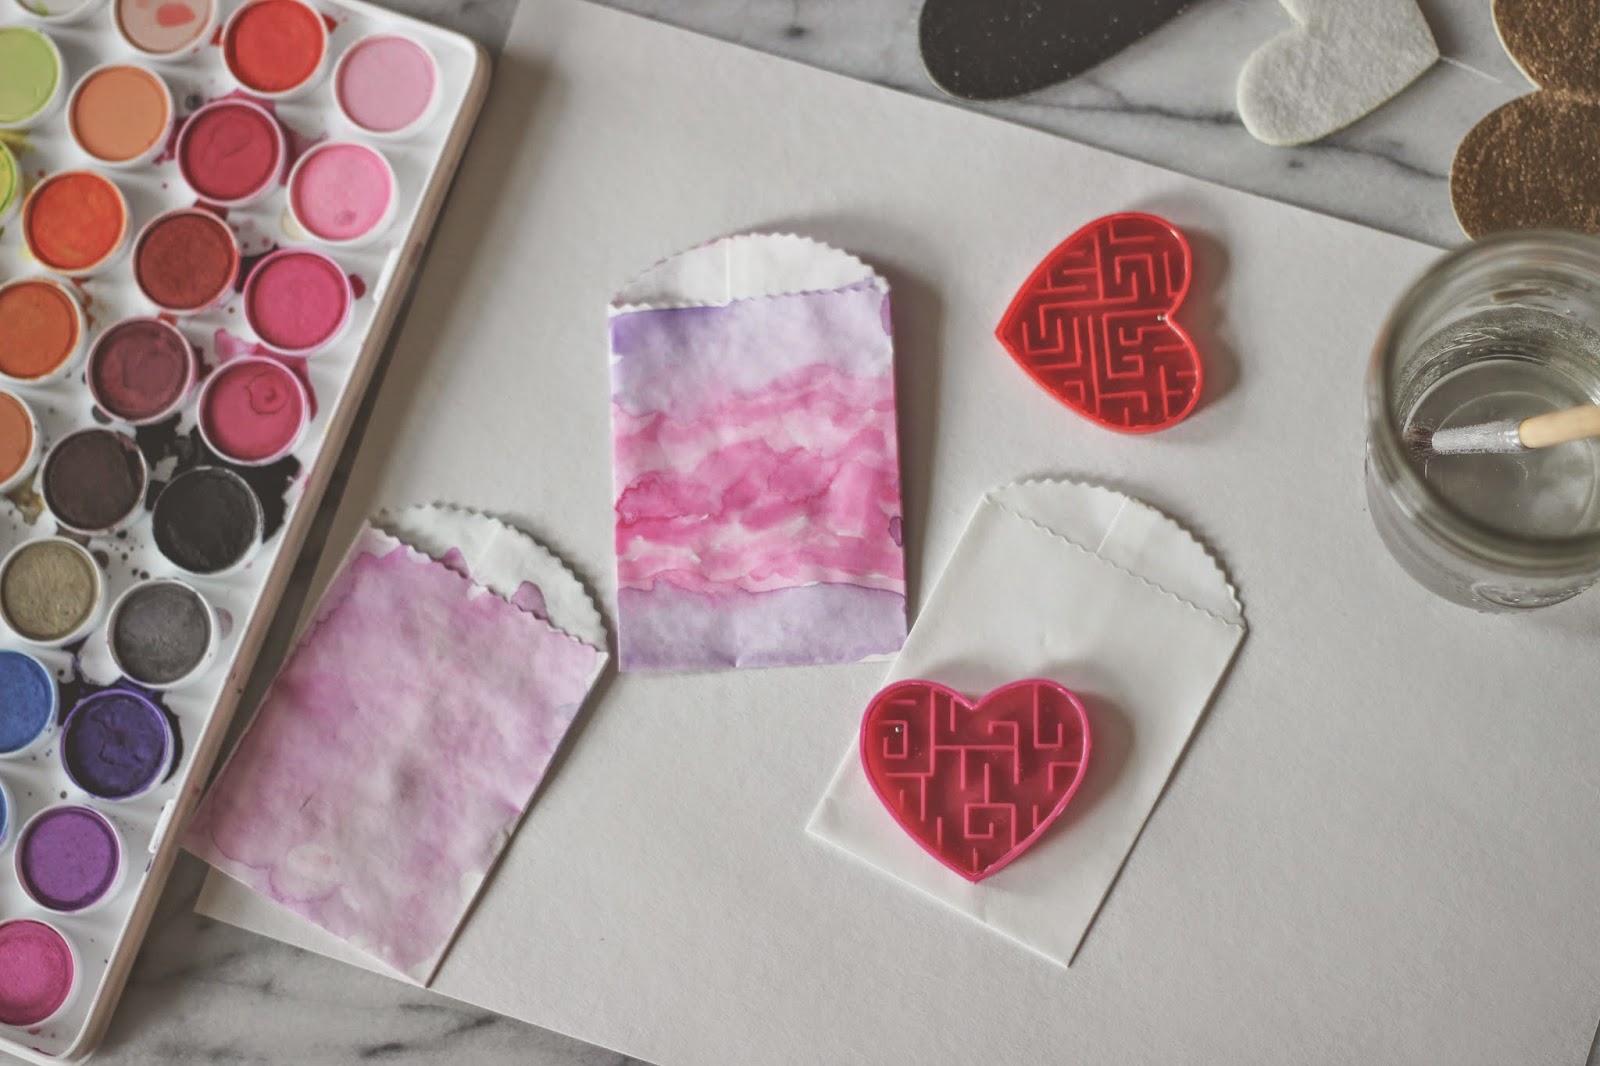
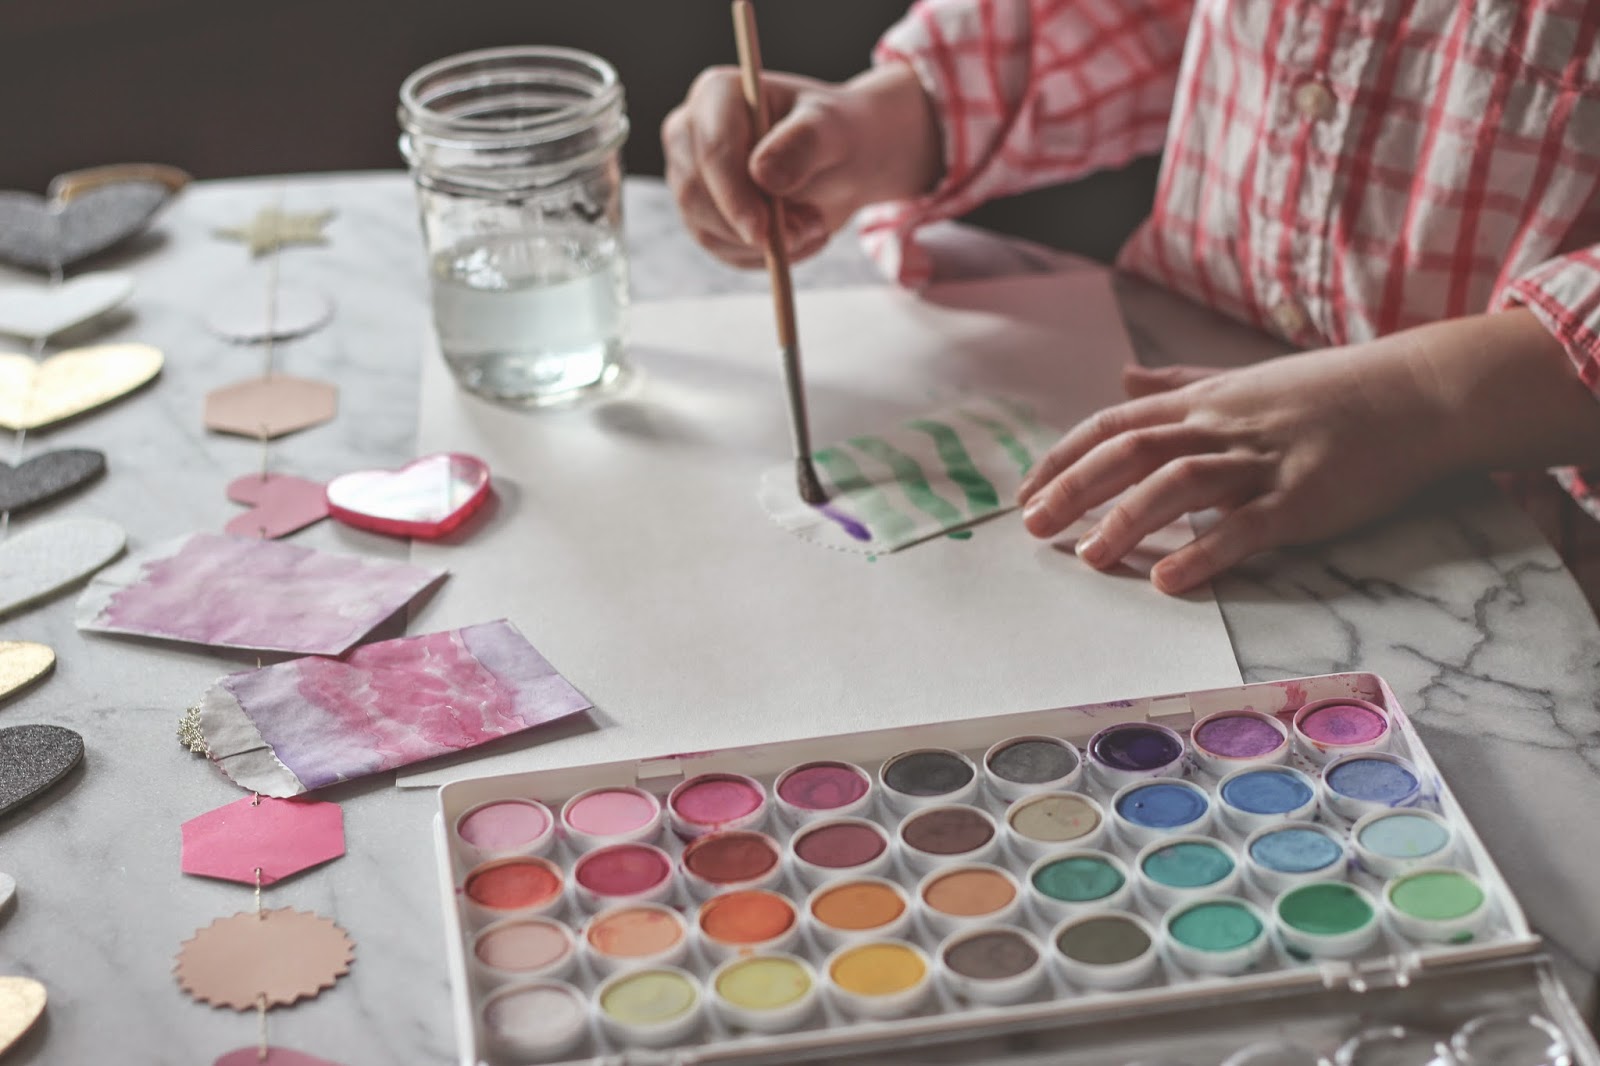
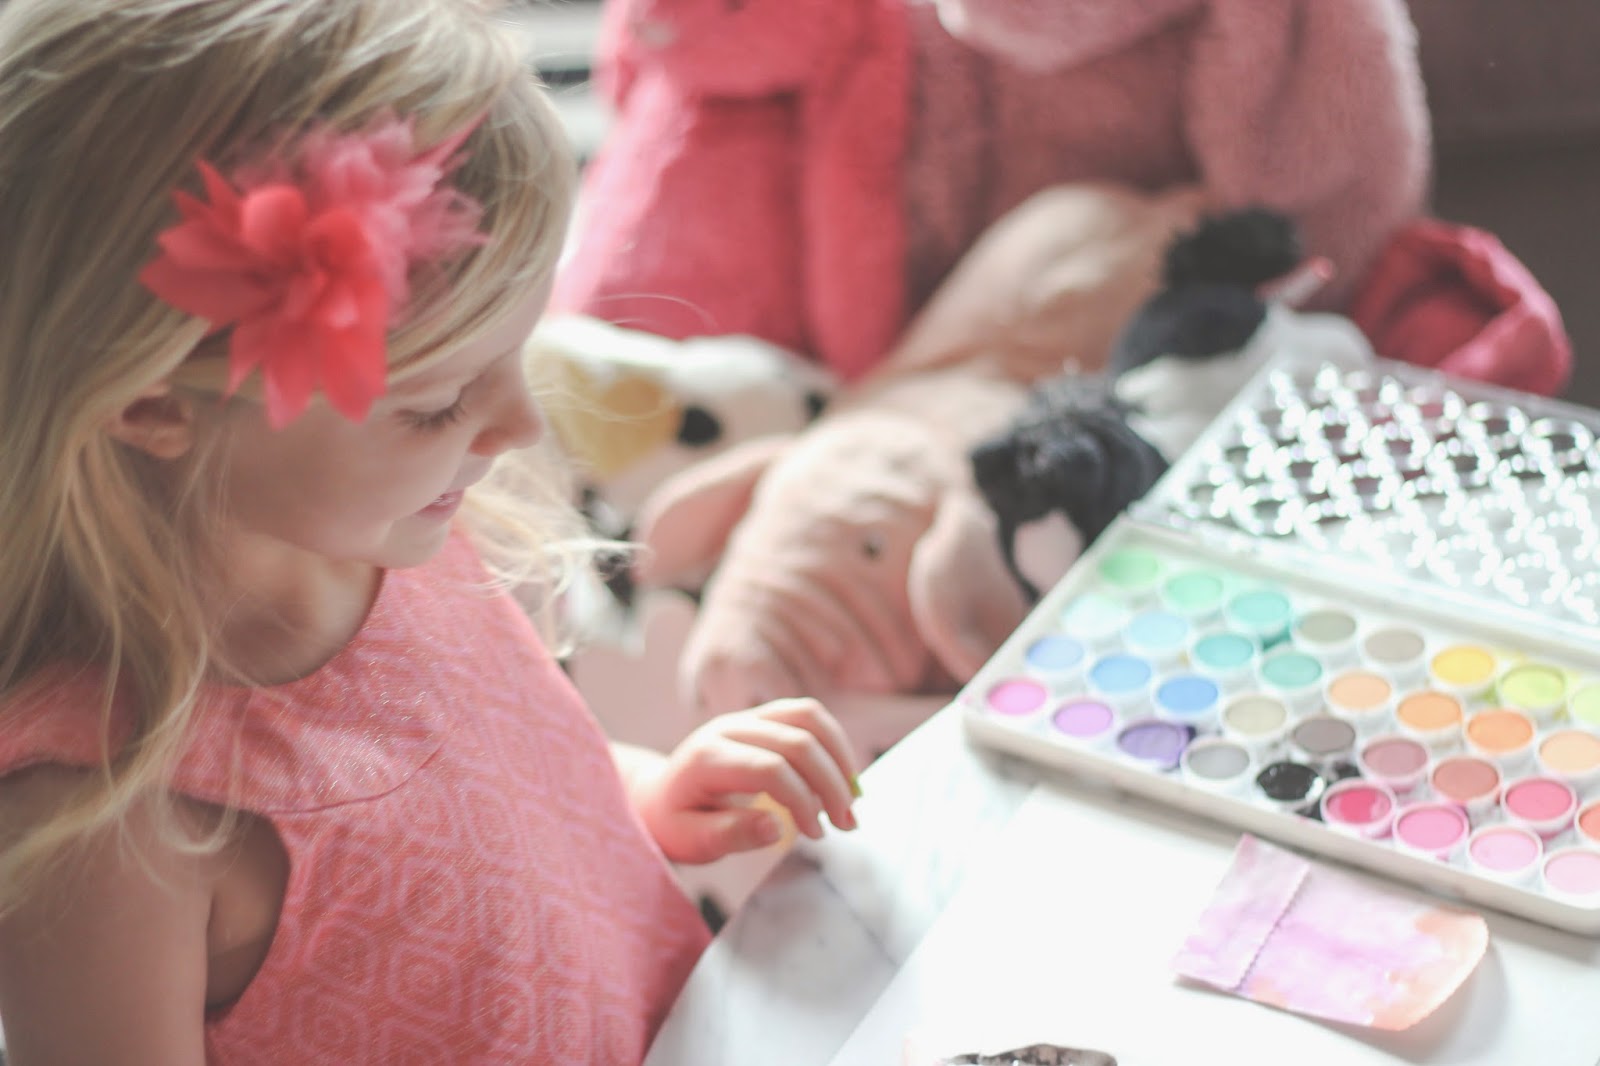
Secret Message Valentines
This is fun as a simple craft where the kids write the messages with white crayon and then paint over it with watercolors to reveal the secret message. I’ve also done a fun variation where the parents wrote on the hearts and the kids discovered their love notes when they got to class. Any way you do it, this project is always memorable; and since it requires just a few basic supplies that are usually found at school, it’s practically free.
- Ingredients: watercolors, paint brushes, white paper, white crayons
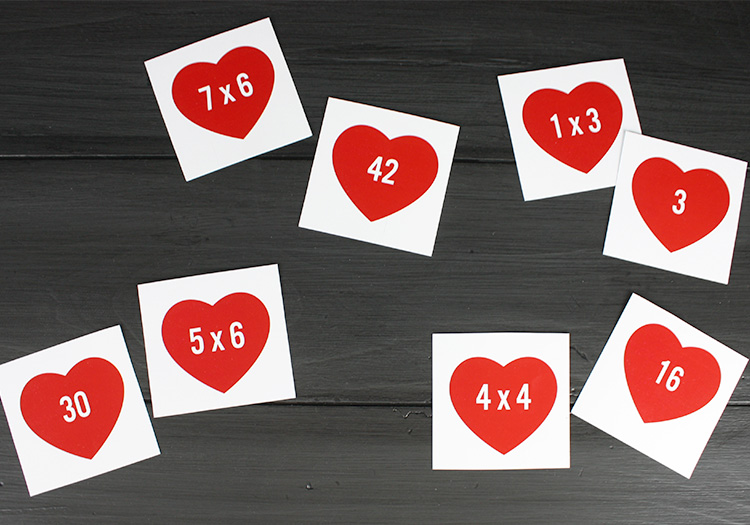
Valentines Matching Game
Memory games are always easy and fun, too. And this set of single-digit multiplication matching cards involves a little learning, too. You can get them here for free. One part is the equation, and the match is the answer. You can also make your own matching game using the same concept and anything your students are currently learning in class. For younger kids, just cut apart two bingo cards to make a quick, free matching game. I did this with my preschooler this week and she loved it!
- Ingredients: printable memory game cards
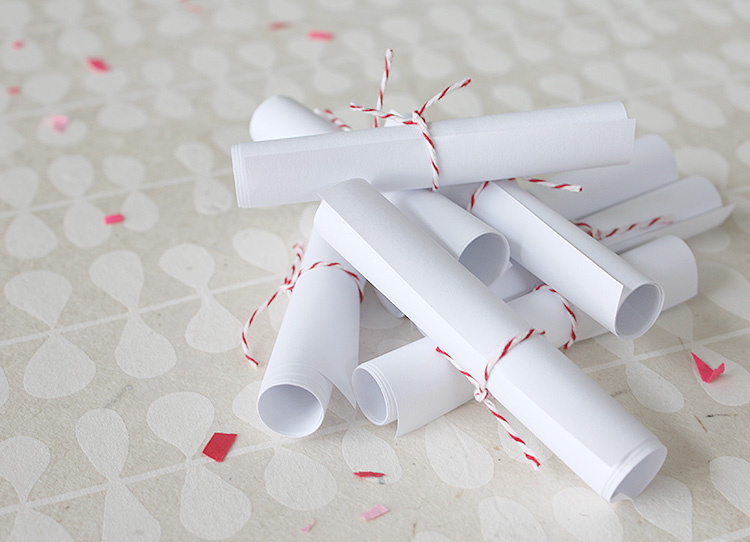
Valentines Scroll Letters
Cut a roll of calculator paper into long strips. The kids can make a love note for someone at home….or just draw a bunch of hearts. The length of these papers is perfect for a “10 Things I Love About You” list; or even better, to encourage good self-esteem, have the kids write “10 Things I Love About Myself.” Or use them as Photo Booth props like I did here. No matter how you use them, the novelty of a long piece of paper is always a hit.
- Ingredients: calculator paper, crayons/markers, paper straws [optional]
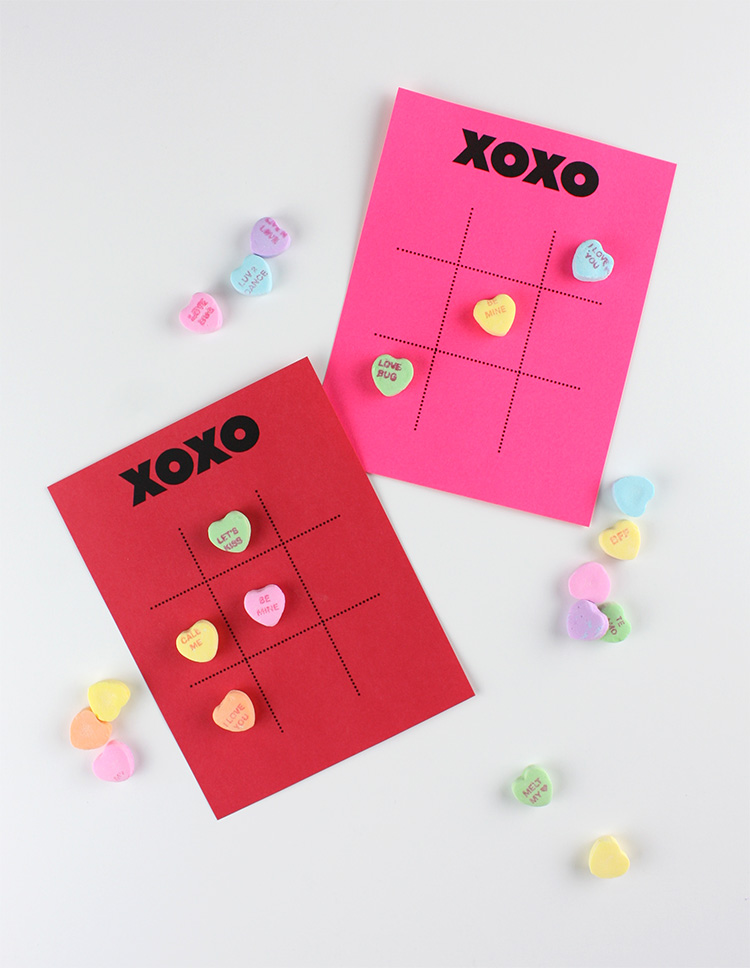
Valentine Tic Tac Toe
Just print off these little game boards, or have the kids draw their own. Then grab some candy and a partner and play tic tac toe. Easy peasy.
- Ingredients: Printable tic tac toe cards, conversation hearts
Christina Williams is a blogger and graphic designer living in Salt Lake City, Utah. She’s a night owl and a bookworm, as well as a mother to three children ranging in age from two to eight. She shares her latest DIY and design projects along with her adventures in parenting on self-named blog, Christina Williams.


 1
1 1
1