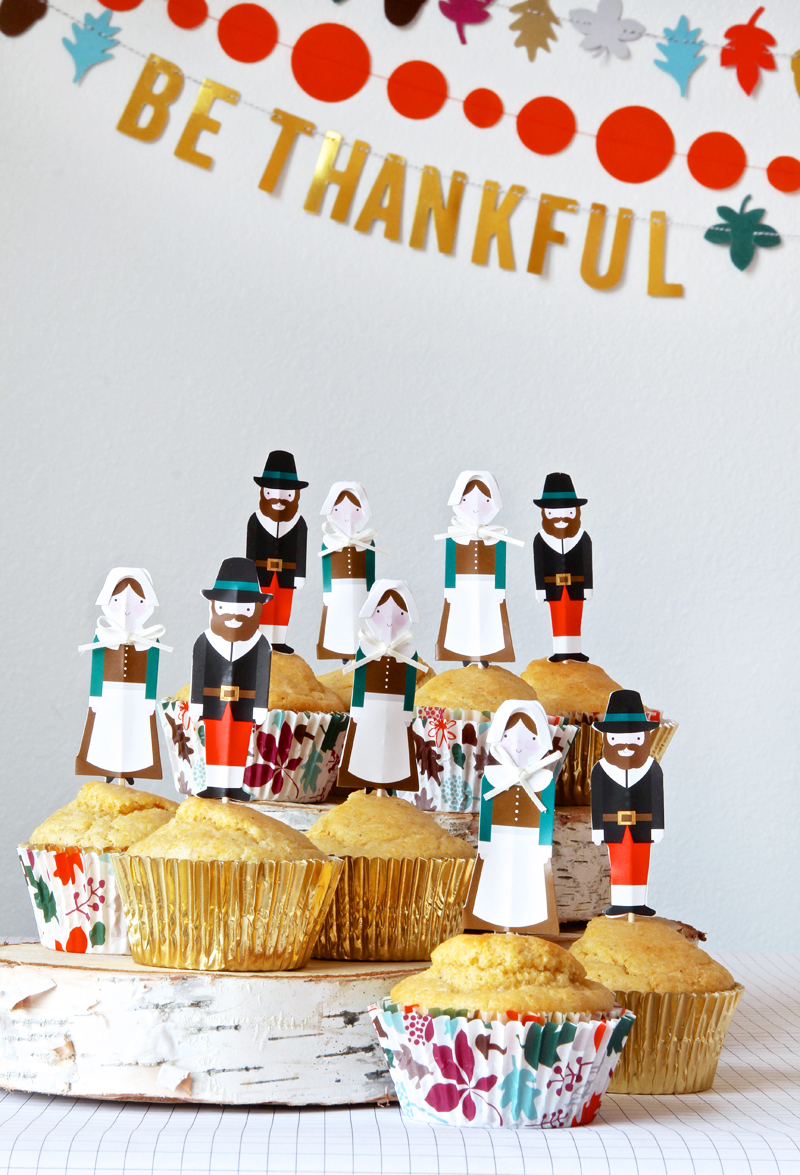
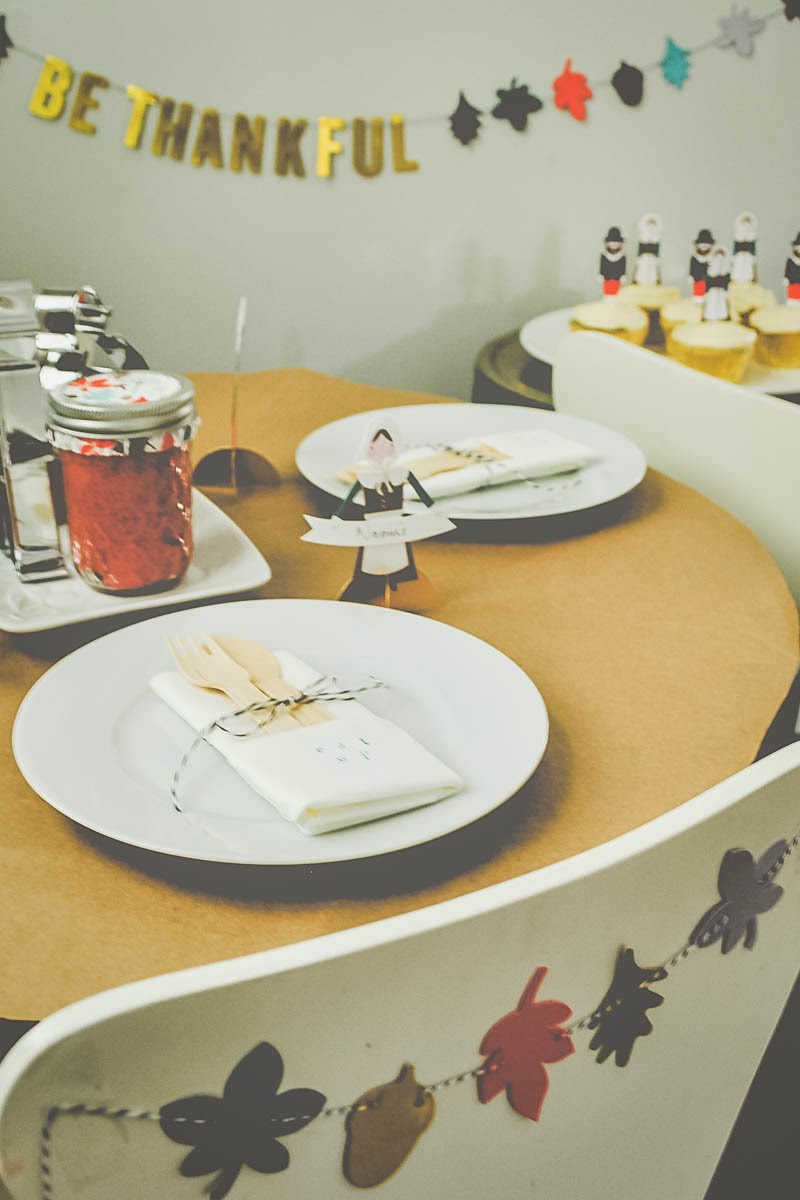
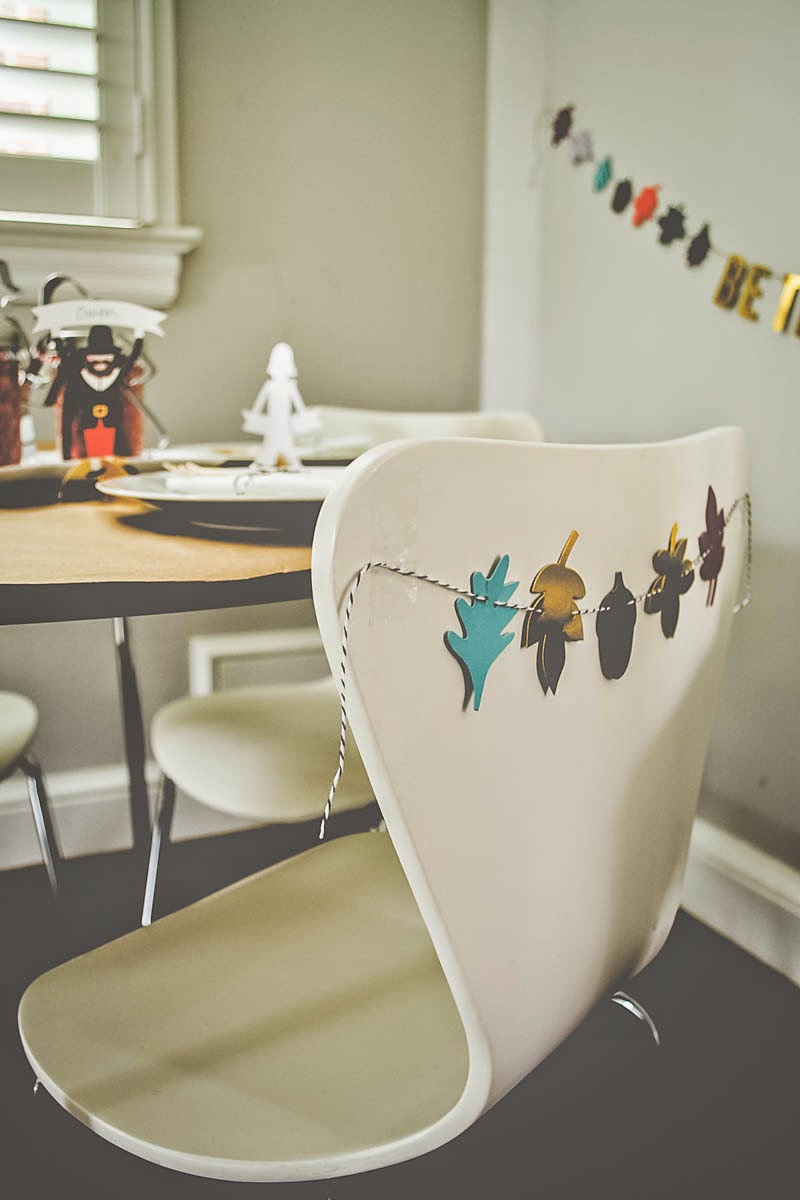
Pilgrim Hat Thanksgiving Cupcakes
Written by Corri McFadden of Glitter & Bubbles
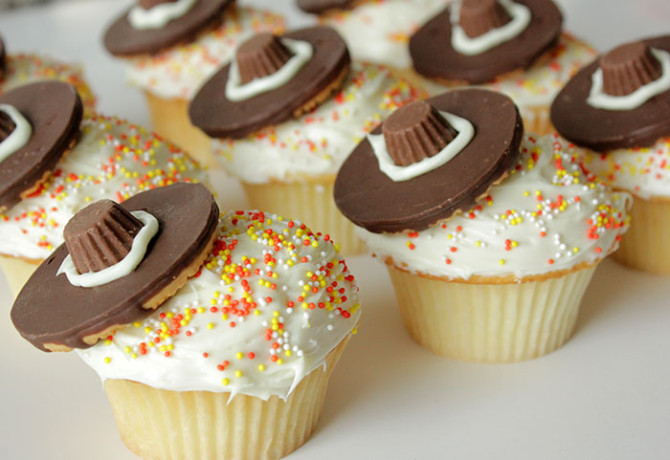 It’s time to gather up the family and embrace the season and spirit of Thanksgiving! I’m capturing the essence of the season by creating these charming Pilgrim Hat Thanksgiving Cupcakes. You’ll need cake mix in your favorite flavor (and the ingredients listed on the box), white frosting , orange and yellow sprinkles, mini Reese’s peanut butter cups, and fudge stripes.
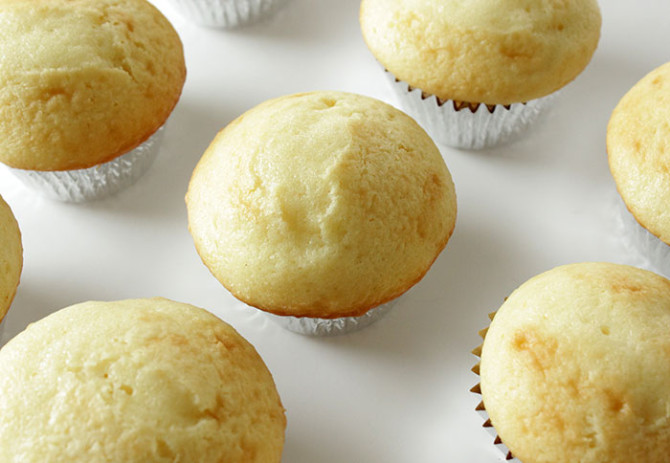
 First, prepare the cake mix according to the directions on the box. Line the cupcake tins with liners of your choice, festive or simple! Fill each liner about 2/3 full and bake according to the directions on your cake mix box. After the cupcakes have finished baking, let them cool for 10-15 minutes.
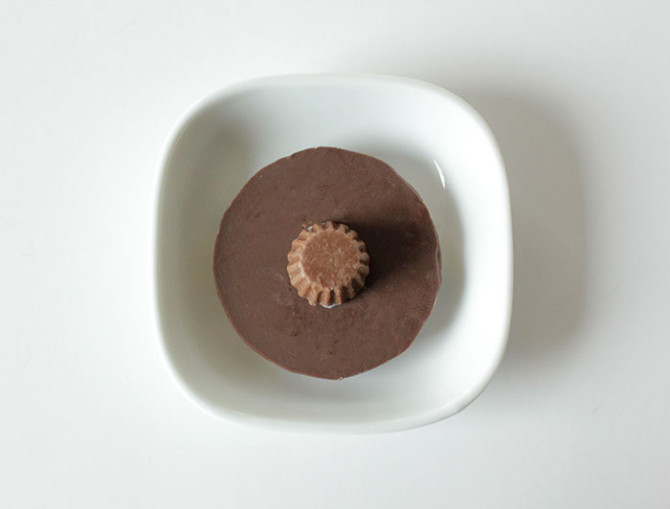
 While the cupcakes cool, use frosting to “glue” a mini Reese’s peanut butter cup to the center of the bottom of a fudge stripe. Create your own frosting bag by using a plastic baggie and scooping a small amount of the white frosting into the bag, then snip small section off of the corner. Squeeze the frosting out of the hole and pipe around the base of the mini Reese’s cup to add the finishing touch on the hat.
 After the cupcakes have completely cooled, frost each and add sprinkles to the tops. Place the pilgrim hat on the cupcake to your liking (we angled ours on the side!) With a season meant for being thankful, your friends and family will definitely be thankful for these delicious and festive treats!
Corri McFadden is the owner and founder of eDrop-Off Luxury Consignment. As a Style Expert and successful blogger, she hosts a weekly fashion segment on Chicago’s “You and Me This Morning”, and features “Style Recipes”, videos and Fashion “Must Haves” on her self-titled lifestyle website Corri McFadden. Most recently, she launched Glitter and Bubbles, a modern day moms guide for those looking for inspiration through fashion, food and décor.