Q&A with Nod Artist Stacie Bloomfield
August 7, 2014
 Tell us a bit about yourself…
Hi I’m Stacie & I really like to draw animals, drink French press coffee, and eat Indian food. I find inspiration in heirloom quilt patterns, my Midwest upbringing (though now I suppose I am a Southern girl) carefully curated color palettes. I currently live in Springdale, AR with my mathematician husband, Nathan, my incredibly energetic daughters Violet & Lucy, and my 2 pups Wallace & Zeus. I am a tad unorganized, spill my coffee on most of my original drawings, but I am always punctual!
NAME: Stacie Bloomfield
HOMETOWN: Springfield, Missouri
CURRENT TOWN: Springdale, Arkansas
FAVE ICE CREAM FLAVOR: Chocolate Chip
FAVE BREAKFAST FOOD: Pancakes with tons of butter and syrup
FAVE HOLIDAY: Thanksgiving
FAVE COLOR: Turquoise
FAVE MOVIE: The 1995 BBC Pride and Prejudice miniseries!
FAVE DECADE: The 1950s (I am a sucker for the feminine dresses from that decade).
When did you become interested in becoming an artist?
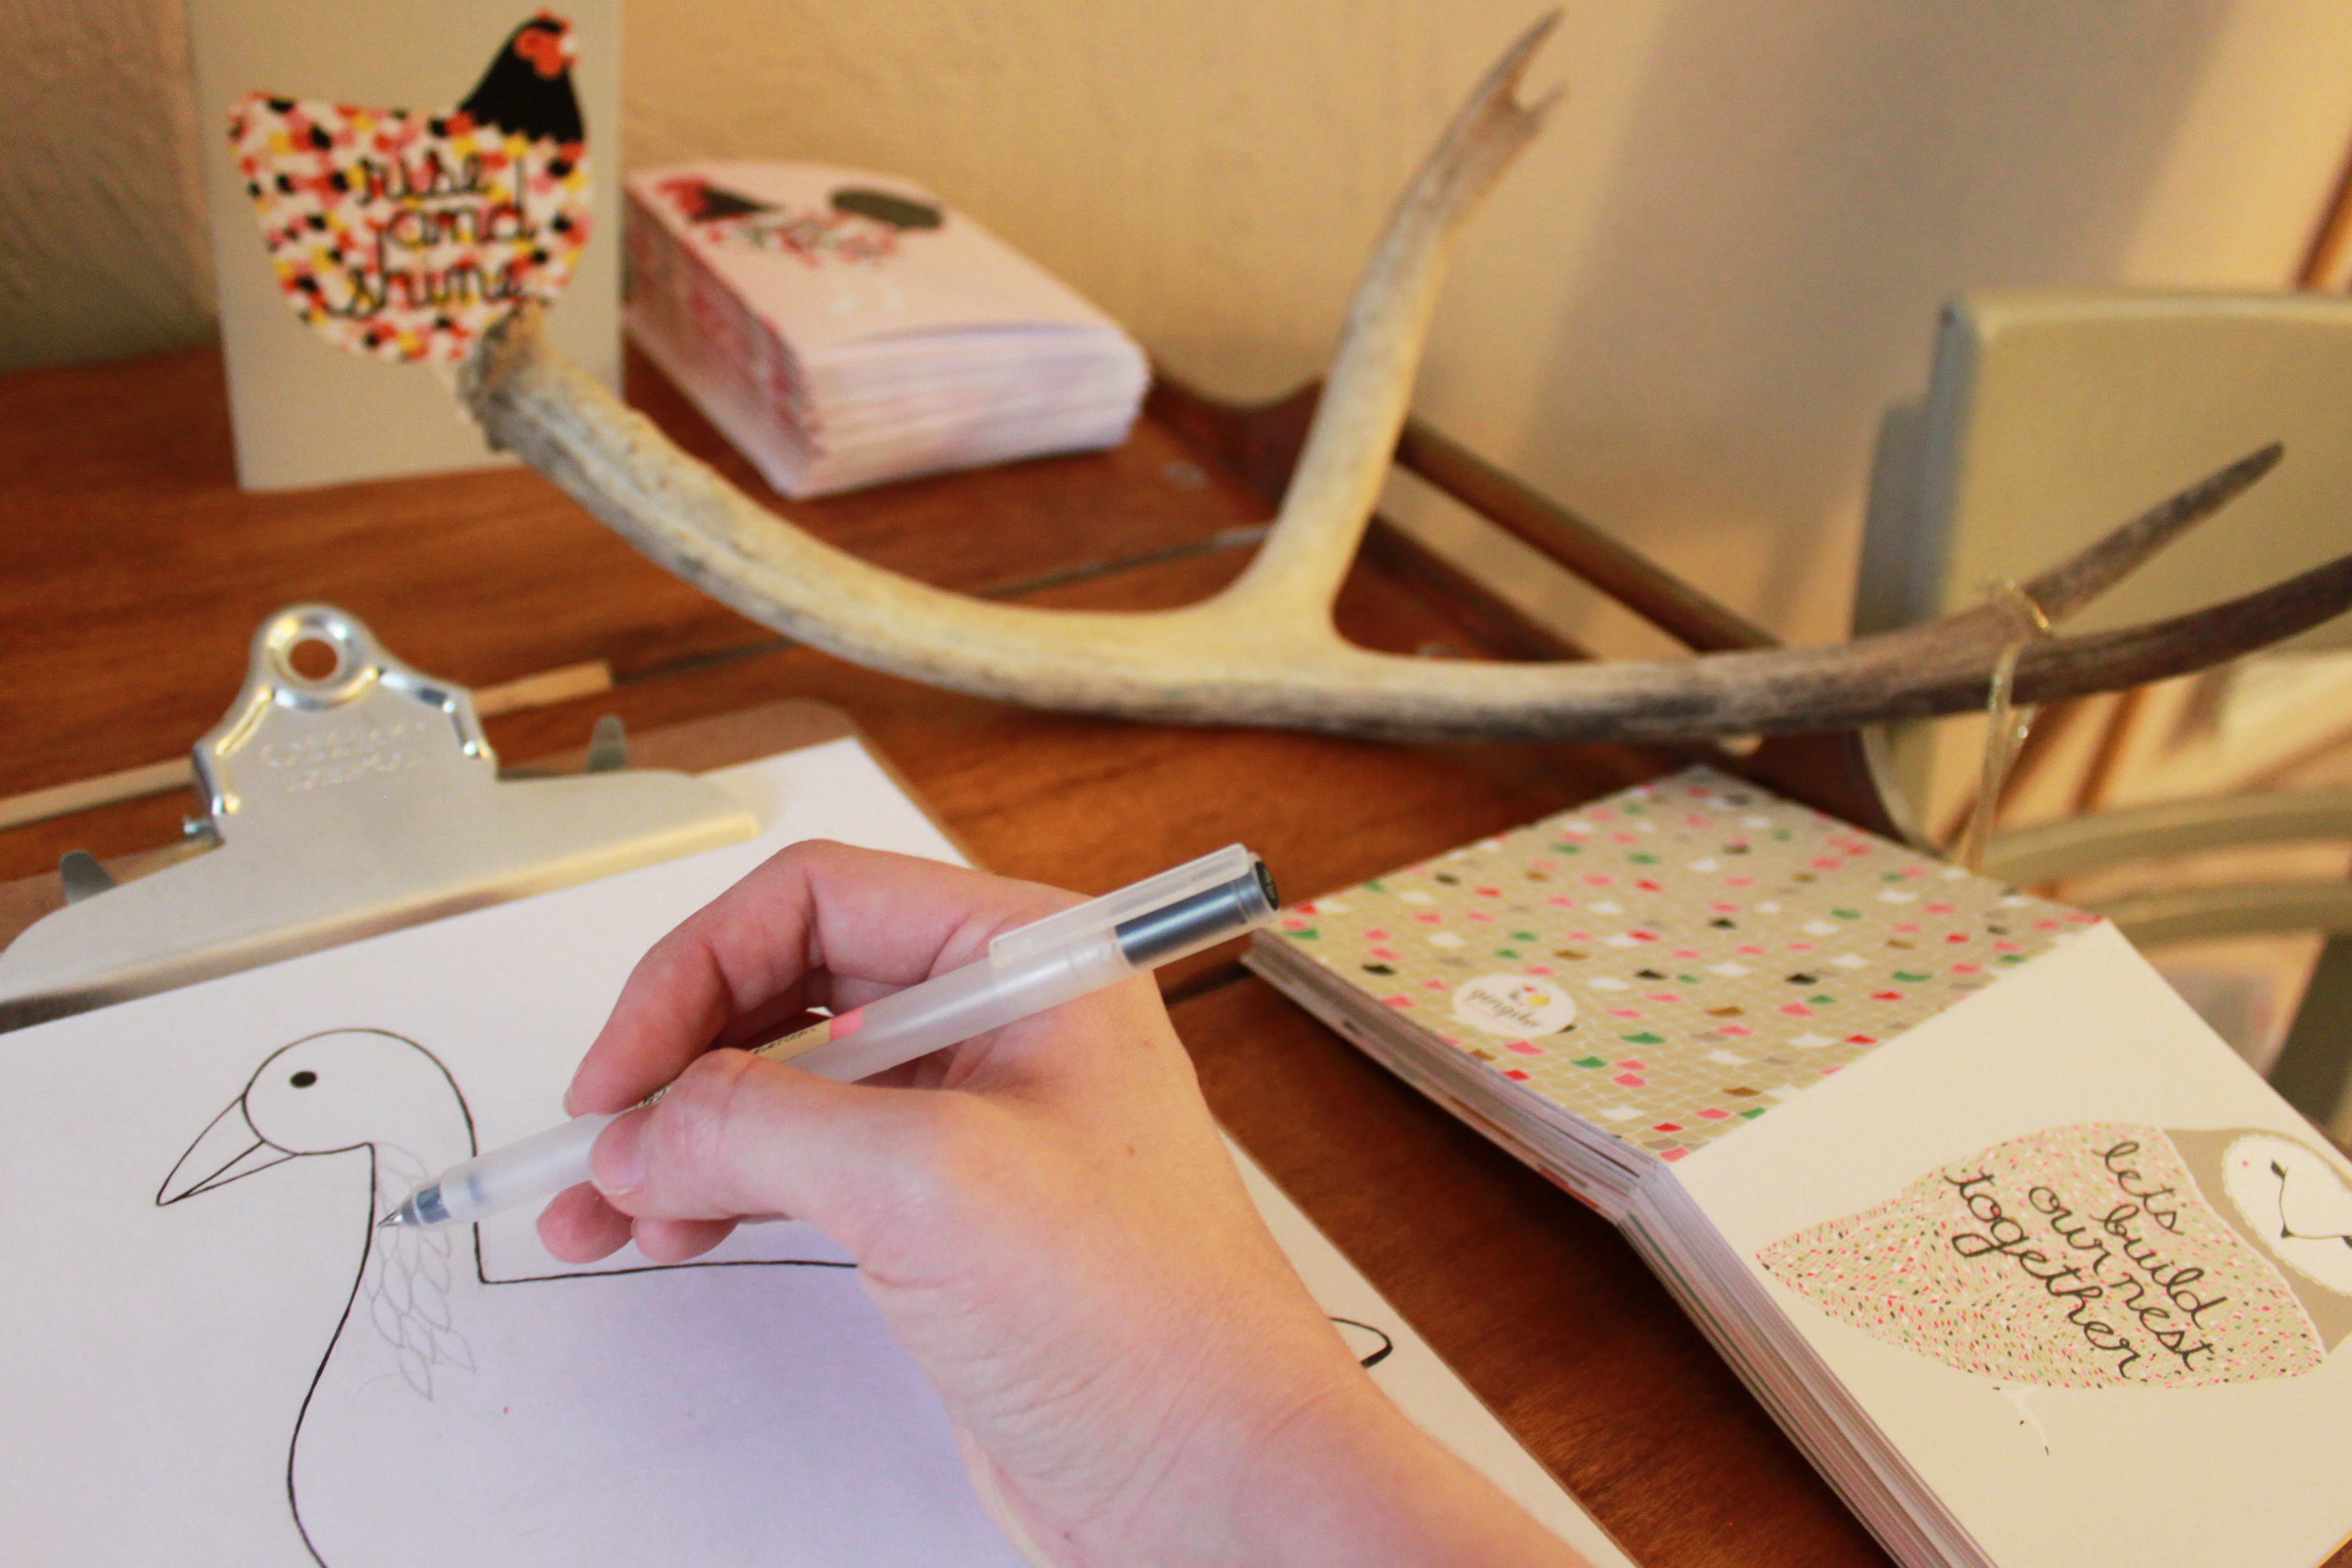
I have been drawing as long as I can remember. I spent a lot of my free time drawing portraits of all of my friends and family. I had always known that I wanted to study art in college and graduated with a degree in Design Arts from a small liberal arts college in Springfield, MO. I took a few career detours (i.e. managing a coffee shop for a while and then working an admin job at a local university) but eventually found my way back to art once my children were born. I couldn’t find nursery art that I loved, so I made my own!

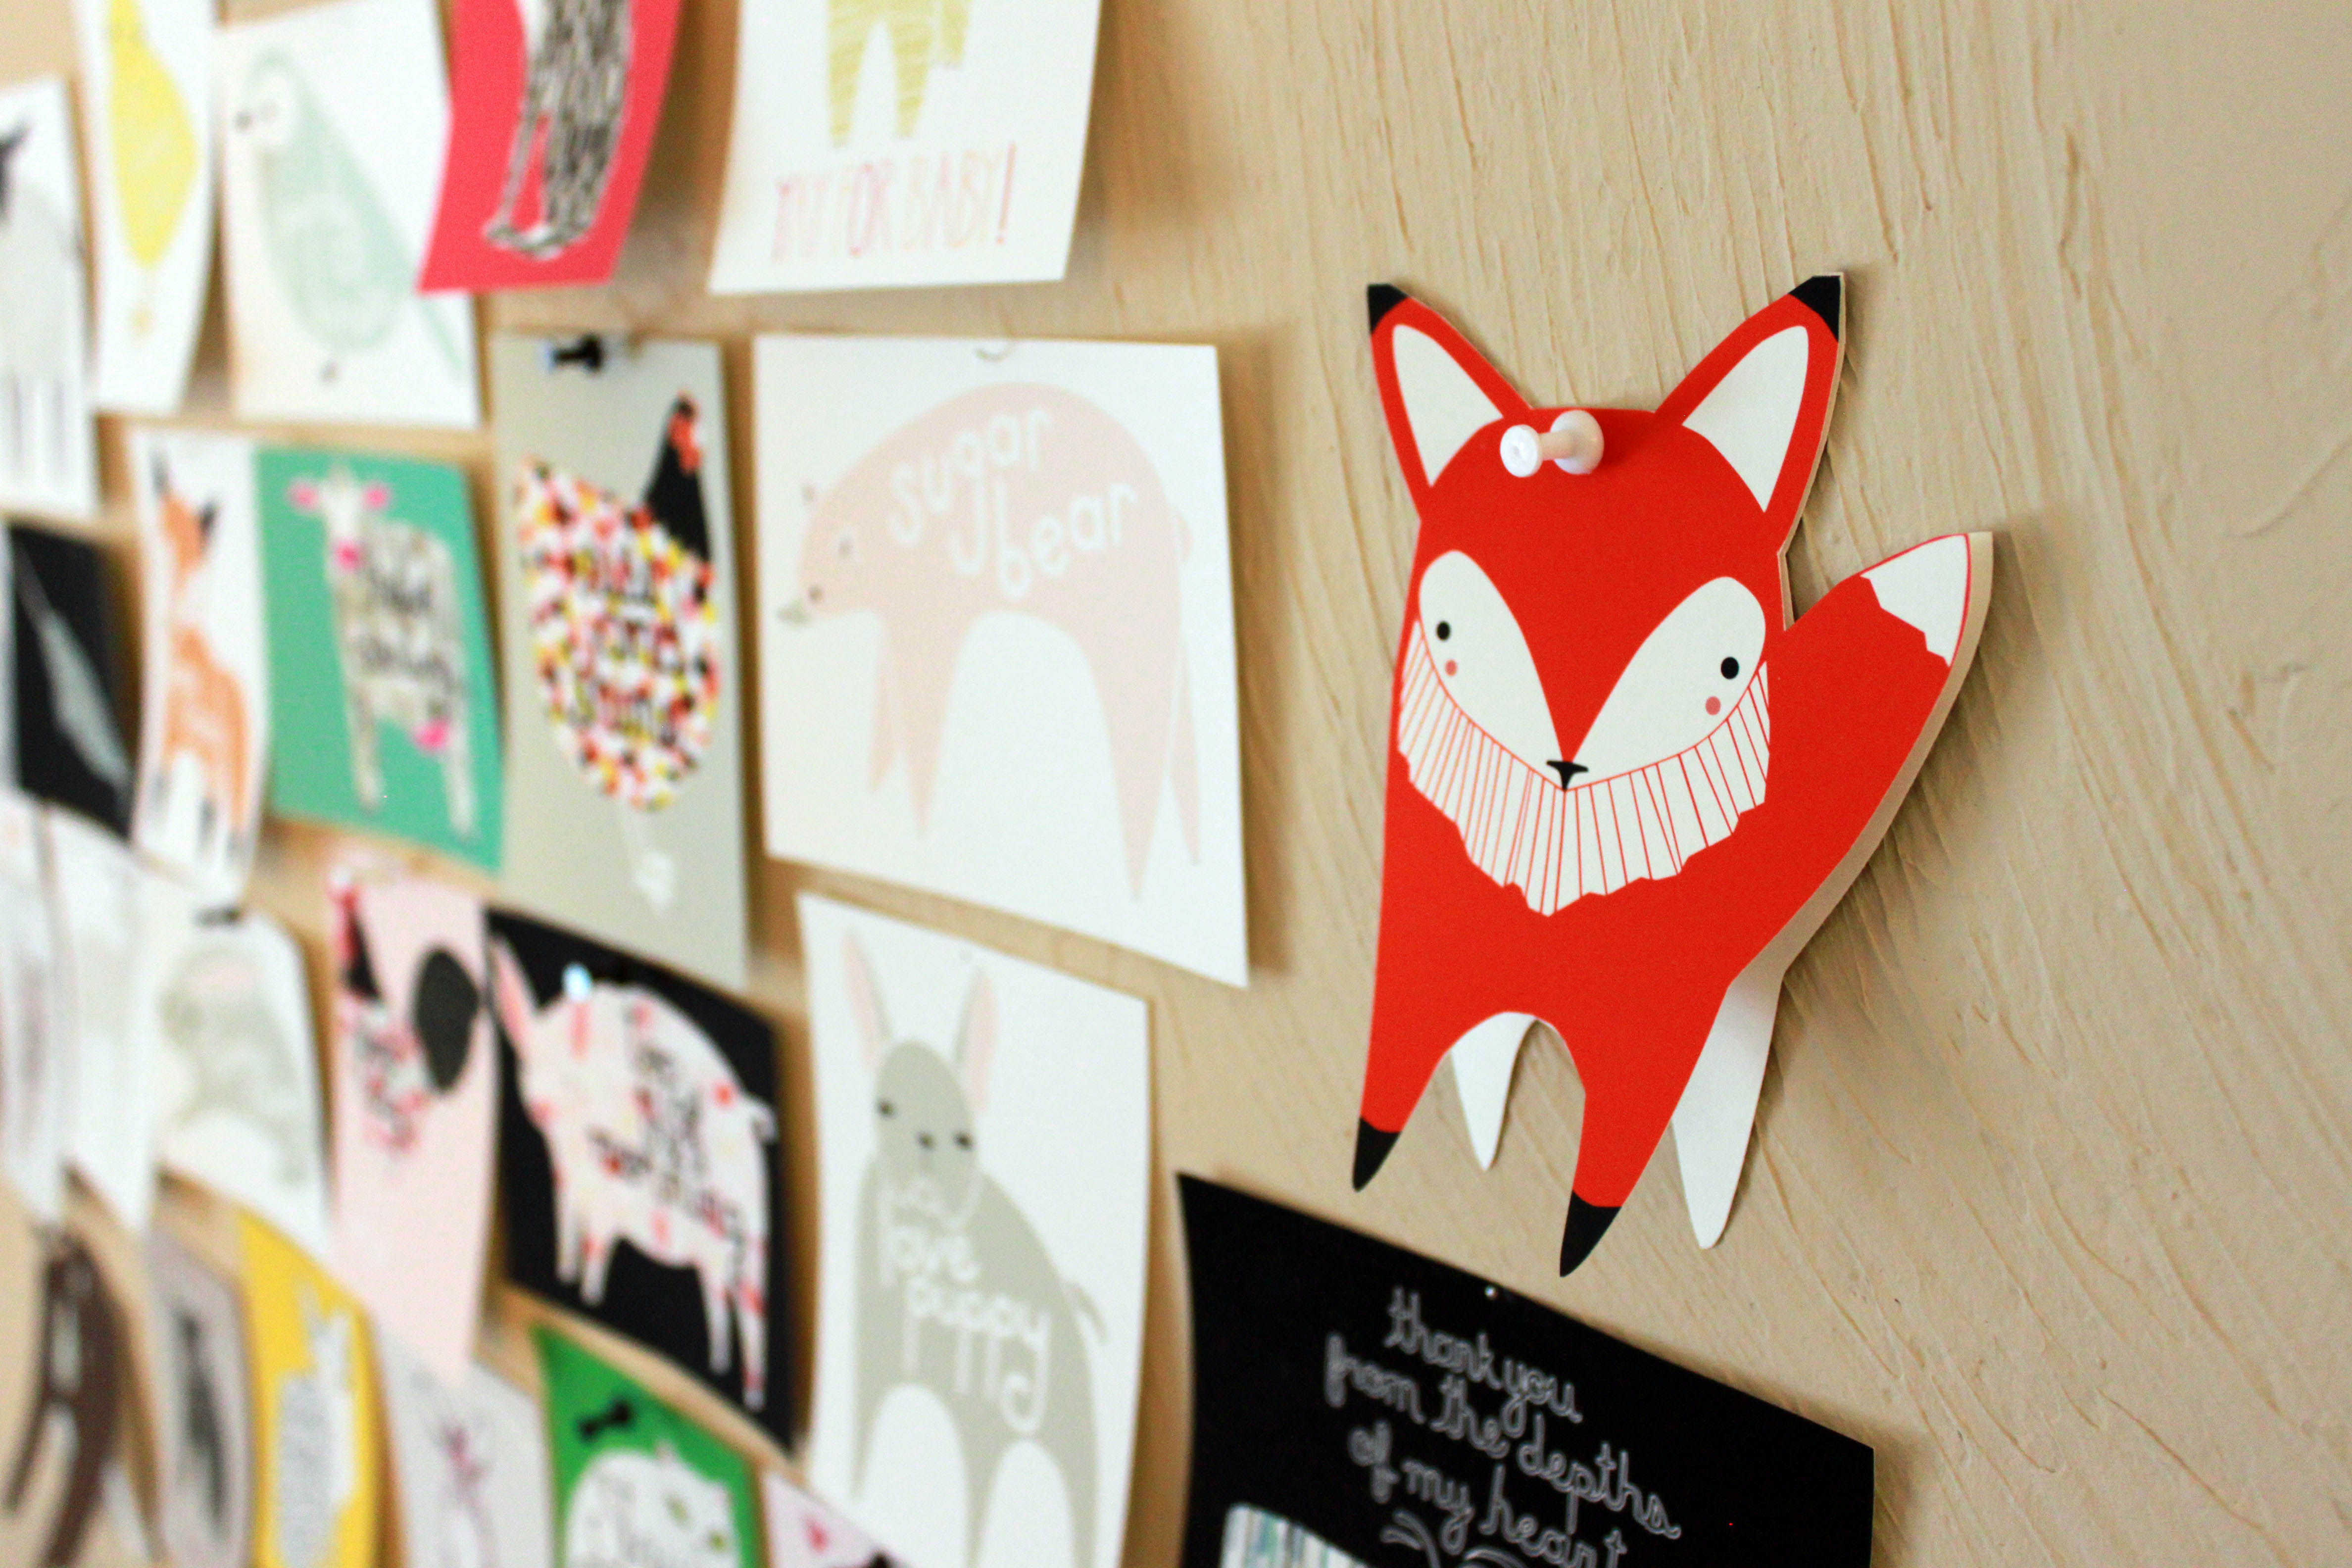
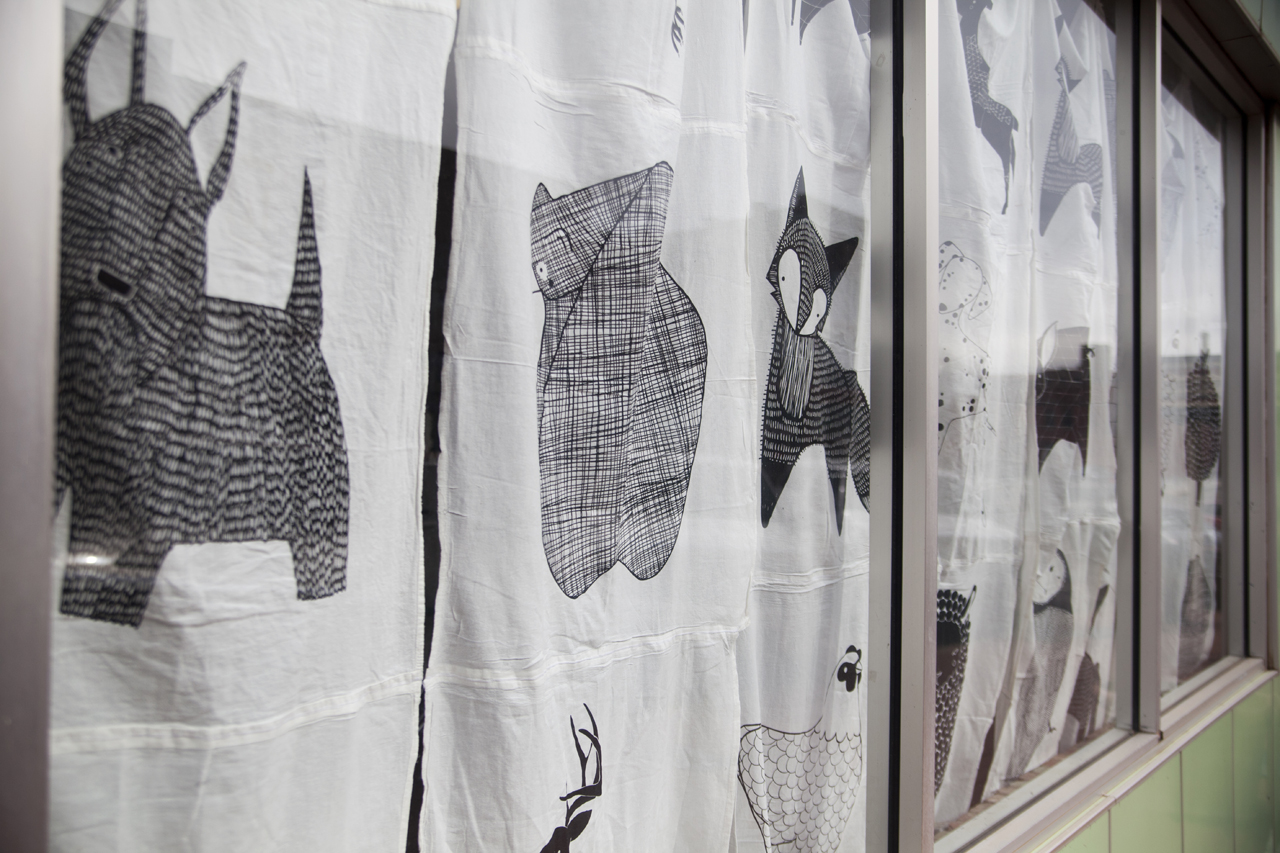
You draw a lot of animals. What type of animals are your favorite?
I love drawing bears and birds! I enjoy taking the fur on bears and using it as a blank canvas to explore different textures and patterns. And birds are simply lovely to draw because of their beautiful colors and feathers! I take a bit of artistic license when it comes to how I interpret my Gingiber animals. 😉

Is there a story behind the name of your company?
When I was an undergraduate, I had a graphic design project to create a magazine all about myself. When I was searching for what to title it, I turned to an old Latin dictionary and began searching through the “G’s” (which is my favorite letter). When I saw the word “gingiber” with the 2 G’s and that it was an older version of the word ginger, I ran with it! Years later when I started my illustration company, I didn’t think twice about using my old standby of Gingiber, and now I’ve never looked back!
What are the most rewarding and the most difficult parts of running your own business?
I love creating work that I love! I know that if I create something that I am pleased with, most likely my customers will see the passion in the illustration and love it, too! I love setting my own hours and interacting directly with my customers. I also love my small business community, and all of the amazingly talented people who share the same creative lifestyle as myself!
The most difficult part of running my own business is deciding which of my ideas to run with and which ideas need a bit more tweaking. I literally have so many directions I would love to take Gingiber that prioritizing what needs to come first is important because I only have so many hours in a day. Also some times of year of crazy busy (holiday, yikes!) while others are slow and steady. Finding the balance planning for the future and setting myself up for success is a yearly challenge!
Tell us about your kids and how you balance work/mom life.
I have a 5 year old named Violet, a 2 year old named Lucy, and a 3rd baby on the way due December 30th! This baby better not come during my holiday rush! I feel like work life balance is constantly evolving. During the school year my oldest goes to school M-F, while my youngest is home with me most of the time. I send her 3 days a week to a Kid’s Day Out Program, and that is when I get the bulk of my work done in my studio (outside of my home). I find that I can’t get work done efficiently if I am at home, so getting out of the house 3 days a week helps me to focus. I try to not work as much when they are home, but usually I catch myself on my phone returning emails 🙂 And working during the summer? I still haven’t found that rhythm. Somehow everything gets done, though! Coffee helps!

If you could travel anywhere, where would it be?
Recently my husband and I have been talking about wanting a honeymoon “do-over” in Charleston, SC. I know it isn’t exotic, but when we last traveled there, everything that could go wrong went wrong! Missed flights, hurricanes, lost reservations, etc. It was a great way to start a marriage 😉 Yeah, I’d like a do-over!
If you could possess a superpower, what would it be?
The power to read minds, specifically my 5 year old daughters. She is feisty, and I would love to get a glimpse at what is going on in that little head of hers.
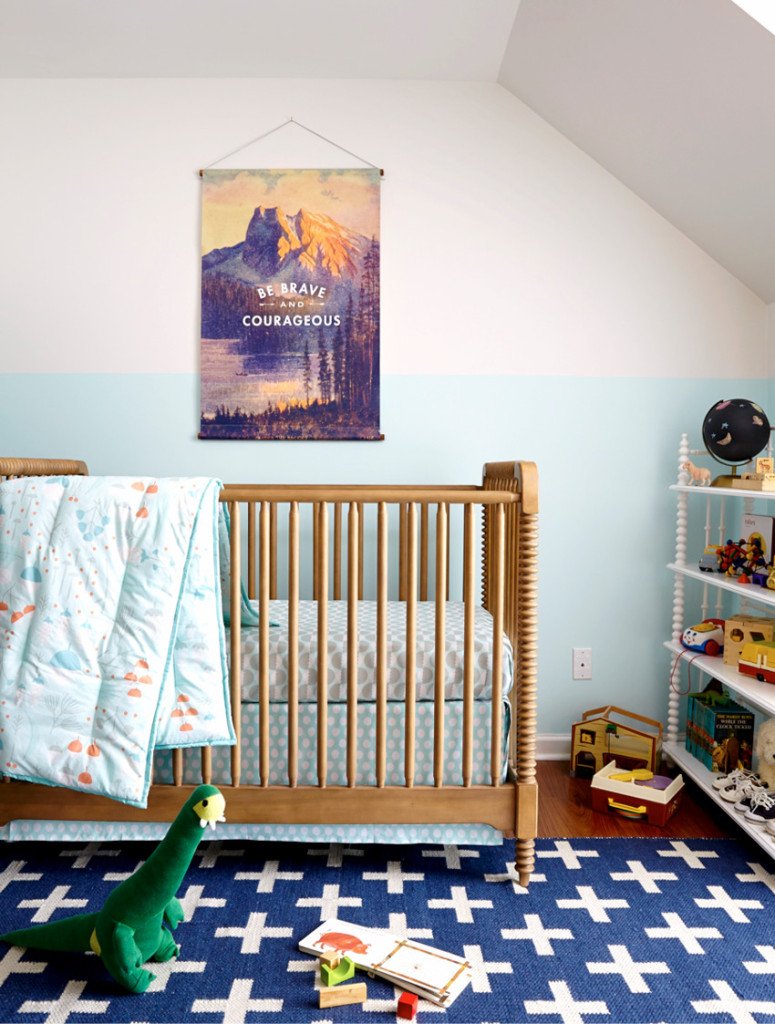
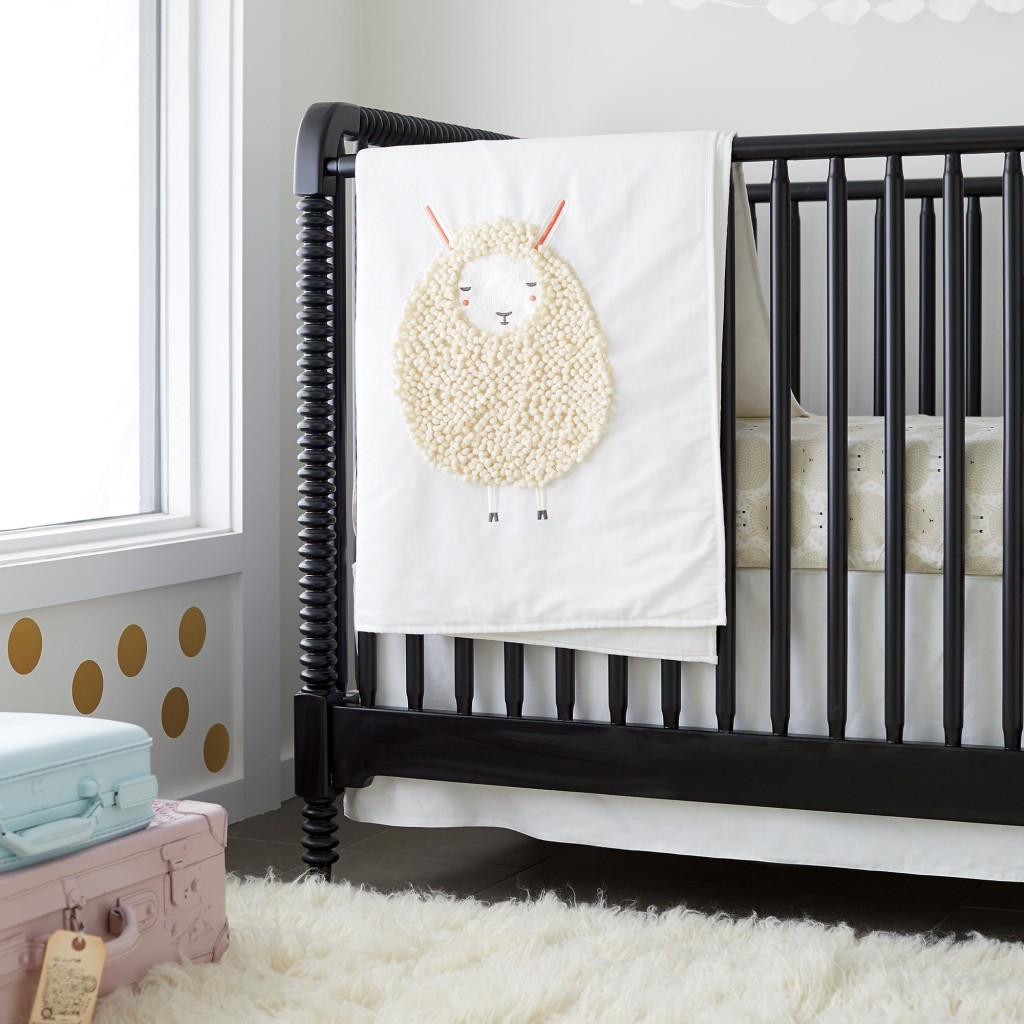
Tell us about your new Sheepish bedding set. What do you love most about it?
I am crazy about the entire set, but I think the linen blanket with the French knots representing the sheep wool is absolutely dreamy! It feels sort of like an “heirloom”, and I think it is a very special piece.
How would you style it in a room?
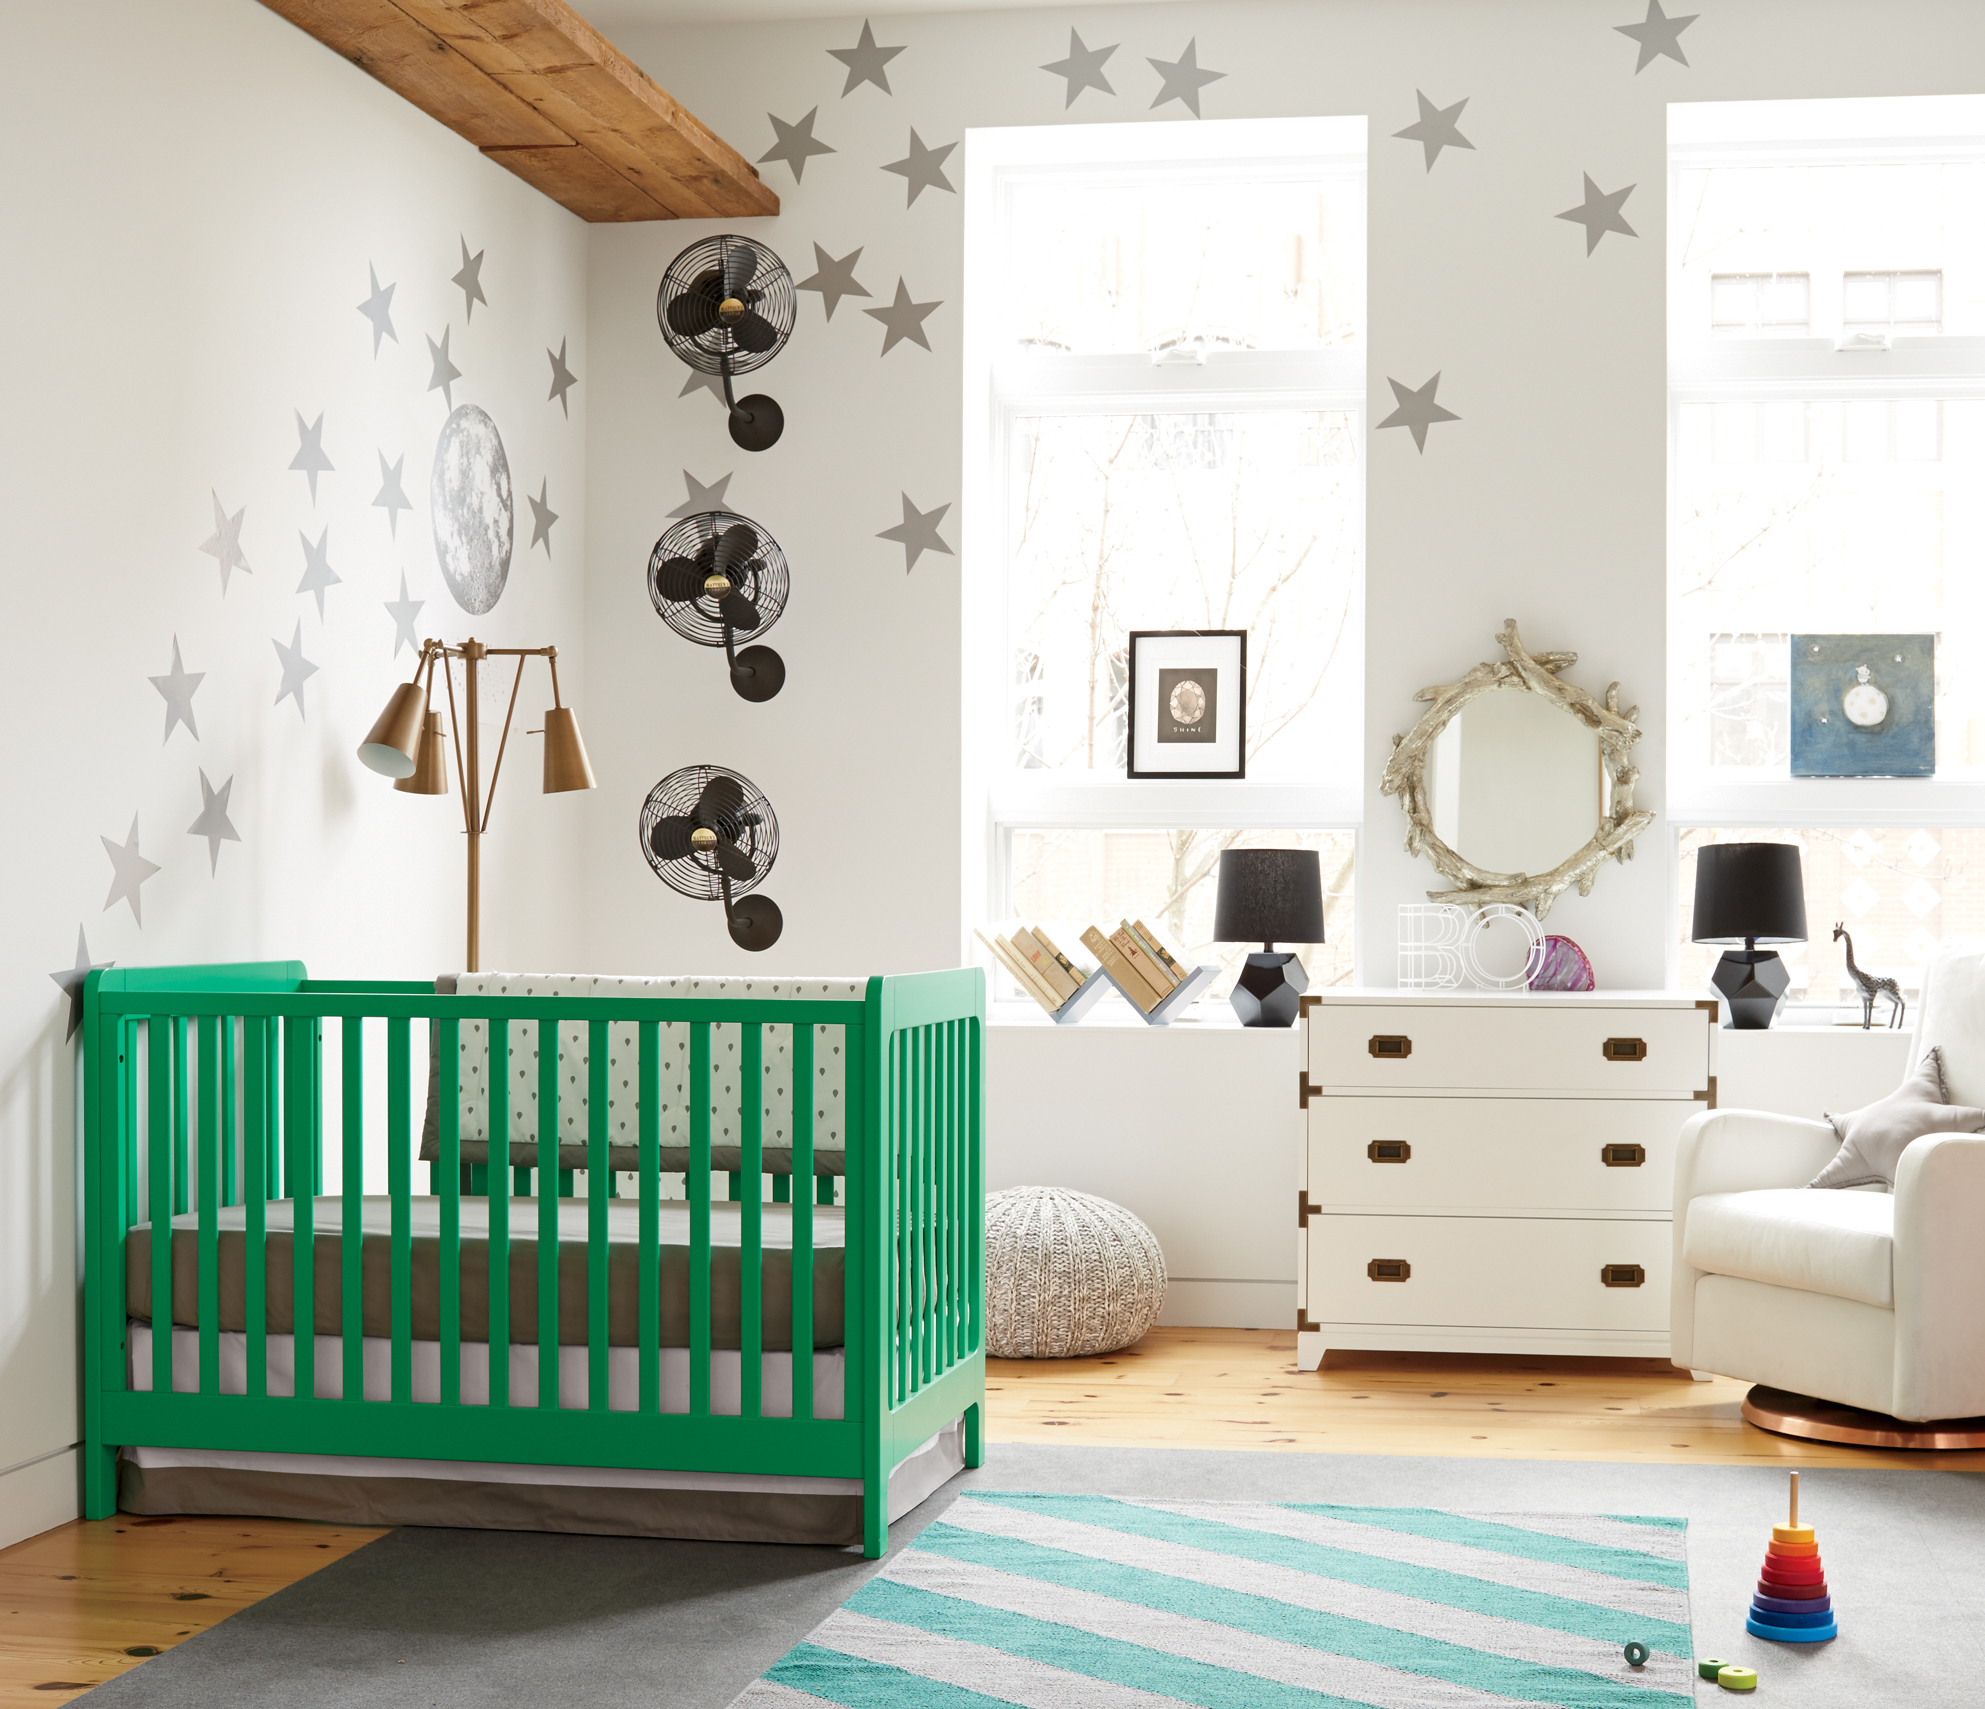
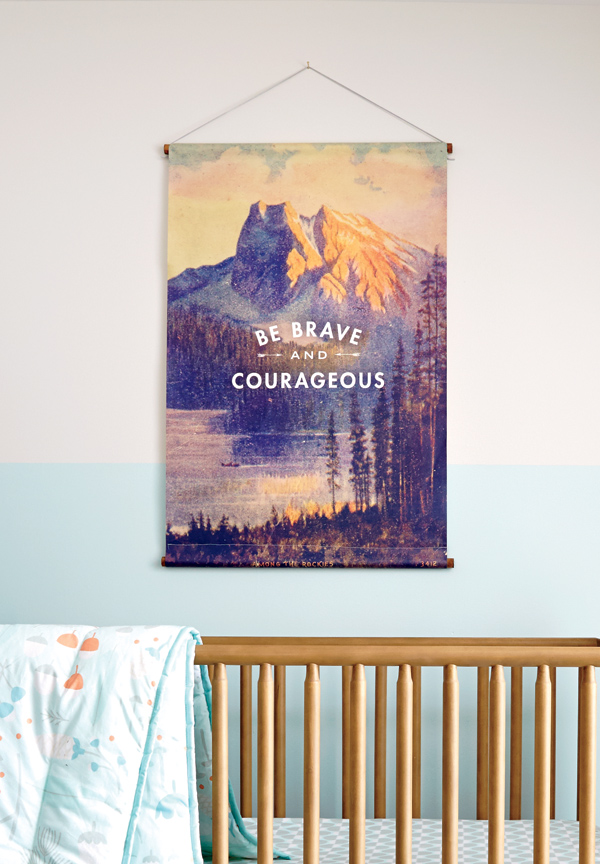
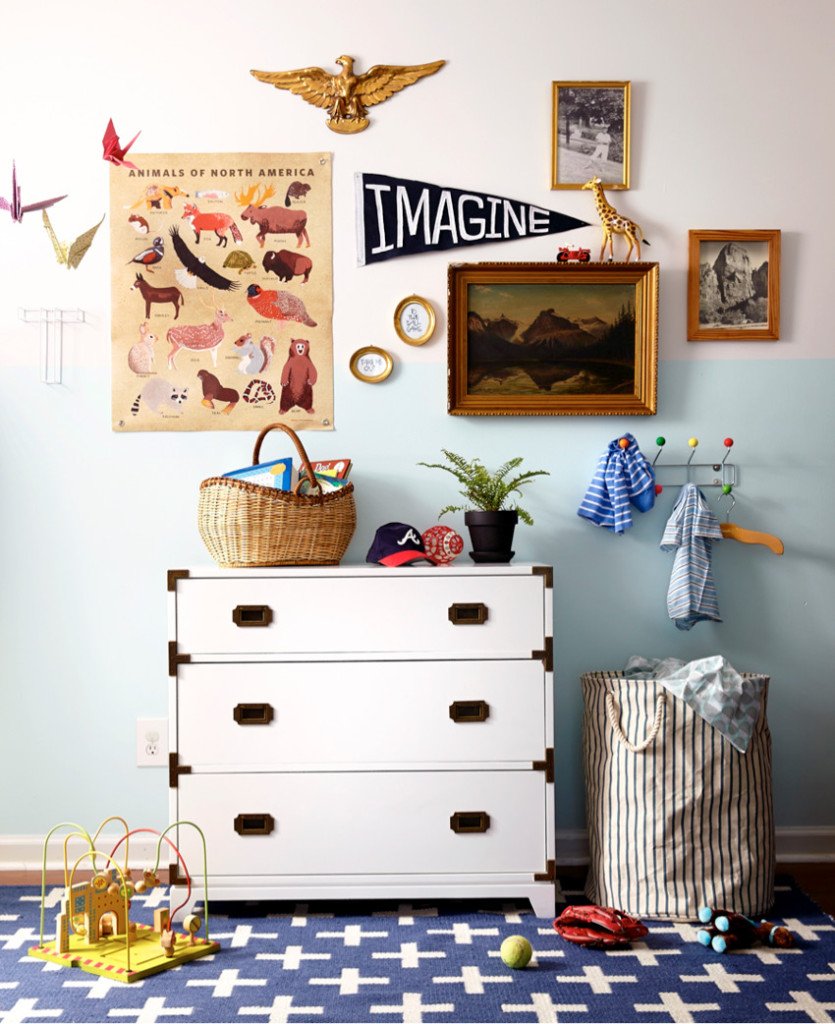
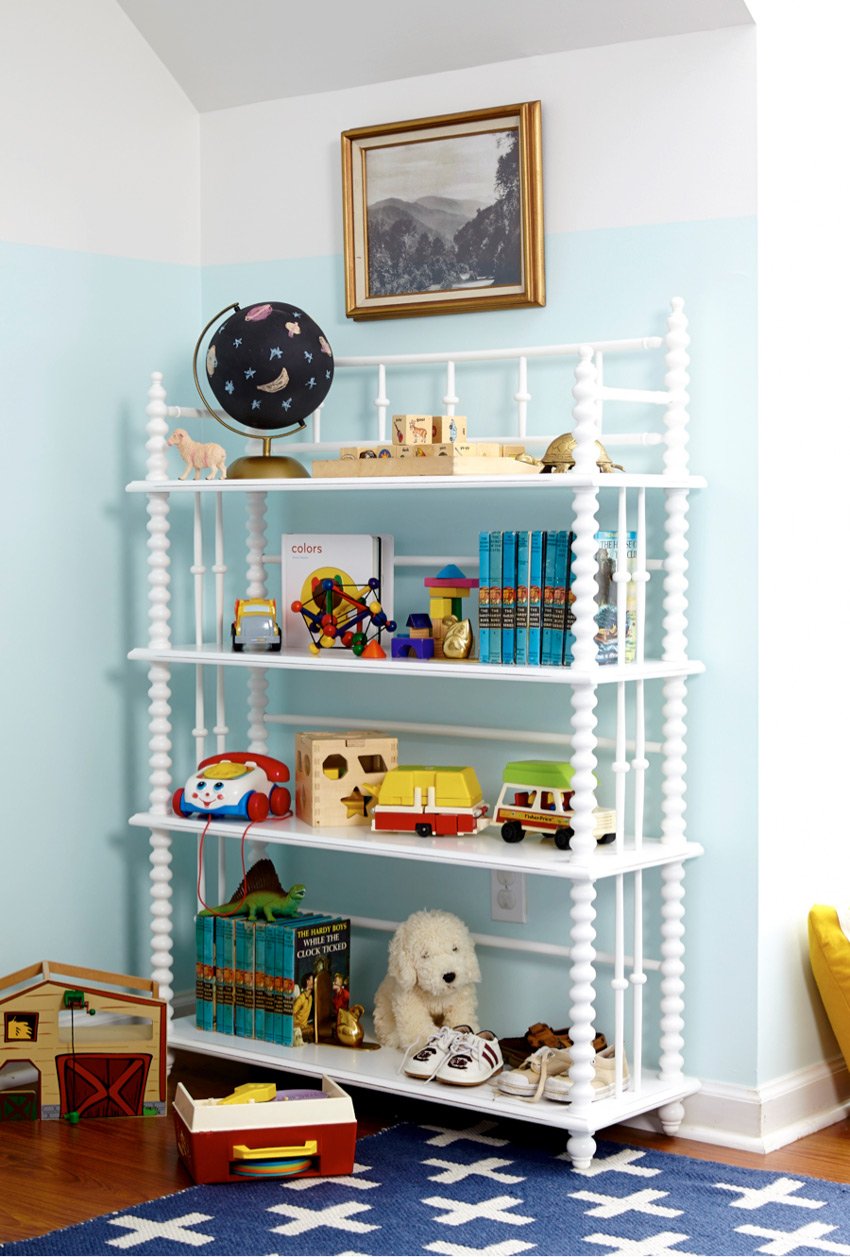
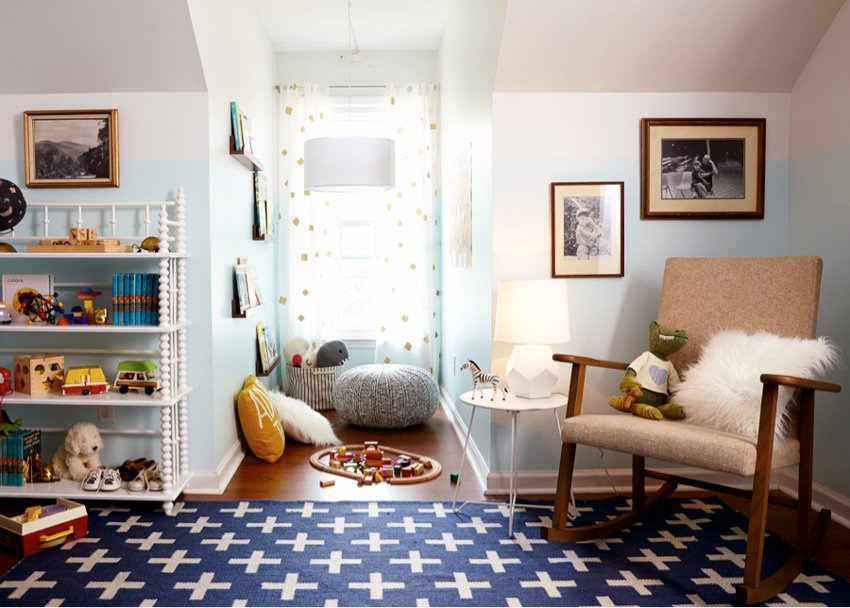
I would love to see this set in a classically inspired room a gorgeous black wooden bed with spools, paired with a beautiful vintage upholstered chair in an unexpected color like kelly green or hot pink. Of course the room would be filled with books, well loved toys, and wall art from some of my favorite illustrators like Ashley G, Leah Duncan, or even some prints from Gingiber. 😉
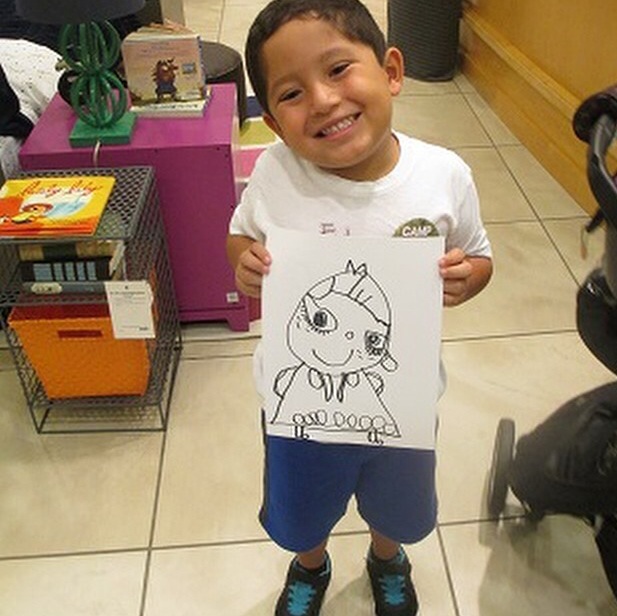
 [image]
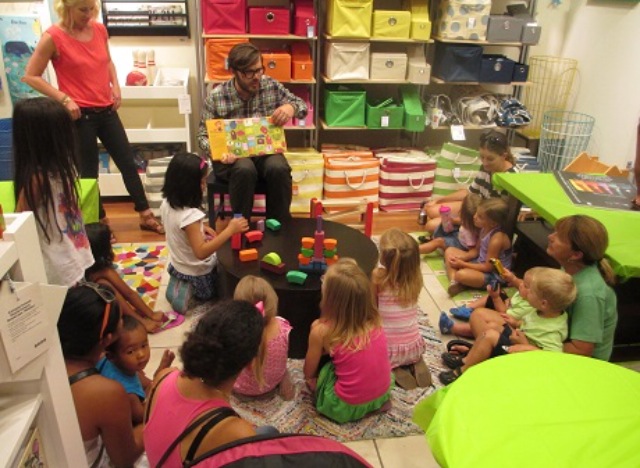
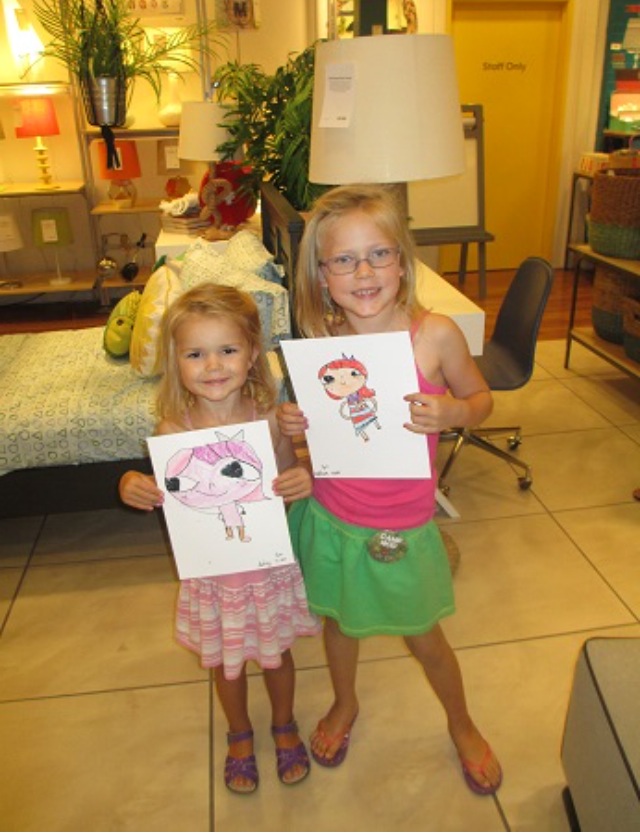
 [image]
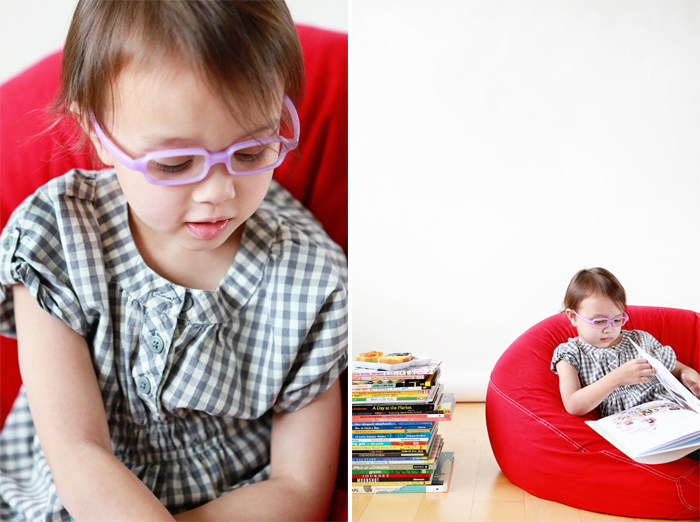