Close

Blog

Fun & Fresh Toddler Moodboard

July 15, 2014

Post by Kim Grosser of The Land of Nod’s Design Services Team.

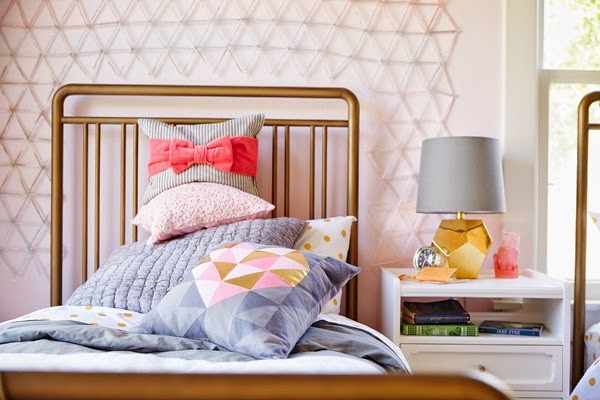
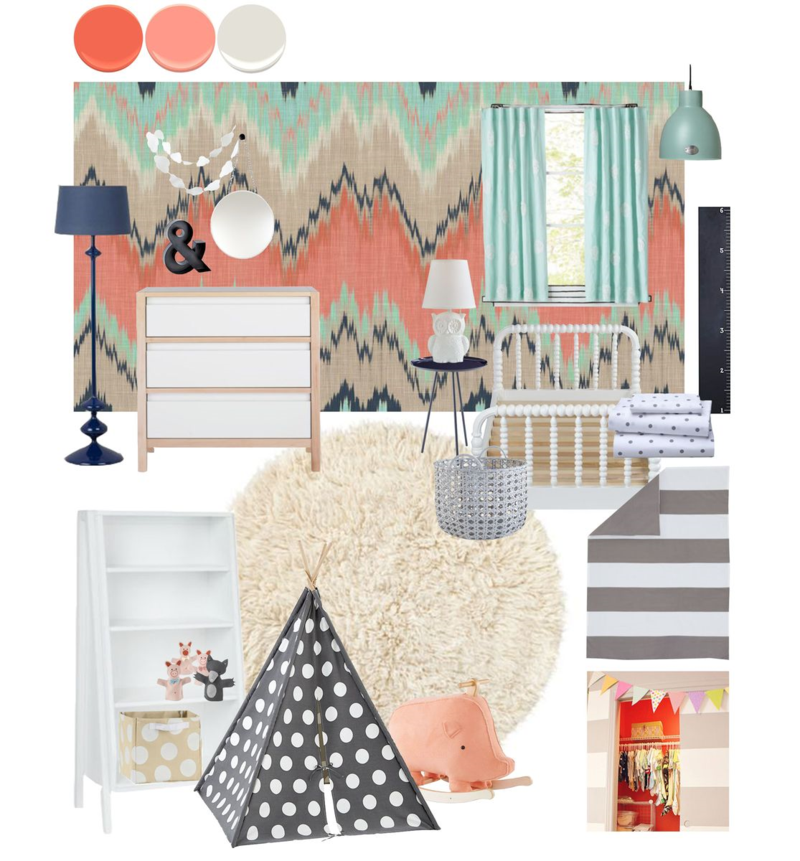
Mandy wanted to update her daughter’s nursery to a fresh toddler’s room to match her two-year-old’s fun personality. She was hoping for a patterned focal wall and loves the Jenny Lind toddler bed.

Toddler Girls' Room Mood Board

Jenny Lind Toddler Bed / Grey Dot Toddler Sheet Set / Widest Stripe Toddler Duvet / Flokai Fluff Round Rug / Andersen Three Drawer Dresser / Precious Metal Navy Nightstand / Checkmate Floor Lamp / Furled Swirl Curtains / Not So Nocturnal Lamp / Studio Pendant / Graduated Tall Bookcase / Dotted Cube Bin / Woven Grey Floor Bin / Fair Weather Garland / Magnifcent Metal Ampersand / You Look Mahvelous Circle Mirror / Chalkboard Growth Chart / Piggy Rocker / Grey Dot Teepee / Once Upon a Hand Puppet Set / Spoonflower Wallpaper

Benjamin Moore Paint Colors: Classic Grey OC-23; Summer Sun Pink 2012-40; Tangerine Dream 2012-30

Design by Kim Grosser of The Land of Nod’s Design Services Team. Our Design Services team offers free one-on-one design advice, mood boards and space planning. You have a room to decorate? They’d love to hear from you.

Q&A with Nod Artist Cat Seto

July 14, 2014

Tell us a bit about yourself…
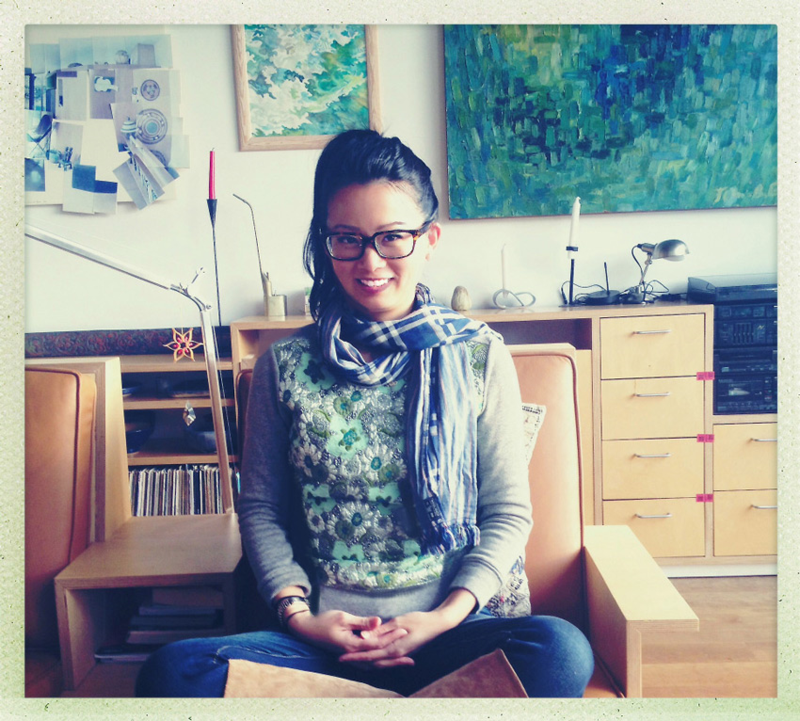
Getting to Know Cat Seto

NAME: Cat Seto
HOMETOWN: Troy, Michigan
CURRENT TOWN: San Francisco, California
FAVE ICE CREAM FLAVOR: Secret Breakfast from Humphrey Slocombe
FAVE BREAKFAST FOOD: Soft scrambled eggs
FAVE HOLIDAY: Chinese Lunar New Year because we get to do a silly lion dance and light sparklers.
FAVE COLOR: Navy
FAVE MOVIE:  American Beauty
FAVE DECADE: The ’80s
FAVE BOOK: Too many to list…but a favorite is A Fine Balance by Rohinton Mistry.

Tell us about how you came to be an artist?
I have a BFA in painting which I put on the backburner when I had a grant to write the “great novel”. But after moving to San Francisco I was hit with horrible writer’s block and I started crafting finger puppets to pass the time. After creating hundreds of them I decided to turn those finger puppets into cards. And before I knew it I had illustrated a small stationery collection which I debuted in NY.
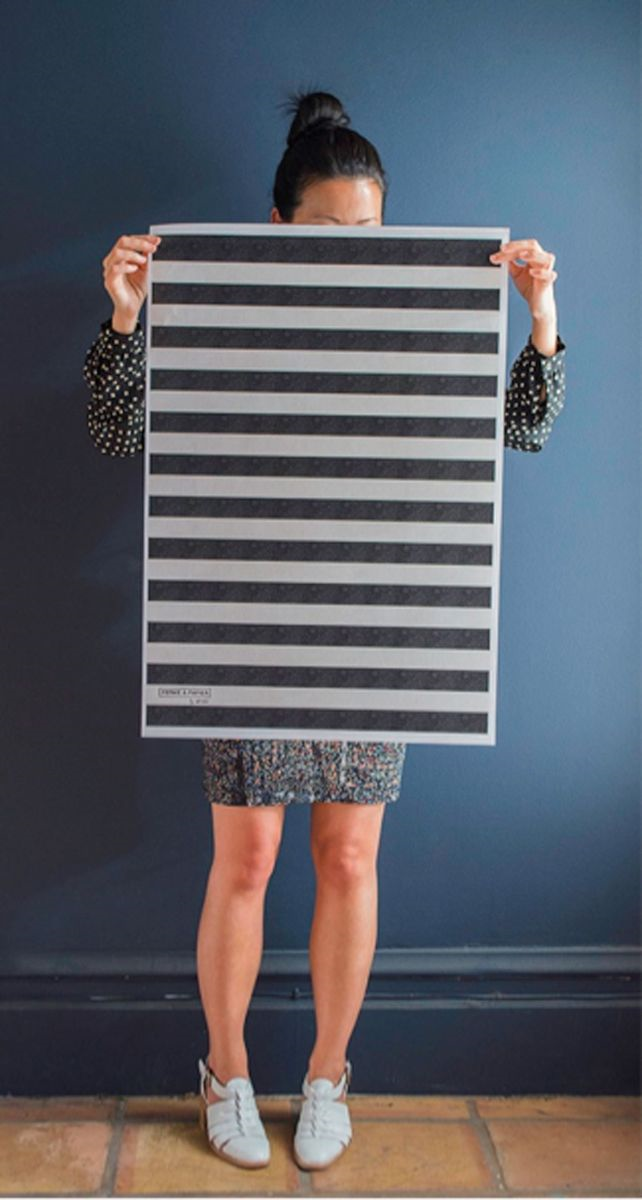
Getting to Know Artist Cat Seto - 2
Is there a story behind the name of your company, Ferme à Papier?
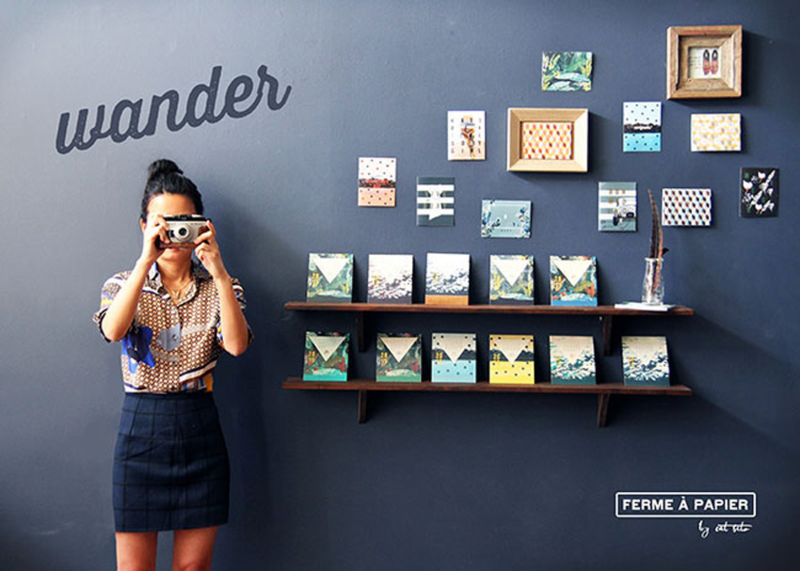
Ferme à Papier loosely translates into Farm to Paper. I took my first trip to Paris two years ago and visited biodyamic farms in the countryside along with admiring the chic hipster Parisians in the city. When I returned a series of little drawings and sketches emerged from the trip which I then launched as Ferme à Papier. The entire series is about enjoying the small joys in our everyday.
Getting to Know Artist Cat Seto - 3

What are the most rewarding and the most difficult parts of running your own business?
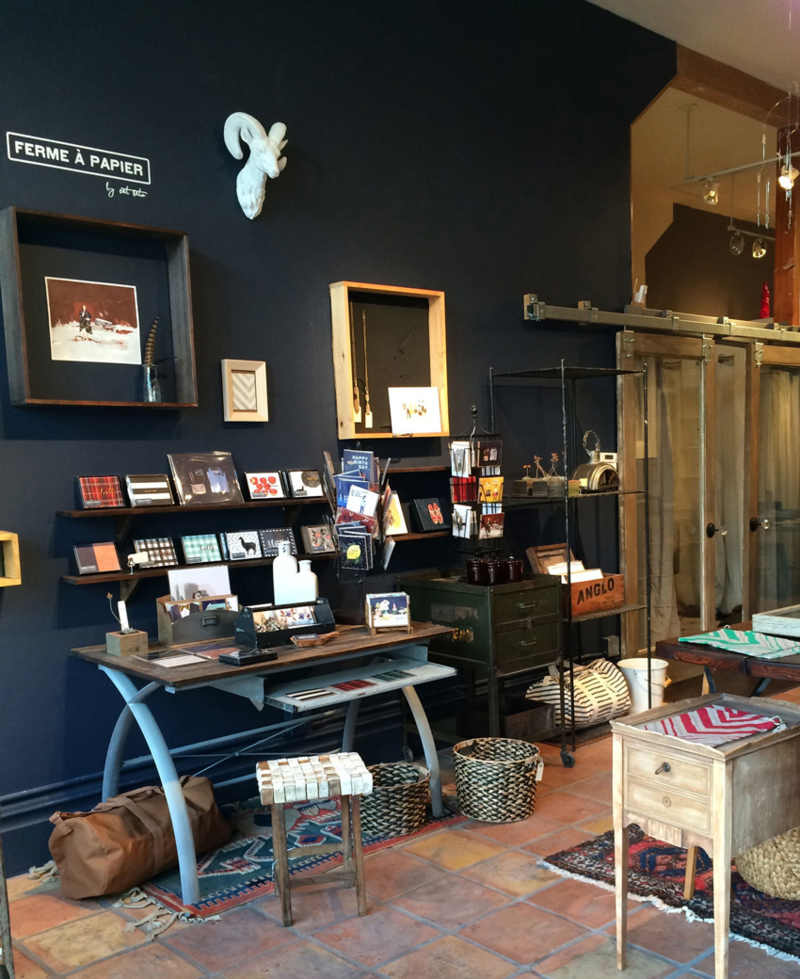
It can be a challenge to balance the creative with the business. Much of my day is filled with answering emails, corresponding on projects and making sure our studio is humming. But there is nothing more rewarding than being able to create something with my hands and share it with my community, retailers and customers. It’s a humbling experience and always reminds me of what’s important in my creative life.
Getting to Know Artist Cat Seto - 4

How would you describe your style?
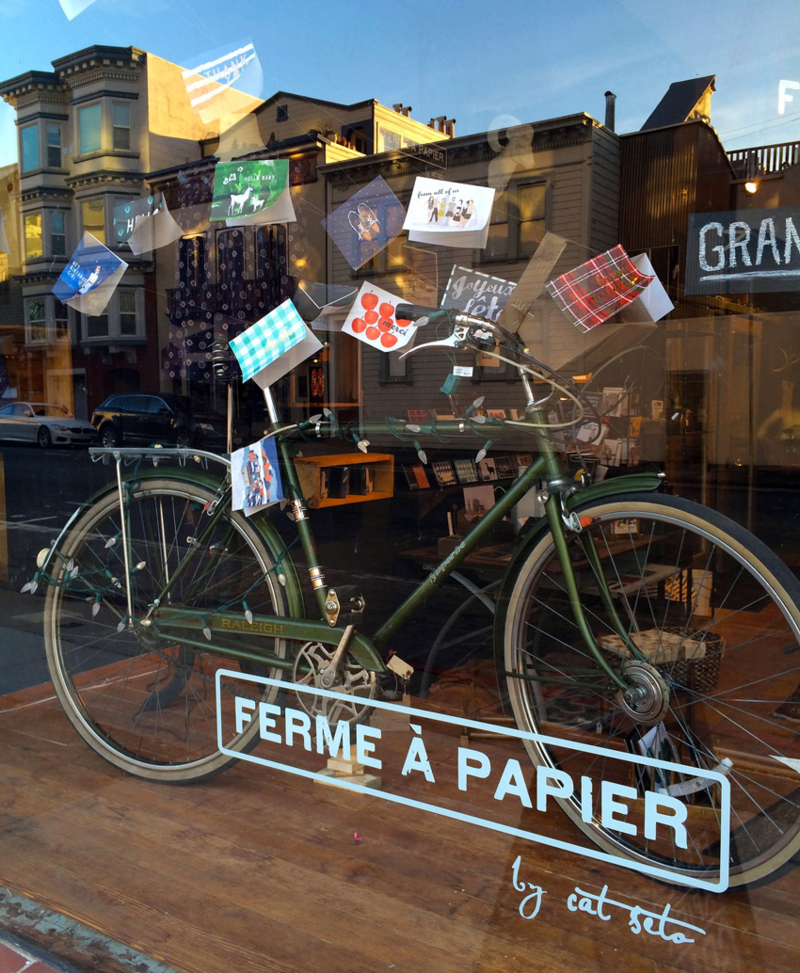
My collection is painterly, nostalgic and has a Paris meets Brooklyn kind of vibe.
Getting to Know Artist Cat Seto - 5

Any other hobbies/interests?
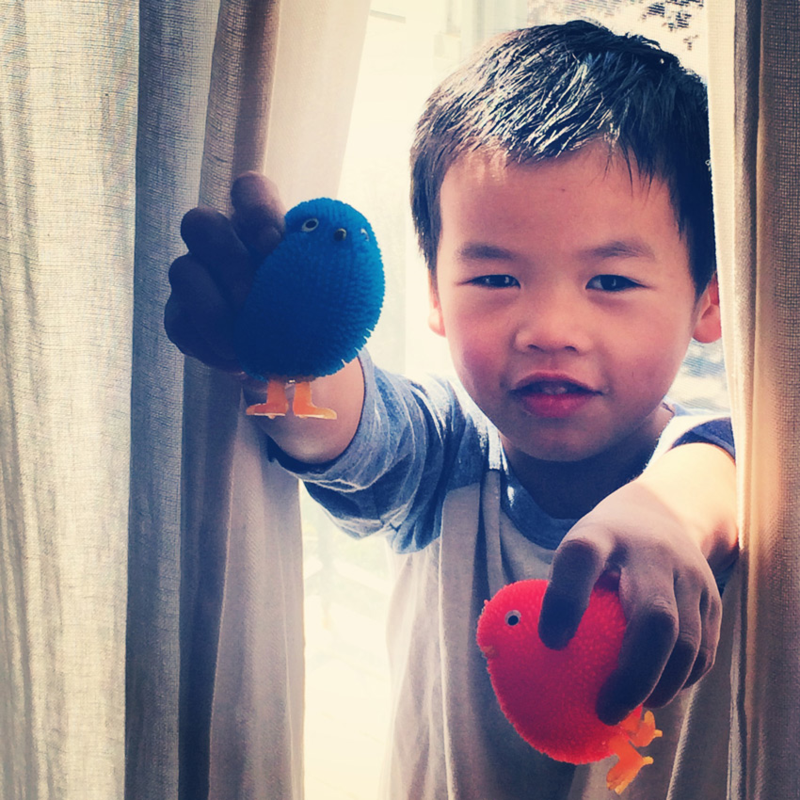
I have a weakness for ice cream and my son and I have haunted just about every spot in the city a few times over. One of my proudest moments may have been when he was able to distinguish vanilla flavors from different parlors :).
Getting to Know Artist Cat Seto - 6

Tell us about your new book, Mom Inc.
Mom,Inc. is a guide for establishing a creative business as a mother. It’s published by Chronicle Books and co-authored with Meg Ilasco. We give tips on our experiences as small business entrepreneurs and had the fortune of inverviewing 17 other amazing creative moms in design including the moms behind such beloved brands such as Dwell Studio and Skip Hop.
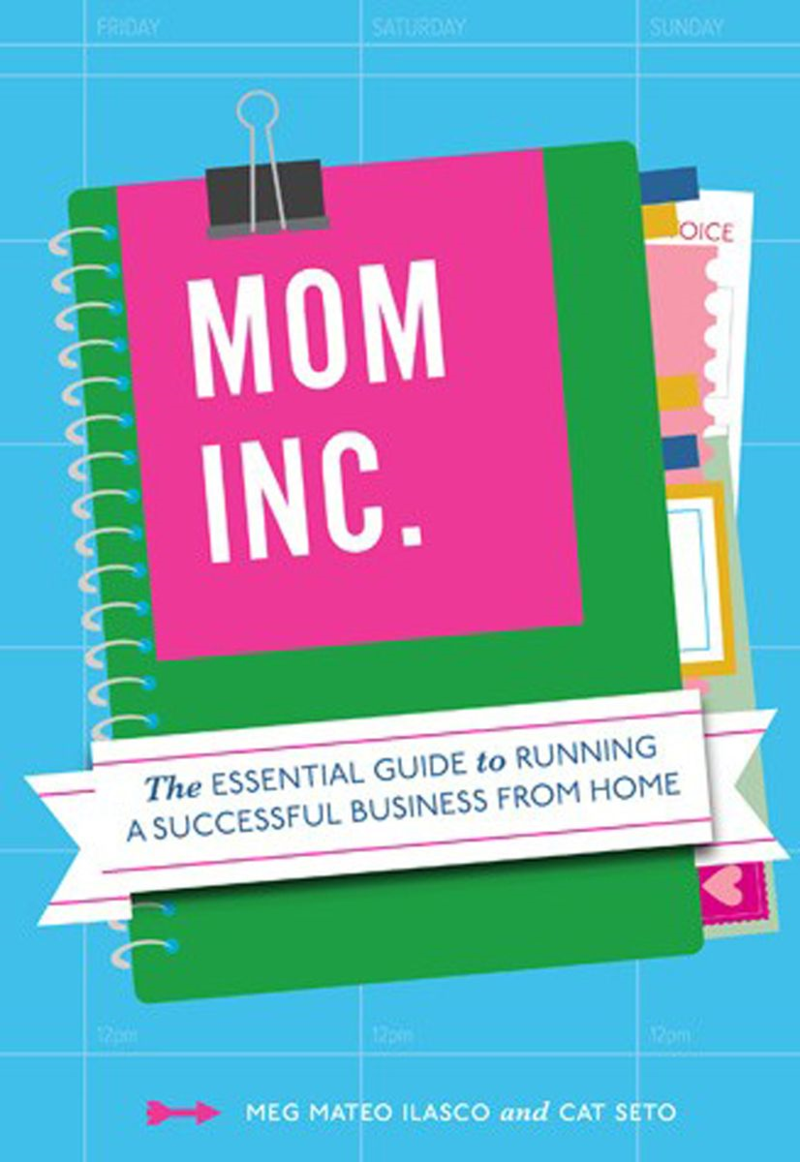
Mom Inc. by Cat Seto

Mom, Inc. available from Chronicle Books


Tell us about your new Equestrian bedding set. What do you love most about it?
I’m really excited about the Equestrian set as horses are a theme that were beloved in my childhood as well as my son’s. I used to obsess over the accessories for my model horses so it was a lot of fun to design a sheet filled with horse bits! My Ferme à Papier collection has a deep color palette and I also love that the collection takes this on in a fun, playful mood.
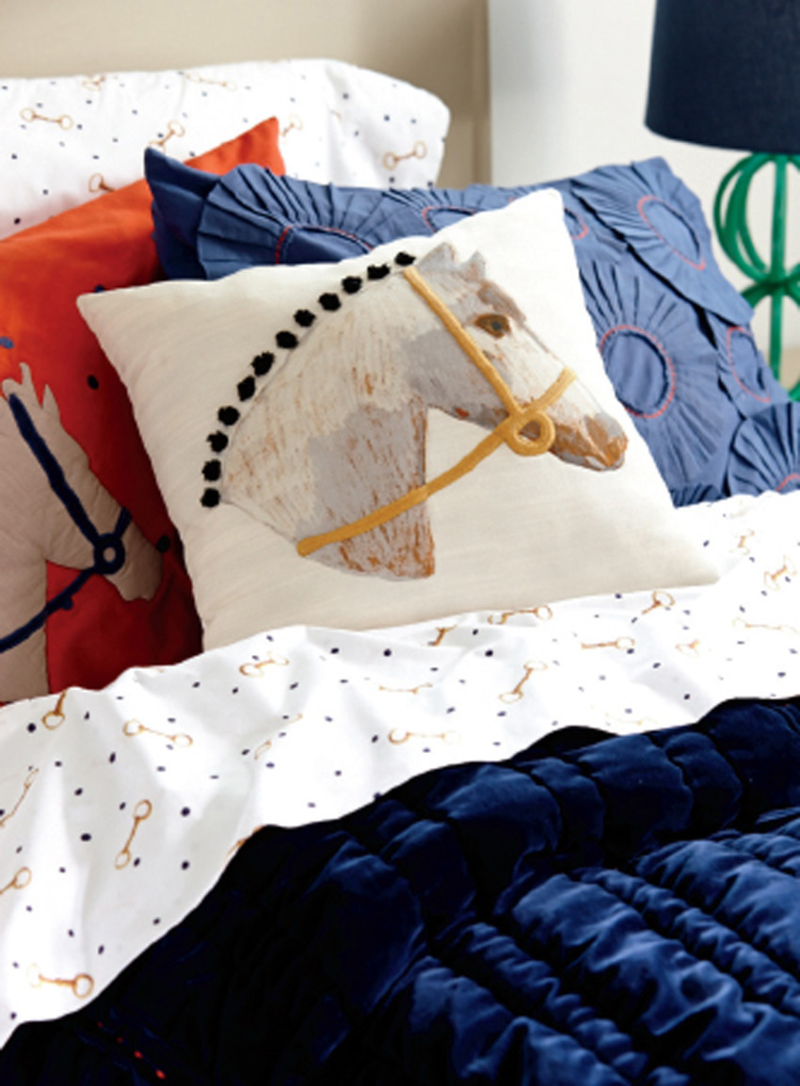
Equestrian Themed Kids Bedding Set

How would you style it in a room?
I think this set would be lovely against all kinds of wood grain and textures…walnut headboards, oak floors, an old, vintage chair. It’s also perfect to pair with anything plaid.

Any other favorite Land of Nod products?
I don’t know where my life would be without Storagepaloozas. They house all of my son’s block, books, crafts and sit perfectly beneath my windows…just genius!

Check out Cat’s stationery line Ferme à Papier and her new bedding set here!
Incorporating Furry Friends into Your Nursery Design

July 11, 2014

Post by Corri McFadden

While most people are focused on the arrival of their first child, I wanted to make sure my beloved furry friends were not forgotten and included in all the excitement. My dogs have been there during every step of my pregnancy, so it was important to design a nursery that was fun and safe for my baby and pooches to enjoy. With the help of Land of Nod’s Interior and Events Designer, Kim Grosser, and the rest of the Design Services Team, I accomplished this goal and created a beautiful yet “non-traditional” nursery for my future daughter and a designated space for my adoring companions, Emma and Harley.

By adding simple features and items, Emma and Harley have become part of the nursery design without clouding my original image. Here I have listed some easy ways to incorporate your furry friends while still keeping in mind your overall design aesthetic.

A pouf for your pooch

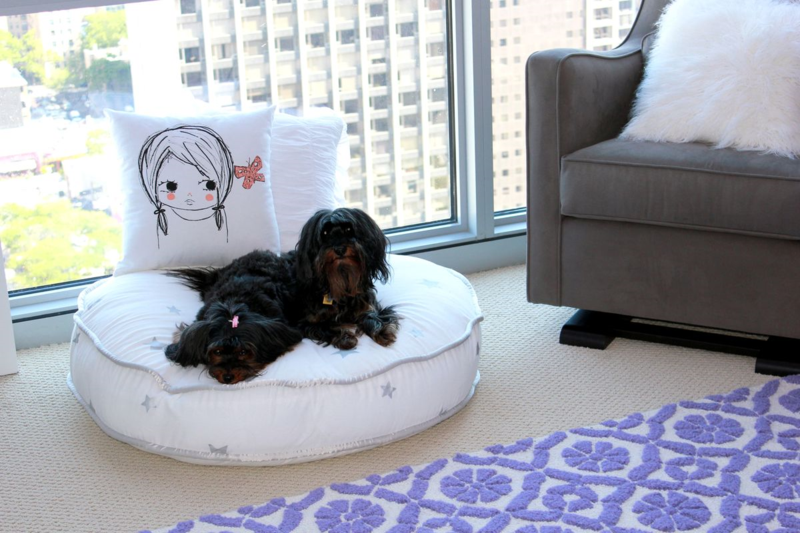
I wanted a place for Emma and Harley to lounge, while I spend time with the baby. We used one of Land Of Nod’s giant pillow-like poufs that made for a great doggie-bed for the nursery.

Incorporating Dogs Into Your Nursery Design - Silver Star Pouf

Silver Stars Floor Cushion / Garden Trellis RugButterfly Girl Pillow / Charcoal Glider

Hidden Storage

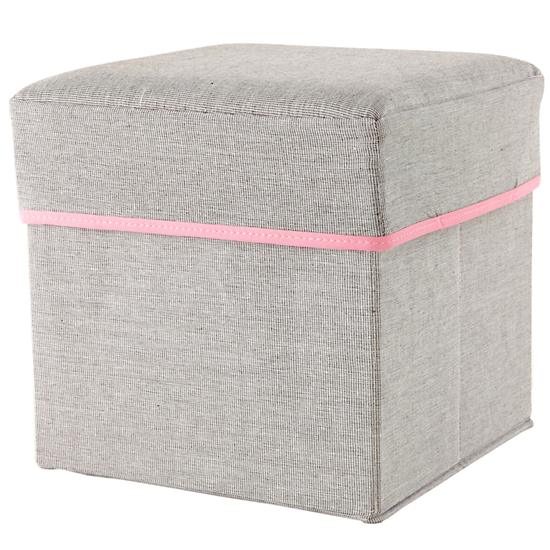
Emma and Harley love playing with toys and in order to keep them from chewing on my baby’s items, I decided the best solution was to keep them separated in this great bin that doubles as a stool for your nursery seating.

Pink Storage Ottoman | The Land of NodStorage Cube

Wooden Toys

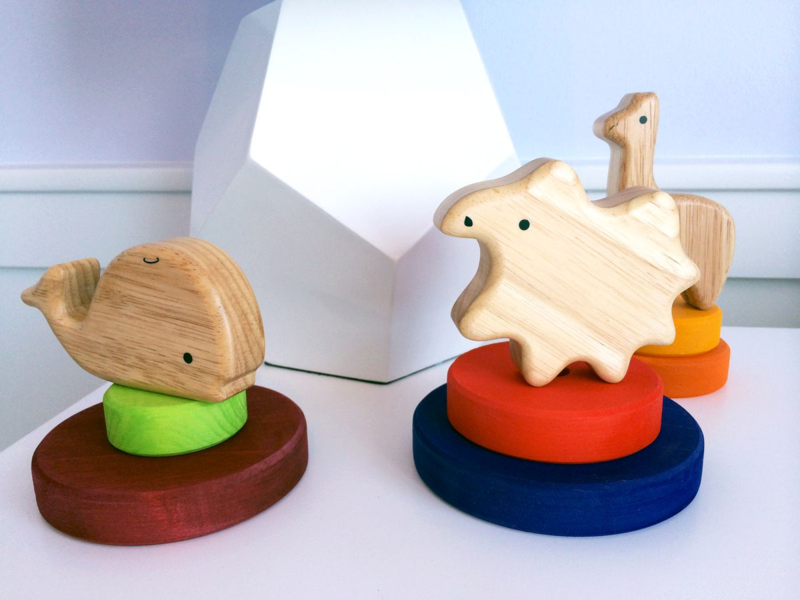
Sticking with wooden toys is a great idea because they can easily be cleaned in case your furry friend decides to take a bite!

Land of Nod Wooden Baby Toys Between a Rock & A Lamp BaseWhale Rattle / Porcupine Rattle / Llama Rattle / Rainbow Stacking Tower (used as display)

Neutral Territory

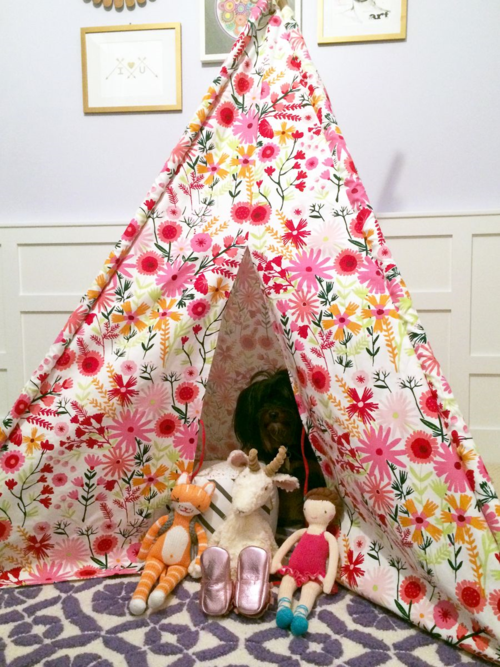
I wanted to create a space that my baby could eventually play in and this teepee was a must have on my list.  To get Emma and Harley familiar with our new arrival, I allowed them to rest in the space so they could get more familiar with her surroundings.

Kids Floral TeepeeFloral TeepeeGarden Trellis Rug / Knit Cat Doll / Plush GoatKnit Brown Hair Doll / Sugar Cube Plush by Oh Joy

Corri McFadden is the owner and founder of eDrop-Off Luxury Consignment.  As a style expert and successful blogger, she hosts a weekly fashion segment on Chicago’s “You and Me This Morning” and features more tips and tricks on her website, www.corrimcfadden.com and her upcoming site Glitter and Bubbles set to launch later this month.

Baby Bear Nursery by Lay Baby Lay

July 10, 2014

Post by Joni of Lay Baby Lay

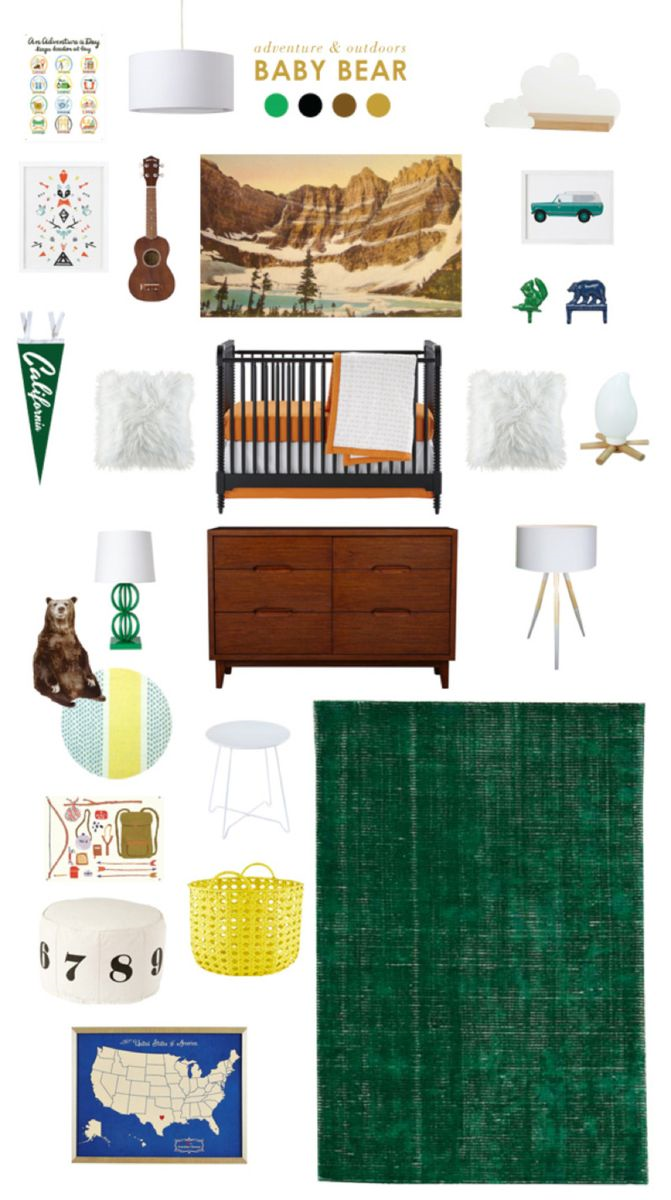
I’m excited to share some nurseries created in collaboration with the Land of Nod for the fall catalog.   I love creating inspiration for new and expecting moms looking for ways to make meaningful and imaginative spaces for their little ones, and for these boards I pulled mostly from the beautiful new fall collection, and the Land of Nod team put together the rooms to photograph.  It is so fun seeing the designs come to life, and I hope you are inspired to translate some of these ideas into your home!

First up, is the Baby Bear nursery.

Baby Bear Nursery Design

Adventure a Day Banner / Hanging Around Lamp, White / Overcast Wall Shelf / Aloha Ukelele / Vintage Postcard /Car Love /California Pennant / Black Brimfield Crib / Green Squirrel hook / Blue Bear Hook /Campsite Nightlight / Two Ring Table Lamp Base /Ellipse Dresser /Cinema Floor Lamp / Bear Pillow /Orange Arrow Bedding /Streamline Metal Nightstand / Backpacking Banner / Lattice Floor Bin / Numbers Pouf / Green Patina Rug /Where the Heart Is Map

This room has a taste of adventure and the outdoors, but still feels clean and bright. The whites in the pillows, shelving, lighting and other details add a bit of polish to keep it from feeling too rustic.

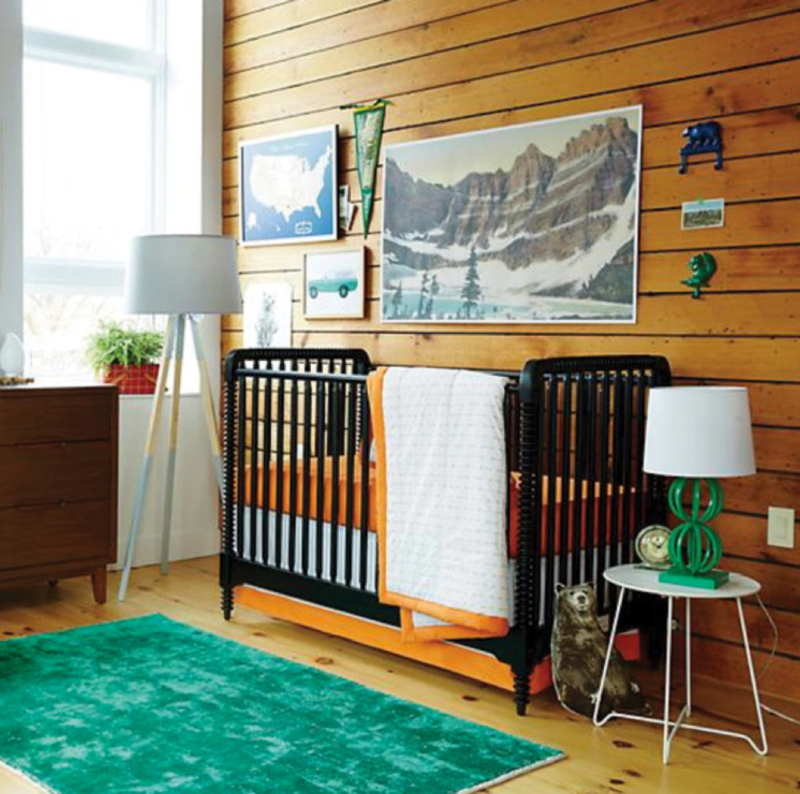
And here is the room, all put together:

Nursery Ideas from Lay Baby Lay: Baby Bear Nursery

I love the rich green pops of color, and all the camping artwork is just perfect.  Don’t be afraid to mix wood tones; the black in the spindle crib and the rich walnut of the dresser pair well together.  Everything doesn’t have to match, and the space will have a more custom feel when you mix finishes.

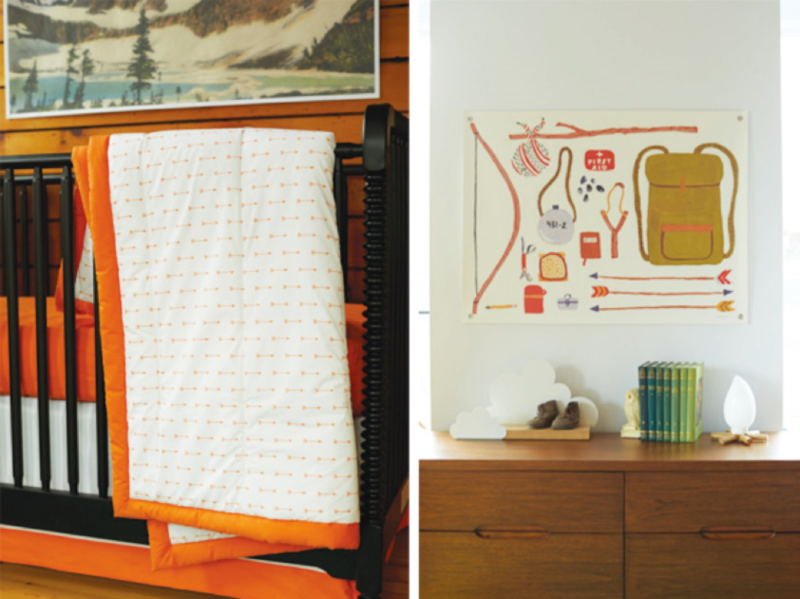
Lay Baby Lay's Nursery Design: Baby Bear Nursery

I love the simple and graphic bedding.  It keeps the traditional spindle crib feeling a bit more modern.  Adding in collected vintage treasures, like the green children’s books, hand me down baby boots, and postcard mementos make the space unique and special.

This palette will work great for a girl or a boy room, so this is excellent inspiration if you are waiting to find out the gender, or if you would prefer a less frilly space for your girl!

Joni Lay is the author of nursery decor blog Lay Baby Lay.  She began writing and curating in 2011 shortly after the birth of her first baby as a place to provide fresh and unique nursery inspiration with a little dose of motherhood experience on the side.  The blog is her creative outlet and it is her hope to inspire others to create spaces for their families and little ones that are full of imagination, color, and delight and also be a place of encouragement in the crazy but wonderful journey of having babies and watching them grow.

A Midsummer Mingle

July 9, 2014

Post by One More Mushroom

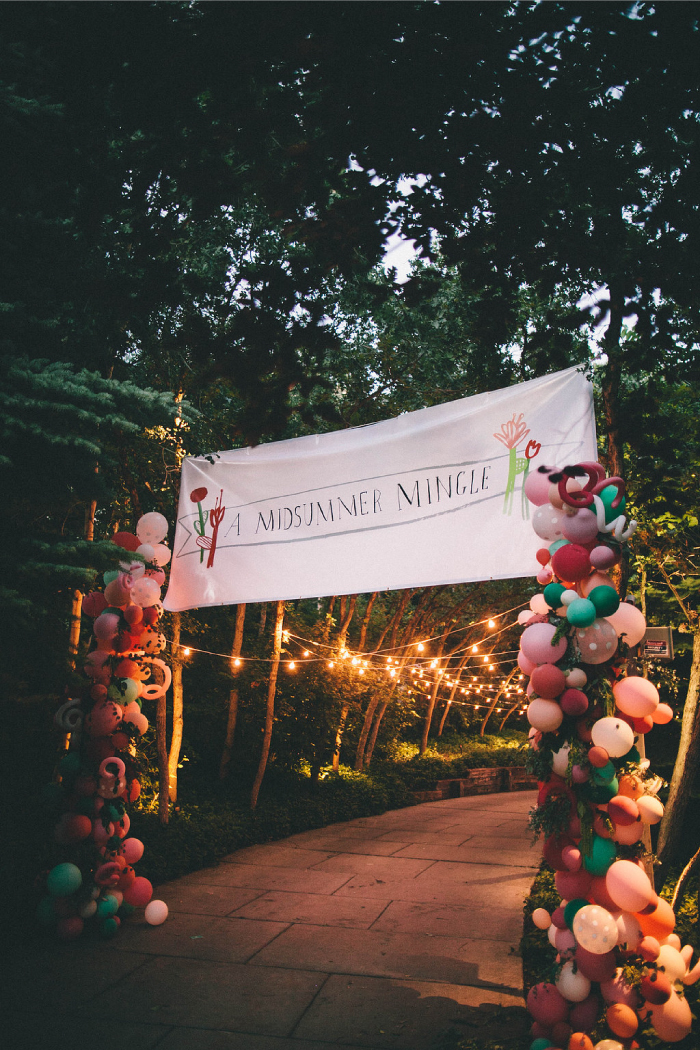
Mid Summer Mingle

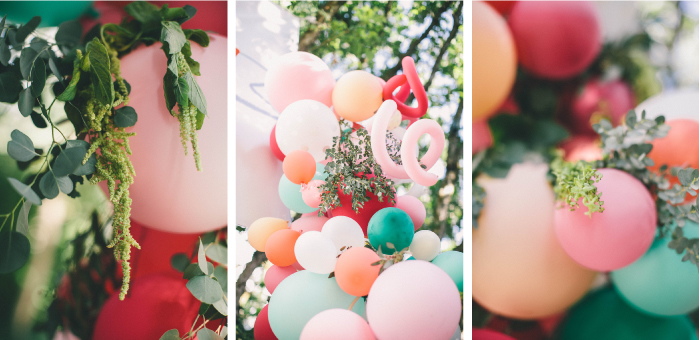
We’re constantly inspired by the beautiful events put on by the blog community. So, when a few of our blogger friends reached out to us about a sponsorship for a midsummer mingle garden party, we just couldn’t resist.

Boy do these ladies know how to throw a party.

Mid Summer Mingle Bloggers

(Brittany of House the Lars Built, Mete of One More Mushroom, Eva of Sycamore Street Press, Sarah of Sarah Jane Studios, Merrilee of Mermag Blog, Melanie and Alma of Caravan Shoppe)

Mid Summer Mingle Balloons

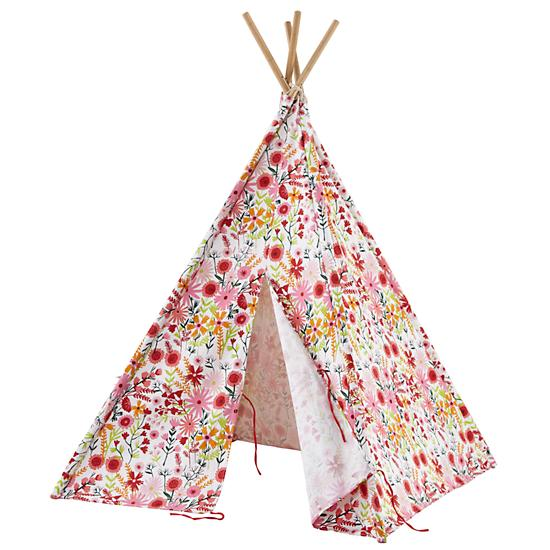
Floral Kids Teepee

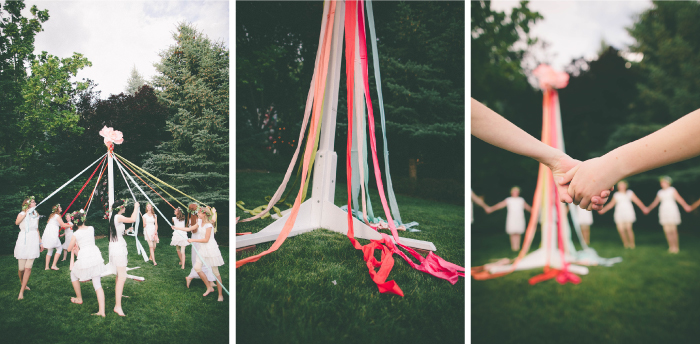
Mid Summer Mingle May Pole

Visit One More Mushroom for even more photos of this beautiful party.

Shared Spaces: Great Room

July 8, 2014

Post by Kim Grosser of The Land of Nod’s Design Services Team.

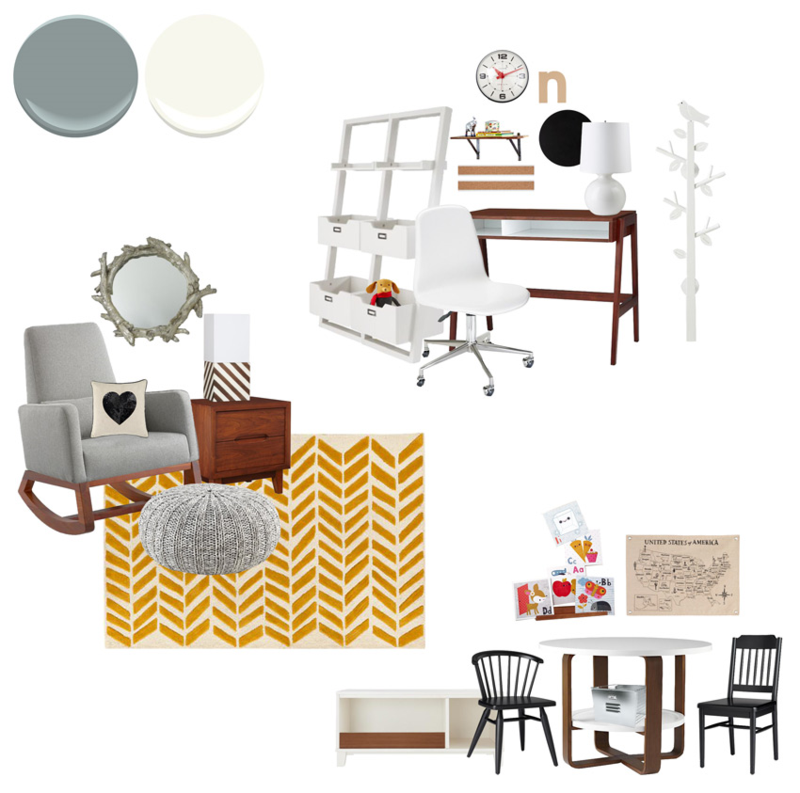
Molly’s family had just added a ton of square footage to their house to create a “great room”, where they will spend most of their time. It had to function as living room, a home office and a play room for her three & five year old. Great Room Mood Board Inspiration | The Land of Nod

Joya Rocker / Variegated Pouf / Gold Bars Rug / Sloane Bookcase / Prairie Desk / Class Act Desk Chair / Twig Mirror / Ellipse Nightstand / Elwood Play Table / Flea Market Barrel Chair / Flea Market Spindle Chair / Gumball Lamp / Modern Cube Lamp / Bird Coat Rack / Bubble Clock / Cork Rail / On the Wall Shelf / Circle Chalkboard / Sequin Heart Pillow / Plush Pooch

Benjamin Moore Paint Colors: Brewster Grey HC-162; Simply White  OC-117

Design by Kim Grosser of The Land of Nod’s Design Services Team. Our Design Services team offers free one-on-one design advice, mood boards and space planning. You have a room to decorate? They’d love to hear from you. 

Kids Book Club

July 7, 2014

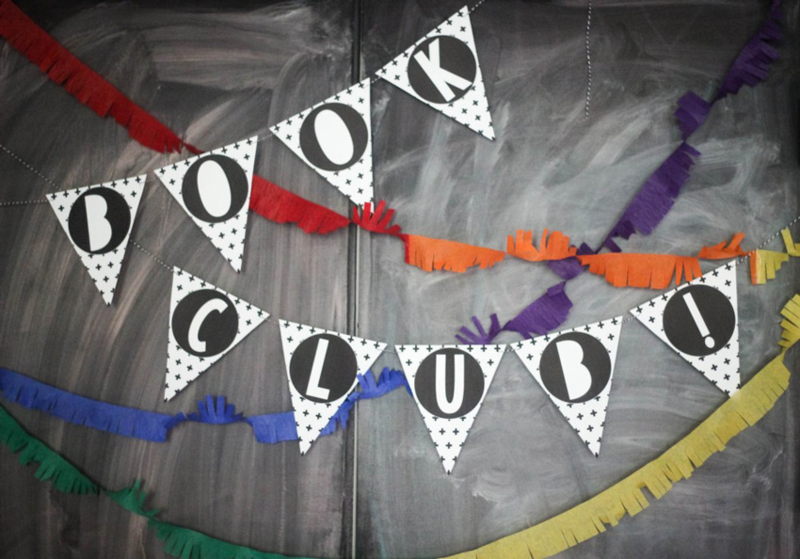
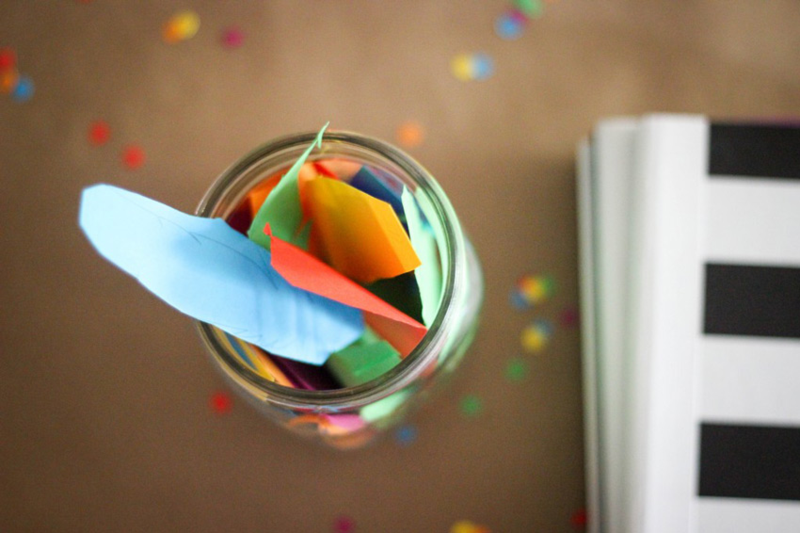
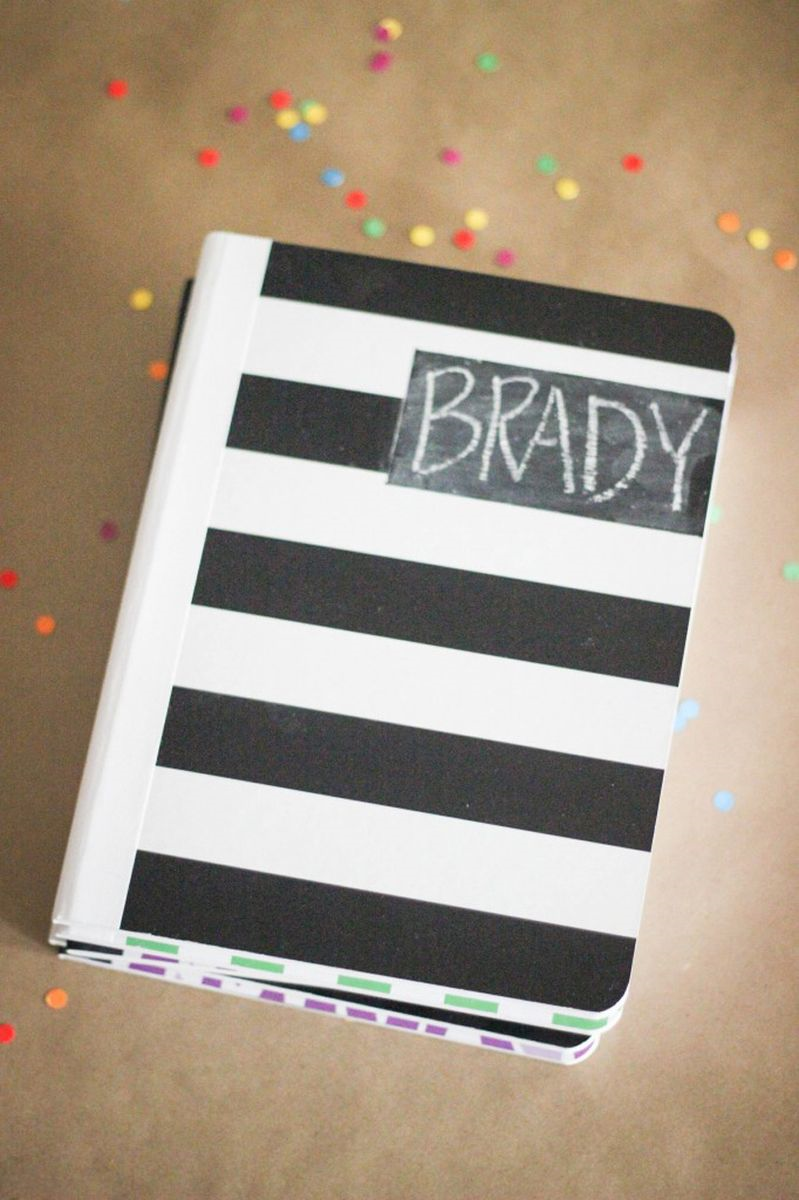
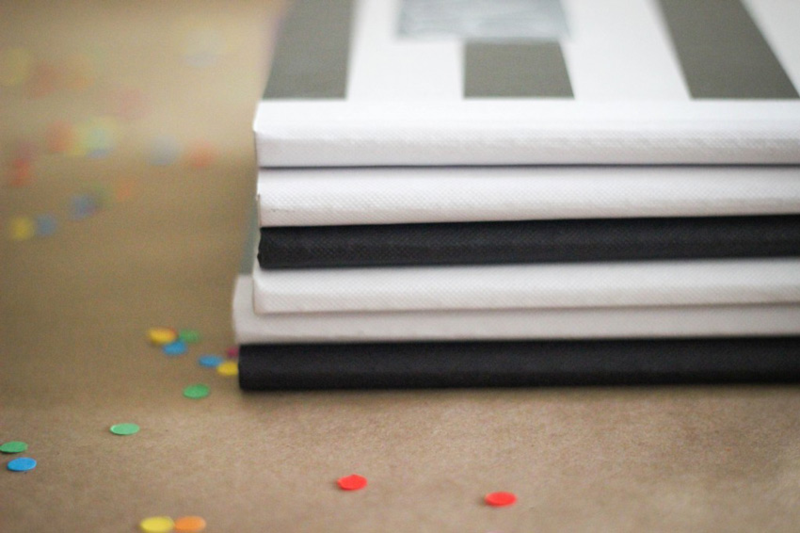
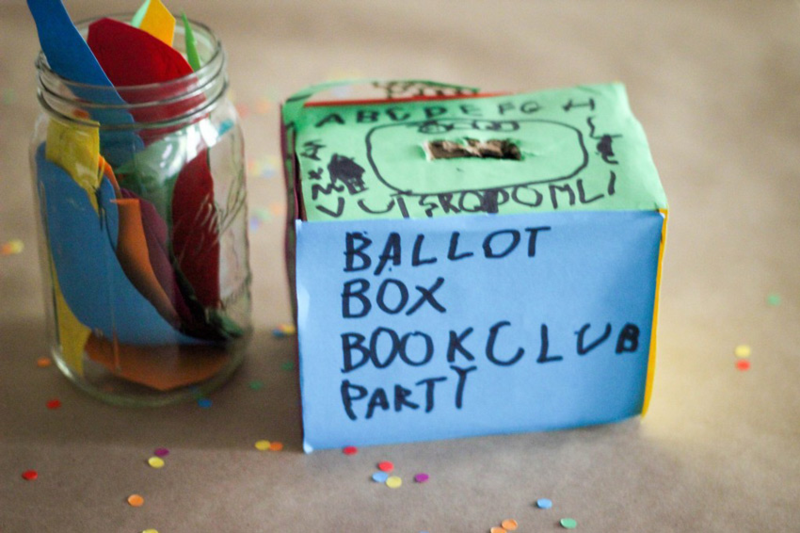
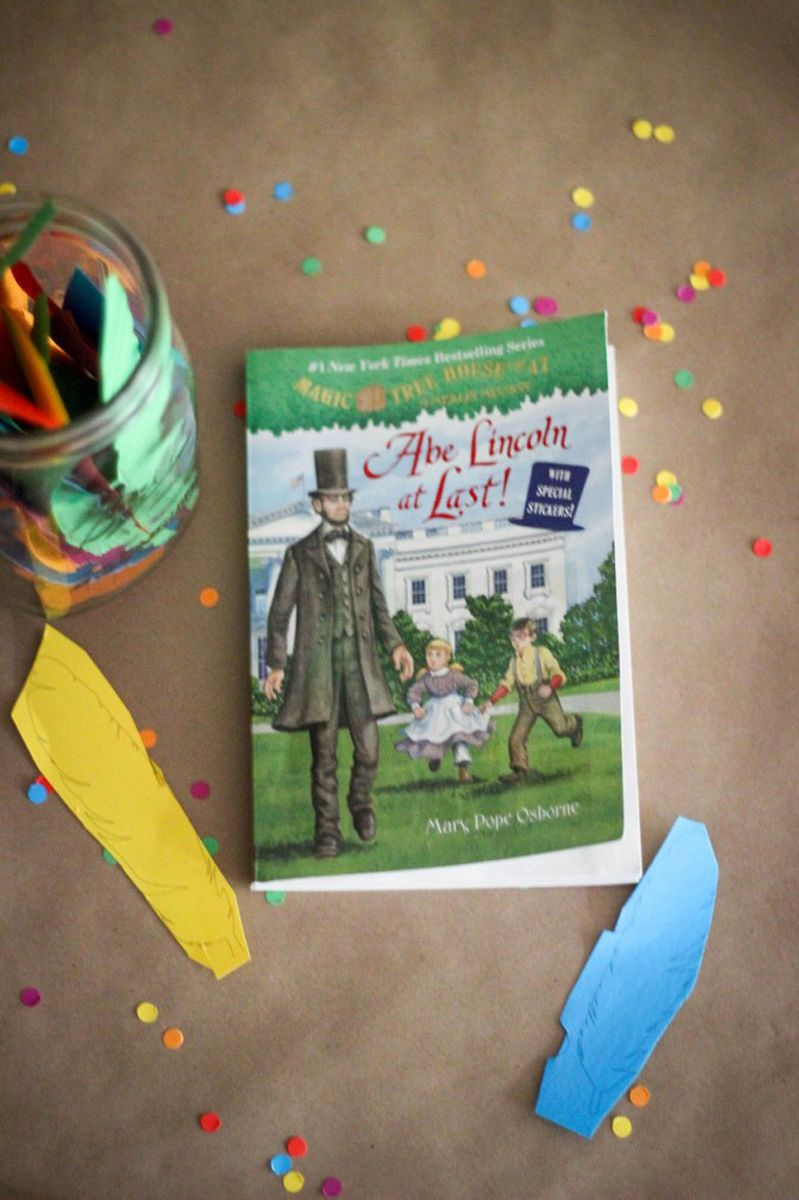
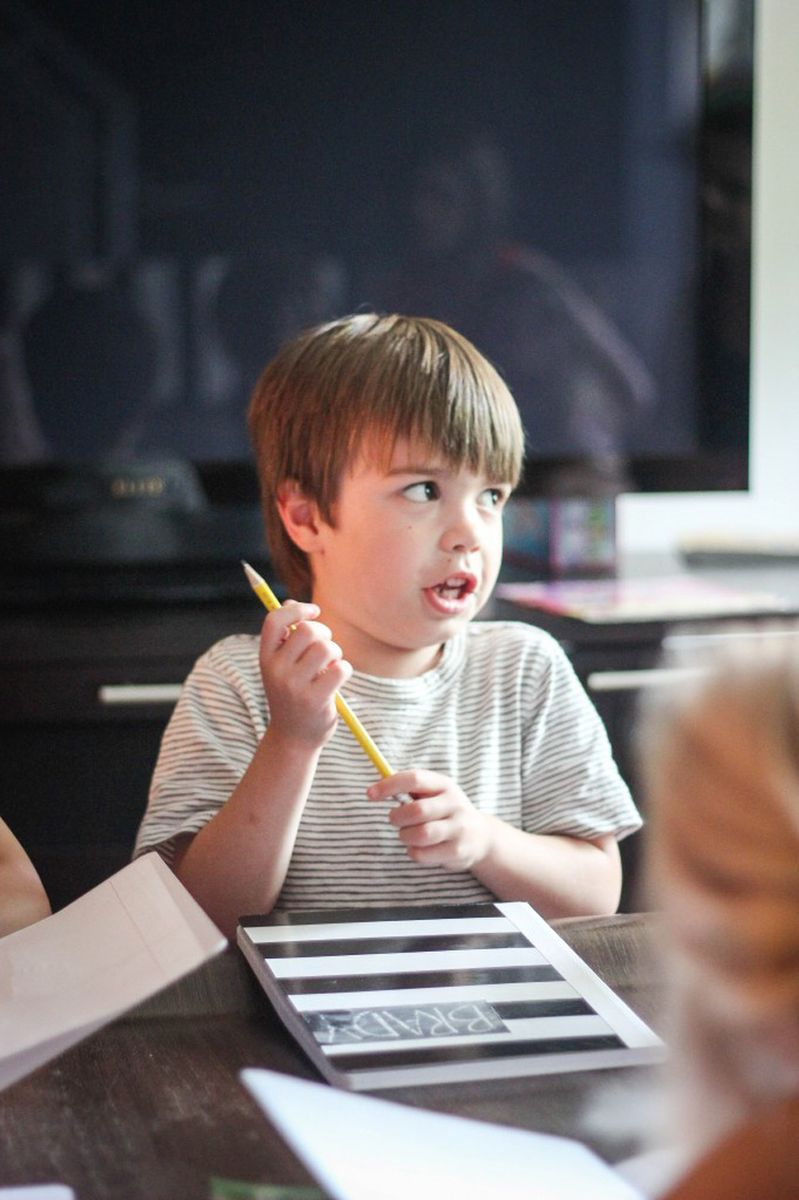
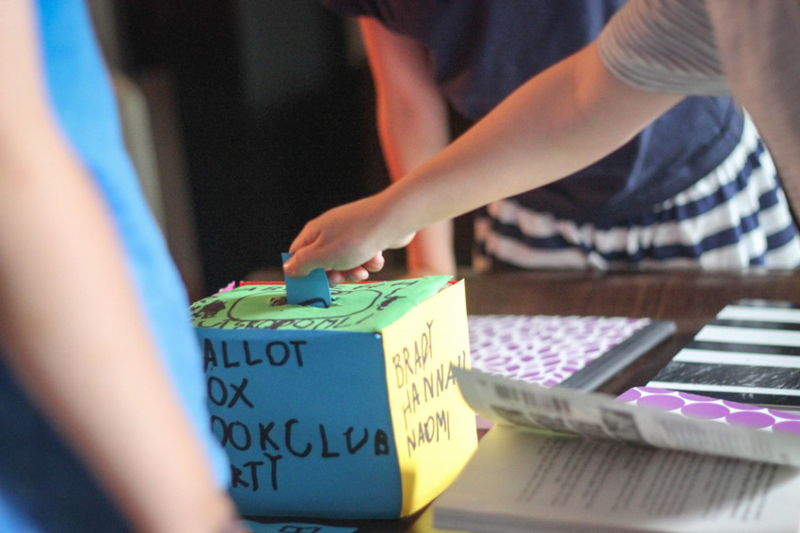
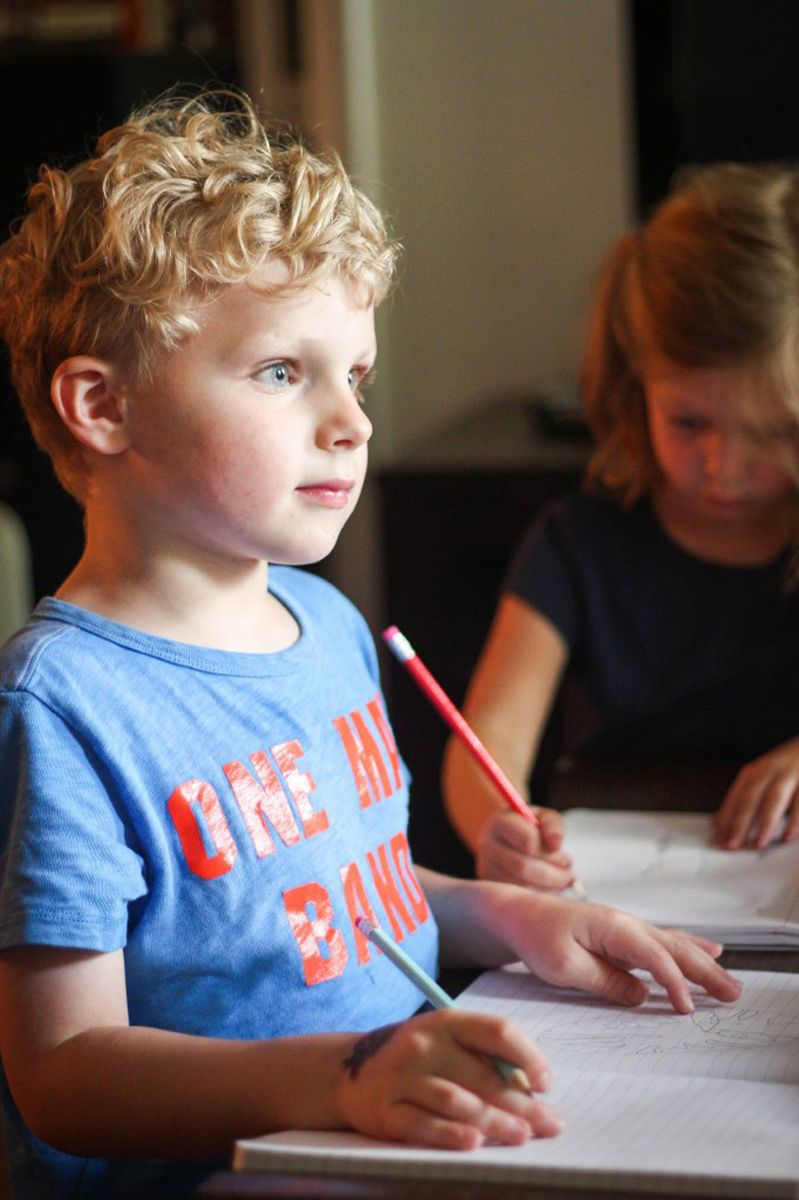
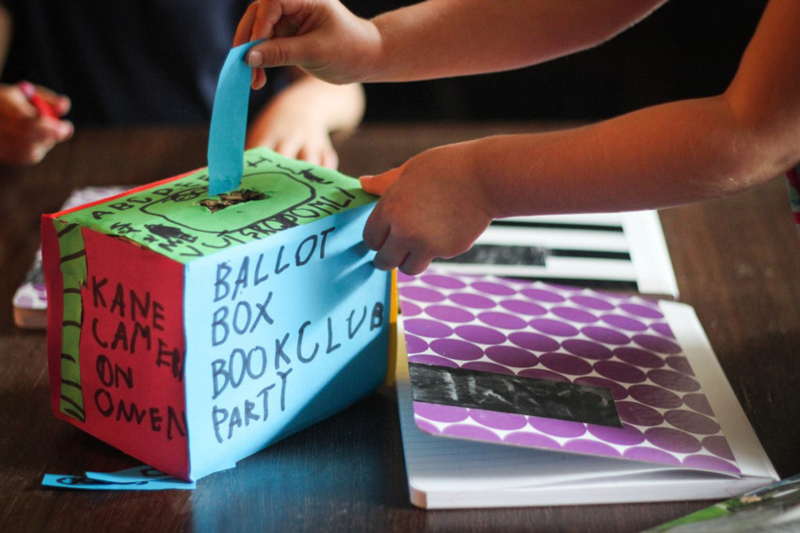
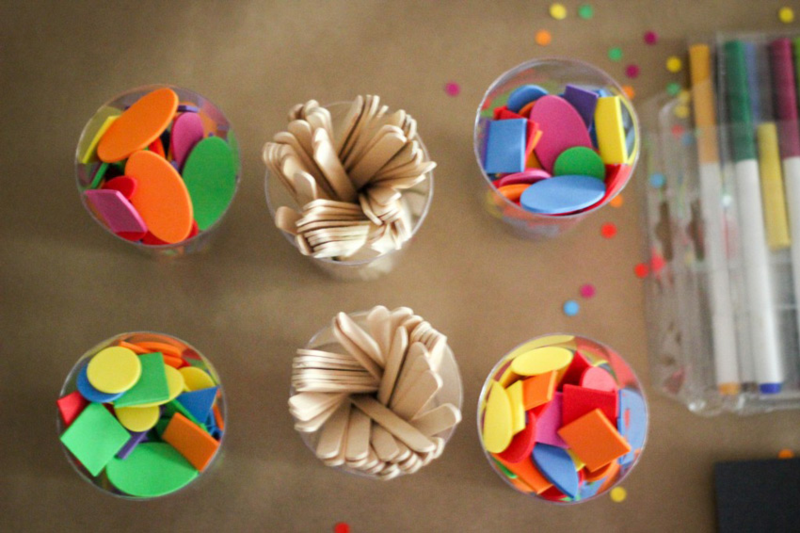
Post by Rebecca of A Feteful Life Kids Book Club | The Land of Nod All the AFL kiddos are big readers. Well, they aren’t all reading independently, but it’s safe to say Suzanne and I spend A LOT of time reading to our littles. So we thought it would be really fun to have a summer book club for the kids along with a few other friends. And have a little party {with cute decorations} while we’re at it, obviously. Our plan is to do about one per month. We read a book (sometimes a few times), get together for a little discussion and a project, and then follow-up when we can with some sort of related field trip. To help get the kids thinking ahead of time (and allay any nervousness about participating), we had each child think of a discussion question they wanted to ask. And each family will to take a turn hosting and “leading” the discussion. The kiddos span from rising PK’ers to rising 1st graders (plus a few younger siblings), so for our first book, we picked one of the Magic Treehouse series, which seems to work well for many ages: Abe Lincoln at Last! I have to say, I was pretty impressed. As one mom said, “well, they certainly spent longer discussing the book than the adults have at any book club I’ve been to.” And I totally agree. They all came up with good questions and insightful answers. To help everyone take notes, write thoughts, or just draw pictures, we made chalkboard name tag notebooks — they seemed to go over well and keep all the kids sitting still(ish) for the discussion. When everyone started to get a bit restless, we switched over to the other big business of our first meeting: the club name, of course! My son Kane spent a good chunk of time making a “ballot box” and the kids all voted on the name. After settling a little ballot-box stuffing, we ended up with a tie and merged two names together to make: The DC Duck Book Worms! Our DDBWs then did a little craft (making “log cabins”) and all wrote a wish for our “Hope Jar” (the book we read involves giving Abe Lincoln hope with a feather). Then there was lots of pizza and brownies. Running and screaming ensued. The moms hid in the kitchen for cocktail hour. All together, a pretty successful first book club. We plan to have a Lincoln-related field trip once we can pick a good spot — there are lots of options since we live in DC. We’ll report back!

Kids Book Club 2 | The Land of Nod

Kids Book Club 3 | The Land of Nod

Kids Book Club 4 | The Land of Nod

Kids Book Club 5 | The Land of Nod

Kids Book Club, Abe Lincoln At Last! | The Land of Nod

Kids Book Club 7 | The Land of Nod

Kids Book Club 8 | The Land of Nod

Kids Book Club 9 | The Land of Nod

Kids Book Club 10 | The Land of Nod

Kids Book Club 11 | The Land of Nod Post by Rebecca Rebecca and Suzanne are bloggers, graphic designers, and event stylists living in Washington, DC.  Rebecca is a mom to two young kiddos and, in her spare time (ha!), likes to pretend she’s a back-up dancer, craft cocktails, and run long distances. Suzanne is a big fan of good design, good wine, and her two rambunctious little boys. They share DIY lifestyle and event styling projects at A Feteful Life. Rebecca also blogs kid-friendly projects at Not-So-SAHM

Happy 10th Birthday to our Oakbrook store!
July 3, 2014
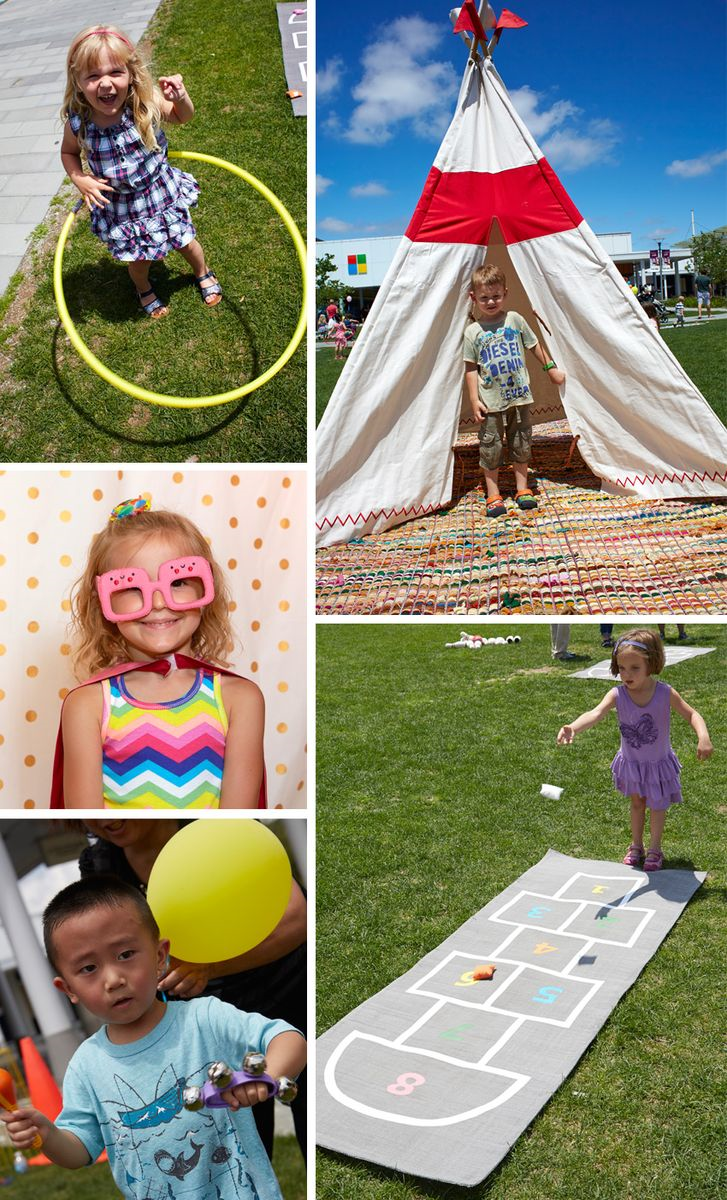
We celebrated our Oakbrook store‘s 10th Birthday with a huge birthday bash! A Nod village was created for kids to explore and play with on the beautiful new lawn in front of the store in Oakbrook Center Mall. Customers played in our teepees and play homes while they also enjoyed several Nod activities on the lawn, like bean bag toss and bowling.
Land of Nod Oakbrook Location 10th Birthday Bash
Guests were treated to live performances from Yahvi Pichardo and Anna from the Old Town School of Folk Music, as well as a fun performance from Lauren Hubert of Bubbles Academy. Magician Sean Masterson also entertained the kids with his great magic! Inside, the customers enjoyed free face painting, arts and crafts with paper crowns, and a special birthday photo booth. A huge thank you to all those who came out for our wonderful activities!
To keep up to date on the latest goings-on at Nod, follow #nodevents.

Nursery Design Tips with Corri McFadden

July 2, 2014

Post by Corri McFadden of corrimcfadden.com

When it came to turning my guest bedroom into a nursery for my future daughter, I was at a loss as to how I would keep my personal taste yet make it into the whimsical nursery I’ve always imagined. I did not want to go the “traditional” baby route, so with the help of Land of Nod’s Interior and Events Designer, Kim Grosser, and the rest of the Design Services Team, we were able to create a colorful nursery while still expressing my design aesthetic.

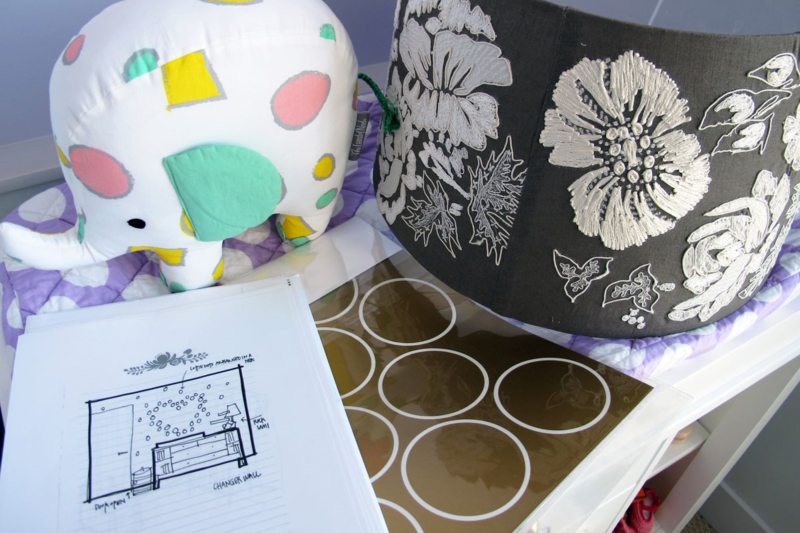
Nursery Design Tips from Corri McFaddenPatterned Pachyderm / Gold Lottie Dots / Full Bloom Lamp Shade

After examining the space, Kim created CAD drawings and mood boards to help capture the design image I had in mind for my baby girl’s room. The finished result is a beautiful nursery with fun items and furniture and easy to duplicate decorating ideas that I wanted to share.

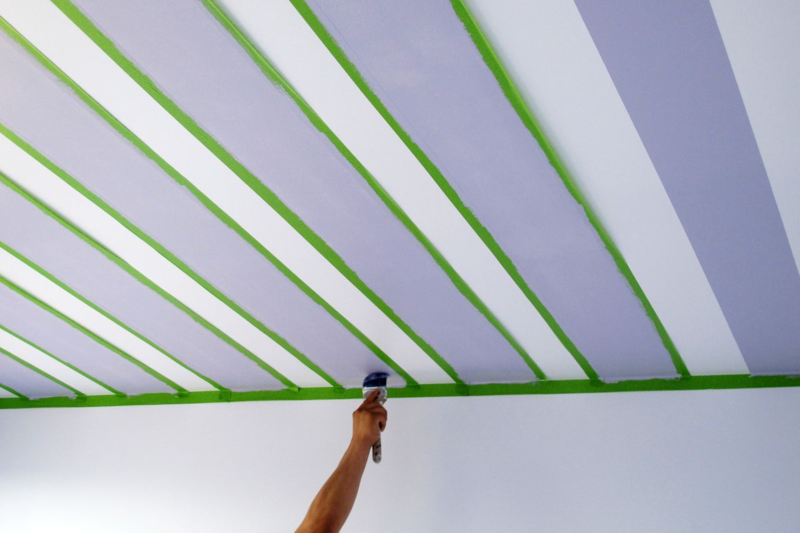
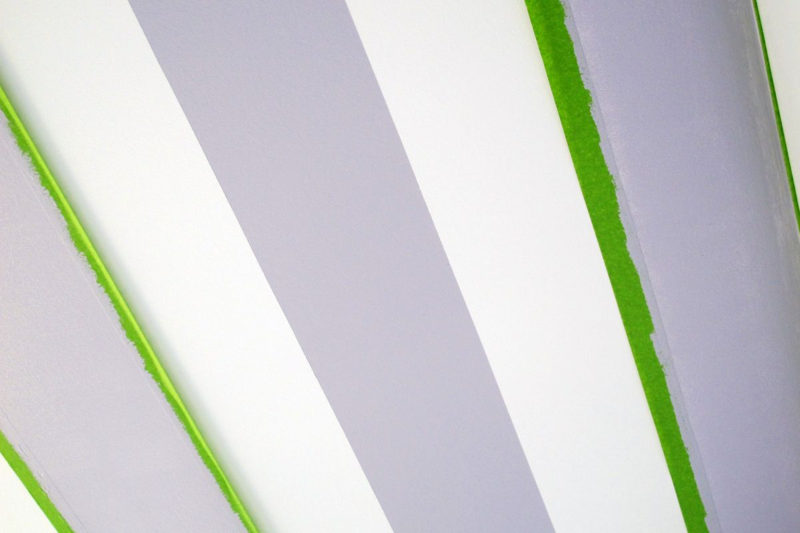
Ceiling Stripes
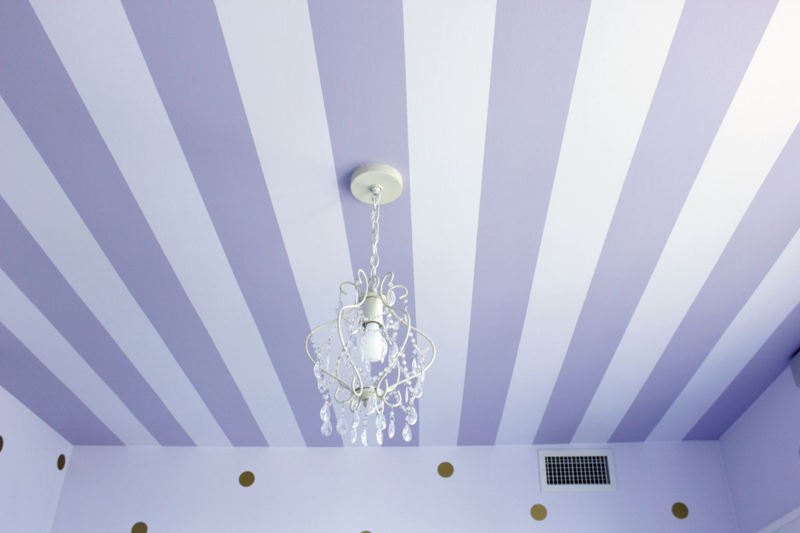
For the nursery ceiling we decided to go with ceiling stripes, which is great way to engage your baby’s developing brain by giving them something to focus on while in the crib. Step one is to paint the ceiling the lighter color you have chosen, that way it will be easier to paint over with the second darker layer. After the first color has thoroughly dried, measure out your desired width using painter’s tape. Add your darker second color and voila, instant style!
Nursery Design Tips from Corri McFadden (2)

Nursery Design Tips from Corri McFadden (3)

Nursery Design Tips from Corri McFadden (4)

Beaded Chandelier

Gallery Wall Mock-up
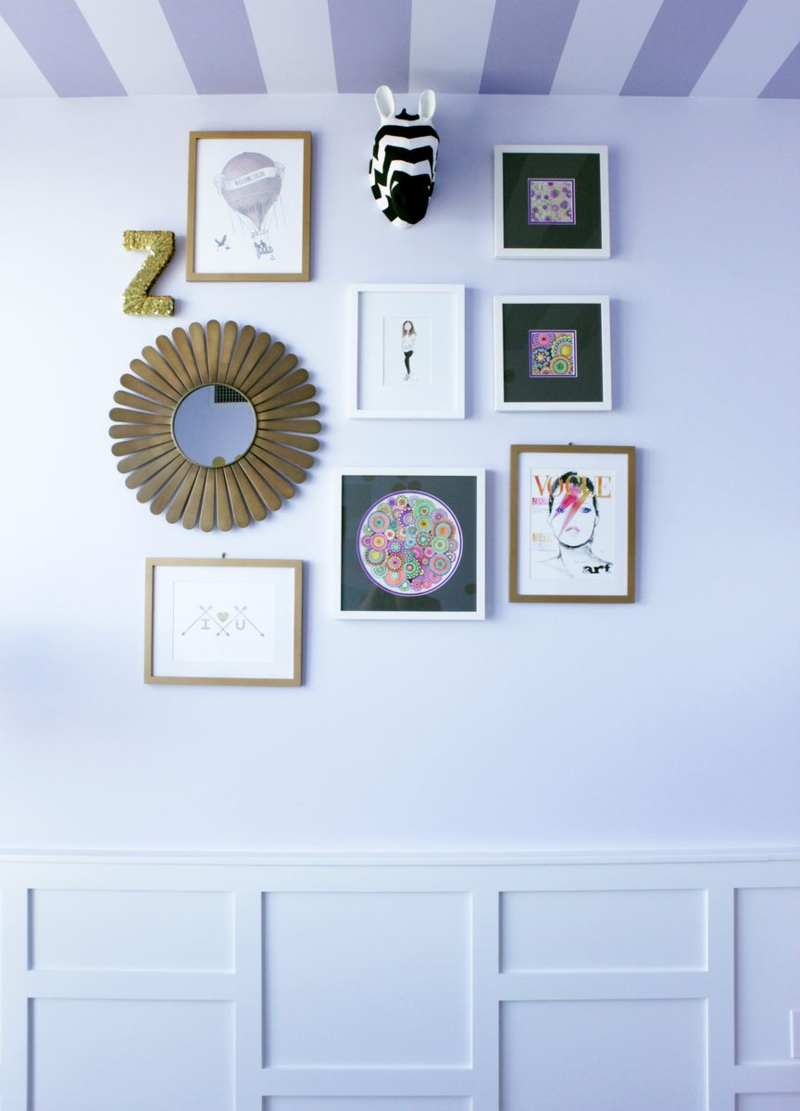
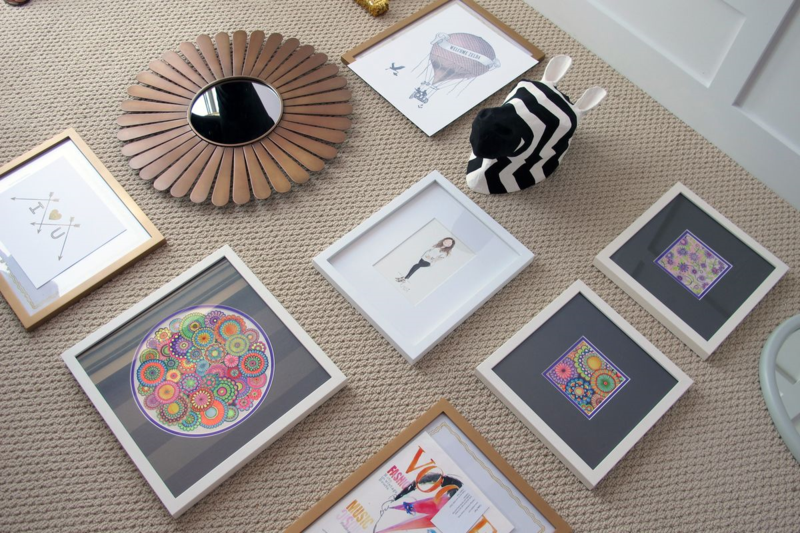
Another design idea was to create a gallery wall, which allowed me to add some of my personality to the room. I recommend mocking it up on the floor first so you can move around the pieces as you desire before putting too many holes in the wall.  You can also find great templates on Pinterest that are easy to follow.

Nursery Design Tips from Corri McFadden - Gallery Wall

Nursery Design Tips from Corri McFadden - Gallery Wall 2Decor on Safari Zebra / Sunburst Mirror

Vinyl Decal Application/Lottie Dots
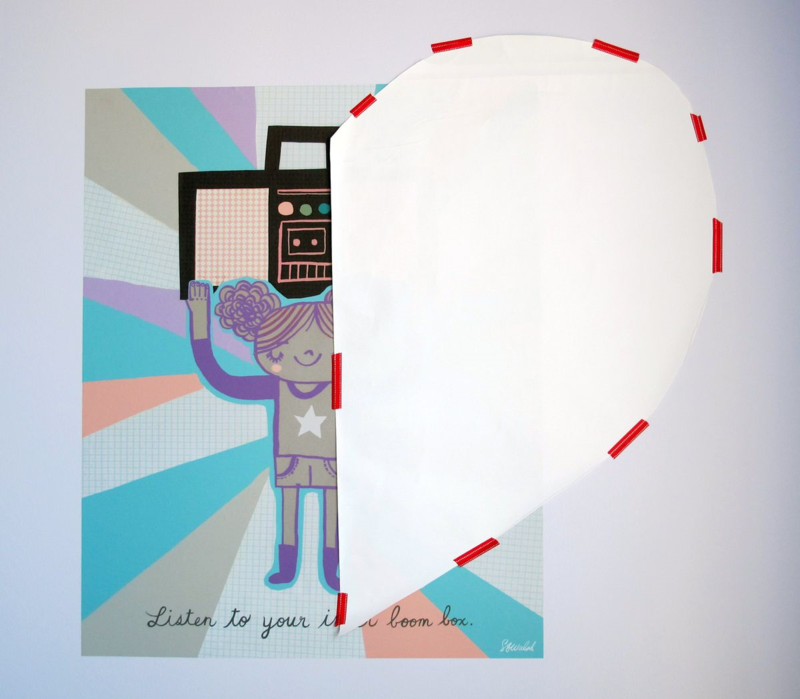
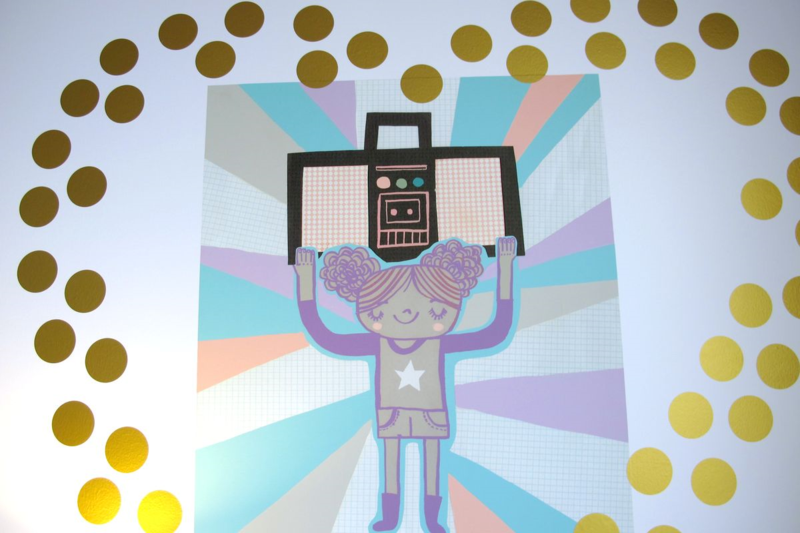
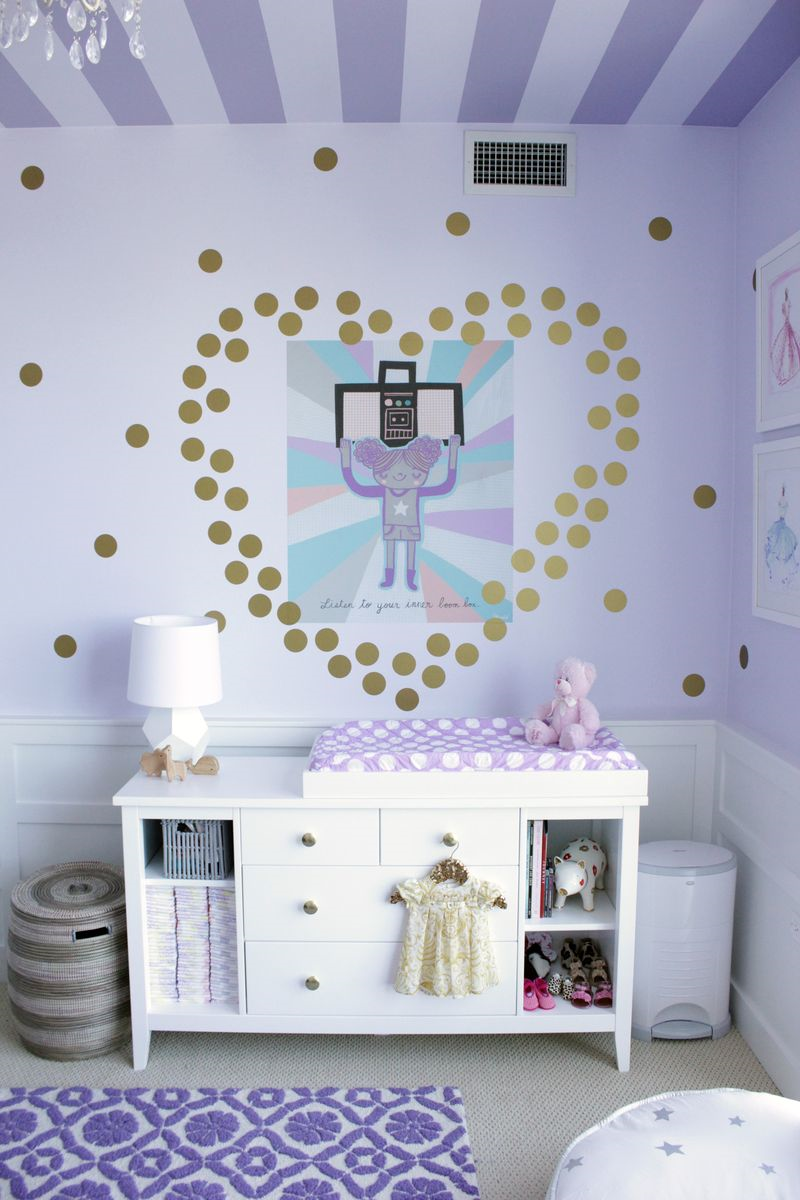
Vinyl decal applications are a fun way to add simple art to any wall. I wanted to create a large overlapping heart surrounding another piece of artwork. This would then be the focal point over my changing table.

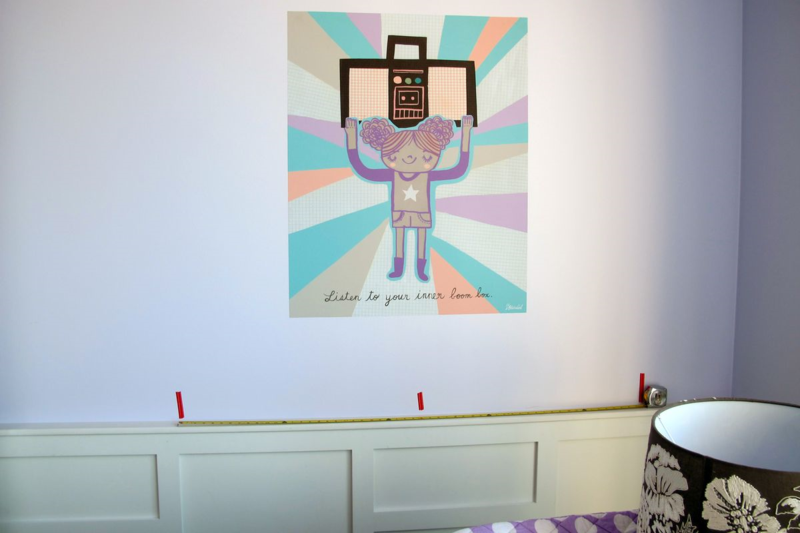
It’s easiest to accurately measure the piece of furniture you’re placing the vinyl over and configure the placement from that. Once you have your desired placement figured out, remove the piece of furniture so you have an unobstructed view of the decal and it’s placement.  I used washi tape to keep my measurements in place; it applies and removes easily, and doesn’t leave any marks so you can keep changing until you get it right!
Next, I created a stencil first for the outline using a piece of paper, and then using the washi tape again for this step, held it in place to get a better idea of where I wanted the stencil shape to ultimately lie.

Nursery Design Tips from Corri McFadden - 5

Nursery Design Tips from Corri McFadden - 8

Nursery Design Tips from Corri McFadden (10)

Nursery Design Tips from Corri McFadden (11)Gold Lottie Dots / Boombox Art (launches July 8) / Between a Rock & A Lamp Base / Blake Dresser / New School Changing Pad Cover / Charming Basket / Garden Trellis Rug / Silver Stars Floor Cushion

For an easy product breakdown of all these features and additional ideas, visit my Pinterest board http://pinterest.com/corrim/zeldas-nursery/

Corri McFadden is the owner and founder of eDrop-Off Luxury Consignment.  As a style expert and successful blogger, she hosts a weekly fashion segment on Chicago’s “You and Me This Morning” and features more tips and tricks on her website, www.corrimcfadden.com and her upcoming site Glitter and Bubbles set to launch later this month.

Serrano Watermelon Limeade

July 1, 2014

Post by Rebecca of A Fetful Life

Serrano Watermelon Limeade

Looking for a slightly different summer drink? How about something spicy, but still refreshing? This Serrano Watermelon Limeade does the trick. You can adjust the heat on this super easy drink (no straining involved!) and even turn it into a cocktail. Perfect for that 4th of July BBQ you’re planning.

Rebecca and Suzanne are bloggers, graphic designers, and event stylists living in Washington, DC.  Rebecca is a mom to two young kiddos and, in her spare time (ha!), likes to pretend she’s a back-up dancer, craft cocktails, and run long distances. Suzanne is a big fan of good design, good wine, and her two rambunctious little boys. They share DIY lifestyle and event styling projects at A Feteful Life. Rebecca also blogs kid-friendly projects at Not-So-SAHM

Girls Shared Room

June 30, 2014

Design by Tim Whitworth of The Land of Nod’s Design Services Team.

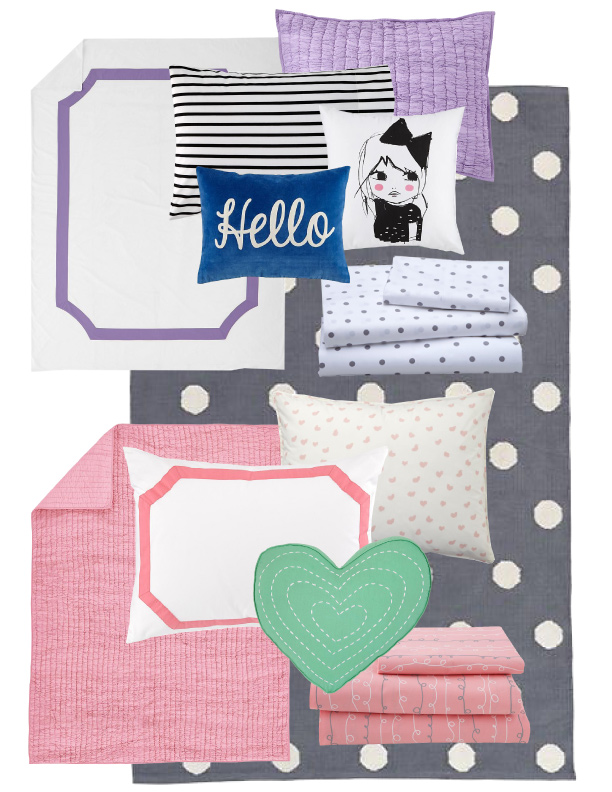
Amanda was looking for something fun for her girls. She wanted bedding that would coordinate together, but allow each of them to showcase their very different personalities. We were able to pull together a collection of bedding using two different color schemes, but using pattern and texture to tie them together.

Shared Girls Bedroom Bedding

Purple Bordeaux Duvet Cover / Noir Stripe Case / Dream Girl Quilted Sham / Bow Girl Pillow / Hello Throw Pillow / Lotsa Polka Dot Rug / Pink Dream Girls Quilt / I Heart Sheet Set / Pink Bordeaux Sham / Pattern Party Throw Pillow /  Oh Joy for Nod Pattern Party Sheet Set

Design by Tim Whitworth of The Land of Nod’s Design Services Team. Our Design Services team offers free one-on-one design advice, mood boards and space planning. You have a room to decorate? They’d love to hear from you. 

Bright + Cheery Playroom Design

June 27, 2014

Post by A Mommy in the City
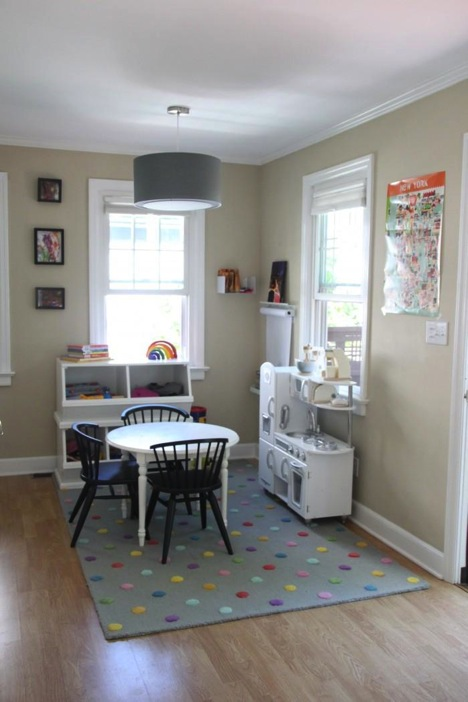
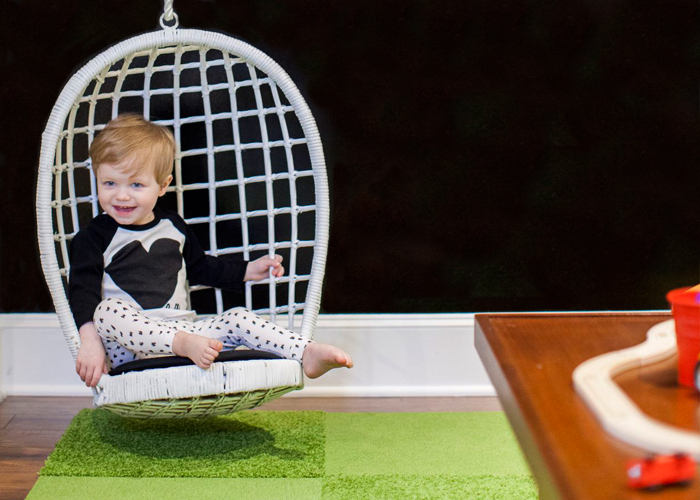
Bright + Cheery Playroom Design | Honest to NodMoving from the city to the suburbs was going to be a big transition for my kids. The city lifestyle is all they have ever known. Our apartment was small, so we were always in the same room together. Our living room was also the guest bedroom, playroom, and dining room.

When we were looking for our new house, one of the things that was the top on my priority list was a playroom for the kids. Although we no longer had Central Park as our backyard, they could soon have their own space in the house that they could let their creativity soar.

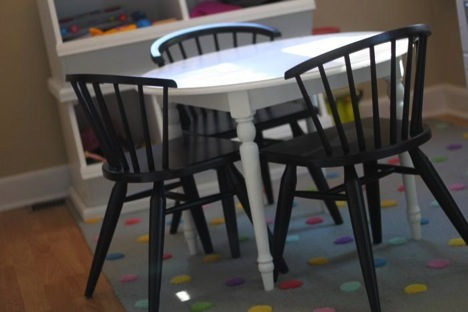
I wanted their playroom to be bright and cheery and a fun space for them to play. It had to be timeless and something that could easily grow with them, but still accommodate three kids that were different ages and at different stages in their life.

Bright + Cheery Playroom Design | Honest to Nod

I worked on our playroom design with the Candy Dot Rug as my inspiration. It was the perfect piece that provided bold colors yet wouldn’t overwhelm the room.

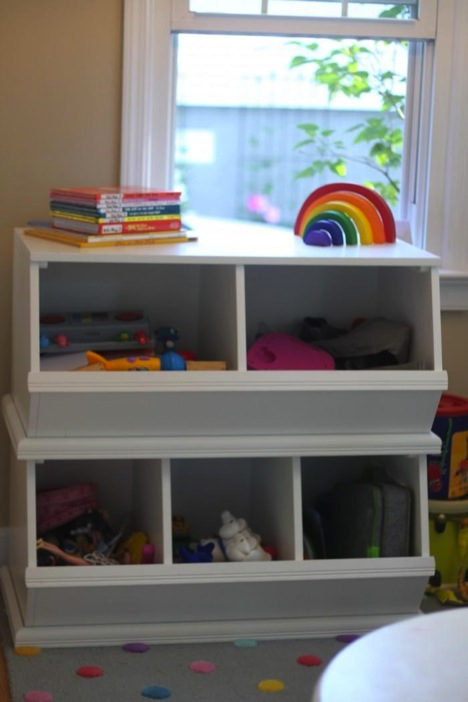
Bright Cheery Playroom Storage

The Storagepalooza provided the perfect amount of storage space for all of their toys. And there’s even room for more!
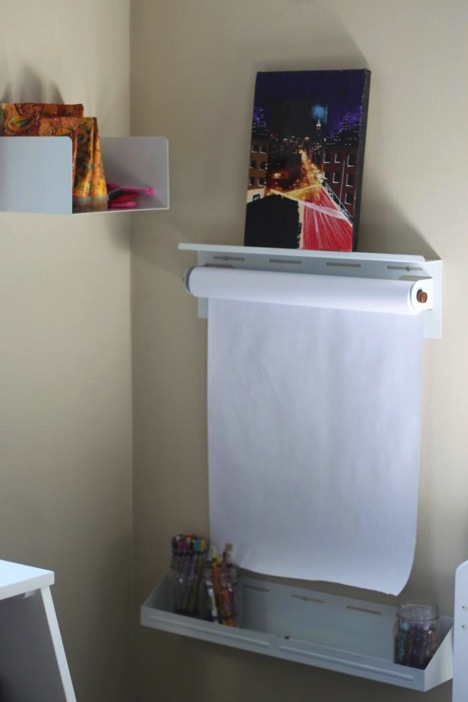
Bright Cheery Playroom Art Easel

I love that the Up Against the Wall storage set doesn’t take up much space in the room, yet gives them an area that they can draw, paint, and be creative!
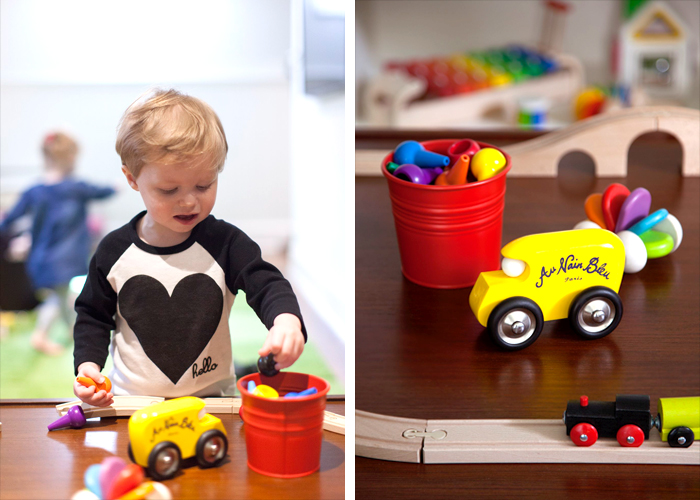
The girls have been playing in this room non-stop. From tea parties, arts and crafts, and even putting on musical numbers, this room could not have been more perfect for them. For more details and pictures of the playroom, please visit my blog A Mommy in the City.

Looking for even more playroom inspiration? Check out our Playroom Board on Pinterest.

Real Families | Real Kids: DIYs

June 26, 2014

Post by Jeran of Oleander and Palm

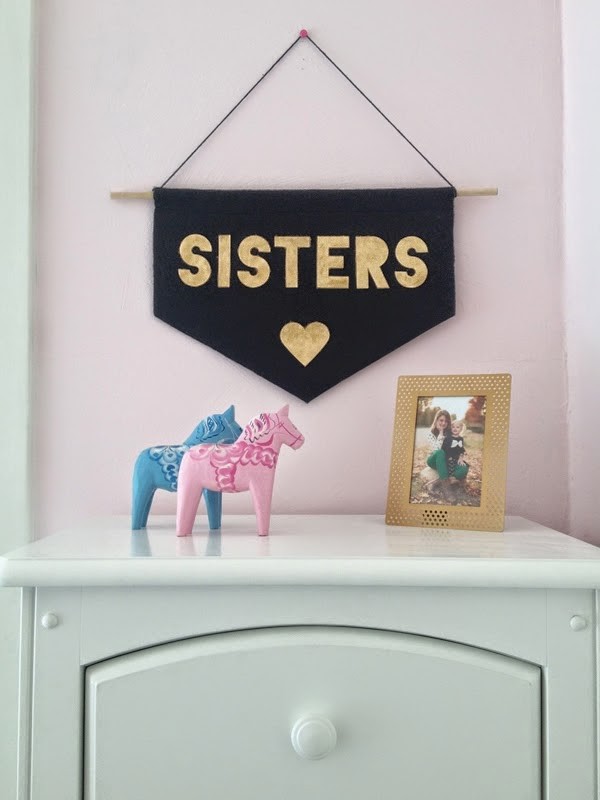
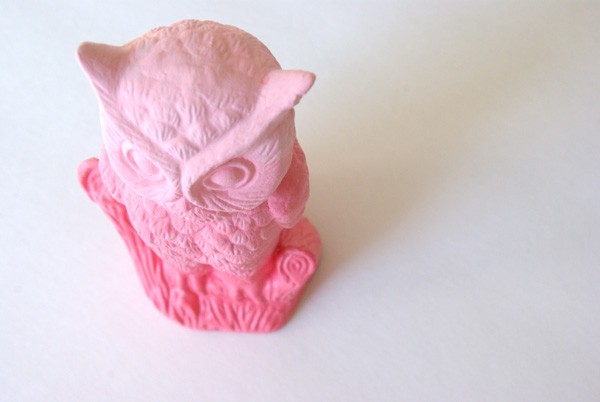
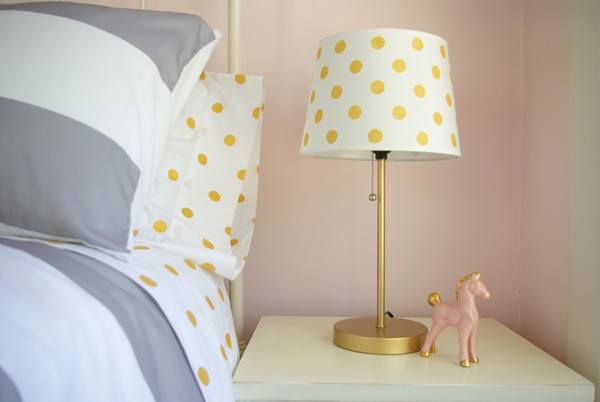
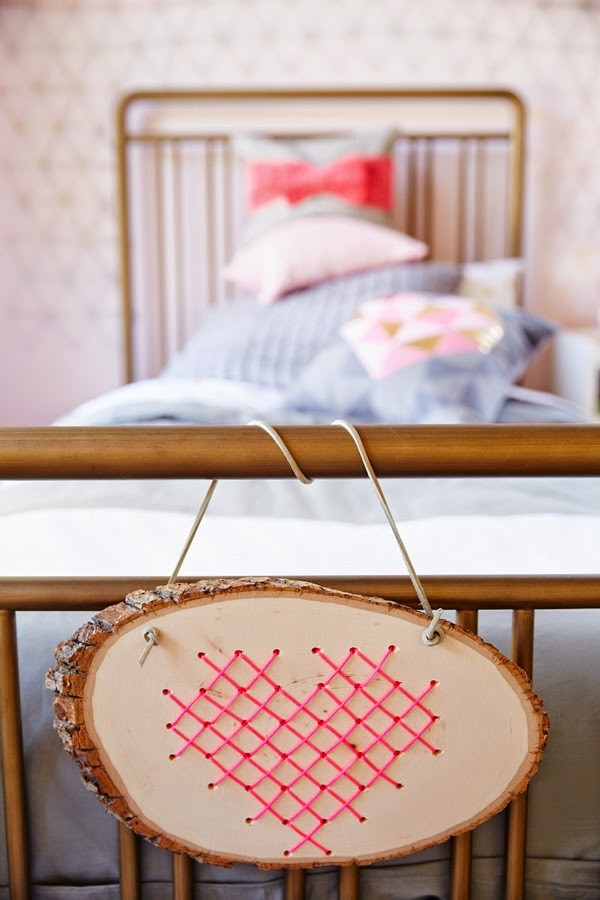
Have you seen June’s catalogue yet?  Today I’m sharing some of the DIYs in the McConnel’s Real Families Girl’s Shared Bedroom.  These are all easy to make, inexpensive DIYs to make for any space.
Room Decor DIY | Sisters Felt Banner
Room Decor DIY | Ombre Owl
Ombre Owl
Room Decor DIY | Polka Dot Lamp Shade
Room Decor DIY | Heart Cross Stitch In Wood
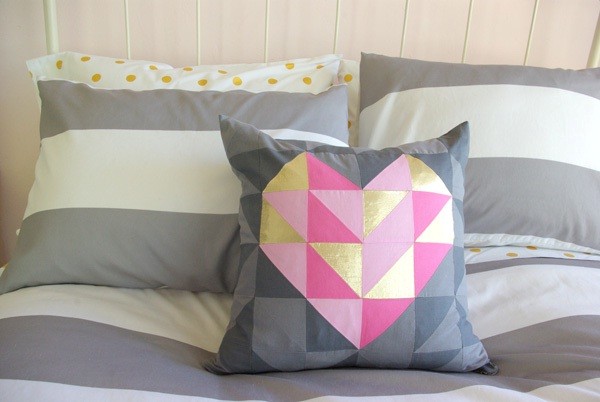
Room Decor DIY | Geometric Heart Pillow
Room Decor DIY | Geometric Heart Pillow 2
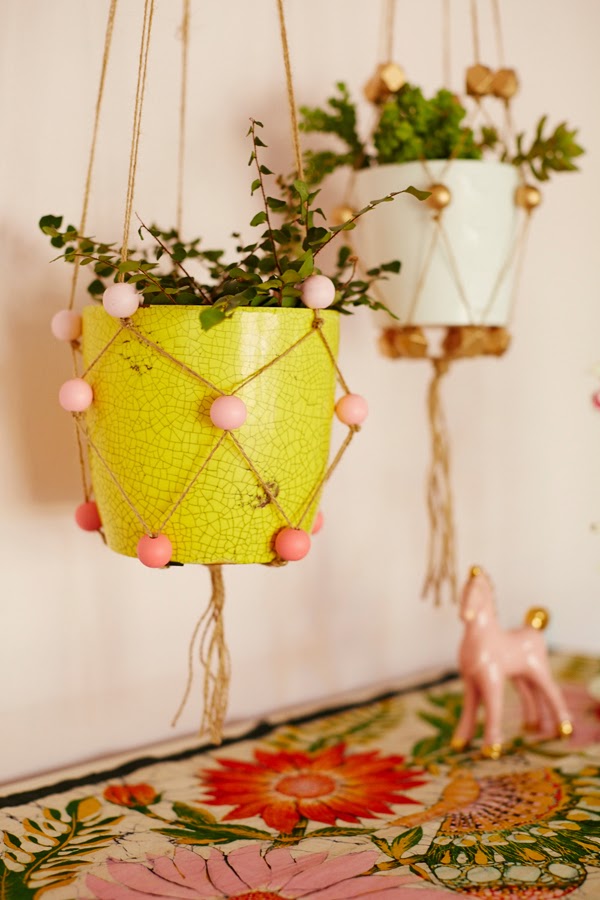
Room Decor DIY | Beaded Plant Hanger
Post by Jeran: Oleander and Palm

A New Van For A Youth Center in Englewood, Chicago

June 25, 2014

New Van for a Youth Center in Englewood, Chicago

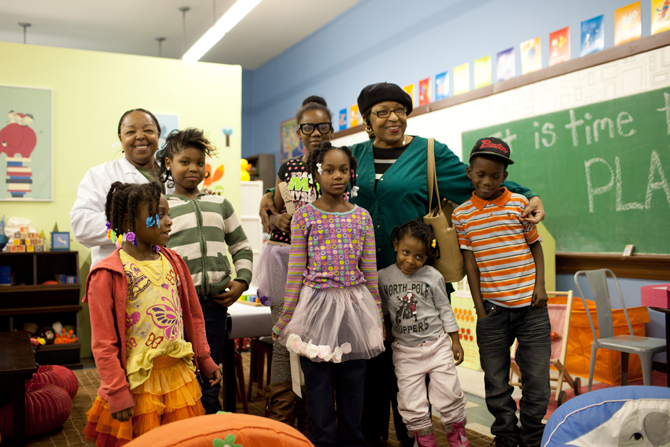
Over the last year, we’ve partnered with a youth center in Chicago’s Englewood neighborhood. This amazing outreach program is responsible for providing a safe place for hundreds of kids to learn, play and have a proper meal. The generosity and selflessness of the incredible people that run the youth center is truly inspiring, and we were amazed at how much they’ve done for kids in Englewood.

Englewood Youth Program Van Fundraising

When we found out that the youth center didn’t even have a safe, reliable mode of transportation for getting kids to and from the program, we couldn’t stand by and do nothing. So we started our “Van for a Van” program, where we used the proceeds from toy vans that we sold to purchase a real van for this much needed organization. And, on Friday, June 13, we were thrilled to present them with their shiny new van. It was the least we could do for an organization that’s so dedicated to providing so much for so many kids. We look forward to our continued partnership with the group, and stay tuned for more.


Englewood Youth Program Van Reveal Englewood Youth Program Van Reveal | The Land of Nod

Meet Nod Artist Jen Vallez

June 24, 2014

Post by Danielle Kurtz, Creative Director at The Land of Nod

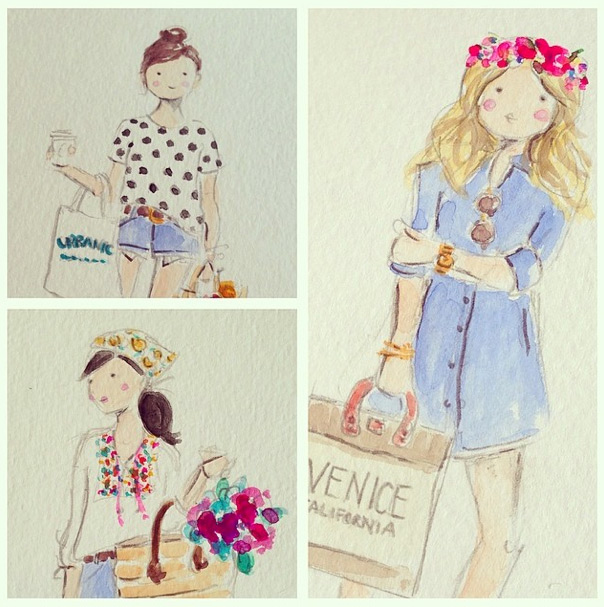
Nod Artist Jen Vallez Artwork

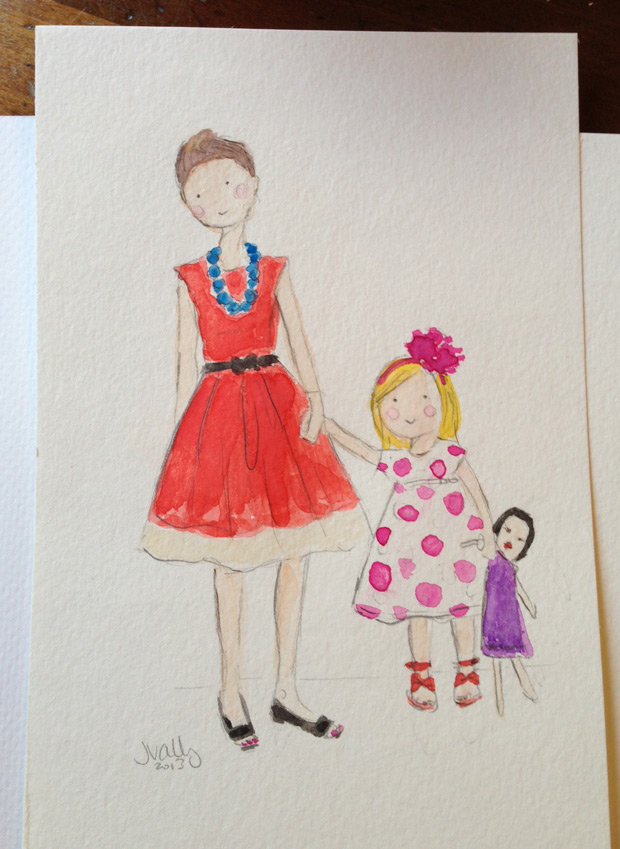
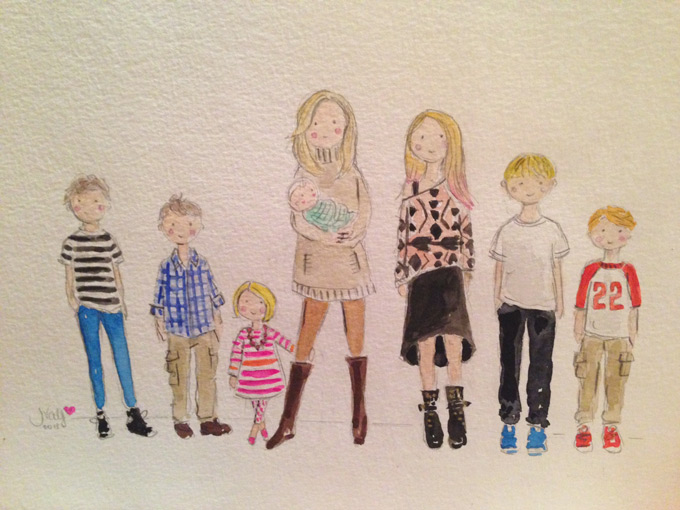
Jen Vallez is the artist behind Sophie & Lili. I first saw Jen’s work on Instagram and was immediately smitten. I knew I needed to commission a portrait of my daughter, Lottie, and I. At the time Jen wasn’t really doing custom work, so I kind of begged. And, she agreed. It’s seriously one of my most beloved possessions, and hangs in a gallery wall in my daughter’s room.

Nod Artist Jen Vallez Artwork - 2

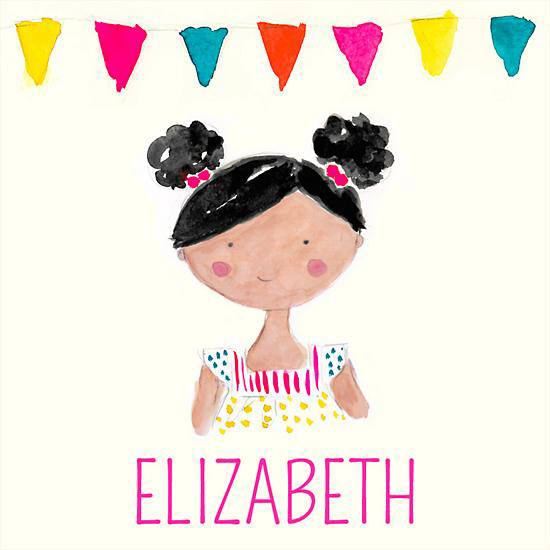
After that I proceeded to show her work to pretty much everyone in the Nod offices. And, it turned into a collaboration on this adorable wall art. You choose one of her adorable little ladies and add your daughter’s name. So sweet.

Nod Artist Jen Vallez Artwork - 3

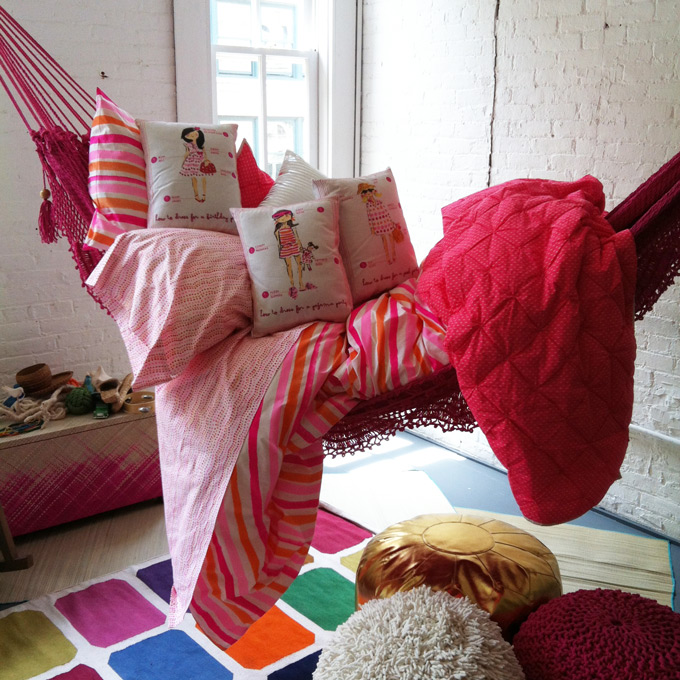
From there, we even worked with Jen to design some incredible bedding that will launch this July in our new Fall Collection. Here’s a sneak peek because I’m no good at keeping secrets.

Nod Artist Jen Vallez Artwork - 4

In addition to her collaboration with Nod, Jen is now offering custom portraits through her own site. They are seriously amazing!! I’ve since bought one of my mom and her grandkids as a Christmas gift. And, have some additional portraits in mind.

Nod Artist Jen Vallez Artwork - 5

It’s one of the greatest pleasures of my job to meet such incredibly talented artists. Hope you enjoy Jen’s work as much as I do.

Danielle is the Creative Director at Nod and an over-protective mother of two. She’s also completely obsessed with Pinterest, Twitter and her Kindle, but not necessarily in that order. Danielle loves to craft, sew and crochet, but all her supplies have a layer of dust on them about 7-years-thick, wonder if it’s just a coincidence that her oldest kiddo is 7 years old?

Chopsticks Kids Book

June 23, 2014

Post by Michelle Sterling of Avery and Augustine

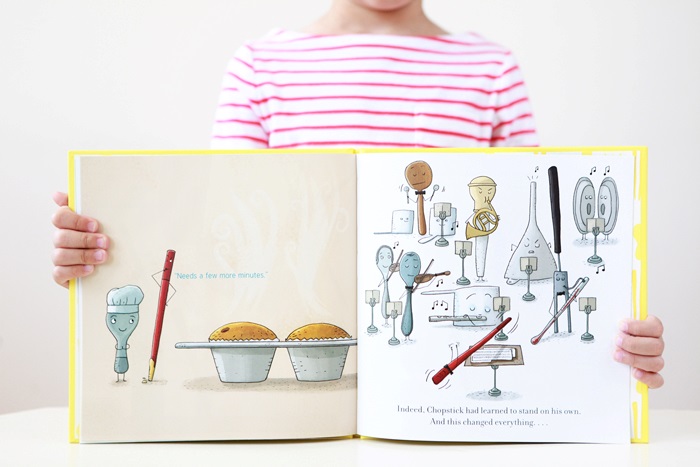
Chopsticks - Children's Book

Chopsticks - Children's Book - 2

Chopsticks - Children's Book - 3

Chopsticks - Children's Book - 4

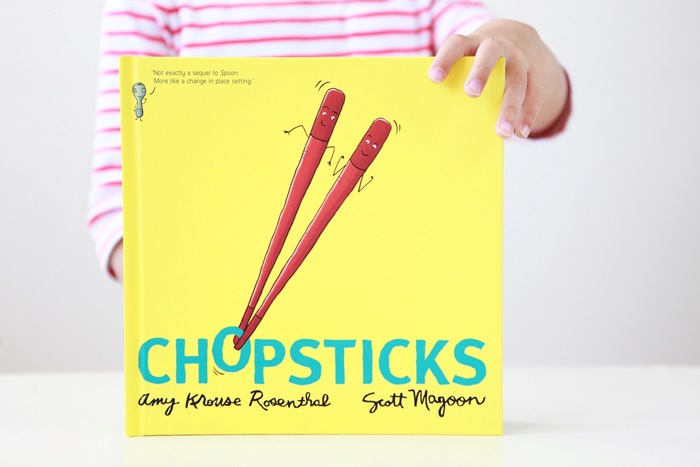
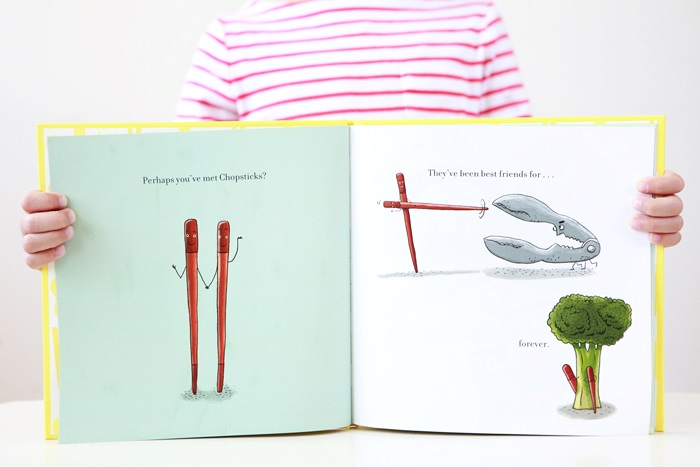
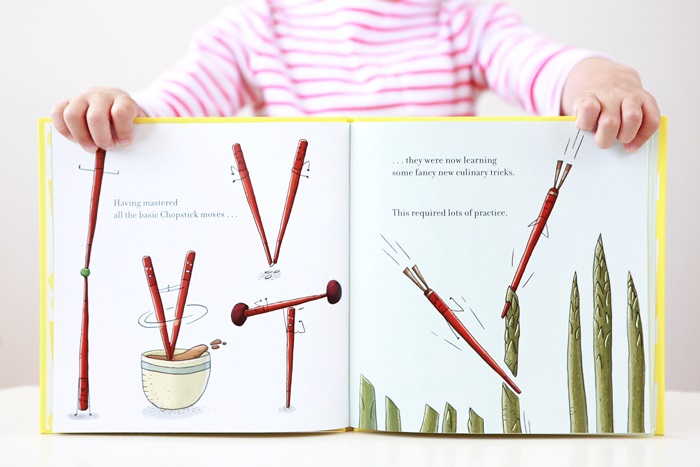
Chopsticks, written by Amy Krouse Rosenthal and illustrated by Scott Magoon, is a fun and endearing story about a pair of chopsticks who are the best of friends that do everything together.  After something happens, the chopsticks get separated and each decides to venture out on its own.  They have wonderful new experiences, but in the end, realize that things are always better when done together.

Post by Michelle Sterling of Avery and AugustineYou can see her work and read about her two young children and their first forays in cooking, art and everything in between at Avery and Augustine.

Tomato, Corn & Avocado Salad

June 20, 2014

Post by Suzanne of A Feteful Life

Tomato, Corn & Avocado Salad Recipe

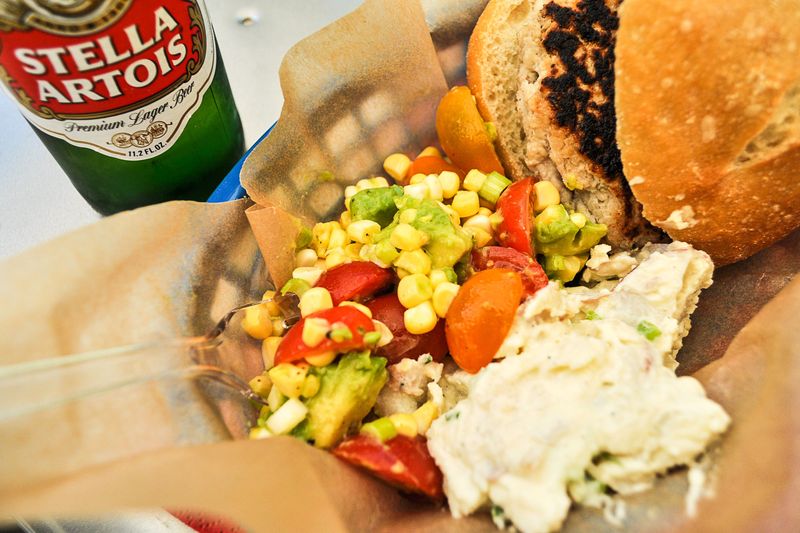
Happy First Day of Summer (tomorrow)! On this day, there’s no better way to celebrate than with a backyard BBQ with friends and family. Whether I’m hosting a BBQ or just attending, I’m always trying to search for the perfect side dish and this simple and fresh one by Martha Stewart is just the ticket.

It comes together in a flash with a few simple ingredients but bursts with flavors that scream summer. There’s no cooking required – even the corn is raw and gives the dish a crisp sweetness. The only word of caution with this dish is that you really need to make it the day of the BBQ. Even with the lime juice in the dressing, the avocado starts to brown a bit after a day. So, whip this up the morning of the BBQ and serve that day.

Tomato, Corn & Avocado Salad Recipe 1

Ingredients

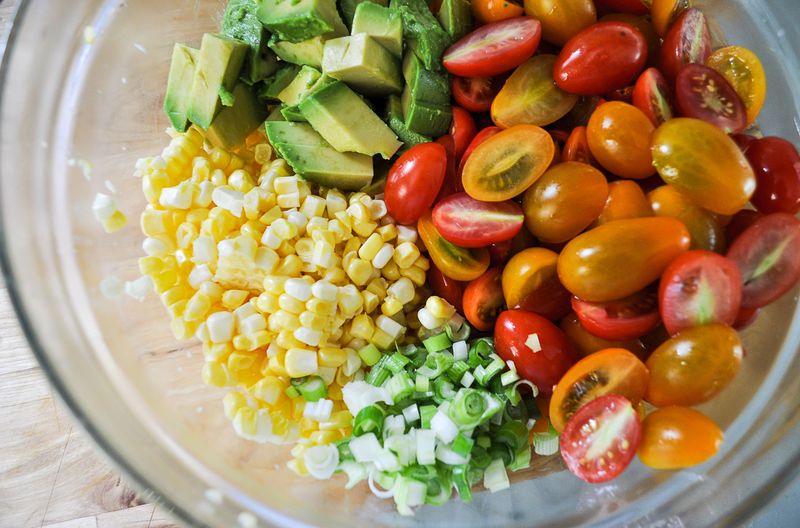
Tomato, Corn & Avocado Salad Recipe Ingredients

Tomato, Corn & Avocado Salad (adapted from Everyday Food)

Ingredients

2 ears of corn (husk and silk removed, tip cut off)
2 pints cherry tomatoes, halved or quarted
1 avocado
2 green onions
2 tablespoons lime juice (from about 1 lime)
1 tablespoon vegetable oil
coarse salt & pepper to taste

Directions

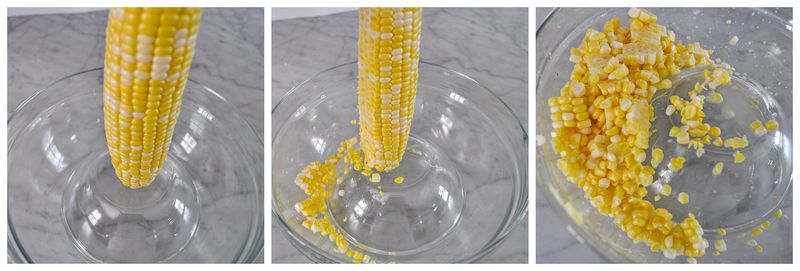
Invert a small bowl into a large bowl and stand ear on top of the small bowl; with a sharp knife, carefully slice downward to release the kernels. Discard cob. Add tomatoes, avocado, scallions, lime juice, and oil to bowl. Season with salt and pepper, and toss gently to combine.

Tomato, Corn & Avocado Salad Picnic

Rebecca and Suzanne are bloggers, graphic designers, and event stylists living in Washington, DC.  Rebecca is a mom to two young kiddos and, in her spare time (ha!), likes to pretend she’s a back-up dancer, craft cocktails, and run long distances. Suzanne is a big fan of good design, good wine, and her two rambunctious little boys. They share DIY lifestyle and event styling projects at A Feteful Life. Rebecca also blogs kid-friendly projects at Not-So-SAHM

DIY Beaded Plant Hangers

June 19, 2014

Post by Jeran of Oleander and Palm
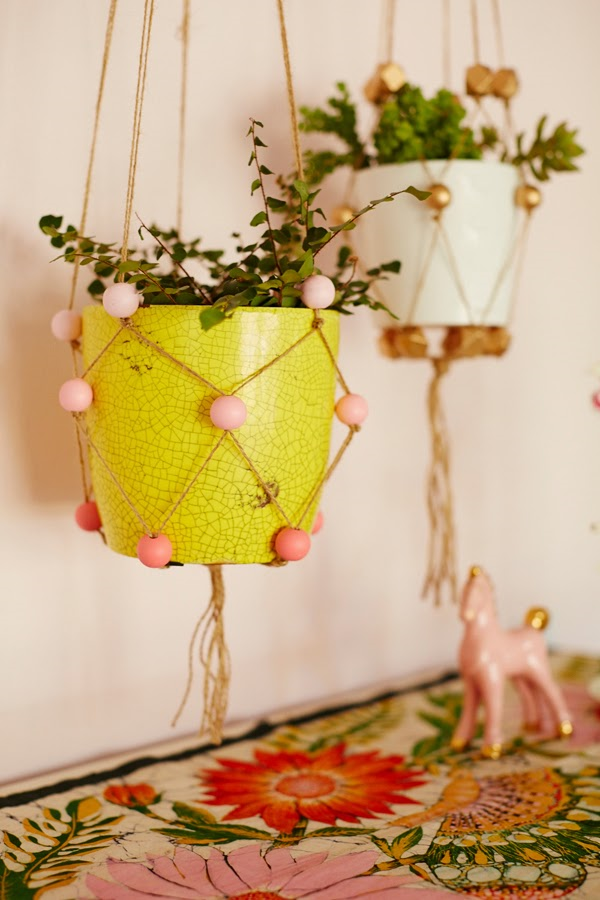
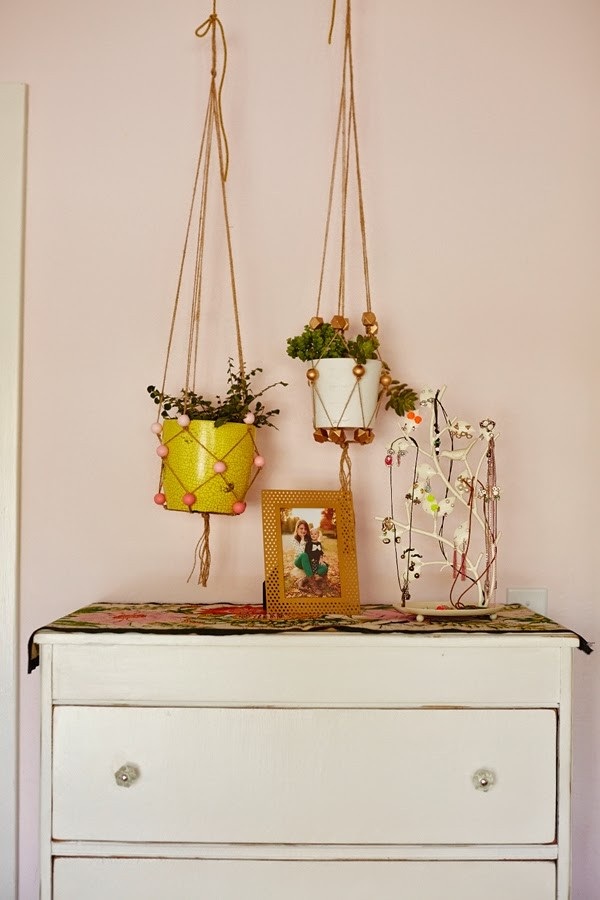
DIY Beaded Plant Hangers

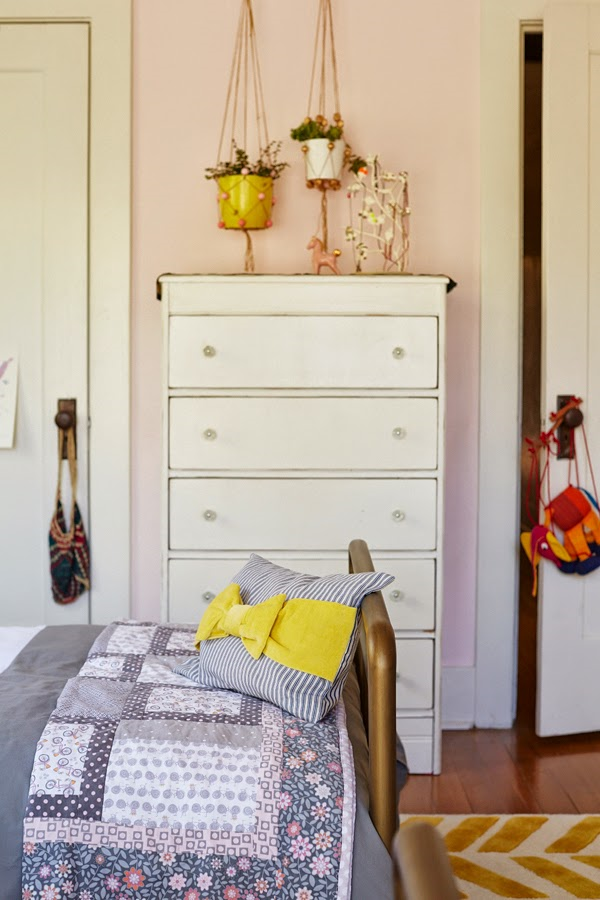
Fiber wall hangings and macrame are back!  I’ve got a simple way for you to bring that retro flavor to your home with these simple DIY Beaded Plant Hangers.  I made a pair of these for my girl’s new bedroom that was featured in The Land of Nod Real Families this month.

Plants are such an easy way to bring life to any space.  And if you have a small space with limited surfaces or you just want to keep them up and away from curious toddlers, hanging them from the ceiling can be a great option.

Here’s what you’ll need:

  • natural twine
  • wooden beads (15 for each plant hanger)
  • craft paint
  • scissors
  • scotch tape  DIY Beaded Plant Hangers - 1

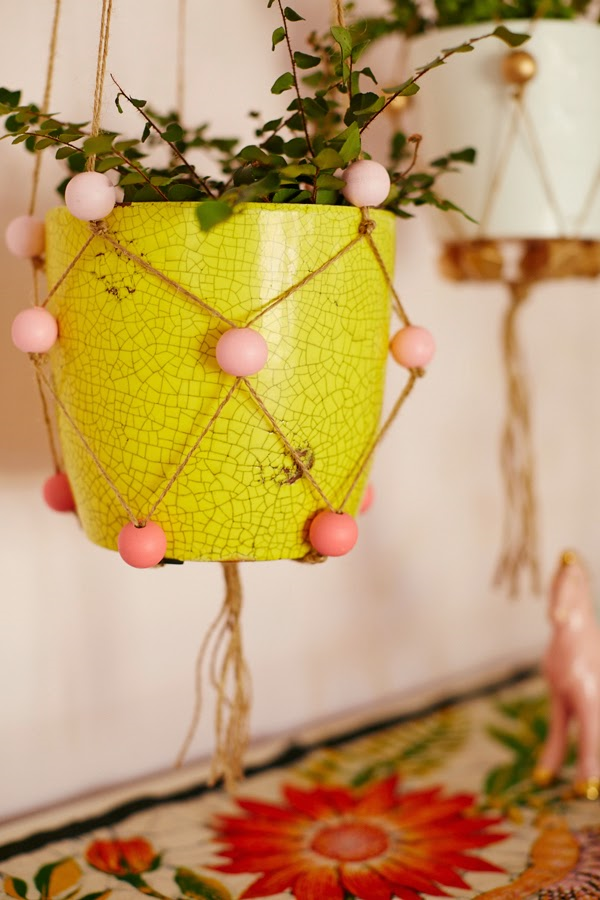
I made a couple different versions of this.  One was my daughter, Denali’s idea, she painted the beads on the yellow pot ombre pink to mimic the colors on the Graduated Bookcases we have in the room.  And then I painted the others metallic gold and mixed round and geometric beads (like the ones used in this DIY).  DIY Beaded Plant Hangers - 2

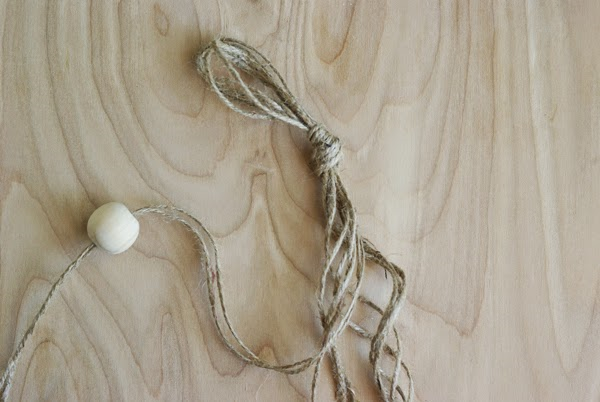
1.  Start by cutting 5 lengths of twine, mine where about 2 1/2 yards long.  Make them longer then you want your hanger so that you can trim them at the end.    DIY Beaded Plant Hangers - 3

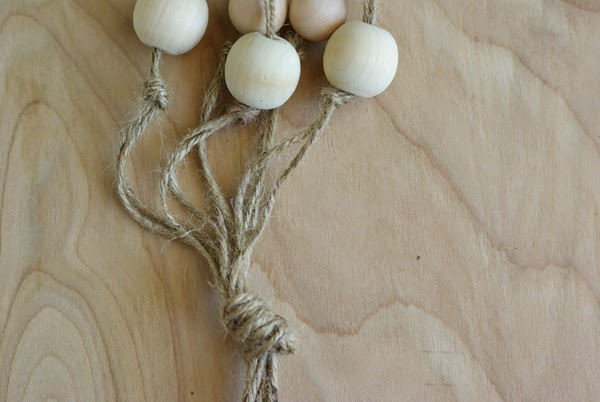
2.  Fold all 5 of the pieces of twine in half and tie a knot at right in the middle.  This will be the top for hanging the plant from.  I found it was helpful to hang the twine from a door knob and work with gavity to do the next steps, but you could also work on a flat surface.

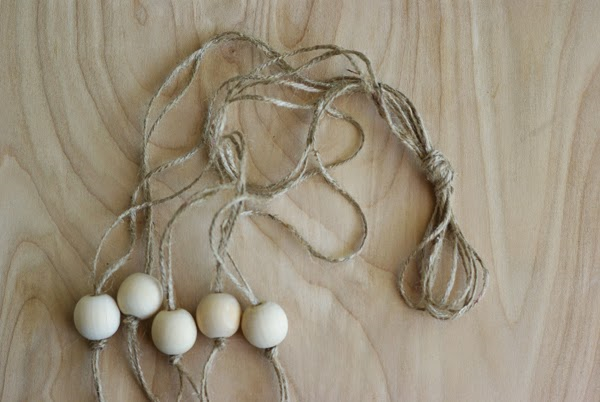
3. Starting about 2/3s down the length of the twine and thread 5 beads onto the pairs of the twine.

DIY Beaded Plant Hangers - 4

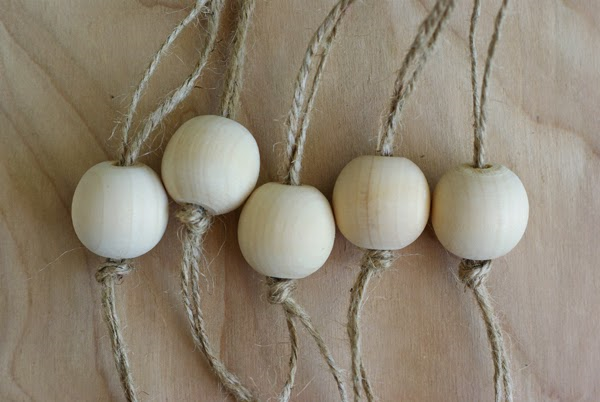
4.  Knot the twine just below each of the 5 beads.  DIY Beaded Plant Hangers - 5

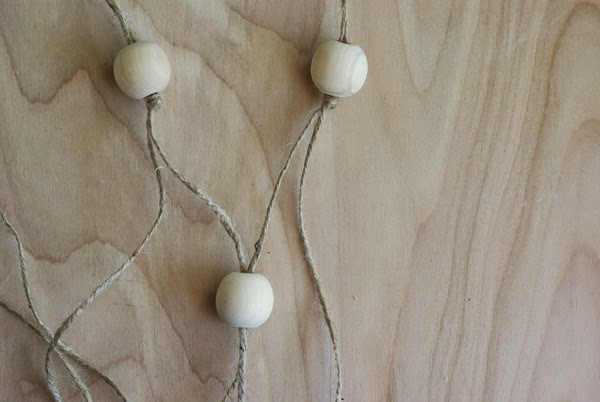
5.  Now, this is where it gets a little tricky.  This is why working with it hanging is a little easier.  So, you are going to make new pairs of pieces of twine by pairing one piece twine with a piece of twine from the next knot over.  Again, thread on 5 beads and knot the twine just under the bead.  I left a 3 inch gap between each of my beads.  But depending on the size of your pot, you might need to have them closer or farther apart.
  DIY Beaded Plant Hangers - 6
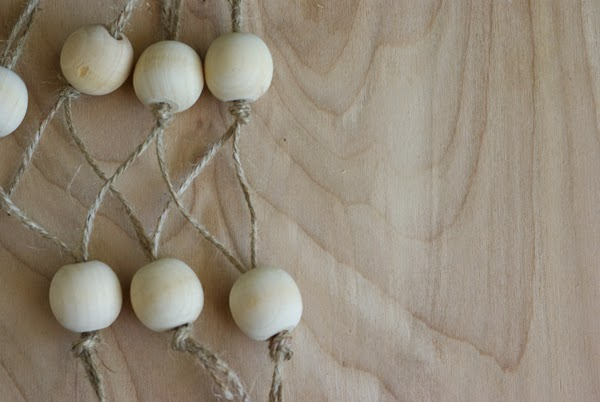
6.  Repeat step #5 making new pairs again by joining one piece of twine from a knot to a piece of twine from the knot right beside it.  I know that sounds super confusing, but it really is simple.  Hopefully this pictures explain it better.   DIY Beaded Plant Hangers - 7

7.  Finally tie all the twine together in a tight knot and trim the ends.  DIY Beaded Plant Hangers - 8

DIY Beaded Plant Hangers - 9

I also made a version with neon pink cording and natural beads.

Post by Jeran of Oleander and Palm

DIY Dream Catchers

June 18, 2014

Post by Jen Lula Jen Love Kev

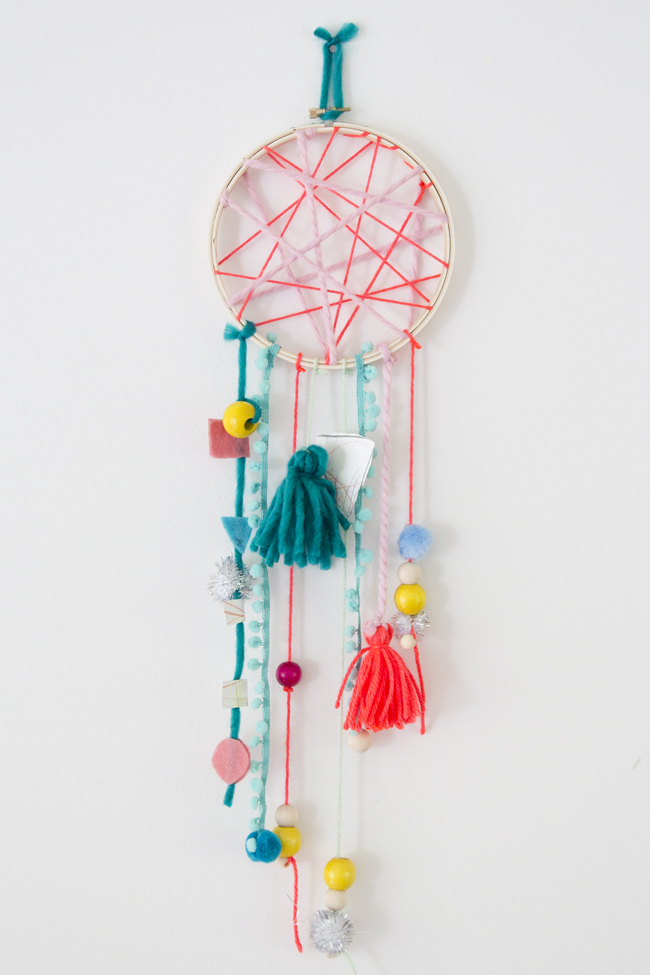
Hi Guys! We are neck deep in a room makeover for our girls at the moment. It’s almost done but I am at the point where I am trying to figure out what to put on the walls. Instead of buying something, I decided why not make a cute craft all together. Rowan loved the idea of making something for the walls in her room. A dream catcher is was! The fun part about this craft is there really are no rules. Anything goes. You can make strands of beads, feathers, braids, tassels, etc… and it all looks great!

DIY Dream Catchers

Materials Needed:
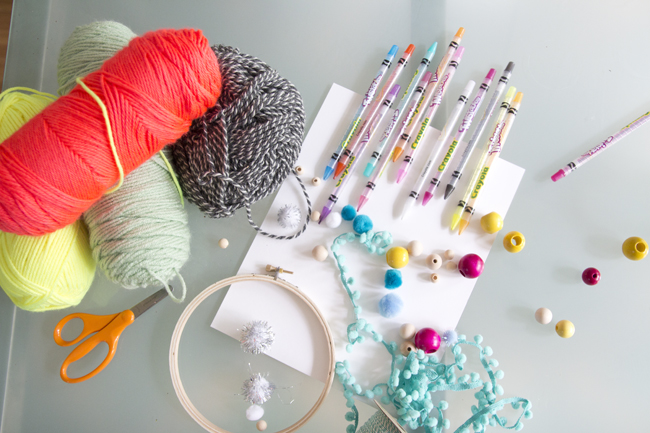
Wooden embroidery hoop
Yarn in pretty colors
Beads
Colored pencils
Paper
Scissors
Glue gun
Felt

Directions:

DIY Dream Catchers - 2

DIY Dream Catchers - 3

DIY Dream Catchers - 4

DIY Dream Catchers - 5

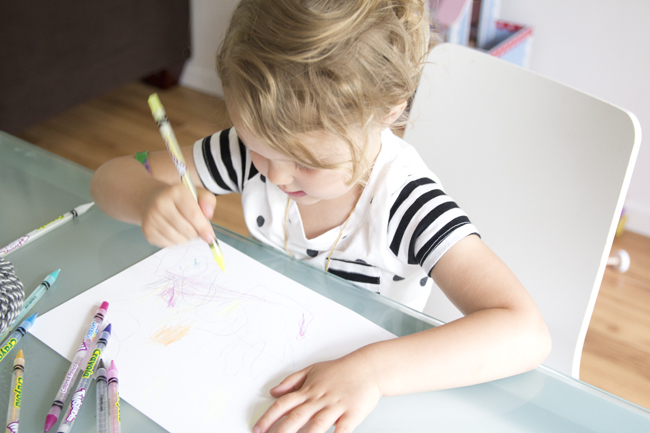
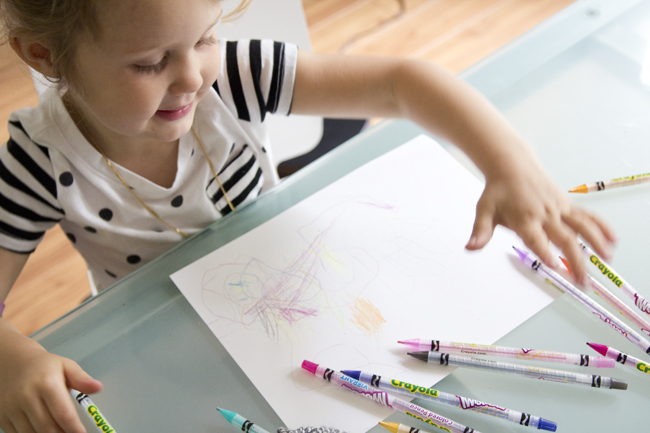
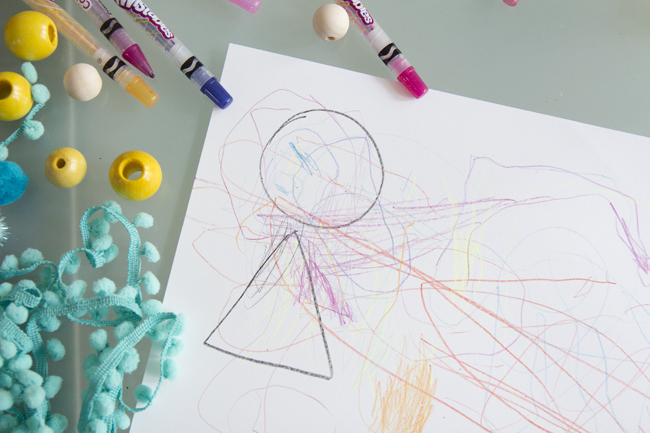
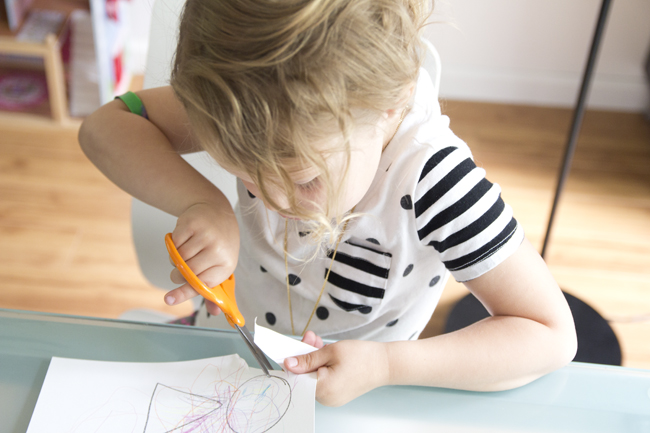
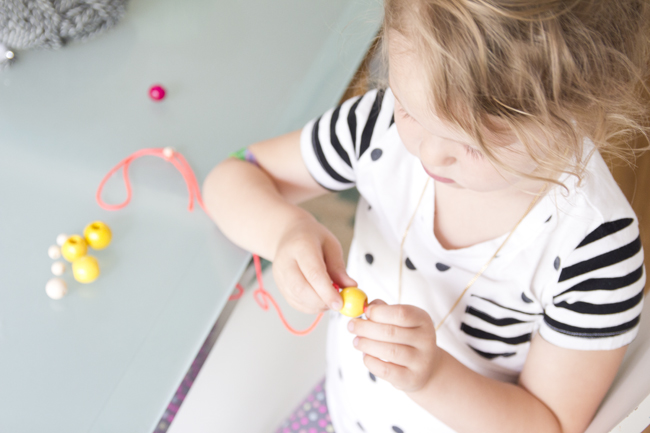
1. I let Rowan draw on a piece of paper for a while. I told her to fill it with as many colors as possible. Then I drew shapes on the paper and she practiced her scissor skills as she tried to cut out the shapes. We used the shapes on the strands at the bottom of the dream catcher.

DIY Dream Catchers - 6

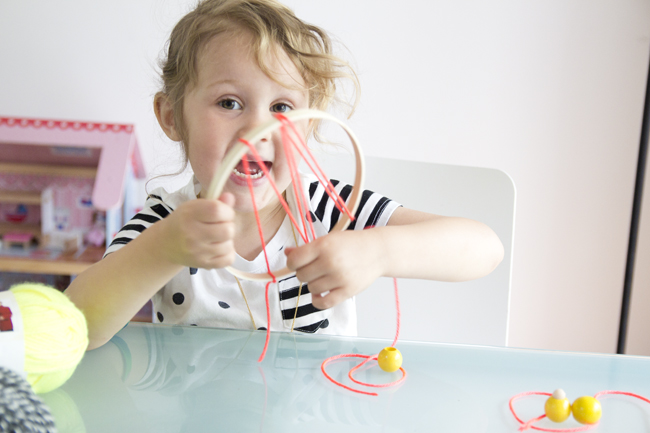
2. Then I loosened the hoop and took off the outer ring. With the smaller ring, I tied a piece of yarn around it and let Rowan wrap it around in as many directions as she wanted. We repeated this step with 2 colors of yarn. I tied off the ends and then put the outer hoop back on and tightened it up. It holds all the yarn in place.

DIY Dream Catchers - 7

DIY Dream Catchers - 8

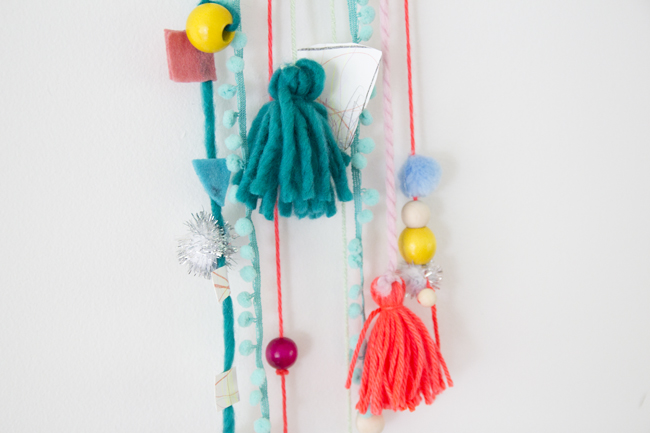
3. The fun part are the strands of yarn at the bottom. I let Rowan string beads, glue pom, poms, and help wrap string to make some tassels. We tied each strand to the bottom of the hoop, varying the lengths of each one.

DIY Dream Catchers - 9

4. Tie a piece of yarn to the top of the hoop and hang up on the wall.

Post by Jen Lula Jen Love Kev

Bright + Bold Playroom Design

June 17, 2014

Post by Susan Hutchinson of Fleurishing

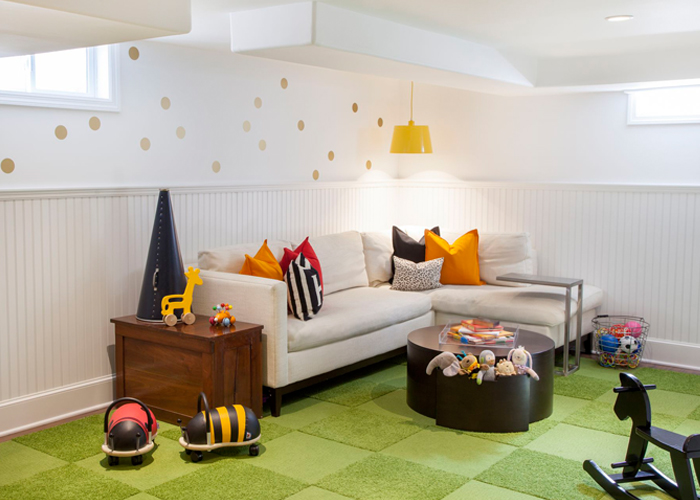
We are smitten with this bright + bold playroom design Susan Hutchinson of Fleurishing designed for her twins, Henry and Marie. Filled with Nod goodies, it’s a space that the whole family can enjoy for years to come.

Bright + Bold Playroom Design | Honest to NodLottie Dot Decals / Pop of Color Pendant / You Say Coffee Table / Rocking Horse

Bright + Bold Playroom Design | Honest to Nod
A Teepee to Call Your Own

Bright + Bold Playroom Design | Honest to Nod

Mojo Play Table / Mojo Chairs / Crystal Ball Table Lamp 

Bright + Bold Playroom Design | Honest to Nod

Bright + Bold Playroom Design | Honest to Nod

For the full details, head on over to the Fleurishing blog… thanks for sharing Susan!

Looking for even more playroom inspiration? Check out our Playroom Board on Pinterest.