Close

Blog

Real Families | Real Kids: Oleander and Palm

June 16, 2014

Post by Jeran of Oleander and Palm
Girls Shared Bedroom Design

Girls Shared Bedroom Design - 2

It’s no surprise to my readers that I LOVE The Land of Nod.  I’ve been posting on their Honest to Nod blog for a year and half now and have collaborated on lots of fun projects with them.  I’m not exaggerating or just being nice when I say that they are my favorite company, because they really are.  This company has the most creative folks working for them and gorgeous products that work well in any space (not just kid’s rooms).

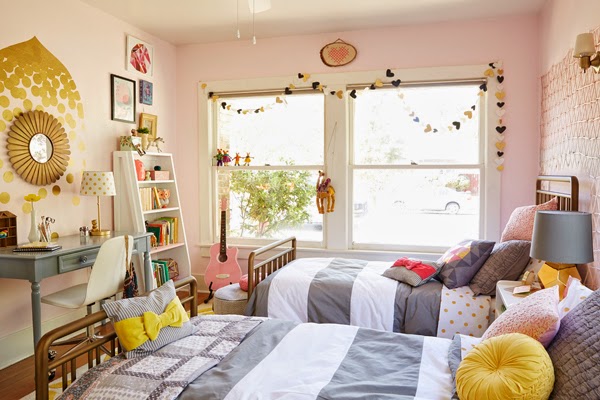
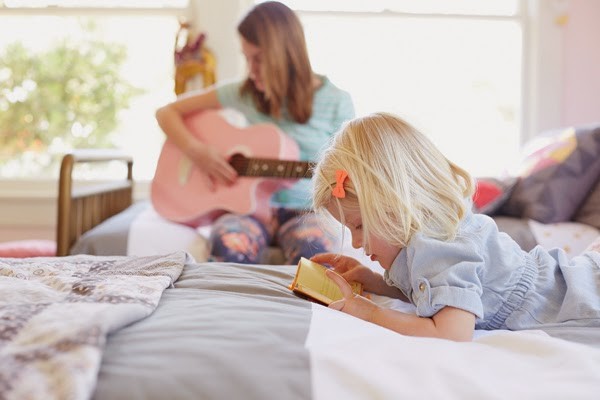
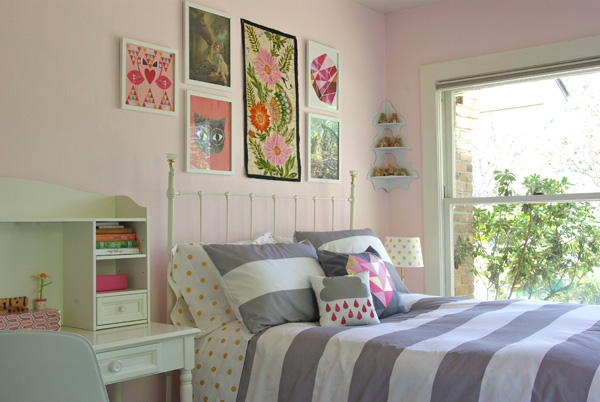
We own a small 1920s California bungalow.  My girls share a bedroom, which lots of sisters do, but there is a 10 year age gap between my girls.  It’s a tricky thing to give both a toddler and a tween a space that they both love.  I didn’t want the space to be too grown up for Olivia, my two year old, or too babyish for my almost teenager, Denali.  I worked with Nod to bring their room together while Olivia was still in a crib (you can see the room here).  We loved the everything about the room, but when Olivia started crawling out of her crib this Winter, we knew it was time to move to a big girl bed.  So, earlier this year Nod approached me about helping with moving Olivia to a big girl bed and featuring their room in the Real Families.  I still can’t believe how lucky we are!!!  So we discussed whether we should change the crib out for a toddler bed and keep Denali’s vintage full sized bed or move to two twins and hopefully give the room a little more space.  And we decided that two twins would be the way to go.  We kept the wall color and basic color palette very much the same and added some key storage pieces and fun accessories to bring it all together.

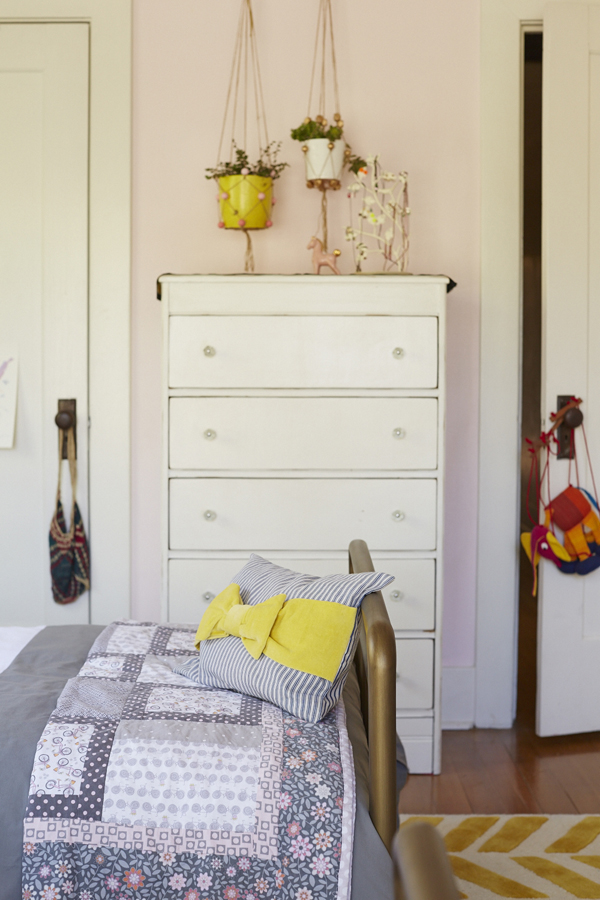
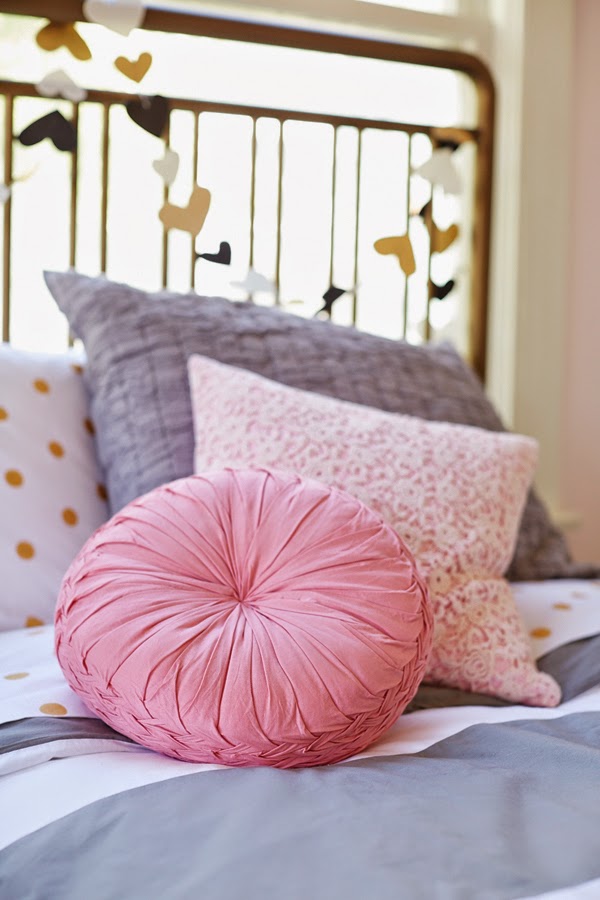
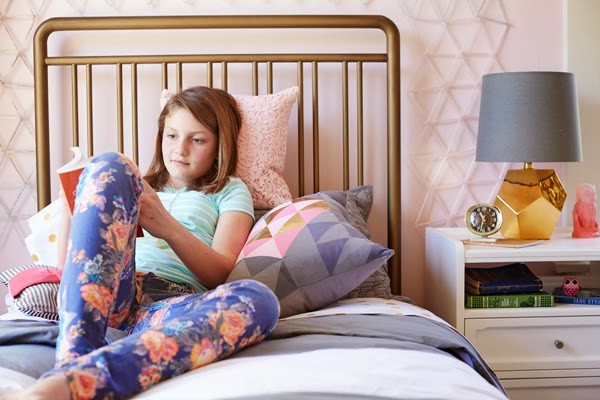
This is my favorite room in our house.  I would happily move in their with the girls.  It’s a perfect mix of playful and pretty.  This is a room my girls can grow up in.  It’s layered with family heirlooms, thrifted finds, my simple DIYs, global treasures from out travels, and amazing Nod pieces.

Here’s the before:
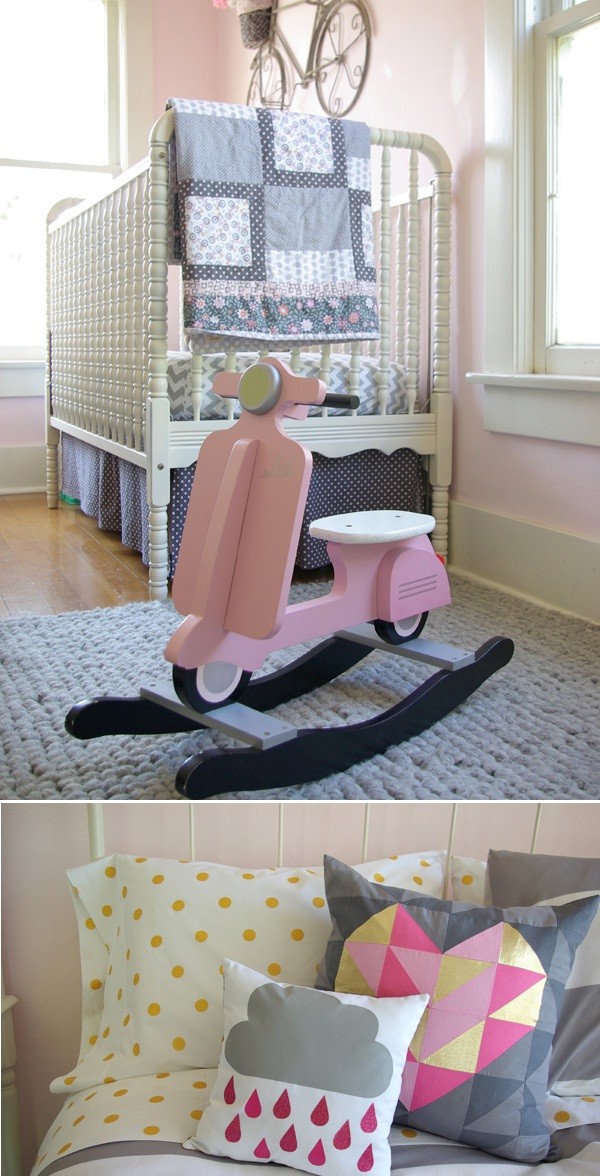
Girls Shared Bedroom Design - 3

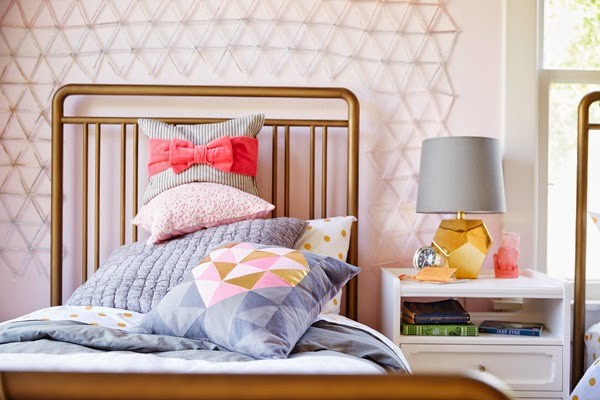
Girls Shared Bedroom Design - 4And now here’s the girl’s new room with two big girl beds.

All images of the room reveal are used courtesy of The Land of Nod. Girls Shared Bedroom Design - 5
Girls Shared Bedroom Design - 6

Girls Shared Bedroom Design - 7
I had so much fun picking out pieces for this space.  And then when the Nod team came to put the room together and photograph the space, I was in seventh heaven.  All that creativeness in my home was a dream come true.Girls Shared Bedroom Design - 8
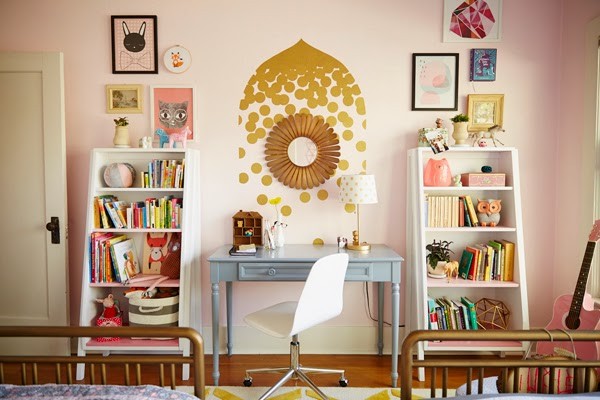
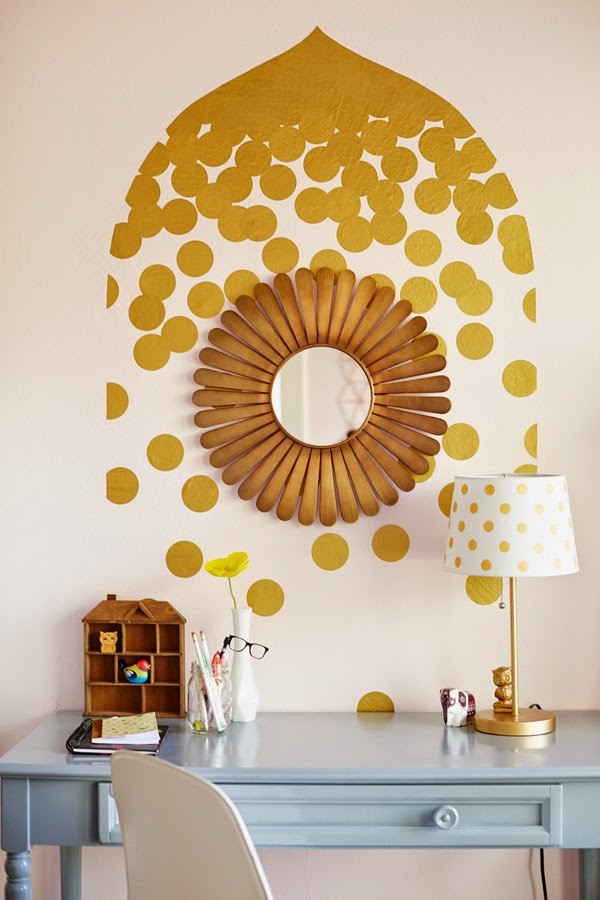
Girls Shared Bedroom Design - 9By moving to two twins, we were able to fit two of these cute pink ombre book shelves into the room.  It gives us a ton of storage and great place to display all of the girls pretty things.  The Nod stylists worked their styling magic on the space.  They painted Denali’s desk a dark grey and centered it between the new bookshelves.  And then using the Gold Dot Decals, they created an amazing focal point over the desk.  They also created a huge triangle wall hanging to go over Denali’s bed.  It’s so fabulous and it’s made of just straws and sparkly yarn.  Dane thoughtfully used all our old treasured pieces and my DIYs to fill the space and keep it authentically ours.    Girls Shared Bedroom Design - 10
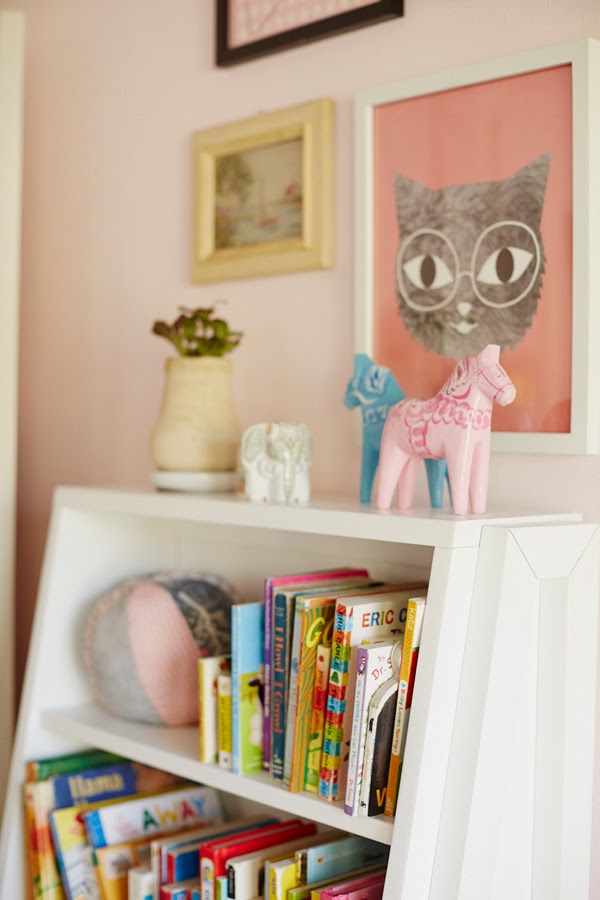
Girls Shared Bedroom Design - 11

Girls Shared Bedroom Design - 12

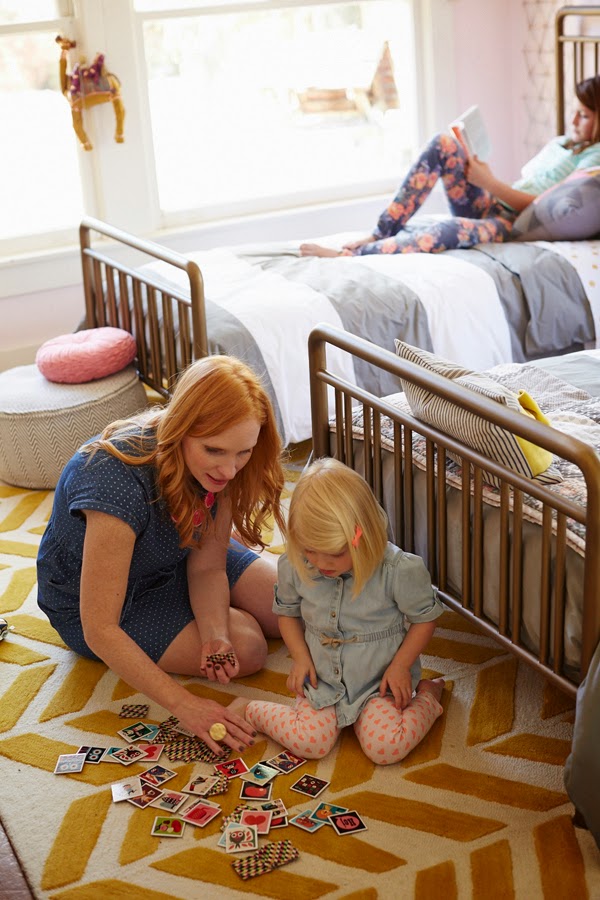
Girls Shared Bedroom Design - 13If I had to pick one thing in the space that was my favorite, it would be the Gold Bars Rug.  This rug is incredibly comfy and adds a graphic, modern feel to the space.  I love the touches of yellow and gold with the pale pink and grey.  Yellow brings so much energy and life to the room. Girls Shared Bedroom Design - 14
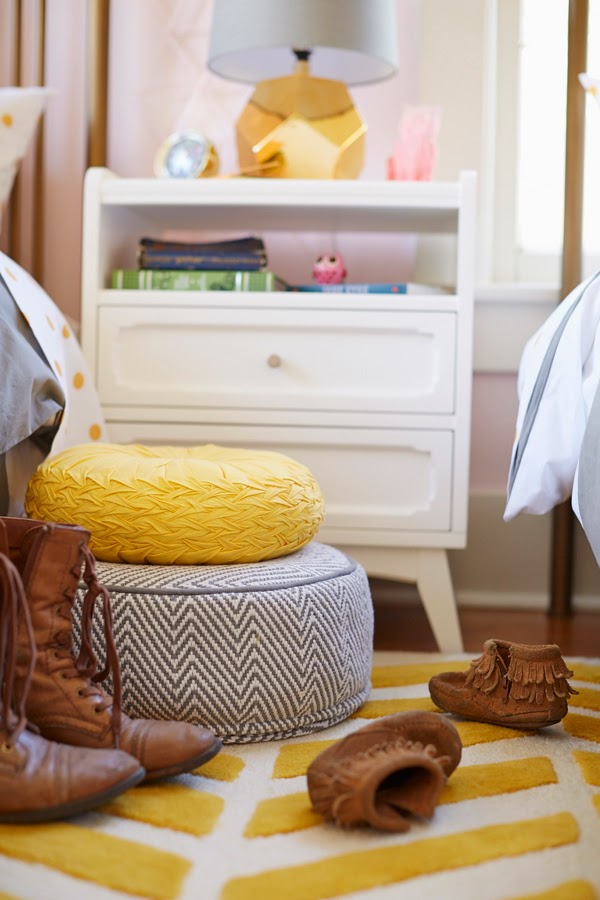
Girls Shared Bedroom Design - 15

I know you are are going to want to know all the sources for the Nod products, so here’s the pieces we used in the girl’s room:

Furniture:
Astoria Twin Beds, Monarch Nightstand

Bedding:
New School Bedding DuvetsGold Dot Sheet Set, Dream Girl Quilted Sham

Bedding:
New School Bedding DuvetsGold Dot Sheet Set, Dream Girl Quilted Sham, Beacoup Bow Throw Pillow, Stripes Around the Cube Bin, Mushroom Buddy, Heartstring Garland, Graduated Bookcase, Ruched Pillows, Lace PillowBow Throw Pillow

Accessories:
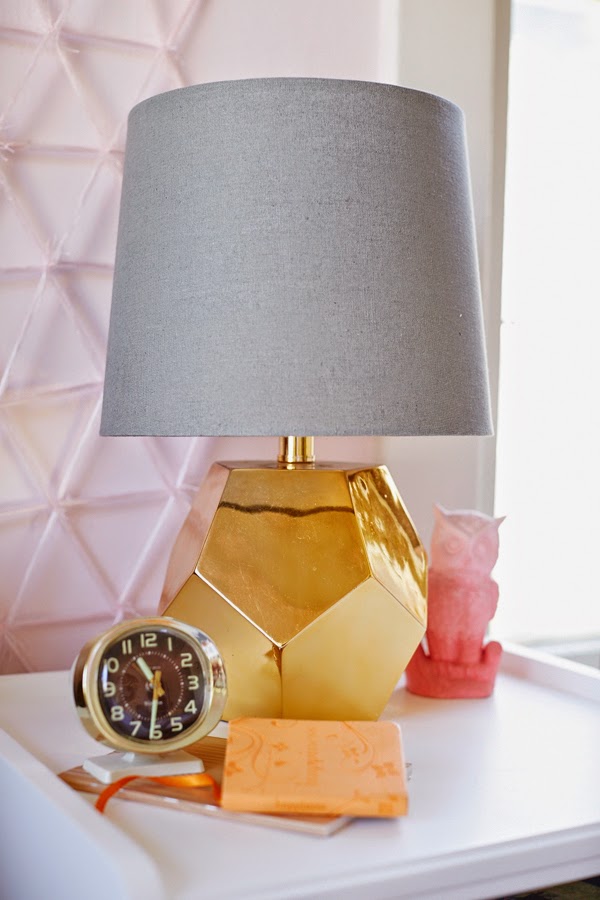
Sunburst Mirror, Gold Bars Rug, Gold Polka Dot Decals, Nod Institute of Art – Oh Bunny Print, Nod Institute of Art – Circles and Triangles, Between a Rock Gold Lamp, Grey Herringbone Pouf

I’m so incredibly grateful to The Land of Nod for this gorgeous room and the wonderful experience of working with them.  We were lucky to get to have them here for 3 days.  And our whole family enjoyed this once in a life time opportunity. We also took them out to the desert with Riley, our vintage trailer, to shoot some other products.  You can see more of that here.

Post by Jeran of Oleander and Palm
Bunk Beds!

June 13, 2014

Post by Jen of Jen Love Kev

Hi Everyone! I am super excited to share our girls shared room with you today.

Girls Shared Room Design - Bunk Beds

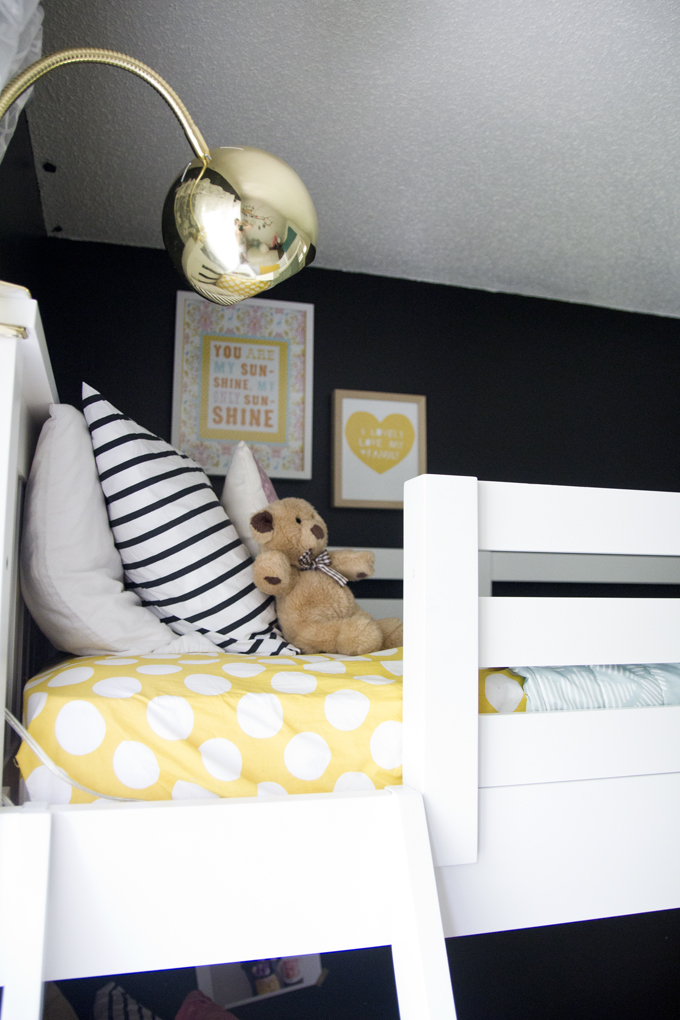
Gold Modern Clip Lamp / New School Dot Sheet Set / Noir Stripe Sheet Set

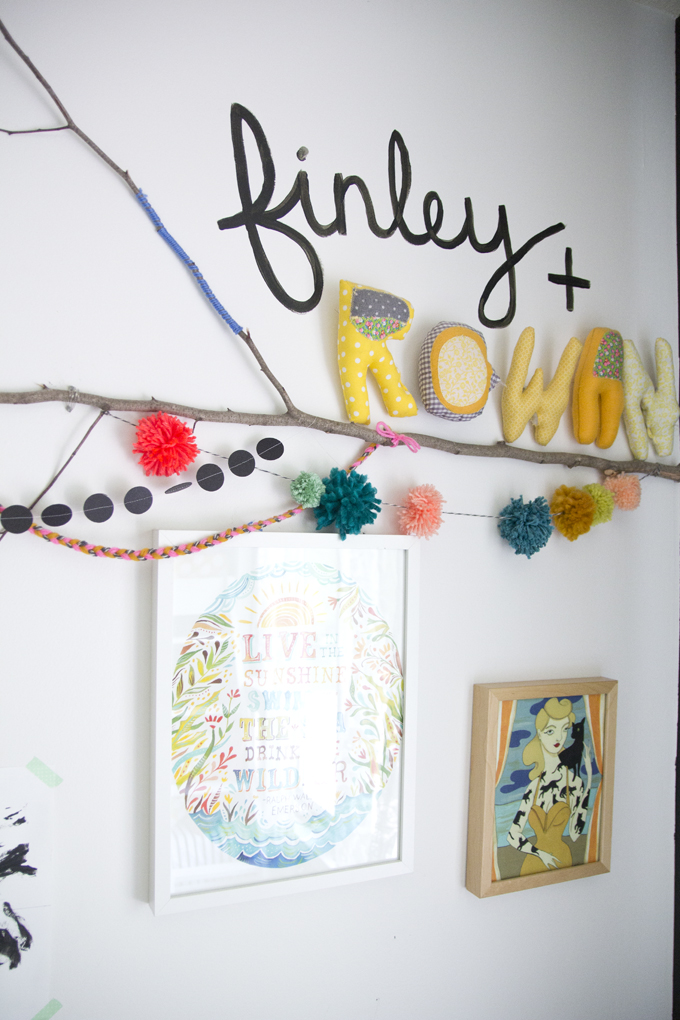
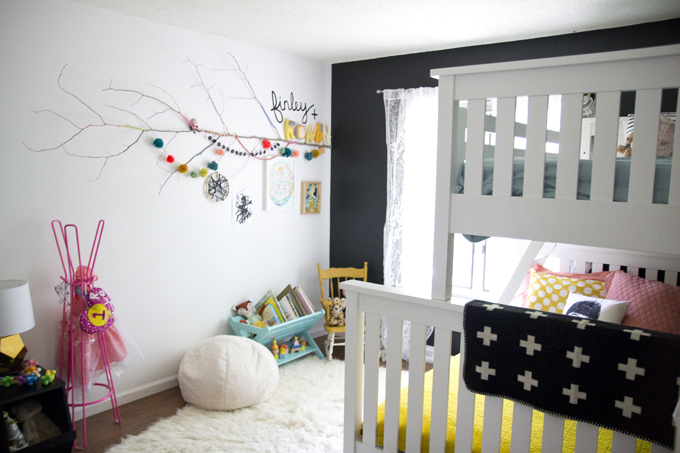
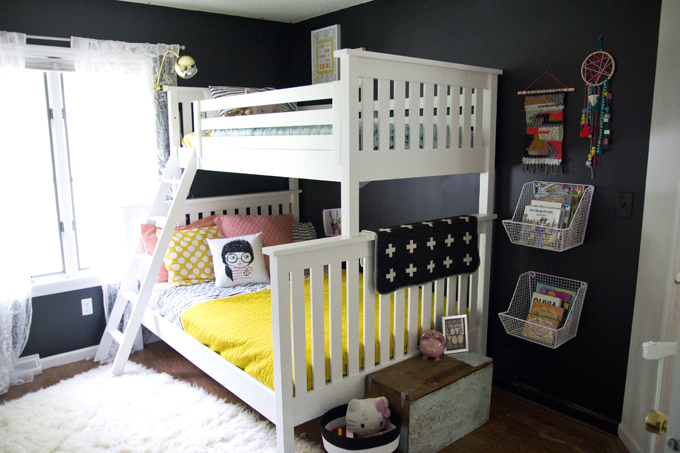
My oldest daughter, Rowan, has been asking us for bunk beds for about a year now. She couldn’t wait till her younger sister was old enough to share a room with her. With our family about to start fostering and we needed the extra bedroom, so we finally were able to tell her we were getting bunk beds! I wanted to keep the room pretty neutral and accent with pops of bright colors. Girls Shared Room Design - Bunk Beds 2 I love the combination of the black and white walls with the black and white bedding and furniture. Girls Shared Room Design - Bunk Beds 3 Land of Nod had all the right pieces to bring the room together and make it extra special.

Girls Shared Room Design - Bunk Beds 4

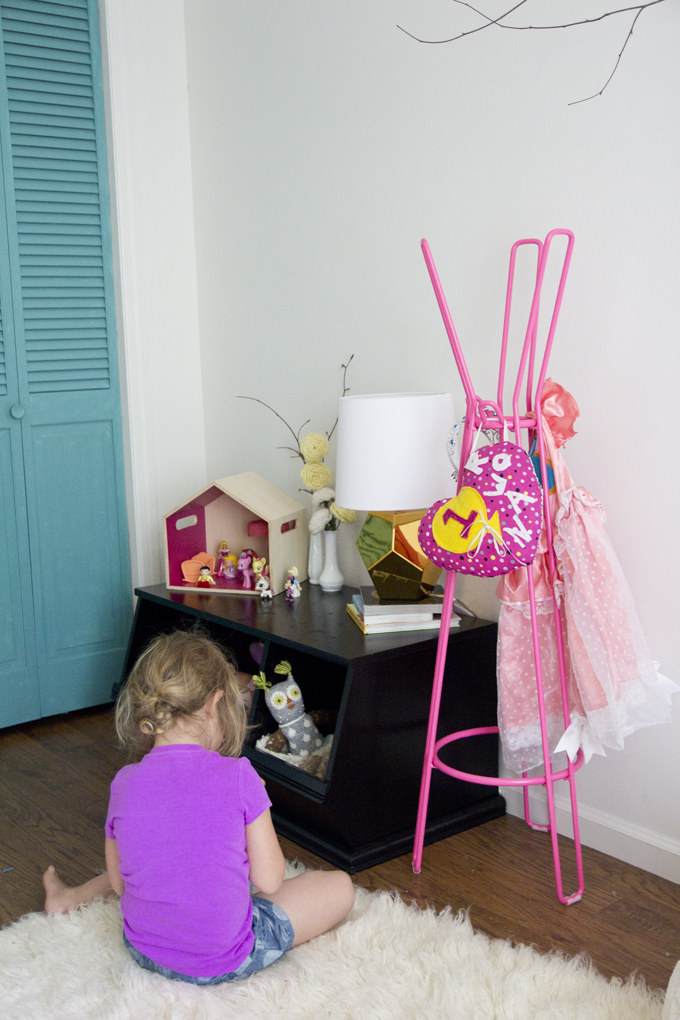
Basic Framework Coat Rack / Flokati Fluff Rug / Rock Lamp / Storagepalooza

Girls Shared Room Design - Bunk Beds 5

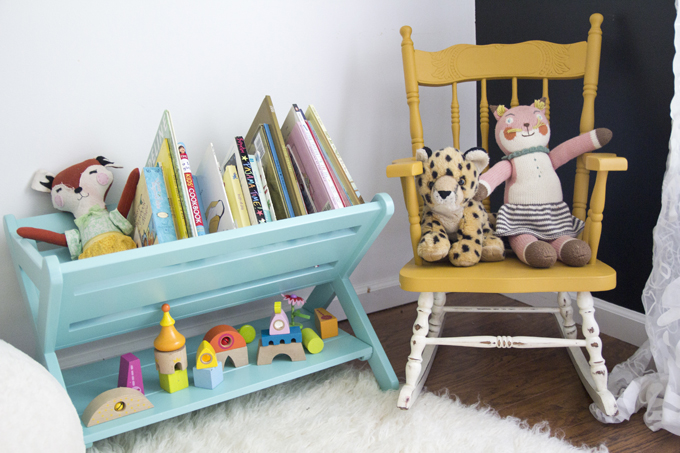
Good Read Book Caddy

Girls Shared Room Design - Bunk Beds 6

Simple Twin-over-Full Bunk Bed / Down to the Wire Wall Bin / Anchor Girl Pillow

When Rowan walked into the finished room she yelled “This is sooo awesome!!”. I think it’s safe to say she loved it. For even more pics, visit my blog Jen Love Kev. Post by Jen Lula Jen Love Kev

Big Kid Bedroom

June 12, 2014

Post by Christina Williams of Just Call Me Chris.

Hi guys! I’m so excited to share this room with you. I feel like I’ve been working on this project for ages, and it’s finally done! Hip, hip, HOORAY! I teamed up with my friends at The Land of Nod again to create this fun room for my 8-year-old. And we’re all so excited with the result. Take a look!

Big Kid Bedroom Design

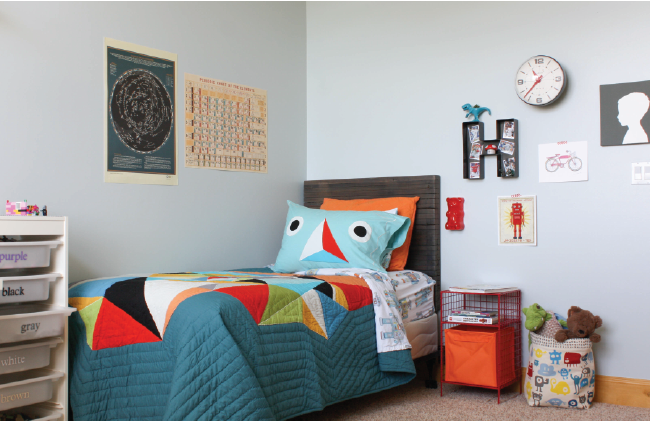
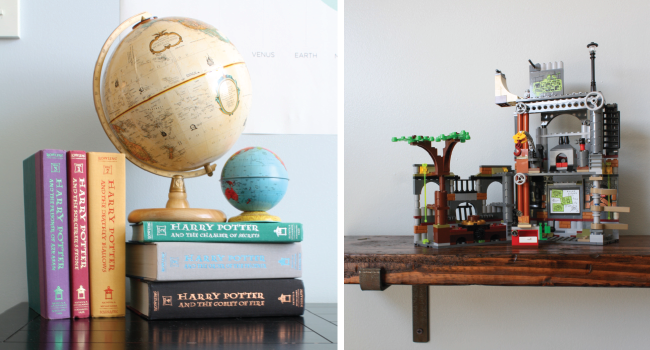
My son’s name is Hudson. He loves sports, science, Legos and the color red. We’ve lived in our new home for almost a year now, and I’ve been flitting from room to room working on project after project. Hudson waited so patiently while I tackled other projects, like his sister’s room, until it was finally time to turn my full attention to his room.

Big Kid Bedroom Design - 1

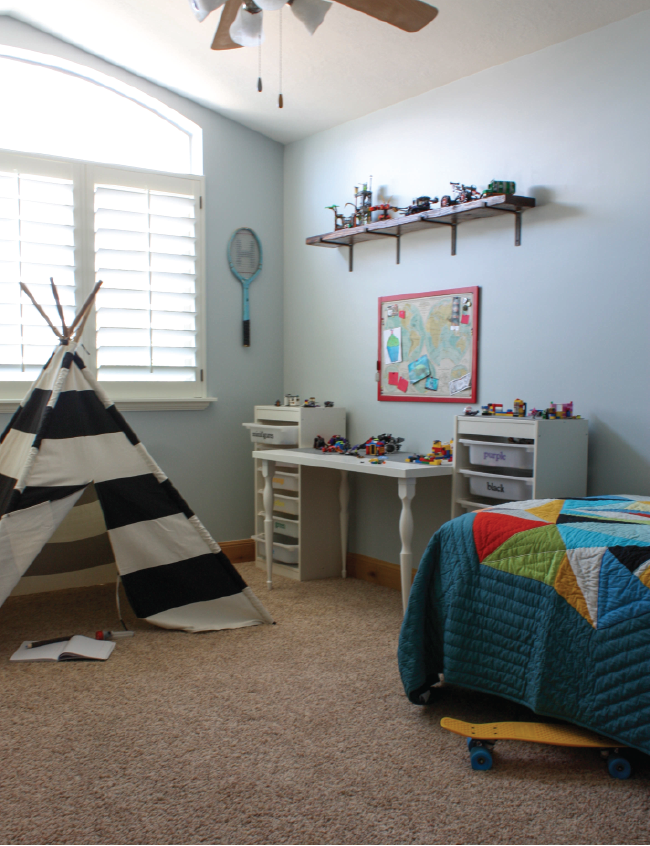
You may remember the inspiration board I created several months ago. I stayed pretty true to the board, but added a few things as I went along. Sometimes I feel like kids rooms are a little too theme-y for my tastes. Don’t get me wrong–I’ve seen some fantastic theme rooms. Like many kids though, mine are interested in so many things, and their interests change. So rather than locking onto one distinct theme for this room, I let Hudson be the “theme” of his room. This room is a pretty accurate reflection of his personality and the things that are important to him. And that makes me happy.

Big Kid Bedroom Design - 2

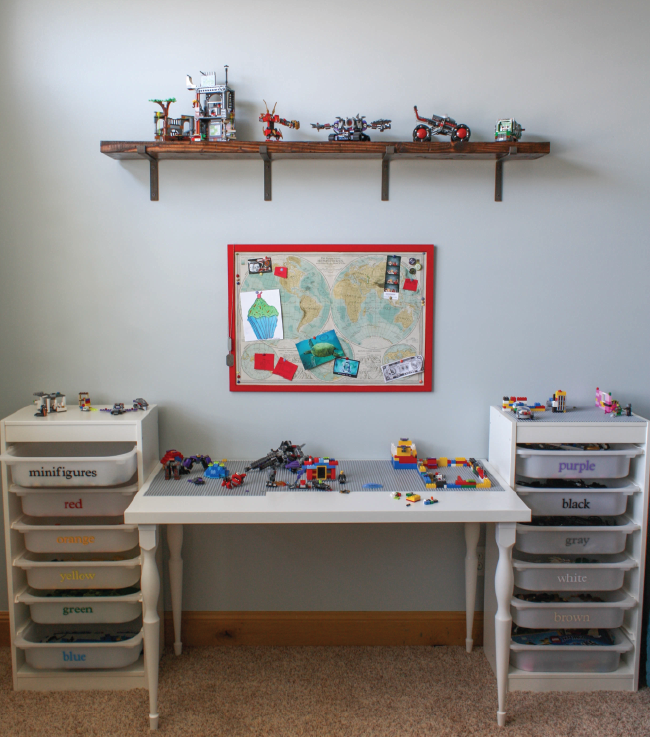
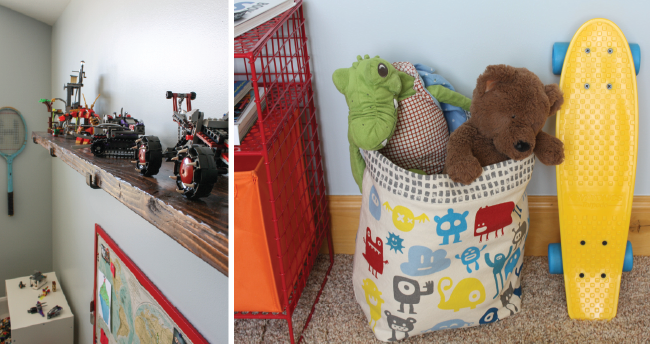
Legos are the bees knees right now. Have been for several years. I first realized we had a problem when I couldn’t take two steps in the same direction without stepping on a handful of those delightful tidbits. I saw this fantastic organizing system on Pinterest and knew right away it was The One. It’s just an IKEA system with some labels on the drawers. But it definitely does the trick.

Santa made gave him the Lego table for Christmas, and I made both the bulletin board and the shelf. I realized the shelf was a necessity when the younger kids and their friends started destroying some really time-consuming projects. Now Hudson can display his creations without constant fear of a Natural Disaster (i.e. Little Brother) while he’s at school.

Big Kid Bedroom Design - 3

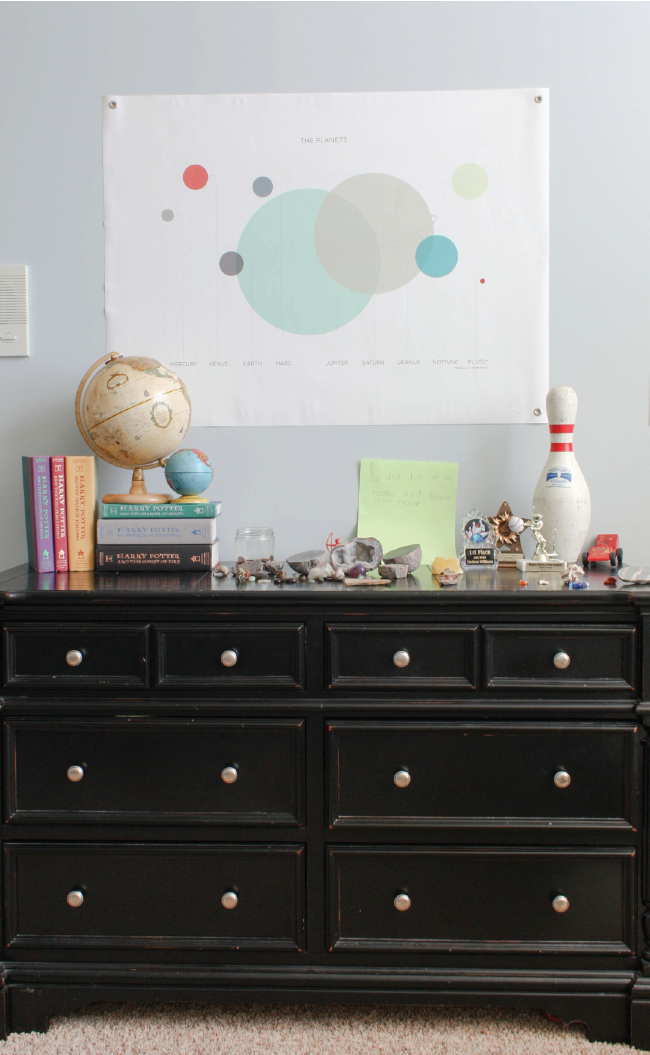
I love this scene so much. I took most of these photos while Hudson was at school, but then realized I didn’t get a good shot of the dresser. I ran back up to take more photos in the afternoon and saw this little rock shop he’d set up. So pardon the mess, but it’s just too sweet to take down. The green sign reads: “Last Day of the Rocks and minerals shop. Free touching.” So hurry on over if you want to touch some rocks. It’s free, you know.

Big Kid Bedroom Design - 4

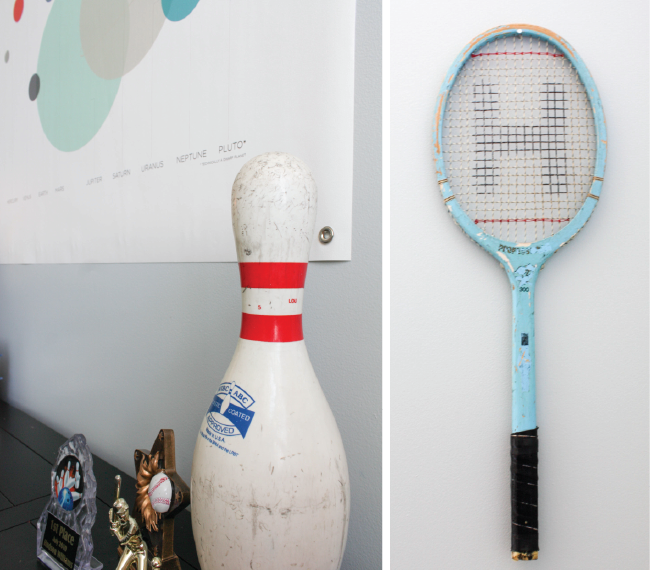
Some of my favorite accessories are flea market finds. Hudson has loved bowling since he was tiny. So a bowling pin is an obvious choice. The tennis racket was from the time I took him on a little date to the Alameda Flea when we lived in California. He picked up this blue racket and I just couldn’t say no. When we got home, I realized it had an “H” on the strings…it was meant to be.

Big Kid Bedroom Design - 5

I firmly believe eight is the perfect age. He’s grown up enough to be semi-responsible and super fun to talk to; yet still sweet and cuddly and secretly still likes his teddy bear. If I could freeze him right now I would.

Big Kid Bedroom Design - 6

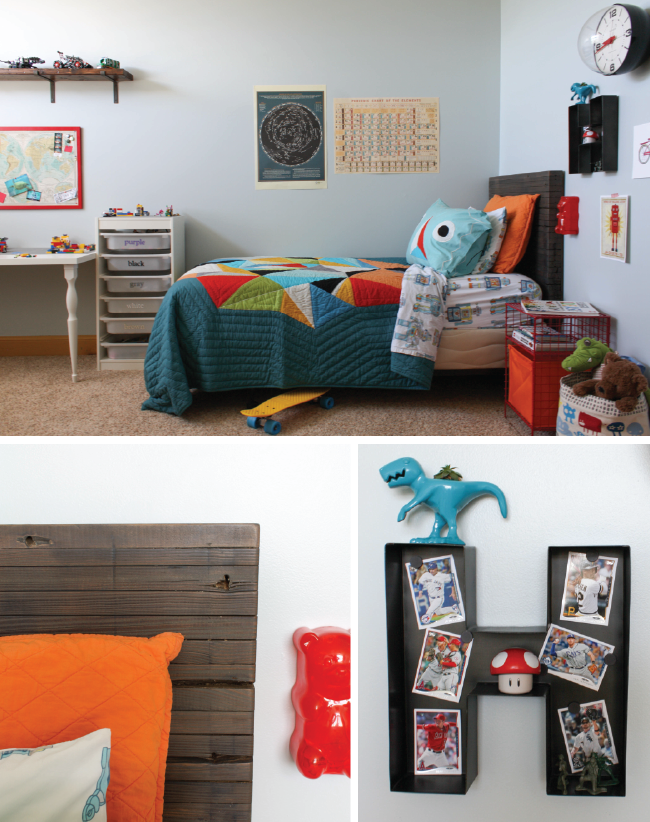
The two “posters” above his bed are actually just wrapping paper sheets from Paper Source. They were five bucks each, and they’re absolutely perfect. This is going to be his poster spot. He’s got a Minecraft poster he’s dying to get up on that wall…so I imagine this spot will change frequently.

Big Kid Bedroom Design - 7

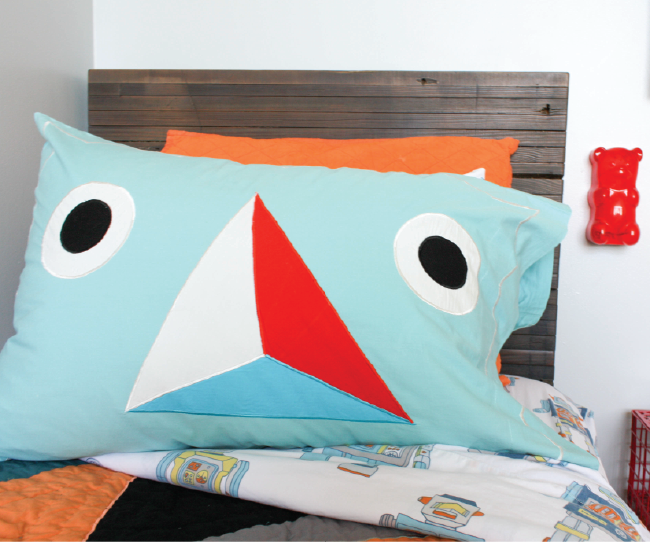
The headboard (below) is one of the details I added as we went along. It just sort of happened and I couldn’t be happier about it. I found this incredible local shop that’s kind of a mix between a flea market and an up-cycling shop. The headboard is actually made from a 1940’s bowling lane. I told them what I had in mind and they made it happen. Even down to the exact size and finish color I wanted. I’m thrilled.

Now hanging this bad boy was another story. I didn’t realize the bowling lane headboard would be so heavy…so I had to find two studs and use a french cleat and make sure the whole thing was level and, most importantly, safe. After a pep talk from my dad, a new drill bit and a lot of cursing under my breath I did it. I’ve never felt so victorious in my life. The thing is on there rock solid and completely level (despite my crooked photo). I may have done the running-man down the hallway to celebrate my headboard victory. Don’t worry: I was home alone 😉

Big Kid Bedroom Design - 9

So there it is! Hudson loves his room, and I’m so happy with the way it turned out.

Here’s a list of Nod products I used in this room. Hop over to my blog for an even more extensive list of other sources and items shown in this room.

The Land of Nod gave me the items marked with an *

Everything else I purchased or had on hand all ready.

  Signature

Christina Williams is a blogger and graphic designer living in Salt Lake City, Utah. She’s a night owl and a bookworm, as well as a mother to three children ranging in age from two to eight. She shares her latest DIY and design projects along with her adventures in parenting on her blog, Just Call Me Chris.

Yippee Baby Gender Reveal Party

June 11, 2014

Post by Aimée Lowry & Bettijo B. Hirschi from PagingSupermom.com

We had so much fun at the gender reveal party for Modette that we knew we had to have another one for this baby. Aimée came up with a brilliant “Yippee!” theme that I absolutely adore.

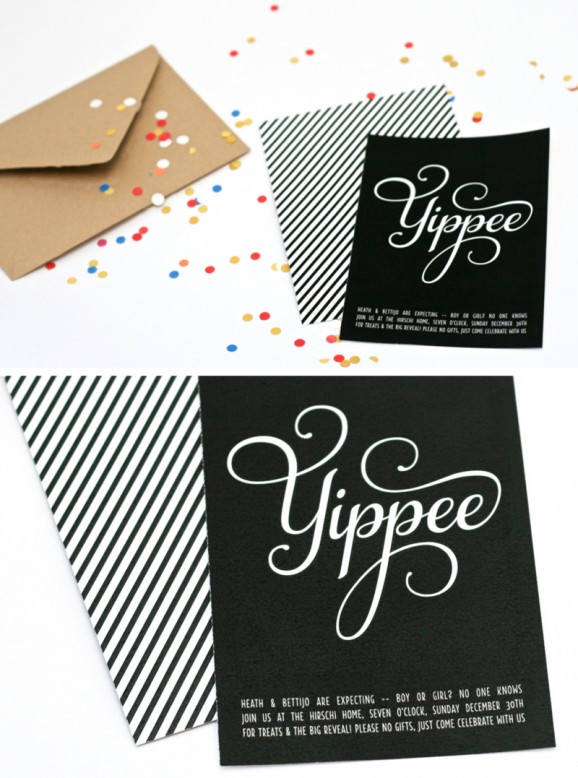
Gender Reveal Invitation

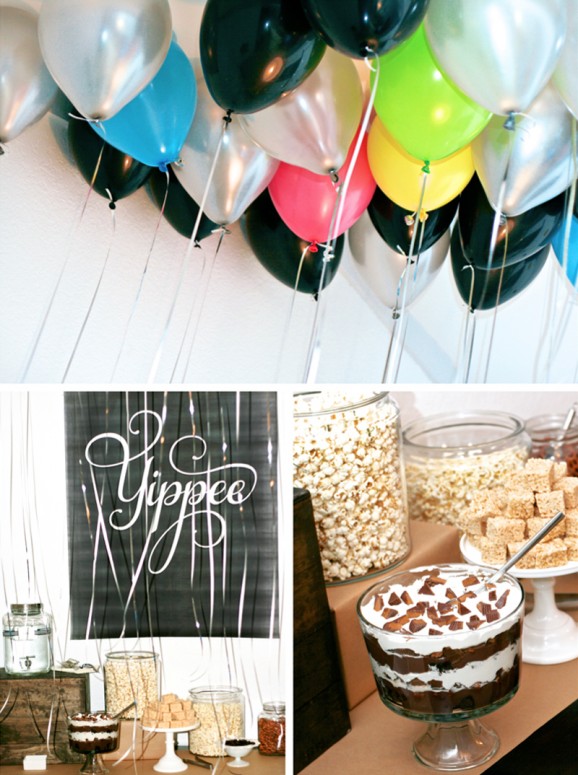
Our Yippee theme meant an overload of those fun celebratory details: popcorn, balloons, party blowers, streamers and confetti… they were all incorporated into our party!

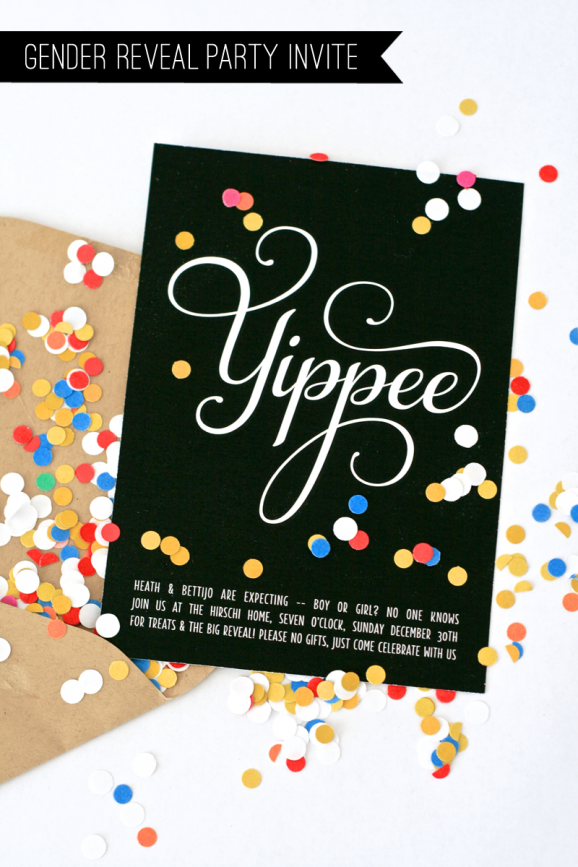
To start things off with a bang, we included colorful confetti in the envelope with our invitation. Hosting your own gender reveal party? Get this printable invitation personalized with your party details in our Supermom Co-Op!

Gender Reveal Party Invite

When you don’t know whether the party should be blue themed or pink, picking a color scheme can be tricky. We opted for strong black and white elements and threw in splashes of vibrant colors with confetti and balloons.

Gender Reveal Party Dessert Table

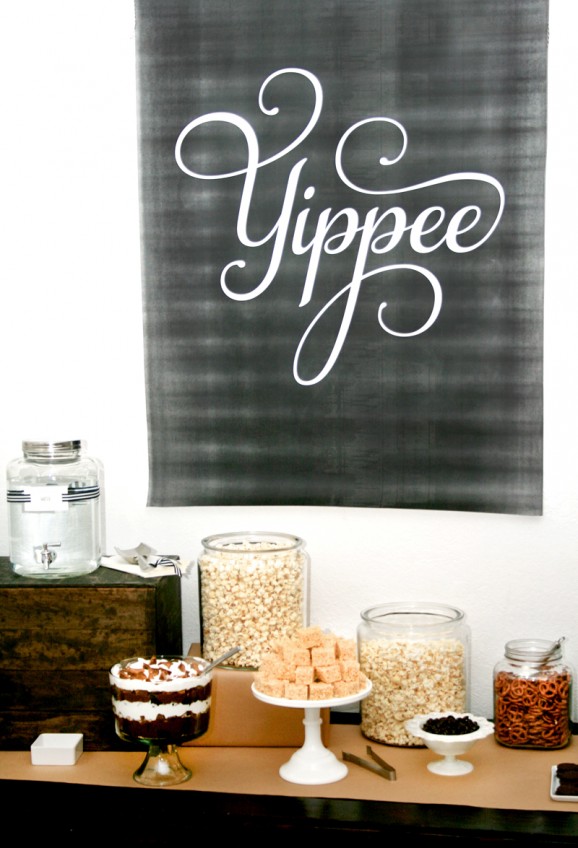
Don’t you love the gigantic “Yippee” poster hanging behind our dessert table? It can be printed at your local copy center using our Super-sized Poster template. Ask for a black-and-white, large-format or engineering print — it’s a big WOW for under $10!

Gender Reveal Party Dessert Table 2

We offered up all kinds of sweets and munchies. The Herb + Olive Oil Popcorn made using this recipe was a big hit, and so was the delicious Reese’s Peanut Butter Cup Trifle (thanks Debbie for making it!). We also had piles of krispy rice treats, Oreos and gooey chocolate cookies… now I’m getting hungry!

Gender Reveal Party Voting Station

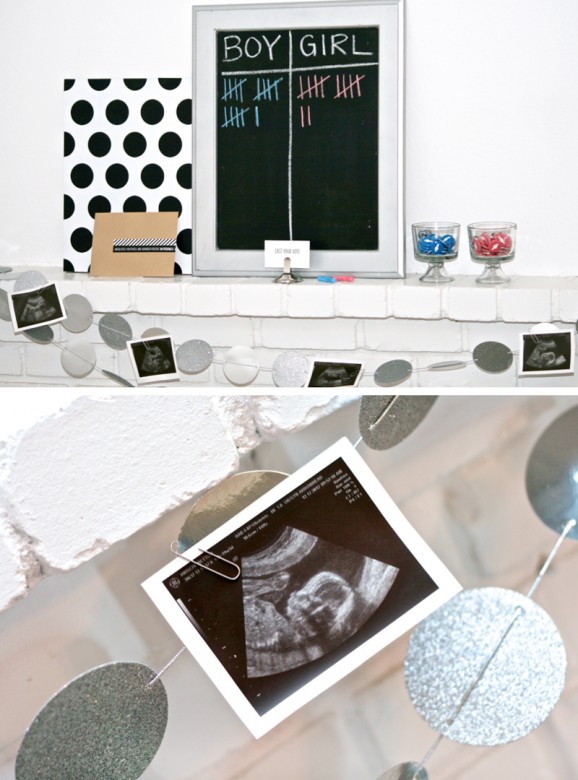
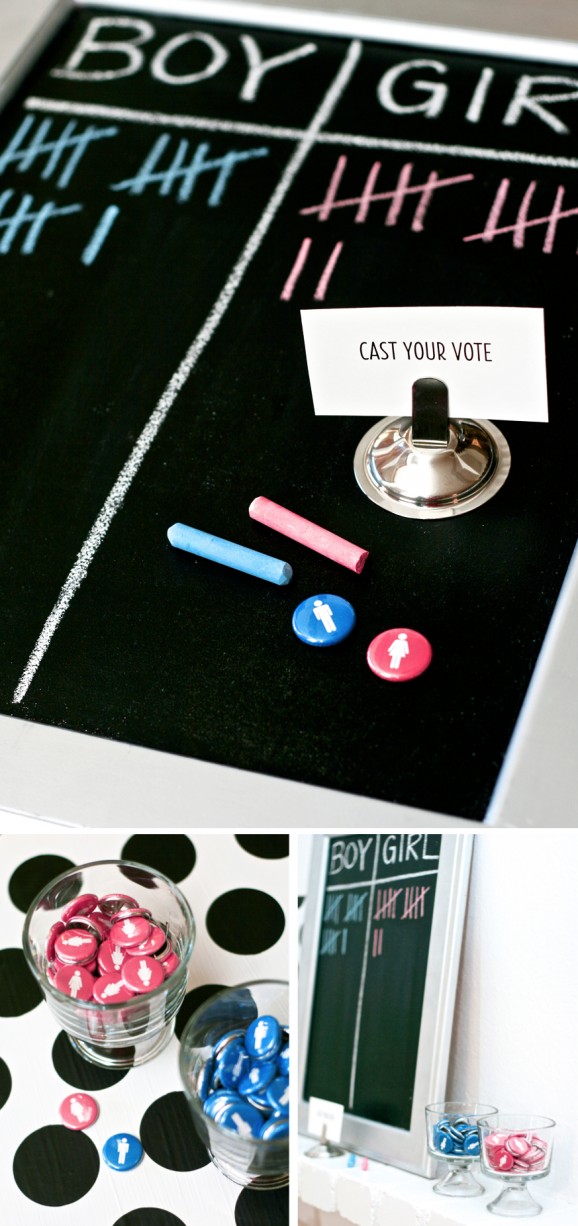
As soon as guests arrived, we asked them to record their vote (team boy or team girl?) on our chalkboard tally and put on a corresponding Boy or Girl button to reflect their vote.

Gender Reveal Voting Station 2

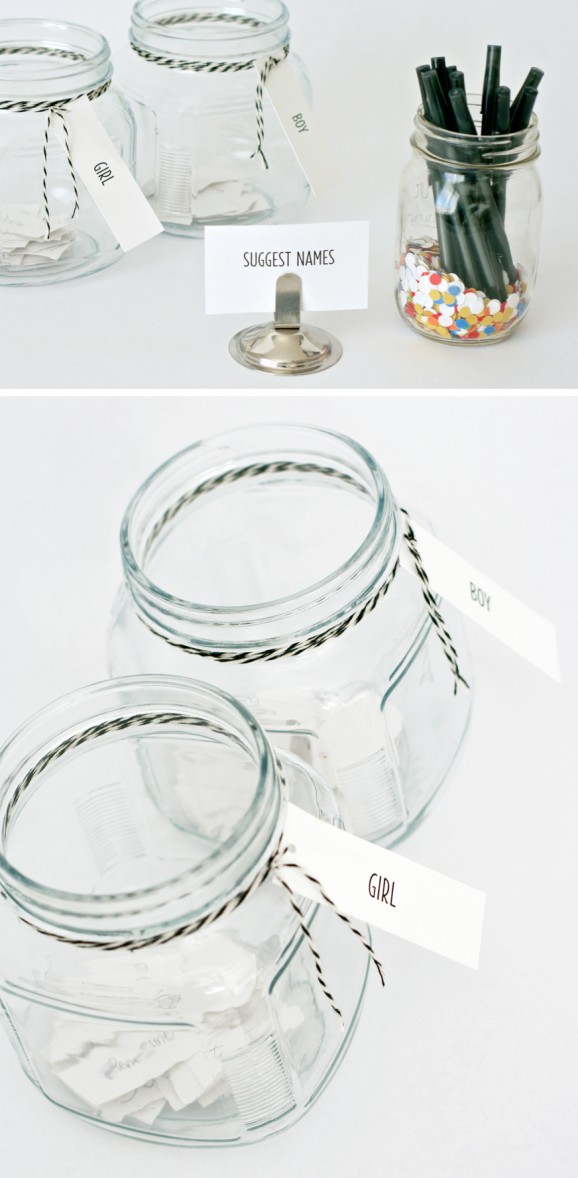
One of the highlights of our last baby shower was a game where guests suggested names for boys or girls and then my husband and I took turns reading the names out loud. We decided to do it again, and like last time, most of the suggestions were pretty funny (Buster T-Rex, anyone?) so everybody got a big kick out of it.

Gender Reveal Party Suggest Names Station Collage

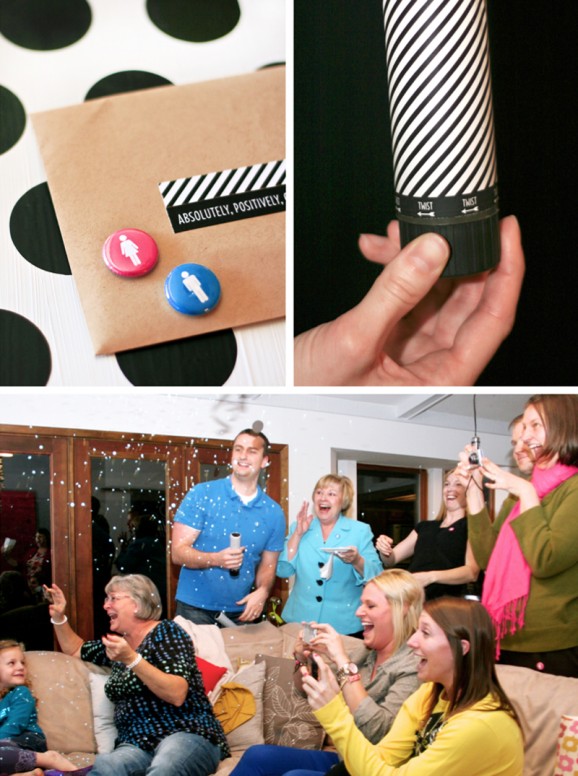
Then came the BIG moment! We did a balloon reveal last time, which was fun and easy, but as soon as Aimée suggested a confetti blast reveal I couldn’t get it out of my mind. We gave three people in the crowd striped confetti cannons that had been prepped ahead of time by my brother and his wife. The launchers were asked to simultaneously set off their cannons right as we opened our ultrasound envelope. Afterwards we wished we’d had them stagger the launches — one after the other rather than at the same time — to make the confetti shower last a bit longer.

Gender Reveal Party The Big Reveal

As you may know, we already have three girls, and I was sure this baby was going to be another one… so I was totally shocked when BLUE confetti came raining down on me!

Yippee Gender Reveal Party

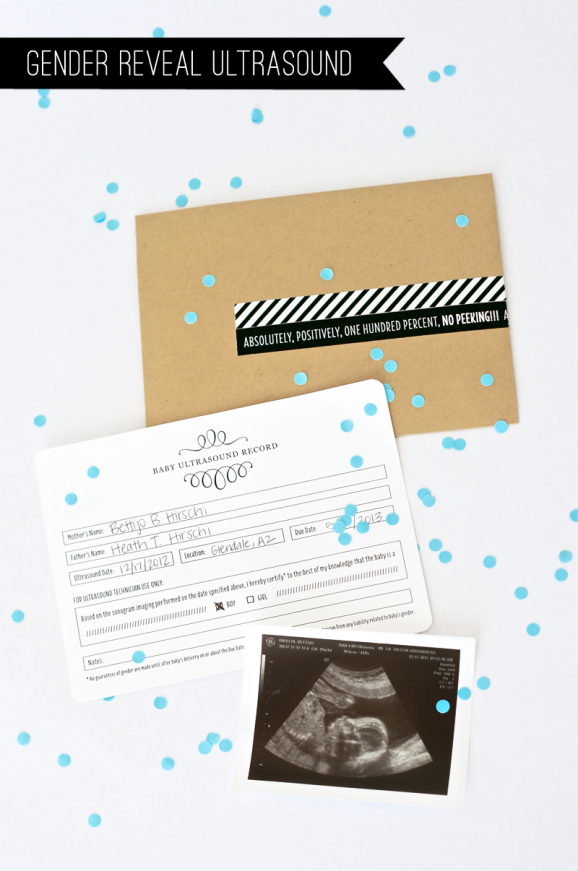
I really love the official-looking Ultrasound Record I created to take to my sonogram appointment. It’s a free printable you can download here along with the “No Peeking” and diagonal-stripe envelope wraps to keep everybody honest. Heath did the honors of opening the envelope just before the confetti launch.

Gender Reveal Party Ultrasound

I had a tough time figuring out how to do a big confetti blast that would keep the color of the confetti a secret and not cost me in the neighborhood of $100 for a real confetti launcher. Inspired by this tutorial from blog Oh Happy Day, and with some help from my clever husband, we made three DIY Confetti Cannons from 8-inch confetti poppers found at a local party store. The poppers are labeled as one-time use, but as long as you buy the ones that are spring-loaded and do not use compressed air, you can take them apart, reload and reuse.

Gender Reveal Party Favors

TO MAKE: Twist to launch the confetti that comes preloaded in the popper. Peel off the original label and take the now-empty canister apart and reload the spring. (Having trouble figuring out how to do it? Check out the photos here). Approximately half a cup of confetti is needed to fill each launcher. Trace the canister’s circular opening onto cardstock and cut out two circles. Place one inside the canister to help prevent any confetti from falling into the spring mechanism. Fill the canister with confetti in the appropriate color and top with the other circle. Print, cut out and apply our free printable DIY Confetti Cannon Label. The label is a bit long for the canister so that it can hang over at the top and seal the cardstock circle into place.

If YOU also want to be surprised at the big moment, you will need to give someone else the job of making or buying confetti in the correct color and reloading the launchers.

I entrusted this task to my brother Aaron and his wife, and they were total troopers. We needed 1-1/2 cups of confetti — that might not sound like a big project, but they used both single and three-hole punches and tell me it was pretty time consuming (THANK YOU Aaron & Elena!).

Gender Reveal Party Favors 2

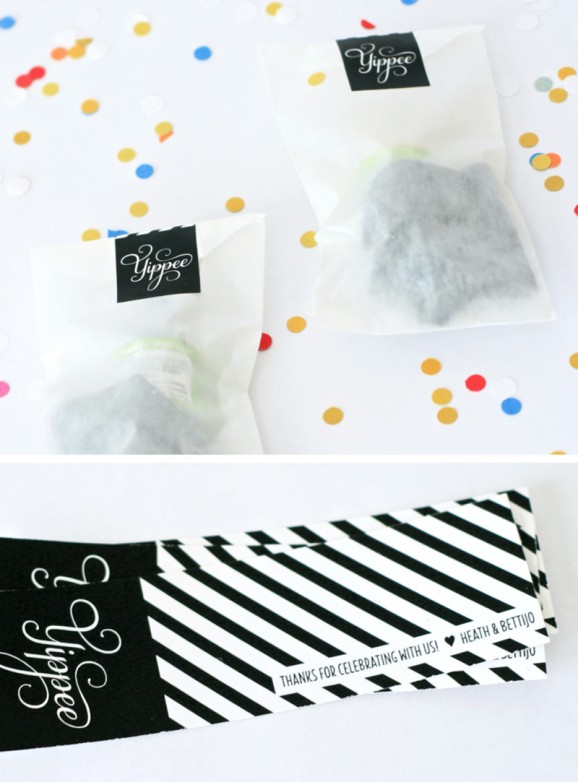
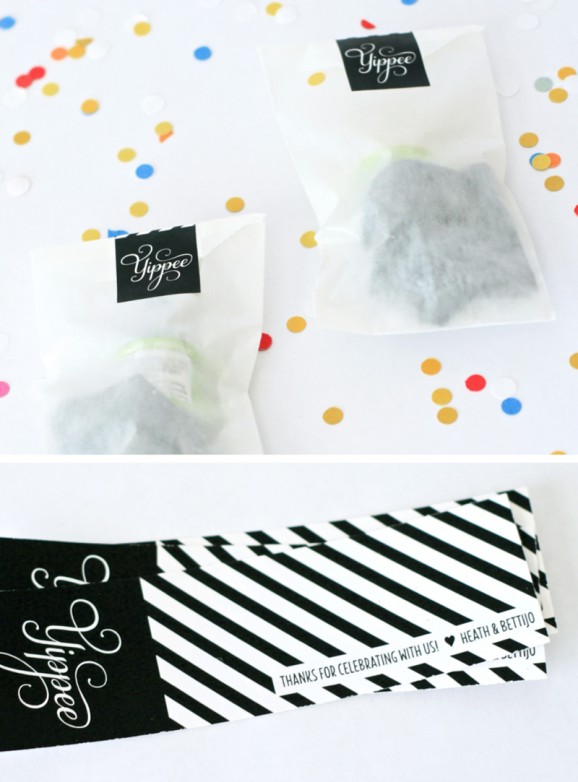
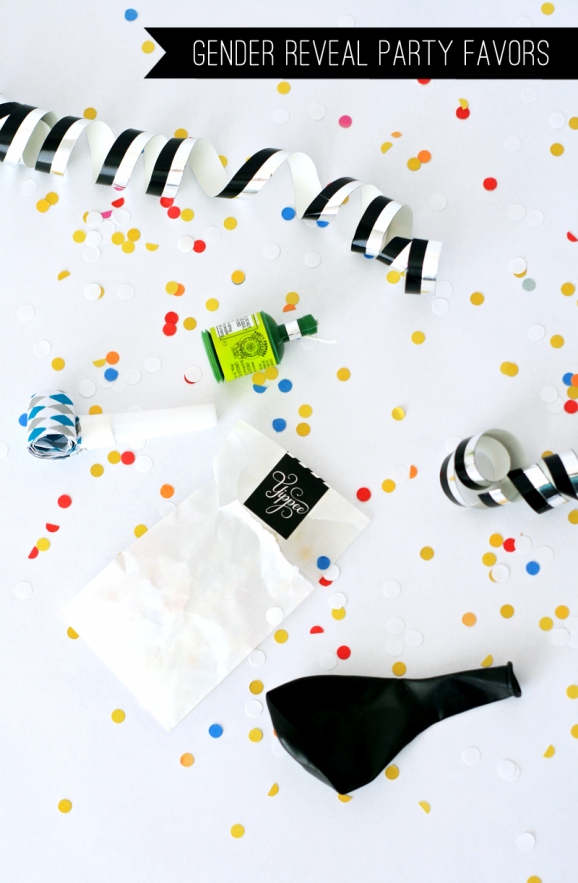
We sent our guests home with little Yippee Packs as party favors. Included was a mini zip-top bag filled with confetti, a blowout, balloon and champagne party popper, packaged in a glassine bag with our long, printable labels sealing them shut. To get your own personalized “Yippee” favor tags visit our Supermom Co-Op.

Gender Reveal Party Favors 3

Phew.. that was quite a party! If you made it all the way through that post here is a quick reference of all the printables for this party:

FREE PRINTABLES
Gender Reveal Drink & Game Labels
Ultrasound Record
Ultrasound “No Peeking” Envelope Wraps
DIY Confetti Cannon Label

PRINTABLES IN THE SUPERMOM CO-OP
“Yippee” Gender Reveal Party Invitation
“Yippee” Party Favor Tags
“Yippee” Super-sized & 11×17 Door Sign Party Poster Pack

Don’t forget the Boy & Girl Buttons… these were a big hit and guests loved taking them home as a souvenir. Buy them in our Supermom Co-Op.

Reposted with permission by Aimée Lowry & Bettijo B. Hirschi from PagingSupermom.com

Mixing It Up

June 10, 2014

Post by Michelle Sterling of Avery and Augustine.

Kids Wooden Play Kitchen Mixer

Kids Wooden Play Kitchen Mixer 2

Kids Wooden Play Kitchen Mixer 3

Kids Wooden Play Kitchen Mixer 4

Kids Wooden Play Kitchen Mixer 5

Kids Wooden Play Kitchen Mixer Cupcakes

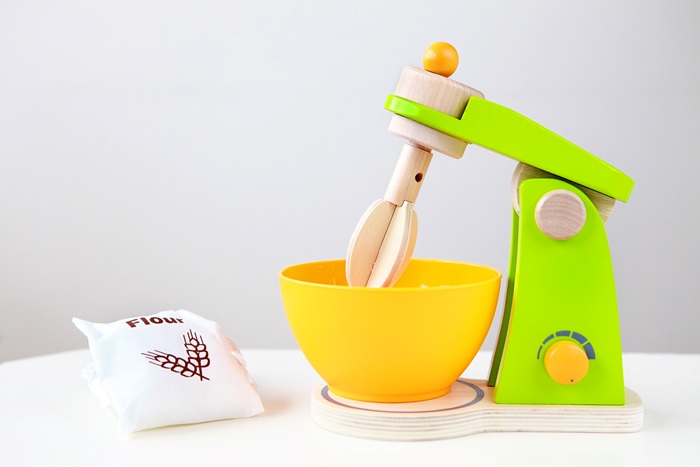
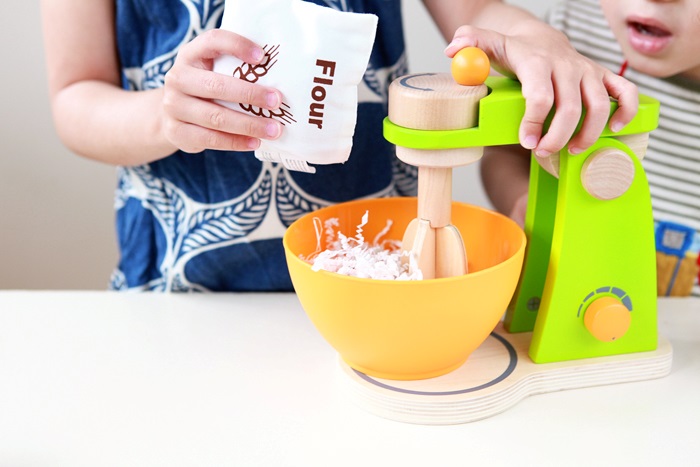
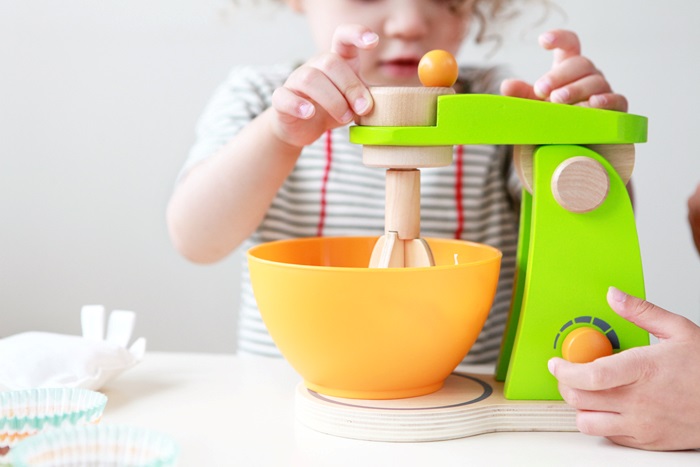
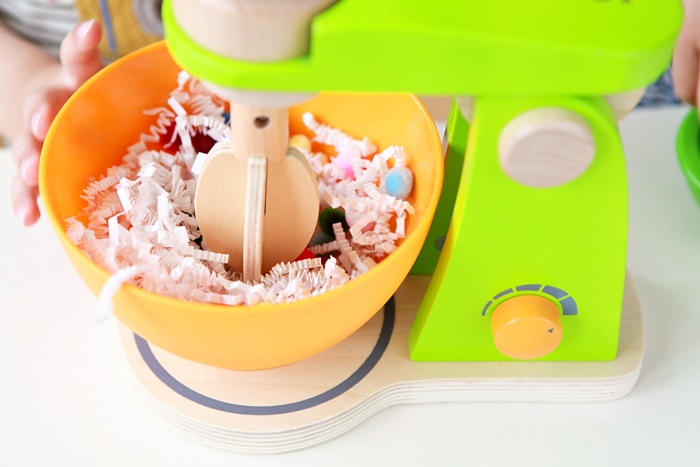
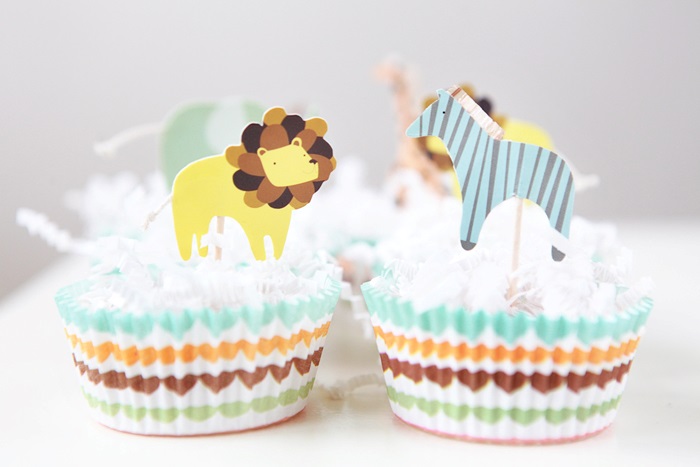
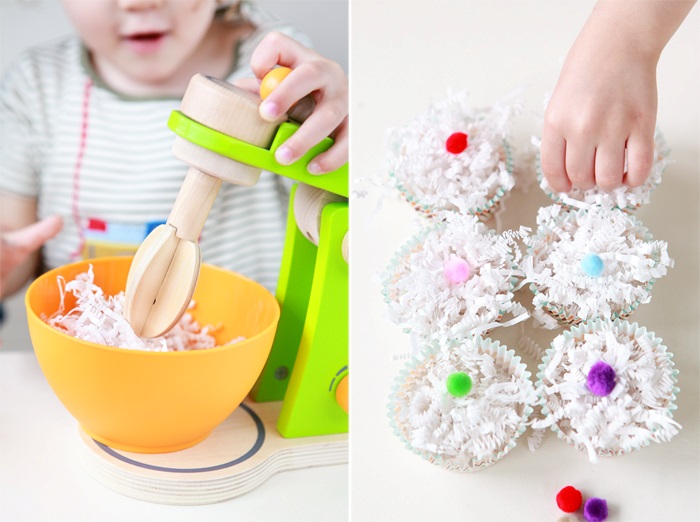
Avery and Nate fell in love with this wooden mixer kids toy right out of the box.  They were fascinated with how the beaters worked (using the knob to make the beaters turn) and they enjoyed pouring the “flour” and “brown sugar” in the mixing bowl.  We decided to make cupcakes using shredded paper, pom poms and this Animal Parade Cupcake Kit.  I wonder what these two pastry chefs will be mixing up next!  This little mixer is a great first “countertop appliance” for any play kitchen.

Post by Michelle Sterling of Avery and AugustineYou can see her work and read about her two young children and their first forays in cooking, art and everything in between at Avery and Augustine.

Mix & Match Bedding: Girl Edition

June 9, 2014

Written by Anna Passadori, Nod’s resident trend expert 

Our Bordeaux Duvet, a clean border design on all white percale, is such a versatile piece that I wanted to show different ways it could be styled.  Depending on your mood, you can try any of these looks or try all three great girls bedding designs!

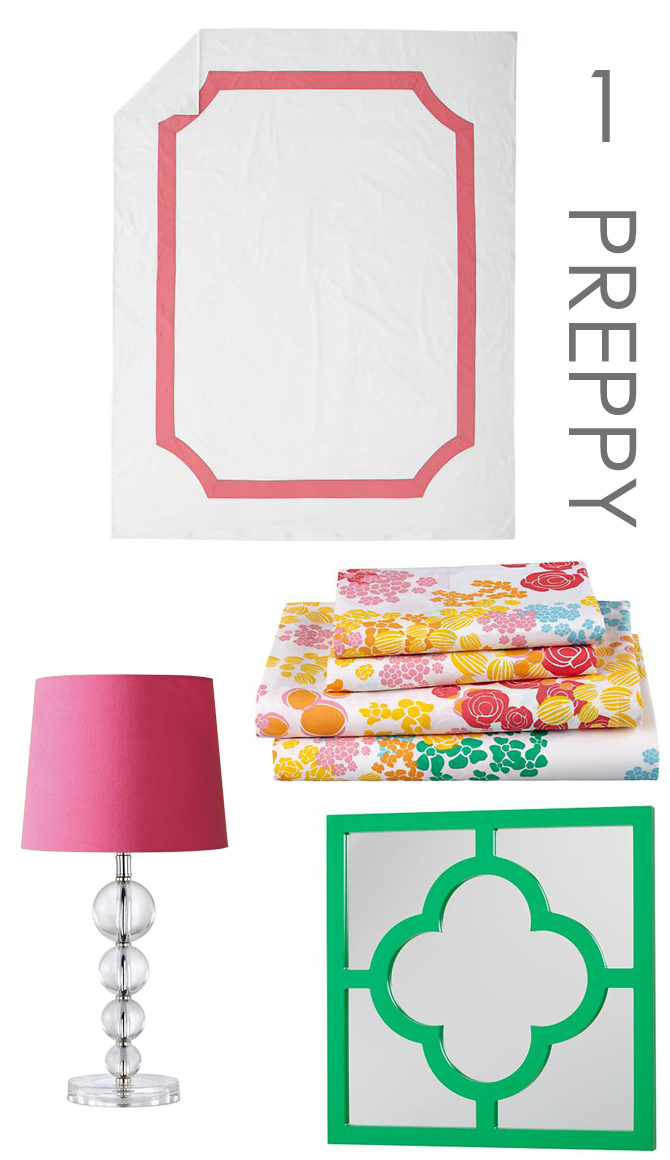
1)      Preppy: Add in floral motifs and refined details

Mix & Match Girls Bedding: Preppy

Bordeaux Duvet Cover, $99-129
Floral Gem Sheet Set, $69-119
My Lucky Four-Leaf Mirror, $69
Dew Drop Table Lamp Base, $89

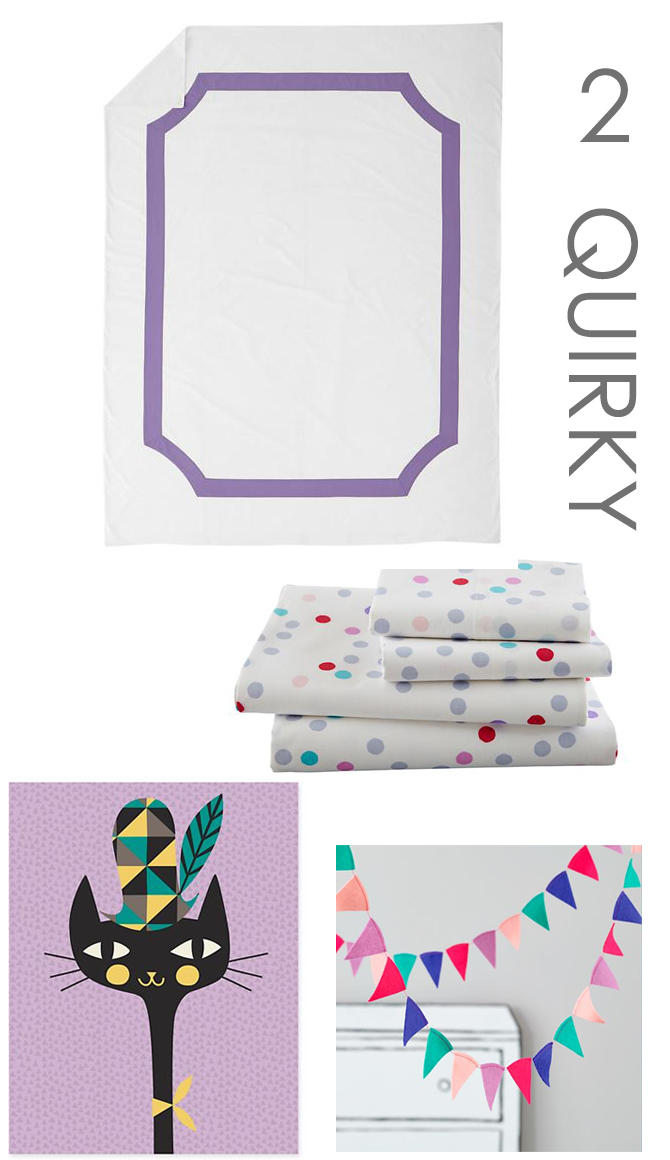
2)      Quirky: Mix in silly animals motifs and punchy colors

Mix & Match Girls Bedding: Quirky

Bordeaux Duvet Cover, $99-129
Tulip Festival Sheet Set, $69-119
Acute Felt Garland, $12.95
Kitty Bebop Canvas Wall Art, $89

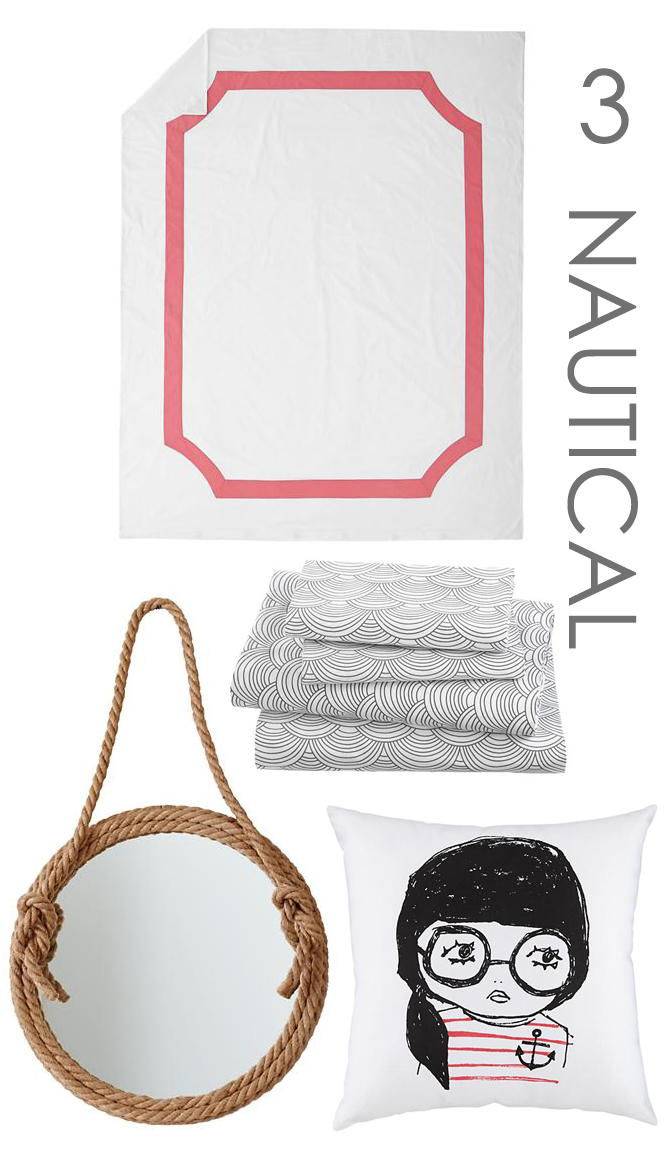
3)      Nautical: Layer in organic shapes and materials to counter balance the structure of the border duvet

Mix & Match Girls Bedding: Nautical

Bordeaux Duvet Cover, $99-129
Scalloped Sheet Set, $69-119
Anchor Girl Pillow, $24
Top Rope Mirror, $219  

Anna Passadori develops and designs exclusive product for The Land of Nod. She hails from the west coast and has traveled the world to source product. She loves anything Marc Jacobs, Sofia Coppola or stripes! (So, if anyone can get a photo of Sofia Coppola wearing a striped outfit by Marc Jacobs, please send it along.)

Almond Milk Horchata

June 6, 2014

Post by Rebecca of Not-So-SAHM

Almond Milk Horchata Recipe

I love, love, love the versatile Mexican drink Horchata (and the Vampire Weekend song by the same name, btw) and when the weather gets warm, I start craving some of that sweet goodness. But the drink is traditionally made from rice and I’m attempting to eat (and drink) more cleanly these days. So I hit the AFL Test Kitchen to see what I could craft up and I’m pretty happy with the result, if I do say so myself. And not having to soak and blend rice makes it much simpler. Now kick your feet up and pretend you’re beachside.

p.s. for a brunchy version, add 1 shot espresso to each serving or try adding the Horchata Cocktail as a creamer to our Cold Brewed Iced Coffee. Or, if you want to get really crazy, use it as the base in our Almond Milk Chia Seed Pudding for a yummy dessert.

Almond Milk Horchata Cocktail (A Feteful Life)
(makes 6 servings)

Ingredients

–  6 cups unsweetened almond milk
– 1/2 cup raw honey, melted
– 1 tbsp. ground cinnamon
– 1 teaspoon vanilla extract
– 1/2 teaspoon almond extract

Directions

Add all ingredients to a pitcher and combine. Pour over crushed ice into glass. Enjoy.

Post by Rebecca. Rebecca and Suzanne are bloggers, graphic designers, and event stylists living in Washington, DC.  Rebecca is a mom to two young kiddos and, in her spare time (ha!), likes to pretend she’s a back-up dancer, craft cocktails, and run long distances. Suzanne is a big fan of good design, good wine, and her two rambunctious little boys. They share DIY lifestyle and event styling projects at A Feteful Life. Rebecca also blogs kid-friendly projects at Not-So-SAHM

The Day The Crayons Quit

June 5, 2014

Post by Michelle Sterling of Avery and Augustine.

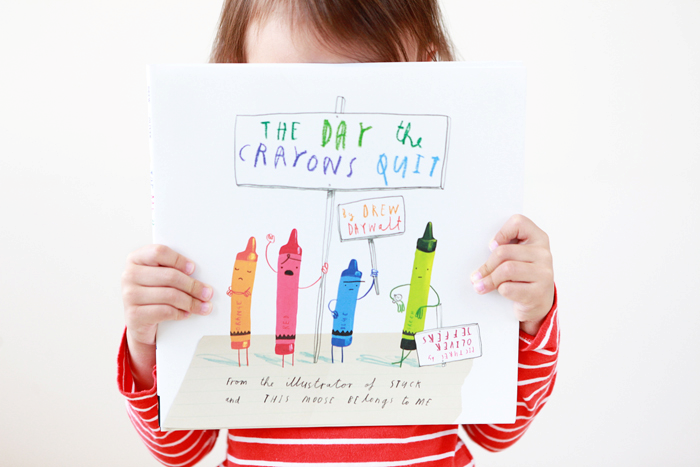
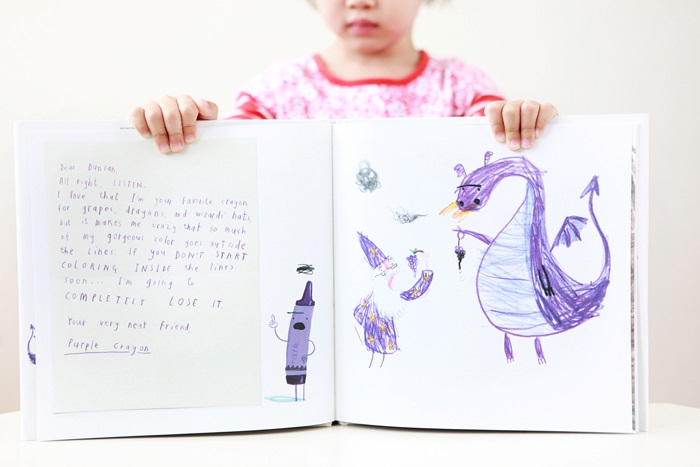
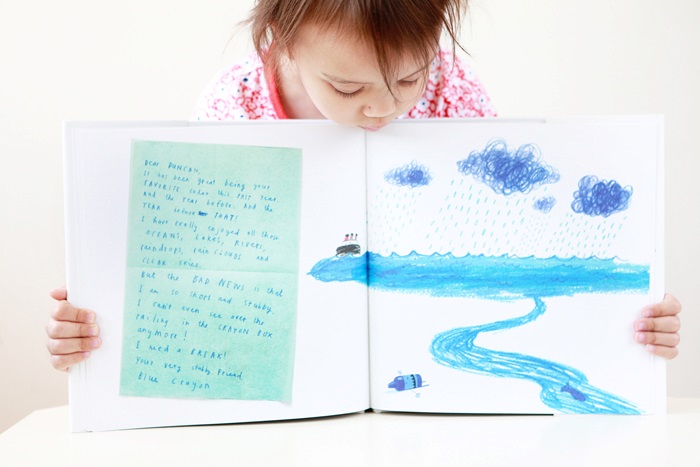
Children's Book: The Day The Crayons Quit

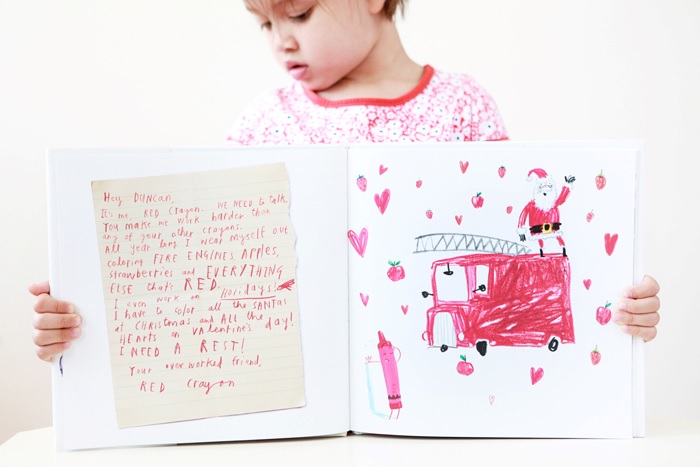
Children's Book: The Day The Crayons Quit 2

Children's Book: The Day The Crayons Quit 3

Children's Book: The Day The Crayons Quit 4

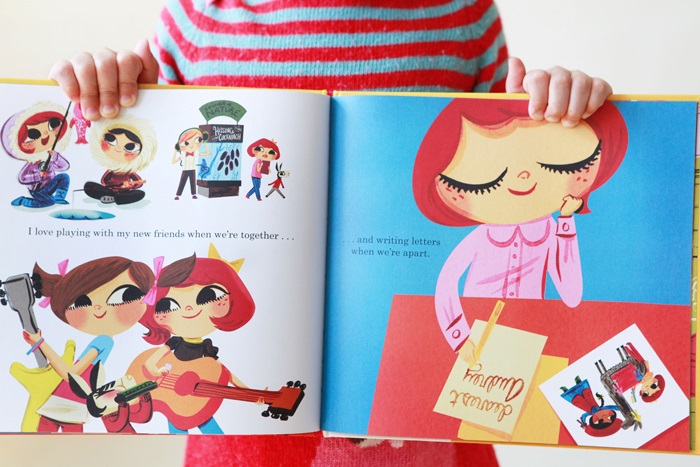
If you’ve ever wondered what in the world a crayon might be thinking, The Day the Crayons Quit is for you.  Written by Drew Daywalt and illustrated by Oliver Jeffers, it is a hilarious story about a boy named Duncan and a stack of letters he finds one day, from his disgruntled crayons.  Avery thought the funniest part was the letter from the white crayon because “you can’t see him.”  In the end, Duncan resolves things in a brilliantly simple way.

Post by Michelle Sterling of Avery and Augustine. You can see her work and read about her two young children and their first forays in cooking, art and everything in between at Avery and Augustine.

Now Hiring at Our Flagship Location

June 4, 2014

Land of Nod Hiring Open House

We’re currently hiring for several roles at our flagship location in Chicago’s Lincoln Park neighborhood. So why are we telling you? Well, because we think you’re pretty much the bee’s knees, and who better to work at Nod than the folks that are living the Nod lifestyle day in and day out.

So what is it like to work for The Land of Nod anyhow? Well, it’s all the optimism and imagination of being a kid, mixed with a healthy dose of hard work that would make your dad proud. Here’s what you need to know:

  1. We like to have fun, we are in the business of making and selling kids stuff after all. Let’s not take ourselves too seriously
  2. We work really (really) hard, but even the hard stuff is enjoyable (see #1). We aren’t afraid to get our hands dirty and roll up our sleeves.
  3. We dream big, and believe we can do or be anything as long as we work for it. Remember that dream about becoming an astronaut? We still may do that.
  4. Did we mention we work hard and have fun doing it?

If you’re interested in joining the Nod family, then come by our Hiring Open House to apply. Here are the details:

  • When: Tuesday, June 17 3:00-7:00pm
  • Where: The Land of Nod 900 W. North Ave., Chicago, IL 60647
  • Available Positions include:
    • Permanent full-time sales associates – view details
    • Permanent part-time sales associates – view details
    • Visual Manager – view details
    • Bring your resume & a list of references
    • If you can’t attend, apply online and mention the open house in your cover letter

See you there!

A Sophisticated Yellow and Grey Nursery

June 3, 2014

Post by Niki of Papery & Cakery

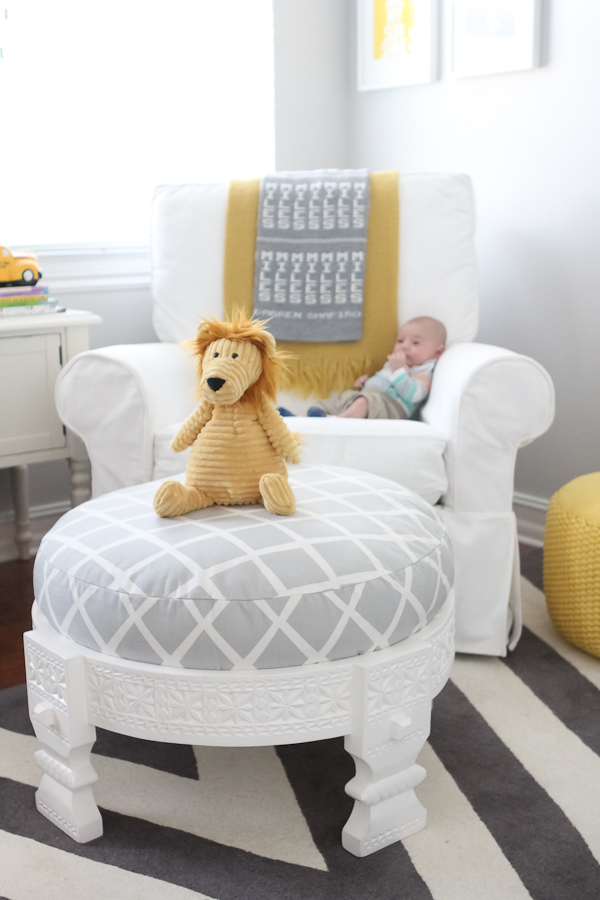
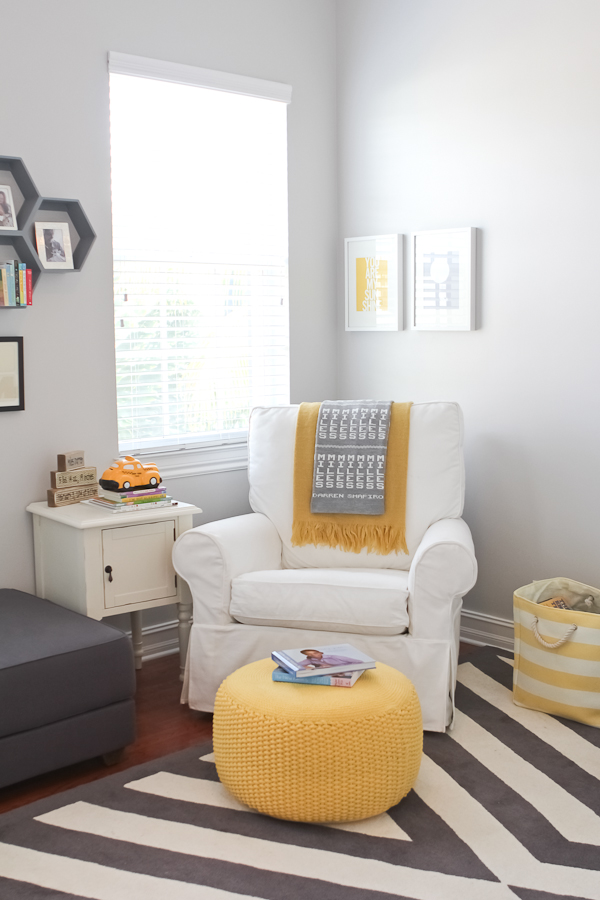
Yellow and Grey Nursery Design -

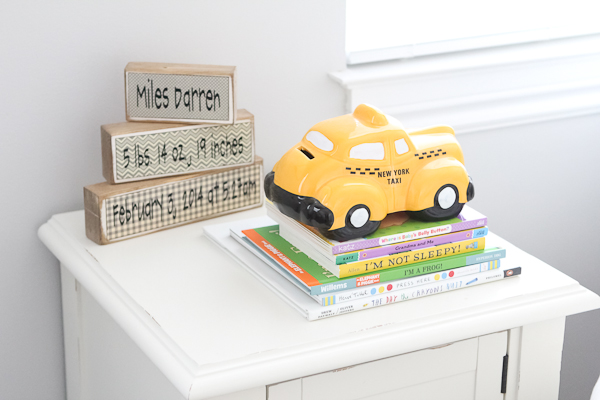
Hooray hooray! We are beyond thrilled to share Baby Miles’ nursery today. It is filled with lots of wonderful things, but most of all, Miles! A huge {massively bigger than huge} thank you to Land of Nod for the incredible nursery details!!!! We love you to Land of Nod pieces!!!!

Yellow and Grey Nursery Design - 2

Miles’ pad is painted in Sherwin Williams “On the Rocks”. Since Ali didn’t want to find out Miles’ gender, she went with a pale shade of grey that looks airy and soft in all kinds of light. This white rocker is perfect with the yellow pouf or the grey ottoman and the striped canvas storage bin. These bins hold everything from books to toys to blankets oh so stylishly!

Yellow and Grey Nursery Design - 3

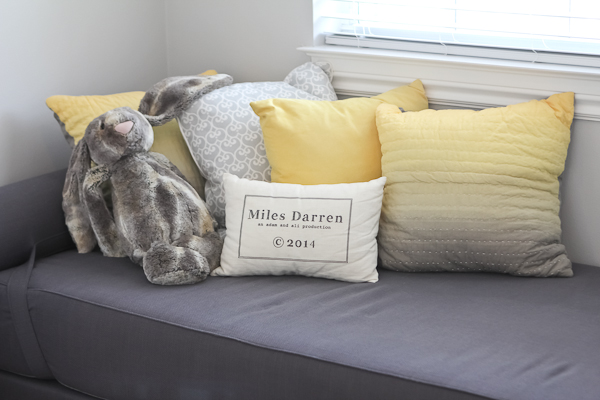
The grey daybed is a perfect couch by day, bed by night. Miles dressed it up with lots of fun throw pillows from Serena & Lily.

Yellow and Grey Nursery Design - 4

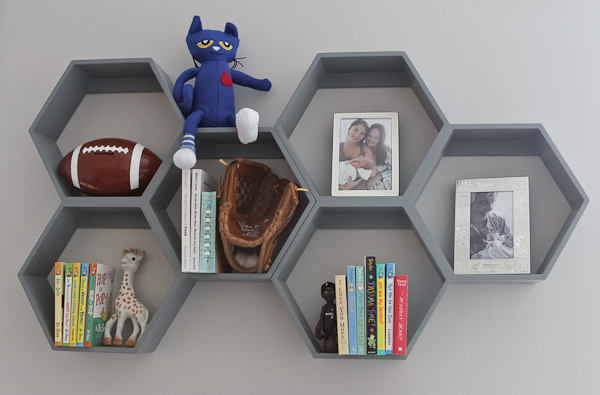
The Nod hexagon shelves are BRILLIANT. They store everything from books to trinkets to Sophie the Giraffe. And of course Pete the Cat, the coolest cat on the block.

Yellow and Grey Nursery Design - 5

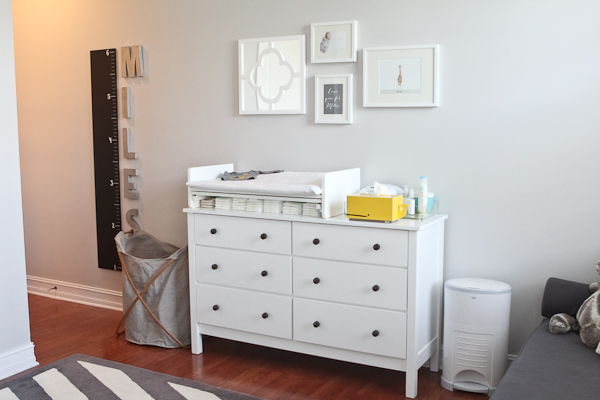
This is the Nod dresser all dolled up with these knobs. And the Nod laundry basket that Miles adores because for being so little, he sure creates a lot of laundry.

Yellow and Grey Nursery Design - 6

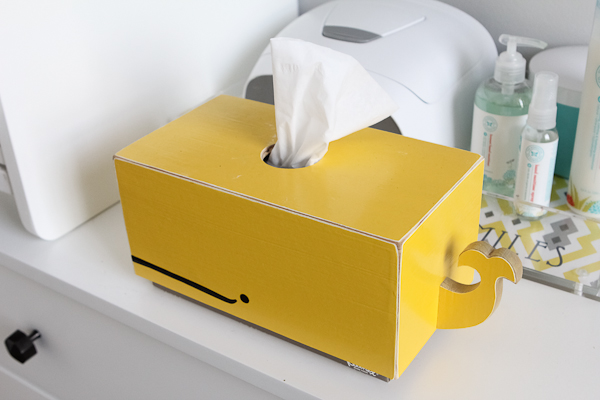
Hello adorable whale kleenex box. Aren’t you fun?

The tray is Jonathan Adler and Aunt Niki sells it over at papery & cakery. It’s loaded with Miles’ favorite Honest Company products.

Yellow and Grey Nursery Design - 7

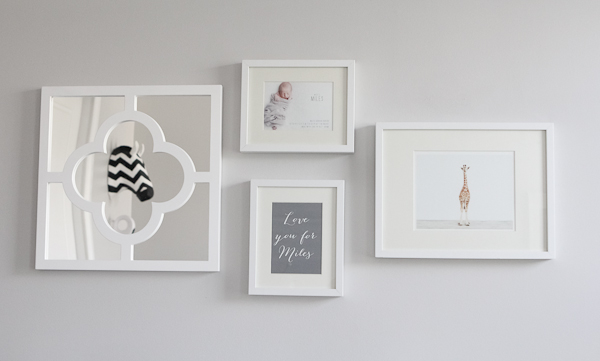
He’s the start of the gallery wall. Love this Nod clover mirror {hello zebra friend, we see you!}. Miles’ birth announcement is hanging as well as an adorable Sharon Montrose print. Papery printed this “Love you for Miles” card. Miles loves a good pun.

Yellow and Grey Nursery Design - 8

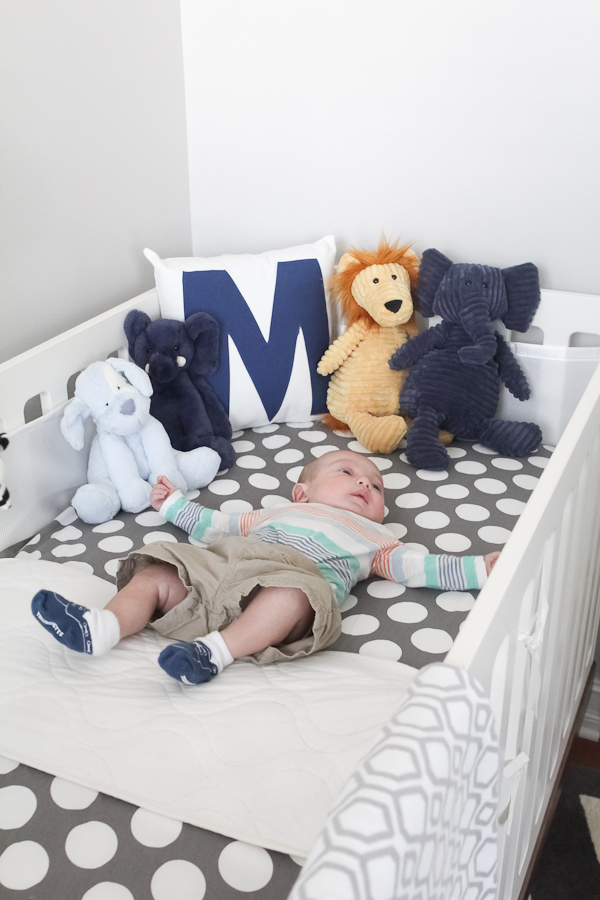
Miles loves hanging in his crib. Pattern mixing is a blast. Like these sheetsthis pillow and lots of furry friends.

Yellow and Grey Nursery Design - 9

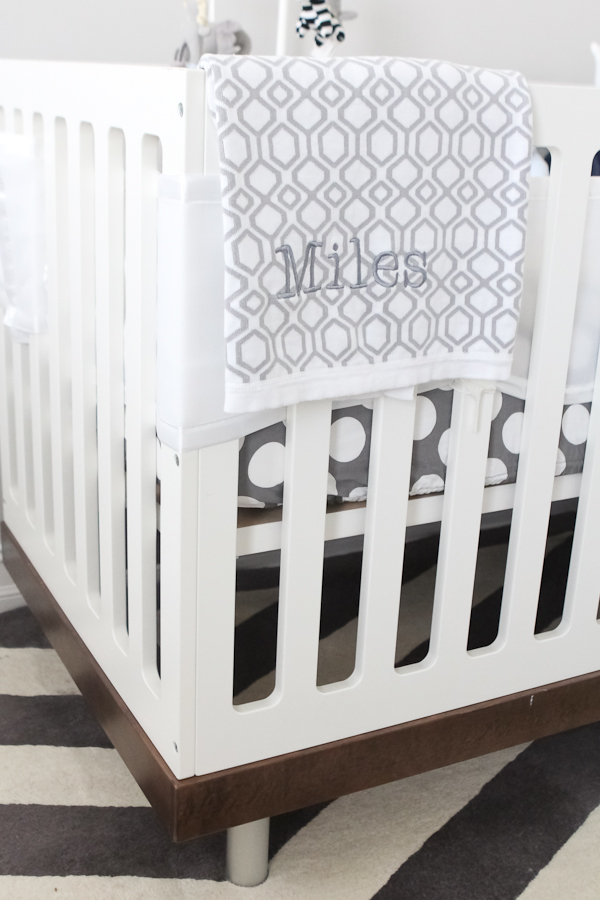
The rug is a beauty from Serena & Lily. It’s soft and delicious to play on. The crib is Oeuf. It’s clean and simple.

Yellow and Grey Nursery Design - 10

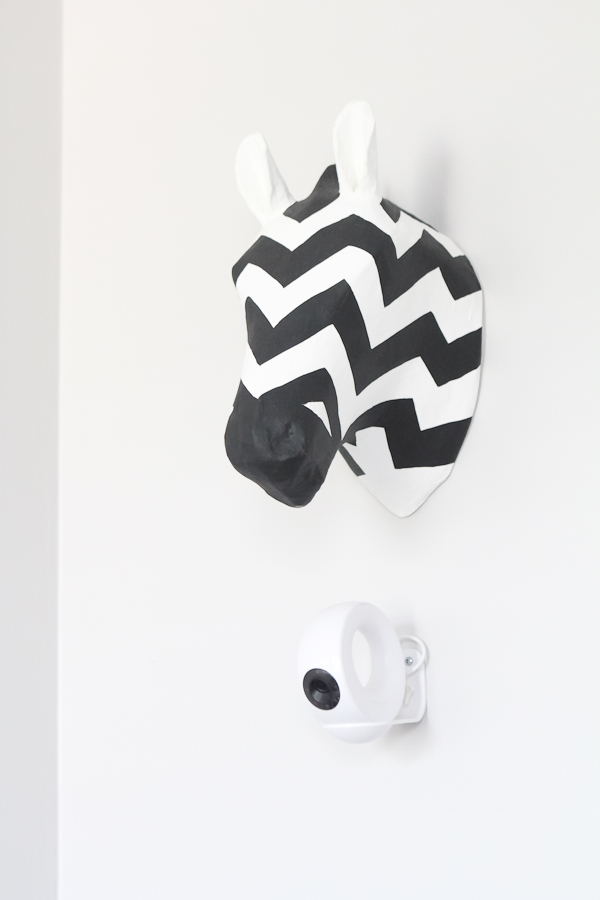
Art is life. Like this Nod zebra and this camera that keeps a watchful eye on Miles at night.

Yellow and Grey Nursery Design - 11

Yellow and Grey Nursery Design - 12

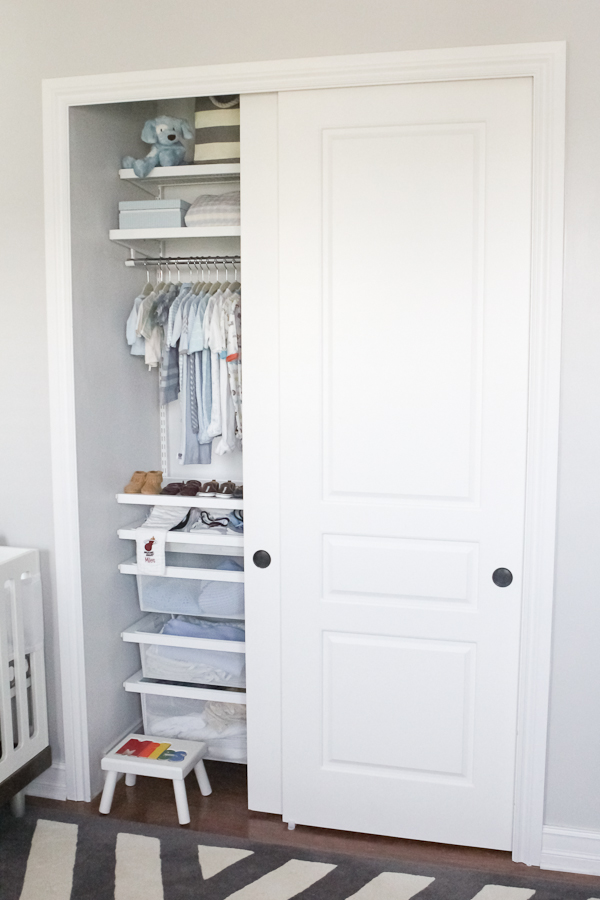
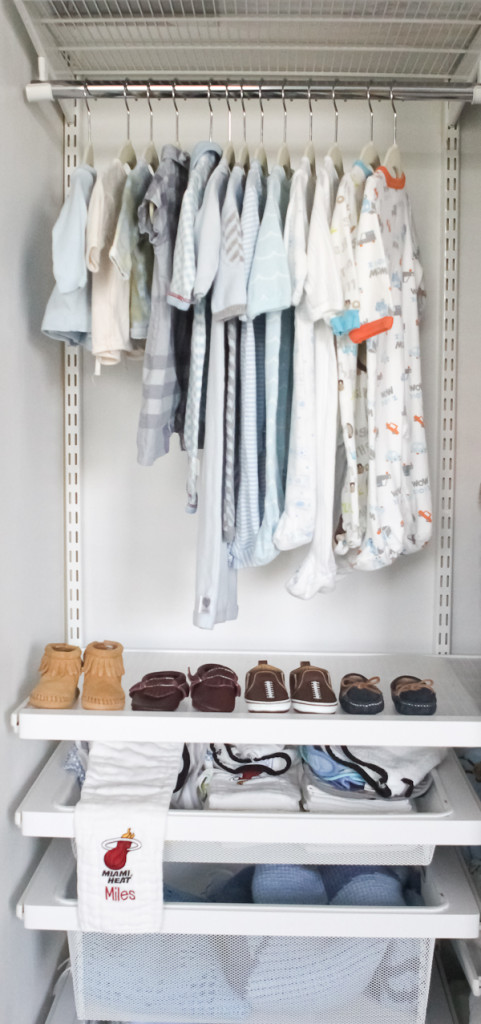
Miles’ closet was designed by Elfa at the Container Store. It’s exceptionally brilliant because the shelves and drawers can be moved around on a whim. Here’s a little glimpse into his teensy tiny wardrobe. He’s one cool dude.

Yellow and Grey Nursery Design - 13

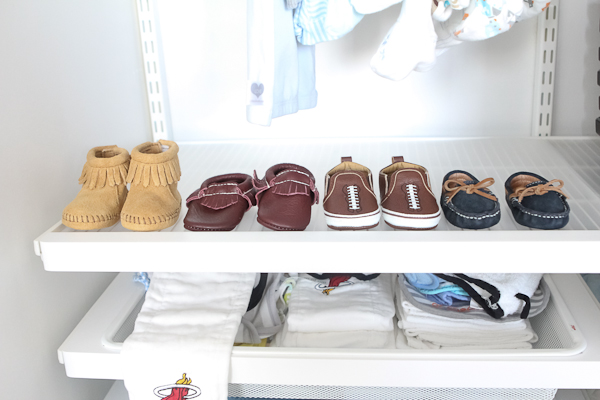
Already quite the shoe collector. {It runs in the family}.

Yellow and Grey Nursery Design - 14

Mini Heat fan. Obviously.

Yellow and Grey Nursery Design - 15

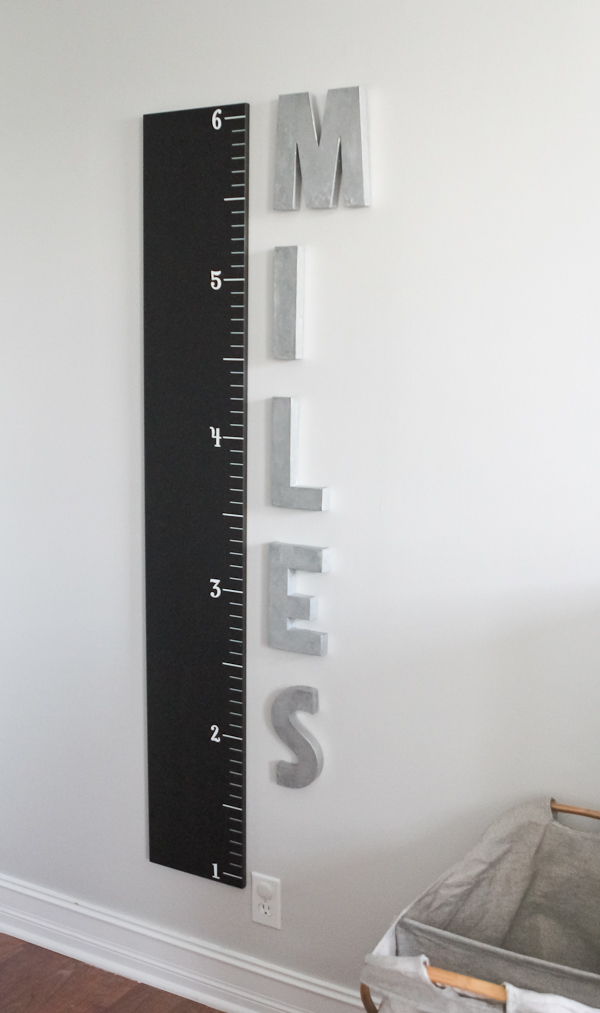
This measuring stick growth chart will surely track Miles’ progress. And we love these zinc letters.

Yellow and Grey Nursery Design - 16

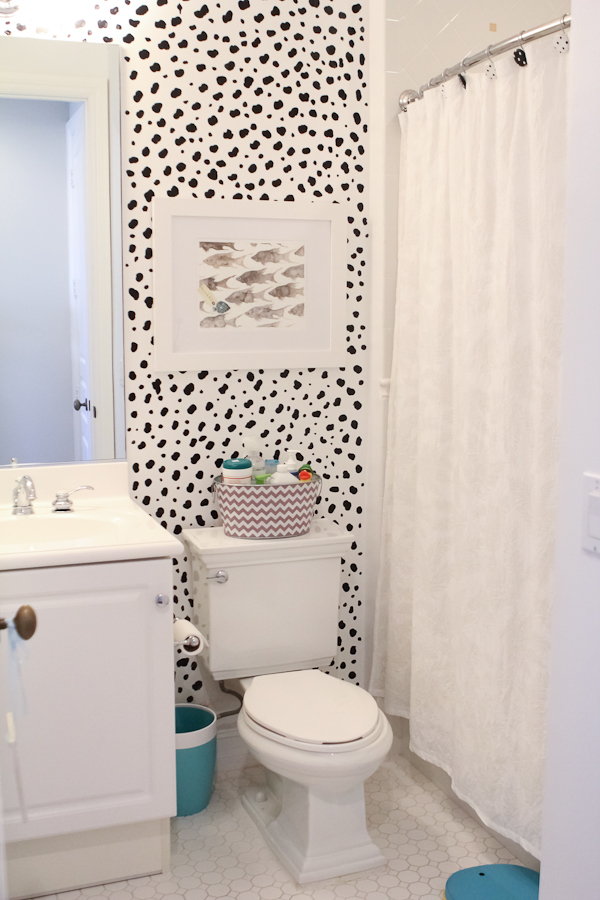
Ali painted his bathroom wall in dalmatian print when she was nine months pregnant. Talk about a labor of love.

Yellow and Grey Nursery Design - 17

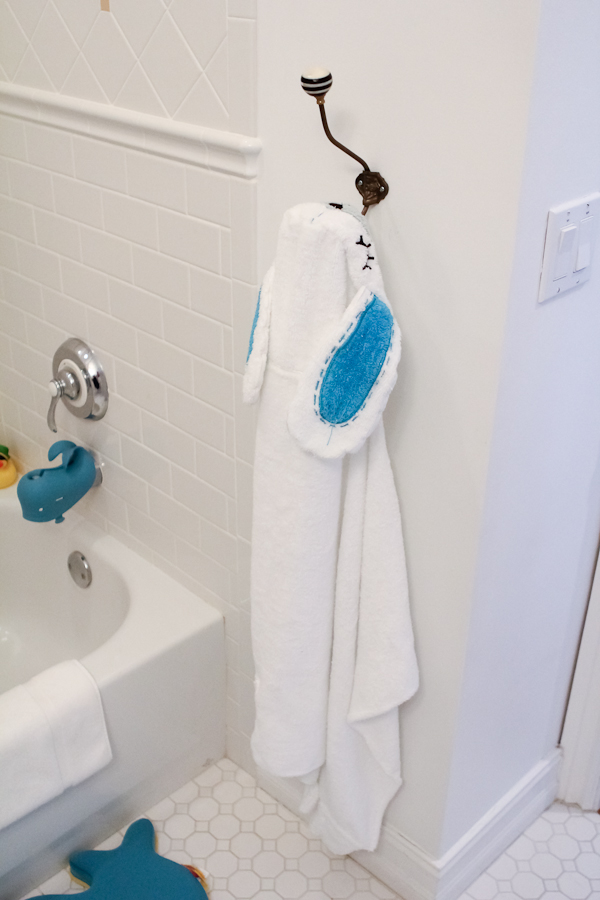
It’s nice to hang his bunny towel somewhere fun!

Well bye for now! Hope you enjoyed the glimpse behind the scenes with Miles.

xoxo,

Niki, Ali + of course Baby Miles : Papery & Cakery

Mix & Match Bedding: Boy Edition

June 2, 2014

Written by Anna Passadori, Nod’s resident trend expert

For this exercise, I wanted to show how easy it is to mix and match our boys bedding sheet sets with different duvet covers. I started with our Wide Lined Duvet, a bold striped cover where the stripes are actually pieces of fabric sewn together. Pair it with different sheet sets to keep the bed fresh and new and your child will be very happy! Here are the three looks:

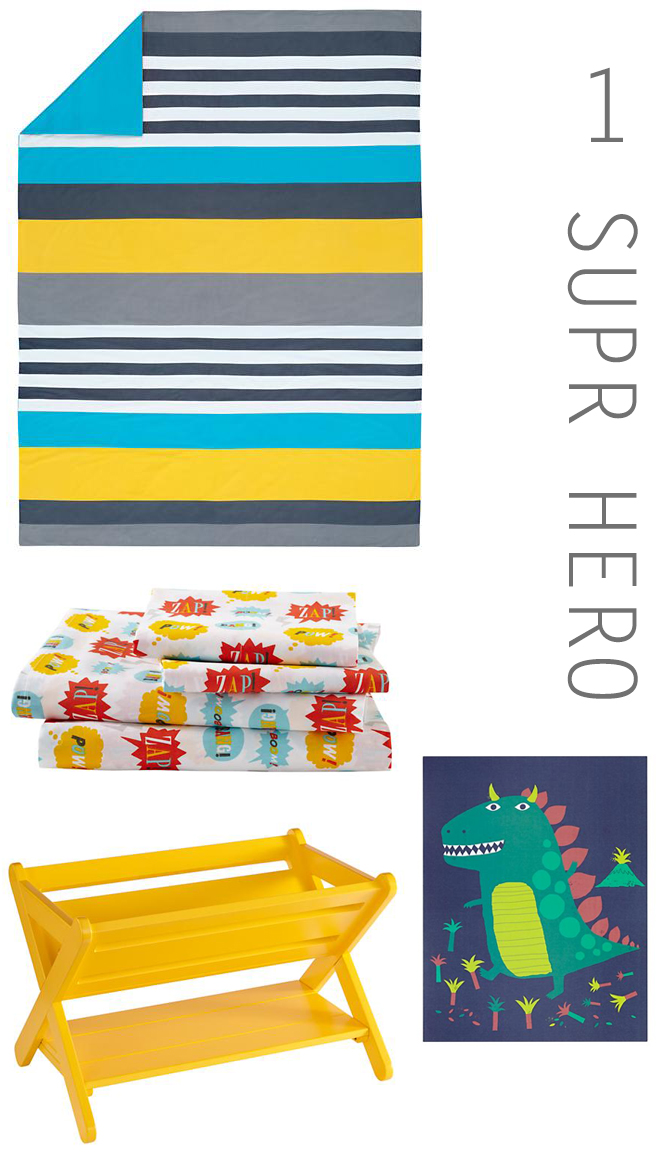
1)      Superhero: Add in quirky bold accessories and pops of yellow

Mix and Match Boys Bedding: SUPER HERO

Wide Lined Duvet Cover, $89-119
Super Sheet Set, $69-99
Good Read Book Caddy, $149
Rockin’ Rex, $19.95

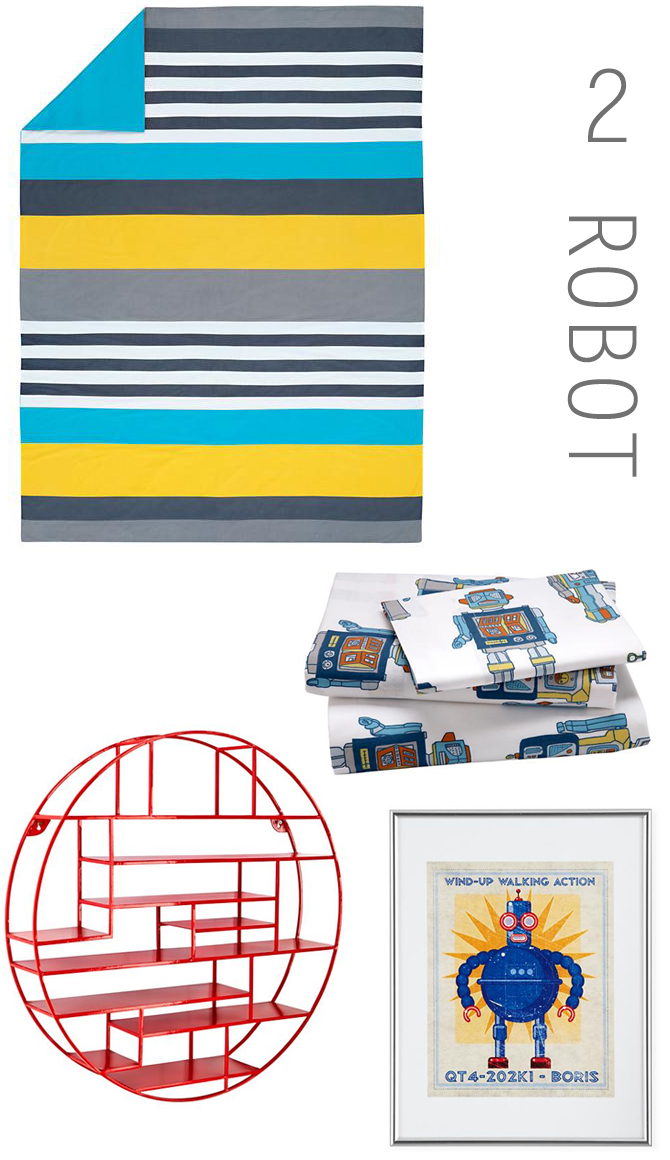
2)      Robot: Mix with metal and chrome accents

Mix and Match Boys Bedding: ROBOT

Wide Lined Duvet Cover, $89-119
Robot Sheet Set, $69-99
Radial Wall Shelf, $179
Retrobot Wall Art, $59

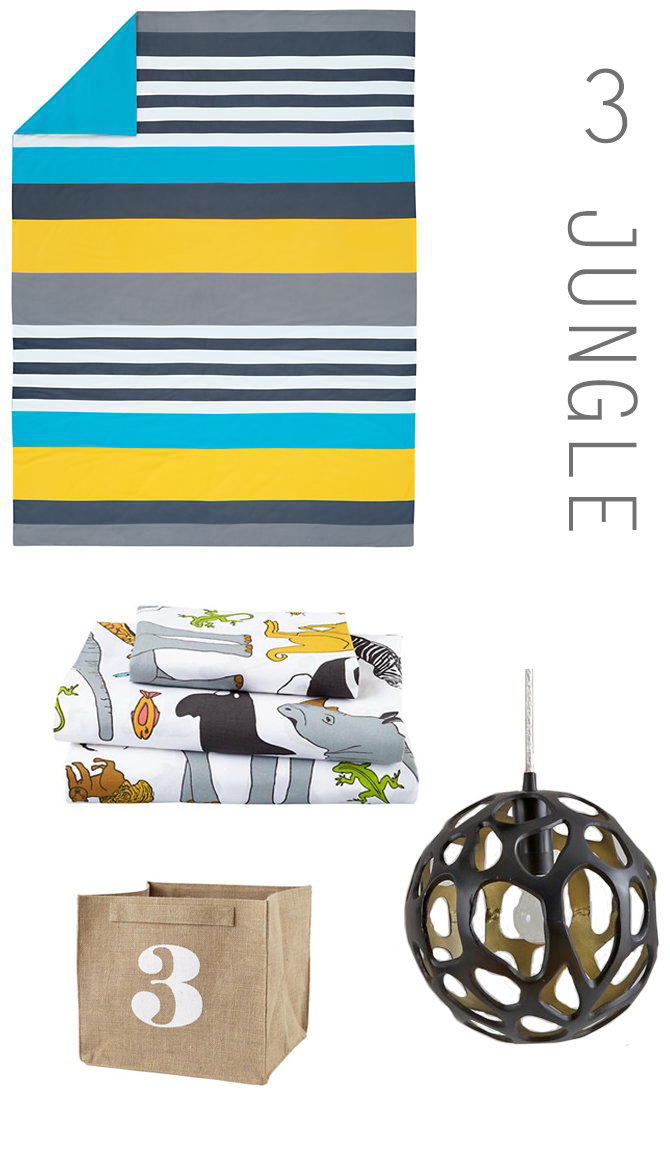
3)      Jungle: Layer in rustic, textured materials and shapes

Mix and Match Boys Bedding: JUNGLE

Wide Lined Duvet Cover, $89-119
Welcome to the Jungle Sheet Set, $69-99
Orb Pendant, $199
Store By Numbers Cube Bin, $12.95

By Anna Passadori . Anna develops and designs exclusive product for The Land of Nod. She hails from the west coast and has traveled the world to source product. She loves anything Marc Jacobs, Sofia Coppola or stripes! (So, if anyone can get a photo of Sofia Coppola wearing a striped outfit by Marc Jacobs, please send it along.)

Our Visit with Smitten Ice Cream

May 30, 2014

Smitten Ice Cream

We kept hearing about the deliciousness of Smitten Ice Cream and immediately knew we had to stop by and indulge during our #nodtourbus trip through California last month.

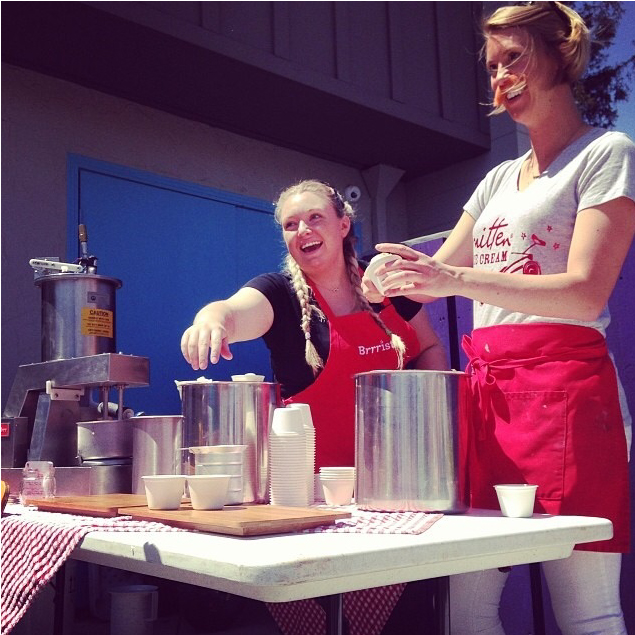
Our ice cream dreams came true when they agreed to partner with us for our Los Altos event at Area 151.  The Smitten team handed out free ice cream to those who visited the bus on that beautiful afternoon.

Smitten Ice Cream Event with #Nod Tour Bus

We had a change to sit down with Eliza from Smitten Ice Cream to find out a little more about this amazing and creative ice cream brand.

How did Smitten begin?

Our Founder Robyn Fisher, an ice cream lover, really didn’t love the way ice cream in today’s world was muddled with “unpronounceable ingredients” (preservatives, emulsifiers and stabilizers) to prolong shelf-life. She became intent on the idea of new, old-fashioned ice cream.

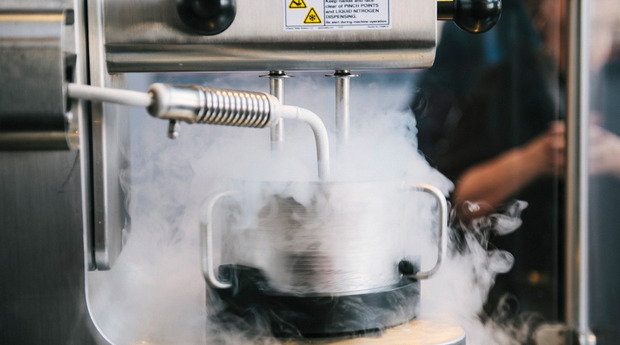
Robyn discovered that freezing ice cream at super low temperatures could create a smoother product and freeze ice cream in record time.  With a rapid freezing cycle, she could make ice cream to order, without compromising taste for shelf-life. Aha!  So, with liquid nitrogen as her secret weapon, she set off to build a machine that perfected the ultra-cold churning process.

Smitten Ice Cream Beginnings: How Smitten Ice Cream started out from Harryhyuan on Vimeo.

Video Credit Organic Hobo

Who’s Brrr ™?

It took Robyn several years, the help of brilliant engineers and her life’s savings, but out came Brrr, a one-of-a-kind ice cream machine that perfects the process of using liquid nitrogen to churn exceptionally small ice crystals. Brrr™  makes the smoothest, densest and most flavorful ice cream on earth from scratch, to order, in just minutes.

Smitten Ice Cream Event with #Nod Tour Bus 1

Photo credit: “Toni Gauthier for Toni Bird Photography”

Where was your first Smitten location?

In the fall of 2009, Robyn bungee-corded  Brrr atop a Radio Flyer wagon and began selling made-to-order ice cream on the streets of San Francisco with the help of pastry chef Robyn Lenzi. (Yes, they are both named Robyn). Brrr developed such a strong following that Robyn went on to open the first Smitten Ice Cream shop in the Hayes Valley neighborhood of San Francisco in April of 2011, where the Smitten crew took on the title of “Brrristas“.

Where are your other Smitten locations?

We currently have four California locations. Hayes Valley, Los Altos, Rockridge and most recently opened in Lafayette.

Smitten Ice Cream Event with #Nod Tour Bus 3

Photo credit: “Toni Gauthier for Toni Bird Photography”

Thanks Eliza for telling us more about Smitten, and being part of our #nodtourbus event in Los Altos!

DIY Summer Lip Balm

May 29, 2014

Post by Rebecca of Not-So-SAHM and A Fetful Life

DIY Lip Balm with SPF

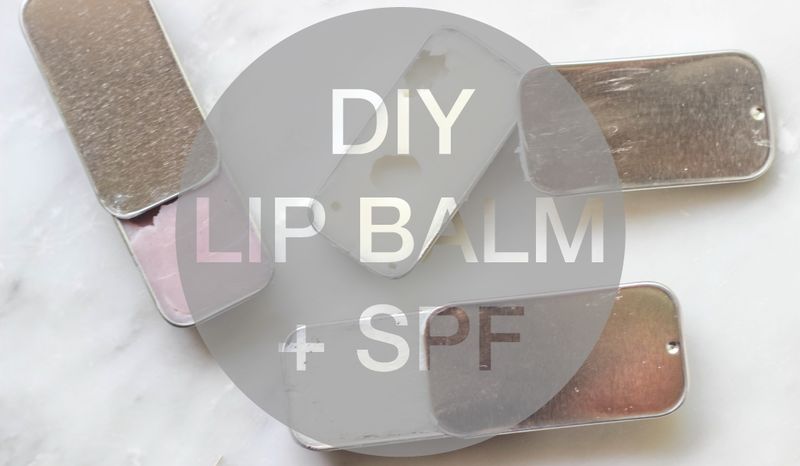
As I mentioned in my “What’s in My Beach Bag” post, I’m kind of obsessed with SPF lip balm. Have you ever burned your lips? Not good, friend. Not good. Add to that the fact that my daughter is also lip balm/gloss obsessed and hoards them, I realized I’d been spending a pretty penny on lip coverage recently. So I decided to test out some DIY options that we’d both like and keep our lips safe this season. It was so insanely easy that I almost cannot believe I’ve been buying it for so long (and in such high numbers in every cute container imaginable for my daughter). This is a softer version than others I use, but I wanted it to be kid friendly (somewhat illogically, the more solid lip balms are the ones my kiddos always dig out with their nails and totally ruin. this softer version is probably not good for very little littles, though, since it could easily get messy).

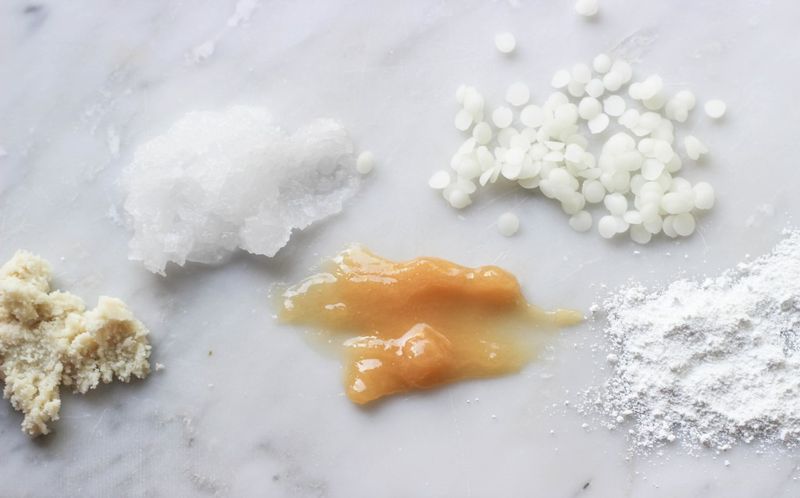
You can find almost all the ingredients in a health food store or, if you live close to me, just give me a shout — I bought in bulk and each batch only uses a little bit of each ingredient. I mean, even I could never make and use all this lip balm. I used unsweetened drink mixes to add a little color and flavor, but you can leave it out if you don’t like the idea of it. Mwah!

DIY Summer Lip Balm (A Feteful Life)
(makes 3, 1/4 ounce containers)

Ingredients

– 1.5 tbsp coconut oil
– 1 tbsp shea butter
– 1/4 tbsp beeswax chips (you can add up to 1/2 tbsp if you want a more solid lip balm)
– 1/2 tsp raw honey
– 1/4 tsp titanium dioxide (adds SPF)
– 0.2 ounces powdered, flavored drink mix (you can use generic or Koolaid — this is about 1/2 of a single drink mix packet)
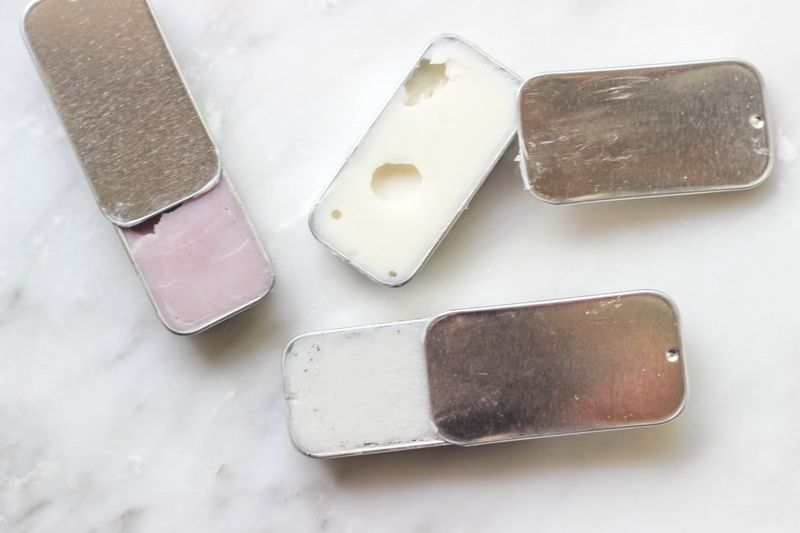
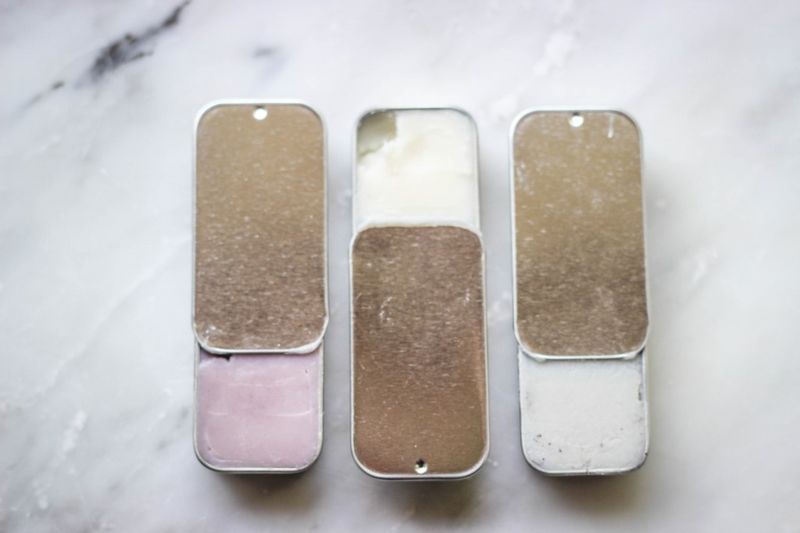
– tin or other container (I bought these cute sliding tins from Etsy, but you can use just about anything you want, including re-using old lip balm containers)

Directions

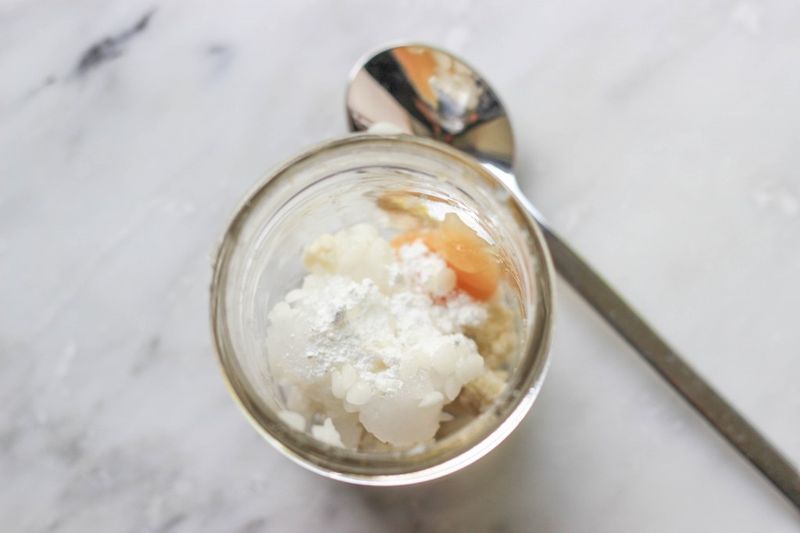
Add ingredients from coconut oil through titanium dioxide to a microwaveable container. Microwave for 20 seconds and then stir well. Return to microwave and heat for 40 seconds more. Be careful when removing it — it’ll be hot!

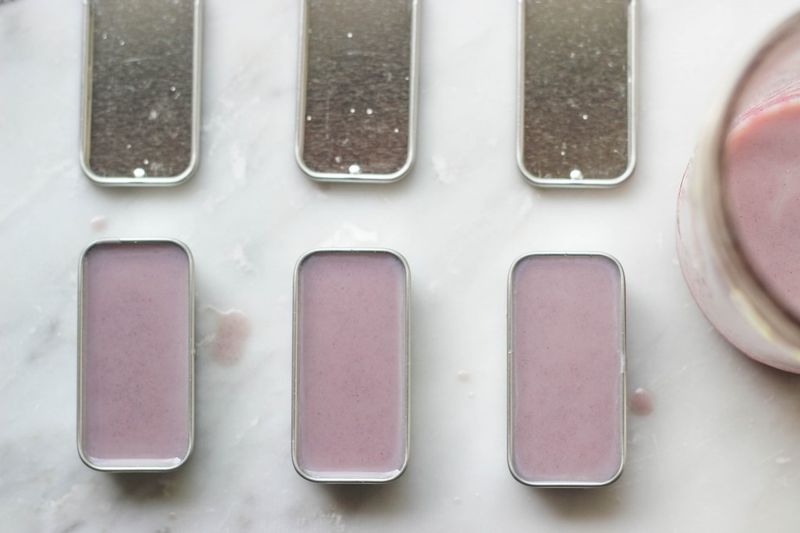
Once you’ve melted the ingredients, add the powdered drink mix and stir well. The color intensity and ease of mixing varied greatly within the flavors I tried. I made balms using cherry lemonade, grape, and lemon mixes — the cherry lemonade mixed in the best, but turned out purple.

Pour carefully or use a plastic pipette to fill each tin carefully with the hot mixture. Cover and place in the refrigerator for 1-2 hours. Slather, blend, repeat.

DIY Lip Balm with SPF Ingredients

DIY Lip Balm with SPF Ingredients Mixing

DIY Lip Balm with SPF - 2

DIY Lip Balm with SPF - 3

DIY Lip Balm with SPF - 4

Post by Rebecca. Rebecca and Suzanne are bloggers, graphic designers, and event stylists living in Washington, DC.  Rebecca is a mom to two young kiddos and, in her spare time (ha!), likes to pretend she’s a back-up dancer, craft cocktails, and run long distances. Suzanne is a big fan of good design, good wine, and her two rambunctious little boys. They share DIY lifestyle and event styling projects at A Feteful Life. Rebecca also blogs kid-friendly projects at Not-So-SAHM

Mini Diploma Treats & Free Printable!

May 28, 2014

Aimée Lowry & Bettijo B. Hirschi from PagingSupermom.com

Congrats Graduate Fruit Roll Up Diplomas

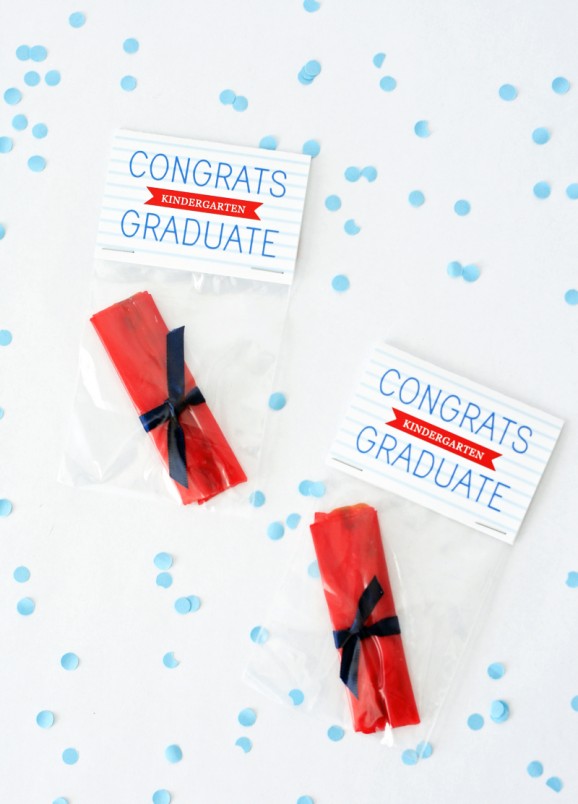
Last year when Liam graduated Kindergarten (Has it really been an entire year?), he was convinced he needed something to pass out to his fellow graduates. So, in a mad rush of Supermomdom I threw together these mini fruit roll diplomas to coordinate with our school graduation party printables and graduate signs. The kids loved them — but more importantly, Liam was proud to pass them out.

TO MAKE: Download our free printable fold-over tag. Print as many as you need on cardstock. Cut out each fold over tag. Unwrap mini fruit rolls, and use black ribbon to tie a knot around the roll to mimic a diploma. Drop into a small sealable plastic bag like these. Seal by gluing (or stapling) our fold-over tag onto the top of the bag.

Reposted with permission by Aimée Lowry & Bettijo B. Hirschi from PagingSupermom.com

Homemade Chocolate Graham Crackers

May 27, 2014

Post by Jeran of Oleander and Palm

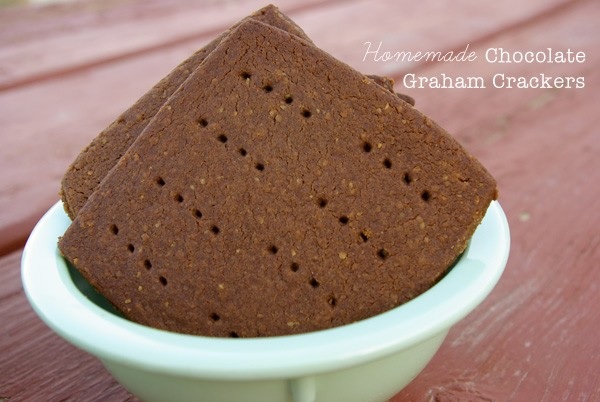
Why did we ever eat store bought graham crackers?  These chocolate, homemade versions are so amazing.   I don’t know if we can ever go back.

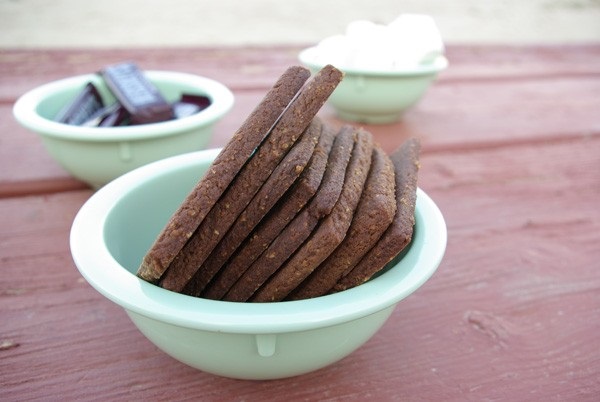
Homemade Chocolate Graham Crackers

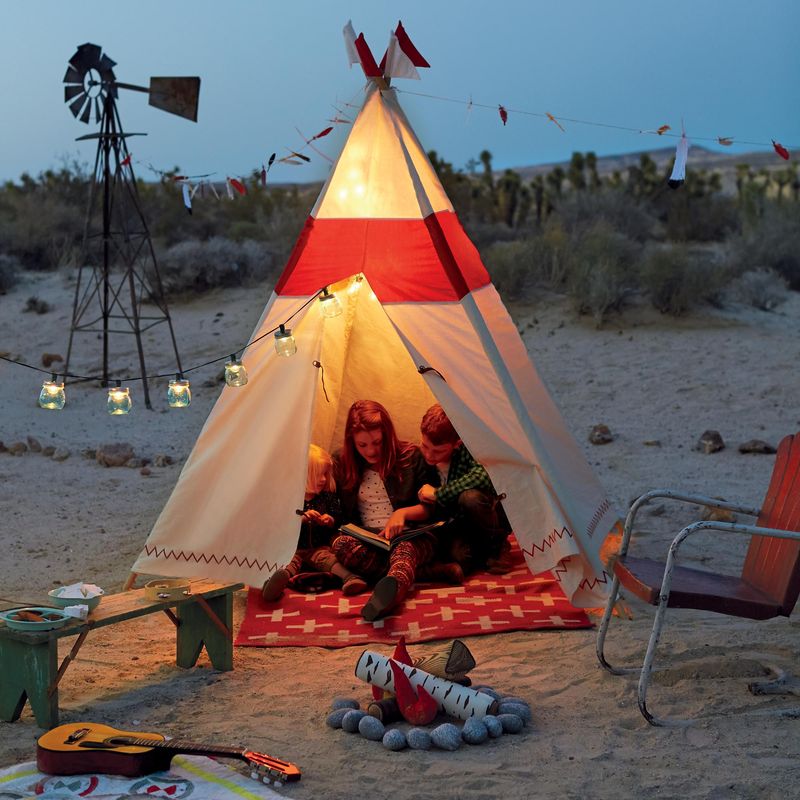
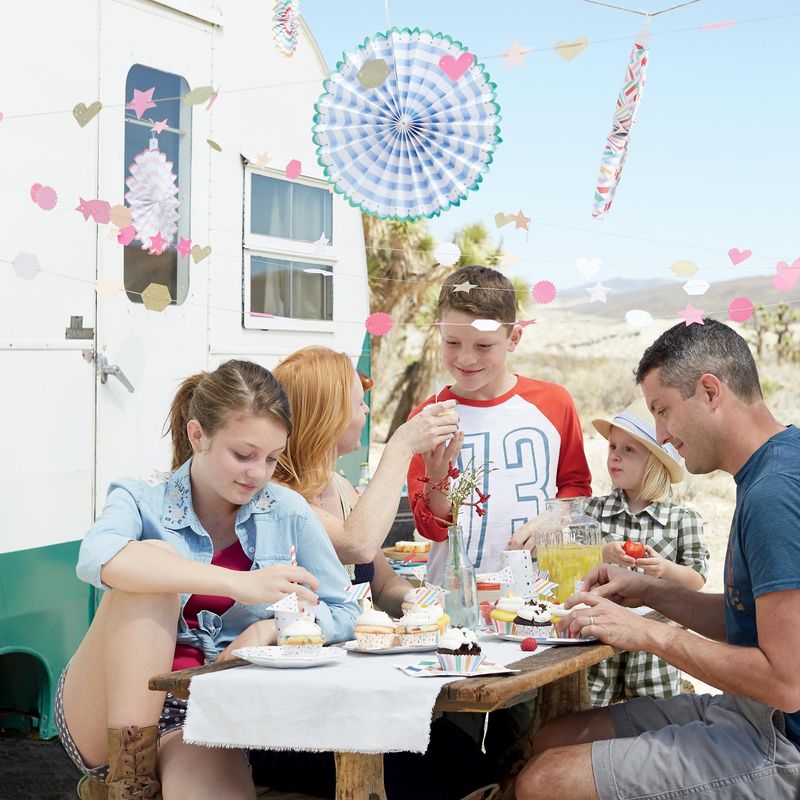
So, have you gotten the May Catalogue?  That’s my cute kiddos in the Teepee and our family just having a little party with Riley. What a cool experience for our family. While we were out at Red Rock Canyon State Park shooting this, I made a batch of these graham crackers and some homemade marshmallows (see them sitting on the little bench).

Land of Nod Ginormious Teepee

Toot Sweet Pink Cupcake Kit Set

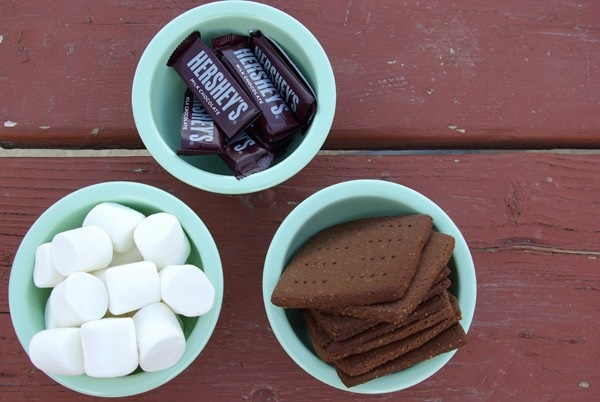
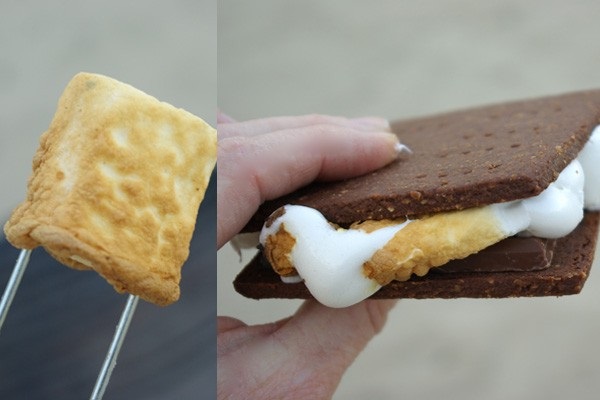
I have to share this recipe for Chocolate Graham Crackers with you.  They made the best s’mores ever.

Homemade Chocolate Graham Crackers Ingredients

Homemade Chocolate Graham Crackers

1 cup each of whole wheat and white flour

1/4 cup ground flax seed

1/4 cup cocoa

1/4 tsp. cinnamon

1/2 tsp. salt

1 tsp. baking soda

1 cup butter

3/4 cup brown sugar

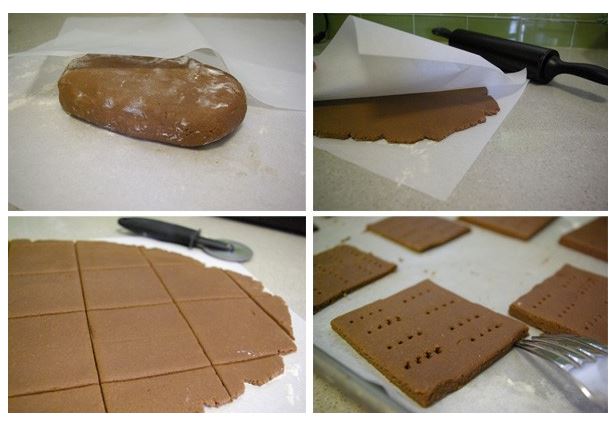
Cream butter and sugar together.  In a large bowl combine all the dry ingredients.  Mix well with a whisk.  Add the dry ingredients and mix until the dough comes together.  Place the dough between to floured pieces of parchment paper.  Roll out the dough to about 1/4 inch thick.  Cut into squares (mine were 3″x3″) with a pizza cutter.  Chill for 10-15 mins, then transfer the individual square to a parchment lined cookie sheet.  Prick them with a fork and bake for 15-18 mins in a 325 F oven.  Cool on a wire rack.

Here’s some images to help with the how to:

Homemade Chocolate Graham Crackers 1

Homemade Chocolate Graham Crackers 3

Homemade Chocolate Graham Crackers & Smores

This recipe is adapted from Martha’s recipe.


Need more tasty recipes and delicious bites? Check out our Let’s Eat Pinterest Board.

Post by Jeran of Oleander and Palm
Dinosaur Party

May 22, 2014

Post by Aimee and Bettijo from PagingSupermom.com

Hello there! We’re here to share a fun Dinosaur Party using the adorable, new Roarrrrr! party collection at Land of Nod.

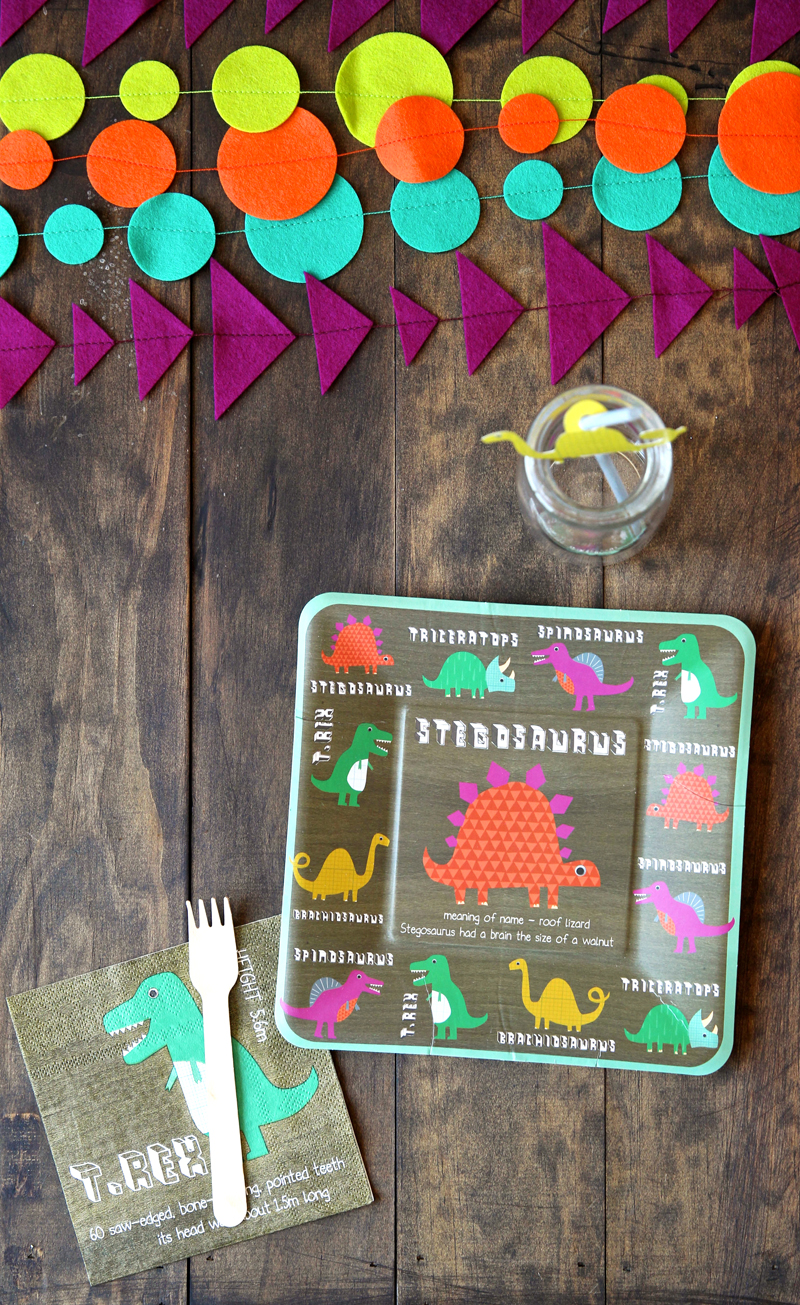
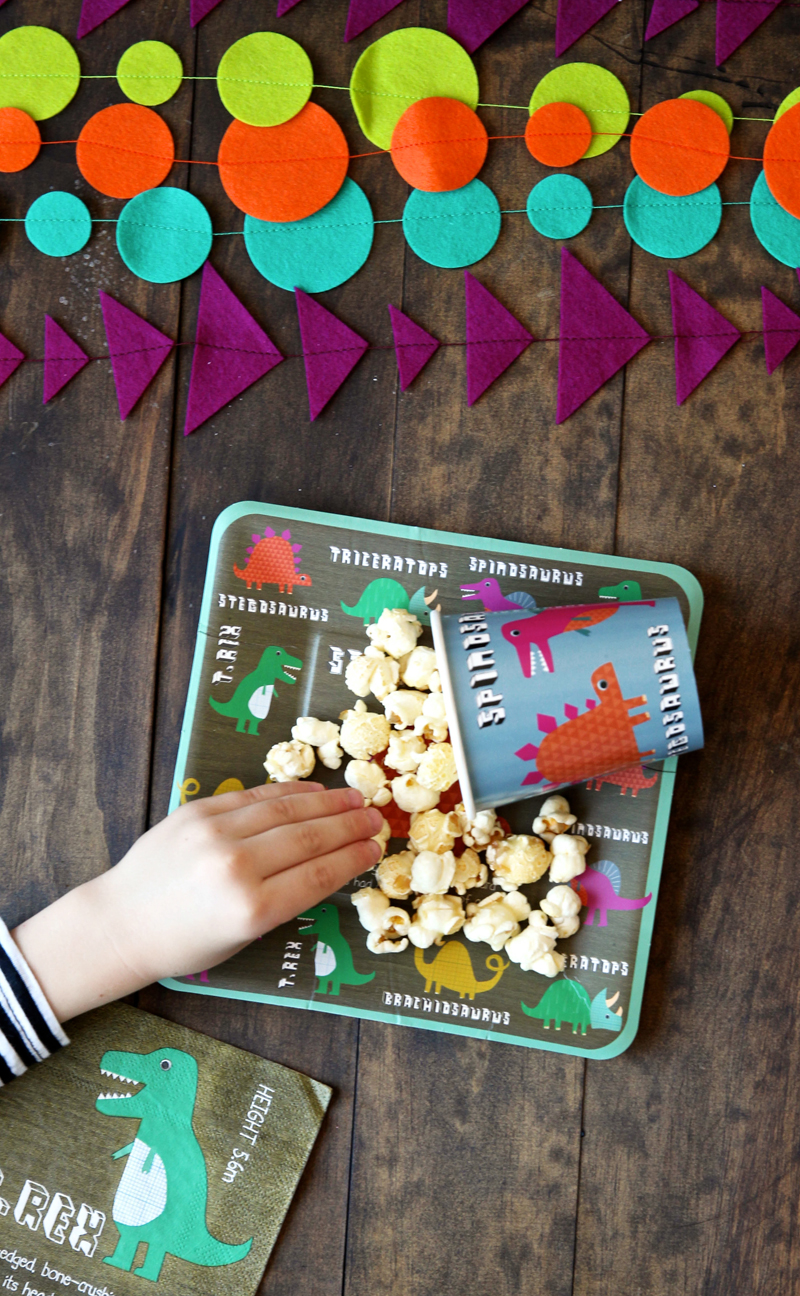
The dinosaur garland pack includes TWO banners — both the ROARRR and the individual dinosaur cards. We added festive felt garlands and spelled out the birthday boy’s age with the Achievement Banners.

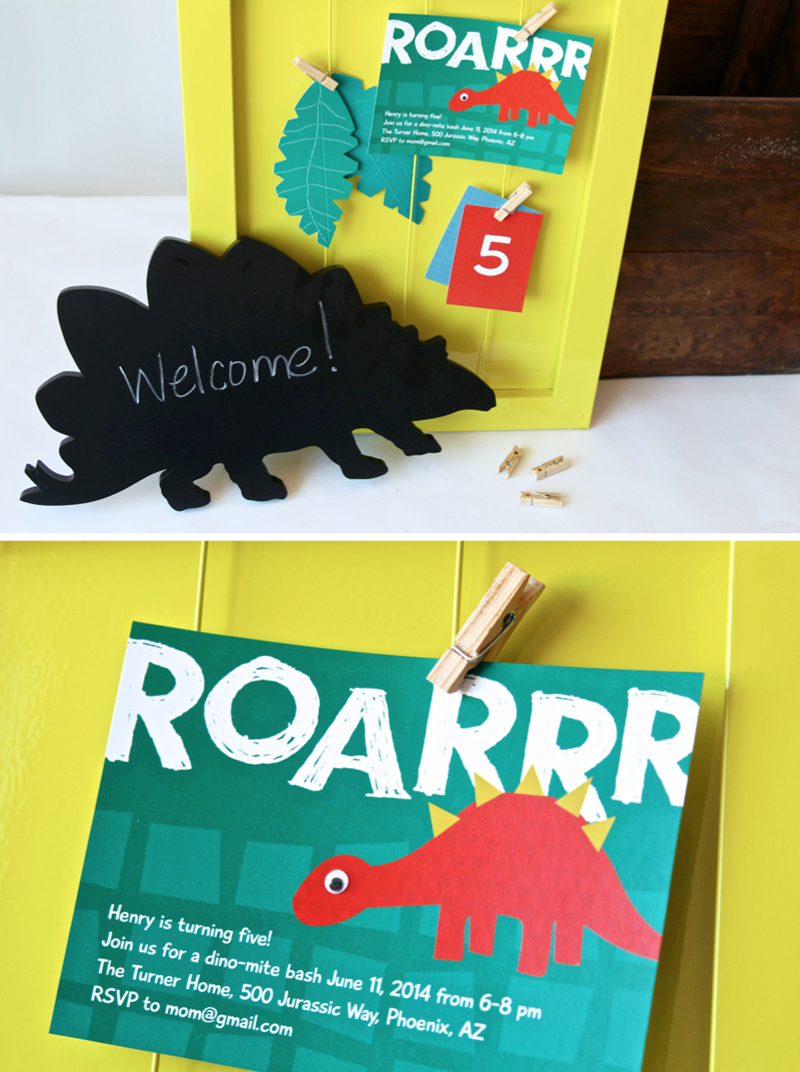
Dinosaur Birthday Party Theme Invitations

You can’t have a dinosaur party without a bunch of dino friends so we created this cute dinosaur party invite that can be personalized with your party details. Since several of the dinosaur party supplies included real googly eyes, we decided to add one to the dino on our invitation for an extra special touch.

Dinosaur Birthday Party Theme Ideas - 1

Dinosaur Birthday Party Theme Ideas - 2

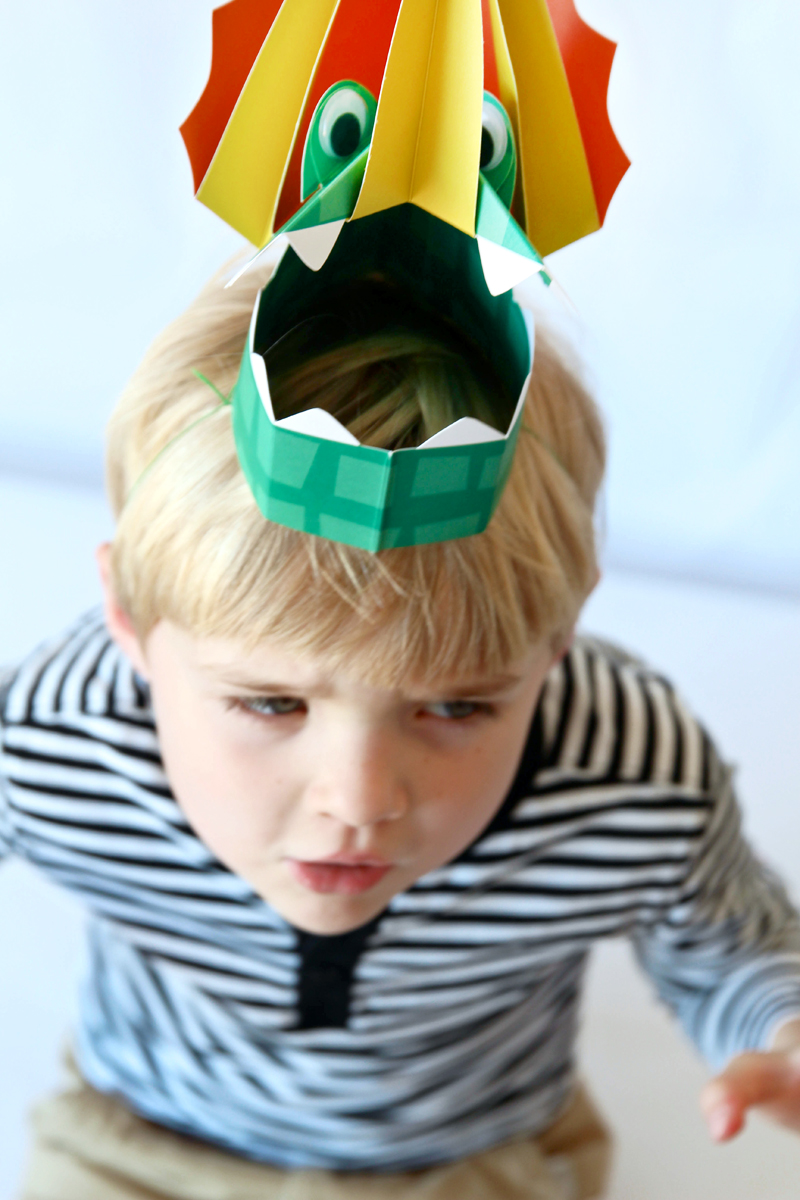
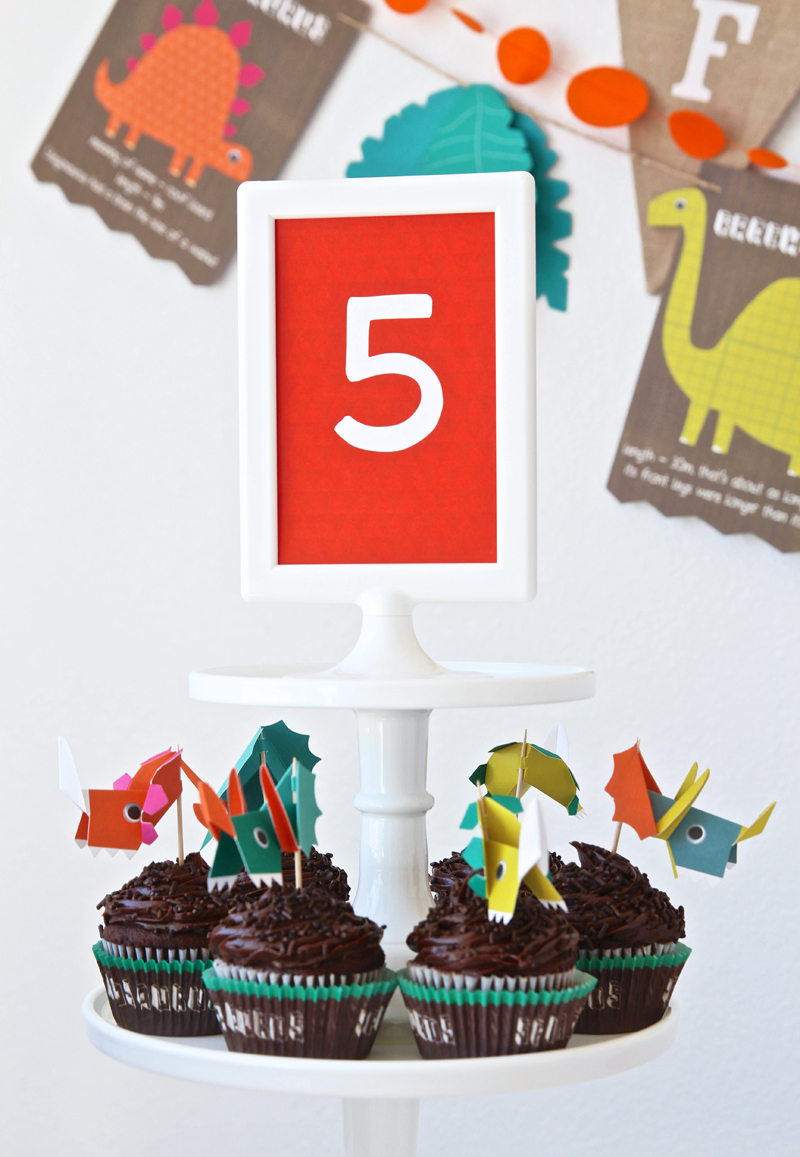
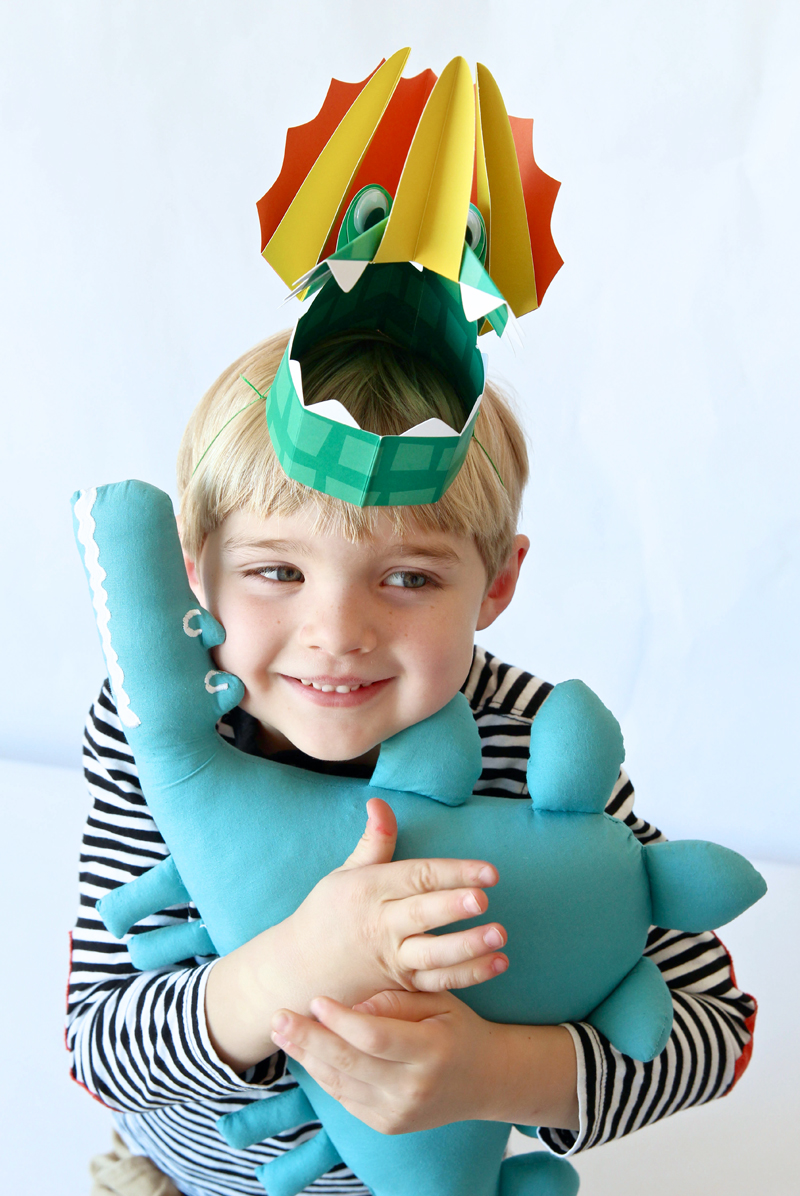
We know all the kids will go crazy over these folded dinosaur party hats and cupcake toppers. It is quick and easy to print and frame one of our free printable birthday numbers, and the birthday cake is complete!

Dinosaur Birthday Party Theme Ideas - 3

Dinosaur Birthday Party Theme Ideas - 4

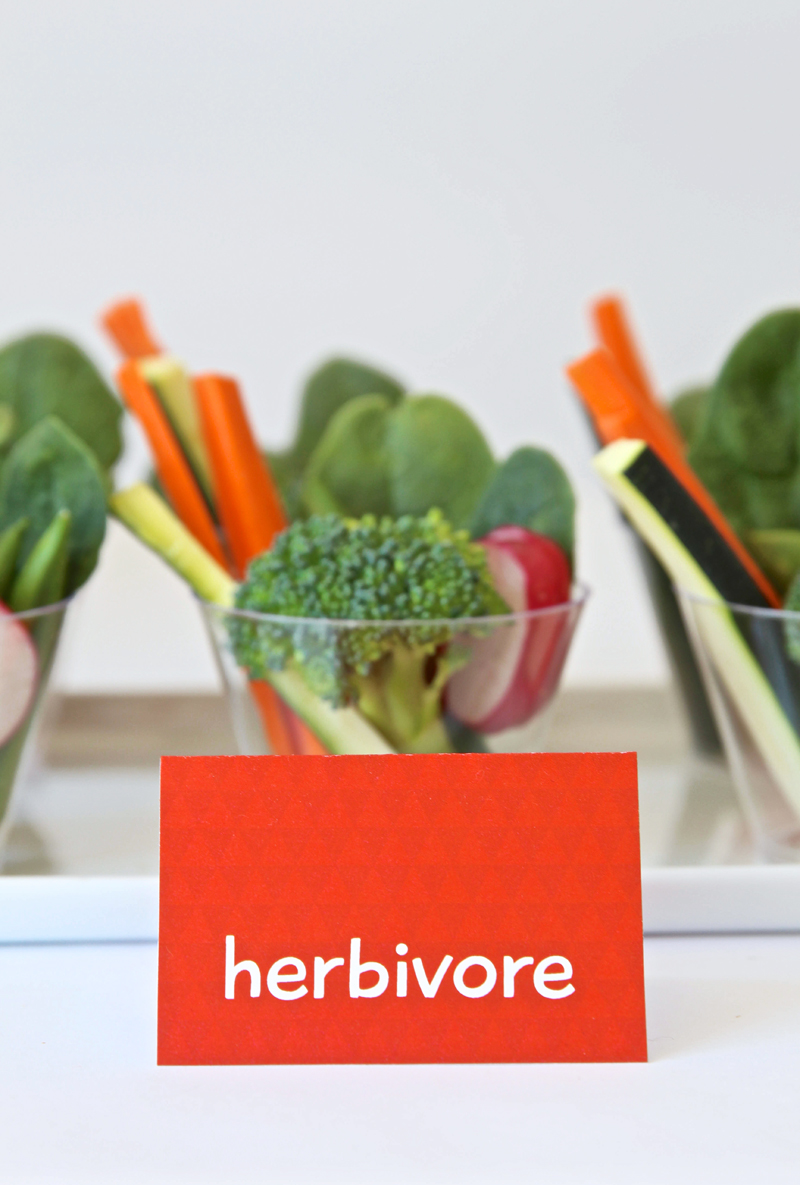
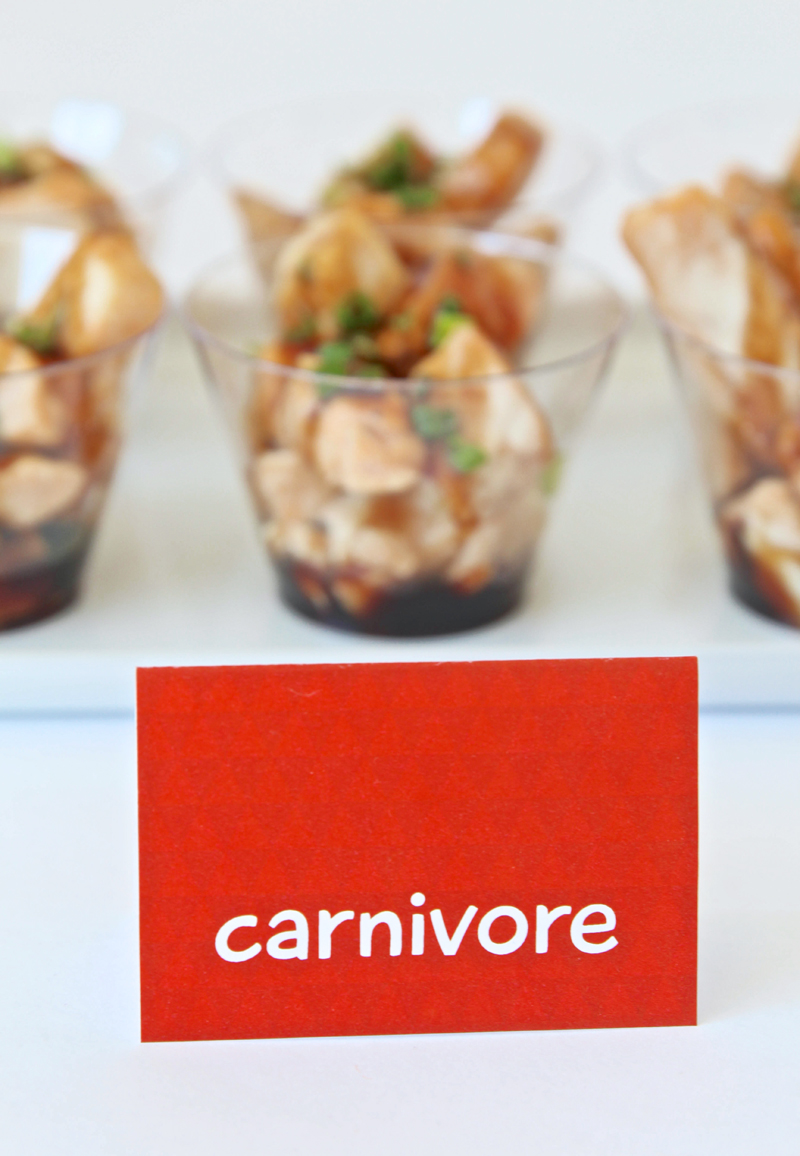
We aimed to please both herbivore and carnivore party goers with cups of veggies with dip and teriyaki chicken. Download our free pack of Dinosaur Party Printables for the food signs.

Dinosaur Birthday Party Theme Ideas - 5

Dinosaur Birthday Party Theme Ideas - 6

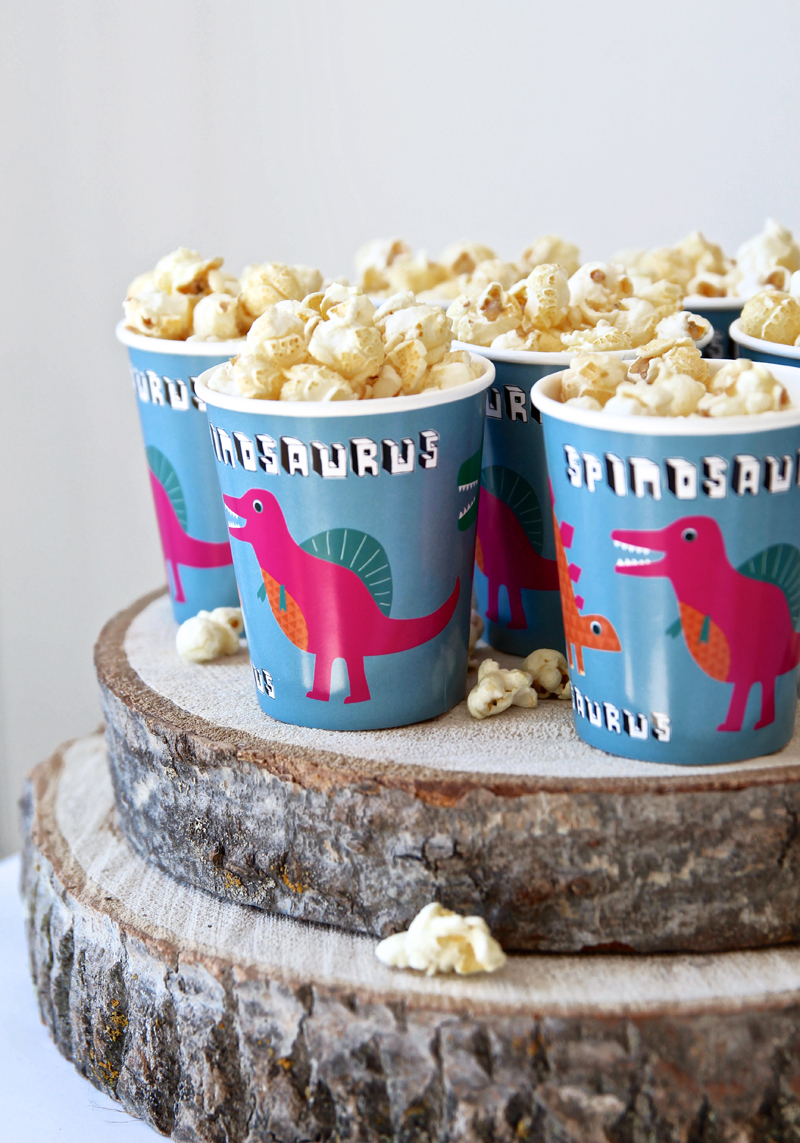
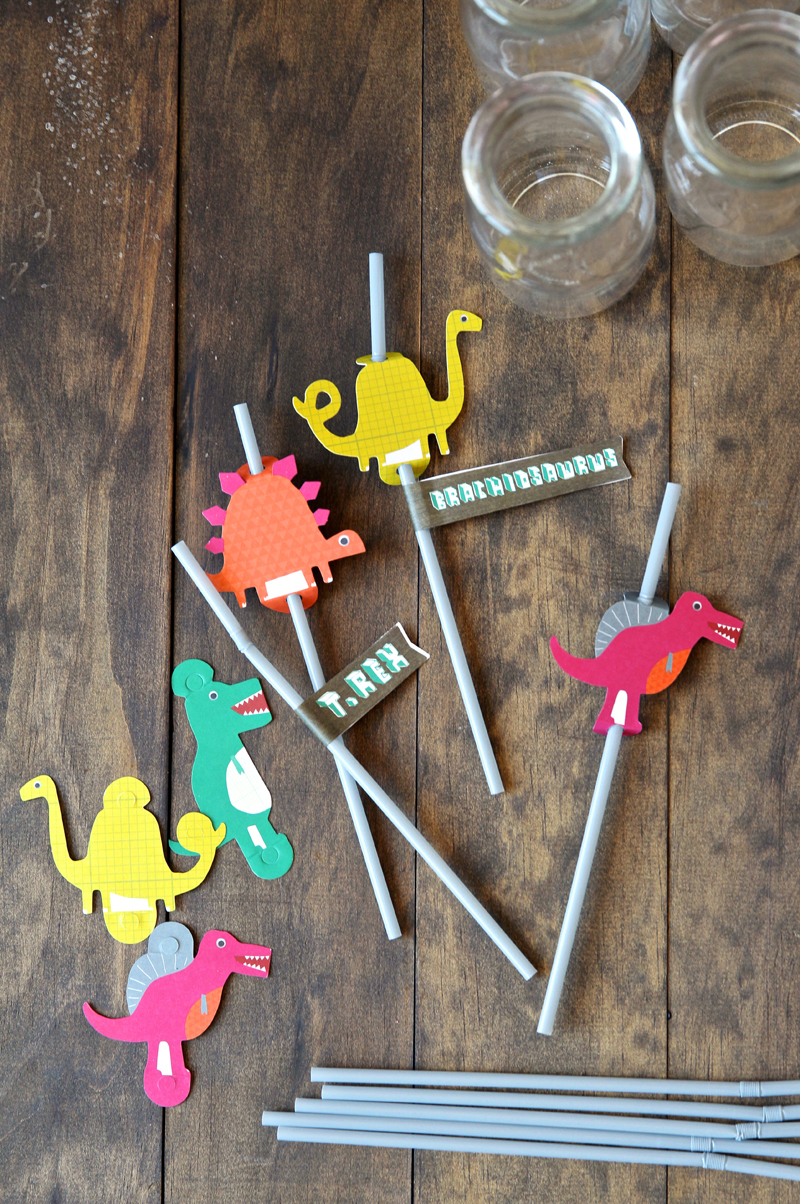
We were totally impressed by the detail and quality of these dinosaur party supplies. Just one example, we expected each of the party plates to have the same dinosaur printed on them, but when we opened the pack we were pleasantly surprised to see it included four different dino plates.

Dinosaur Birthday Party Theme Ideas - 7

Dinosaur Birthday Party Theme Ideas - 9

Dinosaur Birthday Party Theme Ideas - 10

Dinosaur Birthday Party Theme Ideas - 11

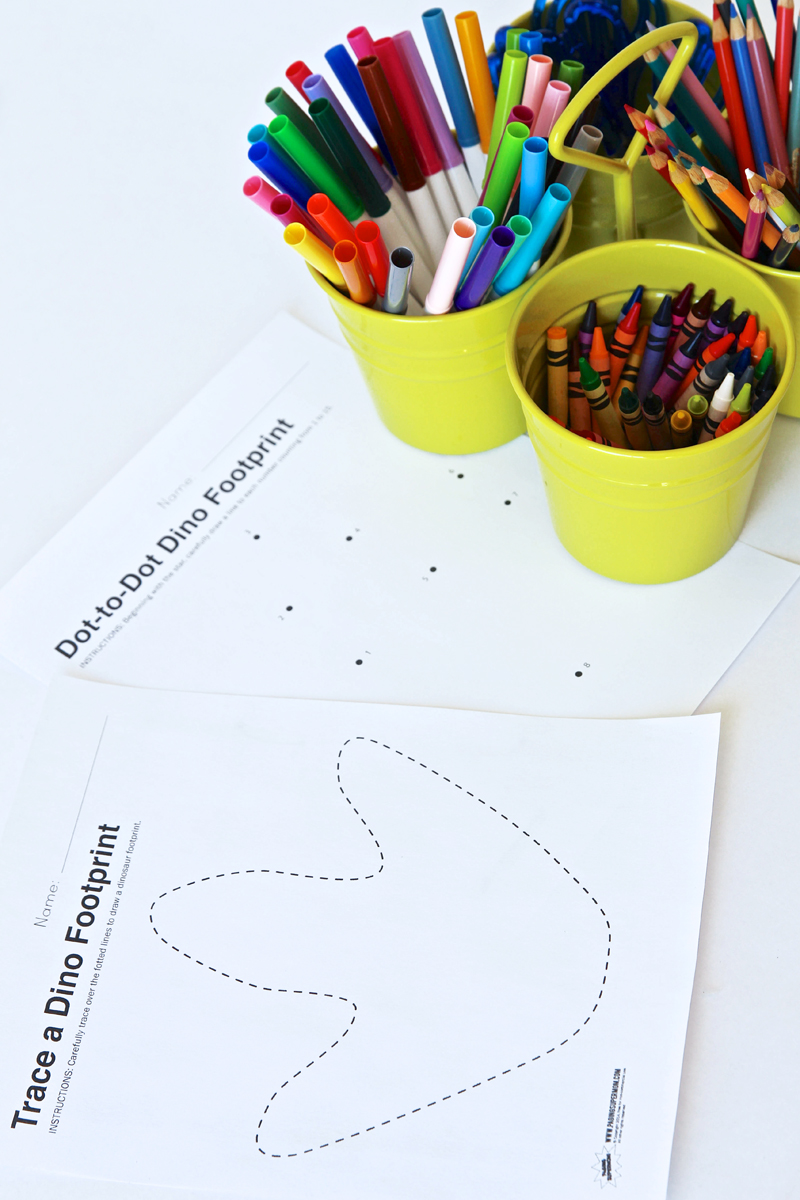
When you have a group of rambunctious dinosaurs you will definitely need a few activities to keep them busy — good thing that’s our specialty! While the dinos are gathering set out a stack of our free printable Dinosaur Footprint Worksheets with some coloring supplies corralled in the Could’ve Bin Art Caddy.

Dinosaur Birthday Party Theme Ideas - Dinosaur Passing Game

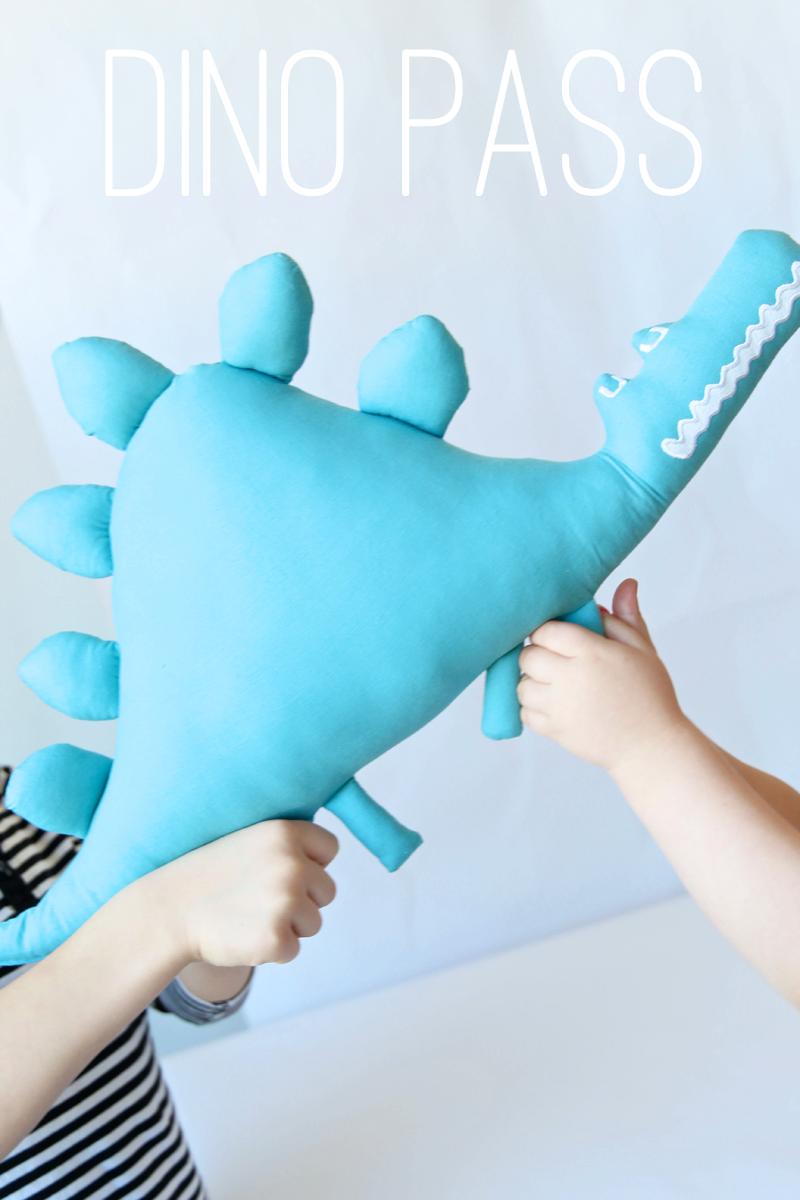
Play a Dinosaur Pass game the same way you would play hot potato only use this fun Stegosaurus Throw Pillow.

Dinosaur Birthday Party Theme Ideas - 14

Extinction Dodge Ball Dinosaur Party Game

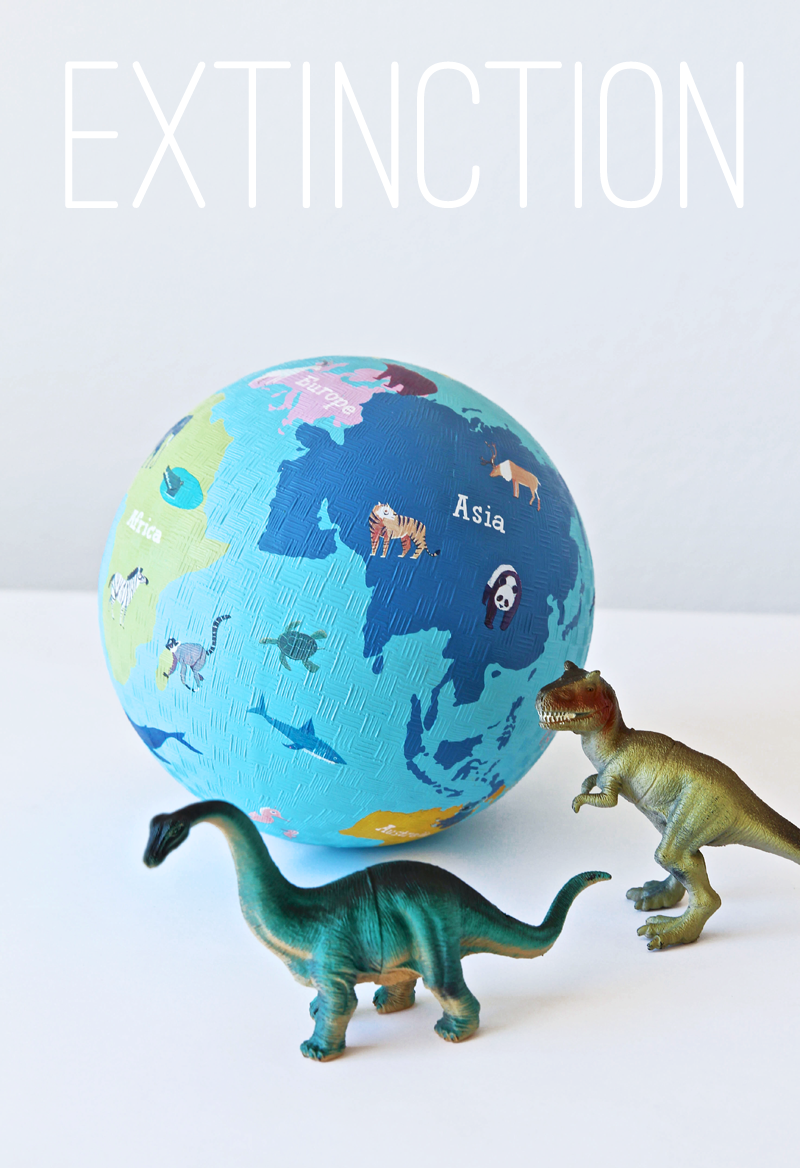
This Extinction game is a variation on dodge ball. Have all the party guests do their best roaring dinosaur impersonations while somebody throws the world playground ball trying to get all the dinosaurs out.

Printable Dinosaur Craft Puppet

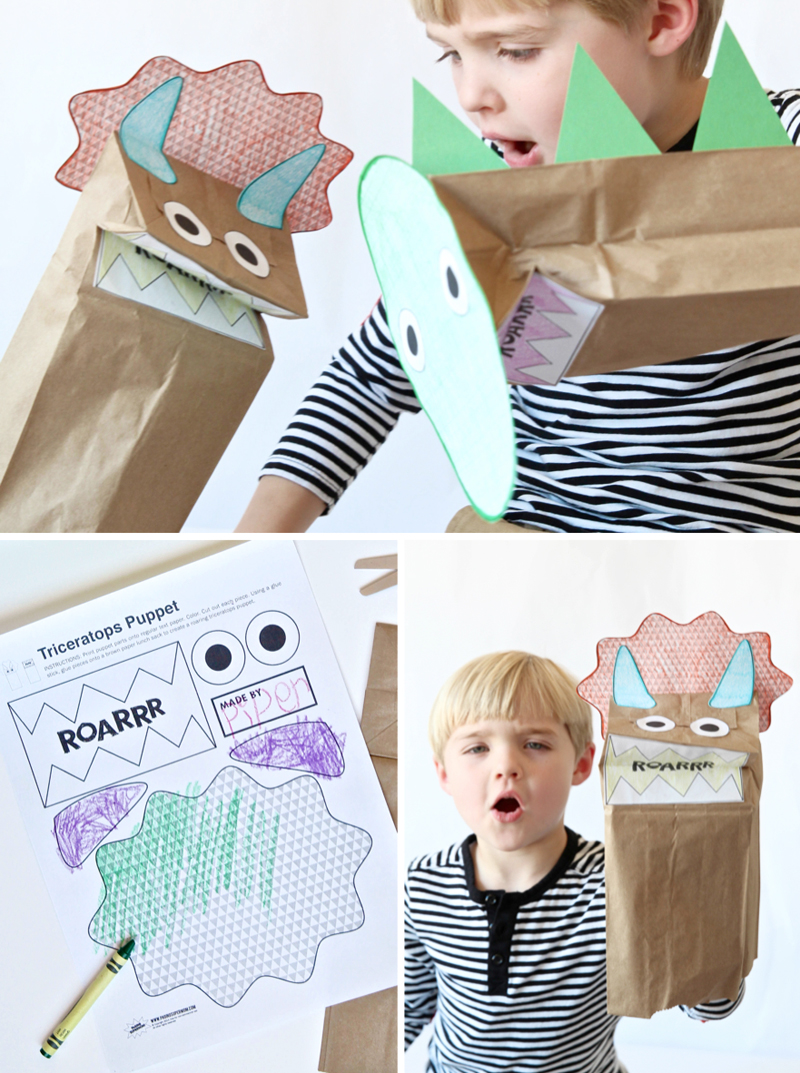
For a quieter activity have the kids make their own Dinosaur Puppets using brown lunch bags and our free dinosaur puppet printable.

Dinosaur Treasure Hunt Party Game

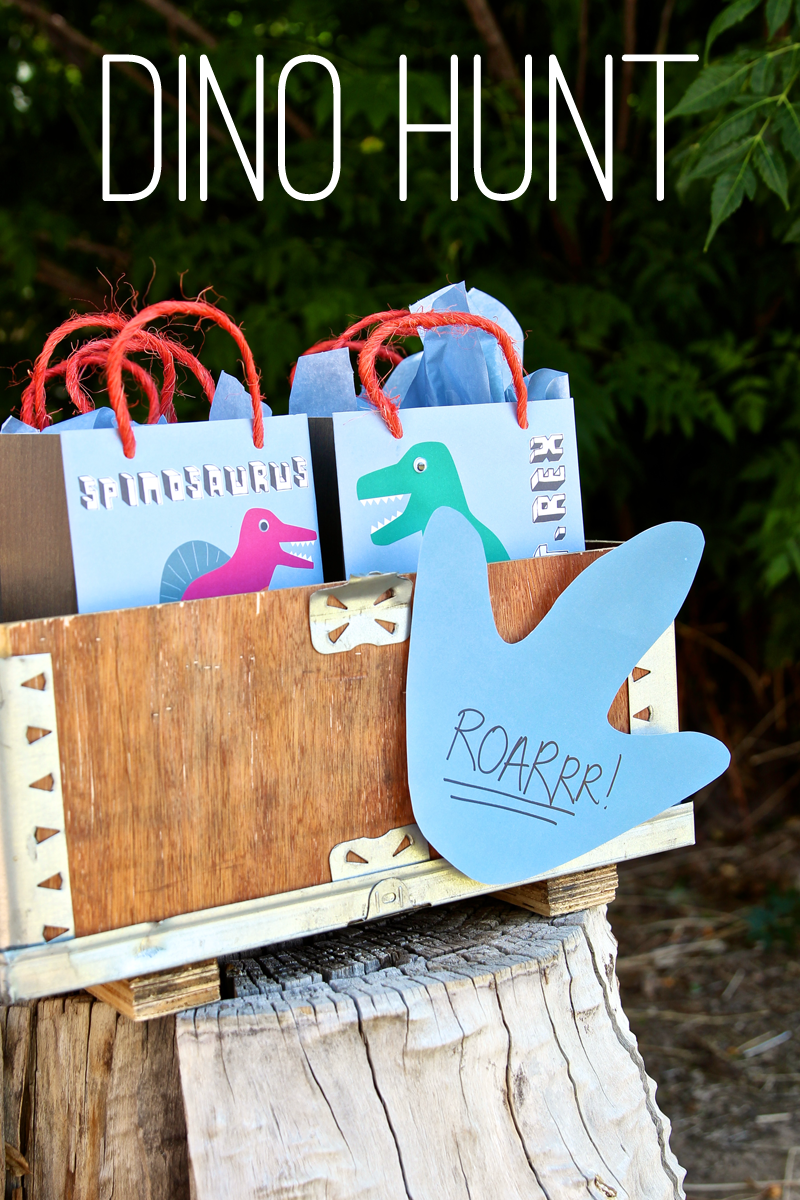
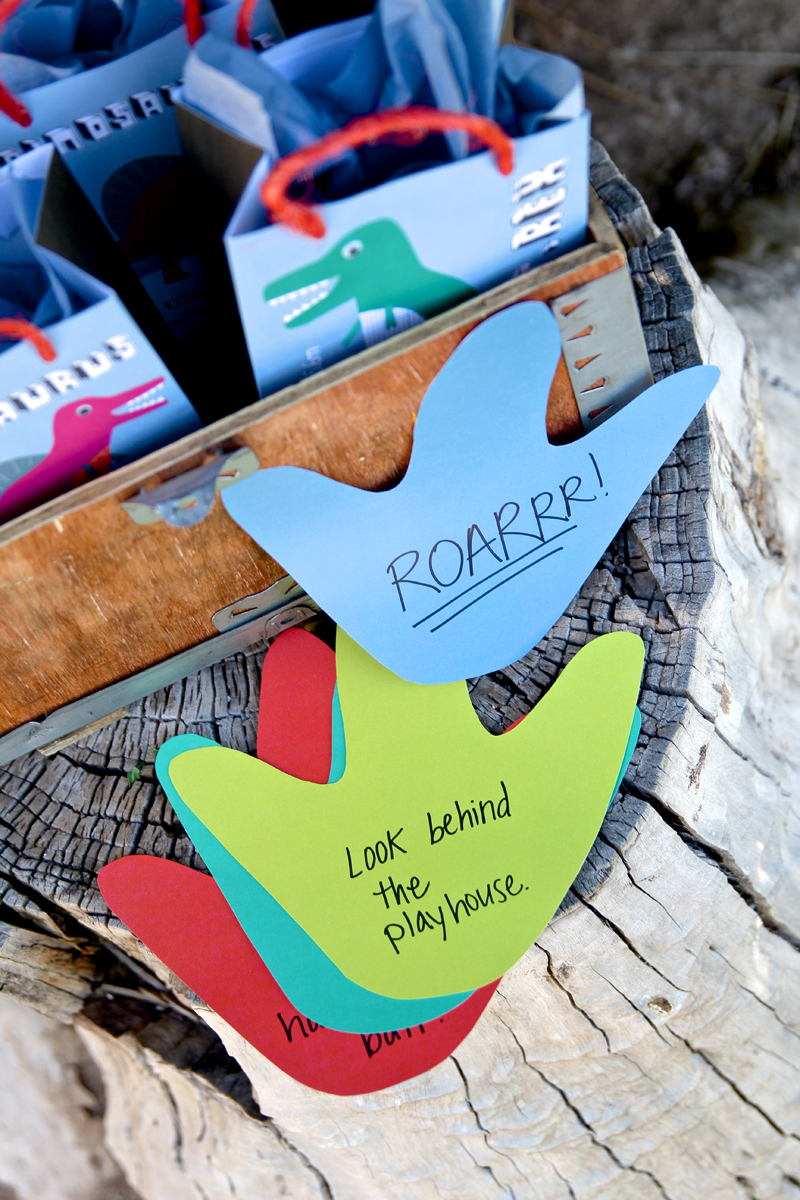
Send the party goers on a Dinosaur Hunt to collect their goody bags. Download and print our dinosaur tracks then write clues and hide them for the treasure hunt.

Dinosaur Treasure Hunt Party Game 3

SHORTCUT TO ALL THE PRINTABLES :: ROARRR Dinosaur Party Invitations :: Dinosaur Party Printables :: Dinosaur Footprint Worksheets :: Dinosaur Puppets :: Dinosaur Treasure Hunt Tracks

Post by Aimee and Bettijo from PagingSupermom.com

The Land of Nod Mother’s Day Event & Craft Recap

May 21, 2014

Post by Debbie Mayes of englexas

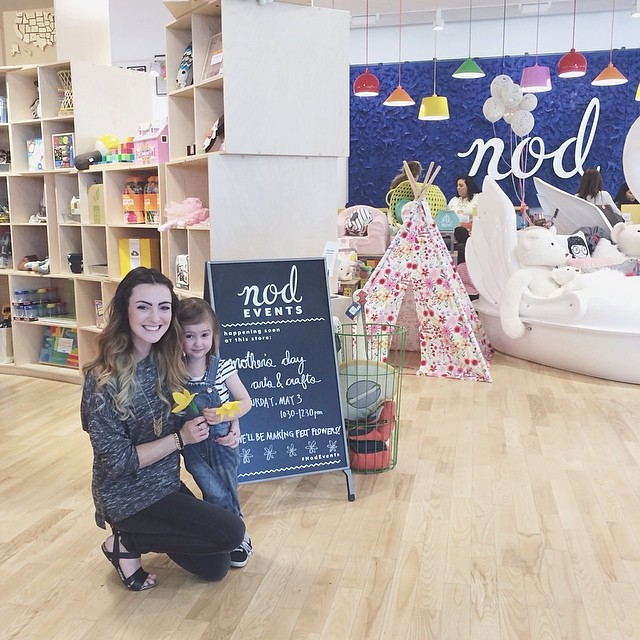
The Land of Nod Mother’s Day Event & Craft Recap

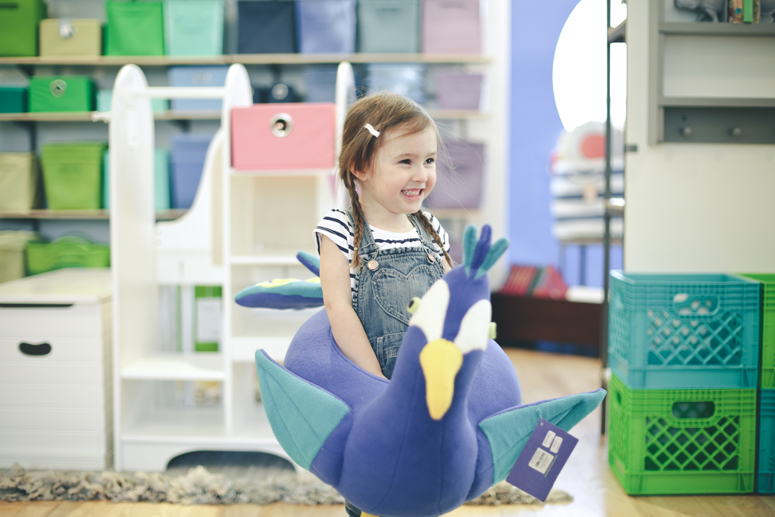
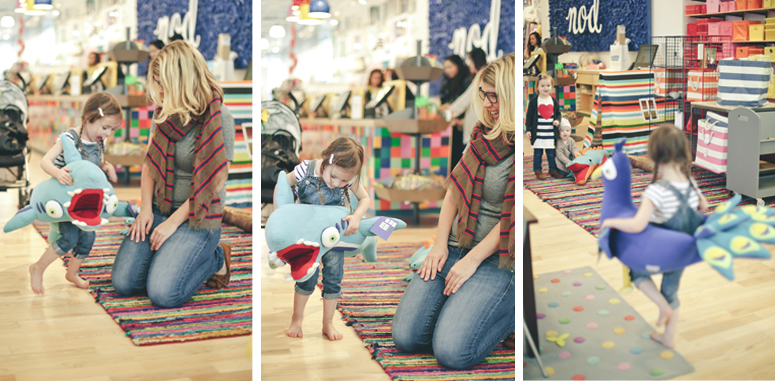
A few weekends ago I had the pleasure of hosting an event at the Land of Nod store in Chicago. The store was absolutely amazing and everyone we met there was wonderful, I think Darby even made a new best friend! I have always done my shopping at the Land of Nod online but now that I’ve visited their location, I will be shopping in the store from now on. They are awesome about having kids run around and play with their displays and it definitely didn’t feel like a furniture store! The displays are absolutely beautiful and there are SO many good ideas in there!

The Land of Nod Mother’s Day Event & Craft Recap - 2

The Land of Nod Mother’s Day Event & Craft Recap - 3

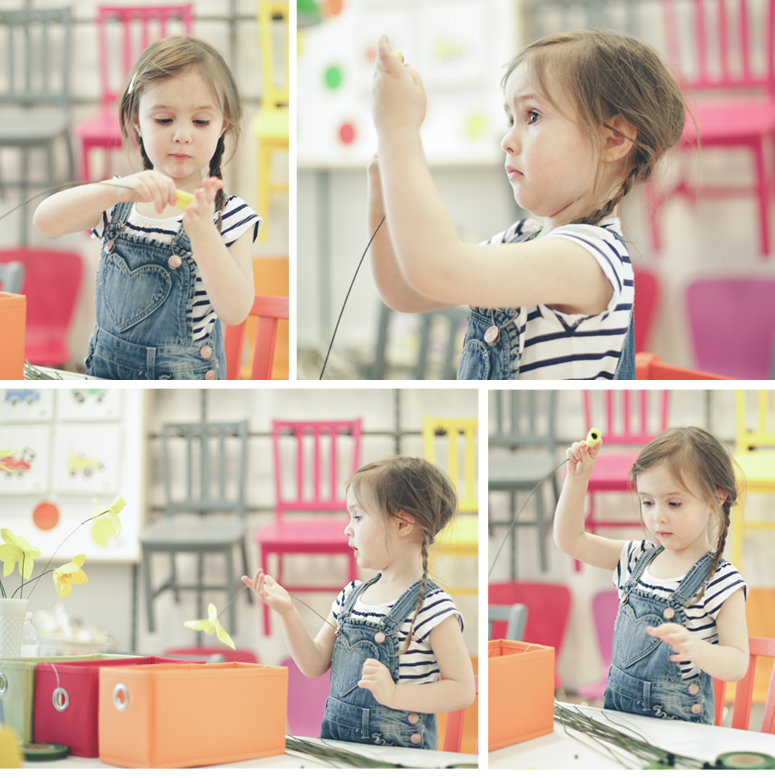
For the event I had to come up with a craft that the little kids could do that didn’t involve using scissors or hot glue which was quite a task…I cheated a little by pre cutting and pre-gluing some of the elements and I am really proud of the results!

The Land of Nod Mother’s Day Event & Craft Recap - 4

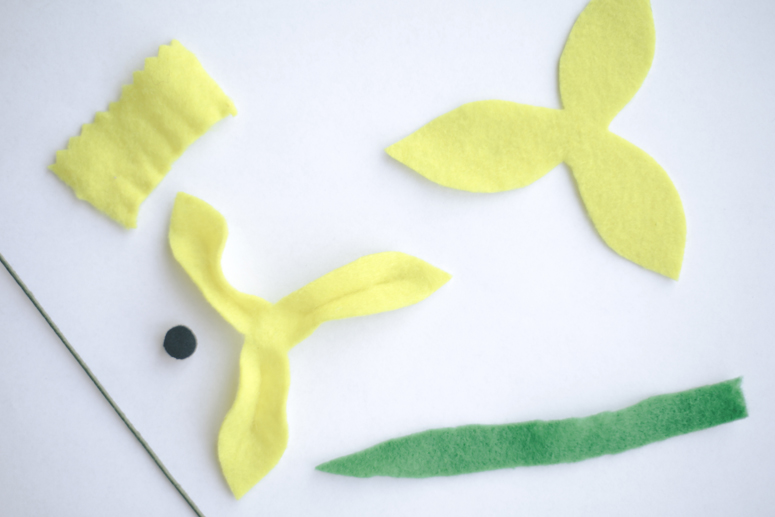
For each daffodil, you’ll need two sets of the flower petals (one pre-glued, one not) for the center piece, the rectangle of yellow felt for the center piece and a long rectangle oval leaf. Trace out your petals and leaf piece then cut them out using the template linked below. I used pinking shears to cut the zig zag of the center piece.

Kids Craft: Felt Flowers

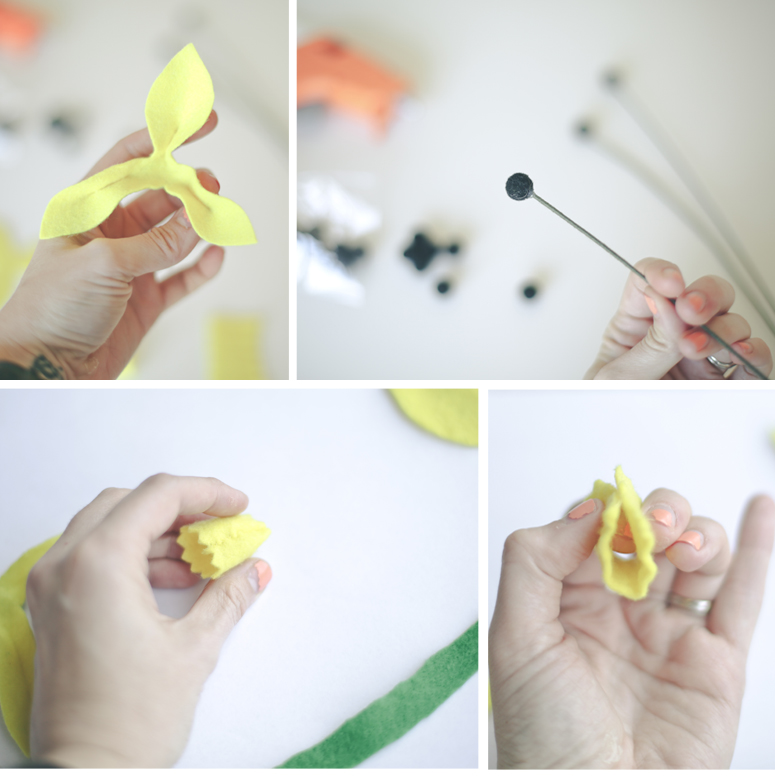
I got all of the elements pre sewn/glued so that the kids could help me assemble. Hot glue the black pom pom to the end of a floral wire. To assemble the center piece sew the two short sides together to make a tube and then turn inside out. Gather one end of the tube and put a stitch in the bottom to hold it together.

Take one of the petal pieces and place a dot of hot glue in the middle center of each petal, pinch each petal to create a crease. Place the pinched petal flower piece on top of the flat flower piece. Poke a hole through the center of both pieces of felt. I used my seam ripper to do this.

Kids Craft: Felt Flowers - 1

This is where the kids can start helping…Take your floral stem wires with the black felt pom pom to the top and feed the wire through the center piece/tube over the floral stem wire and then through the two petal pieces

Using your green floral tape you’ll start to wrap the floral stem wire. As you wrap add the green felt shaped as a leaf. You’ll continue to wrap that into place using the floral tape as well. Bend the flower head over like a daffodil does and trim the stem to your desired length (if necessary). I usually add some hot glue to the back of the flower head to secure it to the stem before I wrap with the tape.

And there you have it…you can download the instruction sheet here 

Post by Debbie Mayes: englexas

Don’t Let The Blocks Drop

May 20, 2014

Post by Michelle Sterling of Avery and Augustine

Don't Let The Blocks Drop Kids Game

Don't Let The Blocks Drop Kids Game  2

Don't Let The Blocks Drop Kids Game 3

Don't Let The Blocks Drop Kids Game 4

Don't Let The Blocks Drop Kids Game 5

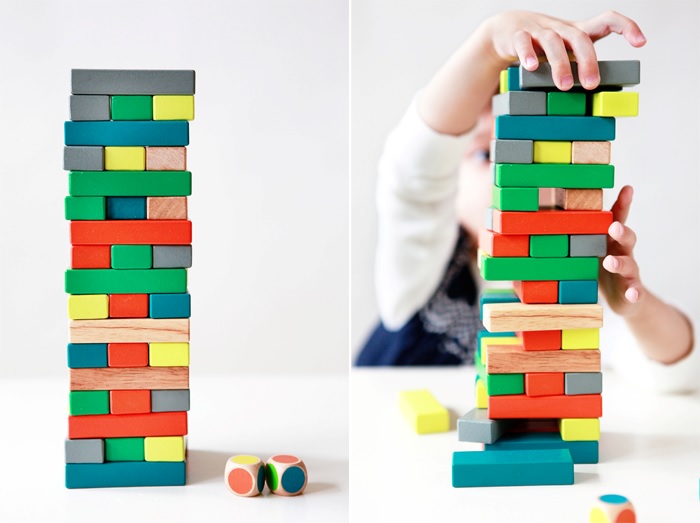
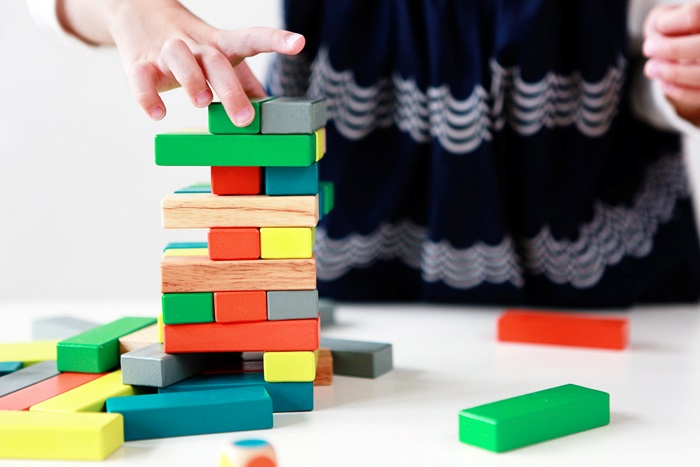
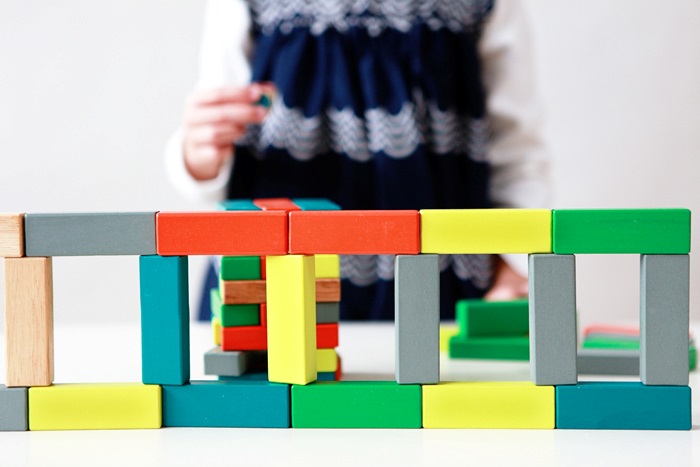
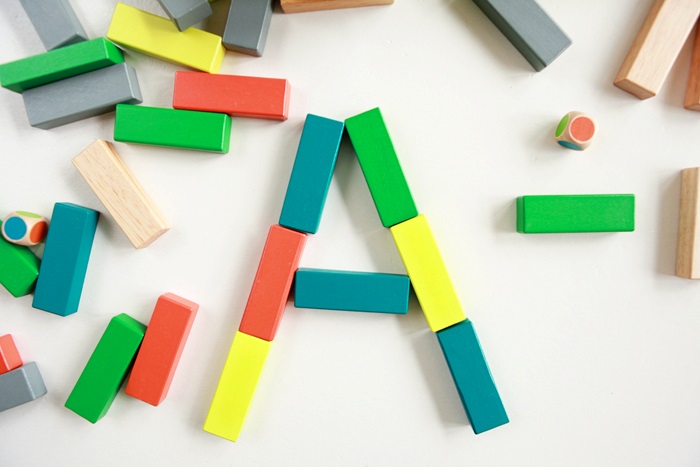
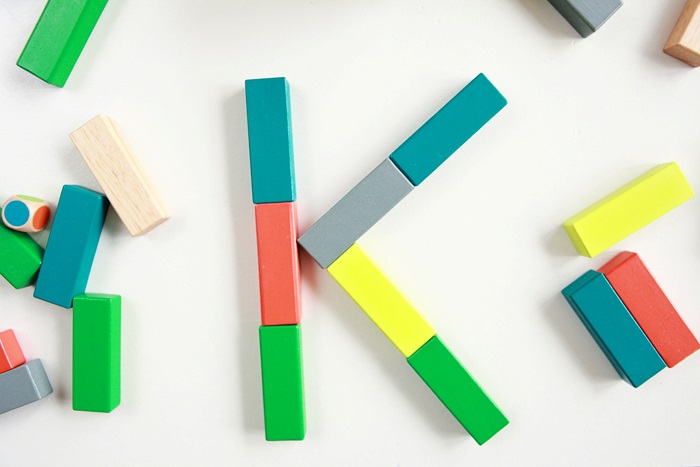
Don’t Let The Blocks Drop by Janod is actually great wooden toy blocks game for a wide span of ages.  It’s challenging for Avery to figure out which blocks to pull out without making all the other blocks fall down.  It helps her practice strategy and planning and is super fun, too!  I like how the blocks are versatile—they are a nice addition and add variety to whichever set of kids building blocks you already have, and are also good for working on letter formation. Post by Michelle Sterling of Avery and Augustine. You can see her work and read about her two young children and their first forays in cooking, art and everything in between at Avery and Augustine.

Lately Lily’s First Book

May 15, 2014

Post by Michelle Sterling of Avery and Augustine

Lately Lily's First Children's Book

Lately Lily's First Children's Book 2

Lately Lily's First Children's Book 3

Lately Lily's First Children's Book 4

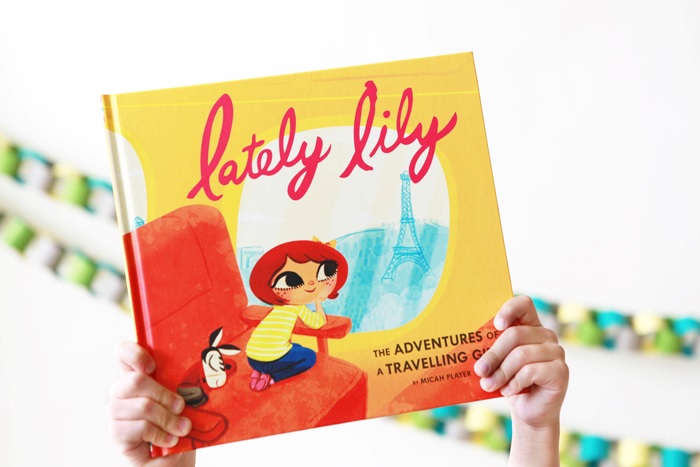
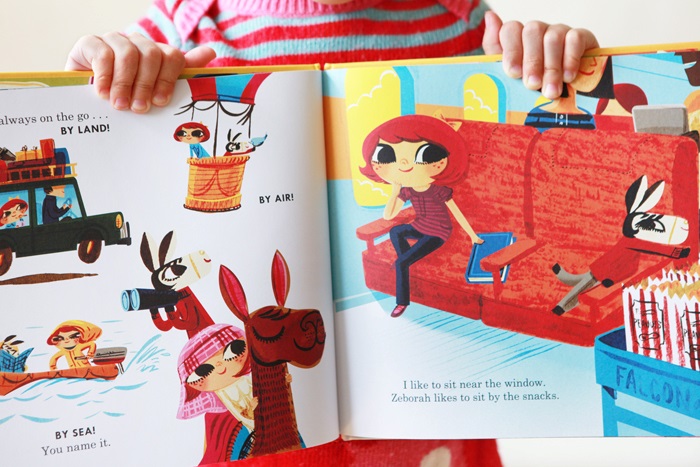
It’s no secret that we love Lately Lily, so we were thrilled to find out about Lily’s first book, Lately Lily: Adventures of a Travelling Girl by Micah Player.  Micah’s brilliant artistry and thick brushstrokes bring a lovely vintage feel to Lily’s bright and sunny world.  This book is a great introduction to “The Traveling Girl” and her curiosity and enthusiasm about the big world around her.  Lily travels near and far on an endless quest for discovery and new experiences.  We agree with Lily: “There is so much to SEE!  So much to EXPERIENCE!  So much to EXPLORE!”  You can follow Lily’s apparel line to find out “Where has Lily been, lately?” Post by Michelle Sterling of Avery and Augustine. You can see her work and read about her two young children and their first forays in cooking, art and everything in between at Avery and Augustine.

Lavender Lemonade

May 14, 2014

Post by Jeran of Oleander and Palm
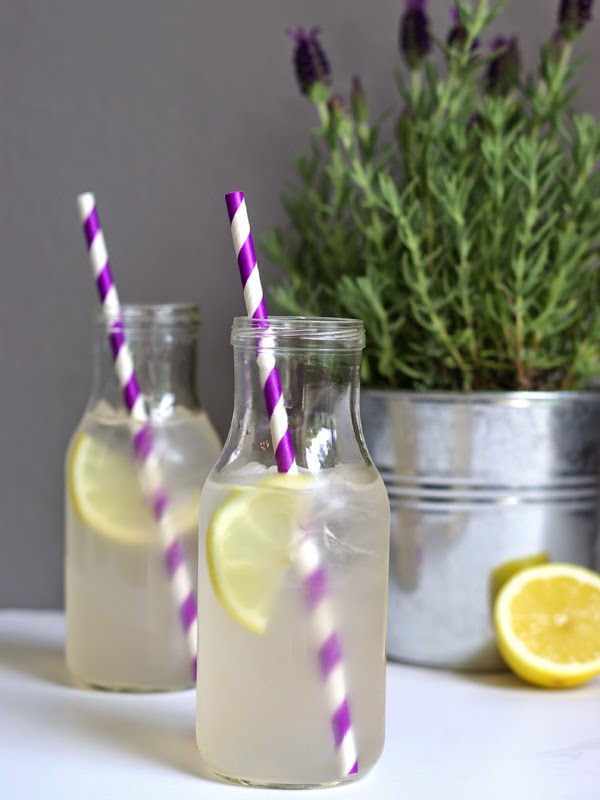
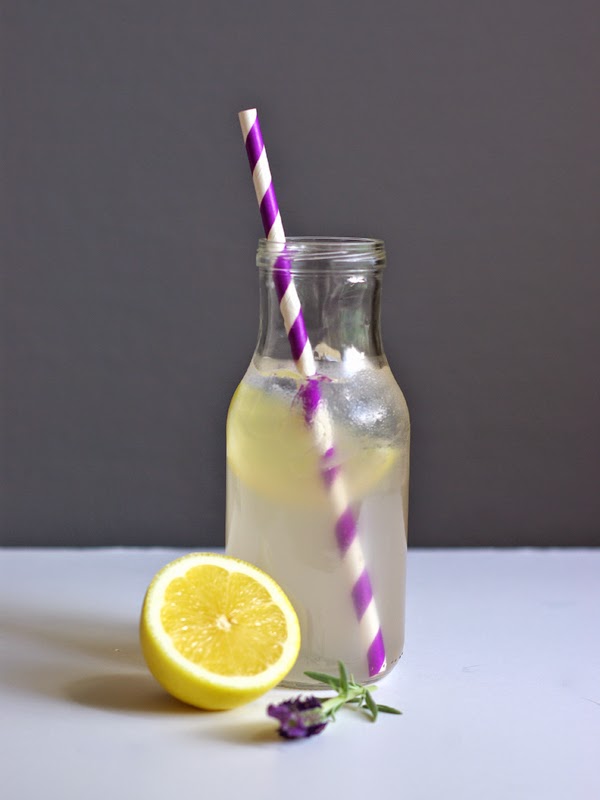
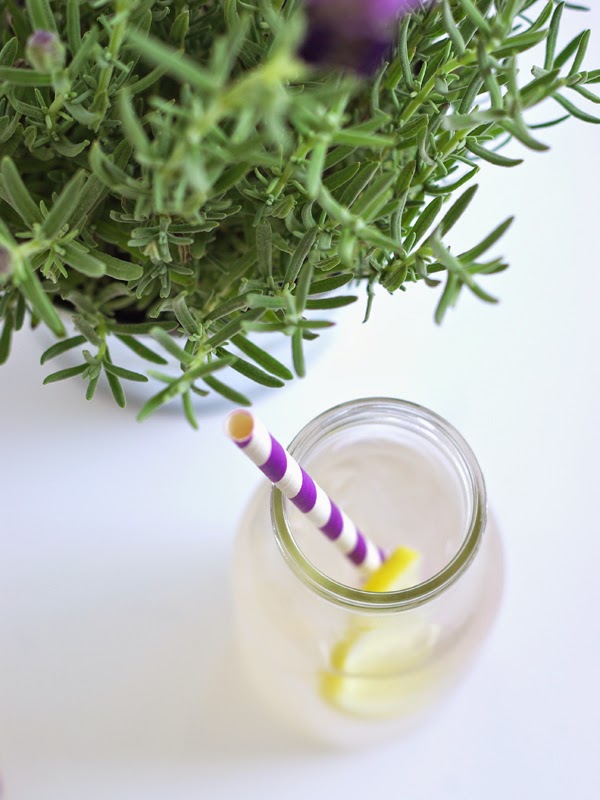
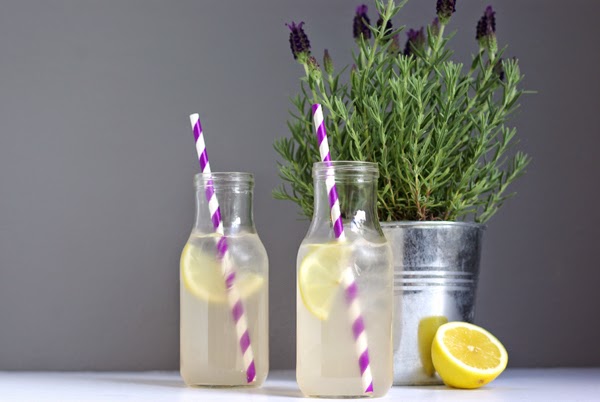
Lavender Lemonade

Last summer, when I was at my parent’s place in Northern Cali, I had a glass of Lavender Lemonade on the Plaza in Arcata. Ever since I’ve been wanting to make some for myself. Having a party is always a good excuse to try something new. I’m so glad I’ve figured this out. This will be a Summer staple in our house.
Lavender Lemonade 2

Lavender Lemonade
5-6 lemons (enough to make 1 cup of lemon juice)
2 quarts of water
ice
lemon slices for each glass
Lavender Simple Syrup (this is enough to make two pitchers of lemonade)
2 cups sugar
1 cup water
2 tbsp. dried lavender
To start, you’ll need to make a lavender simple syrup.  It’s best if you make it a day before.
With a mortar and pestle, crush the lavender to release the oil.  In a small sauce pan, bring to a boil all the ingredients.  Let boil for 1 min.  Remove from heat, pour into a glass container, cover and refrigerate over night.  The next day, pour the simple syrup through a fine sift.
To make a 2 quart pitcher of lemonade, combine 1 cup of freshly squeezed lemon juice with 1/2 of the simple syrup and enough water to make 2 quarts.  You can adjust the sweetness of the lemonade by adding more or less syrup and lemon juice.

Lavender Lemonade 3

Lavender Lemonade 4

Post by Jeran of Oleander and Palm