Close

Blog

Magic Beans to Celebrate Spring

March 18, 2014

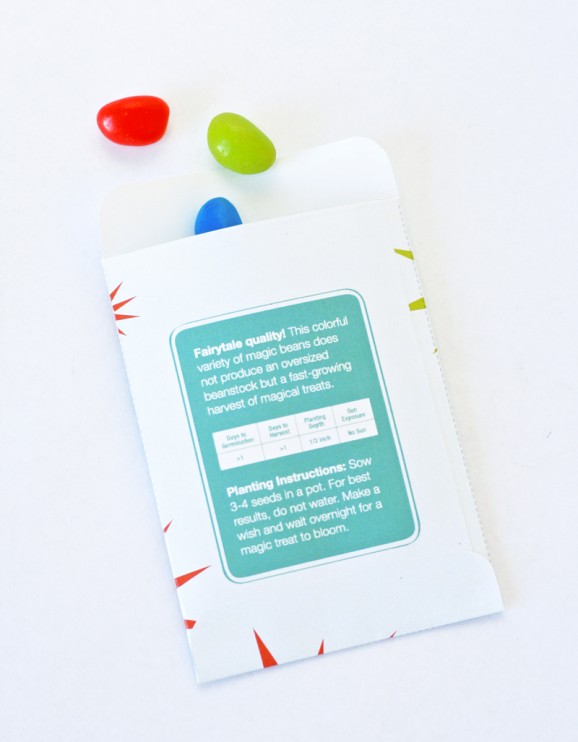
Inspired by the fairytale of Jack and the Beanstalk, your little ones will get a kick out of planting their own Magic Bean seeds. It’s really simple too, the hardest part is finding some of those coveted Magic Beans!

1

TO MAKE: Download our free printable Magic Beans Seed Packet, print out, assemble and seal in the magic seeds (jellybeans). Be sure to have your child follow the growing instructions on the back of the packet — especially the little tidbit about NOT water the seeds!

4

Magic Beans are fun to include in an Easter Basket or give to your child anytime during Spring — maybe on April Fool’s Day?

Reposted with permission by Aimée Lowry & Bettijo B. Hirschi from PagingSupermom.com

Crafts With Kids – Egg Carton Floral Wreath

March 17, 2014

13024522613_305bdb4844_b

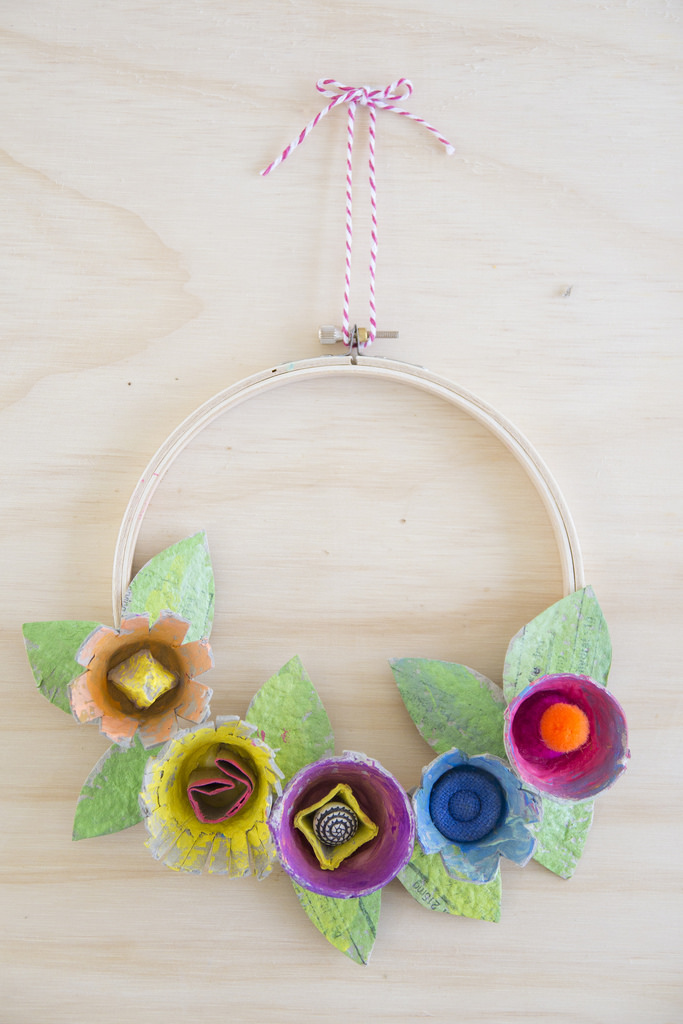
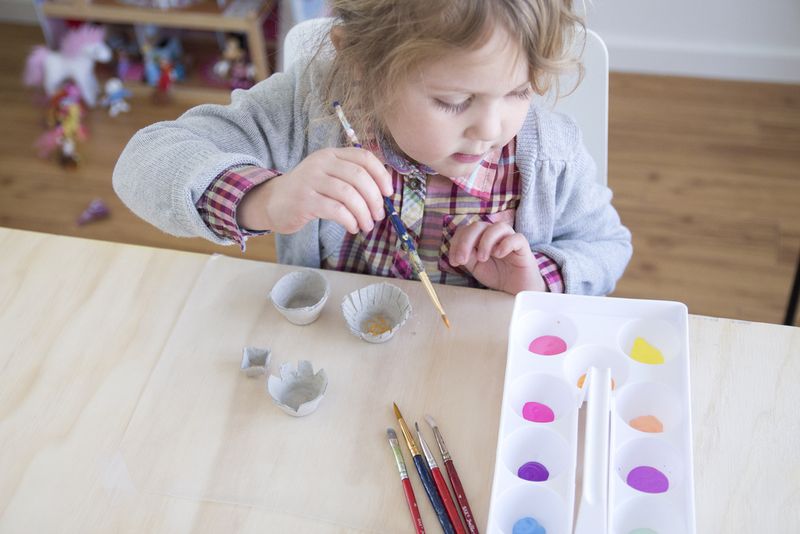
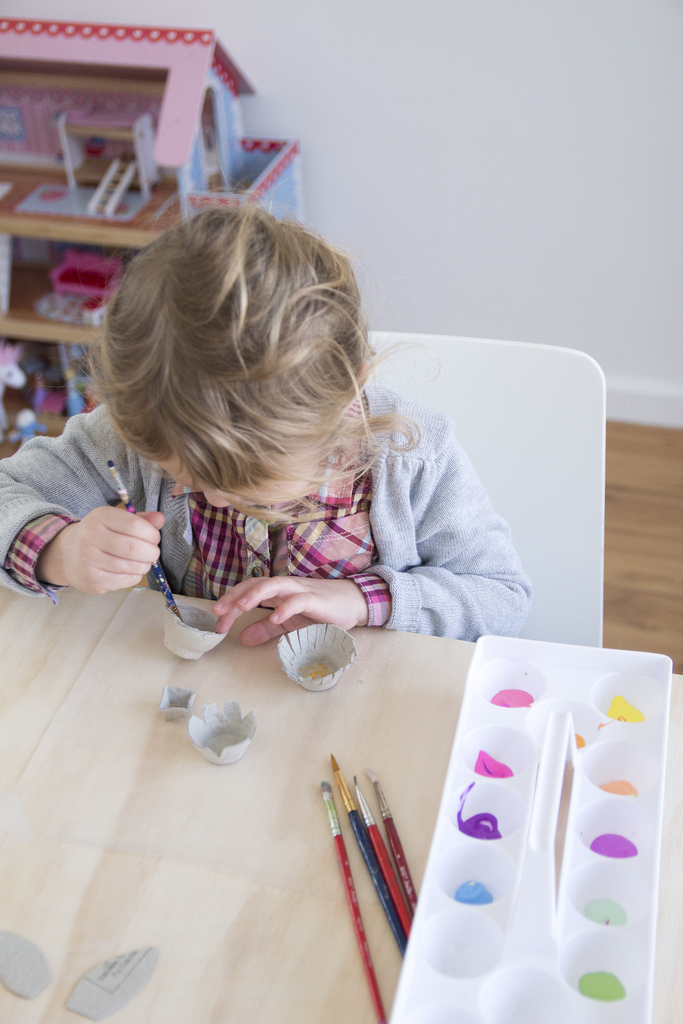
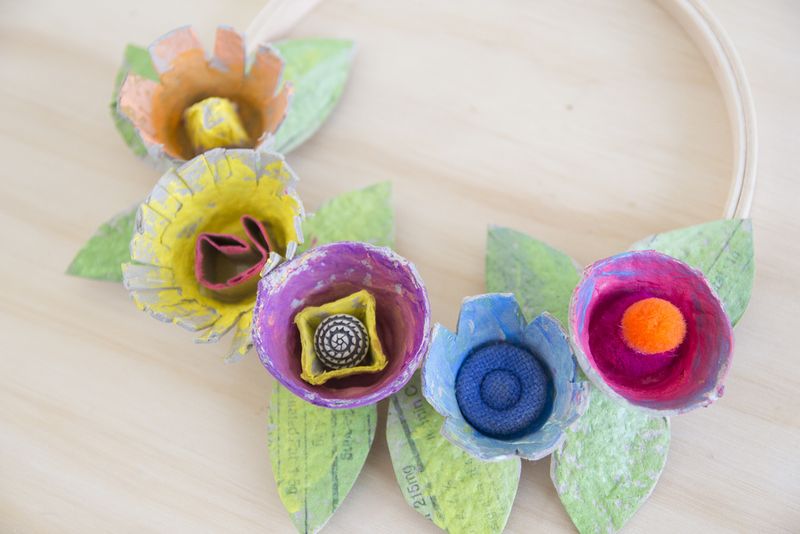
With spring just around the corner (as I chat to myself daily) what better way to celebrate than with a super cute and easy craft you can do with your kids. I had a bunch of wooden embroidery hoops lying around that we decided to glue our flowers to. But you could make all kinds of different wreaths with the flowers. Rowan thought the finished craft was pretty cool and hung the wreath on the door to her room.

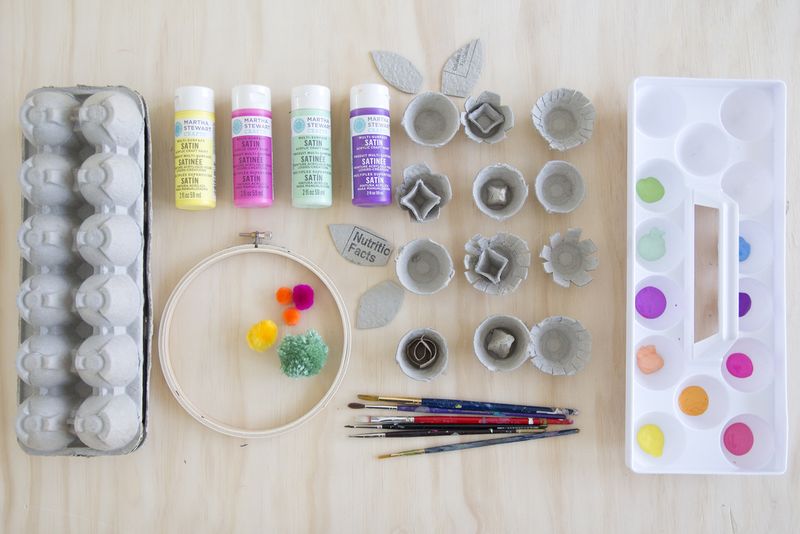
Materials needed:

2

Directions:
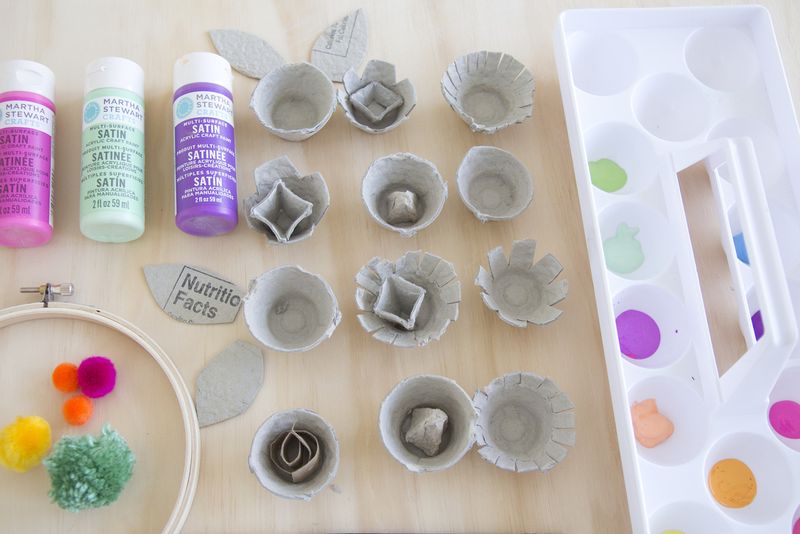
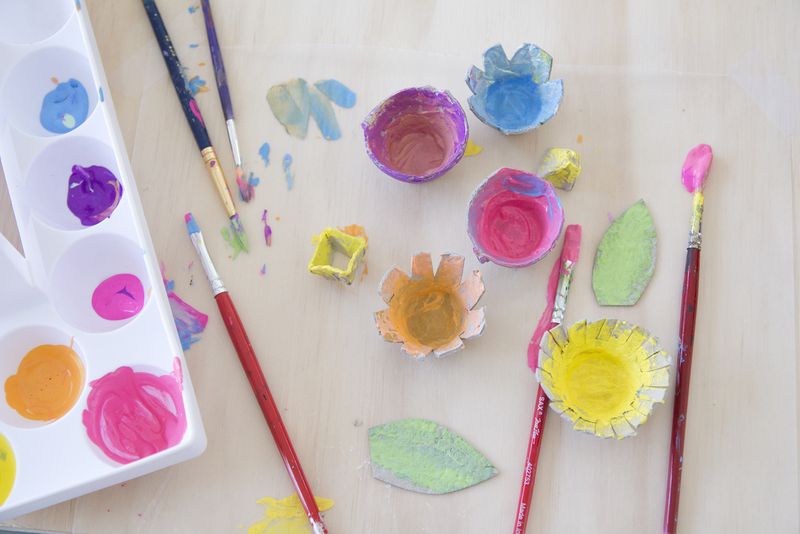
1. Cut out the egg pods from the carton. Trim and cut them into different shaped flowers. Use all the parts of the carton to create centers and to cut leaves out. If you kids are good with scissors they can totally do this part. It was a little too hard for Rowan still.

2. Let them have at it! Give them a bunch of bright colors to paint all the different flowers with. Do your kids always want to mix all the colors into one mucky brown color? I always have to try to get Rowan to paint with each color separately.

3. Hot glue all the parts of the flowers together. I added a few vintage buttons and pom poms to our centers.

4. Arrange and hot glue to wooden embroidery hoop. Attach string to top and hang somewhere in your house.

5. Pray that spring is around the corner.

3

4

5

6

7

8

Post by Jen Lula Jen Love Kev

Shamrock Shortbread Cookies

March 14, 2014

Post by Jeran of Oleander and Palm

St Patrick's Day Shamrock Shortbread Recipe

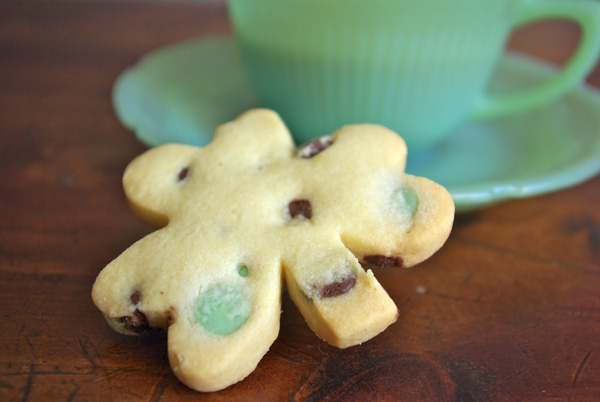
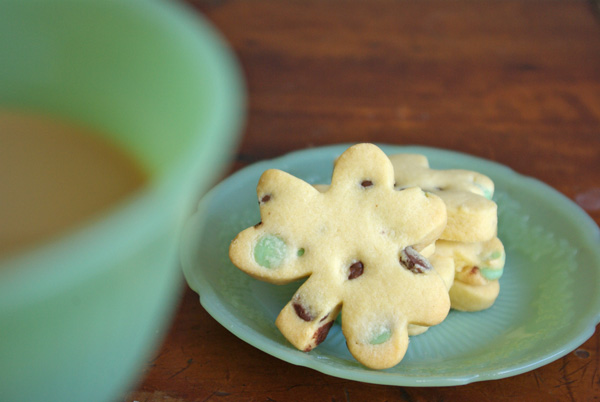
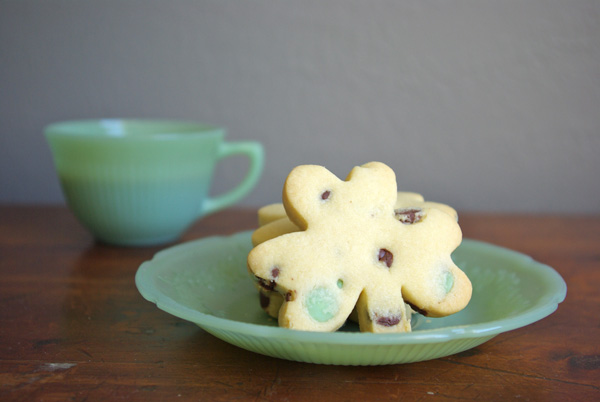
Seriously, why did I make these?  I think I have single handedly eat ALL of these Shamrock Shortbread. They’re buttery, tender cookies, dotted with milk and mint chocolate chips.

St Patrick's Day Shamrock Shortbread Recipe 2

Shamrock Shortbread Recipe
1 cup butter (room temp)
1/2 cup sugar
1/4 tsp. salt
1 tsp. vanilla
2 egg yolks
2 1/2 cups flour
3/4 cup chocolate chips (I used a milk/mint chocolate mix)
Cream the butter and sugar together with an electric mixer.  Add the salt, vanilla and egg yolks and beat until smooth.  Add the flour and mix till dough comes together.  Add the choc chips. Roll out the dough on a floured surface to 1/4″ thick and cut out your shamrocks.  Bake at 325 F for about 12-15 mins or just until the edges of the cookie start to turn golden brown.  Cool on a wire rack.
St Patrick's Day Shamrock Shortbread Recipe 3
Post by Jeran of Oleander and Palm

DIY Tassel Necklace

March 13, 2014

Tassel Necklace-01

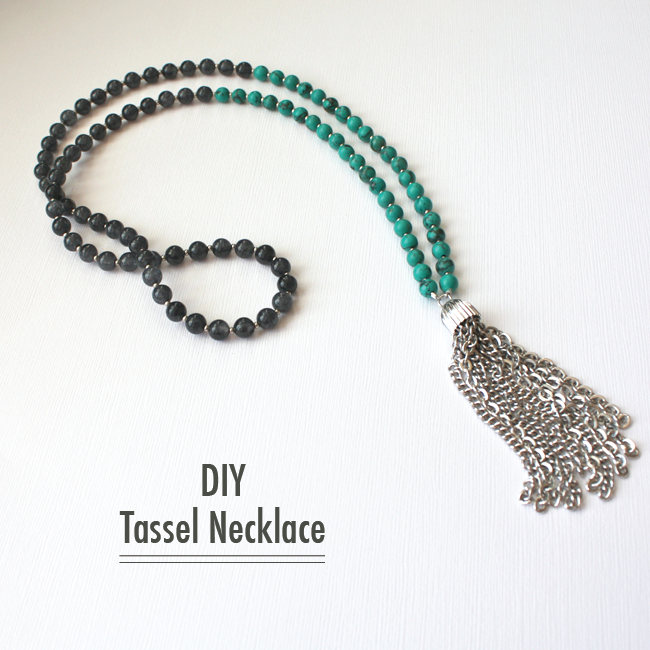
I've been wanting to share this necklace tutorial with you for ages. And (hooray!) today's the day. My inspiration is directly from an Anthropologie necklace I pinned a while back. And now this fun necklace can be yours in five easy steps.

Supplies-01

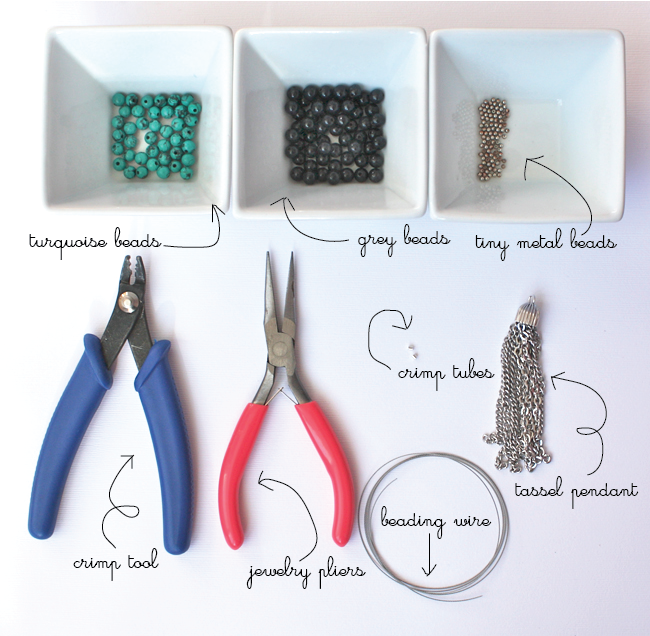
Gather your supplies: I prowled around GemFaire last time they were in town to find exactly what I was looking for…check them out when they're in your town. It's a sight to behold.
Here are a couple options similar to what I used:

Step 1

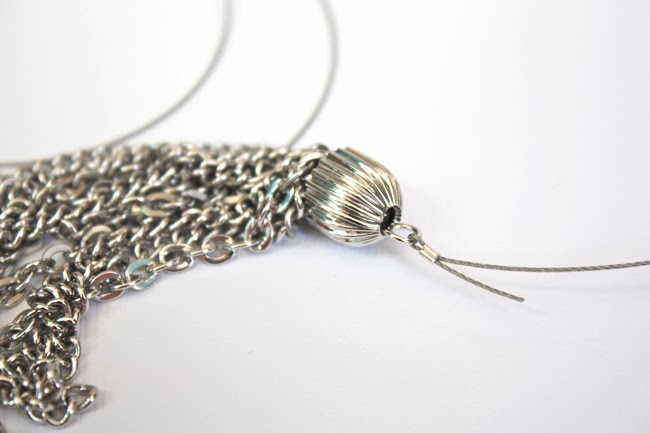
Step 1: Use one crimp tube to attach the beading wire to the loop on the pendant.

Step 2

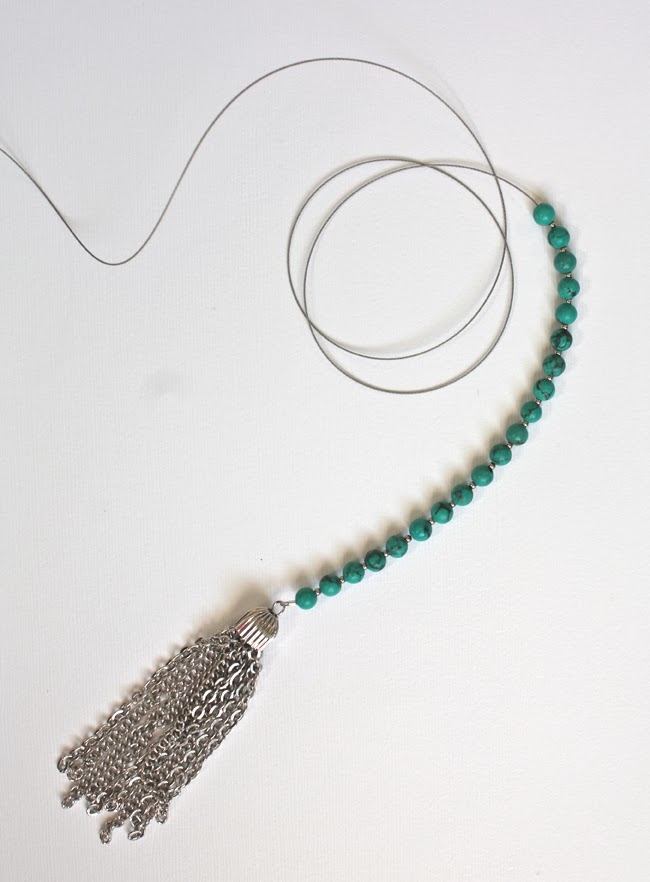
Step 2: String 1/2 of the turquoise beads, using one metal spacer bead between each turquoise. I used 20 turquoise beads for this section.

Step 3

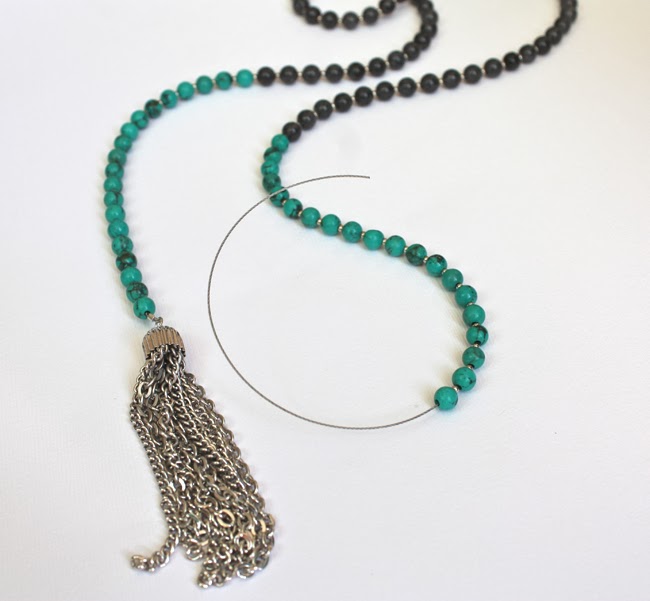
Step 3: String all of the grey beads. 58 beads, in my case. Use one metal spacer bead between each grey bead.

Step 4

Step 4: string the remaining turquoise beads and spacer beads.

Step 5

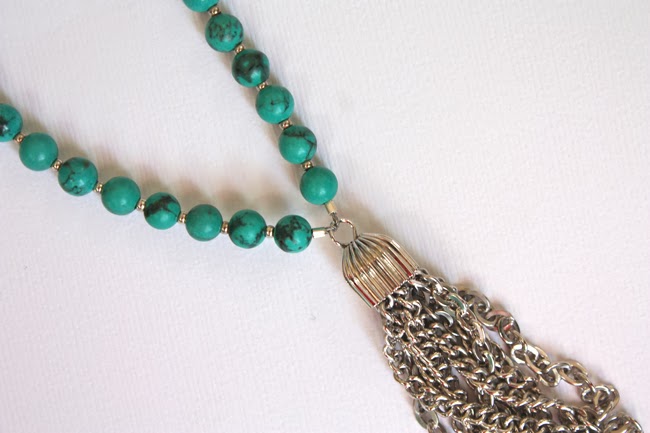
Step 5: Attach the loose end to the ring on the pendant using the remaining crimp tube. Make sure to pull the beading wire tight so the beads don't slide around. Cut the loose wire.

IMG_3053 copy

Ta-Da! You did it! Cute necklace in no time at all. And imagine all the possibilities with different colors and stones. You could even grab a tassel from the sewing section of the craft store for a different look.

Necklace

Remember that the total cost for this project varies greatly depending on the beads you select. Natural turquoise is so much prettier than imitation turquoise, but it costs a lot more. I highly recommend stopping by a gem or bead show when they're in town, because you can see all your options in person, and they often have special sales happening during the show.

IMG_3021

And just a quick shout-out to my little helper. She loves making jewelry…maybe she'll share a tutorial of her own next week. 🙂

Signature

Christina Williams is a blogger and graphic designer living in Salt Lake City, Utah. She's a night owl and a bookworm, as well as a mother to three children ranging in age from two to eight. She shares her latest DIY and design projects along with her adventures in parenting on her blog, Just Call Me Chris.

St Patrick’s Day Shamrock Floats

March 12, 2014

Post by Jeran of Oleander and Palm

St Patrick's Day Shamrock Floats

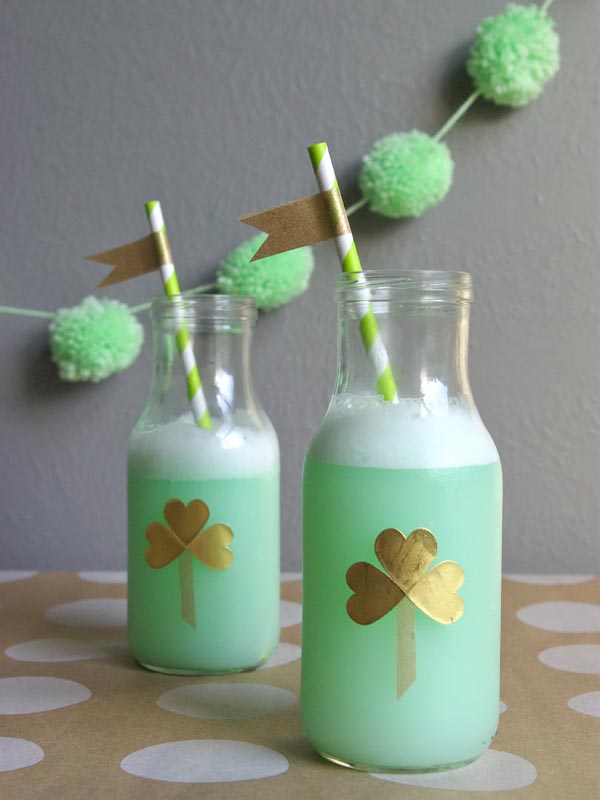
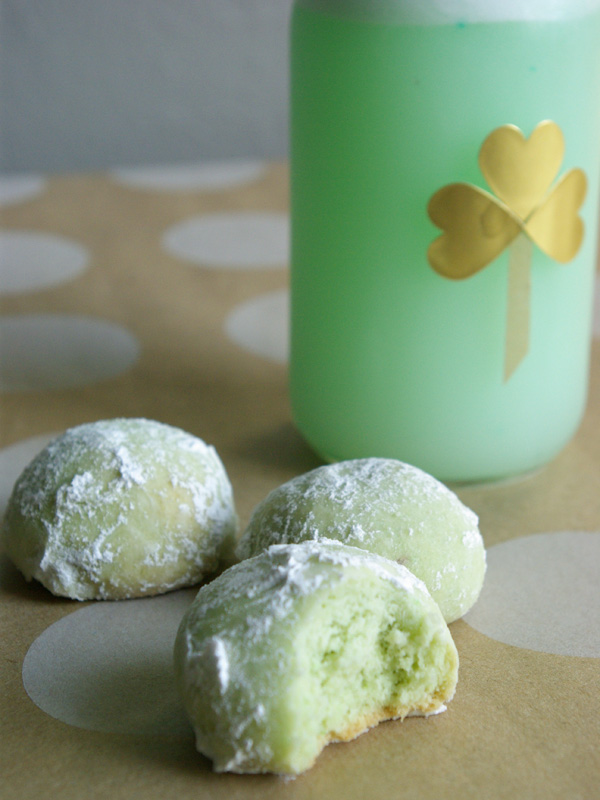
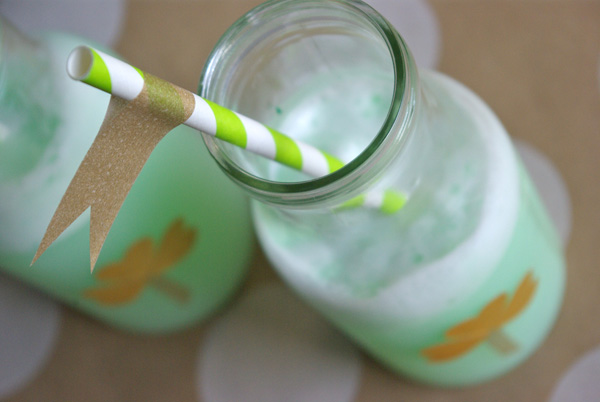
St. Patrick’s Day is just days away. I’ve started to decorate and I’m hunting down cute party supplies.  I have a yummy minty green drink St Patrick’s Day Shamrock Float for you to serve. This frosty treat is so simple, it only has two ingredients (a carton of Lime Sherbet, and a 2 liter bottle of Sprite).  Scoop the sherbet into a pitcher, punch bowl or individual glasses and then top with Sprite. I served my minty green drinks with some yummy minty green Pistachio Wedding Cookies.  The recipe is from the gorgeous food blog Mother Thyme.

St Patrick's Day Shamrock Floats 2

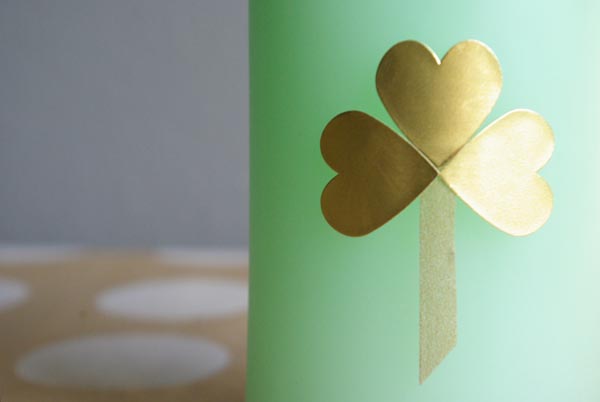
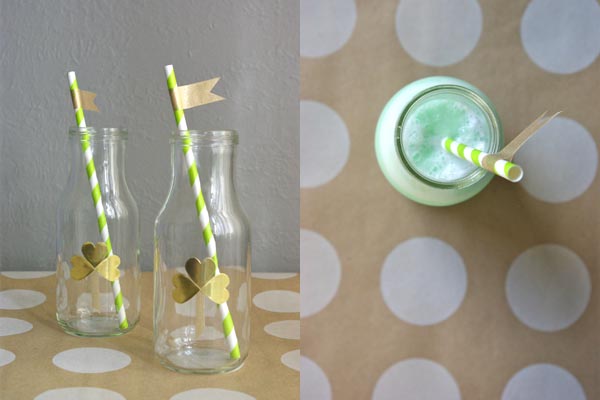
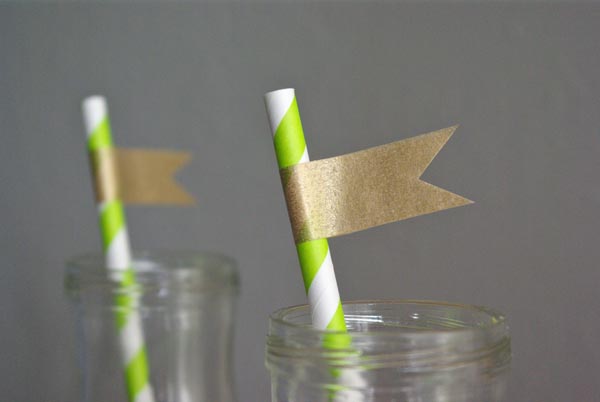
I dressed up my milk bottles with little gold shamrocks.  These were so easy to make.  I used gold heart stickers from We Love Citrus and a tiny strip of gold washi tape (I use Minted’s).  I also dressed up my paper straws with a little more gold washi tape. If you are looking to host a party, visit We Love Citrus. This San Diego based shop, has unique party supplies to make your party treats extra special.

St Patrick's Day Shamrock Floats 3

St Patrick's Day Shamrock Floats 4

St Patrick's Day Shamrock Floats 5

St Patrick's Day Shamrock Floats 6

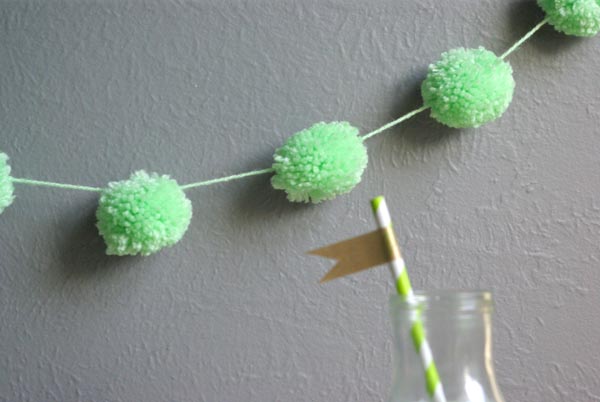
I’m also reusing the Pom Pom bunting I made for Olivia’s first birthday party.

St Patrick's Day Shamrock Floats 7

Post by Jeran of Oleander and Palm

St. Patrick’s Day Garland

March 11, 2014

Post by Haeley of Design Improvised

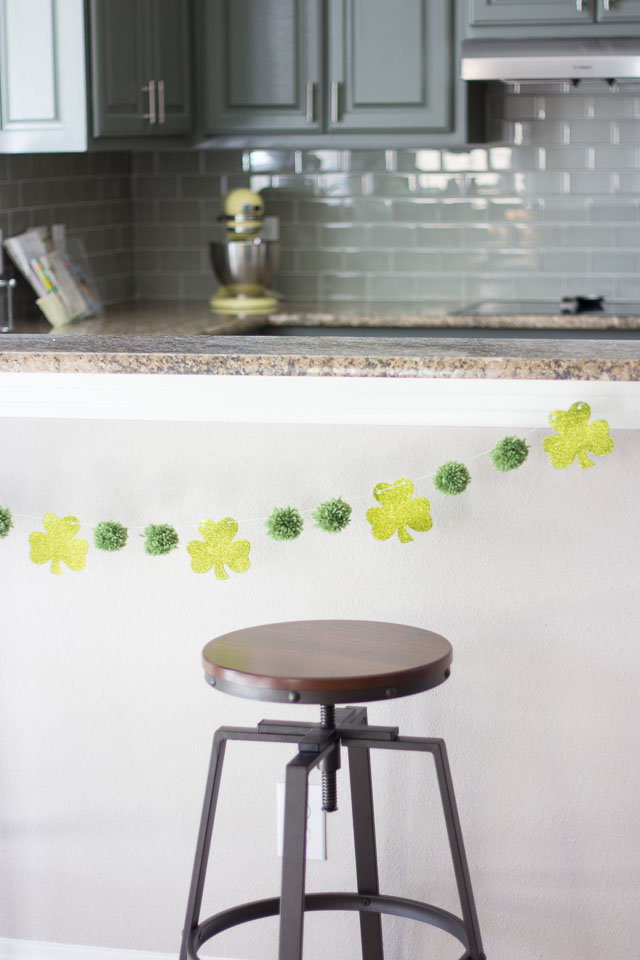
With St. Patrick’s Day only a week away, I wanted to make a little something to celebrate and came up with this simple St. Patrick’s Day Pom-Pom Garland.

st-patricks-day-garland

For the past several years we have had my sister and brother-in-law over for a meal of corned beef and potatoes on St. Patrick’s Day. It would typically involve a fun tablescape – here’s last year’s table and the year before. But now that we’re in San Antonio and they’re in Chicago, it won’t be quite the same. In case we don’t get around to having a special meal, this garland is may be it this year!

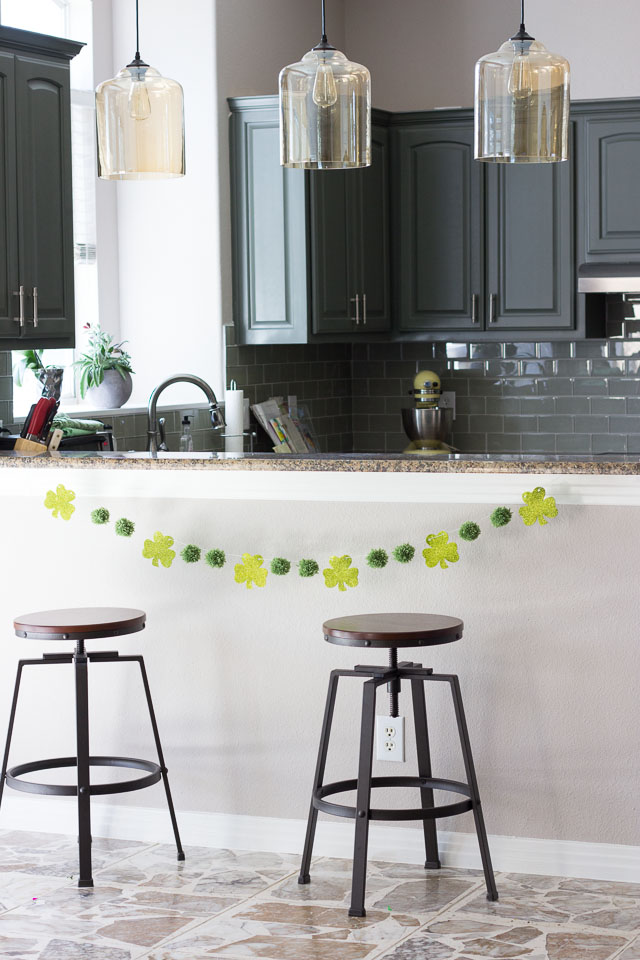
I’ve gotten in the habit of hanging holiday garlands under the bar in our kitchen. It seems like a little less formal spot than the mantel. I did the same at Valentine’s Day and Christmas.

St. Patrick's Day Garland 21

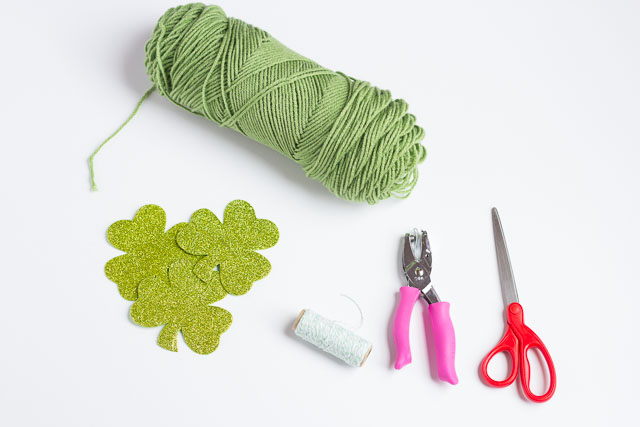
I made this garland in a little over an hour while watching TV. It consists of a pack of glittery shamrocks I got at the dollar store and some green pom-poms. Here’s what you need.

Supplies for St. Patrick’s Day Garland

  • Green yarn
  • Foam shamrocks (I got a pack of 12 for $1 at Dollar Tree)
  • Hole punch
  • Scissors
  • Bakers twine or jute twine

St. Patrick's Day Garland 1-2

How to Make St. Patrick’s Day Garland

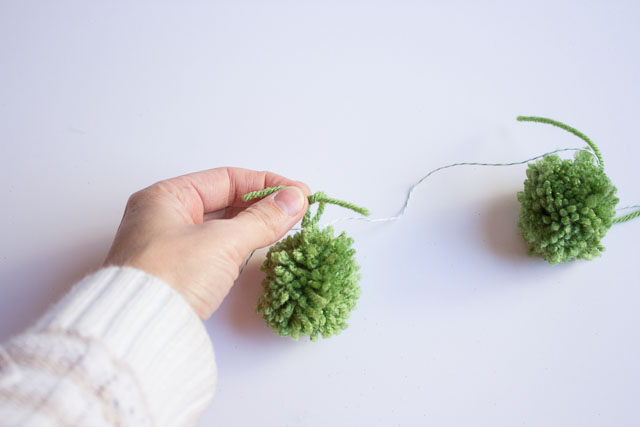
1. Make as many pom-poms as you want. Here’s a full tutorial for making pom-poms (they’re easy!). For these particular pom-poms, I wrapped the yarn around 3 fingers about 85 times. Make sure to leave the two loose ends when trimming your pom-pom. You will need these to tie them to the garland.

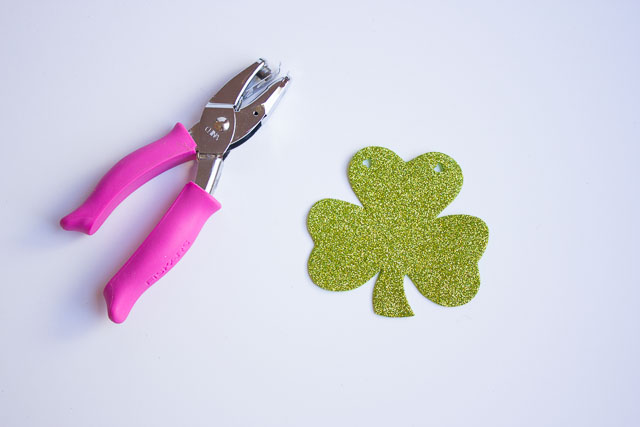
2. Use a hole punch to punch two holes at the top of each shamrock.

St. Patrick's Day Garland 2

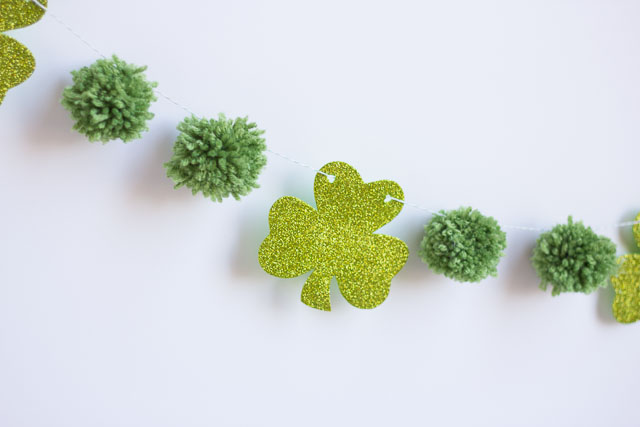
3. Unwind a length of twine (as long as you think you’ll want your garland). Thread the twine through the holes on a shamrock, sliding it down to the start of the length of twine. Then tie on two pom-poms. Once they are tied on you can slide them around and reposition them as needed. Thread on another shamrock and repeat until you have the garland as long as you want it.

St. Patrick's Day Garland 4

4. Slide around the pom-poms and shamrocks to space them out evenly and then trim the long ends on the pom-poms. Hang your garland!

St. Patrick's Day Garland 10

St. Patrick's Day Garland 17

Post by Haeley of Design Improvised

Giant Geometric Wall Shamrock DIY

March 10, 2014

Post by Jeran of Oleander and Palm

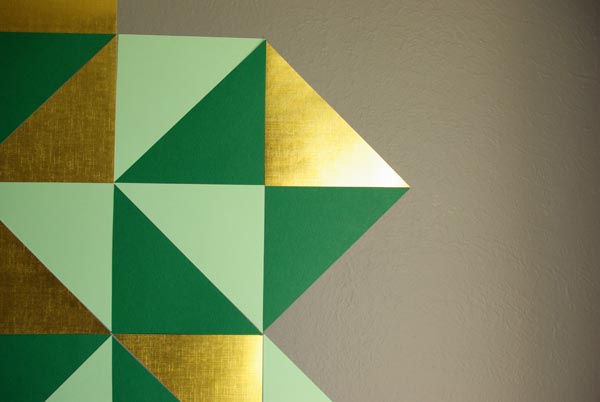
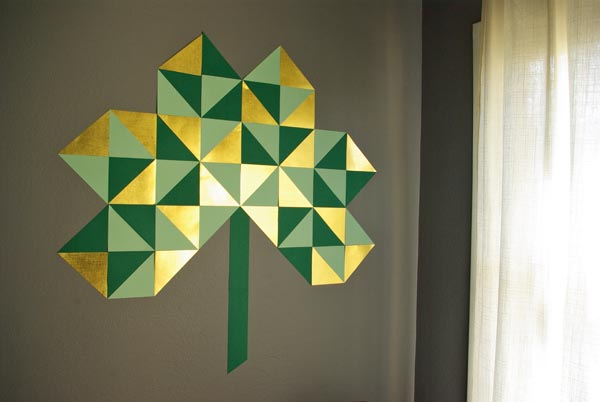
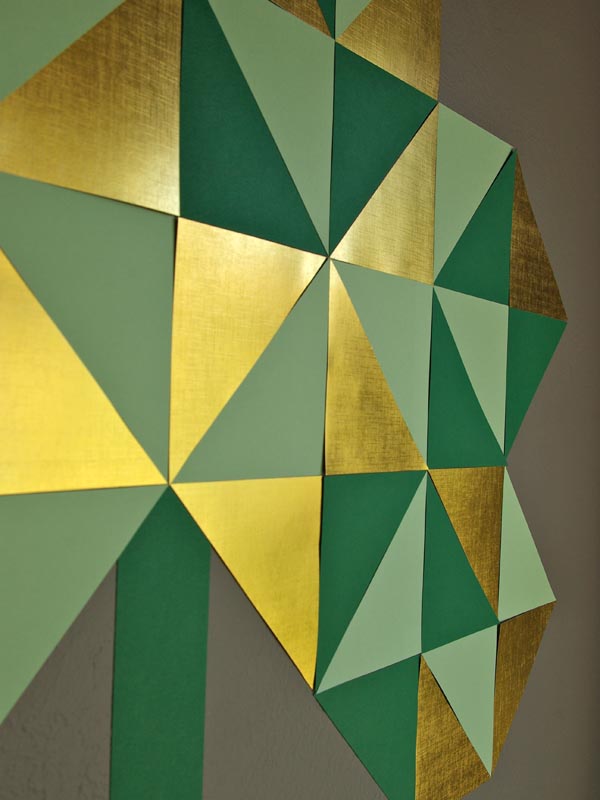
Giant Geometric Wall Shamrock DIY

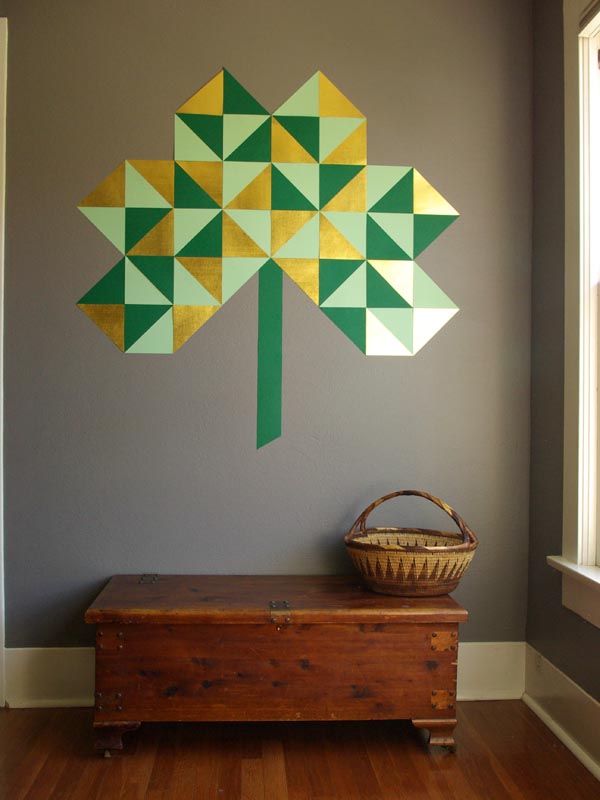
Well, I had to do it.  Here’s the St. Patrick’s Day version of my Giant Geometric Wall Heart that I made for Valentine’s Day.  Green is my favorite color, so I think this guy is going to stay on my dining room wall for quite a while.  Plus, it should bring me some good luck to have a giant shamrock in my home, right?

Giant Geometric Wall Shamrock DIY 3

Giant Geometric Wall Shamrock DIY 1

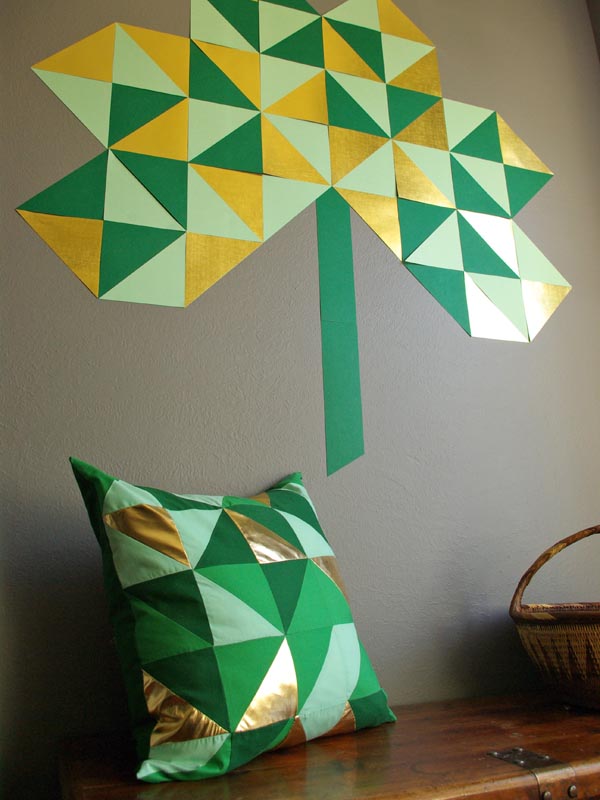
For this shamrock, you’ll need 10 pieces of scrapbook paper.  I used mint, forest green and metallic gold.  You simply cut each piece of paper into 6″ squares and then cut those squares diagonally to make triangles.  Each piece of 12″ scrapbook paper will give you 8 triangles.  To make the shamrock shape, you will be making 3 hearts (like my giant geometric heart) and then adding a stem that is 3″ wide.  I attached the triangle to the wall using glue dots.  I tried double stick tape, but with the texture of my walls, it didn’t want to hold well.

Giant Geometric Wall Shamrock DIY 6

It goes perfectly with my Green and Gold Geometric Pillow.  I am really loving this mint and gold combo for St. Patrick’s Day.

Giant Geometric Wall Shamrock DIY 5

What do you think about my “go big or go home” holiday decorations?  I’m having fun with it, would you put up something this big on your wall?  If you do decorate for St. Patrick’s day, what does it look like?

Giant geometric shamrock 4

Post by Jeran of Oleander and Palm

Ombre Veggie Tray for St. Patrick’s Day

March 7, 2014

Post by by Aimée Lowry & Bettijo B. Hirschi from PagingSupermom.com

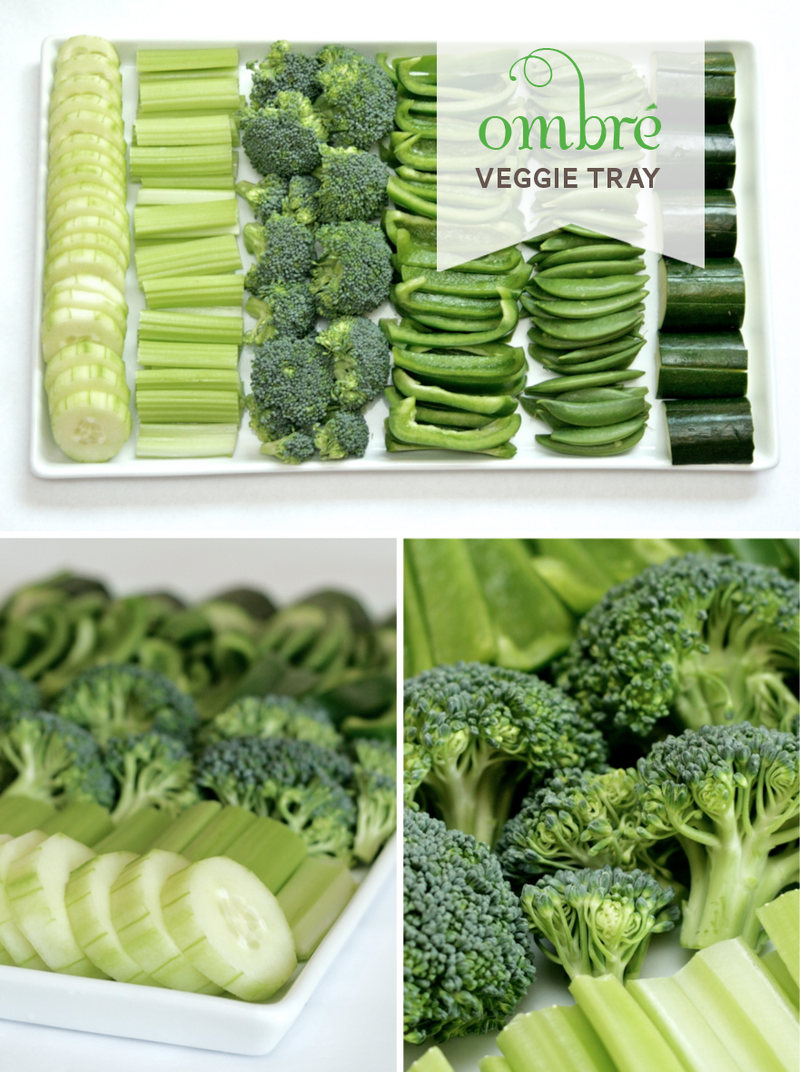
Ombre Veggie Tray for St. Patrick's Day

Want a festive and healthy St. Patrick’s Day snack? Bite-sized green veggies served up in a monochromatic array will delight even the littlest leprechauns. Collect a variety of crunchy green vegetables: cucumber, celery, broccoli, green pepper, sugar snap peas and zucchini. A simple rectangle platter lets the veggies be the star of the show. We love the versatile Large Cuatro Platter from CB2.com.

To create the Ombre Veggie Tray clean and cut the veggies as desired and arrange on a tray from lightest to darkest. Serve with your favorite veggie dip or hummus.

Reposted with permission by Aimée Lowry & Bettijo B. Hirschi from PagingSupermom.com

St. Patrick’s Day Play Date

March 6, 2014

Post by Michelle Sterling of Avery and Augustine

St. Patrick's Day Play Date

St. Patrick's Day Play Date 2

St. Patrick's Day Play Date 3

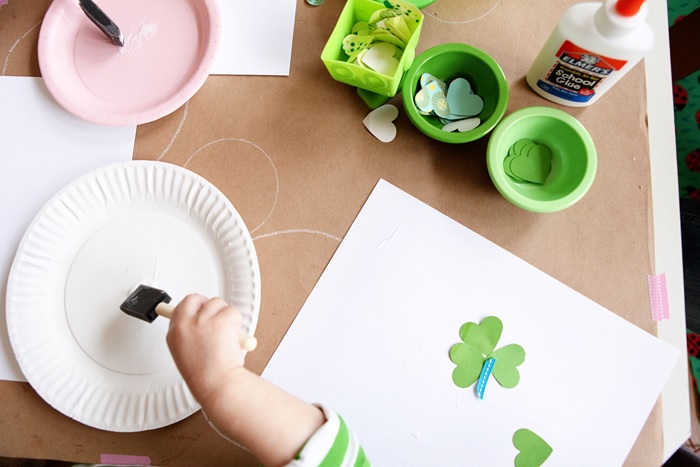
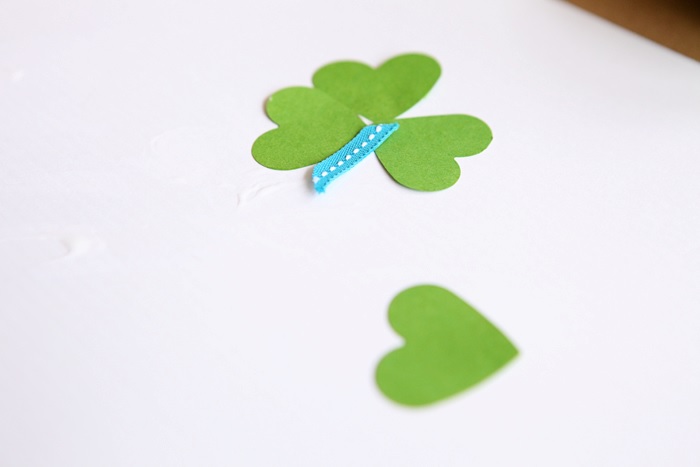
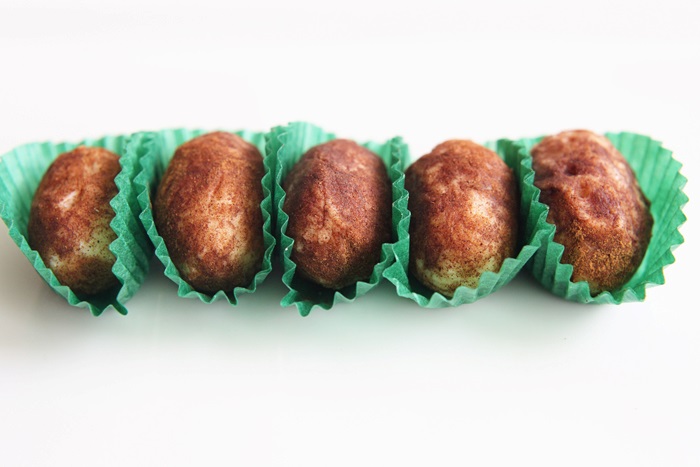
 I love thinking of activities for play dates and even building them around a theme, if we have the time to plan that out.  A little goes a long way and the extra preparation makes the time fun and special.  Some years ago, we had a St. Patrick’s Day Play Date with my cousin and her children. They came bearing St. Patrick’s Day decor and Irish potato candy (recipe courtesy of Baked Bree).  The “potatoes” were delicious and were wrinkled and dimpled just like real potatoes!  Part of the afternoon was filled with a simple craft―punched hearts in different shades and patterns of green along with little bits of ribbon that the kids glued together as shamrocks.  A little lunch, dessert, play time and craft time–all in all, a splendid time!

Post by Michelle Sterling of Avery and Augustine. You can see her work and read about her two young children and their first forays in cooking, art and everything in between at Avery and Augustine.

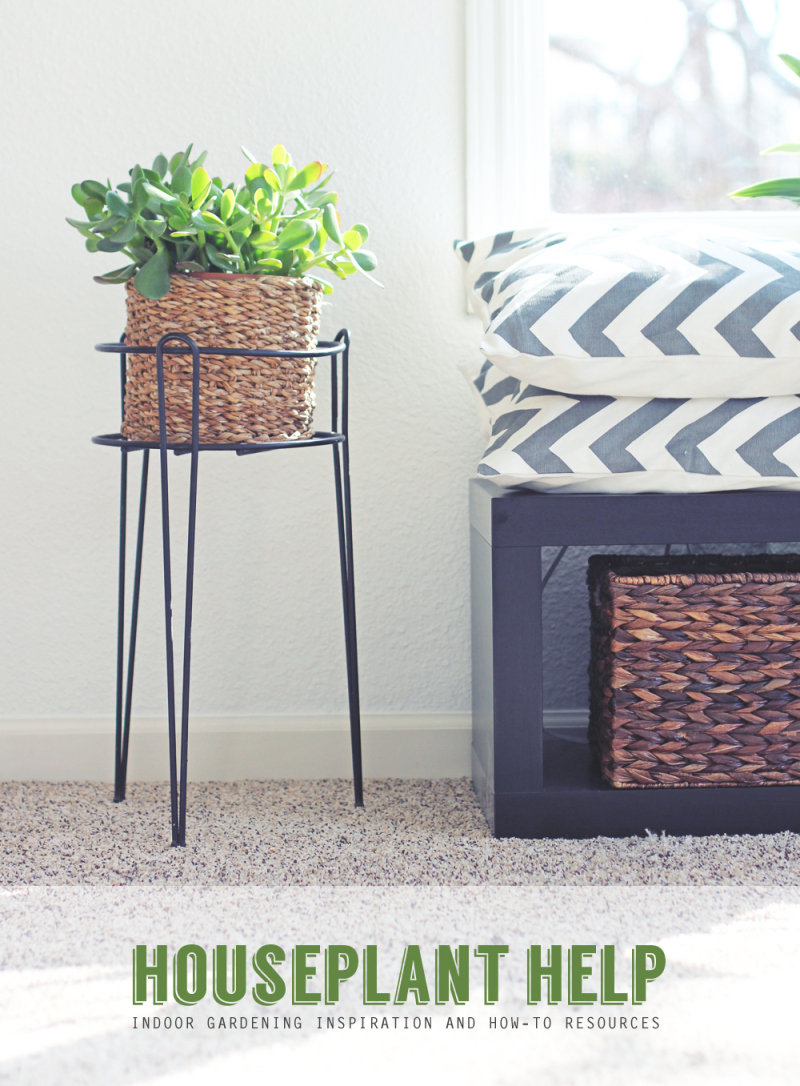
Houseplant Help

March 5, 2014

Indoorgardening11

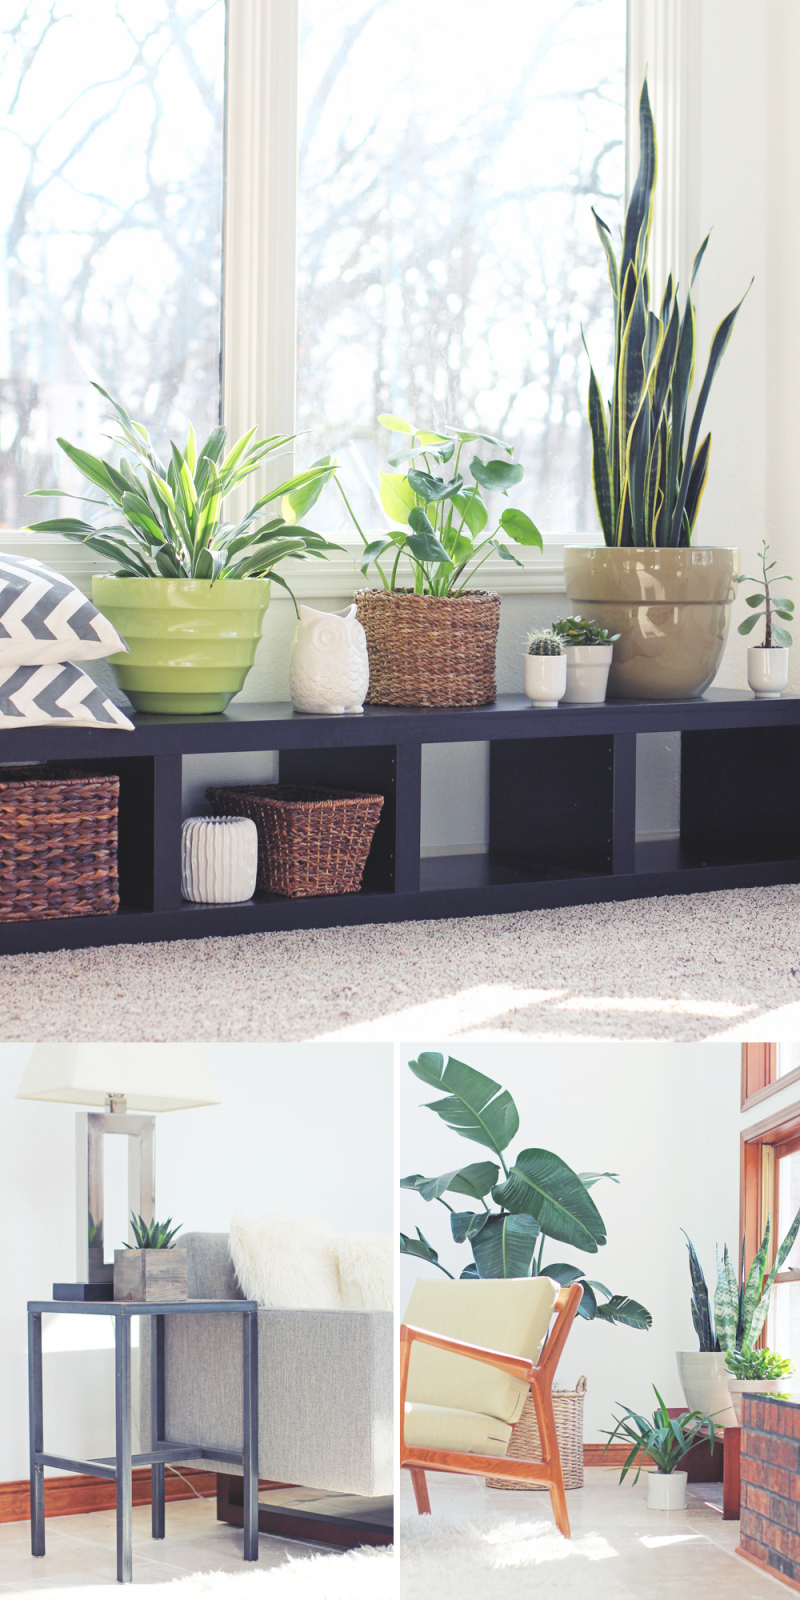
I love having lots of plants in our house, but I don’t have the best track record keeping them alive.  Every spring, I fill my house with plants, only to have most of them heading for the trash bin by the end of summer. This time around, I’ve been reading up on indoor gardening and have even started selecting plants based on hardiness. I’m especially encouraged by articles about plants that seem to thrive under any conditions. Surely, I can make keep a few of those alive.

Here are a few of the articles I’ve found most helpful:
Here are a few more scenes of green in my own home:

Indoorgardening2 (1)

Post by Julee : Warm Hot Chocolate

A Game to Remember

March 4, 2014

1

2

3

4

5

6

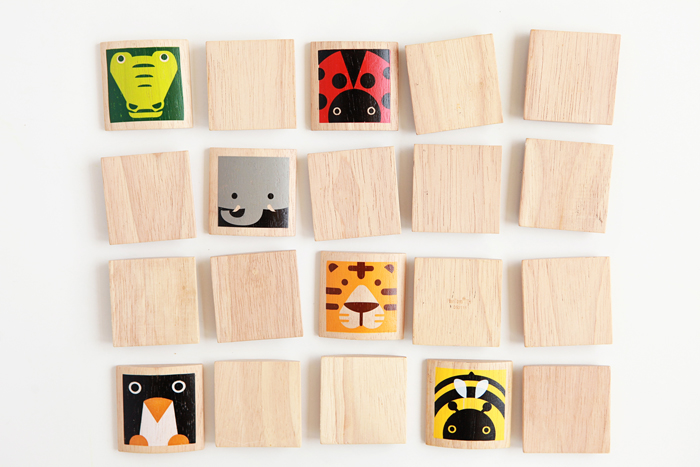
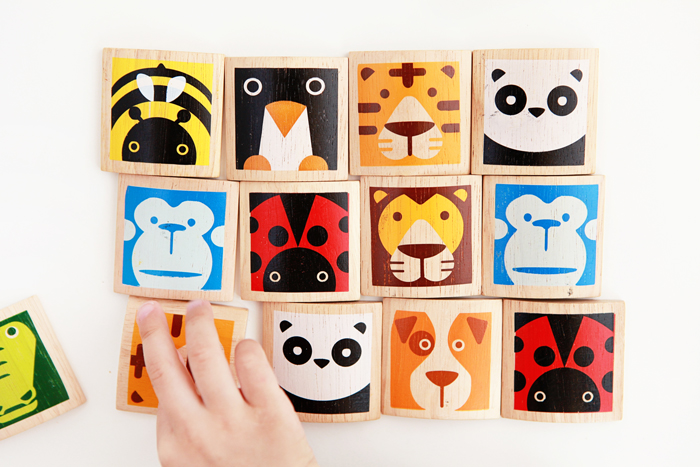
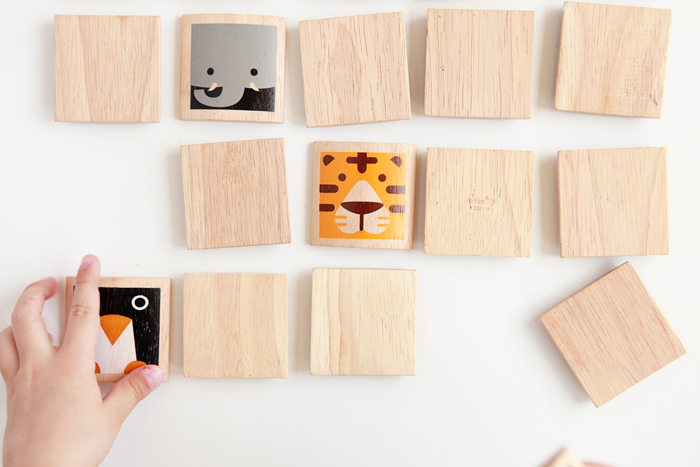
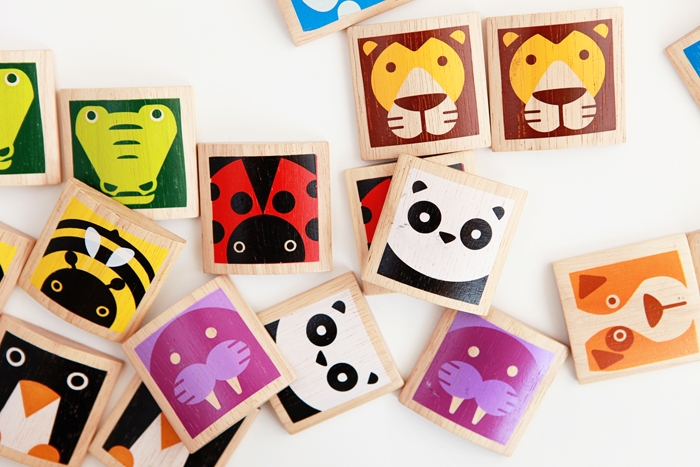
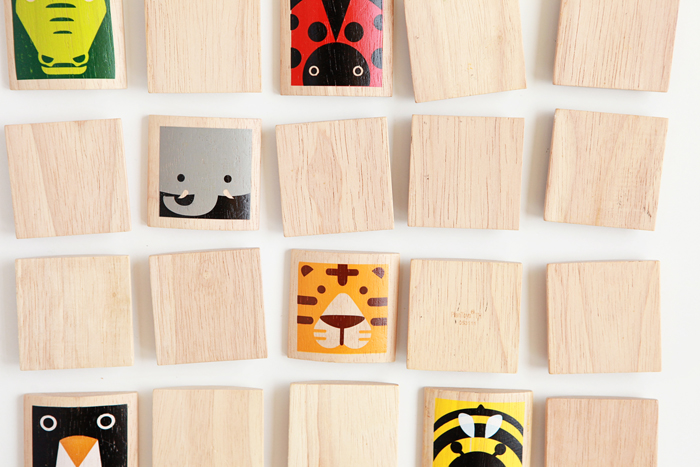
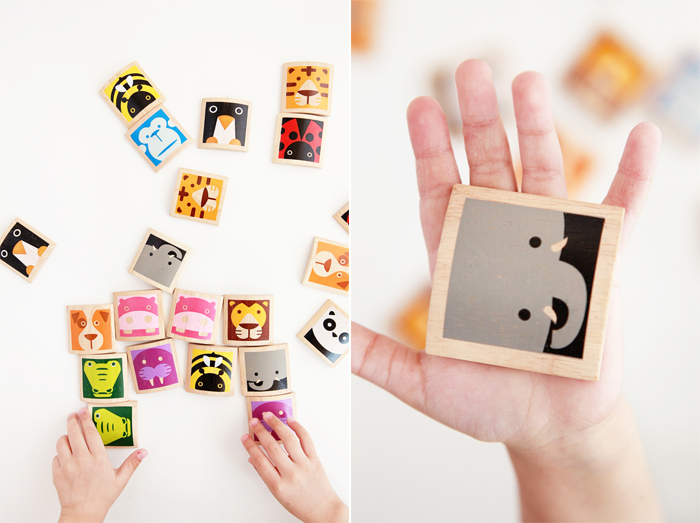
This is a great first memory game for a toddler or preschooler.  The game consists of wooden tiles with stylized pictures of animals in bold and appealing colors.  I like how the tiles are substantial and made of wood, thus easy for little hands to handle and flip over.  What's nice is that they are durable enough to pass on to someone else after Avery and Nate outgrow them!

Post by Michelle Sterling of Avery and Augustine

You can see her work and read about her two young children's first forays in cooking, art and everything in between at Avery and Augustine.

Easy St. Patrick’s Day Shamrock Hair Clip

March 3, 2014

Post by Aimée Lowry & Bettijo B. Hirschi from PagingSupermom.com

Easy-St.-Patrick's-Day-Shamrock-Hair-Clip

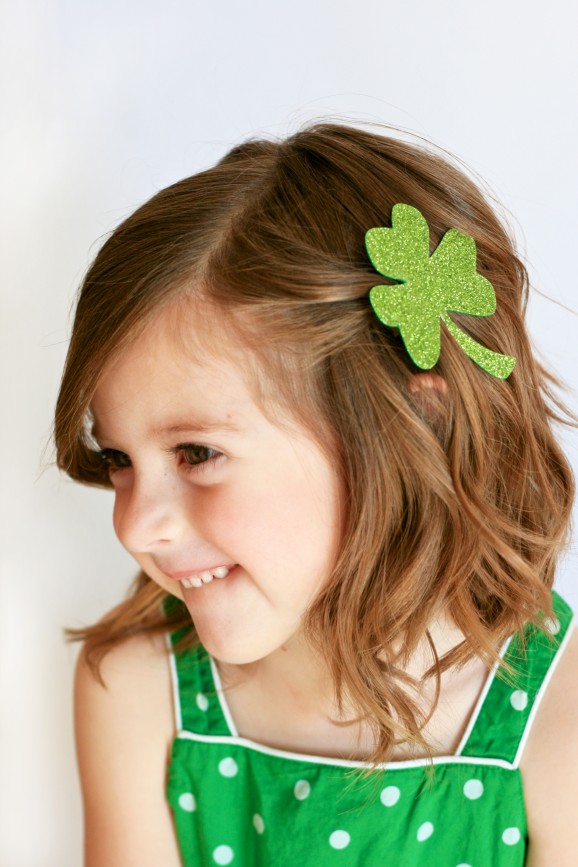
With St. Patrick’s Day just a few weeks away, our easy shamrock hair clip is the perfect last-minute craft. This project takes just moments to assemble and is sure to bring good luck (or at least keep pinching fingers away)!

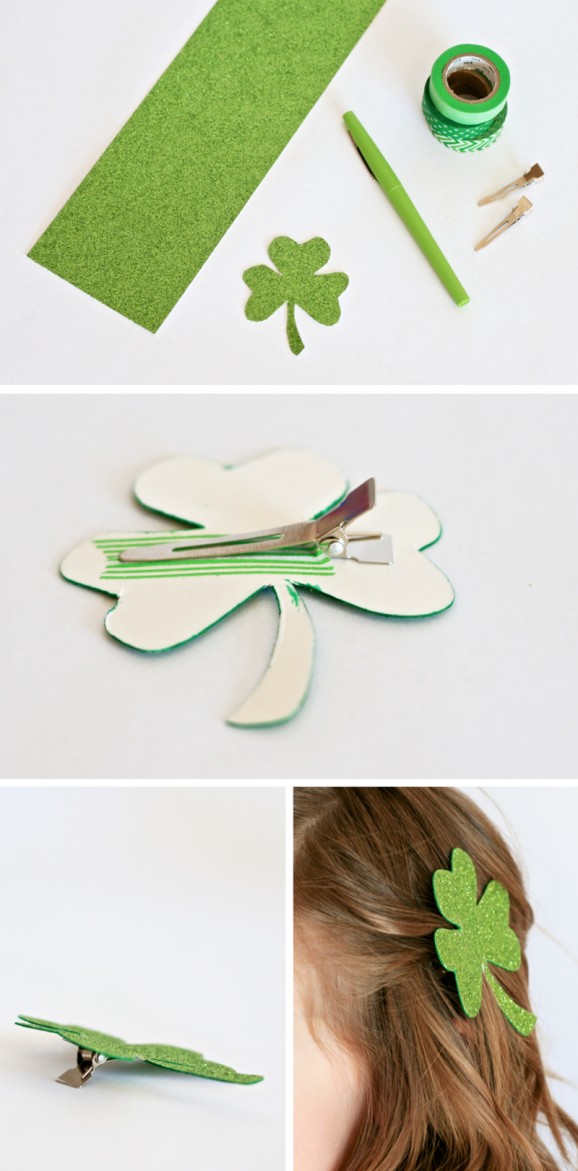
Easy St. Patrick's Day Shamrock Hair ClipYou will need our free shamrock template printable, sturdy green cardstock of your choice (we used a scrap piece of American Crafts Glitter Paper) an alligator clip, tape, green marker and scissors.

Easy St. Patrick's Day Shamrock Hair Clip 2TO MAKE: Download our free Shamrock Template. Cut out a shamrock to make a pattern. Trace shamrock pattern onto green paper. Cut out. If necessary, color the edges of your shamrock with a green marker to give a polished look. Using tape, secure the alligator clip to the green shamrock with the flat side touching the shamrock to provide a smooth surface for the cardstock to lie against.

Easy St. Patrick's Day Shamrock Hair Clip 3Special thanks to our darling model, Ava, and her Supermom Tara!

Reposted with permission by Aimée Lowry & Bettijo B. Hirschi from PagingSupermom.com

DIY St. Patrick Day Cards — Leprechaun Handprint Cards

February 28, 2014

Post by Aimée Lowry & Bettijo B. Hirschi from PagingSupermom.com

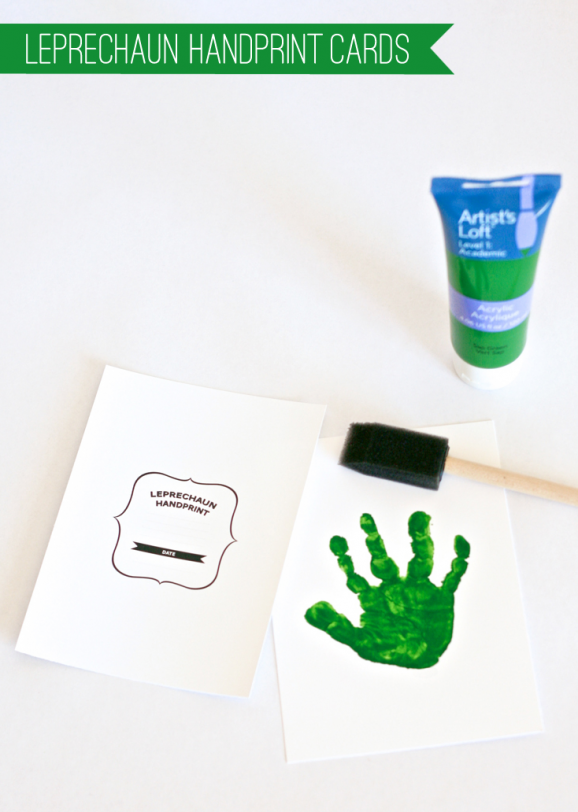
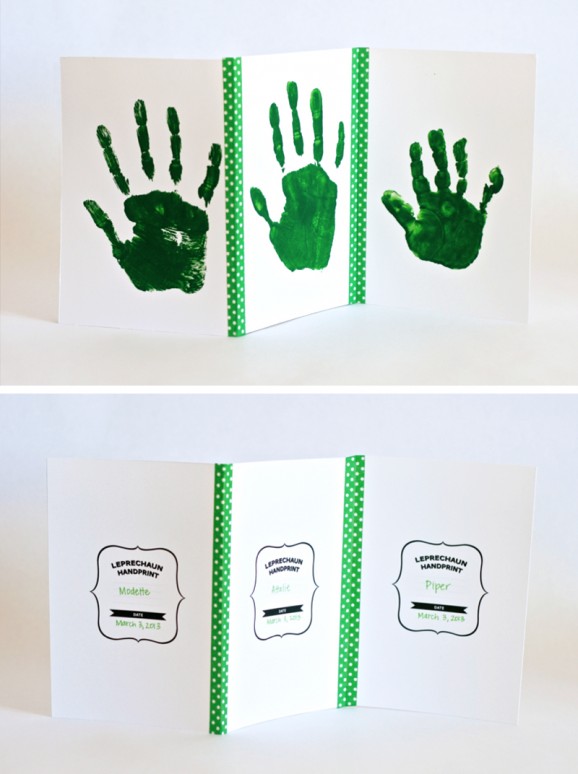
We are lucky that one set of grandparents are right here in Phoenix with us, but my husband’s parents live up in Wyoming. We get to see them only a couple times a year, and so I thought it would be fun to send them a little St. Patrick’s Day surprise of DIY leprechaun handprint cards. I had my little leprechaun’s help me make these hand print cards that I know Grandma is going to love.

DIY St. Patrick Day Cards — Leprechaun Handprint CardsPrint and download our free template which includes a nameplate so Grandma can identify those handprints. Using a foam brush, cover each child’s hand with green craft paint and stamp it onto the cut cards. Miss Modette’s hand (she is not quite two) was the most difficult to stamp (obviously!), so I had a few extra cards ready to go and then picked my favorite.

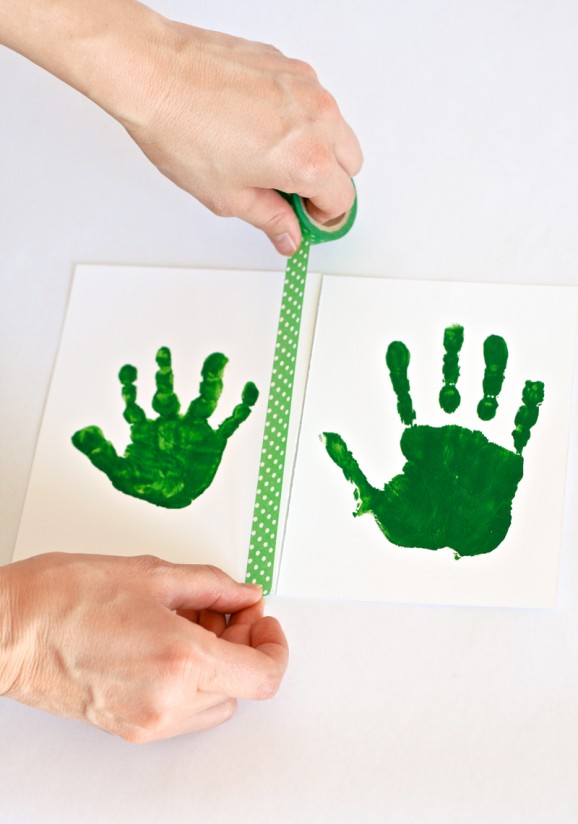
DIY St. Patrick Day Cards — Leprechaun Handprint Cards 2If you have more than one little leprechaun, tape the cards together leaving a very small space between them so you can easily fold them up accordion style. Mail in a size A7 envelope.

DIY St. Patrick Day Cards — Leprechaun Handprint Cards 3Reposted with permission by Aimée Lowry & Bettijo B. Hirschi from PagingSupermom.com

Create a Dreamy Nautical Room

February 27, 2014

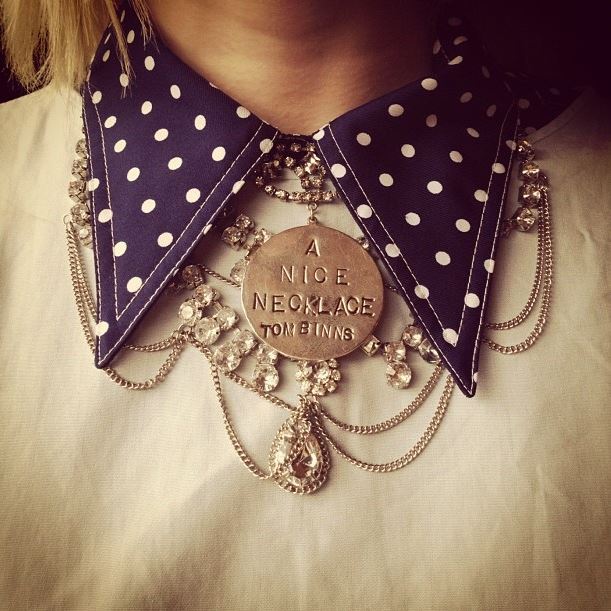
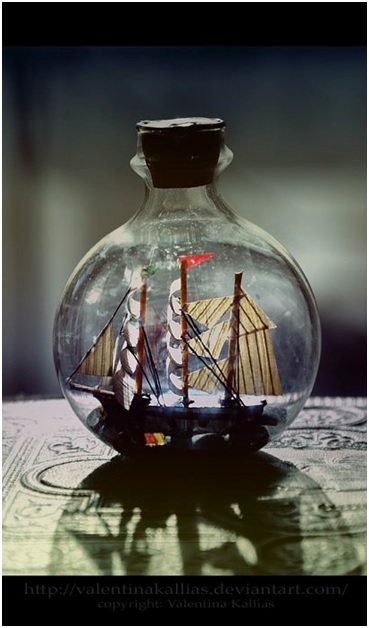
For this room, I was inspired by these dreamy nautical images. I love the idea of dressing up a classical nautical look with soft shapes, delicate lines and vintage details.

Nautical

image

Shipinabottle

image

174eb633cae07245a487f5a2629b7e39


image

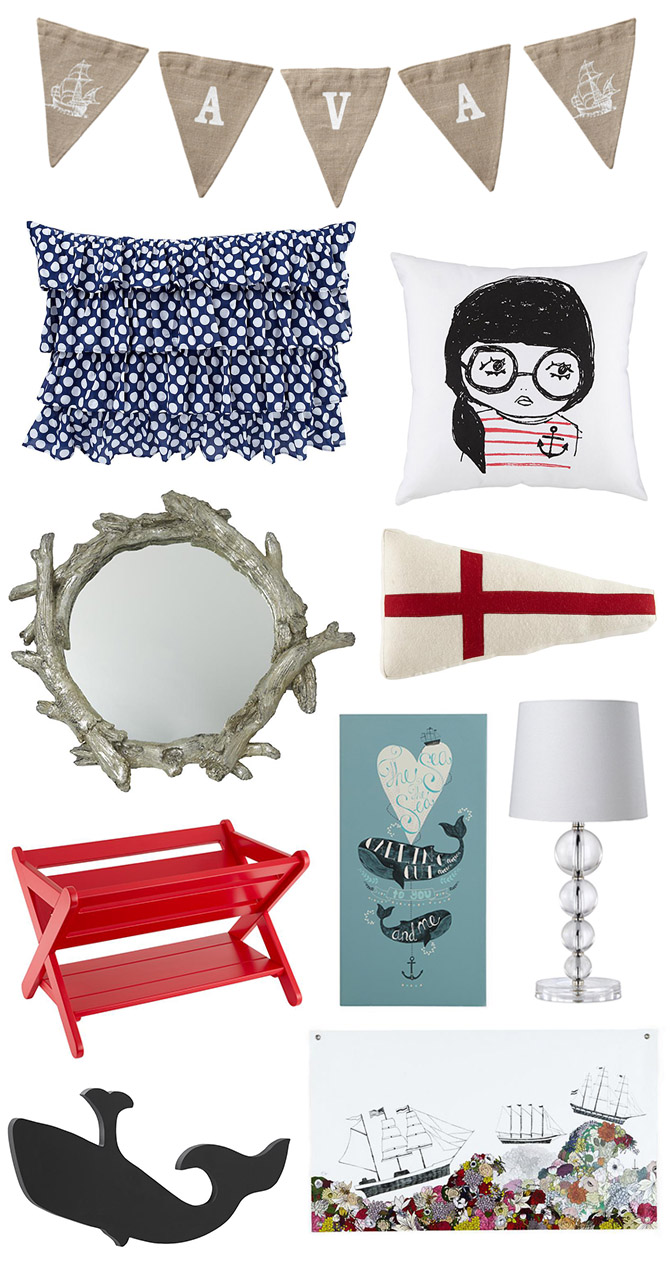
Try it for yourself!

NAUTICAL2

Clockwise from top left:

Achievement Banner Flags, $2.95 each

Anchor Girl Pillow, $24

Oh Buoy Flag Throw Pillow, $24

Sea the Sea Calling Canvas Wall Art, $99

Dew Drop Table Lamp and Shade, $109

Sail the Ocean Blooms Banner, $79.95

Chalk with the Animals, $24.95

Good Read Book Caddy, $149

Little Twigs Wall Mirror, $219

Preppy Polka Dot Bedding, $29-$129

By Anna Passadori 

Anna develops and designs exclusive product for The Land of Nod. She hails from the west coast and has traveled the world to source product. She loves anything Marc Jacobs, Sofia Coppola or stripes! (So, if anyone can get a photo of Sofia Coppola wearing a striped outfit by Marc Jacobs, please send it along.)

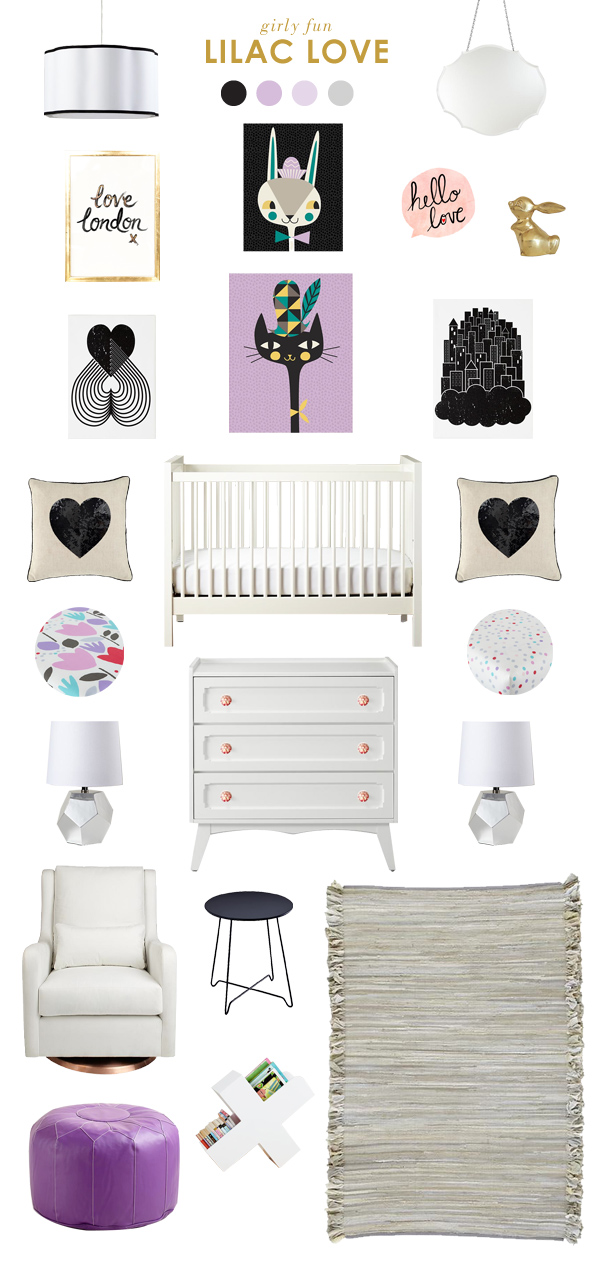
Lilac Love

February 26, 2014

Lilac-love

Fifth Avenue Pendant / Scallop Mirror / Love London Print / Bebop Bunny

Hello Love / Brass Bunny / Love Print / Bebop Kitty

Dream City Print / Sequin Heart Pillows / White Andersen Crib / Tulip Festival Bedding 

Silver Lamps / Monarch Dresser (with Handpicked Knobs) / Milo Glider

Streamline Nightstand / Ribbon Cutting Rug / X Marks the Bookcase / Purple Pouf

Register for these great nursery items at LandofNod.com

Post by Joni: Lay Baby Lay

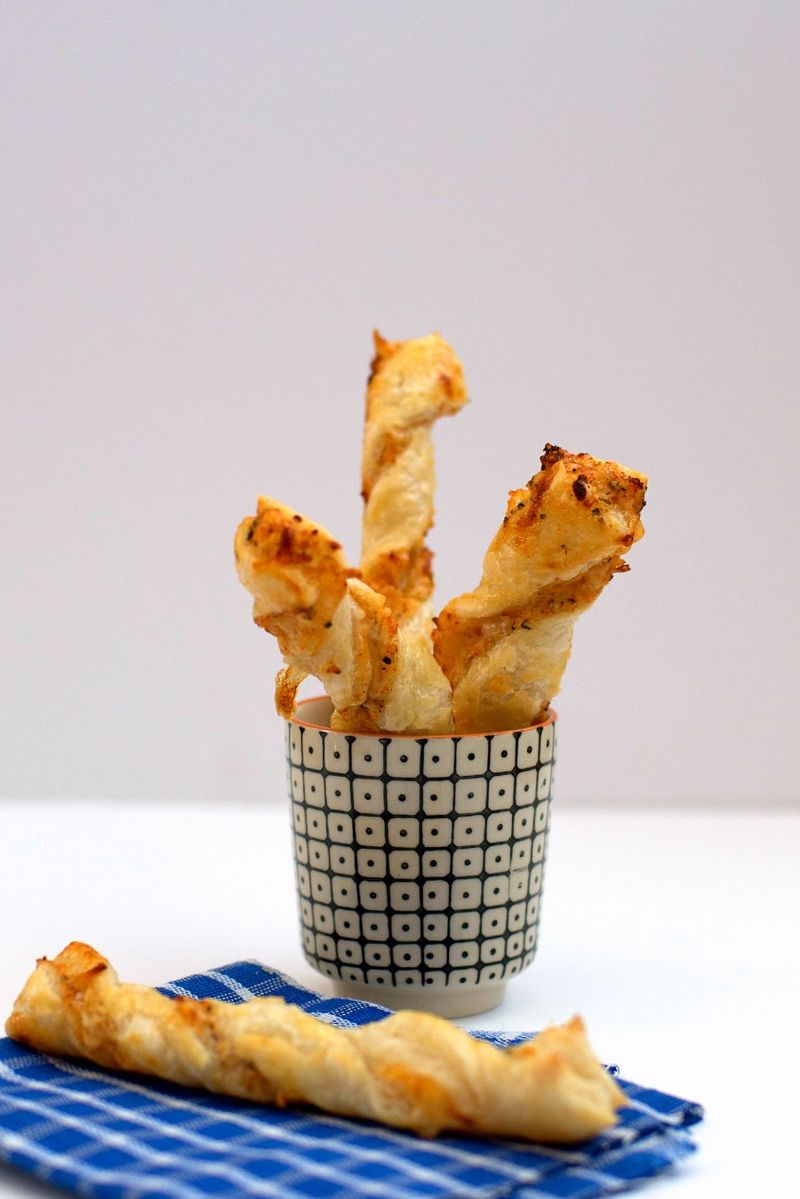
Cheesy Puff Pastry Twists

February 25, 2014

Post by Giulia Doyle of Audrey’s
Cheesy Puff Pastry Twists | Honest to Nod

We have these twisty, cheesy bread sticks at our grocery store. They are yummy and addictive, buttery and crumbly. The kids love them and I love them. Looking at the package I note that they are imported from Switzerland – go figure! But they are expensive and buying bread sticks that travel the Atlantic to get to me does seem excessive.

While I can’t replicate them exactly, I can make a puff pastry version. If there’s one thing I love it’s puff pastry. Not only is it a buttery indulgence, but it’s also readily available at the grocery store. I made these cheesy puff pastry twists for Classic Play and thought I’d share them with you as well. I made them with the kids – easy, fun and oh so yummy! Have them as a snack, serve them at a cocktail party along with these or with some tomato soup. Enjoy!

Cheesy Puff Pastry Twists

Ingredients

  • 1 box of frozen puff pastry dough, thawed. Ours comes in two sheets, already rolled out and with parchment around it. You need two sheets that are the same size.
  • 1 egg
  • 1/2 cup shredded Mozzarella cheese
  • 1/2 cup shredded Parmesan
  • 1/2 tablespoon dried basil
  • 1/2 teaspoon chili pepper
  • 1 teaspoon of roasted garlic powder
  • Salt and pepper to taste

Instructions

  1. Preheat oven to 400 degrees F and line a baking sheet with parchment paper.
  2. Gently unroll one puff pastry sheet onto baking sheet.
  3. Whisk egg and brush the egg wash on the rectangle of puff pastry dough (only on one side) and reserve the leftover egg wash.
  4. Mix together the Mozzarella and Parmesan cheese, basil, chili and garlic and sprinkle mixture over the egg washed rectangle. Sprinkle with salt and pepper.
  5. Carefully brush the egg wash on the other rectangle of puff pastry dough.
  6. Place the other half of the pastry (egg side down) on top of the cheese mixture and press the two halves together using your hands or roll lightly with the rolling pin. Gently press edges to seal.
  7. Using a pizza cutter, cut the pastry into 1/2 inch strips.
  8. Working one at a time, gently twist each strip and lay on the baking sheet making sure to press down the ends so that they don’t curl when baking. When all of the strips have been twisted and placed on the baking sheet, lightly brush each twist with the remaining egg wash.
  9. Bake for 12-15 minutes or until the twists are golden brown.
  10. Remove from the oven and serve warm or cooled.


Need more tasty recipes and delicious bites? Check out our Let’s Eat Pinterest Board.

Post by Giulia Doyle of Audrey’s

Shared Boys Space

February 21, 2014
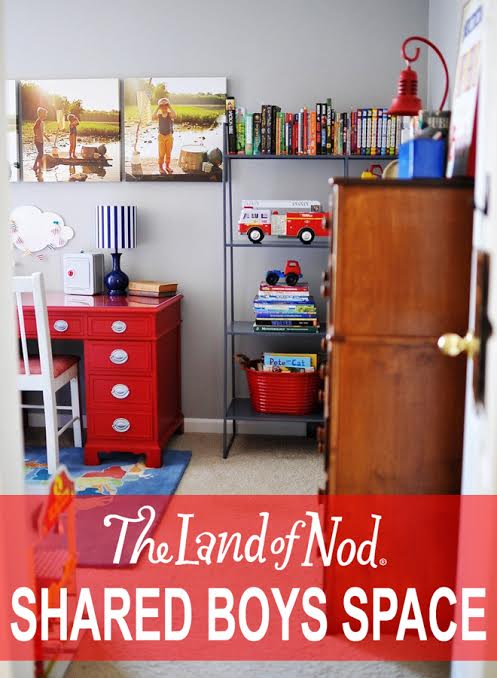
Land of nod shared boys room

My story starts when I moved to Indianapolis about 12 years ago not knowing a soul and within minutes of arriving at my new job a girl that worked a few cubicles down from me came over and welcomed me to the office and I’m so lucky to say she’s been my friend ever since. 

When I got pregnant 7 years later my friend told me about her sister, Sarah Beth Hill, who was an amazing natural light photographer.  I immediately booked a session with her.  Unfortunately I had some heartbreaking losses that put off my newborn baby photo shoot until I welcomed my son in October 2012.  I was so excited for the photoshoot it was a long time coming and I was so anxious to meet Sarah and have her take photos of my newborn son Cooper. 

At the end of the shoot I got out my checkbook and asked Sarah how much I owed her and she looked at me and smiled and said, “Nothing, I’m so happy for you and your family I want to give this to you as my gift to you, it’s the least I could do.”   This was the first time I had ever met her and one of the nicest acts of kindness a stranger had ever given to me.

A year later when I booked Cooper’s one year photo shoot Sarah suggested we trade services, she would take Cooper’s pictures in exchange for me decorating her sons Ethan and Maddox shared bedroom space.  I quickly agreed and the planning began.

I wanted to do something special for Sarah to repay her for the kindness she gave to me and so I reached out to Land of Nod to see if they would help me create a fun shared boys space for 2 young boys.  Lucky me they agreed and I got to work!

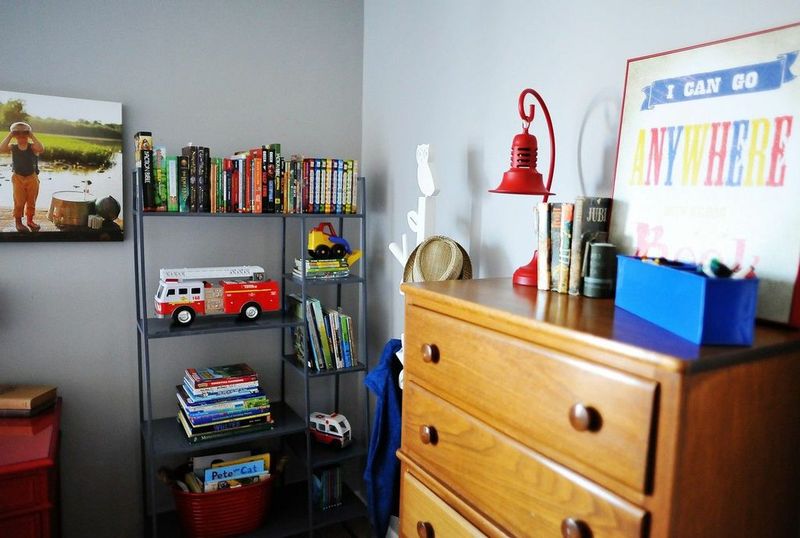
The inspiration for the room were some canvas photos Sarah Beth took of her sons that took on a nautical theme.  Once I knew the inspiration picking out some great items from Land of Nod was super easy!
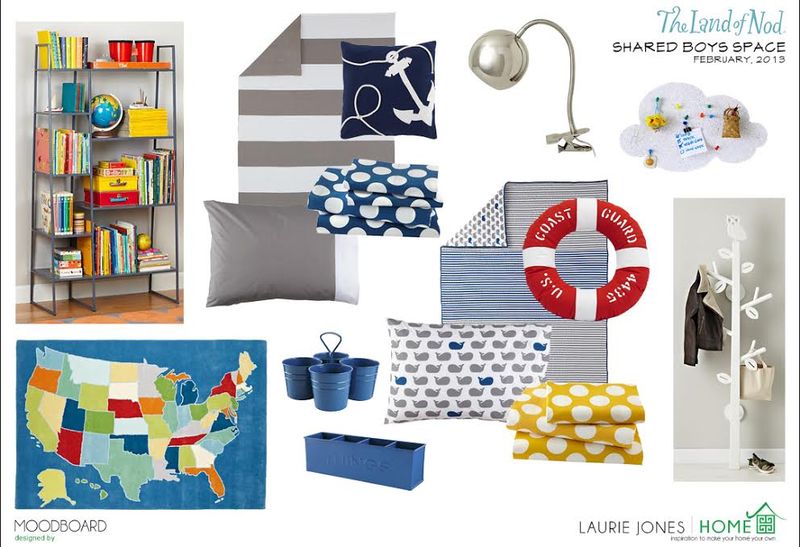
  Land of nod moodboard


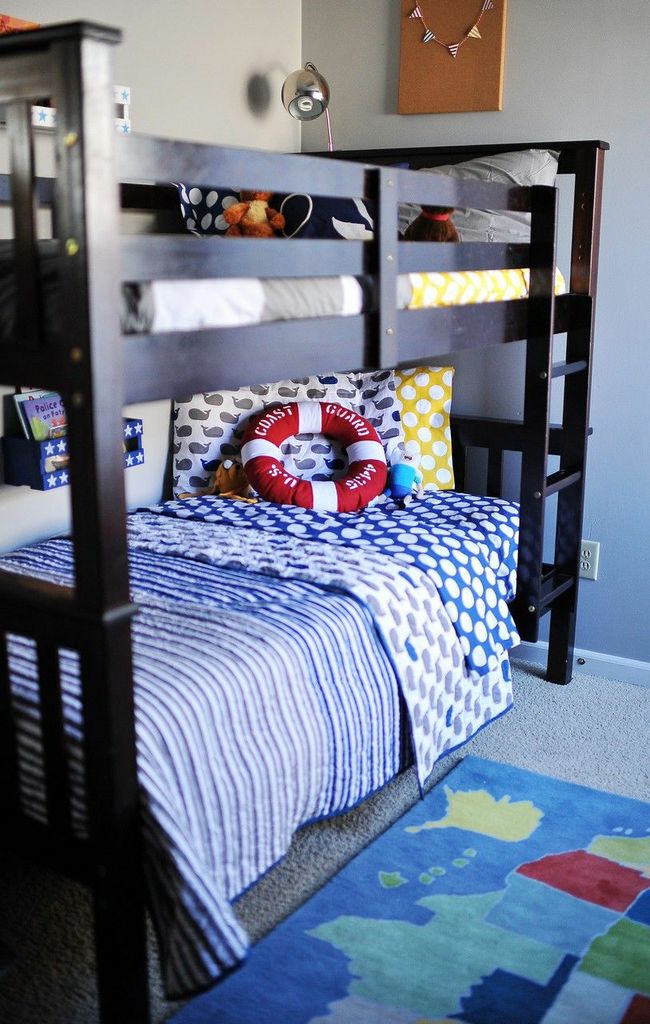
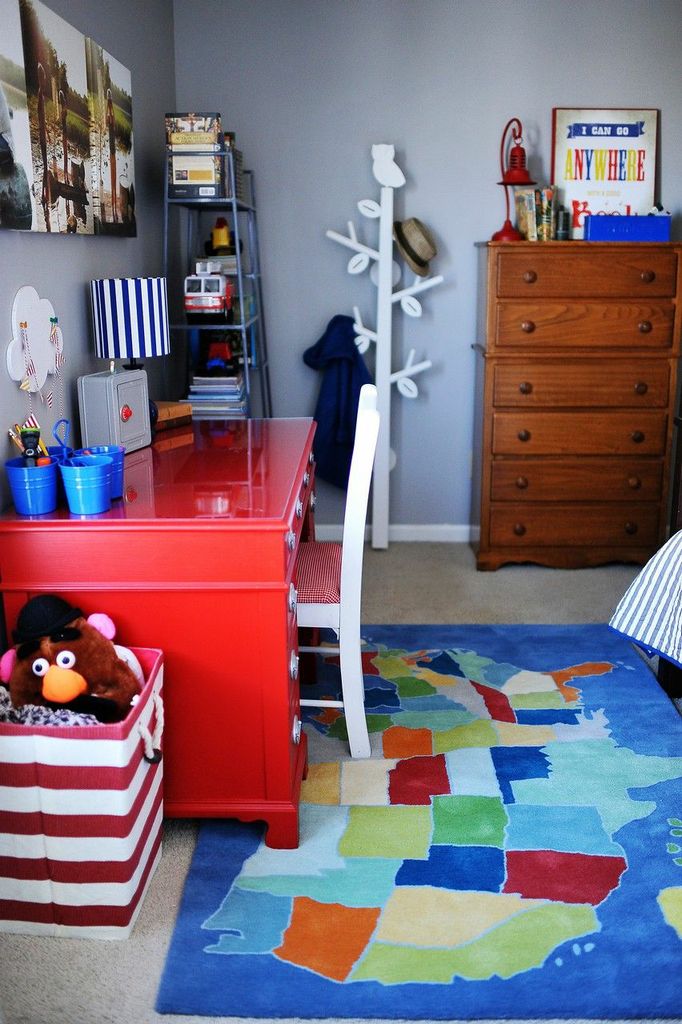
First thing first the orange room was painted a light gray and the bunk beds were moved to the other side of the room.

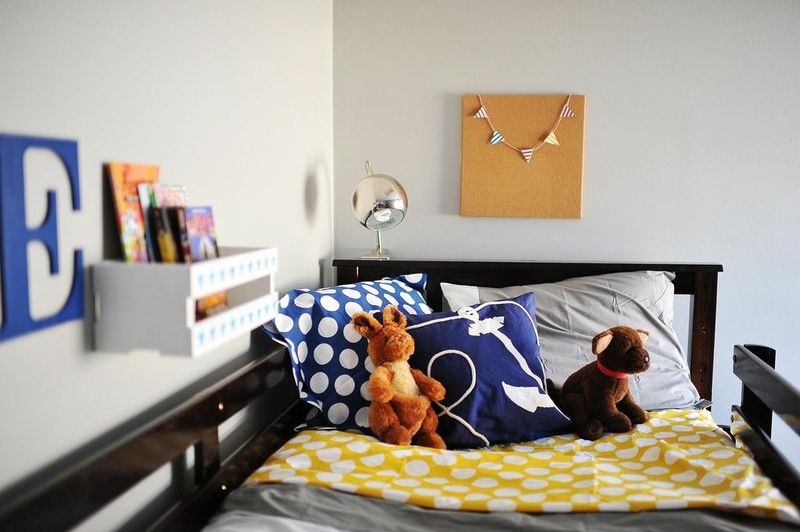
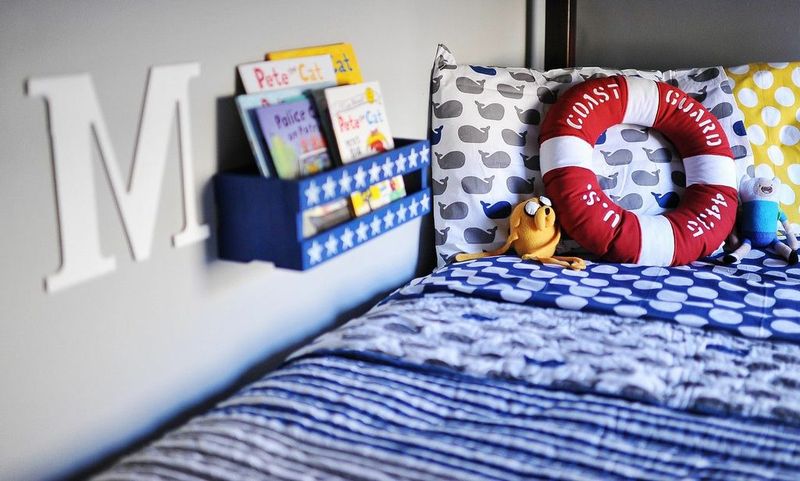
The room is super small so the bookcase was a great choice, it held so much but it wasn’t the slightest bit bulky.  Maddox the youngest loved his decorative life preserver pillow and Ethan the oldest loved having his very own book light on the top bunk to read late into the night.  Mom/Sarah loved the owl tree rack to keep the boys clothes off the ground.  If I had to pick my favorite element it would be the map rug that helped pulled the small room together.
Lauriejoneshome8

Lauriejoneshome9

Lauriejoneshome4

Lauriejoneshome10

Lauriejoneshome13

I had such a great time putting together this room and to see Sarah and the boys reaction to the space was priceless!  Thank you so much Land of Nod for helping me put together this room!!

Sarah Beth Photography: http://sarah-bethphoto.com/blog/  A natural light photographer from Indianapolis

Laurie Jones: http://lauriejoneshome.com  An interior decorator from Indianapolis

Photographs taken by Sarah Beth 

Moodboard and Graphics by Laurie Jones

Store Window Display by Studio DIY

February 20, 2014

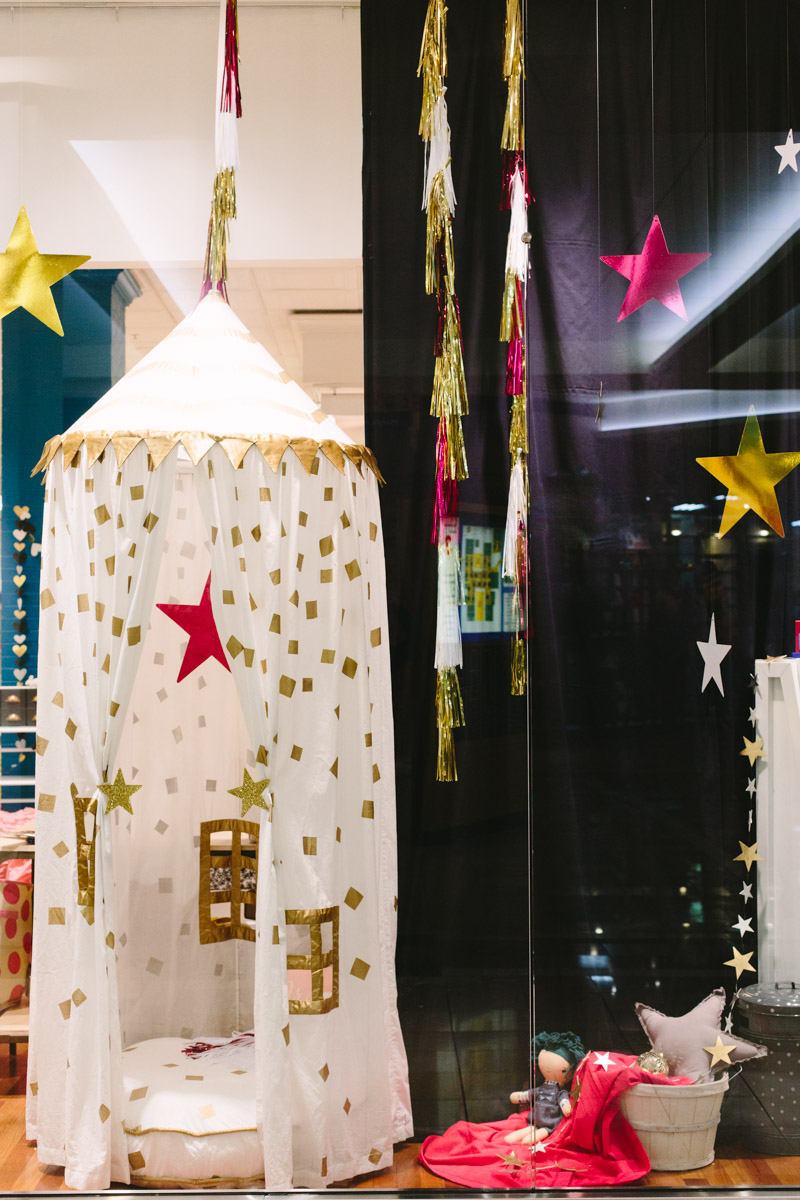
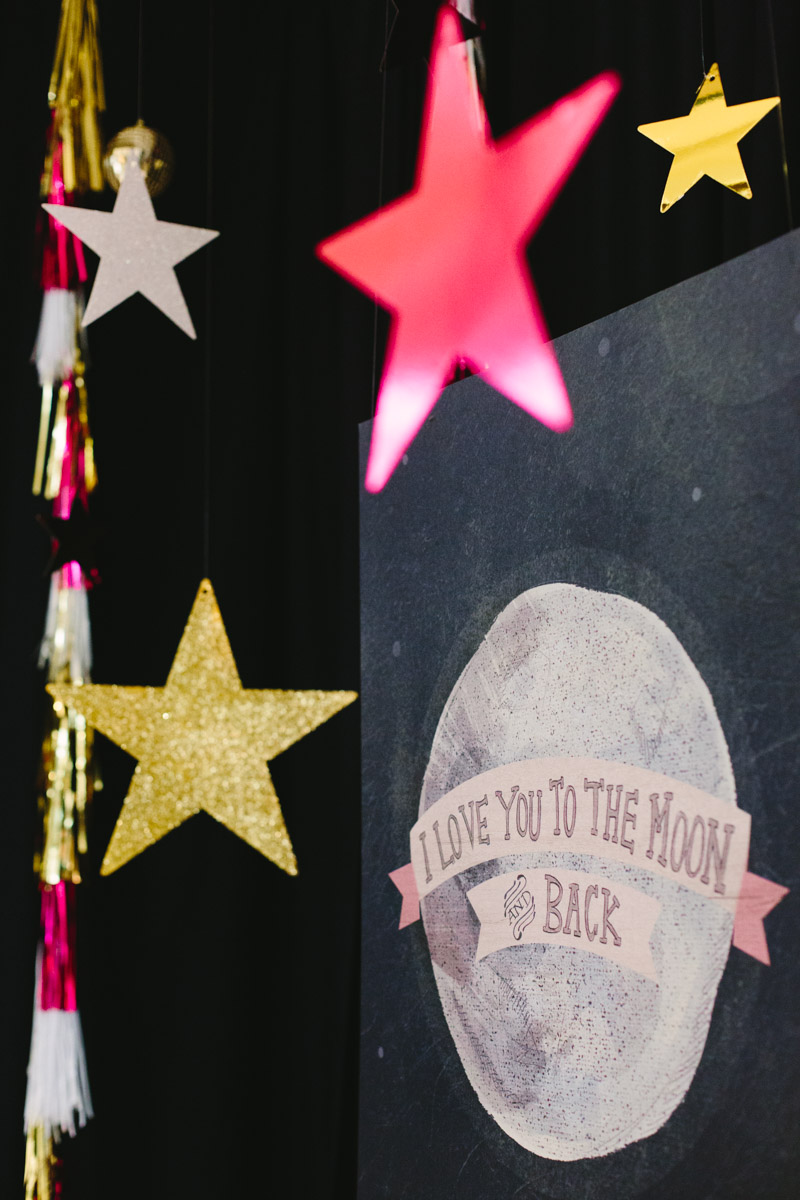
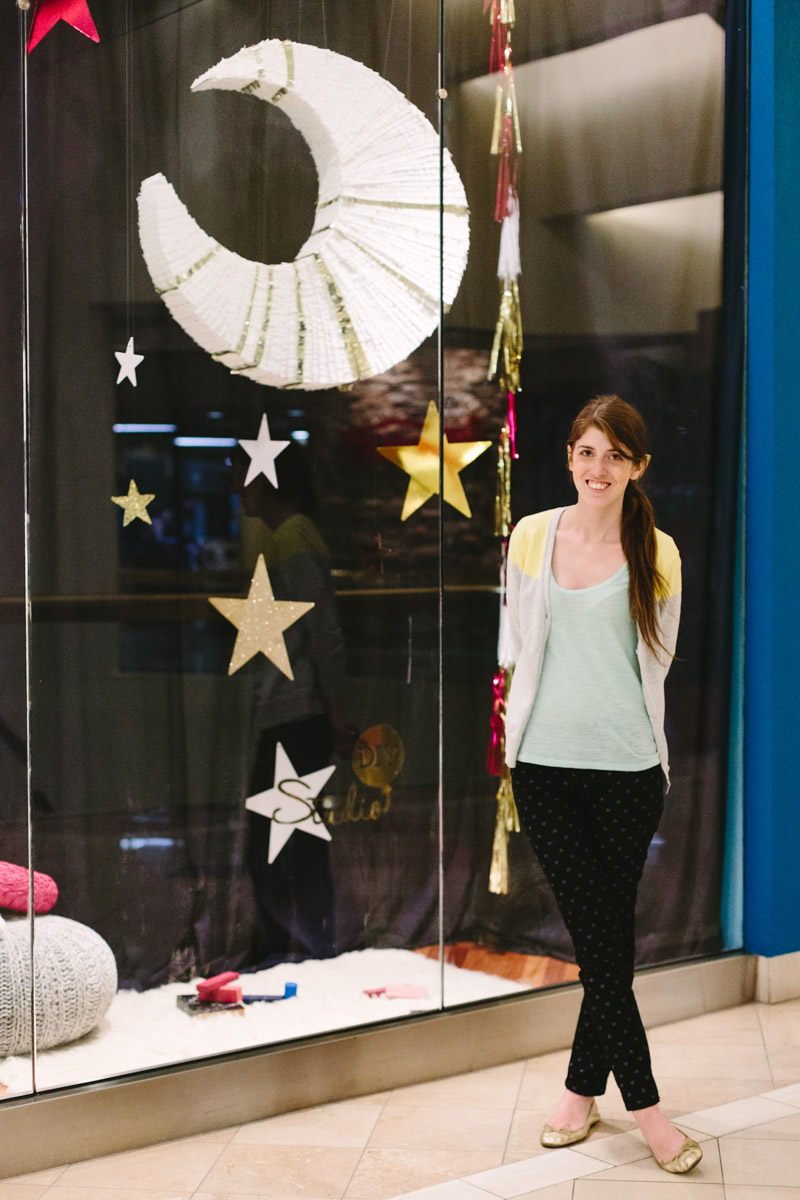
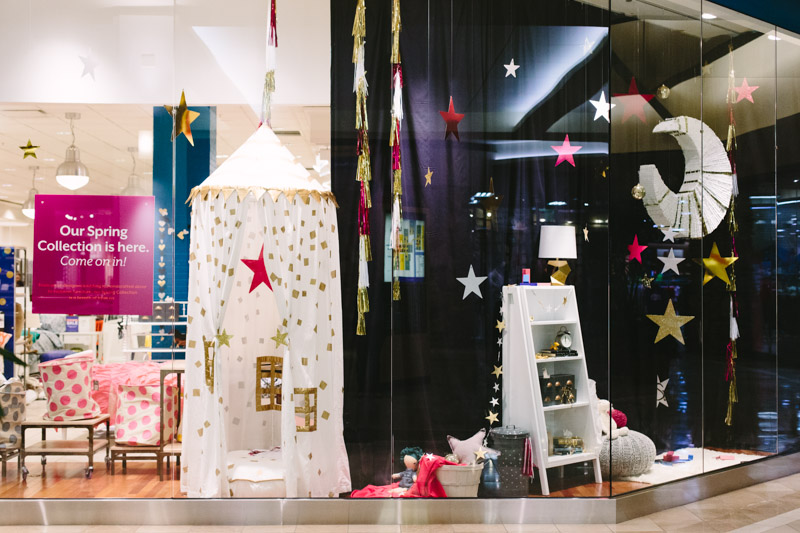
Kelly here from Studio DIY! I was so excited when The Land of Nod asked me to help design their spring windows for the South Coast Plaza store! I like to call these windows "A Sparkly Starry Night." I knew I didn't want to do a traditional "springy" window, and I wanted to incorporate some of the fuchsia and deep blue colors that would be used in the in-store displays. Taking a cue from this "I Love You to the Moon and Back" poster, a night sky seemed perfect! 

MMC_9039

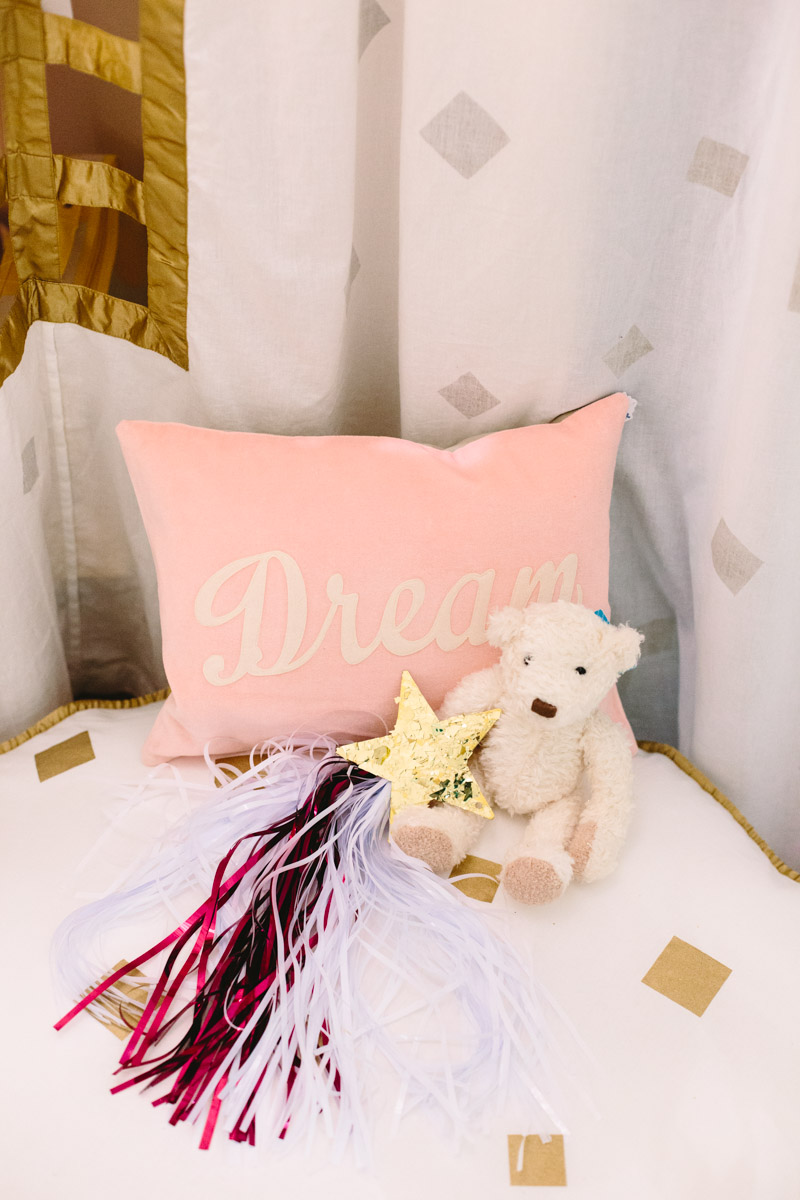
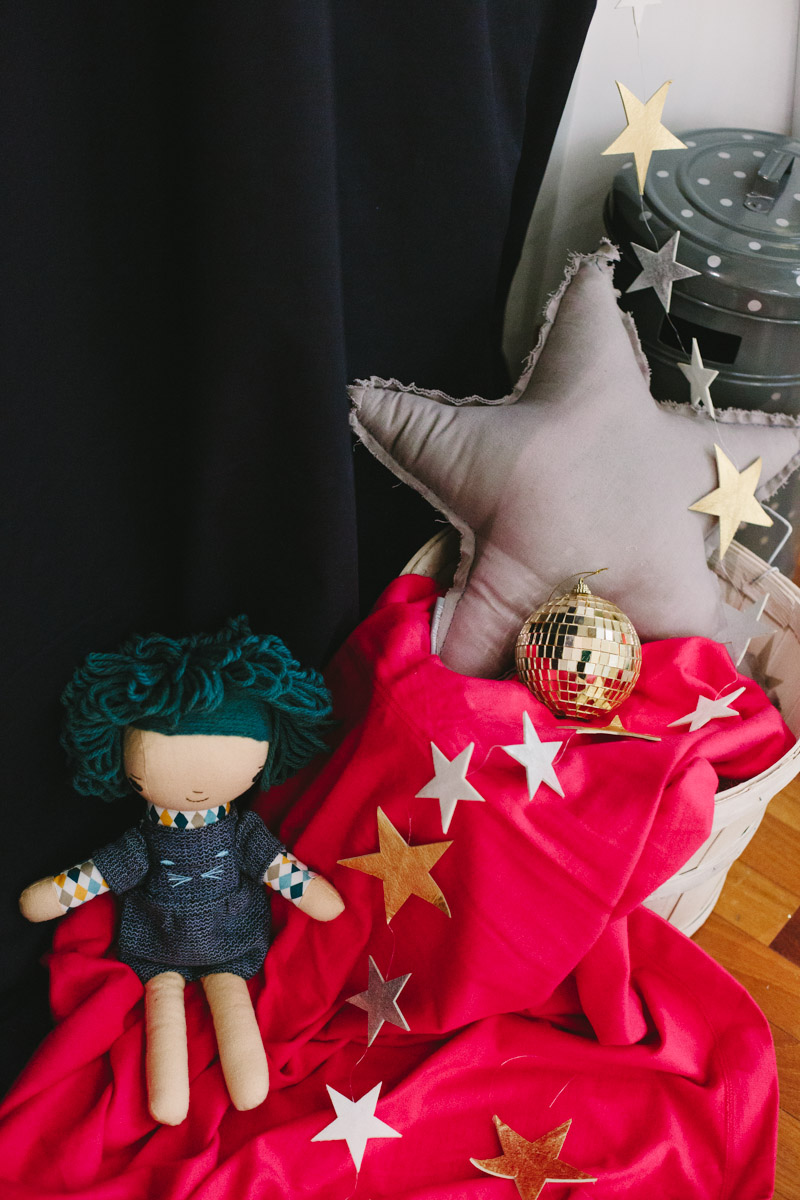
It all started with a giant moon piñata, of course, which you can find the tutorial for right here! I purchased die-cut stars in various sizes from the party store and covered them in shades of glitter and confetti! Lots of gold was a must! We draped the walls in deep navy fabric, hung some mylar tassel garlands and strung up some gold disco balls as "planets" to add a little drama, too. Once everything was hung (Shout out to Mary who spent most of the day on a ladder helping hang stars before she took these gorgeous photos!), we styled it up with some of the new pillows and storage pieces, and pulled in some of my Land of Nod favorites too, like that geometric lamp and that confetti canopy, and of course a mini balloon animal, too!
MMC_8900

MMC_9001

MMC_8822

MMC_8984

MMC_8850

A huge thank you to The Land of Nod for having me. It was so fun adding a little bit of Studio DIY flair to those sparkly windows!

MMC_9048

MMC_8851

MMC_9034

MMC_8945

Photography by Mary Costa Photography

Kelly Lanza is an east-coast transplant living in Los Angeles and has been a DIY-er since birth. Check out Studio DIY & you’ll find a whole lot of DIY projects, party tips and colorful ideas designed to help you inspire, create and celebrate. 

Four Tips for Designing a Study Space

February 19, 2014

Looking to create a study space at home? Here are a few helpful tips that make it easy. Raise your hand if you have any questions.

Four Tips for Designing a Study Space | Honest to Nod

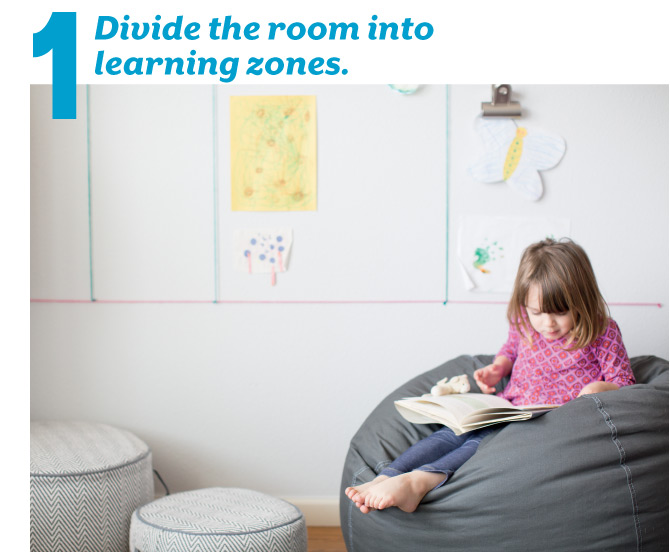
Designate each area for a specific type of activity like math or reading. You’ll have everything you need in one general area, but you’ll have the flexibility to move around and keep kids’ interest throughout the day. Include some outlets for study breaks, too.

Four Tips for Designing a Study Space | Honest to Nod

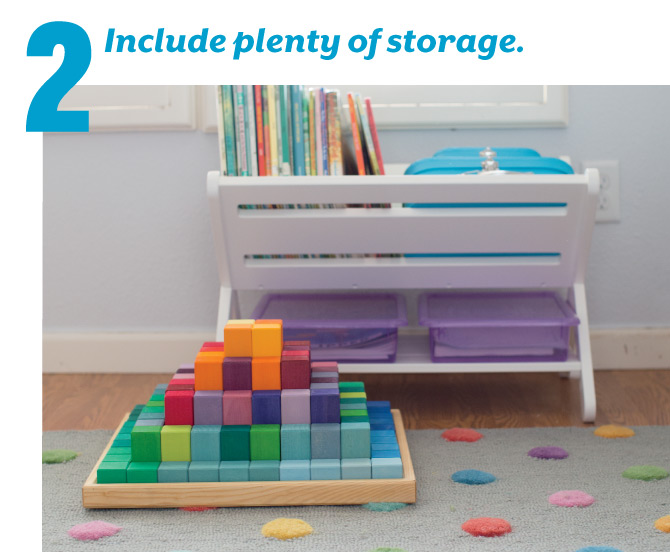
Make sure to include enough space to store supplies. Each zone needs to include easy access storage for the materials you’ll need on any given day. Also, plan a general storage area for supplies you want to keep out of reach (at least until school is done for the day).

Four Tips for Designing a Study Space | Honest to Nod

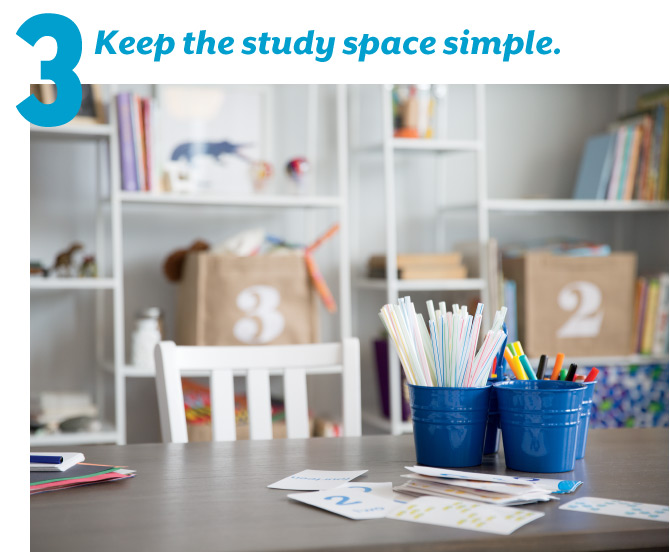
Sure, it’s important to make each area bright and engaging. But that doesn’t mean they should be overly busy and distracting. It’s important that you keep it simple, since too many visual distractions can make it difficult for kids to focus on their schoolwork.

Four Tips for Designing a Study Space | Honest to Nod

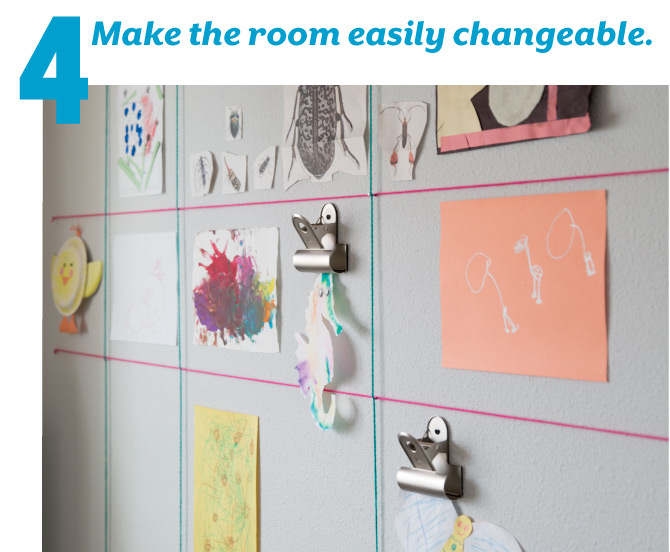
Make the space flexible enough so that it can be adapted to the learner’s changing interests and areas of study. Include display options for projects and collections like artwork, knickknacks and more. Kids (and grownups) love to show off their work.

Find products shown at The Land of Nod.

Looking for even more playroom inspiration? Check out our Playroom Board on Pinterest.