Close

Blog

Decorating a Dollhouse for the Holidays

December 23, 2013

Holidaydollhouse1

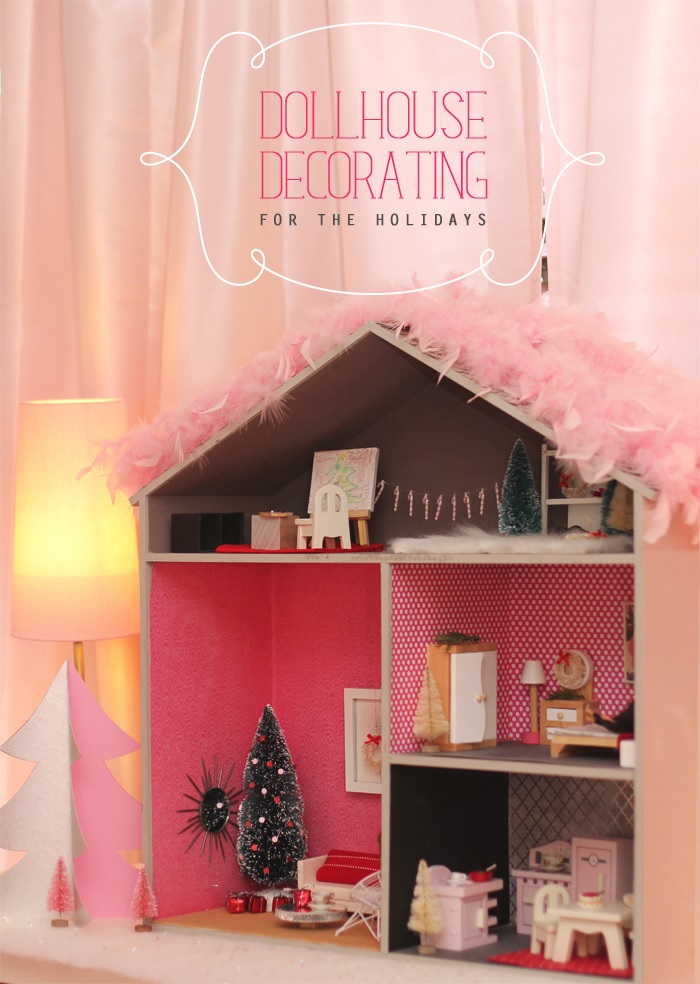
Decorating my daughter’s dollhouse for Christmas has become a bit of a tradition. It started with a single Christmas tree in the living room, and, over the past couple of years, I’ve added more and more festive holiday décor.

Many of her dollhouse furnishings are simple hand-made and repurposed items, and the Christmas decorations are no exception. In fact, it’s easy to give a holiday update to a dollhouse with very little expense. Here are a couple of ideas I’ve incorporated into Jenna’s dollhouse:

Things to Make

Holidaydollhouse2

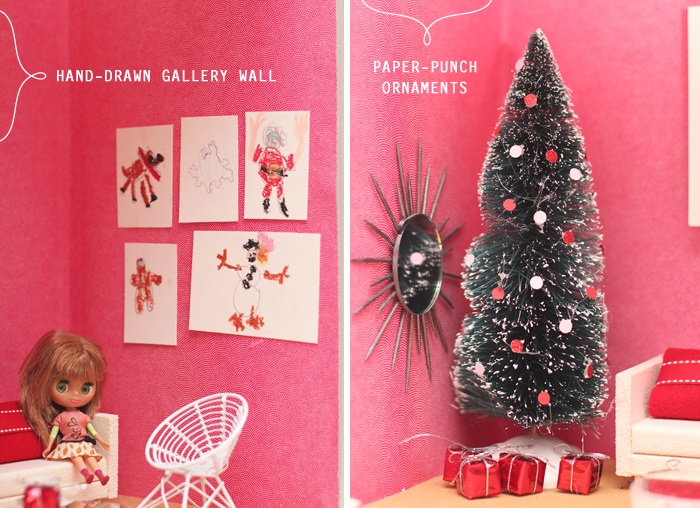
My daughter loves to draw, so I enlisted her help in creating a Christmas-themed gallery wall for the living room. She chose to draw a reindeer, a snowflake, Santa, a gingerbread man and a snowman.

For the tiny Christmas tree ornaments, I used a paper punch to cut circles out of decorative paper and applied it to the tree with a glue gun.  It’s a little messy, but very easy.

Things to Repurpose

Holidaydollhouse3

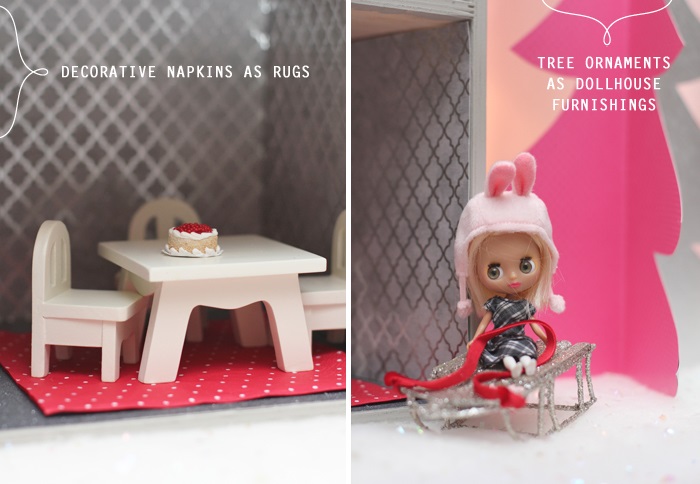
Many items you likely have on hand during the holidays can be repurposed into toys, decorations and furnishings for a dollhouse. For example, decorative paper napkins make great blankets, rugs and wall décor. I also looked to our own Christmas tree for inspiration and found a silver sleigh perfectly scaled to her dolls.

Decorating Jenna’s dollhouse has become a fun holiday tradition, one I hope we’ll continue for many years.

Post by Julee : Warm Hot Chocolate

Winter Wonderland

December 20, 2013

Winter-wonderland

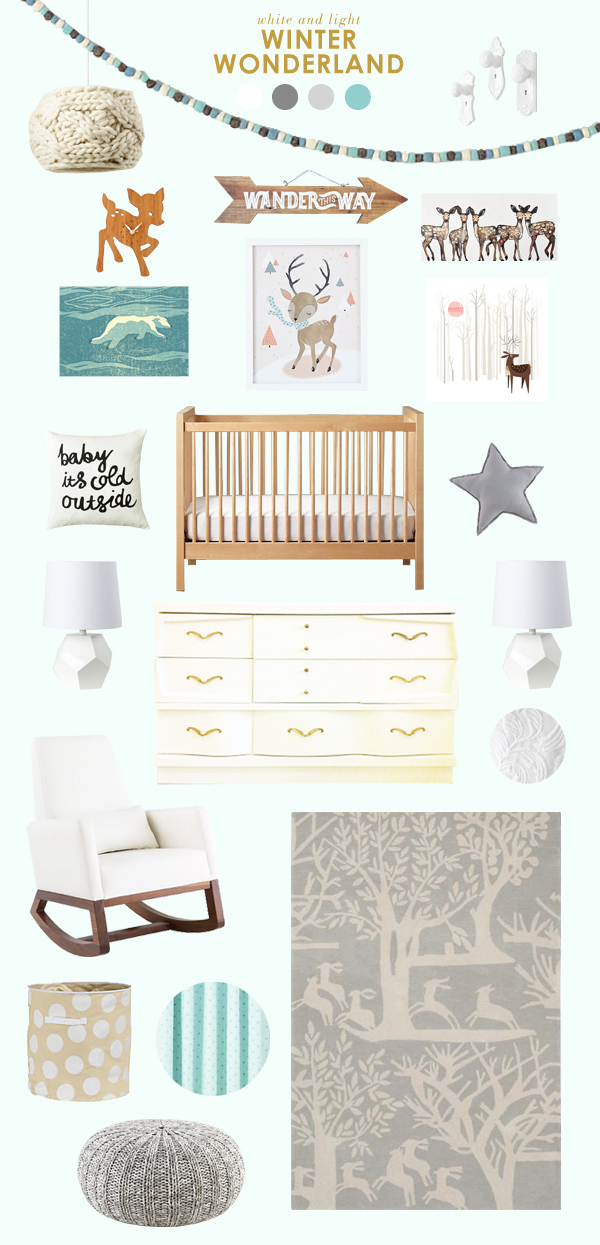
Festive Felt Garland /Cream Cardigan Pendant /Doorknobs /Fawn of Forest Time

Wander this Way Sign /Oh Deer Canvas Sign /Swimming Polar Bear /Winter Deer

Reindeer /Baby, It's Cold Outside Pillow /Maple Andersen Crib /Star Pillow

White Rock Lamps /Heavy Cream Dresser /White Bedding /Joya Rocker

Woodland Rug /Dotted Floor Bin  /Aqua Blackout Curtain /Pull up a Pouf

Register for these great nursery items at LandofNod.com

Post by Joni: Lay Baby Lay

Let it Snow

December 19, 2013

Post by Aimée Lowry & Bettijo B. Hirschi from PagingSupermom.com

1

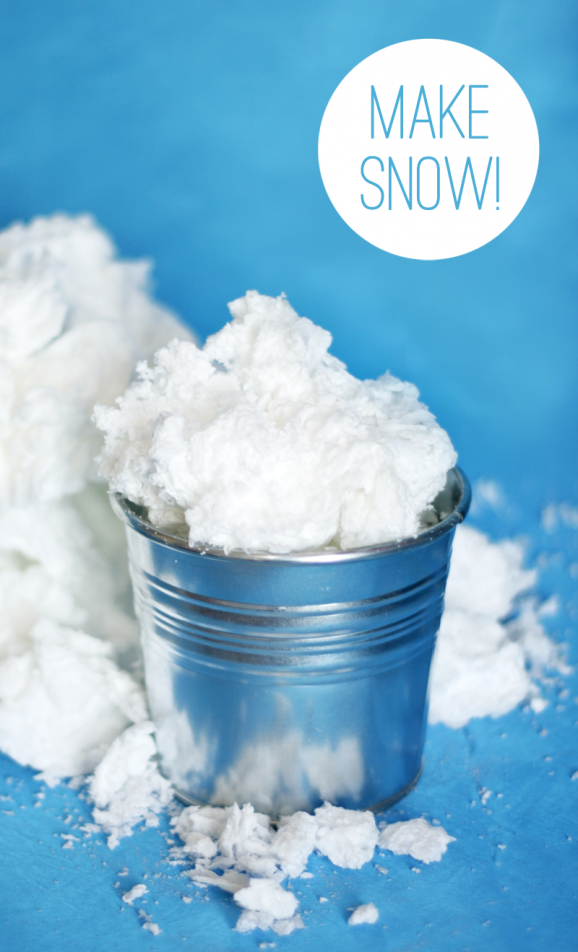
Since we live in Phoenix, we have to make our own snow fun (see what we’ve done in the past here and here). So you can imagine our excitement when we learned a trick for making a fluffy pile of snowflakes with nothing more than a bar of Ivory soap and a microwave.

2

The best part: it takes mere minutes to whip up your own flurries.

All it takes is a microwave and a bar of Ivory brand soap (only Ivory will work). Place the unwrapped bar on a large, microwave-safe dish. Heat for two to three minutes and be sure to let your little ones watch as the soap expands into a snowy cloud. Remove it from the microwave and let it cool to the touch before playing with it outside or in the bathtub!

Reposted with permission by Aimée Lowry & Bettijo B. Hirschi from PagingSupermom.com

Peppermint Popcorn Recipe

December 18, 2013

Post by Christina Williams of justcallmechris.blogspot.com

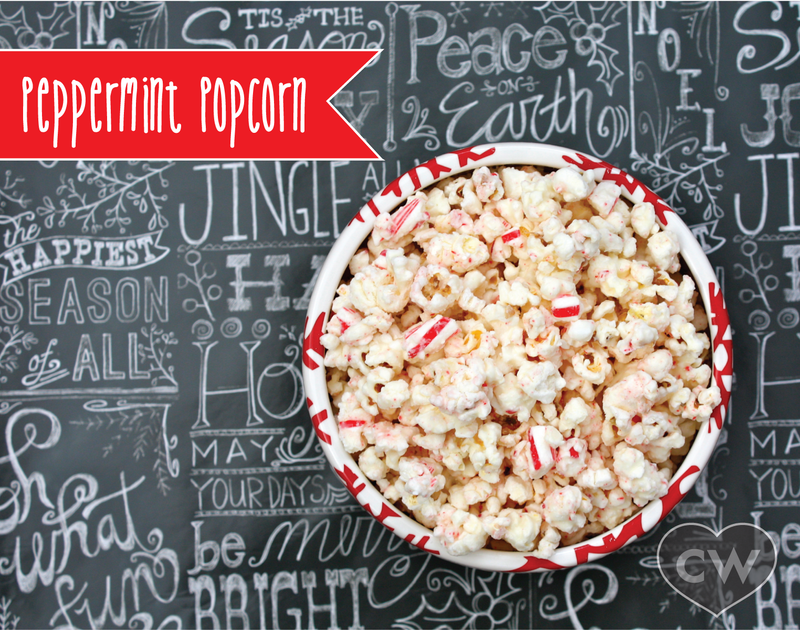
I like to have a couple tricks up my sleeve this time of year for easy entertaining or quick neighbor gifts. This is one of my favorite holiday tricks. I keep the three ingredients for this easy peppermint popcorn on hand so I can whip up a fabulous snack at a moment’s notice.

Peppermint Popcorn Recipe

Ingredients: 

Popcorn (2 bags microwave; about 3/4 C. kernels if you’re using a hot air popper)

White chocolate chips (1-2 bags)

Candy Canes, crushed

Get to work:

Start by unwrapping and crushing the candy canes. (My kids love to help with this step).

Pop the popcorn and put it in a big bowl.

Put the white chocolate chips in a microwave safe bowl, add a little vegetable oil to smooth out the chocolate as it melts. Microwave in 30 second increments, stirring after each 30 seconds.

When the chocolate is melted, pour over the popcorn and toss to coat. (Use the second bag of chocolate chips if necessary).

While the chocolate is still melted, pour in the peppermint pieces and stir.

Spread the popcorn out on waxed paper until the chocolate sets up.

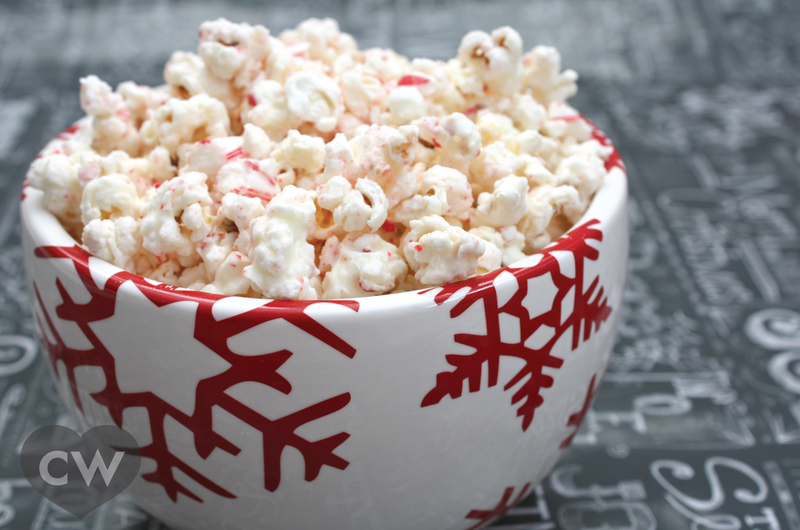
When the chocolate is dry, put it in a festive bowl and enjoy!

Peppermint Popcorn Recipe 2

This peppermint popcorn recipe is easy, fast, and inexpensive. But the finished product looks impressive and festive. Box it up cute and deliver it to teachers and neighbors, or whip up a batch as your cousins are headed over. Happy Holidays!

Post by Christina Williams of justcallmechris.blogspot.com

DIY Peppermint Body Scrub (Oh so Christmassy!)

December 17, 2013

Post by Darcy of No Monsters in My Bed
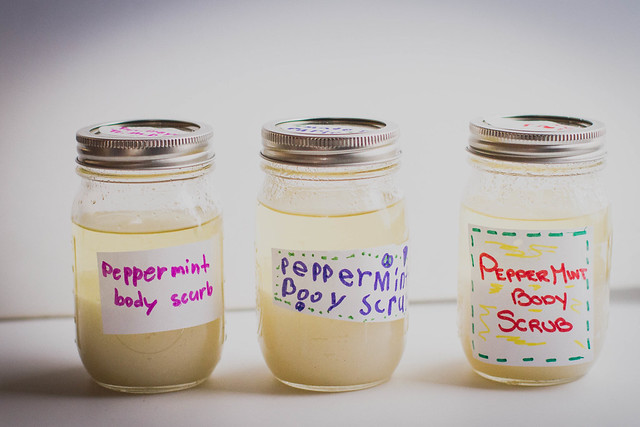
DIY Peppermint Body ScrubAfter learning, this spring, how easy it is to make body scrubs (check out the recipe here for our wonderful rosemary sage scrub), the kids and I keep experimenting with different recipes. For winter, peppermint seemed like a much needed ingredient, perfect for teachers’ gifts.

Here’s our (rather imprecise) recipe:

DIY Peppermint Body Scrub

1. Fill a mason jar approximately 1/2 to 3/4 full with sea salt (the coarser, the better).

2. Slowly pour Almond Oil Sweet Oil over the salt, until it just covers the top. (Note that the scrubs photographed above have way too much oil, so we drained a lot of it off (and added more salt as well)).

3. Add about 5 drops of Peppermint Essential Oil

4. Shake.

5. Smell. Add more peppermint if necessary. If the scrub is too oily, pour off some of the top oil.

6. Scrub. If you don’t want to use this as a body scrub, it also works great on hands (just keep it next to the sink). I love making it with the kids because they can “help” and it’s almost impossible to mess up. HAPPY TUESDAY EVERYONE!!

Post by Darcy of No Monsters in My Bed

The Land of Puppies and Unicorns

December 16, 2013

1

2

3

4

5

6    

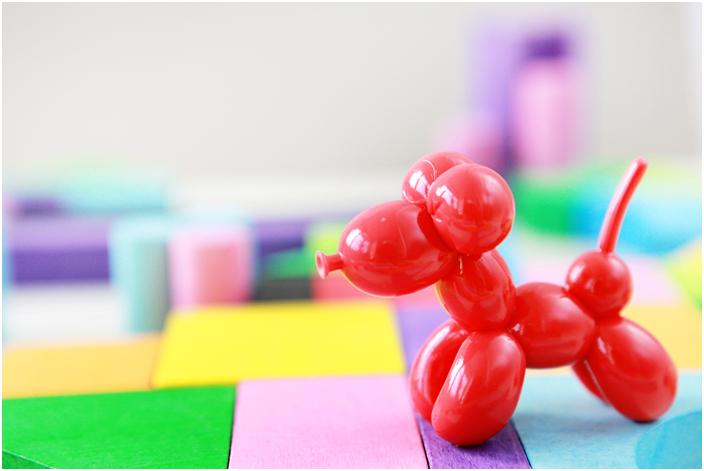
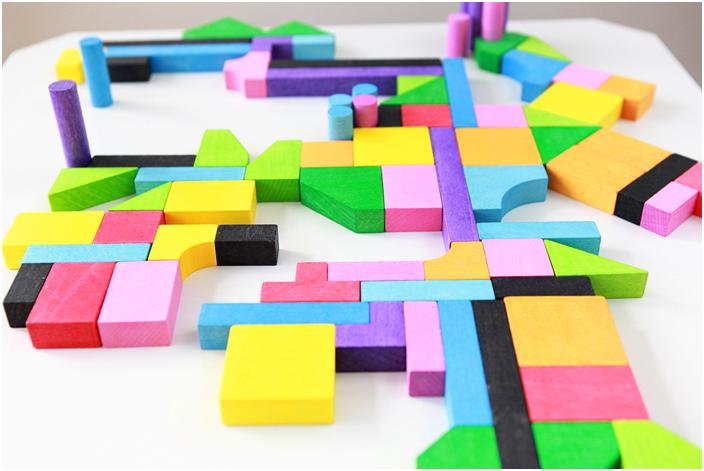
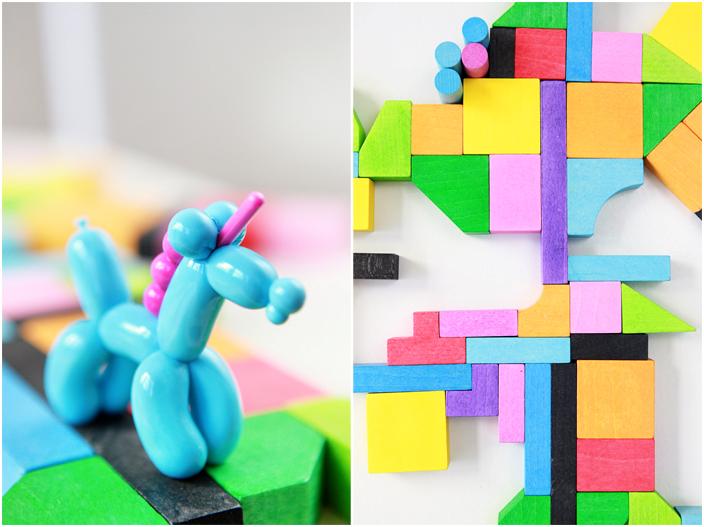
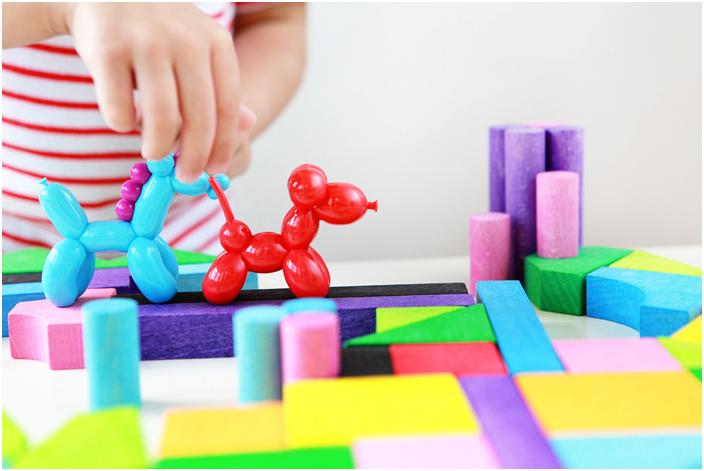
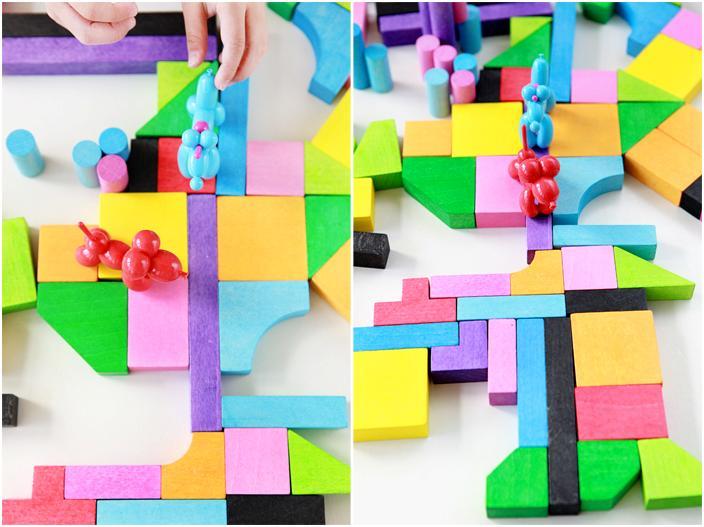
What color will it be?  Avery was so excited to find out which colors her puppy and unicorn would be–it was a total surprise since they each came sealed in a bag.  These glossy creatures are perfect for kids who love balloon animals because they never lose air or pop!  This bucket o' blocks provided a perfect whimsical terrain that these two new adventure-seeking best buds explored together before nap time.

Post by Michelle Sterling of Avery and Augustine

You can see her work and read about her two young children and their first forays in cooking, art and everything in between at Avery and Augustine.

The Highline in NYC

December 13, 2013

Michelle_road

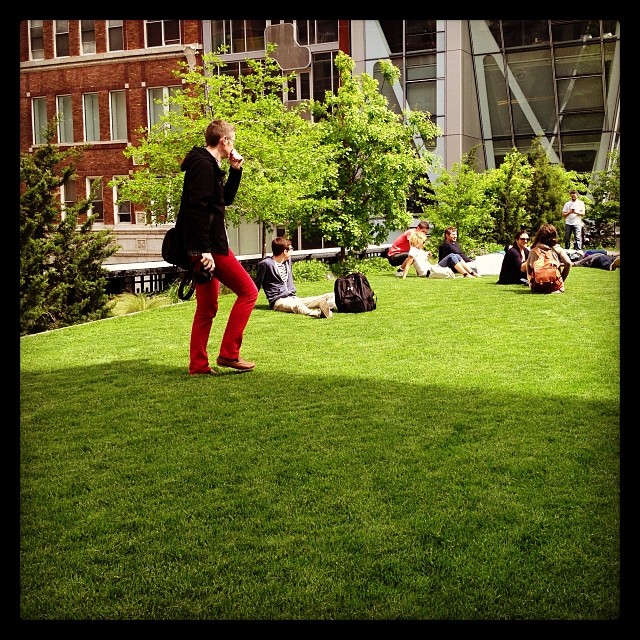
The Highline in NYC is one of my favorite places. It is so lovely in the summer – full of the most gorgeous flowers and grasses. It is such an oasis in the middle of such a hectic city. Do beware, in January it is not quite so enchanting, and once you’re up there you have to walk a bit to get off (not that I’ve ever been caught freezing on the Highline or anything).

Insta_NewYorkHighLine

xo,

Michelle

Aside from being the Managing Director of The Land of Nod, mother to four kids (yes I said FOUR!) and a gourmet cook, Michelle is a retail junky. From Zara to Marc Jacobs, Target to Nordstroms, she doesn’t discriminate, there’s room in her heart and closet for them all. And the addiction doesn’t stop at fashion, she’s painted her dining room at least 5 times, and changes rugs like most women change their sheets. Retail isn’t therapy for Michelle, it’s more like oxygen.

Cheesy Leek Tart

December 12, 2013

1

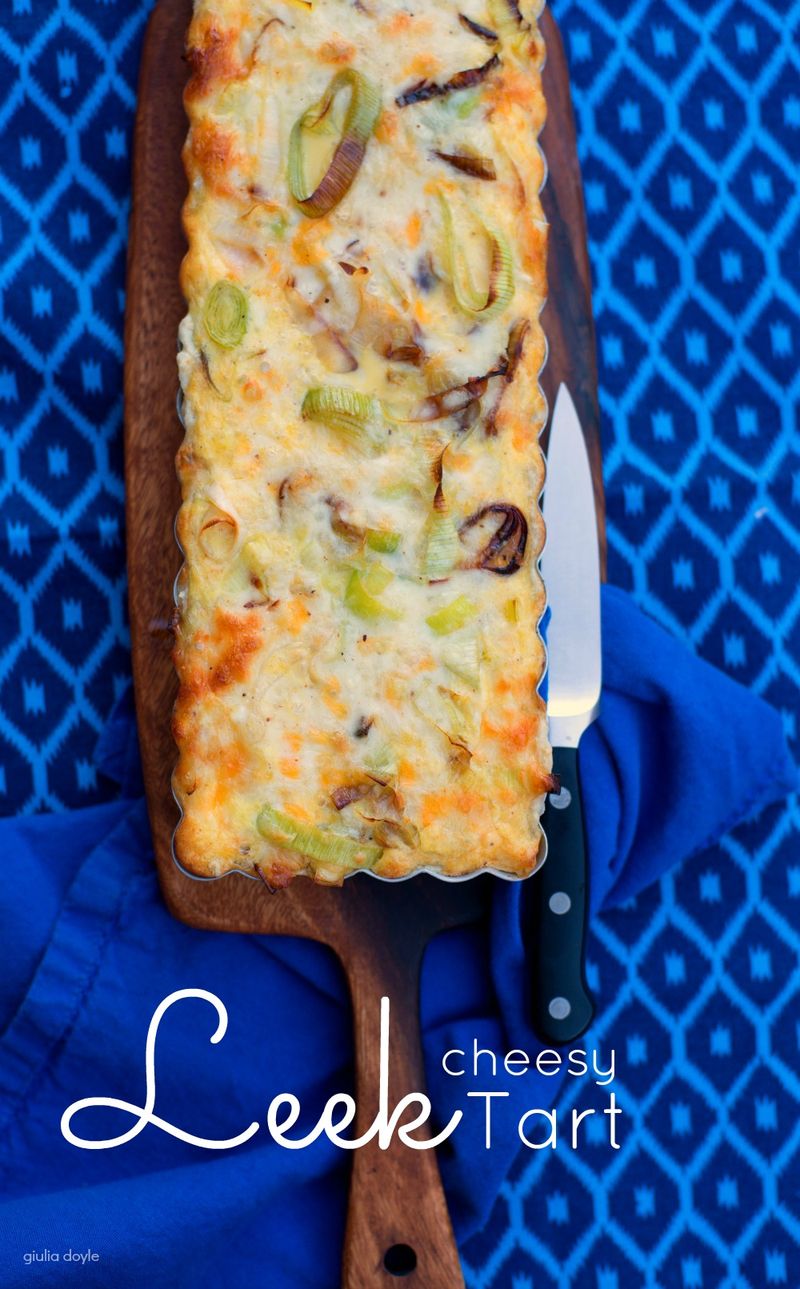
One of my favourite things as a child were little leek tarts that you could buy frozen at the grocery store. They were small individual round tarts that my mom made along with cheese tarts and sometimes mushroom tarts. I don’t know where my love for leek comes from – I think the only time we ate leek at our home was in these tarts.

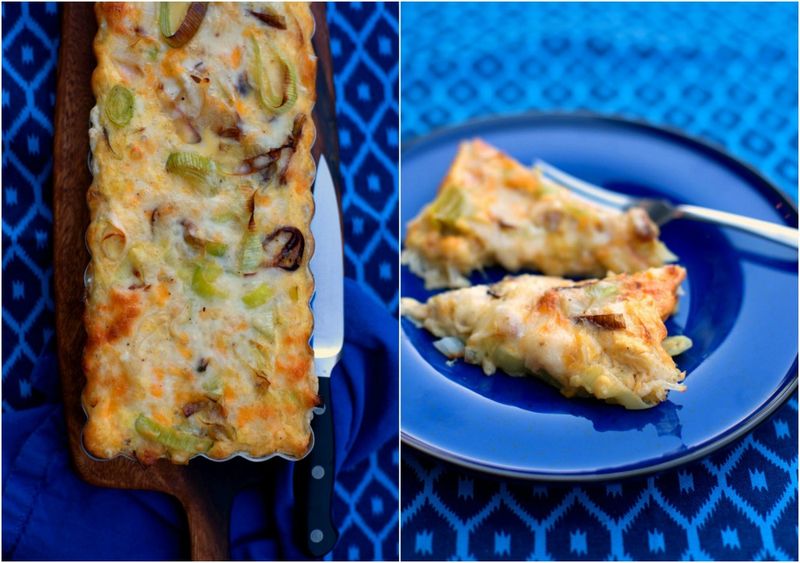
I believe the tarts I grew up with were a little more cream based with a larger percentage of leeks. This version is a combination of my love of cheese tarts and leek tarts – nothing is more comforting on a cool evening. Serve it with a green salad and you have a substantial meal. The tart warms up nicely in the oven as well if you have leftovers or want to bring it to a potluck.

To this day I will make the frozen tarts when I visit Switzerland – some things are best the way you remember having them as a child. What food do you associate with your childhood?

Ingredients

  • CRUST:
  • 150g of all purpose flour
  • 1/2 teaspoon salt
  • 75g cold butter
  • 3-4 tablespoons of cold water
  • FILLING:
  • 1 tablespoon of butter
  • 2 stalks of leek, washed and cut into slices
  • 1-2 tablespoons of flour
  • 200 ml of milk (almost a full cup)
  • 200 g of grated cheese (Gruyère and/or Emmenthal) (almost 2 cups)
  • 3 eggs
  • Salt, pepper and nutmeg

Instructions

  1. CRUST:
  2. Combine flour and salt. Cut cold butter into flakes and add carefully to flour mixture. Combine carefully until you achieve pea size crumbles. Add cold water and combine dough quickly. I use my mixer to make my crust so I avoid touching the cold butter. I seem to achieve better results by not handling the mixture with my hands. Let stand covered about 30 minutes in the fridge.
  3. FILLING:
  4. While dough is cooling, heat butter in a pan and add leek. Cook a couple of minutes until soft. Drain as much grease off as you can.
  5. Mix flour and milk. Add grated cheese and cooked leek. Mix in eggs and season with salt, pepper and nutmeg. Combine well.
  6. Once dough is cooled, roll out dough on a floured surface, to 1/4 inch thickness. Pour filling on tart crust and bake immediately.
  7. Bake at 250C (480F) in the bottom half of oven for 20 minutes

Notes

Start with one tablespoon of flour in your cheese and milk mixture. If you feel it’s too liquid feel free to add a second spoon to thicken things up a bit.

If you are worried that your pastry won’t cook through at the bottom, feel free to pre-bake it a few minutes ahead of filling. If you do that make sure to cover your tart with a bit of foil for the first 15 minutes of baking and then remove foil in the last 5 minutes to brown the cheese.

2

Need more tasty recipes and delicious bites? Check out our Let’s Eat Pinterest Board.

Post by Giulia Doyle of Audrey’s

Vowel Ornaments

December 11, 2013

1

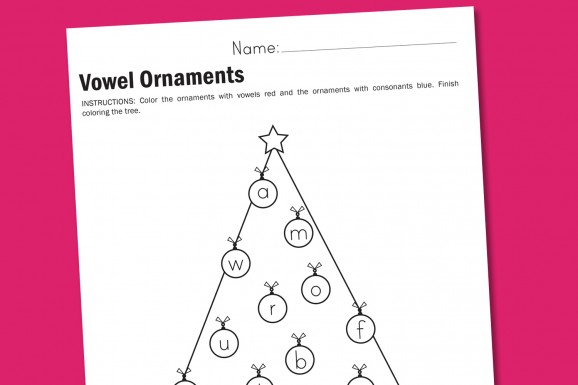
My kids cannot get enough ornaments. Whether it’s staring at them, adding them to our Christmas trees or taking them down, ornaments just don’t seem to loose their appeal. With that in mind, this week’s Vowel Ornaments Worksheet is a quick review on vowels and consonants for your kindergarten age kiddos.

If you’re looking for other Christmas-themed worksheets for class parties, home school lessons or a fun activity, be sure to check out our previously posted worksheets.
:: Holiday Handwriting
:: Christmas Tree Dot-to-dot
:: Christmas Counting (formatted to count by 1s, 2s or 3s)

Reposted with permission by Aimée Lowry & Bettijo B. Hirschi from PagingSupermom.com

Mister Mountain

December 10, 2013

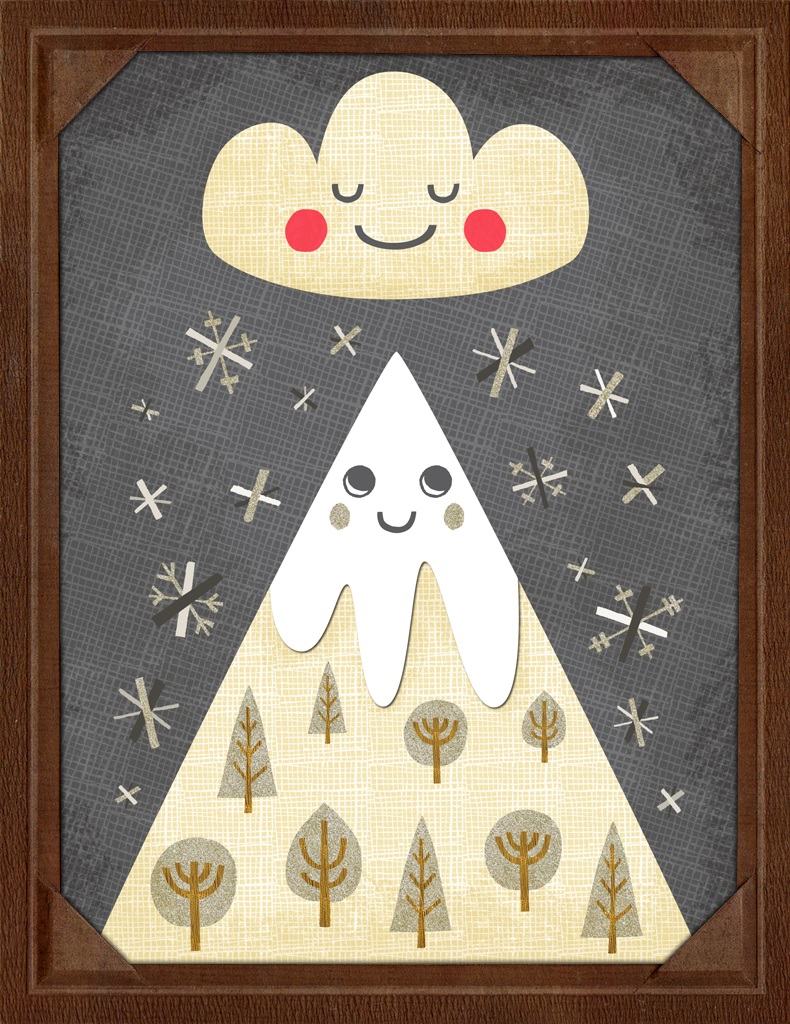
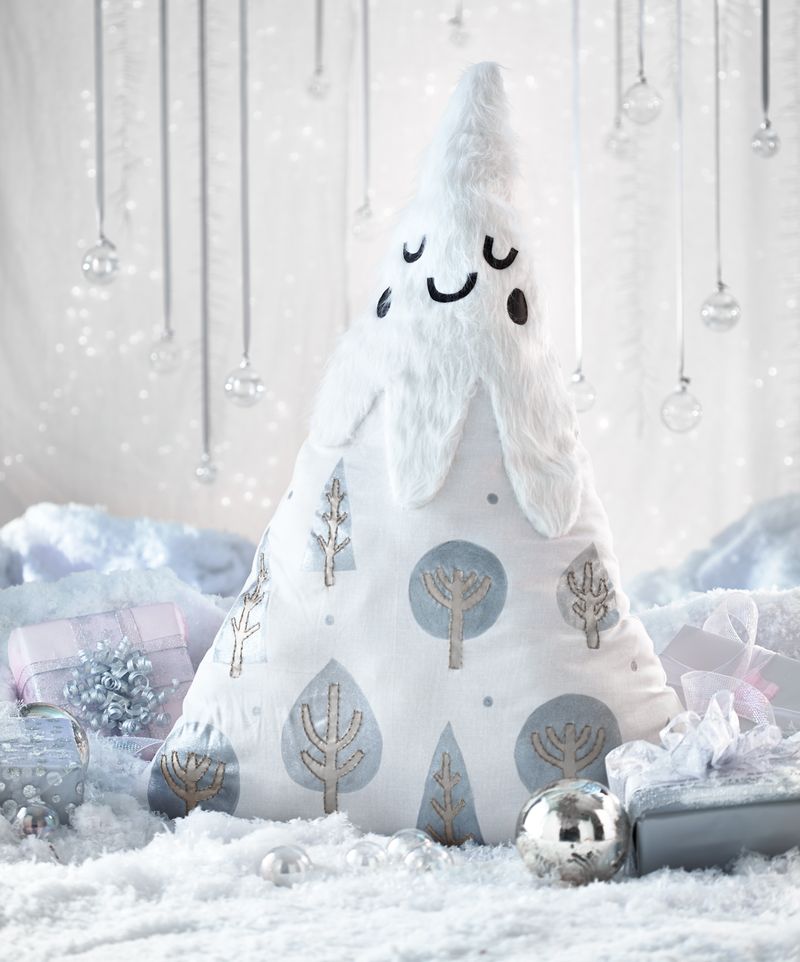
Head in the Clouds is really good pals with Mister Mountain. Whenever Mister Mountain gets too hot and needs some fresh snow on his mountain cap, Head in the Clouds floats over to drop off some snow flurries.  They love to spend the day talking about all kinds of things – sparkles, hot chocolate, and knitting, to name a few subjects. 

Mountain

Sq_Mountain_V2

The Land of Nod is raffling off Mister Mountain along with a handful of other handmade plush animals!  You can enter daily for a chance to win.

Setting up shop in a small studio in her Providence, Rhode Island bungalow, Allison Cole works as a freelance illustrator for clients nationwide. Her playful artistic style can be found on anything from art prints to tote bags to greeting cards. 

No-Sew Chevron Table Runner

December 9, 2013

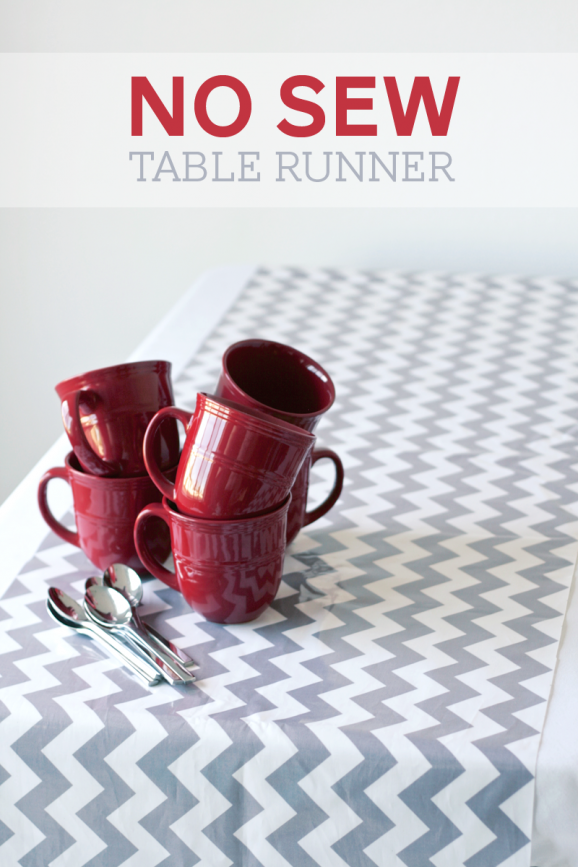
Today we’re sharing an easy way to perk up a plain white tablecloth. This simple DIY no-sew table runner is made from the laminated chevron fabric from Riley Blake.

Are you familiar with Riley Blake fabrics? Not only do they offer a variety of fun chevron prints–laminated or not, they also have the BEST designs for girl and BOY FABRIC! If you’re a sewing Mom, Nana or Favorite Auntie to a little boy, you know finding cool BOY fabric is nearly impossible. So let me just point out my current favorite: these Pirate Ship and Pirate Skull prints. They’re the perfect combination of awesomely tough and cute. Back to the tutorial…

1

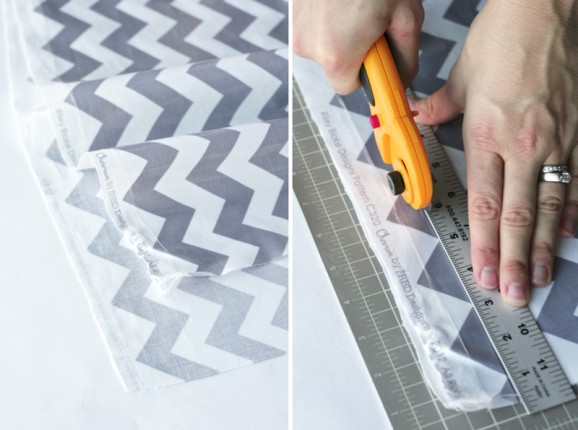
There are lots of reasons to love this fabric: (1) laminated fabric is wipe-able and totally kid-friendly; (2) lamination resists fraying, so no need to hem the edges of your runner; and (3) the fabulous chevron print!

2

Order enough yardage to cover the length of your desired table. Depending on the fabric width, you may be able to cut the fabric in half lengthwise, yielding two separate runners. Carefully trim off the selvage (raw, unlaminated edge). We used a rotary cutter and straight edge, but this can also be done simply with fabric scissors.

3

We used this runner for the Caroling Party featured over at One Charming Party.

Reposted with permission by Aimée Lowry & Bettijo B. Hirschi from PagingSupermom.com

Yogurt Lemon Cake with Blueberries

December 6, 2013

1

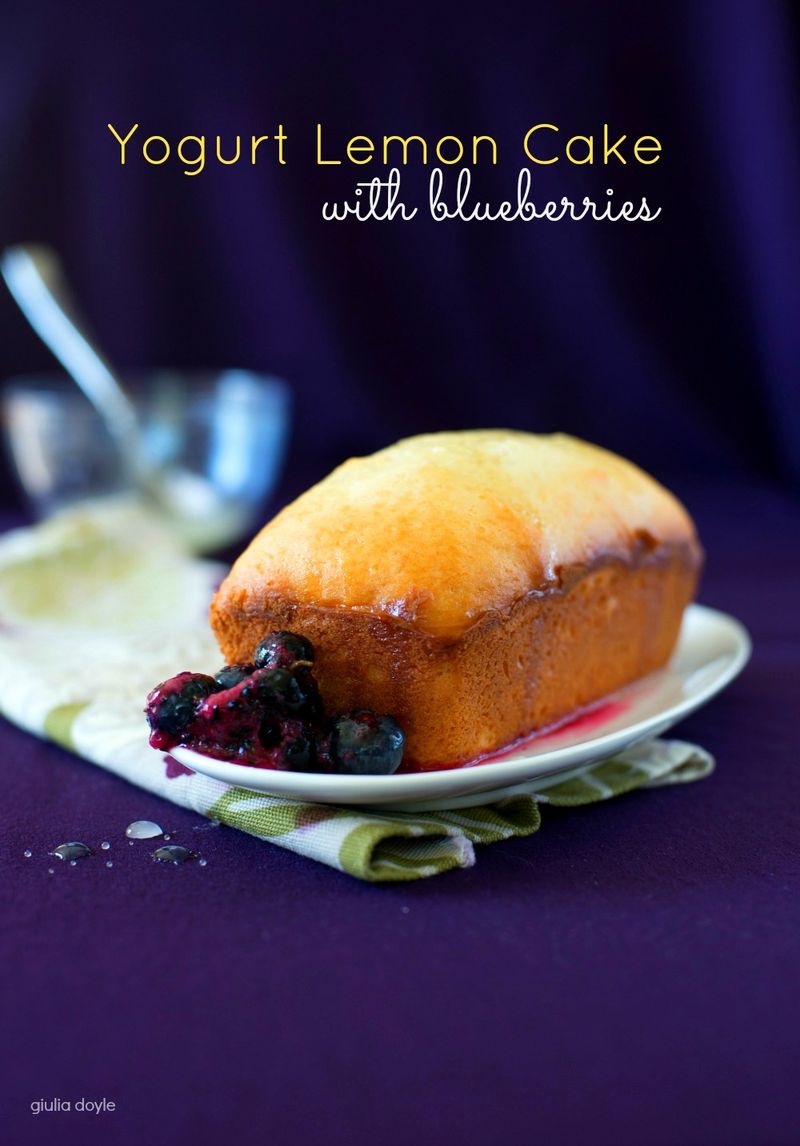
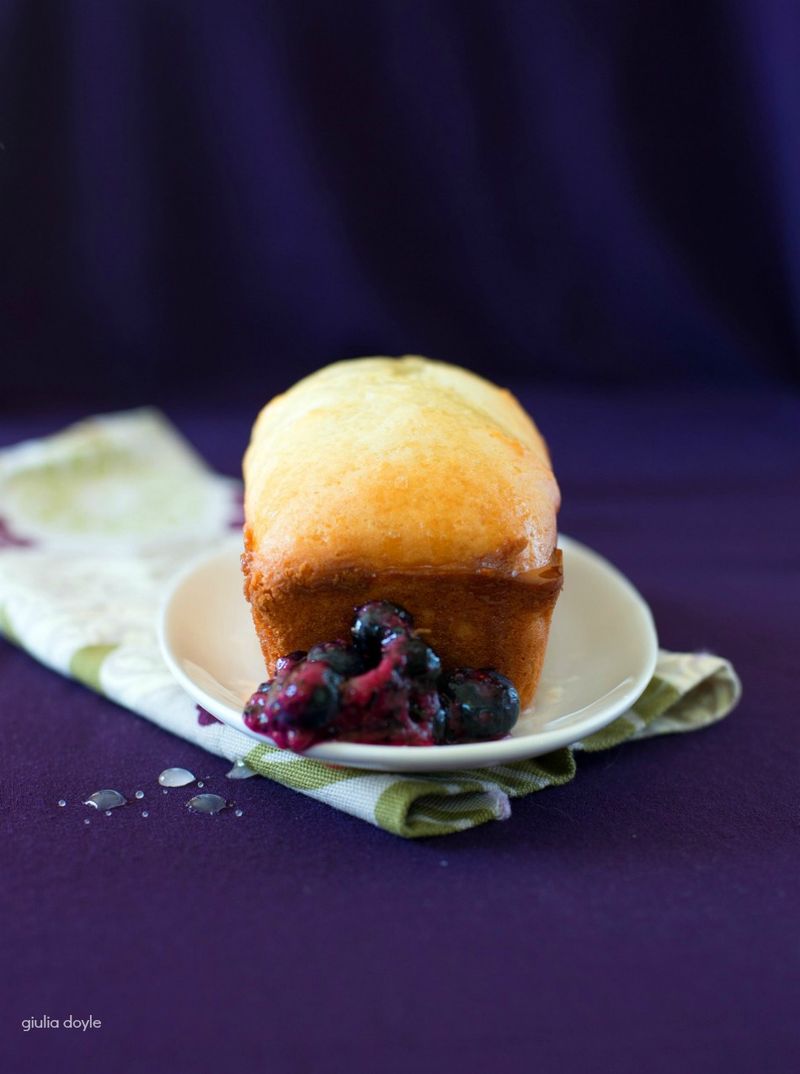
I know it’s not blueberry season, but I baked this cake in late August and then a few things got in the way and I never published it. But this cake is so good that I don’t want you to miss out on it. It’s easy to make, super tasty and if you need a vegan version of this – then you just need to follow Vanessa’s version that uses coconut yogurt.

Around here bake sales are starting again, so this would be a great contribution. I also find that baking with frozen blueberries works really well.

My kids love this cake and said if I added a few poppy seeds it would be like the lemon cake at Starbucks. This one is healthier I’m sure. There’s tofu in it, which I thought was the weirdest thing when I first read the ingredients. Have you ever added tofu to your cakes?

I froze part of this cake and ate it plain later on. It tasted just as great. I can also imagine using black berries, or maybe pomegranate as a topping to switch it up – or maybe I should add some poppy seeds and channel Elaine on Seinfeld.

2

Yogurt Lemon Cake with Blueberries – adapted from Vanessa K Rees

Prep Time: 20 minutes

Cook Time: 30 minutes

I baked this in two mini loaf pans. When using a bundt pan, make sure it’s small enough (mine was too big)

Ingredients

  • Cake Ingredients:
  • 1 1/2 cups of all-purpose flour
  • 2 teaspoon baking powder
  • Pinch of salt
  • 1 tablespoon of lemon zest
  • 1/2 cup yogurt
  • 1 cup of sugar
  • 1/2 cup silken tofu, blended
  • 1/2 cup canola oil
  • Lemon Syrup:
  • 1/4 cup sifted powdered sugar
  • 1/4 cup fresh squeezed lemon juice
  • Blueberry Topping:
  • 1 1/2 cups frozen blueberries, thawed
  • Pinch salt
  • Sugar to taste

Instructions

  1. Preheat the oven to 350 degrees. Grease a loaf pan with cooking spray. Dust the inside of the pan with flour. Over the sink, knock the flour around until the inside of the pan has a thin coat of flour. Set aside.
  2. In a small bowl combine the flour, baking powder, salt, and lemon zest in a bowl. Mix to combine (a fork works well) and set aside.
  3. Using a blender or food processor, blend tofu until smooth. In a medium bowl, combine the yogurt, sugar, blended tofu, and oil until the batter is smooth. Add the flour mixture to the wet mixture. I like to do this in two batches. It might be a little oily at first, but it will come together. The batter will be thick-almost like a muffin batter. Transfer the batter into your prepared pan, taking care to see that the mixture is evenly distributed throughout, and place in the preheated oven to bake. When a thin metal tester placed into the center of a cake comes out clean, the cake is done (about 25 – 30 minutes and it reached a golden color).
  4. While the cake bakes, prepare the lemon syrup and berry topping. To prepare the lemon syrup, simply combine the lemon juice and powdered sugar in a small bowl. A fork works well. The berries are also simple to prepare. Remove any leftover tofu from the food processor, thoroughly rinse and dry. Add ½ cup of the blueberries with a pinch of salt and sugar. Blitz the blueberries in a food processor until a puree is formed. In a medium sized bowl, combine the puree with remaining whole berries, fold until well integrated.
  5. When the cake is done, remove from the oven and place on a cooling rack for about 5-10 minutes. Then remove the cake from its pan by inverting it onto a plate and flip back upright.
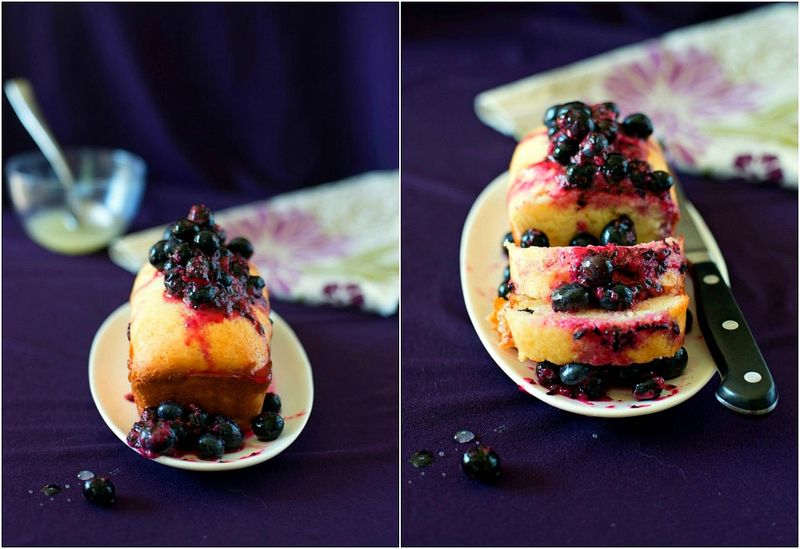
  6. While the cake is still warm, slowly spoon the syrup onto the cake. Some of the syrup will be absorbed by the cake and some will not. You can serve this cake at room temperature or warm. To serve, top the sliced cake with generous dollop of the blueberry mixture.

Notes

The original recipe comes from Molly Wizenberg. Vanessa’s version is vegan by using coconut yogurt instead of the regular yogurt. This cake freezes well and can be made with any berry topping or served plain

3

Need more tasty recipes and delicious bites? Check out our Let’s Eat Pinterest Board.

Post by Giulia Doyle : Audrey’s

Q&A with Suzy Ultman

December 5, 2013

Headshot_300dpi_rectangle


Tell us a bit about yourself.

I grew up in Pennsylvania, with my 2 sisters, playing in the woods, collecting stickers, drawing Snoopy sketches, and dancing whenever there was a free moment. My parents were playful and imaginative, and encouraged our creative spirits. My dad loved to “camp out” (this was slang for bringing sleeping bags & popcorn into the living room, and staying up late). My mom always had a project under way, and had me baking & sewing at a young age.

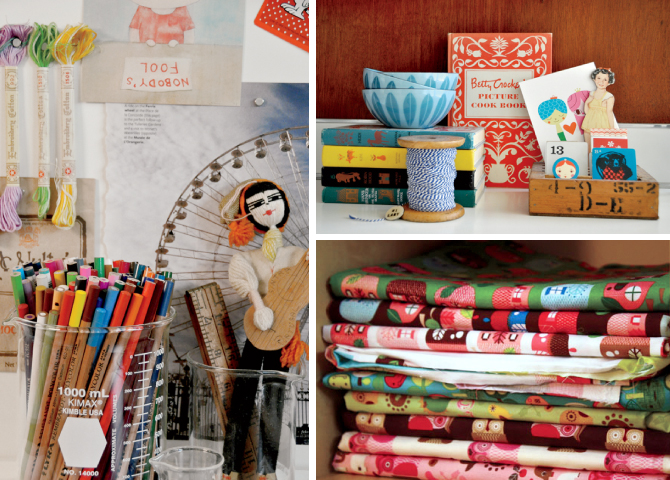
Studio

How would you describe your style? Did you have to develop it or did it just come naturally?

I’d describe my style as sophisticated whimsy. It did come naturally – it’s an extension of my personality. On one hand, I can be very together, focused, and stylized. On the other, I like to hang out in my kid zone, and dance & doodle & play & imagine what the birds are talking about.

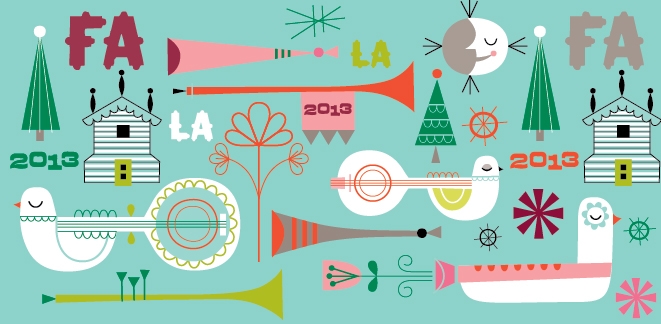
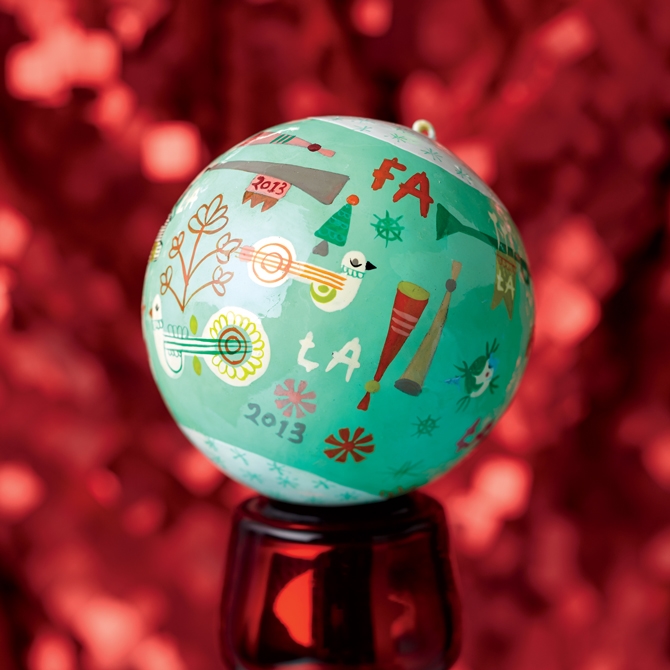
Please tell us about making the A Very Good Year Ornament 2013 and your inspiration behind it.

This was a challenging project because I had just finished a lot of Christmas work. I wanted to do something fresh for this special ornament, and I was nervous that my well of holiday ideas had gone dry. Then, I went to visit my parents. I saw my dad’s mandolin, and it caught my eye. I started doodling the instrument, adding some birds, trumpets, flowers, fa la la la’s, and more. Soon, the illustration took shape.

Suzyultman_annualornament Vngt_glm_good_yr_orn

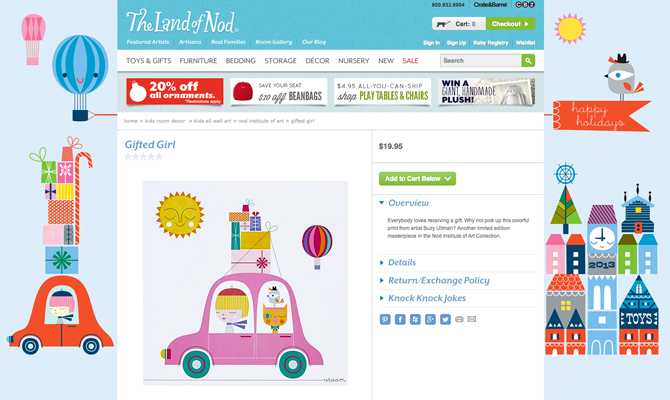
Where do you get your design inspiration for the Gifted Girl print and Nod holiday website background this year?

For the Gifted Girl print, Land of Nod asked me to create a piece with a girl returning from a shopping trip. I loved the idea of putting her in a tiny tiny car with all of the gifts stacked on top. I’ve always had a crush on bubbly, compact, vintage European cars. This was a fun opportunity to use that as inspiration. The website art allowed me to expand on the “shopping trip” concept. I was able to draw the town where the girl had found all of her holiday loot.

WebBackground_GiftedGirl

What do you enjoy about the Holidays? Do you have any traditions of your own?

I love spending time with my family, wrapping gifts, playing games, baking sugar cookies, watching old movies, and just slowing down. Did I mention that I like to wrap gifts?!?! We do have traditions. We celebrate Hannukah, and assign one of the eight nights as “make a gift” night. Recently, we’ve been having a lot of fun making t-shirts. For the New Year, we have a tradition of finding one household item to give-up for the coming year. It’s a family decision. One year it was paper grocery bags… the next year it was plastic sandwich bags. It’s usually something to help the environment.

Favorite Land of Nod product?

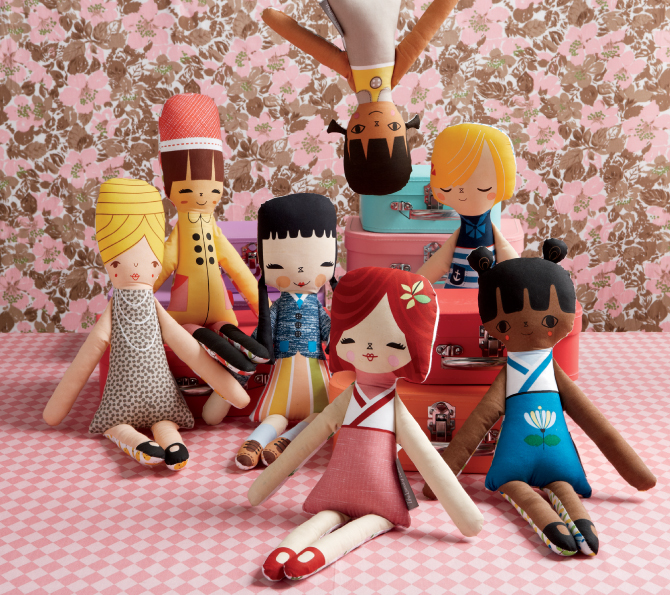
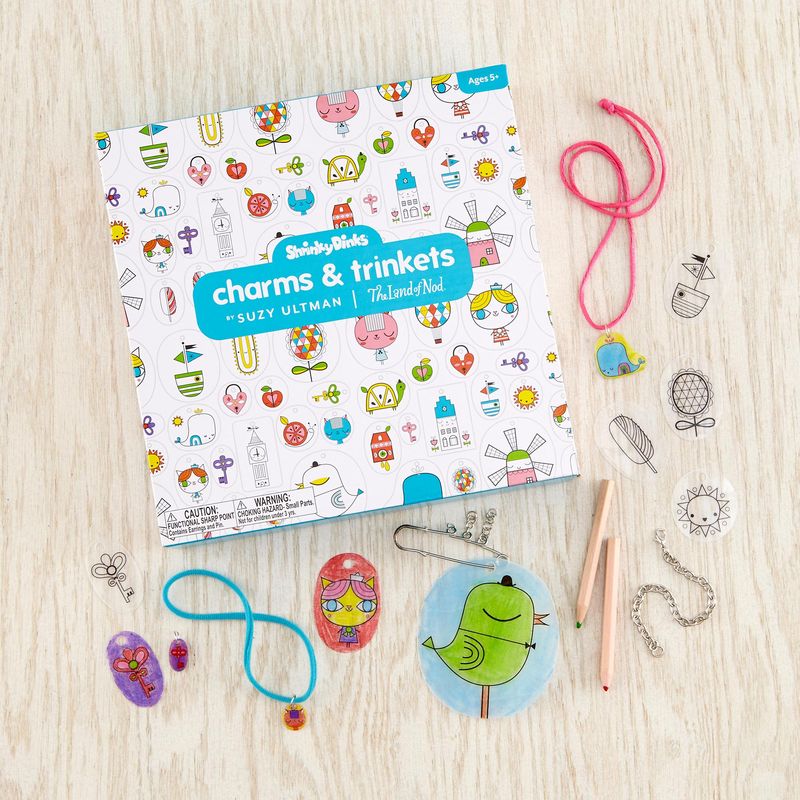
Each product holds a special place in my heart. The dolls were dreamy, because they combined my love of drawing with my love of sewing. It was very exciting watching my art come to life from the flat page to 3-diminsional doll. The shrinky dink project took me back to my childhood. As a kid, I spent hours drawing on plastic, and watching it magically shrink in the oven. It was so much fun to create the Land of Nod shrinky dink kit and the end product is just plain delightful!

Dolls
Shrinky-dinks-charms-and-trinkets
Suzy was raised in central Pennsylvania, playing in the woods and collecting stickers. She finds inspiration in scouring antique shops and flea markets, spending time in nature, walking down quirky city streets and doodling on sticky notes. Her products range from holiday ornaments to bathroom décor pieces to scrapbook essentials to fresh, colorful fabric collections.

Christmas Lunchbox Jokes

December 4, 2013

Post by Aimée Lowry & Bettijo B. Hirschi from PagingSupermom.com

Tis the season for some Christmas-themed lunchbox jokes!

Christmas Kids Lunchbox Jokes

My favorite one: “What kind of money do elves use?” Answer: “Jingle Bills” HA HA HA HA!!!

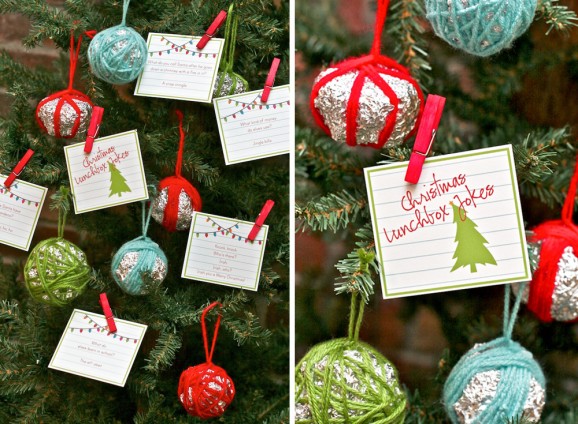
Or forget lunchboxes and put them on your tree along with our fun foil ornaments. They look pretty cute, right?!

Enough joking around… download your freebie printable Christmas Lunchbox Jokes here.

Reposted with permission by Aimée Lowry & Bettijo B. Hirschi from PagingSupermom.com

Winterland Magic

December 3, 2013

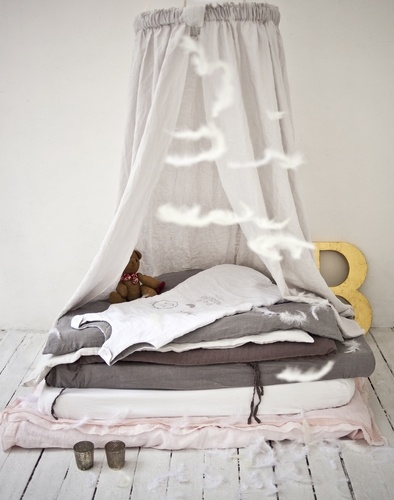
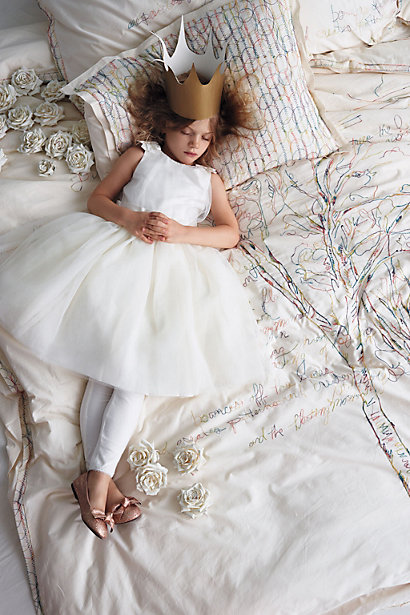
Winter is a perfect time for creating a cozy place in the home for you and your family to enjoy. This look, which we call Winterland Magic, is perfect for the kids because it has an element of fantasy and wonder, and you will love it because of the neutral colors and rich textures. To create the look, start by layering soft textiles onto your favorite bed or couch. Decorate the space with gilded accents and winter animal motifs. Keep the look playful with stars, dots or other fun patterns.

Create a winter fantasy land that your child will love:

1

image

Think about layering, texture and delicate details:

42784265181611712_Me3f1Ffn_c

image

Add a soft touch to the cold, harsh winter:

Roses

image

Create a dreamy, storybook sanctuary: 

25923434_095_f

image

Try it for yourself!

Winterland_magic

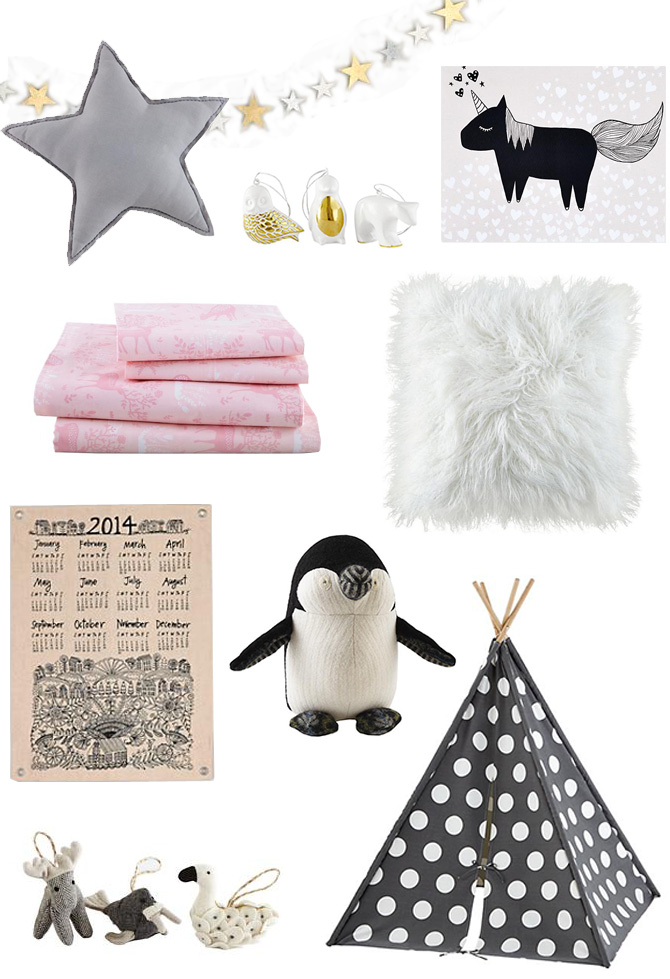
Clockwise, from top left:

Star Pillow, $24
Starry Garland, $32
Arctic Ornaments, $8.95 each
Unicorn Unicorn Wall Art, $19.95
Little Faux Sheep Pillow, $29
Plush Penguin, $49
A Teepee to Call Your Own, $159
Winterland Plush Animal Ornaments, $8.95 each
2014 Jute Calendar, $29
Fawn Forest Sheet Set, $69-109

For more inspiration, click here.

By Anna Passadori 

Anna develops and designs exclusive product for The Land of Nod. She hails from the west coast and has traveled the world to source product. She loves anything Marc Jacobs, Sofia Coppola or stripes! (So, if anyone can get a photo of Sofia Coppola wearing a striped outfit by Marc Jacobs, please send it along.)

Minty Mint Chocolate Chip Milkshake

December 2, 2013

Post by Niki of Papery & Cakery
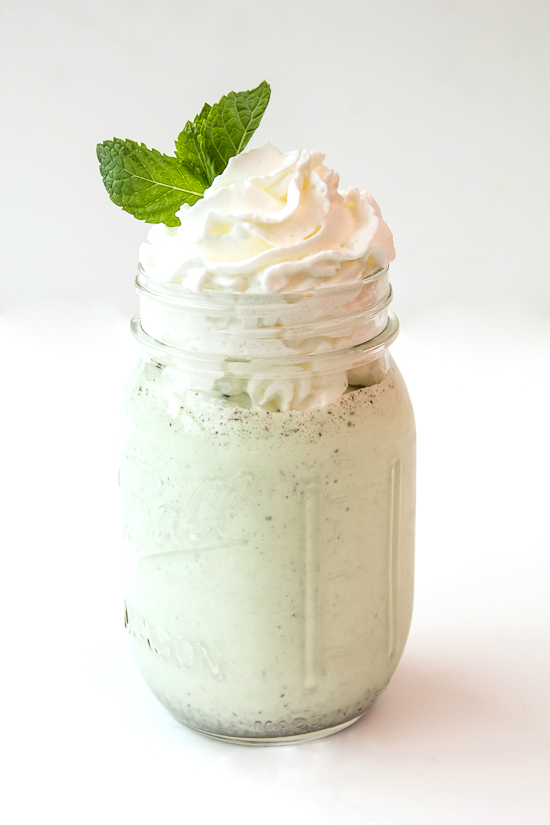
Minty Mint Chocolate Chip MilkshakeMint chocolate chip ice cream is a staple in my house, I absolutely adore it. And in milkshake form, it takes the ice cream to a whole new level.

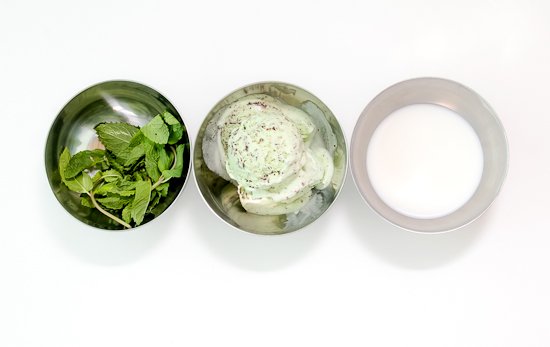
First step to making a Minty Mint Chocolate Chip Milkshake? Gather all of the ingredients.

Minty Mint Chocolate Chip Milkshake 2

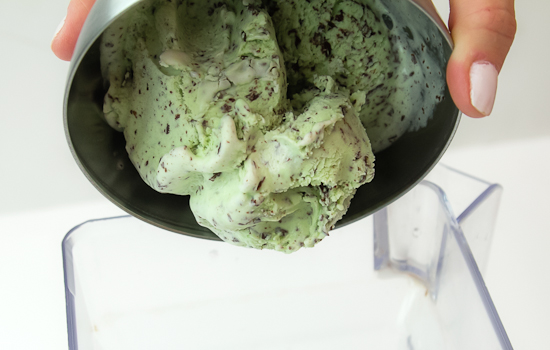
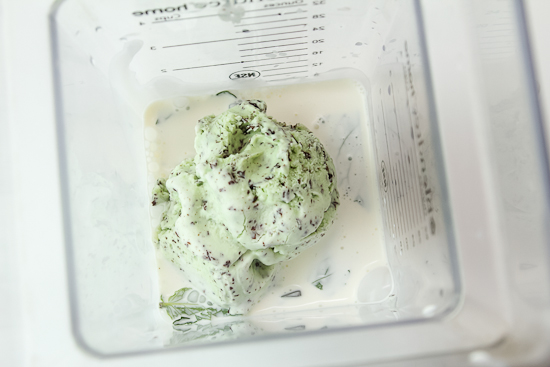
In a blender combine 1 cup of mint chocolate chip ice cream with 1 cup of milk and 1/4 cup of mint leaves. Blend until well-combined.

Minty Mint Chocolate Chip Milkshake 3

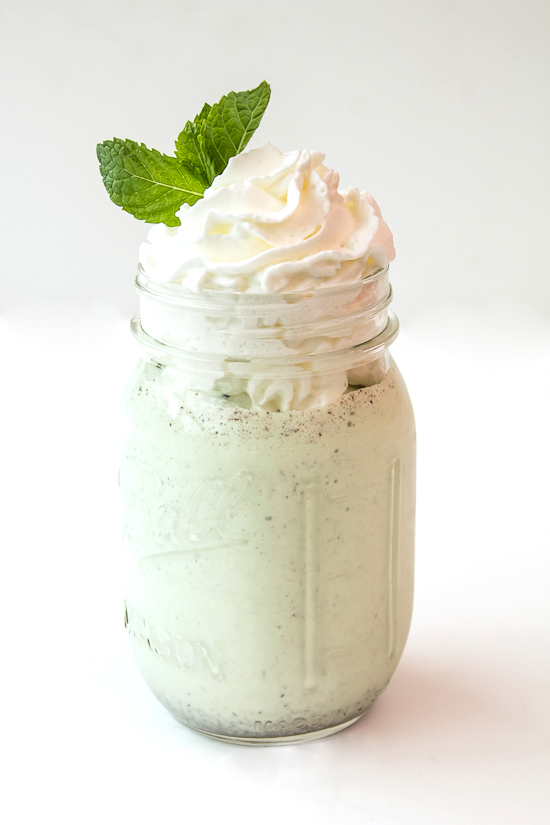
Minty Mint Chocolate Chip Milkshake 4Pour into your favorite glass, top with whipped cream and sip through a straw.

Minty Mint Chocolate Chip Milkshake 5 Post by Niki of Papery & Cakery

Woodland Prep: Holiday Decor Theme

November 29, 2013

Post by Anna Passadori, Nod’s resident trend expert

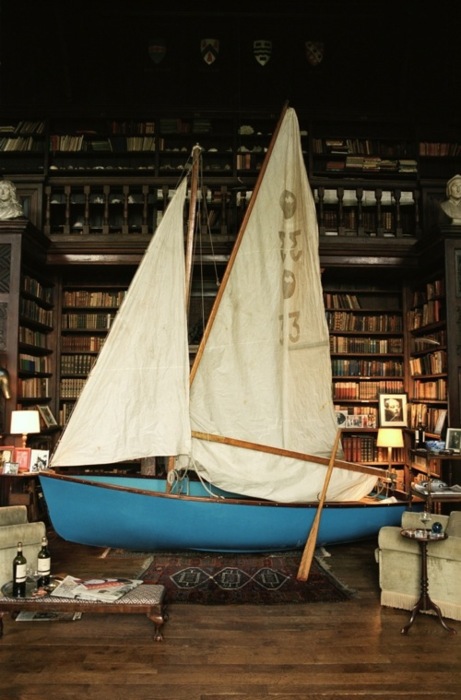
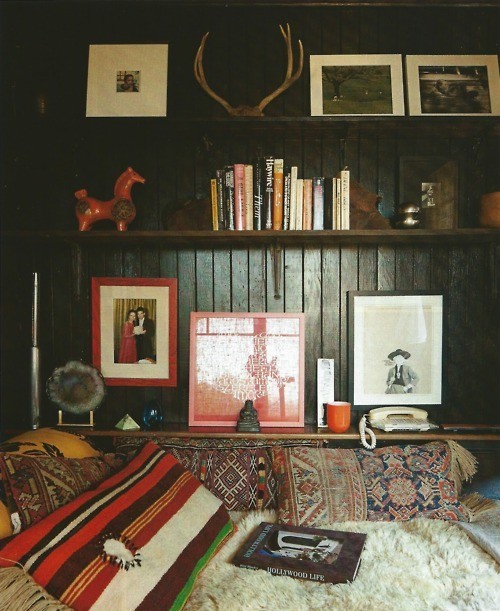
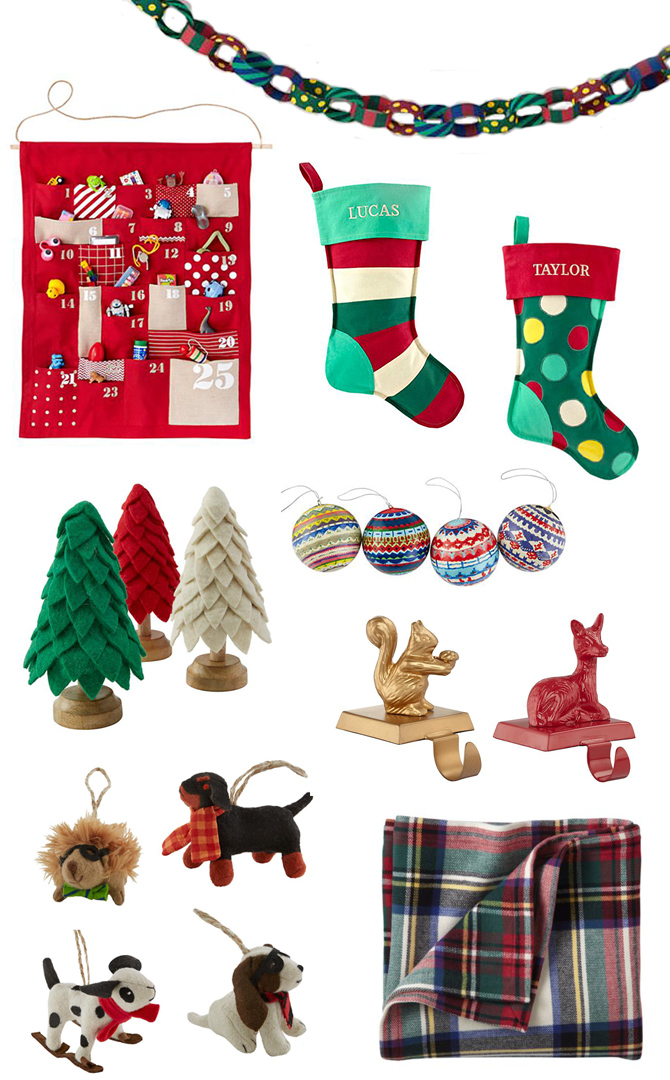
Need some decorating inspiration this holiday season? Try mixing styles for a more eclectic, rich look. For this holiday decor theme, Woodland Prep, I’ve mixed a more traditional, collegiate style with an outdoor woodland feel. Parents will love the plaids and traditional colors of the preppy look, while kids will have fun with the sporty and animal references of the woodland look.

To master the preppy look, mix in family heirlooms and antiques with eclectic finds such as family portraits and monogrammed accessories. Bring out of storage items you wouldn’t normally consider décor- vintage skis and badminton racquets look fun and eclectic around the tree. For the woodland look, bring in plenty of plaid and rugby stripe patterns (they can all mix together) as well as animal motifs such as foxes, bears and sporting dogs.

A great example of a preppy & sporty mix:

Woodland Prep: Holiday Decor ThemeA large family heirloom brings in a personal touch and makes a great style statement:

Woodland Prep: Holiday Decor Theme 1Mix family portraits with vintage and new finds:

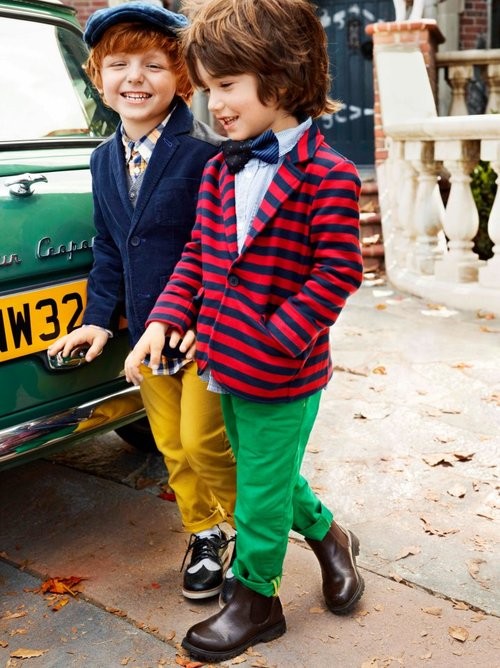
Woodland Prep: Holiday Decor Theme 2Dress the little ones in their preppy best!

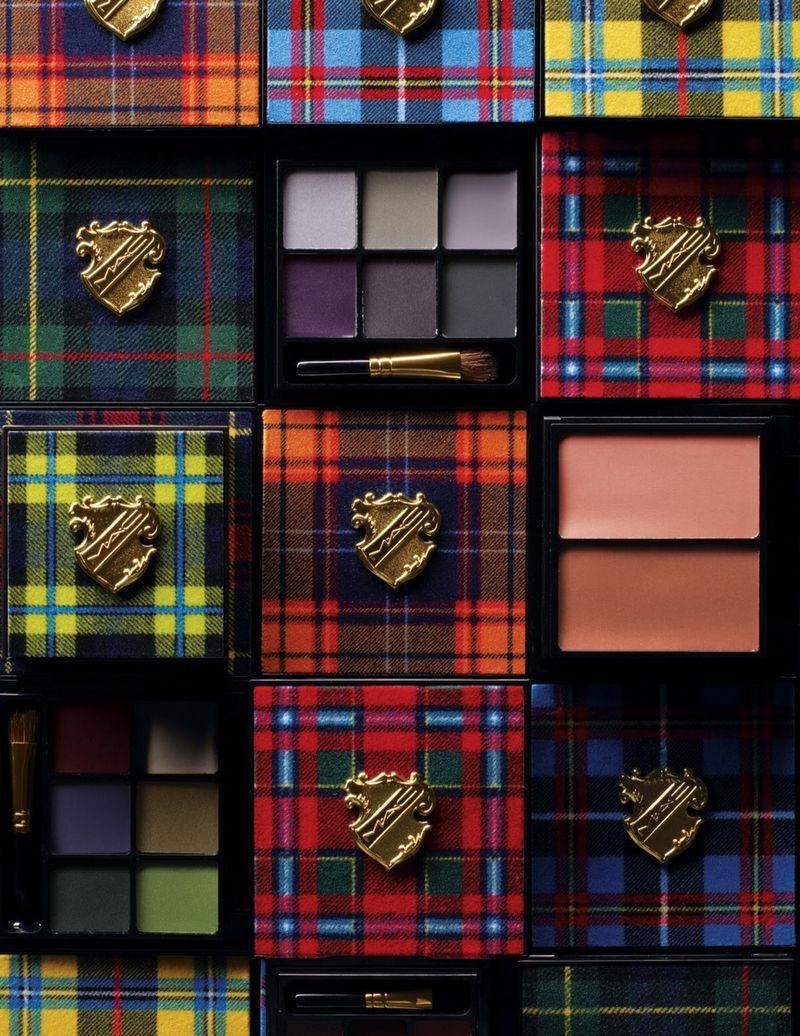
Woodland Prep: Holiday Decor Theme 4The more plaid the better!

Woodland Prep: Holiday Decor Theme 5Here are a few suggestions to try it on your own!

Woodland Prep: Holiday Decor Theme 6Clockwise from top left:
Make My Chain Fabric Garland | On the Bright Side Stockings | Fair Isle Ornaments | Animal Stocking Holders | Tartan Throw Blanket | Woodland Prep Animal Ornaments | Tabletop Tannenbaum | All Shapes and Sizes Countdown Calendar

By Anna Passadori . Anna develops and designs exclusive product for The Land of Nod. She hails from the west coast and has traveled the world to source product. She loves anything Marc Jacobs, Sofia Coppola or stripes! (So, if anyone can get a photo of Sofia Coppola wearing a striped outfit by Marc Jacobs, please send it along.)

Vegan, Raw Crunch Bars

November 27, 2013

1

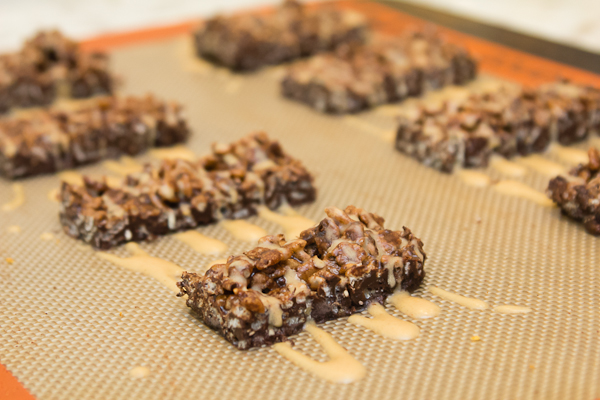
Healthy rice crispy treats? Sign me up! These bars are seriously delicious. They have just enough sweetness to satisfy your cravings but they have nada to feel guilty about because they are literally a healthy treat. AND they are vegan, gluten-free and require zero baking!

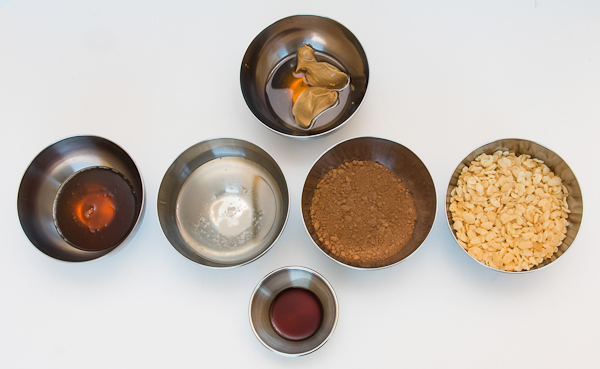
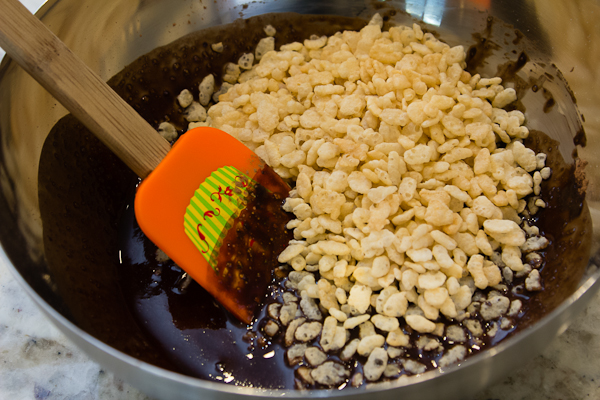
Gather all of the ingredients.

2

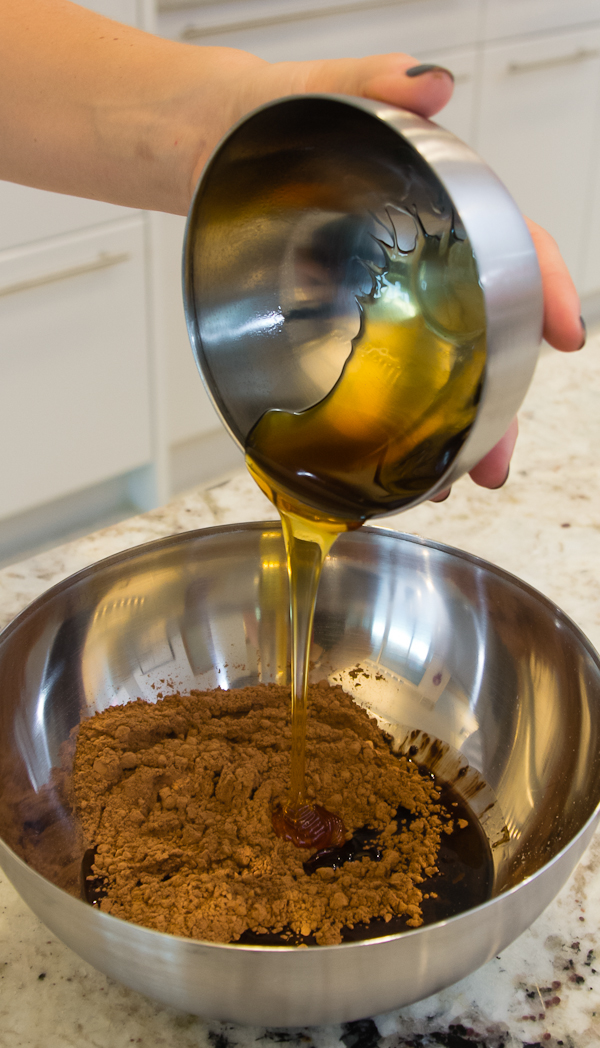
In a small bowl combine 1/2 cup coconut oil {melted to room temperature} with 1/2 cup cocoa powder, 5 tablespoons of liquid sweetener {I used maple syrup}, pinch of salt and 1 teaspoon of pure vanilla. Mix well.

3

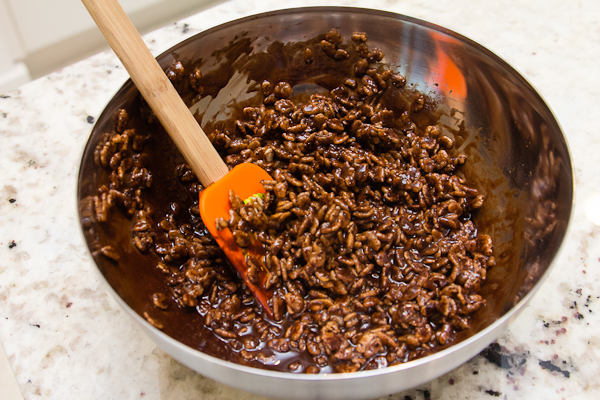
Fold in 1 cup of crisp rice cereal.

4

5

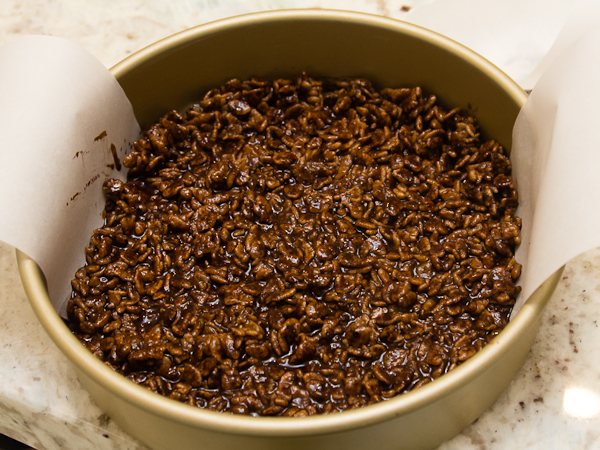
In an 8 x 8 inch pan that has been lined with parchment paper {or a round pan, because that’s all I had at the time}, pour in the crispy mixture and smooth top. Place in freezer to chill/harden.

6

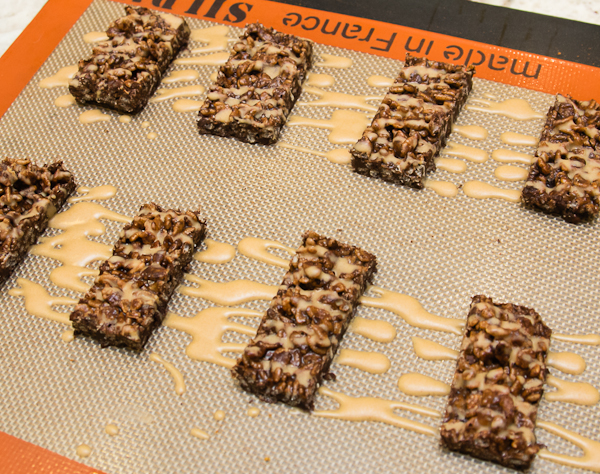
Meanwhile make the drizzle. Mix 2 tablespoons of all natural peanut butter with 1 1/2 teaspoons of coconut oil and 1 teaspoon of maple syrup. Stir to combine.

When bars have hardened {about 15 minutes}, remove from freezer and cut into bars. Simply drizzle the peanut butter mixture over the top of bars and allow to chill again for 10 minutes.

7

Bars are best served straight from the fridge/freezer as they will melt slightly at room temperature.

For a printer-friendly version of this recipe click here: Vegan Raw Crunch Bars

Post by Ali: Papery & Cakery

How to Decorate for Thanksgivukkah

November 26, 2013

Post by PJ Feinstein of A Girl Named PJ
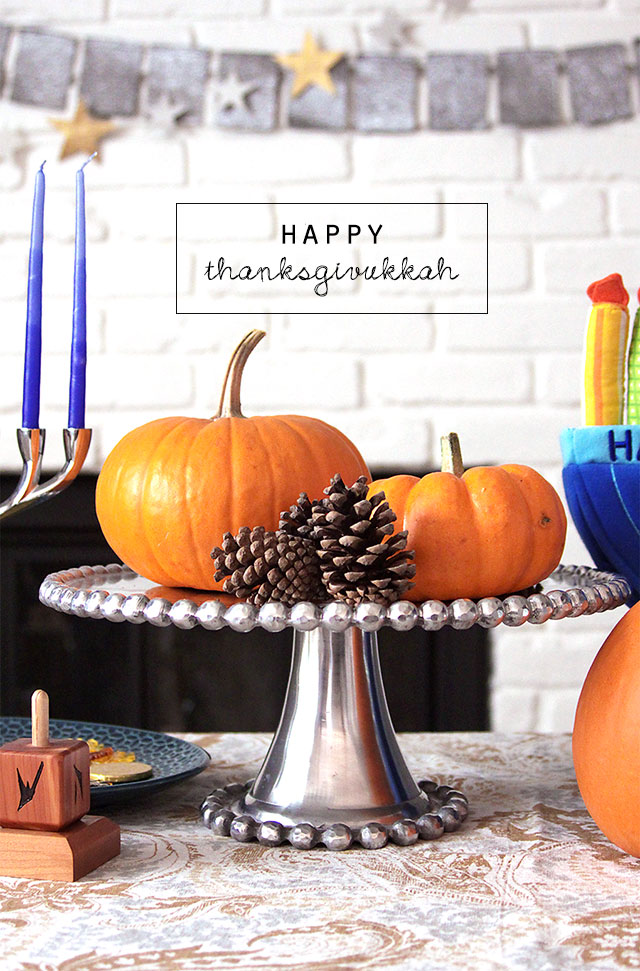
How to Decorate for Thanksgivukkah

Across the country, Jewish families will be eating turkey with a side of latkes this year, as Thanksgiving and the first day of Hanukkah both fall on November 28th. This holiday mashup — cleverly nicknamed “Thanksgivukkah” — is truly a once-in-a-lifetime event. It hasn’t happened since 1888, and it won’t occur again for 70,000-80,000 years.

Although JB and I have always celebrated Thanksgiving with family, I don’t think we’ve ever had the chance to light the menorah with them. It’s always been impractical to buy plane tickets and take time off from work for holidays typically two or three weeks apart. So this year, in excitement for this once in a lifetime event, I’ve been thinking about how to decorate for Thanksgivukkah.

This year we’ll be giving thanks and playing dreidel with my side of the family. I’m imagining a menu loaded with dishes combining the best of Thanksgiving and Hanukkah. How delicious do Pecan-Cranberry Noodle Kugel, Pumpkin Challah, and Pumpkin Rugelach sound?
How to Decorate for Thanksgivukkah - 2
But how does one decorate for Thanksgivukkah? Combining Hanukkah’s cool shades of blue and silver with Thanksgiving’s rustic red, green, orange, and yellow could potentially be an eyesore. Plus, loading the table with menorahs and dreidels and Stars of David and pumpkins and leaves and turkeys and feathers and acorns would definitely be overkill.

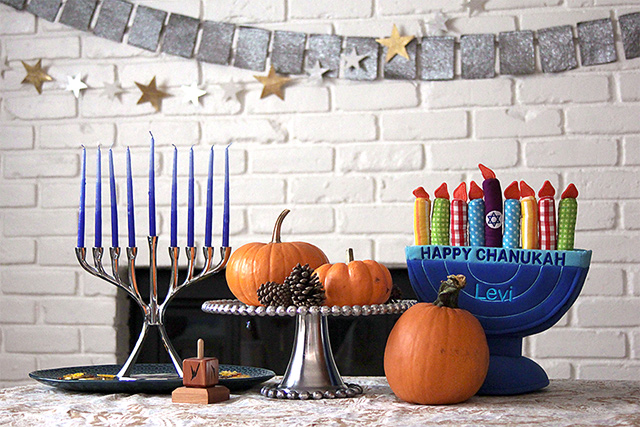
It turns out that blue and orange are complementary colors, meaning they look great together. So I decided to stick to a mostly blue, orange, and metallic silver color palette accented with a dash of gold. And since Hanukkah actually begins at sundown the night before Thanksgiving and lasts for eight days, I put the emphasis on Hanukkah decorations.
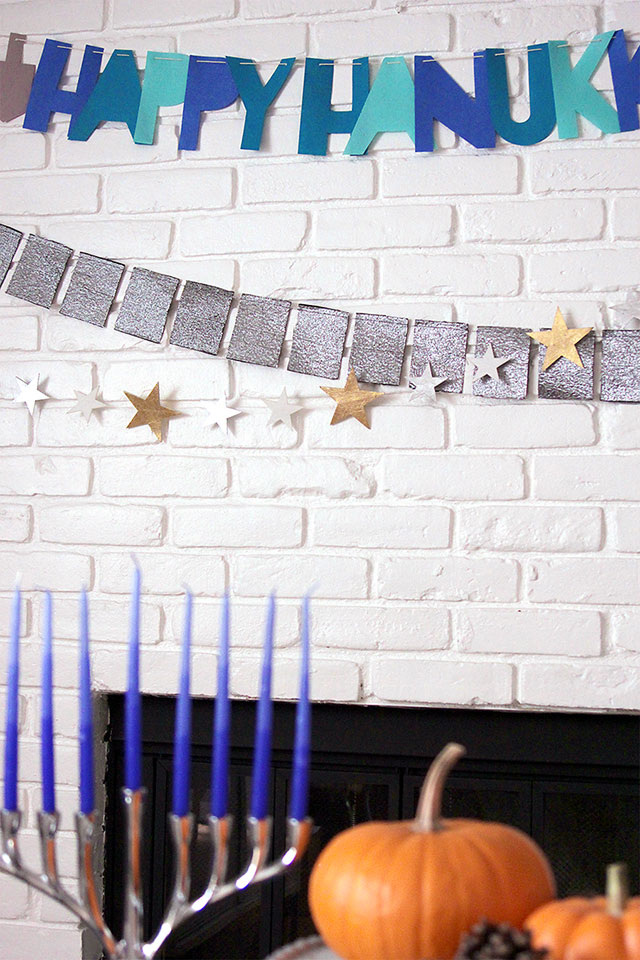
How to Decorate for Thanksgivukkah: Banner

I started by creating a backdrop with the Happy Hanukkah garland we bought last year and two new metallic garlands for an added dose of glamour.
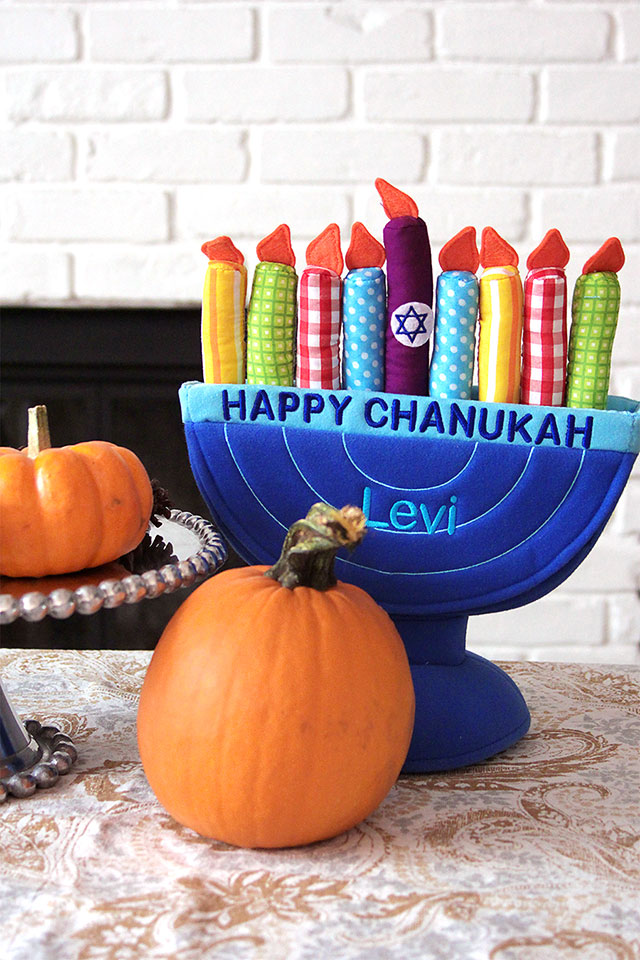
How to Decorate for Thanksgivukkah - 3

By happy coincidence, Levi’s plush toy menorah (a gift from his grandfather) also happens to be blue!
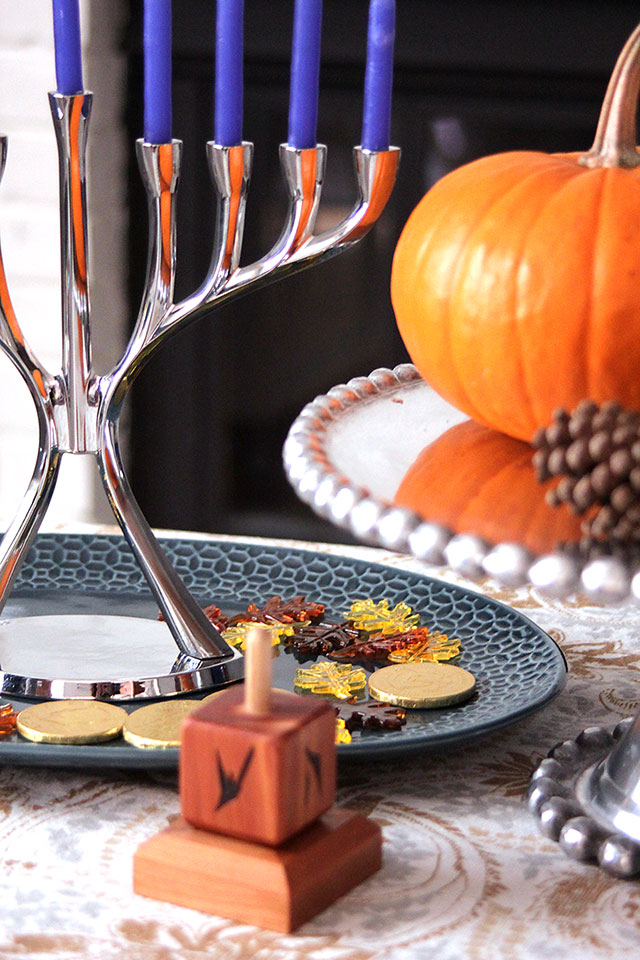
How to Decorate for Thanksgivukkah - 4

Adorned with blue ombre candles, I placed our silver menorah on a teal ceramic platter to catch any wax drippings. The colors mimic the various shades of blue in the Happy Hanukkah banner. I sprinkled gold foil-wrapped gelt and yellow and orange plastic leaves around the base of the menorah. (The packet of decorative Thanksgiving leaves also included red, green, and brown leaves, but I chose not to use them.) Instead of the leaves, you could easily swap acorns.
How to Decorate for Thanksgivukkah - 5

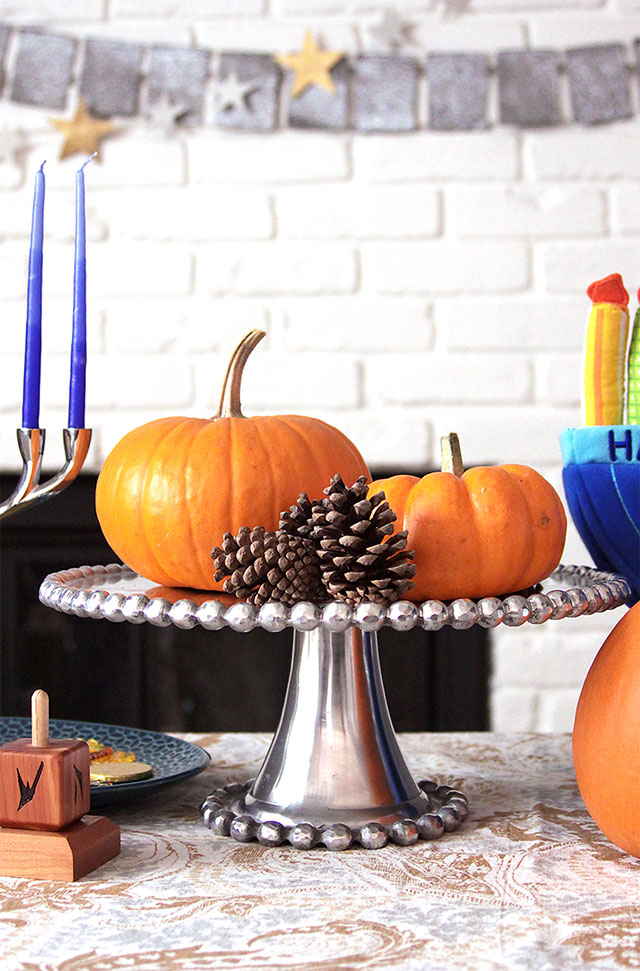
To bring Thanksgiving into the mix, I arranged pumpkins and pinecones atop a silver cake stand. Yes, the pinecones are brown, but I thought they grounded the look and paired nicely with the gold in the star garland and the tablecloth. If you don’t have pumpkins leftover from Halloween, you could also use craft pumpkins, faux pumpkins, paper pumpkins — you get the idea. Instead of pinecones (from your yard or the store), you could try a handful of leaves or, again, acorns.

So what do you think? Festive but totally doable, right (even for us non-DIY types)? Here’s how to get the look in your home:

Happy Hanukkah banner (similar) from Land of Nod // Starry garland and Embroidered Silver Metallic garland c/o Land of Nod // Kids First Menorah Soft Toy from One Step Ahead // Molten menorah (similar) from Nordstrom // Hand Dipped candles (similar) from Fab // Decorative Plastic Leaves from Michaels // Hanukkah gelt (similar) from Cost Plus World Market // Threshold Oval Textured platter and Threshold Beaded Aluminum cake stand from Target // Armor tablecloth (similar) from John Robshaw

PJ Feinstein is the author of A Girl Named PJ, a lifestyle blog offering fashion and beauty tips, design inspiration, commentary on pop culture, thoughts on personal growth, and honest talk about motherhood. She lives just outside Washington, DC, with her husband, two young sons, and stubborn (but adorable!) small white dog.
Thanksgiving Kids’ Table

November 25, 2013

Post by Michelle Sterling of Avery and Augustine
Thanksgiving Kids' Table

Thanksgiving Kids' Table

Thanksgiving Kids' Table - 3

Thanksgiving Kids' Table - 4

Thanksgiving Kids' Table - 5

Thanksgiving Kids' Table - 6

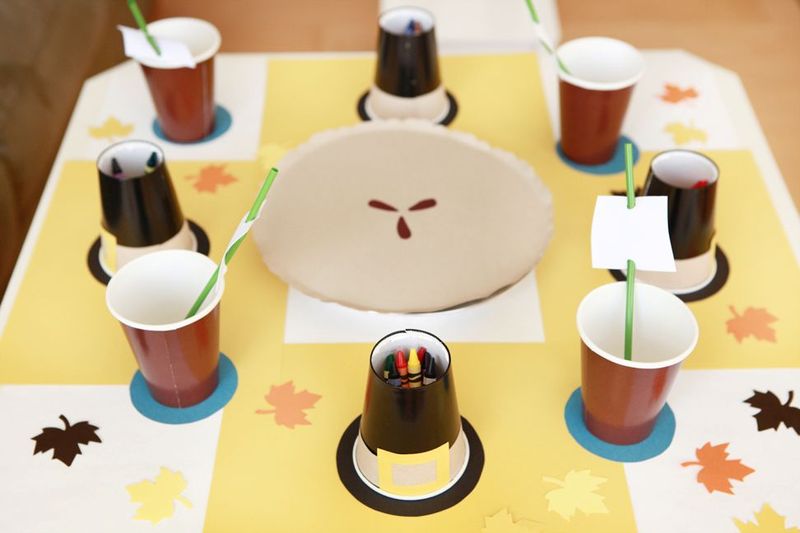
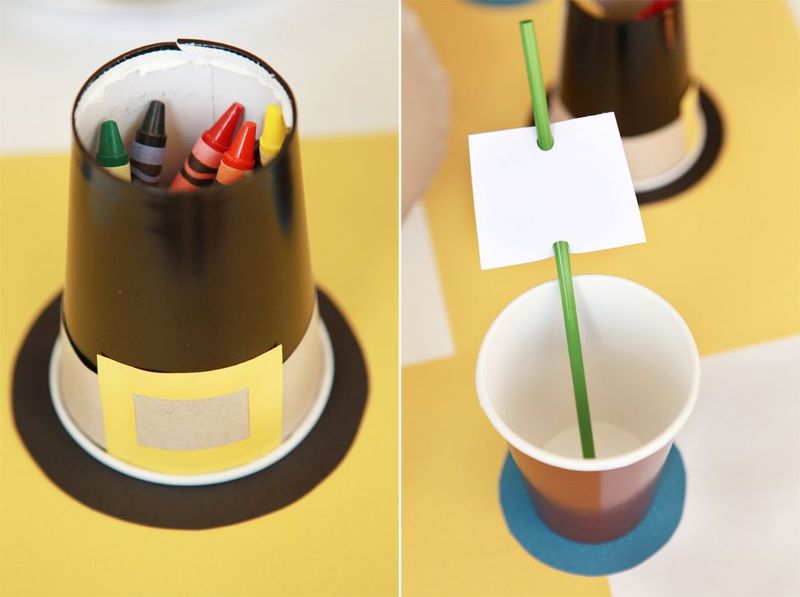
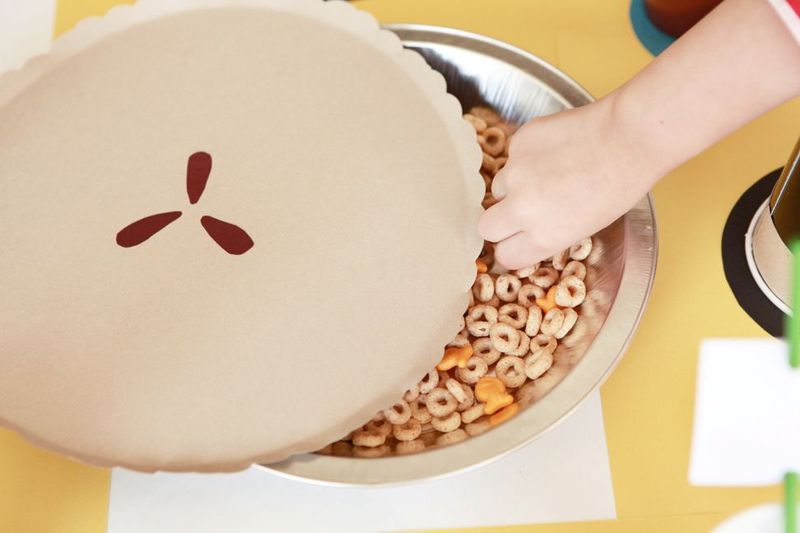
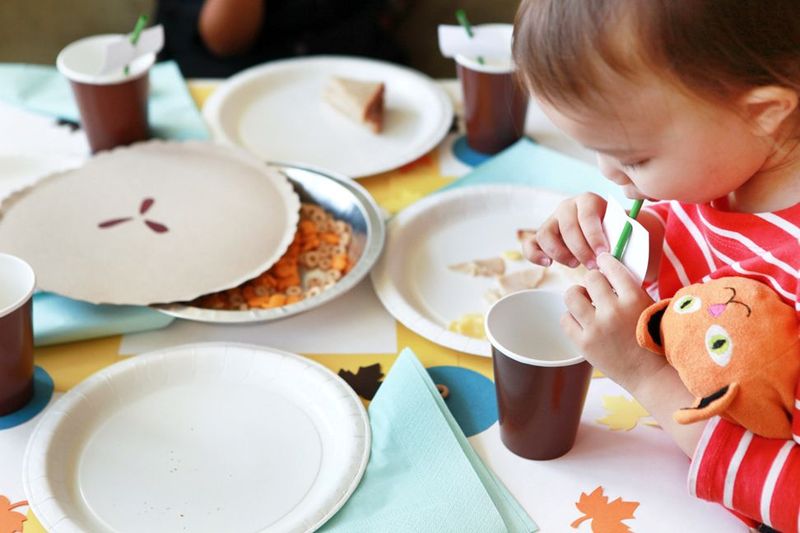
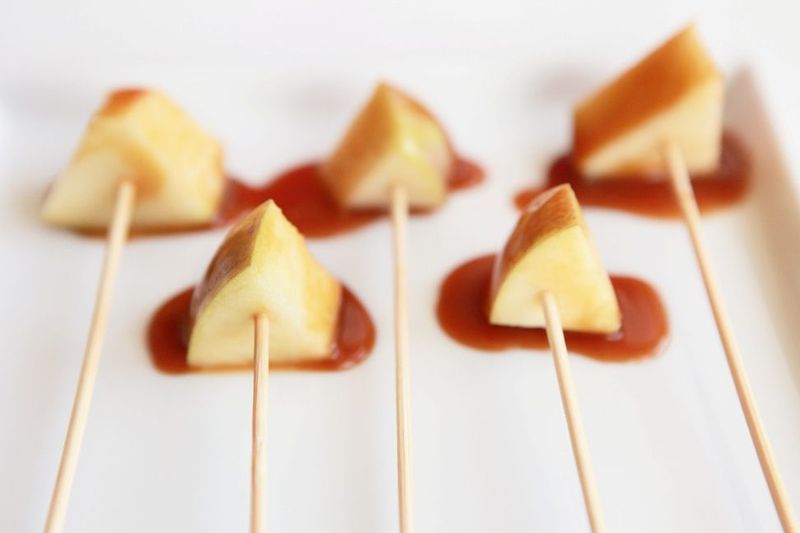
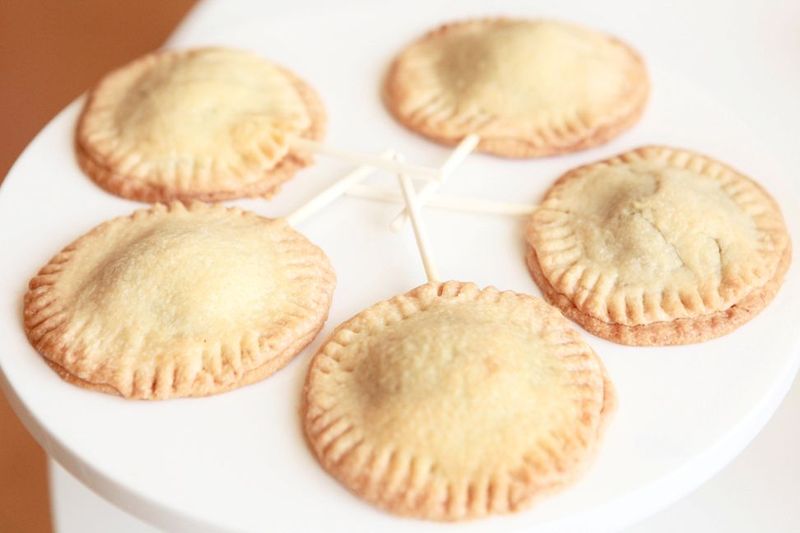
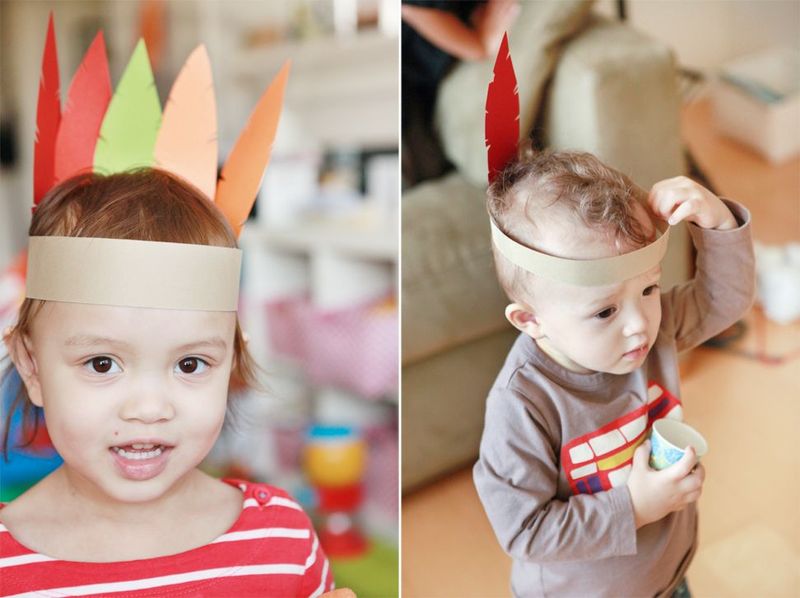
Thanksgiving Kids' Table - 7In case anyone is looking for fun details for their Thanksgiving kids’ table, I wanted to share this play date that we had last November.  The table set-up and craft ideas came from Fiskars.  The afternoon included turkey sandwiches (it was Thanksgiving after all) and later, my cousin Amy made apple bites dipped in fleur de sel caramel along with Nutella and pumpkin pie pops.  It was a delicious and fun afternoon!

Post by Michelle Sterling of Avery and Augustine. You can see her work and read about her two young children and their first forays in cooking, art and everything in between at Avery and Augustine.