Spooky Halloween Games
Post by Aimée Lowry & Bettijo B. Hirschi from PagingSupermom.com
With class parties, costume parties and family Halloween parties around the corner, we thought we’d share our favorite Halloween games and activities from Harrison’s recent Country Ghost third birthday party. After pictures and dinner we rounded up all our spooky guests for a few fun games and activities.

GHOST BOWLING
To make: Bettijo and I put this game together in just minutes. We grabbed 6 rolls of toilet paper then hot glued onto them black oval eyes cut from construction paper. (I know toilet paper sounds tacky, yet it was perfect! Nobody got hurt, and the rolls are light enough for even our youngest ghosts to re-stack!) To make it extra fun and festive, we used a small plastic pumpkin as the ball.
To play: The basic bowling rules applied—stand behind a designated line and roll the pumpkin (or ball) to knock over as many ghosts as possible. After two tries, re-stack the ghosts for the next player.

FLYING GHOSTS
To make: Once again, we made this game with supplies on hand. We drew simple ghosts on white felt scraps then used a black sharpie to draw ghost eyes. Using hot glue, adhere the ghosts onto clothespins for weight.
To play: Guests were given a few clothespin ghosts to fly (rather, throw) into the buckets. The player with the most ghosts flying into the bucket, wins.

PINATA
Well, I totally cheated on this. I had intentions of making a piñata, yet when my friend texted me a picture of this piñata from Target, I fell in love. This ghost is so cute. All we did was tape (yes, used normal scotch tape from the junk drawer adhesives bucket in my studio) white party streamers onto the bottom. The added streamers made it look custom and spooky!

Supermom Secret: Don’t have a strong tree branch or gazebo rafter to hang a heavy piñata in your backyard? We used a wrought iron basket hanger from our garden. This hanger is a stake at the bottom that provides easy installation into any soft ground. (And by installation I mean, poke it into ground then jump on it to secure.)
I stuffed the ghost piñata with single-serve cereal boxes, glow in the dark bracelets and party blowers. I’m not a fan of giving kids a lot of candy, so when Harrison suggested cereal for the prizes, I thought it was perfect. (Neither my kids nor their friends get sugar cereal on a regular basis, so they were all pretty stoked to see mini boxes of Fruit Loops flying out!)


S’MORES
Nothing says spooky like sharing ghost stories around a camp fire! But since our guests are pretty little and we have a gas firepit in our backyard, why build a fire or tell spooky stories when we can simply make s’mores? Harrison’s favorite s’mores use Reese’s Peanut Butter Cups instead of milk chocolate bars. I noticed most grow-ups liked this kind more, too!
Reposted with permission by Aimée Lowry & Bettijo B. Hirschi from PagingSupermom.com. Photography by Jenn V


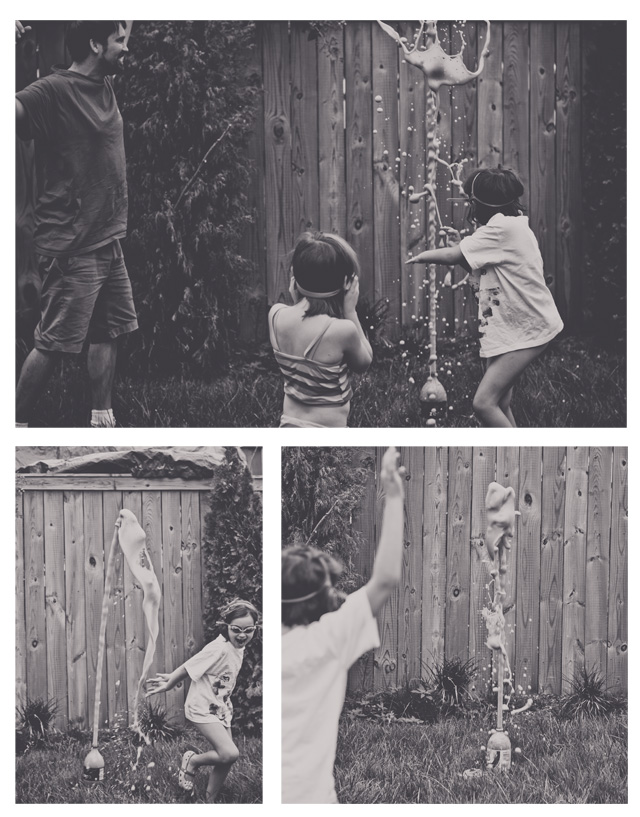 One 2L bottle of soda + 5 mentos (drop them in FAST) = Awesomeness = The perfect activity for the beginning of fall.


