Close

Blog

A Peculiar “P” Picnic

April 18, 2012

IMG_7909

When I was in the first grade, my teacher threw a Peculiar "P" Party when we learned about the letter "P." My favorite part of the week was when each child brought a food that started with the letter "P." We all got to try new foods; and even as a six-year-old I was a sucker for a theme party. 🙂 Fast-forward 25 years and now I've got two kids who are ridiculously picky eaters. My parents are totally getting the justice they deserve for putting up with my picky preferences as a child. I don't know how things got so ridiculous…but some nights I could almost cry because mealtimes are so frustrating for me. I wanted a way to make trying new things fun, and one day I thought about having our own version of the Peculiar "P" Party, but picnic style. 

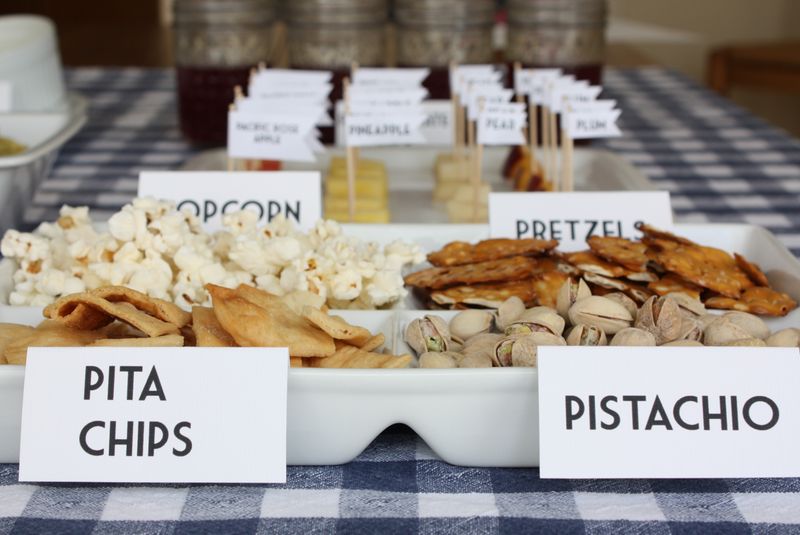
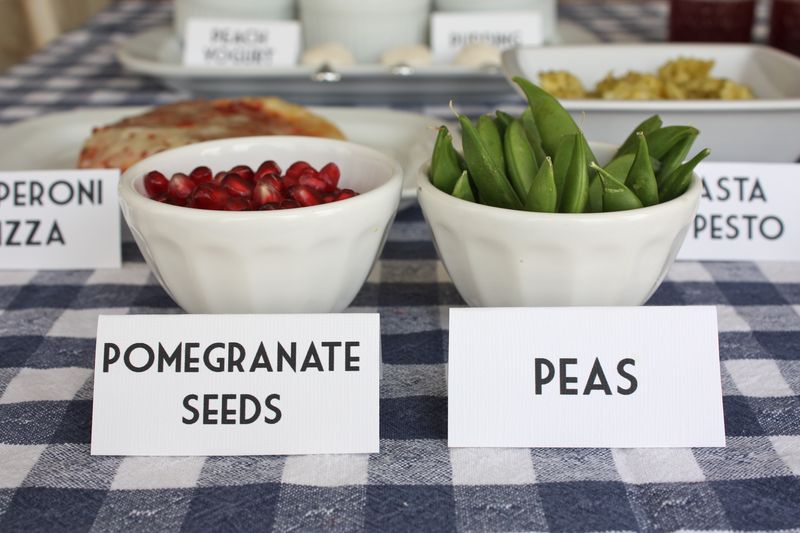
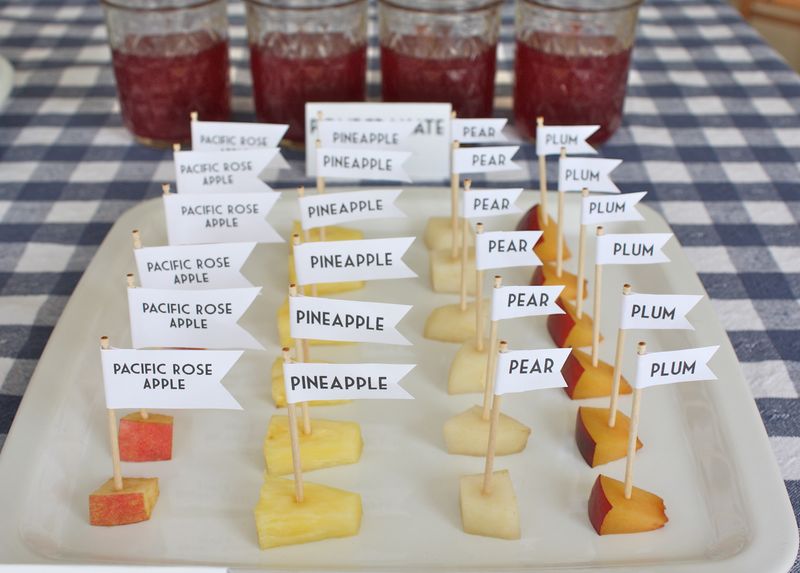
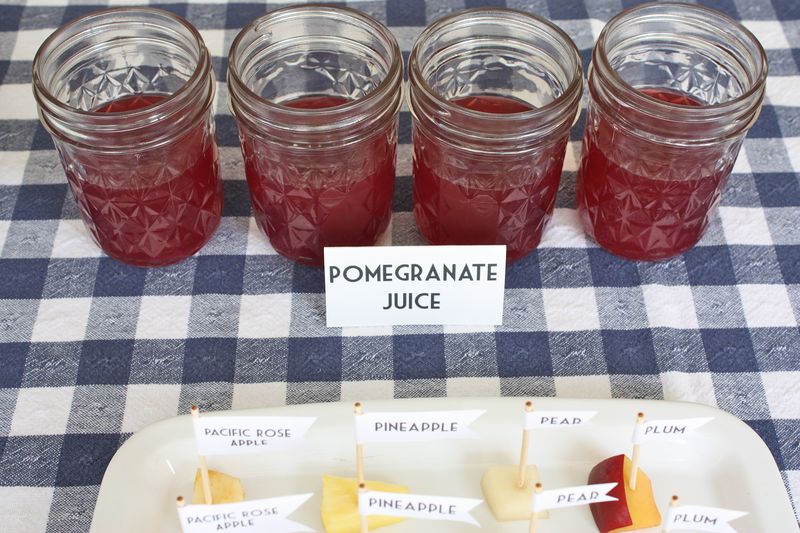
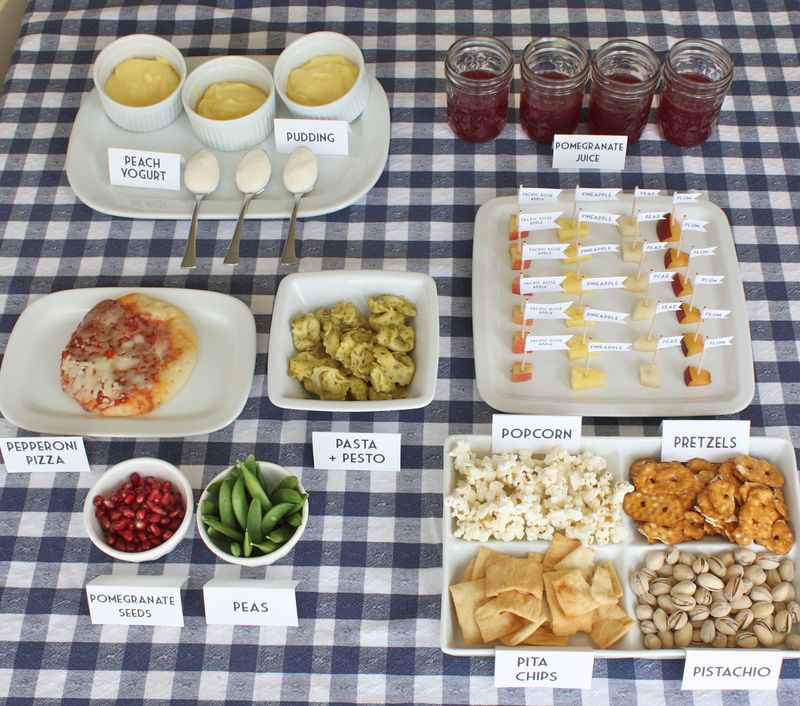
My game plan is to try this again, but each time with a different letter and foods that are more of a stretch for their picky palates. We went a little safe this time around so they'd feel comfortable with the concept. First step: I took the kids to the grocery store to look for foods that start with the letter "P." It was kind of like a fun game. We came home with pomegranate juice, pistachios, pickles, pepperoni pizza (my kids will only eat cheese pizza…so even pepperoni seems like a victory to me), pesto, pineapple, and lots of other stuff. I tried to mix in a few things that I knew they liked, like pretzels, popcorn and pears just so they'd feel a little less intimidated.

IMG_7918

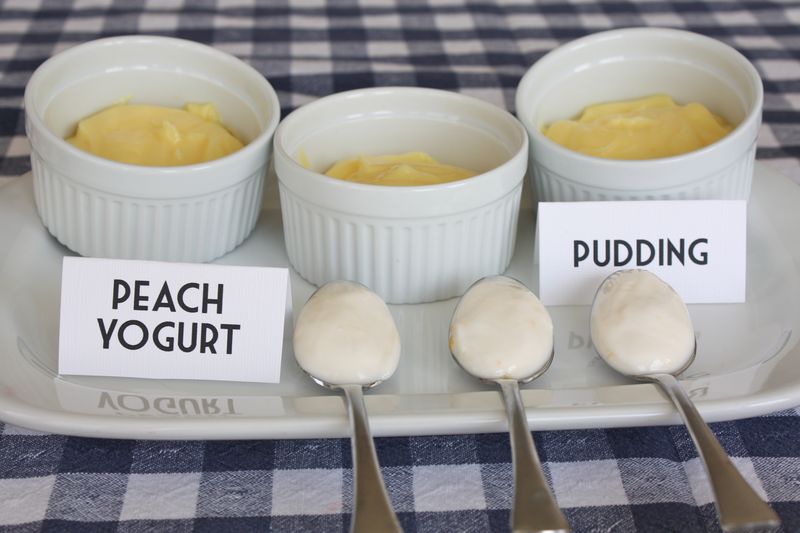
One of my kids won't eat yogurt if it has chunks of fruit in it (see what I mean?!?) So I made sure to include some peach yogurt, with chunks. 😉

IMG_7913

I prepped everything to be bite-size portions, like little hors d'oeuvres, and labeled everything so they'd see all of our "P" foods. And of course, plenty of "Pee" jokes were thrown in the mix by my six-year-old. Then we loaded up our plates and headed for the picnic blanket. I got the kids to try some new things. No tears, no yelling, and no gagging. I'd say it was a success. And they even liked a few of the new things they tried. The pomegranate seeds were a hit. I'll take a little victory any day.

IMG_7910

IMG_7917

IMG_7919

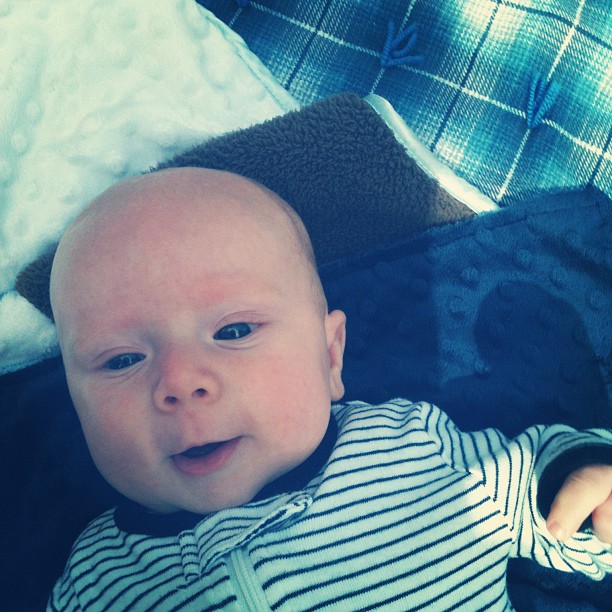
And Baby Nolan liked his first picnic. Soon I'll have to think about introducing him to new foods. If you've got a little one at your house, make sure to drop by my blog today and enter the Baby Bullet giveaway. Then you can make all the peach, pear, pea and plum purees your little one will love–at least until he turns into a picky big kid too. 

4f15be7e828a11e181bd12313817987b_7


Signature
Post by Christina Williams : justcallmechris.blogspot.com
Duchess Grey Tea Cookies

April 17, 2012

Hello again from Becca of CAKE.

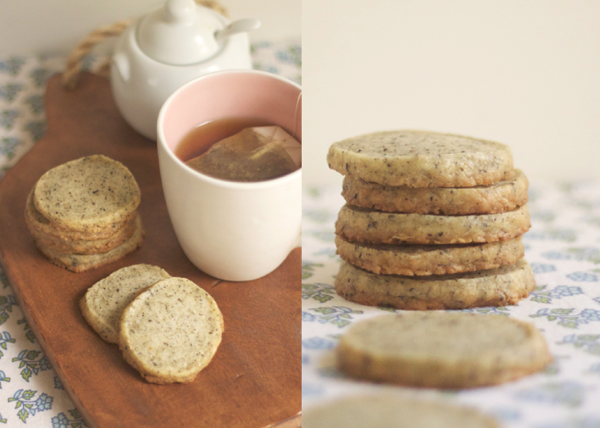
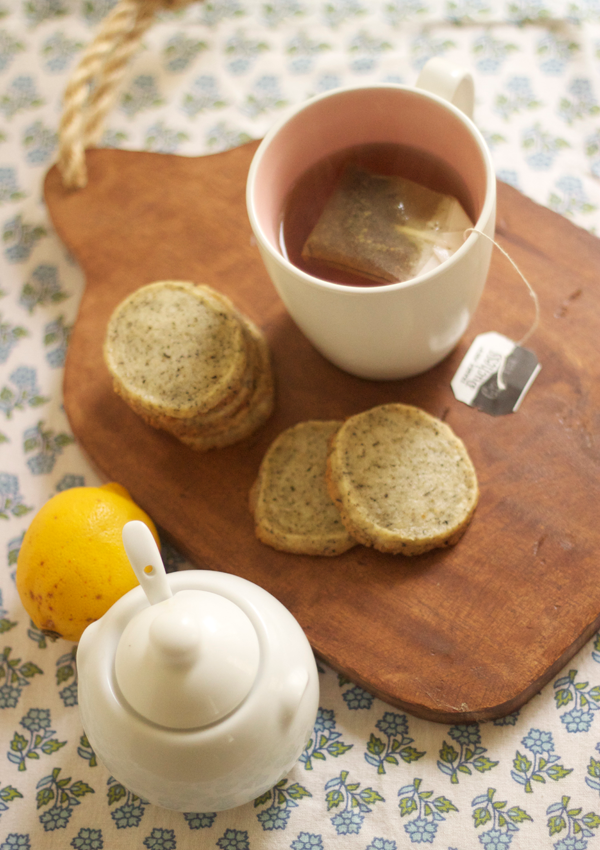
These tea cookies make a terrific dessert for a spring garden party.  They are traditionally a buttery shortbread with a mild Earl Grey flavor, but using the Duchess Grey tea adds just a hint of citrus that lightens them up in the most wonderful way.  The best part is that they’re incredibly easy to make, and when dipped in a cup of tea they melt in your mouth.  Now go and bake some… you can thank me later.

1

2

photos © cake. 2012

Duchess Grey Tea Cookies
adapted from Real Simple
makes 6 dozen cookies

Ingredients 
2 cups all-purpose flour
1/2 cup granulated sugar
1/2 cup confectioners’ sugar
2 tablespoons Duchess Grey tea leaves, approx 6 tea bags (I bought the Duchess Tea from Trader Joes)
1/2 teaspoon salt
1 teaspoon pure vanilla extract
1 cup unsalted butter, cut into pieces

Directions 
1. Heat oven to 375°F. Pulse together all the dry ingredients in a food processor until the tea leaves are pulverized. Add the vanilla, 1 teaspoon water, and the butter. Pulse together until a dough is formed.
2. Divide the dough in half. Place each half on a sheet of plastic wrap and roll into a 12-inch log, about 2 inches in diameter. Wrap and chill for 30 minutes.
3. Slice each log into disks, 1/3 inch thick. Place on parchment- or foil-lined baking sheets, 2 inches apart.
4. Bake until the edges are just brown, about 12 minutes. Let cool on sheets for 5 minutes, then transfer to wire racks.

Need more tasty recipes and delicious bites? Check out our Let’s Eat Pinterest Board.

Post by Becca : www.cakeeventsblog.com

Washi Tape Journals

April 16, 2012

TapeJournal-01

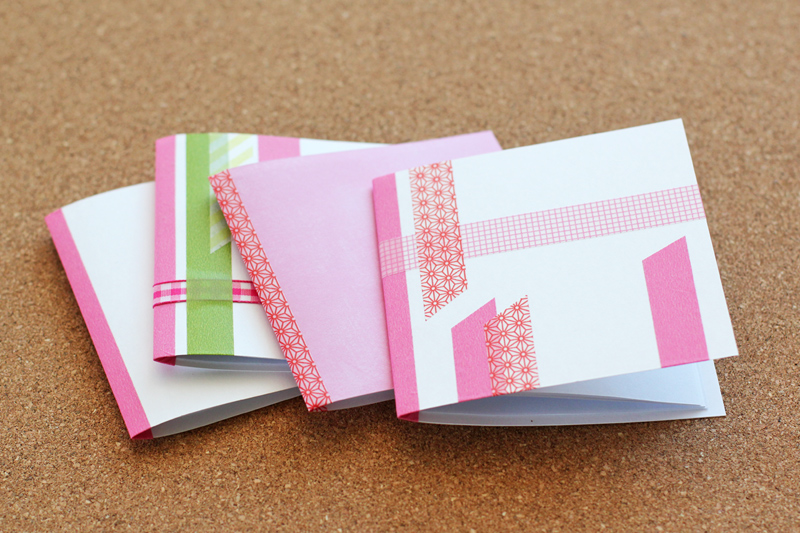
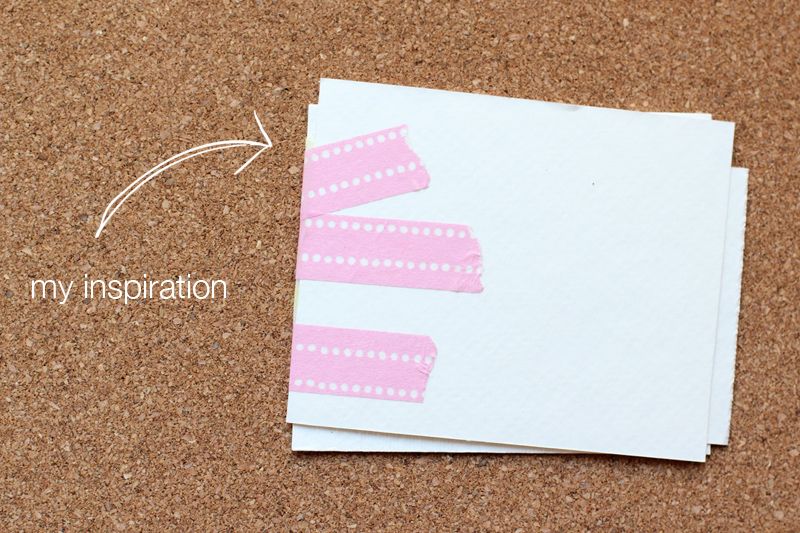
My 3-year-old daughter is rarely without a piece of paper and crayons in her hands. Drawing has definitely become one of her favorite activities, so I guess I should not have been surprised when she made her own book. Using a few scraps of card stock and pieces of Japanese washi tape (previously being used to display her drawings on the wall), she bound together a simple but adorable little book.

TapeJournal-02

That book is the inspiration for this project, which is super easy but can be elaborated upon to create beautiful cards, journals or invitations.

TapeJournal-03

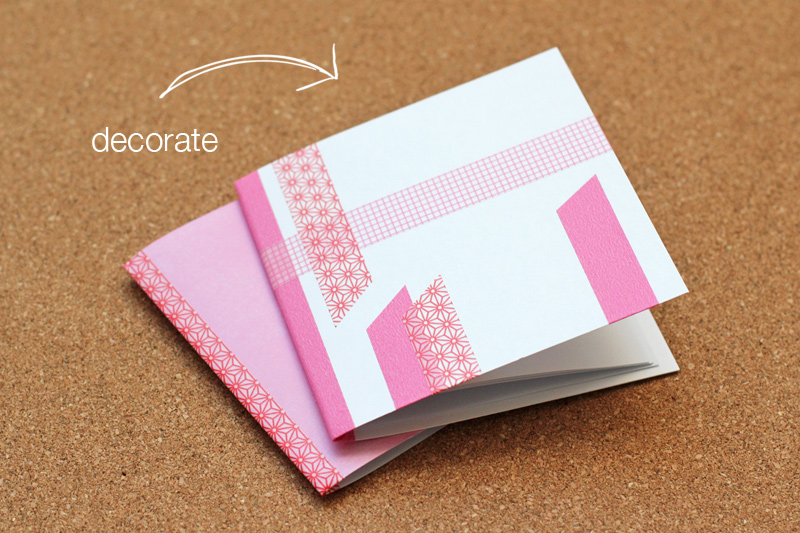
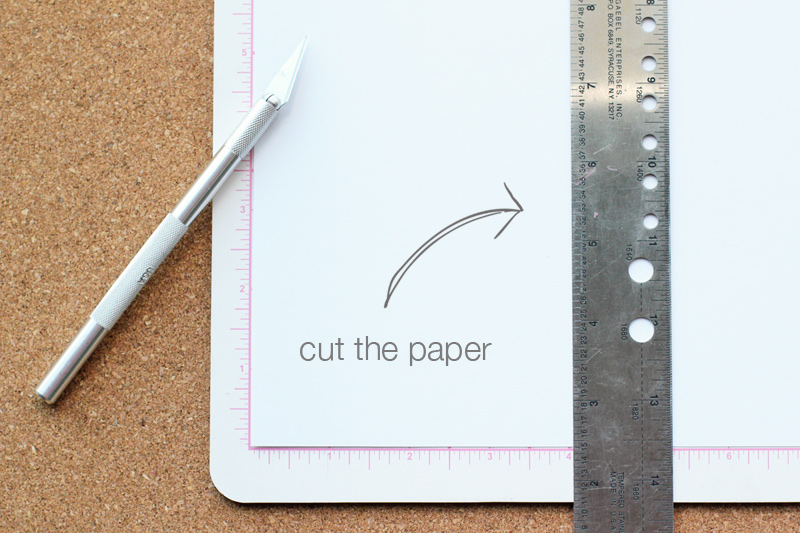
I started by cutting the paper. I used card stock cut to 8 1/2 x 4 inches for the cover and standard weight paper cut to 8 x 3 1/2 for the inside pages. For the inside, I used a stack of 5 sheets of paper (resulting in 10 pages in the book).  You could add more or less to suit the purpose of your journal.

TapeJournal-04

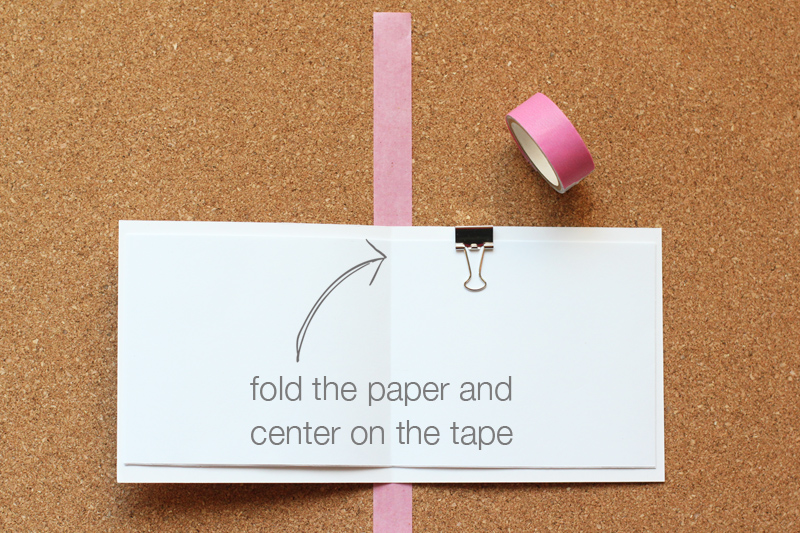
I folded the cover and the pages, and then I centered them on top of a strip of washi tape (sticky side facing up).

TapeJournal-05

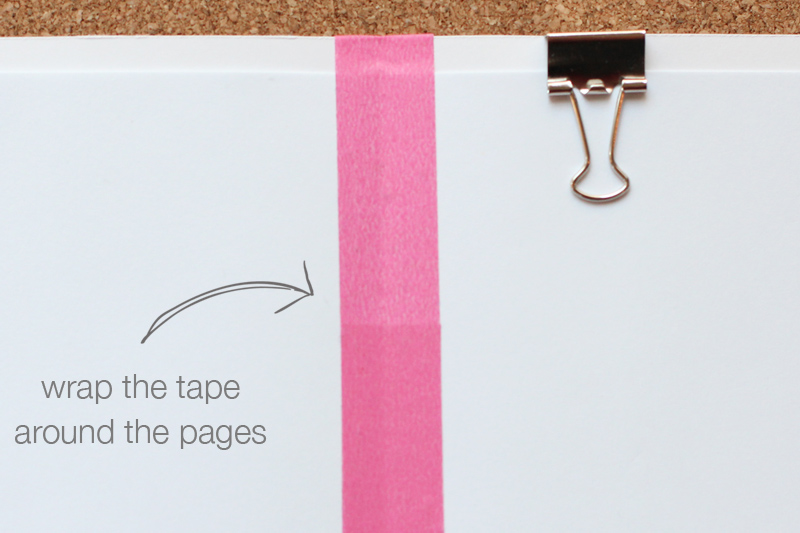
I secured the pages to the cover by wrapping the tape around the entire stack of pages.

TapeJournal-06

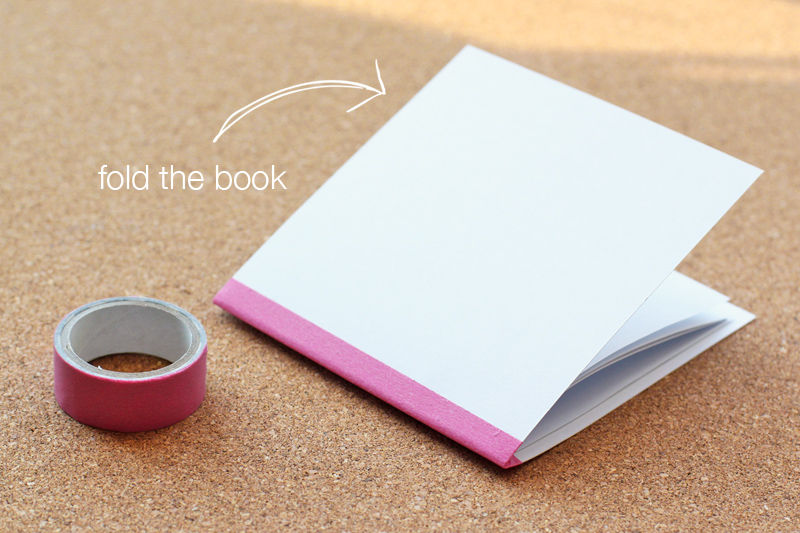
Next, I folded the book, pressing firmly along the taped area and smoothing out any folds in the tape. Washi tape is very forgiving and if things aren't aligned properly, you should be able to remove the tape and start over.

TapeJournal-07

Once the book was assembled, I decorated it with more washi tape. My daughter was pretty excited to find a stack of new journals waiting for her when she got home from school.            Looks like I'll be making more soon.

Post by Julee : Warm Hot Chocolate

No Kid Hungry

April 14, 2012

42012

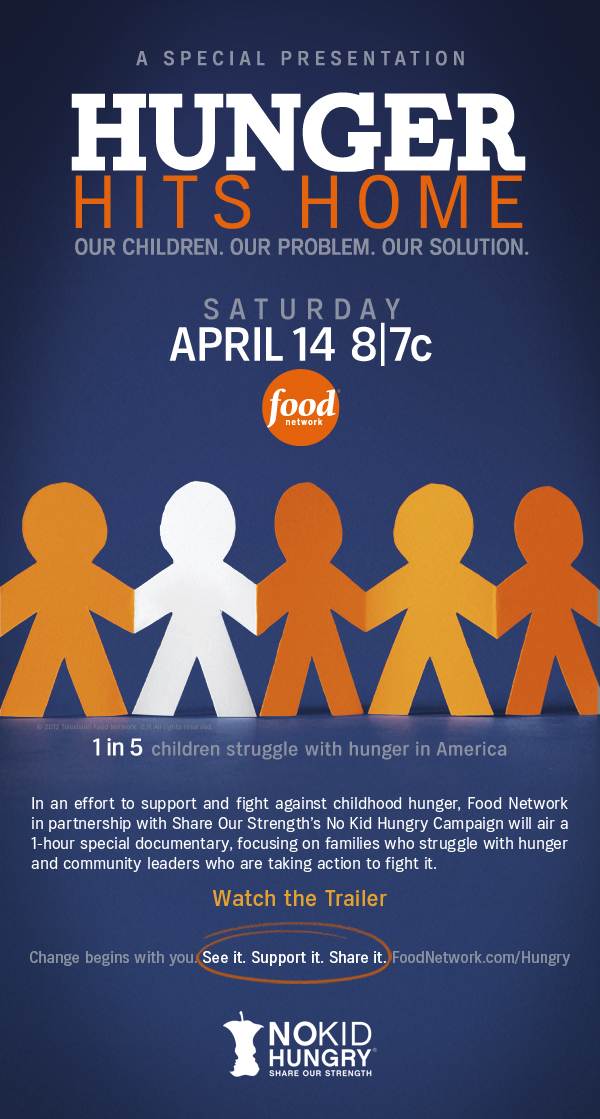
Also, don't forget to tune in tonight at 8pm/7c on Food Network for the presentation of Hunger Hits Home.

In this 1-hour special we take a first-hand look at the crisis of childhood hunger in America through the eyes of the parents, children, activists, educators and politicians on the frontlines of the battle. The program is presented by Food Network and Share Our Strength’s No Kid Hungry Campaign.

Change begins with you.  See it. Share it. Support it.

Foodnetwork.com/hungry

Today my honey bunny turns 5! (Please excuse the teardrops on this post.)

April 13, 2012

Nathan_1

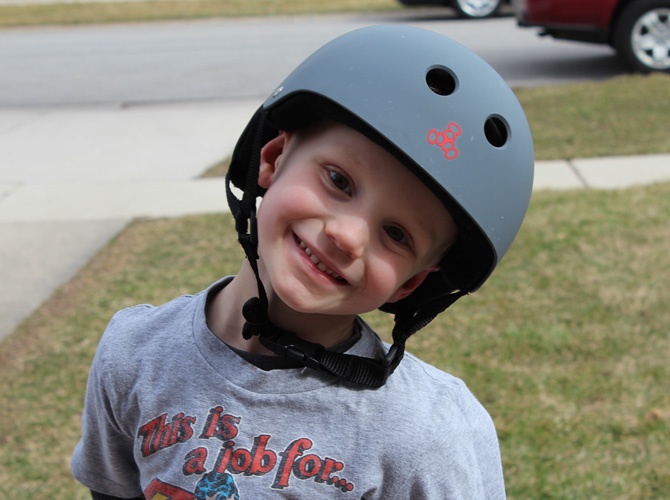
My son Nathan turns 5 today, and I’m not sure what it is about being 5, but he may as well be packing up to go away to college because every time I think about it I turn into a blubbering mess. Maybe it’s that he’s going to kindergarten in the fall. The huge school, riding the bus, it’s more than this over-protective mama can handle. Or maybe it’s that there’s not an ounce of that adorable baby fat left on his lanky little body. Whatever it is, at the age of 5, there’s no denying that my baby isn’t a baby anymore. He’s a full-blown kid!

Nathan_2

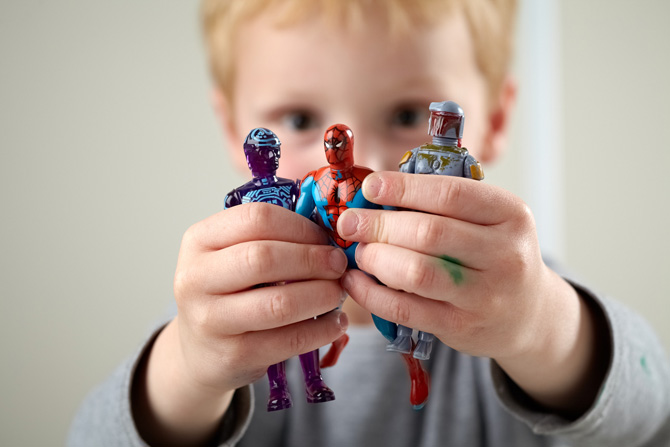
And boy does this kid know what he wants. And, for his birthday what he wants is a Boba Fett Star Wars Birthday Party. (For those of you that don’t know, that’s Boba Fett there on the right.) So, how do I throw him the party he’s been dreaming about, without succumbing to the “Star Wars Party-in-a-Bag” from the local party store? I think I’ve figured it out, hopefully Nathan approves!

Nathan_3

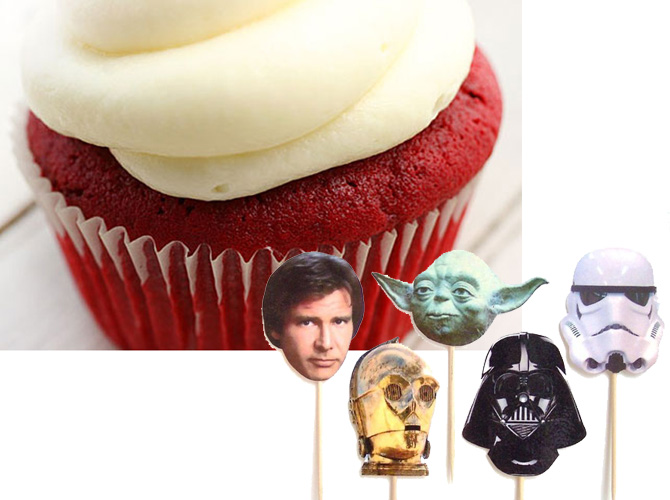
First things first, we need a cake. But not any old cake, must be Star Wars and has to come from a nut-free bakery. (Nathan’s little sister has food allergies, but that’s for another post.) We have a great nut-free bakery near our house, Nutphree’s (http://nutphrees.com/), but they only make cupcakes. We’ll just have to adorn them ourselves. So, I found these great cupcake toppers on etsy from TheBlissfulBaker http://etsy.com/listing/61949650/star-wars-cupcake-toppers-set-of-36. I even got to choose my characters, so I was sure we’d have Boba Fett for the birthday boy.

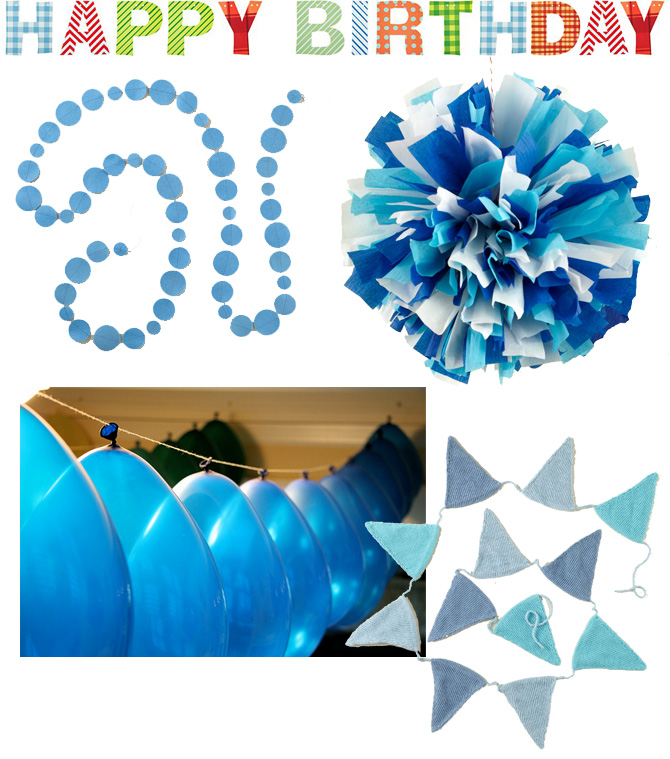
Next, the décor for the party. I thought shades of blue would work well for Star Wars, it is in outer space after all. Also it gives me some décor I can work with for future parties.

Nathan_4

I started with Nod’s Wallpaper Letters to spell “Happy Birthday.” Then I added in our new felt and knit garlands. They come in tons of colors and look good strung en masse. I also included our paper blooms kit in blue. This also comes in lots of colors and adds some great texture at a reasonable price. I did some digging on pinterest and found this clever way to hang balloons, sans helium, on http://agirlandaboy.com/journal/archives/002791.html. Phew, now I don’t have to drive from the party store with a minivan full of unruly balloons!

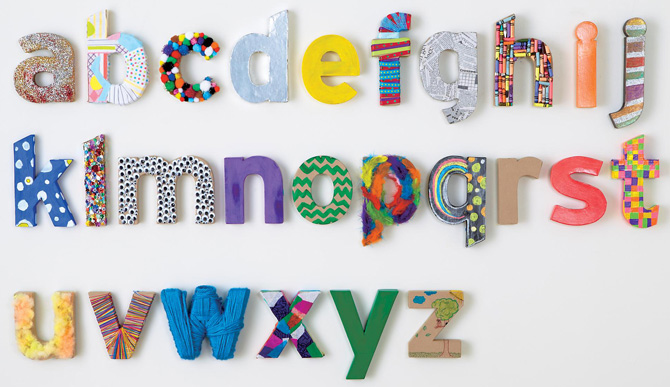
Next we needed an activity for the party. So, I combined the “goodie bag” concept with the activity and opted for our Crafty Kraft Letters.

Nathan_5

At $3.95 each, they’re the perfect price. And with just a few inexpensive art supplies each child will have a unique little gift to take home with them. I’m opting for foil, stickers (Star Wars of course) and markers (less clean up than glitter, glue and paint). Here are some more ideas for decorating our letters https://www.crateandbarrel.com/kids-blog/honest-to-nod/2012/02/try-this-decorated-kraft-paper-letters.html if you’re feeling a little more brave or dealing with a slightly older crowd.

Hopefully my interpretation of the galaxy far, far away meets Nathan’s standards. Though I’m pretty sure he won’t notice once he opens up his new Boba Fett costume. Luckily he’s still young enough to be easily distracted.

By Danielle Kurtz

Danielle is the Creative Director at Nod and an over-protective mother of two. She’s also completely obsessed with Pinterest, Twitter and her Kindle, but not necessarily in that order. Danielle loves to craft, sew and crochet, but all her supplies have a layer of dust on them about 5-years-thick, wonder if it's just a coincidence that her oldest kiddo is 5 years old?

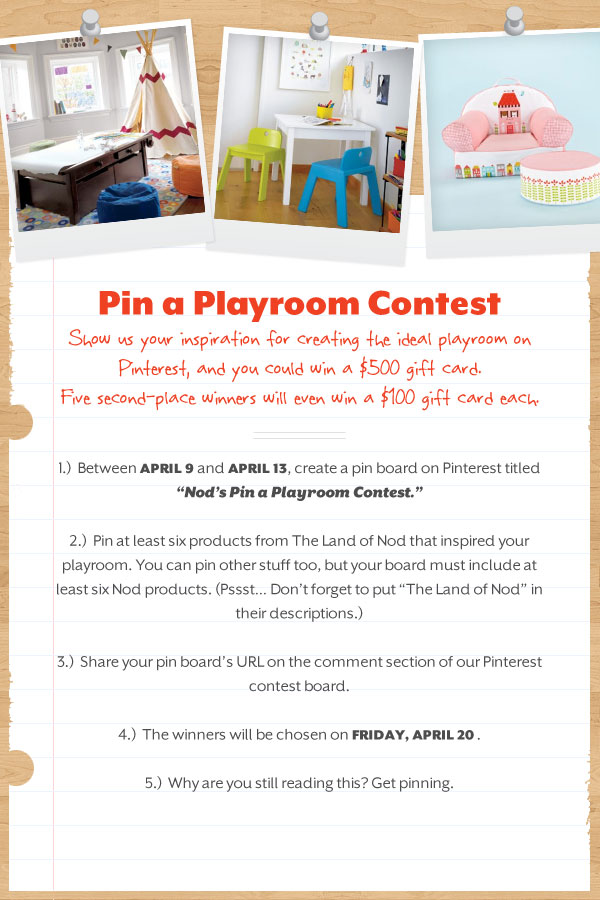
Pin a Playroom Contest on Pinterest

April 11, 2012

Head on over to our Pinterest page & check out our Pin a Playroom Contest! This contest runs through the 13th (this Friday) and winners will be announced on Friday April 20th!              Happy Pinning!

Pinterest-contest


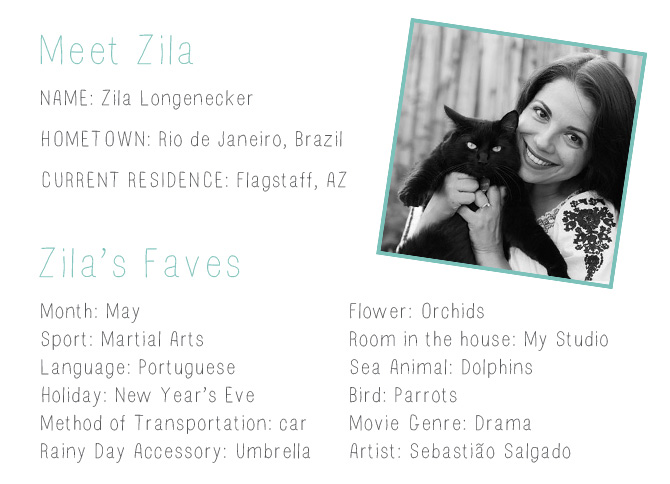
Zila Longenecker

Zila_1

Zila_2

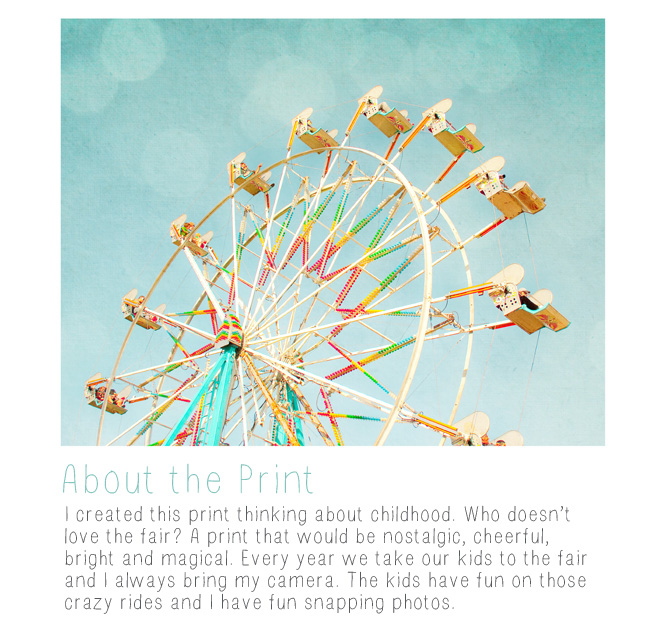
Zila Longenecker’s A Fun Ride can be found in the Land of Nod’s Nod Institute of Art.


By Anna Passadori

Anna develops and designs exclusive product for The Land of Nod. She hails from the west coast and has traveled the world to source product. She loves anything Marc Jacobs, Sofia Coppola or stripes! (So, if anyone can get a photo of Sofia Coppola wearing a striped outfit by Marc Jacobs, please send it along.)

Where All the Play Happens – Playroom Makeover

April 10, 2012

Post by Raechel of raechelmyers.com

We have lived in our home for nearly four and a half years and in that time our bonus room has been re-done to fit our needs about as many times. It has been yellow, it has been turquoise, and back in March of 2009 y’all helped me land on painting it “happy camper” green for a while and we loved it!

After green we went to the “salt glaze” that it is now, and in January 2011 Ryan got a hair to build a wall across the middle of the awkwardly-giant room to create a fourth bedroom (currently occupied by our college boarder/nanny, Audrey) and to make transfer our bonus room from a family room into a proper playroom.

We knew we wanted lots of floor space. I wanted all of our beautiful, fun toys to be on display and within reach so that our kids and their friends wouldn’t have to climb or dig for what they wanted. I needed order – I wanted everything to have a place and to make sense spatially. Ohhh, I have fun with this kind of thing!

Well, Ryan finally gave me the go-ahead back in February to get it just how I wanted it. And it took me weeks and weeks to research and pick the storage that would suit the room best. And the ironic thing about it all? Everything arrived and was overflowing our entryway the night we flew home from Boston with a job offer and a move date.

I seriously considered sending everything back without opening it up, but I couldn’t stand the thought of not seeing it all finished after all my hard work. And, we all know that in the end, we didn’t move to Boston and instead decided to stay put where we are. So it worked out!

Anyway… here we are! All finished with our playroom makeover (minus a bit of wall art that is yet to arrive) and LOVING this happy play space for the kids. I am including a resource list at the bottom for anything you might ask about.

And without further ado, a tour of the play room: 

Where All the Play Happens - Playroom Makeover | Honest to Nod

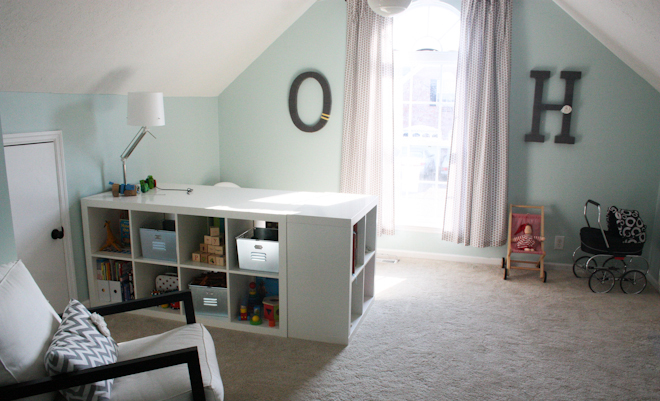
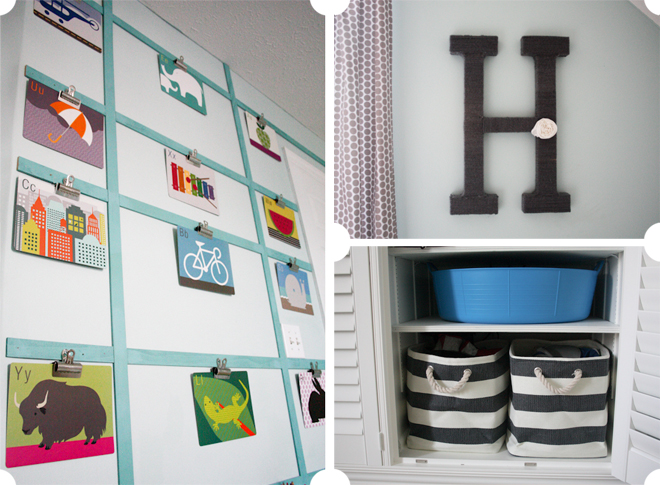
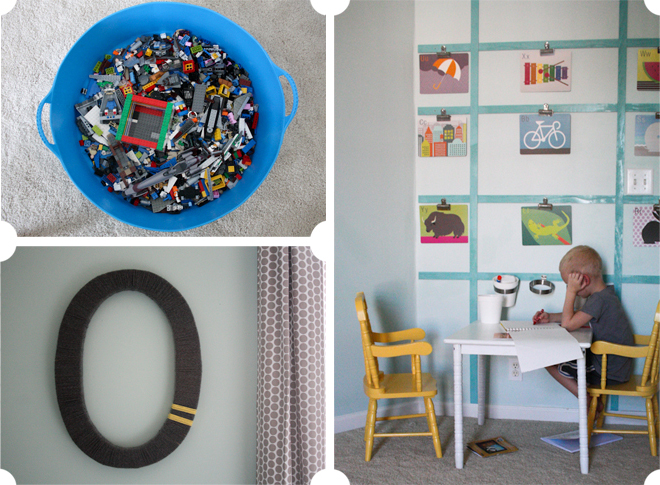
The view from Audrey’s room. The “o” and “h” are craft letters from Jo-Ann’s, wrapped in grey yarn and dressed up for a boy and a girl. I have a post ready to roll with the tutorial for these – stay tuned! Also, see that tiny door on the far left of the photo? that’s “the clubhouse” – A kitchen/play house that we finished a few years ago for the kids for Christmas.

Where All the Play Happens - Playroom Makeover | Honest to Nod

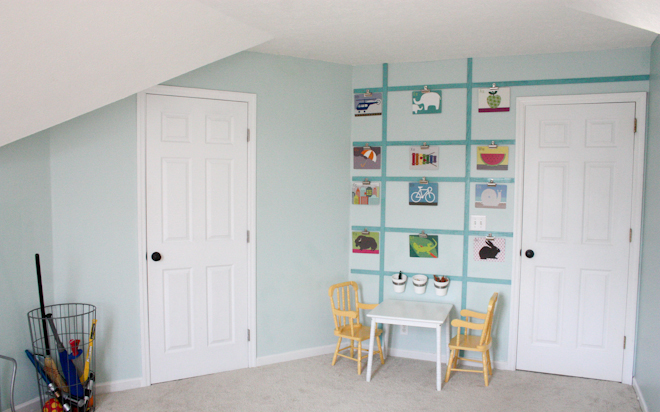
Door (and wall) on the left compliments of yours truly! Door on the right leads to the upstairs hall. notice the pretty wall cards we have hanging now where we sometimes hang photos or artwork – They were a birthday gift from Claire to Hazel. Oh, and the flea market ball bin serves well to contain all of Oliver’s light sabers and sports equipment.

Where All the Play Happens - Playroom Makeover | Honest to Nod

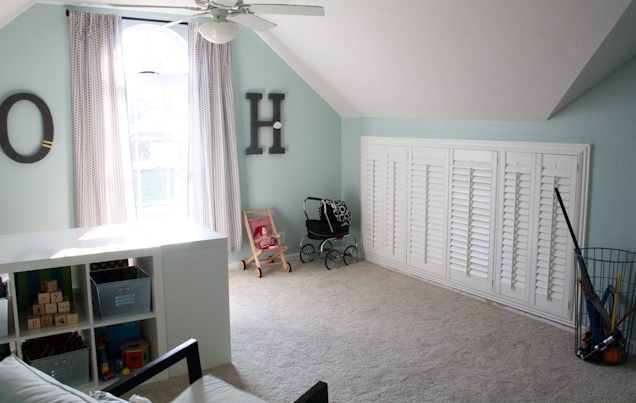
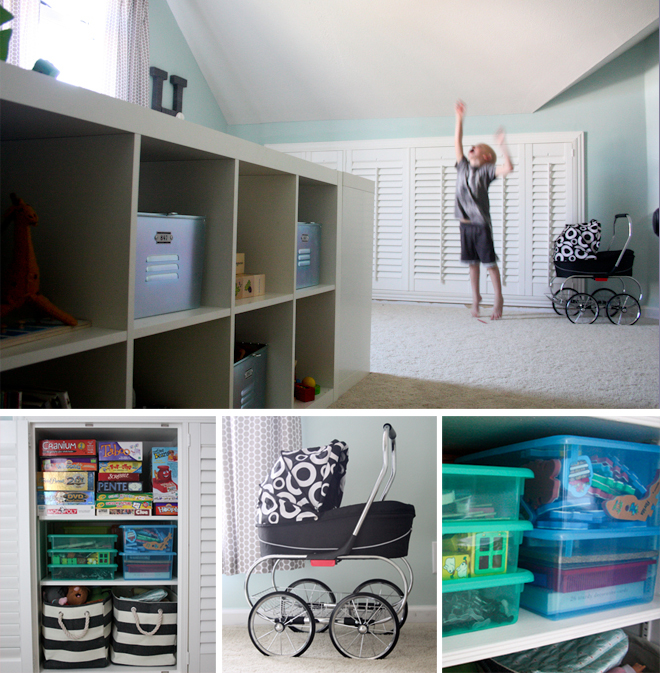
This is a good view of the built-ins, which are newly covered. They used to be open and house a television and I hated not being able to close away the mess. We had an amazing craftsman install custom window shutters for the space and now they neatly house all our stuff AND we don’t have to look at it!

Where All the Play Happens - Playroom Makeover | Honest to Nod

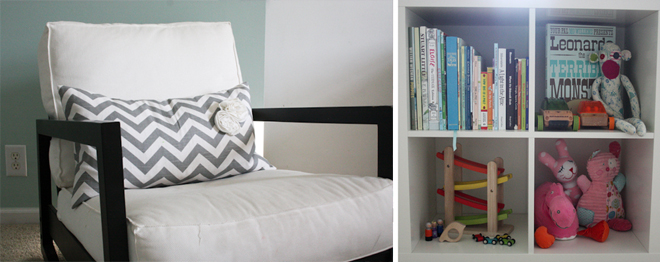
Just a touch of chevron, of course. and some happy toys and books – each of which tells a story for me.

Where All the Play Happens - Playroom Makeover | Honest to Nod

Where All the Play Happens - Playroom Makeover | Honest to Nod

The wide blue tub in the bottom right photo is where all of the magic happens for Oliver. It’s super wide and shallow and it houses all of his Legos. Super easy to swish things around in there to find the piece he needs, and I made the shelf height just right so it doesn’t waste space. Also, we have four of these rugby striped baskets (2 on each of the outside sections of the built-ins). They hold babies and dolls on one side for Hazel, dress up clothes and weapons on the other side for Oliver.

Where All the Play Happens - Playroom Makeover | Honest to Nod

This is a good view of the built-ins from “the clubhouse”. also, of Oliver jumping for joy! The bottom left photo is the left section of the built-ins and it houses all of our games, Hazel’s babies and stuffed animals, and the middle section is carefully organized with colored storage boxes – All the toys that needed to be stored separately go here, like Oliver’s army men, Hazels magnetic doll set, her duplo blocks, etc. All the puzzles are in big Ziploc bags in big bins in the back, too.

Where All the Play Happens - Playroom Makeover | Honest to Nod

A birdseye view of the lego bin. and a happy view of a cute kid drawing a picture of a flamingo to send to his Granddad.

Where All the Play Happens - Playroom Makeover | Honest to Nod

One thing we knew we definitely wanted was a giant laminated map of the world in the playroom. We love to talk about who we love and where they live – We can point to ‘Mama M’ in China, Uncle Chris in Australia, where Mosey and Gusty were born in Ethiopia, etc. It’s already been such a fun addition to the room!

We hope you enjoyed our playroom tour! Below is a list of where you can find many of the things you see above. If you don’t see something listed let me know and I’ll see if I have an answer.

The Land of Nod:

  • Cute locker baskets (in the squares on the shelves)
  • Shallow blue tub (for legos) (discontinued) – But this and this are similar options
  • Top Box Storage Collection
  • Khaki Dot Curtain Panels
  • Merrily We Stroll Along (discontinued) – But this doll stroller is similar
  • Doll in the stroller with the red clothes (discontinued) – Other dolls and stuffed animals can be found here

Container Store:

  • Rugby stripe storage bins – the ones on the bottom shelves

Amazon: 

  • Rand McNally World Map

Fabric:

  • Grey/white chevron

Etsy:

Other:


Looking for even more playroom inspiration? Check out our Playroom Board on Pinterest.

Post by Raechel of www.raechelmyers.com

Red and Pink

April 9, 2012

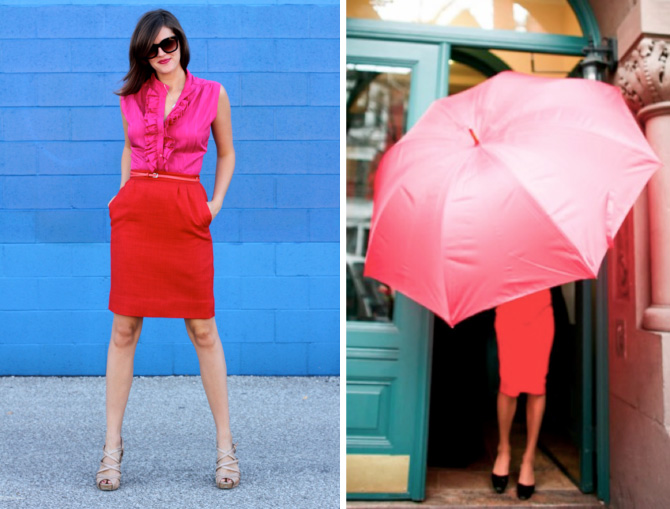
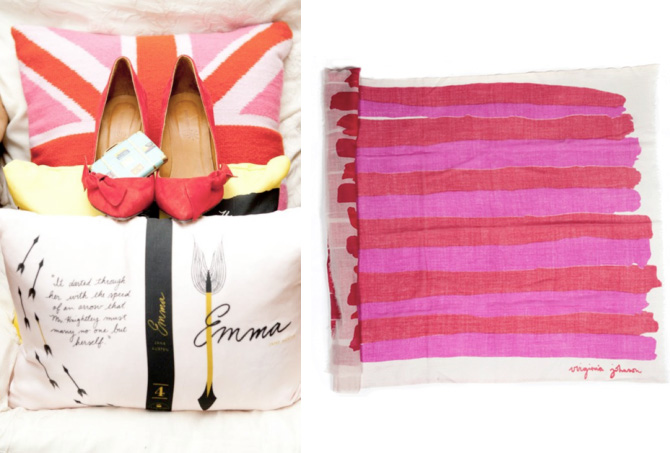
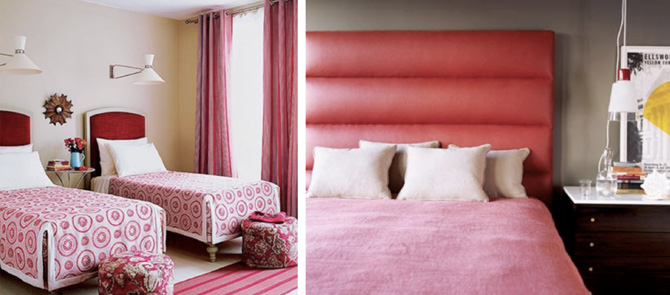
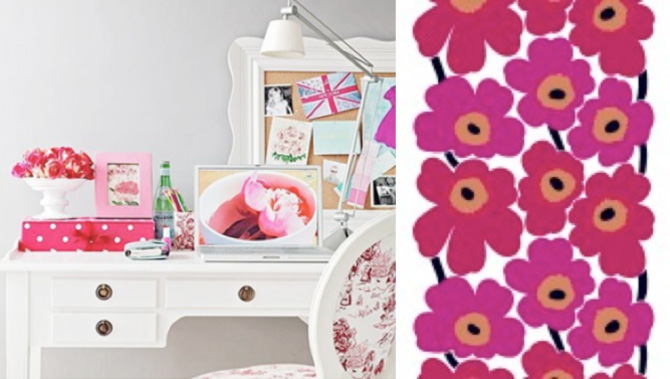
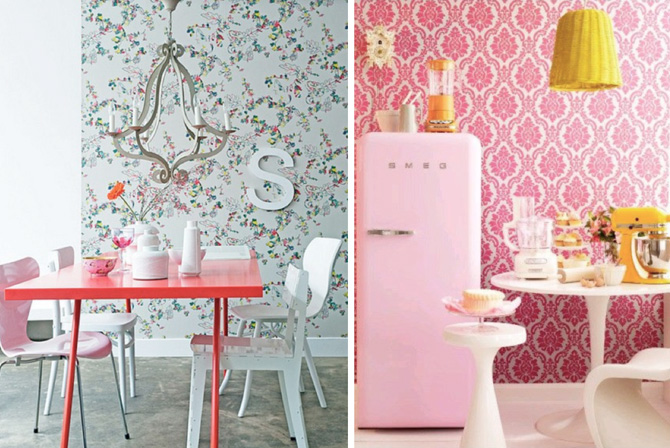
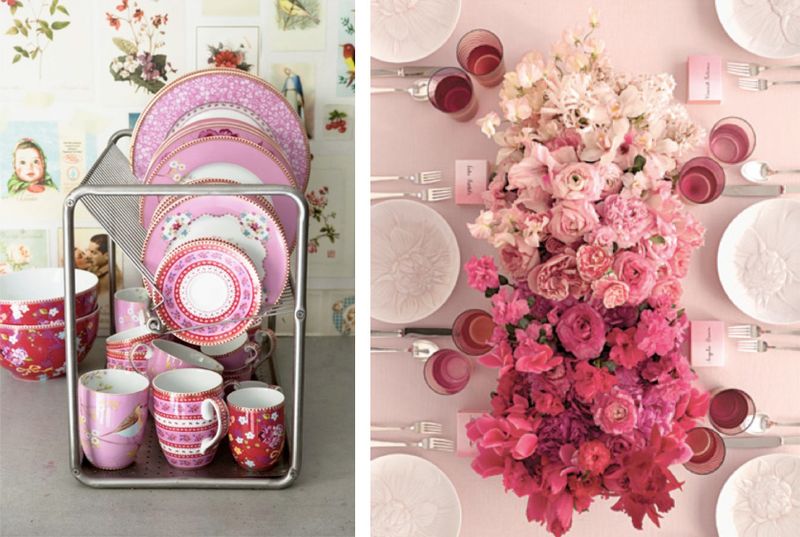
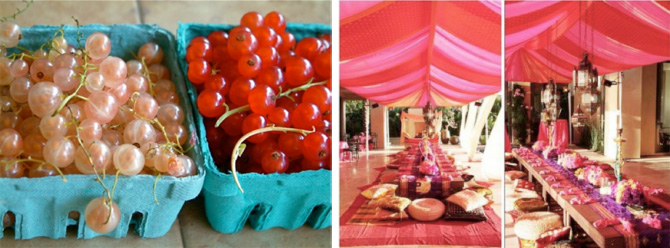
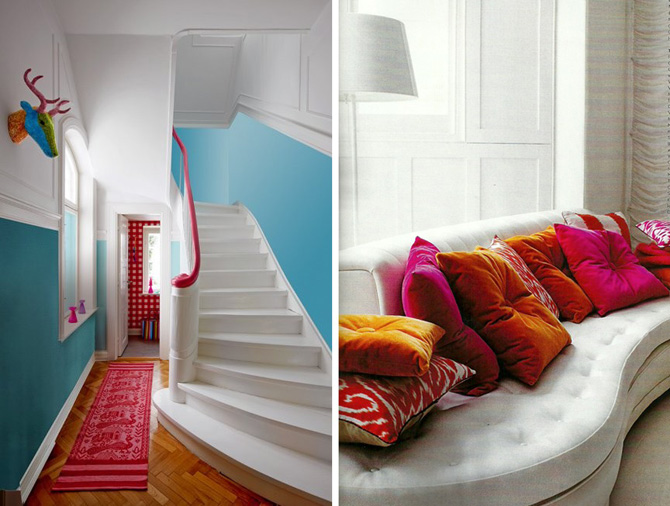
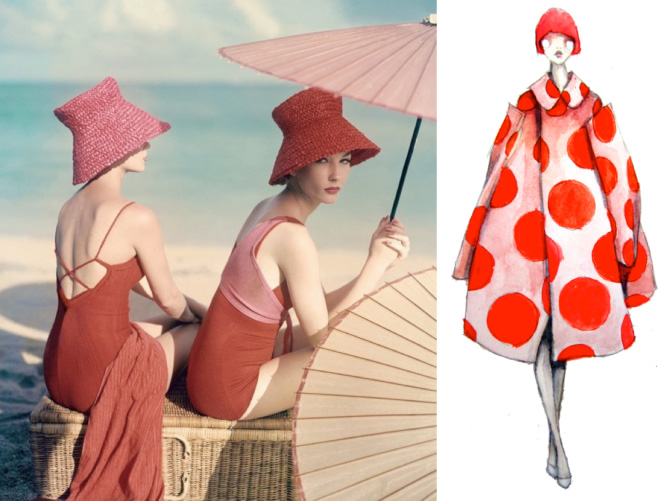
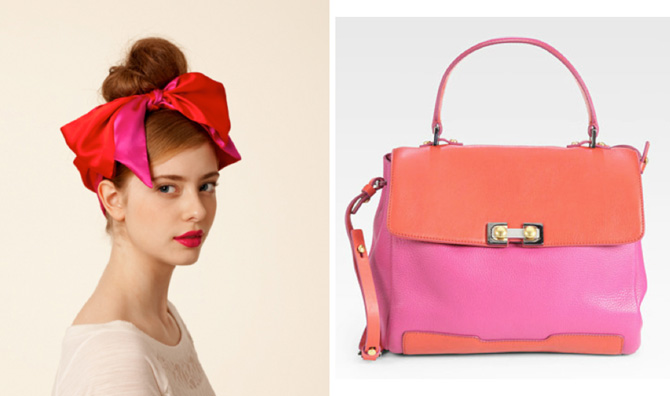
Red and Pink are quickly becoming one of my favorite color palettes. No longer just for Valentines day, this color combo combines the best of two of the trends of the season- color blocking and ombre into one bold statement.

To Wear:

PinkRed_1

                                          1                                                                             2

PinkRed_2

                                                 3                                                                                  4


To accessorize:

PinkRed_3

                                    5                                                                                6

PinkRed_4

                                                                                                               8


For the bed:

PinkRed_5

                                    9                                                                            10


To Work:

PinkRed_6

                                                11                                                                        12


To Dine:

PinkRed_7

                                                13                                                                                14


To Entertain:

PinkRed_8

                                        15                                                                            16

  PinkRed_FruitTent

                                        17                                                                        18


To Live In:

PinkRed_9

                                    19                                                                            20


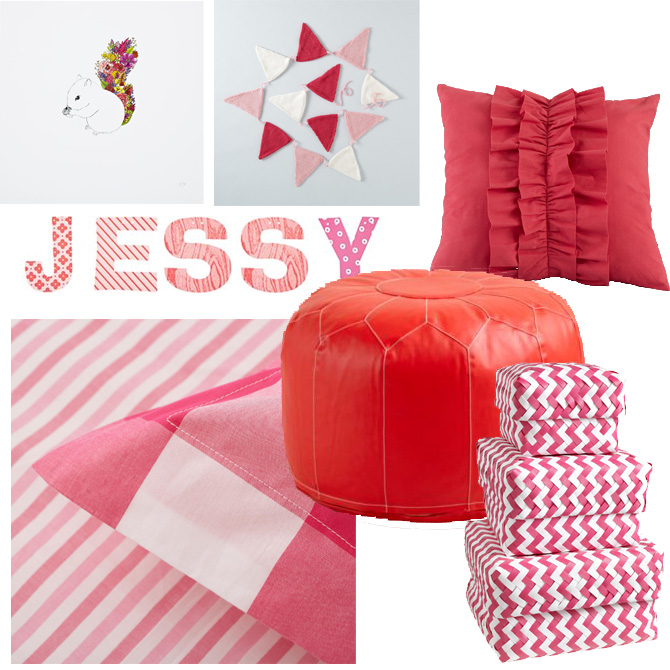
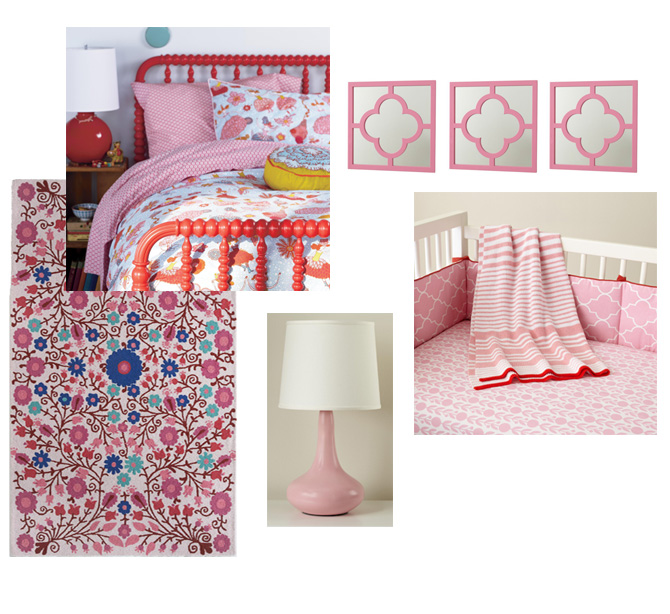
Even the kids can get in on the action with these Pink and Red items from landofnod.com:

PinkRed_10

Clockwise from Top Left: Squirell Wall Art, Pink Flag Garland, Throw Pillow, Leather Pouf, Zig Zag Baskets, Breezy Gingham Bedding, Wall Letters

PinkRed_11Clockwise from Top Left: Plié Bedding & Raspberry Bed, Mirror, Crib Bedding, Eden Lamp, Floral Rug


By Sarah Culbertson  

Once upon a time a fashion plate from Seattle met a childrens retailer from Chicago, and it was love at first sight.  After spending a lot of time together at the mall, they both knew it was a perfect match. So Sarah packed up her fabulous Kate Spade suitcase and headed for the Windy City. Where they lived happily ever after, designing and developing textiles for little kiddos everywhere.

Homemade Aromatherapy Playdough

April 6, 2012

1

I’ll start off by saying that I’m not quite sure if “Playdough,” “Play Dough,” or even “Play-Dough” is the proper grammar for referring to that fun dough that kids love to play with. I know “Play-Doh” is the trademark. But no matter how you spell it, Piper and I recently whipped some up, and I was surprised at how easy it is to make.

I had my doubts about how nice the DIY dough would be, but I’m glad to report that over a month later, the homemade playdough is still soft, totally playable and the girls are loving it.

Now that we’ve established that where the fun factor is concerned, homemade playdough is just as good, I’m thrilled to be able to make it myself — it’s inexpensive, and it’s nice to know exactly what’s in it so you can rest easy if junior, say, decides to taste it, or if you have a child with allergies. (I found this gluten-free playdough recipe, although I haven’t had a chance to try it out.)

Plus, since I happen to love aromatherapy, I have a stash of essential oils which allowed me to naturally scent the girls’ homemade dough as well. Aromatherapy playdough is super-cool, right?!

Recipe for Homemade Playdough:
:: 1 cup flour
:: 1/2 cup salt
:: 1 cup water
:: 1-1/2 tablespoons oil
:: 1 teaspoon cream of tartar
:: Few drops of food coloring

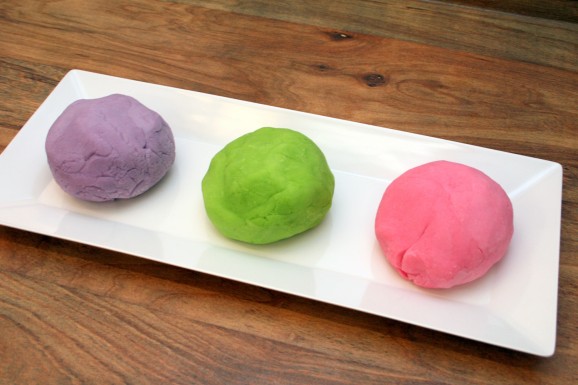
Want Aromatherapy Playdough? You’ll also need a 1/4-teaspoon of essential oil, which you should be able to find at a local health food store. We did lime for green, grapefruit for pink, and lavender for purple.

If you’re curious about the aromatherapy qualities:
:: Lime essential oil – mood uplifting and refreshing.
:: Grapefruit essential oil – energizing and increases mental clarity and memory.
:: Lavender essential oil – calming, relaxing and promotes restful sleep.

So perhaps playing with the purple playdough before bedtime could be a very good thing?

2

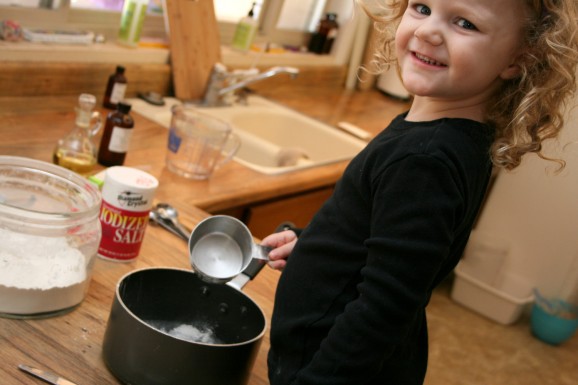
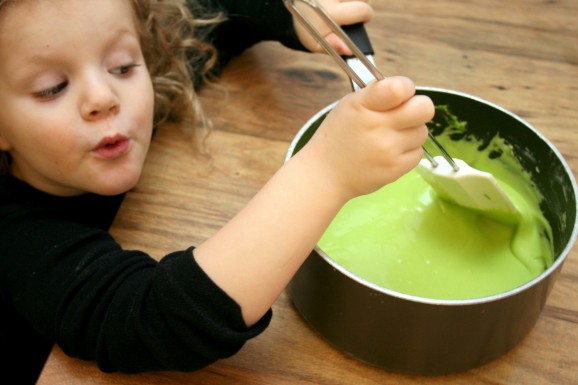
Okay — let’s make some playdough! Begin by mixing the dry ingredients (flour, salt and cream of tartar) together in a pan.

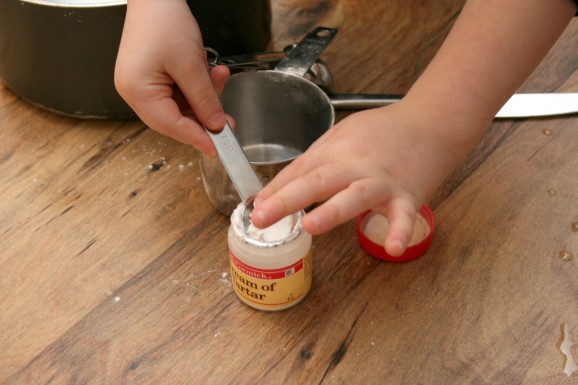
3

The one slightly unusual ingredient called for in the DIY playdough recipe is cream of tartar. When Piper asked me what it was, I wasn’t really sure so I told her it was the magic powder that makes the playdough work — she loved that!

We had some cream of tartar on hand since it’s also used in making Snickerdoodles, one of my favorite cookies.

4

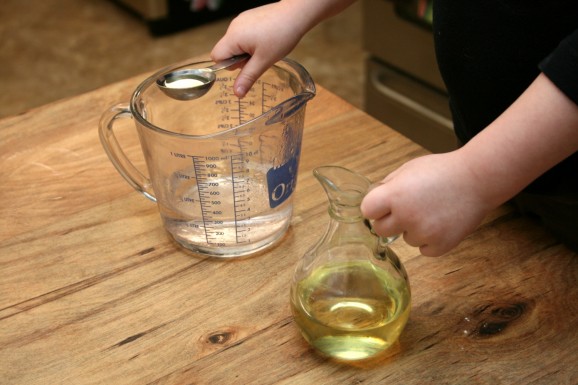
Next mix the wet ingredients (water, oil, food coloring) in a measuring cup — a glass one works best so the food coloring won’t stain.

5

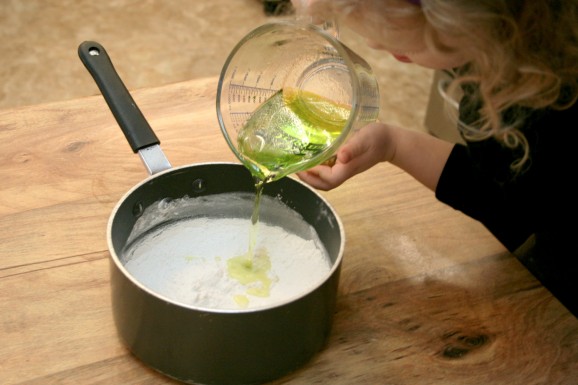
Pour the wet ingredients into the dry mixture in the pan. Carefully stir until combined.

6

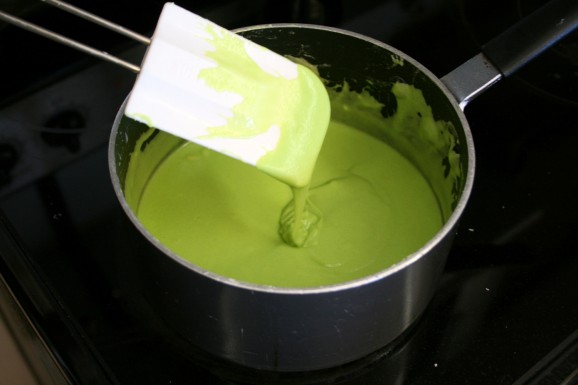
You want the mixture to be pretty homogeneous before placing on the heat so mix well. Cook over medium heat for about 30 seconds to a minute. The cooking goes fast so stay close, and be careful not to overcook since it dries out the dough.

7

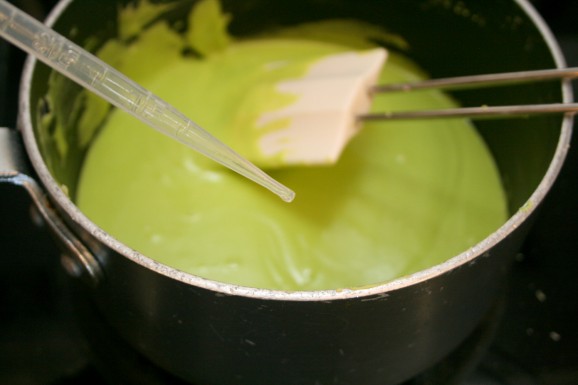
If using, now is the time to add a 1/4-teaspoon of essential oil. My pipette measures in mL, and I did about 1.5 mL.

8

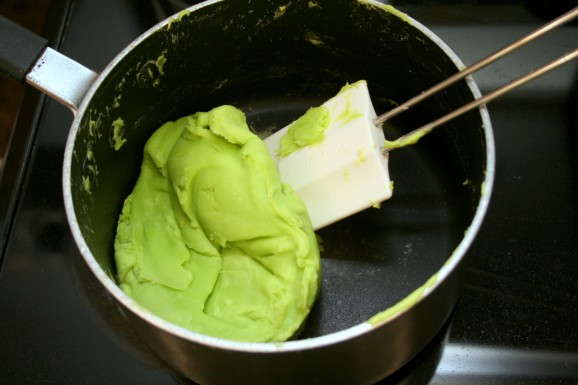
Mix in the essential oil and continue cooking, stirring constantly, about 30 seconds more.

9

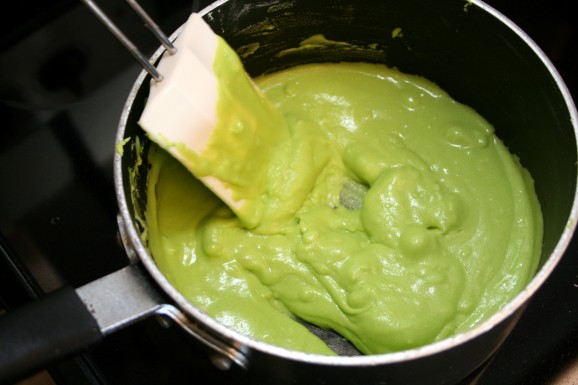
The dough will get clumpy and then start to pull away from the sides of the pan.

10

Once it starts pulling together it’s done. Hurry and scrape the dough into a ball and remove from the pan.

11

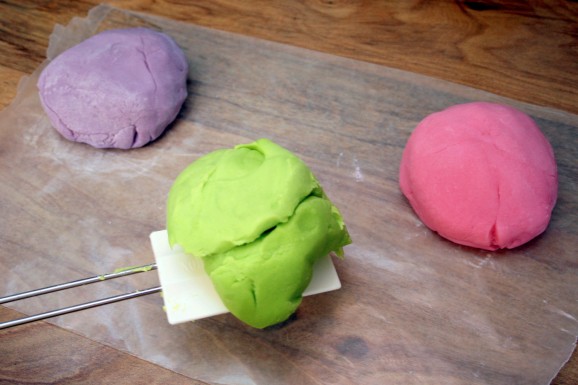
Place the cooked dough on a sheet of wax paper and knead a few times until smooth.

12

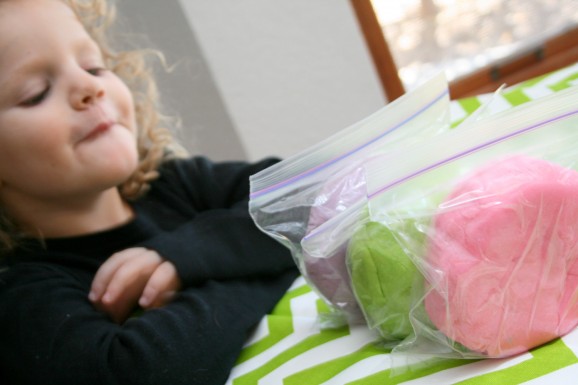
Store the dough in an airtight container so it won’t dry out. Although we originally had our playdough in the zip-top bags shown here, I found that little fingers couldn’t resist poking at the dough through the baggie and would end up puncturing the thin plastic. With that in mind, a sturdier container would be a better option. Ours has kept for over a month, and I’ve heard that keeping homemade playdough in the refrigerator helps it last for many months.


Post by Aimee and Bettijo : www.supermommoments.com

Cupcake Wrapper Garland DIY

April 5, 2012

1

This is too cute if I do say so myself…maybe as cute as a cupcake if you will.

I had a completely different idea in my head when I set out to do something with all of my miscellaneous left-over cupcake wrappers, but then, this just kind of evolved and the whole project took on a life of its own.  Those are the best kind, right?

So this couldn’t be easier, or cheaper.  I spent NOTHING on this.  I had everything I needed at the house.  You probably will too.

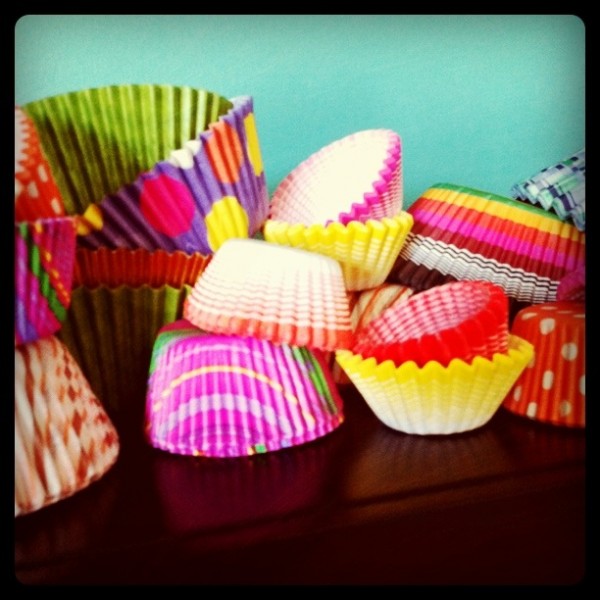
I always have a handful of left over cupcake wrappers that didn’t end up being used the last time I made cupcakes and then I forget to use them the next time, buy some more, and the cycle starts all over again; resulting in eight or nine random wrappers of various patterns.  This project uses them up!

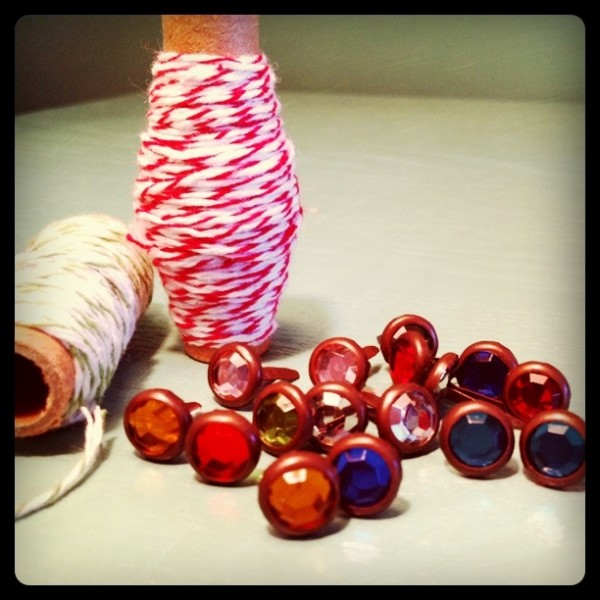
You’ll also need some string or ribbon and some brads.  I used some bakers twine that I had in my junk drawer and some sparkly brads that I had in my craft supplies.  But like I said, any string will do, and the plain silver or brass brads would be great as well.

2

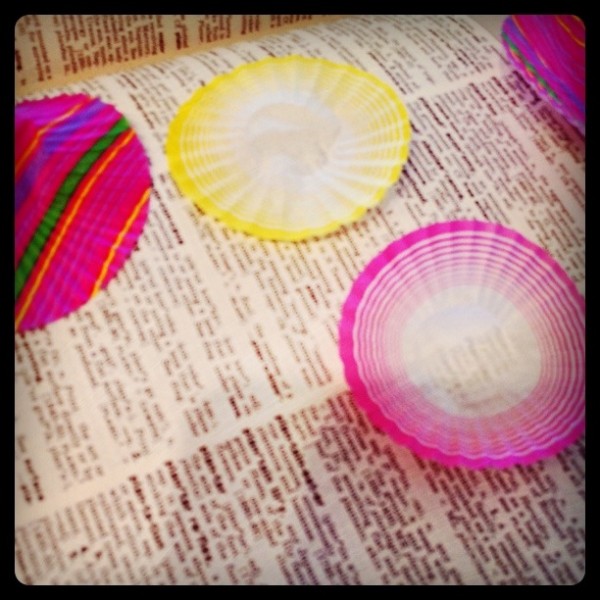
I flattened out my cupcake wrappers and then, for good measure, slipped them into the world’s most ridiculously large dictionary and let them hang out there for a few hours.

3

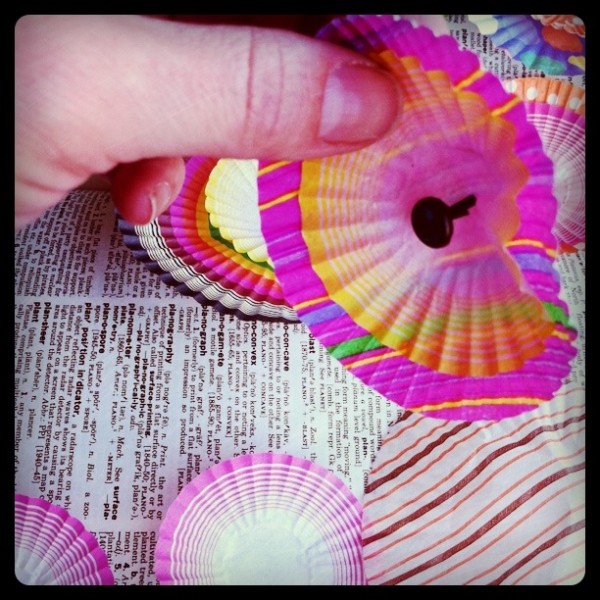
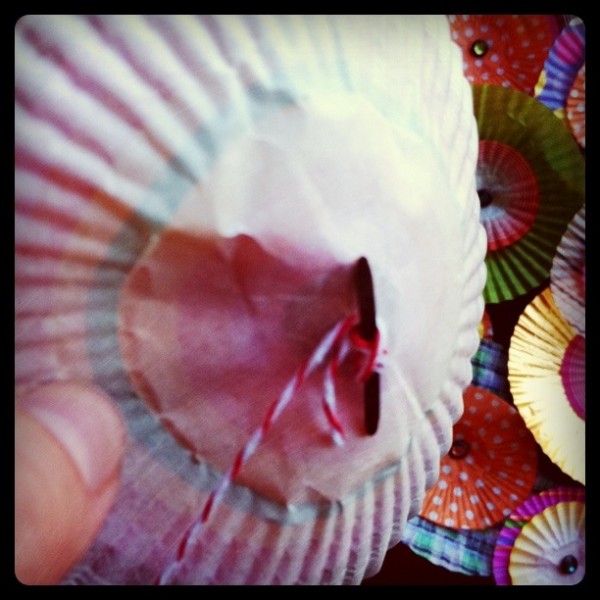
Once your wrappers are flattened to your liking just start matching up patterns and slipping a brad through the center of each combination.  Couldn’t be easier!

4

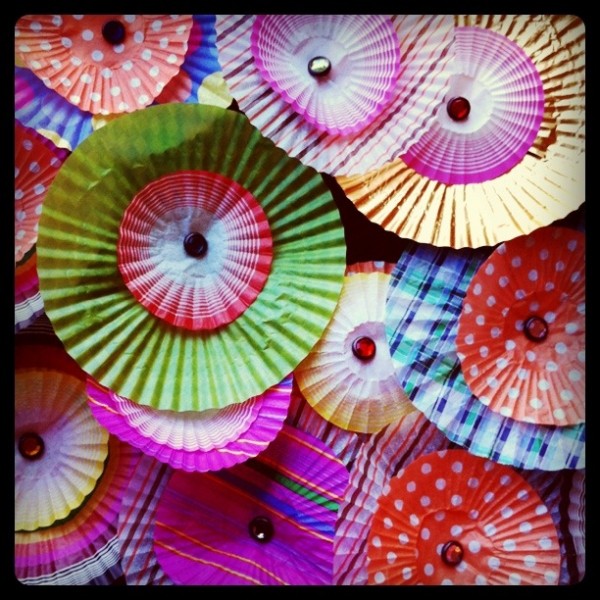
And soon, you’ll have a bunch of fabulous little cupcake wrapper flowers…

5

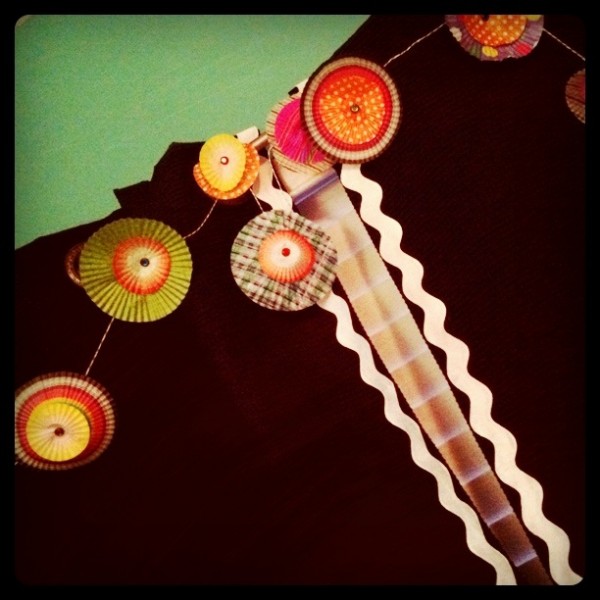
Finally, cut a long piece of string, a little longer than wherever you’re going to want the garland to hang.  Simply wrap little pieces of the string around the back of the brads and firmly bend the back of the brads just a little to secure the string.  Then leave a few inches and attach your next flower.  The more randomly placed and grouped they are, the better.

6

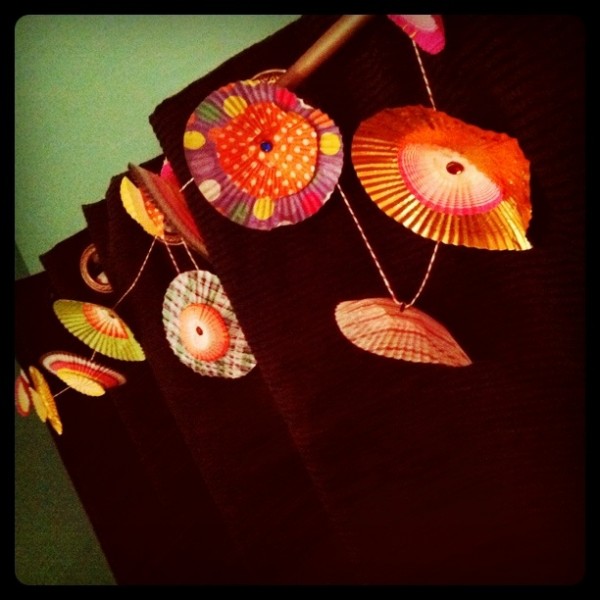
And voila!  Hang that baby up, step back and say, “That is so cute!” Mine found a home in my daughter’s bedroom on her curtain rod.

7

8

If you get sick of your garland, cut it apart and use the flowers as embellishments on presents, gift tags, table tops, party favors, and the list goes on.


Post by Maggie Terryn : Mom Colored Glasses


Free Easter Bunny Printables

April 4, 2012

Post by Becca of CAKE

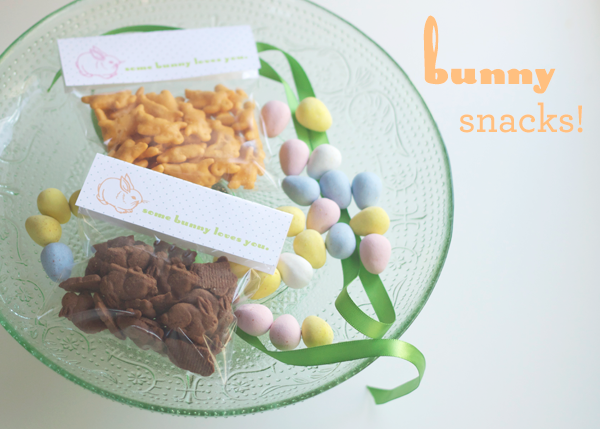
We are huge fans of Annie’s organic bunny products in our house, and as Easter and springtime draws close, I wanted to incorporate them into a family friendly printable for the season. So how about sending your little ones to school with a special snacktime treat and a little bunny love? These cute Easter bunny printables can be used lots of ways. I designed them in pink and orange with two lengths for different bag sizes… or you can always just cut and hole punch them for Easter place settings or gift tags.  Aren’t they fun?

Free Easter Bunny Printables

photo + styling © cake. 2012

Click here to download the Free Easter Bunny Printables

Visiting the Int’l Housewares Show

A few of us from the Nod office recently visited the International Housewares Show at the McCormick Place in Chicago.  While we did find a few hidden gems at the show in terms of product, most of the items that were shown didn’t apply to us.  Even though Pajama Jeans are quite fascinating, we’re definitely not in the market for any As-Seen-On-T.V. products. 

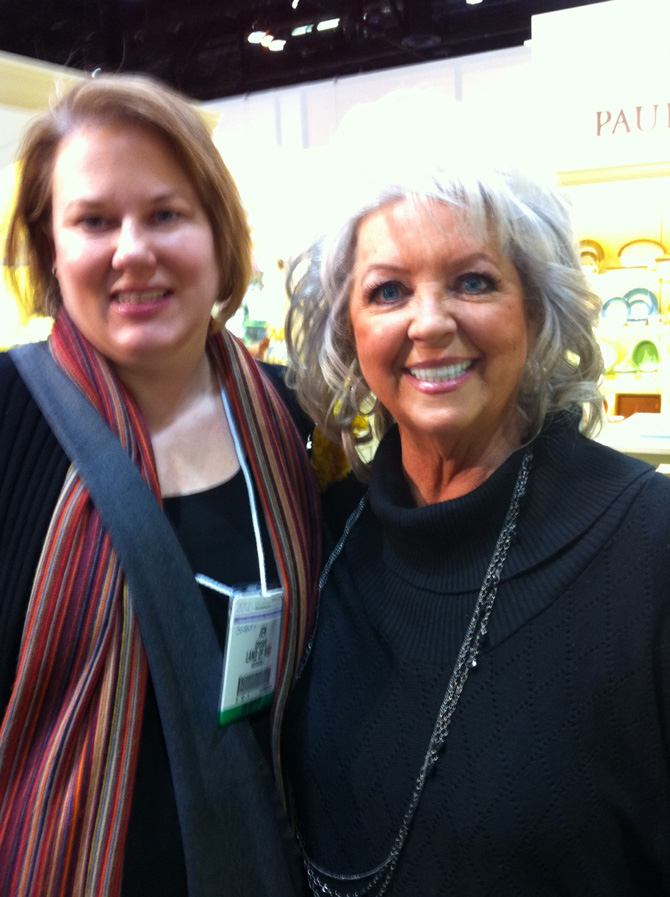
At the show we were star struck by some famous chefs. Here’s Jen with Paula Dean.  They exchanged some nice compliments with each other that resulted in Paula asking Jen for a picture together!

HswrsShow_1

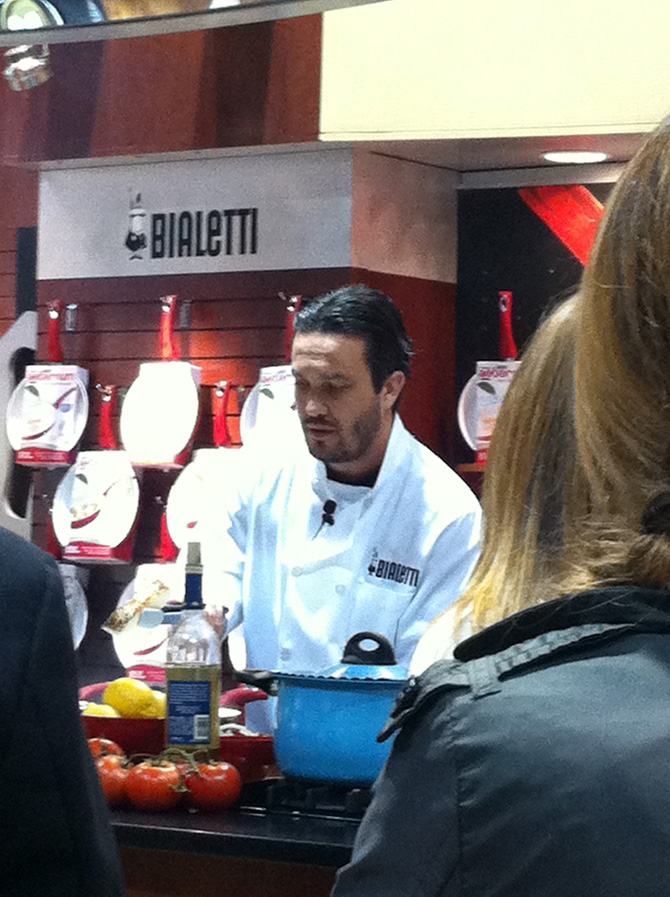
We also saw Top Chef contestant Fabio Viviani doing a cooking demonstration.  He was definitely entertaining the crowd with his cooking style and strong Italian accent.  Even calling the amount of cheese he was using in his omelet “A stu-peed amount of cheese”.

HswrsShow_2

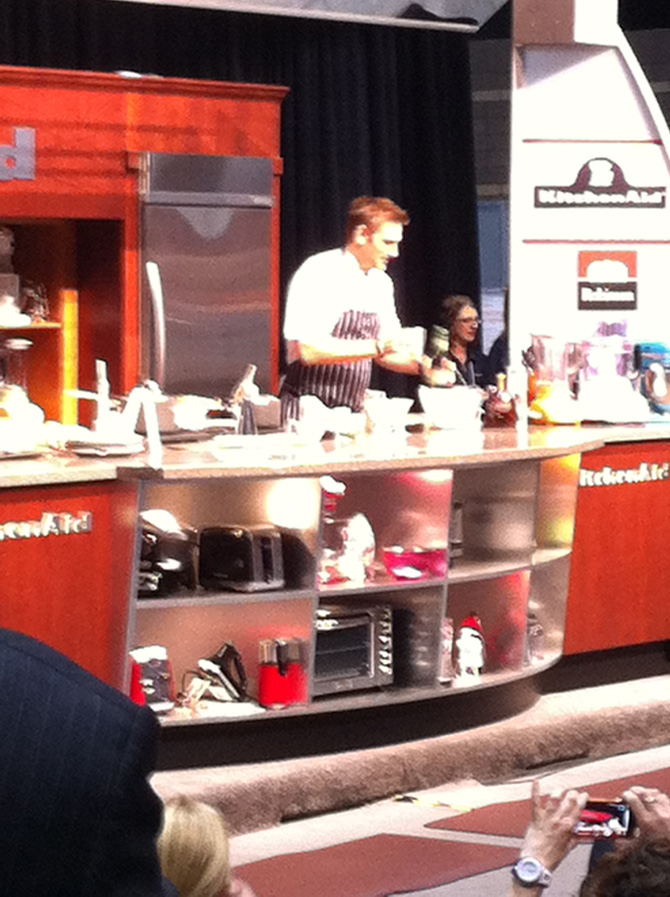
Then we saw dreamboat Curtis Stone making some yummy drinks and stir fry.   He is quite the charmer with his sense of humor and Australian accent.  He even had the crowd participate in a dance off!

HswrsShow_3

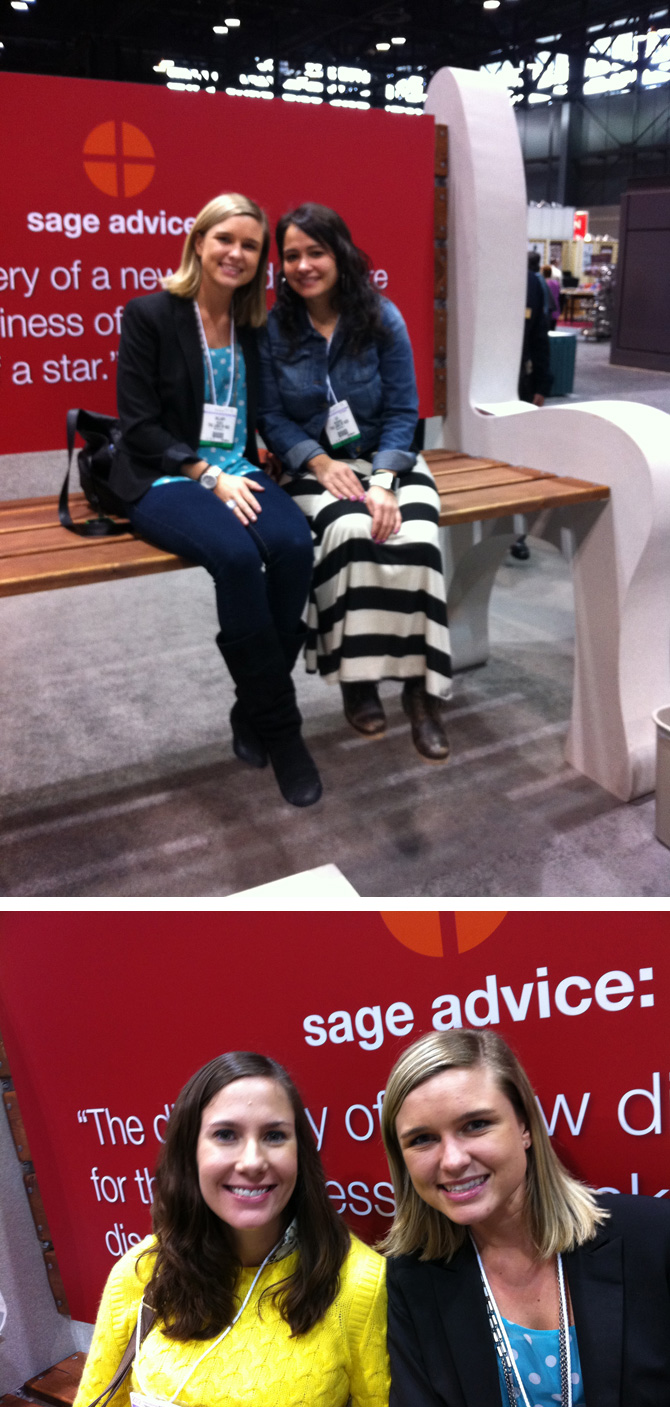
After a long day of walking we took a break on these oversized benches at the show.  It made us feel like little kids again!

HswrsShow_4

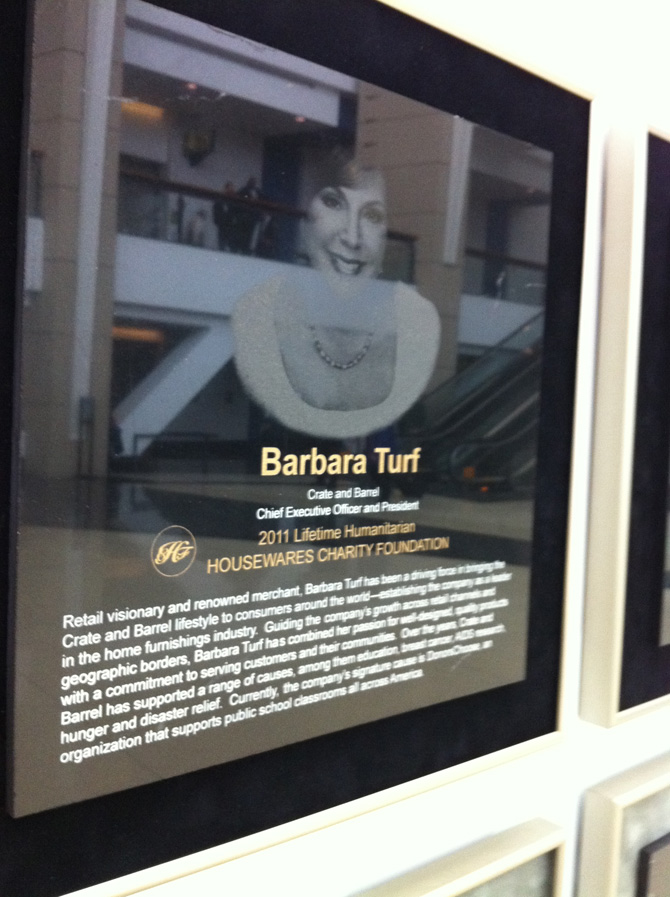
As were leaving the show we also saw Barbara Turf’s 2011 Lifetime Humanitarian Plaque.  What a great achievement for the Crate and Barrel Chief Executive Officer and President! 

HswrsShow_5

All in all not a bad day at the Housewares Show.   We’ll be sure to keep you posted on the goodies we found and when they will be debuting in our assortment.   Here’s a small hint, they may help you lighten up a room.

By Lia Mensinga


When Lia’s not out hunting for the latest and greatest décor items for Nod, she can be found painting, and re-painting, and re-painting her finger nails. Her current obsession is an ombré technique and water marbling. She’s also recently started a collection of all things robots, including a costume she made herself.

Spring Ornaments with Baking Soda Clay

April 3, 2012

finish

A few weeks ago, my daughter's preschool class made "fossils" out of baking soda clay. The teacher brought in plastic dinosaurs and seashells so the kids could mark tracks in the clay. After I grilled the teacher about how she made the clay, she gave me a bag of the leftover clay and our family had the best time making spring ornaments.

Baking soda clay is awesome in that it feels like playdough, so you can bend and mold it as you please. But it dries hard, allowing you to create long lasting heirlooms. It's really the perfect project for kids' of different ages because my toddler could just squish and roll it while the girls created ornaments.

To make the ornaments we rolled the clay into balls and then flattened the balls with our palms. I gave the kids a bunch of stamps to create with, then I used a pen to make sure each "ornament" had a hole for hanging.

After the ornaments dried, I used string to attach them to tree branches. I thought the whole thing came out pretty classy looking for a kids' art project (living room worthy) and was feeling pretty proud of myself, but when the kids came home from school they were horrified that I planned on leaving their ornaments "plain and white." So we spent the afternoon painting them and now the whole thing looks much "louder" than anticipated. Oh well, color is good.

Here's the scoop:

BAKING SODA CLAY:

1. Mix 1 cup corn starch, 2 cups baking soda, and 1.25 cups cold water in a non-stick pot, stir until smooth.

2. Cook over medium-low heat until the mixture becomes somewhat "gunky" and thick.

3. Remove from the heat and let cool while covered. Once dry, the clay stores well for a few days in sealed ziplock bags.

4. After you finish creating your ornaments, you can let them air dry to hardness at room temperature over 2-3 days OR speed up the process in a 350 degree oven with the heat turned off.

make color

Post by Darcy : bedtimemonsters.blogspot.com

It’s PB & J Day!

April 2, 2012

PBJ_1

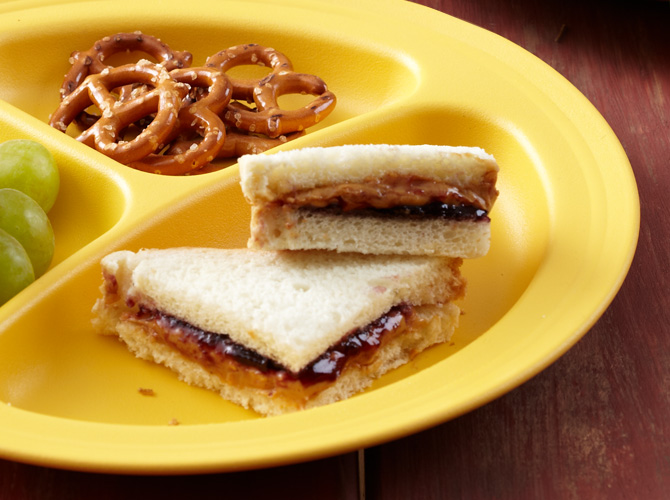
Who doesn’t love a good peanut butter and jelly sandwich?  Whether you can’t remember your first one or you vividly remember the delicious combination of your first sandwich, peanut butter and jelly sandwiches are a staple in many homes.

When I was a kid, my mother, like many mothers, made it a point to always have the healthiest food options for my brother and me.  But I knew that my lunches were different than those of my friends.  My bread was brown.  I had apple slices, not fruit snacks.  And my peanut butter and jelly sandwiches were not the same as everyone else’s.  You see, my mom purchased “natural” peanut butter.  You know the kind.  All peanut.  Nothing else.  You have to stir in the oil on the top.  Fruit based jelly.  Low sugar.  My sandwich stood out on the third-grade lunch table like a sore thumb. 

I ate the sandwich, but I didn’t like it.  I just wanted a “normal” peanut butter like everyone else had.  You know the kind.  Smooth!  Spreadable!  No oil on the top!  Sugar content!  Hydrogenated oils!  And JELLY!  Sweet, sweet grape jelly.  I knew that the sandwich of my dreams was out there.  I had seen it.  I had tasted it when visiting my friends’ homes after school.  I just couldn’t figure out how to get it into my house.

And then I had an epiphany.  I knew just what I’d do.  I’d have to grow up.  Right then and there, I made one of THOSE statements.  You know the kind.  “When I grow up…” and “when I have kids…”  I’m going to buy normal peanut butter.  And I will feed it to my children.  And we will have NORMAL peanut butter and jelly sandwiches in my house when I’m the mom and I’m in charge of everything.  I was NEVER eating “natural” peanut butter again.

Many years later, I moved out of my parents’ house and into my own apartment.  And I put my plan into action, buying jars upon jars of mainstream peanut butter and jelly.  It was delicious.  I relished being an adult and making my own decisions (Some people get tattoos. I purchase peanut butter.).  I met a boy who also liked mainstream peanut butter.  It was love at first bite.

But then everything changed.  We had children.

It has been said that the more things change, the more they stay the same.  I found myself following in my mother’s nutritional footsteps. And it became evident that I was on the path to purchasing “natural” peanut butter.  All of a sudden, I understood my mother’s intentions.  One day, when standing in the peanut butter aisle of the local food store, I found myself holding a jar of “natural” peanut butter.  It also included flaxseeds. I’d found a natural style of peanut butter that was even HEALTHIER than what my mother had served me.  Omega-3 acids!  Good for their little growing brains! I brought it home and made sandwiches.  I felt a little guilty.  Luckily, my children really liked it.  I haven’t heard any complaints…yet.

And, in case you are wondering, I do still have a jar of “normal” peanut butter in my pantry.  It’s for my husband.

By Jayne M

Not only is Jayne an associate at one of our retail locations, she's also the mother of two. According to Jayne, she loves fries, pedicures, cupcakes and sandwiches. And, a good day includes all 4!

Felt Easter Egg Design Kits

Post by Christina Williams of justcallmechris.blogspot.com
Felt Easter Egg Design Kits
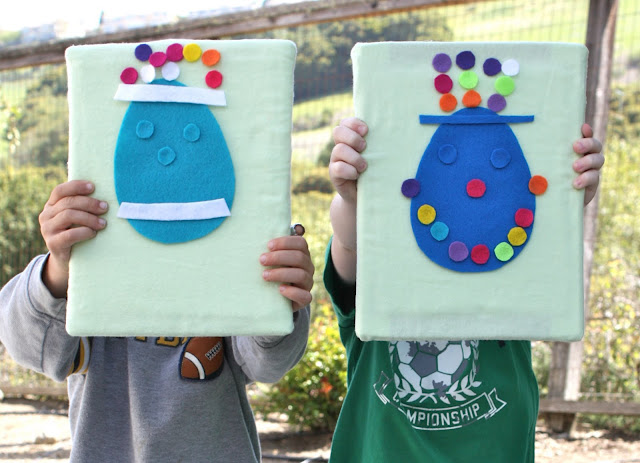
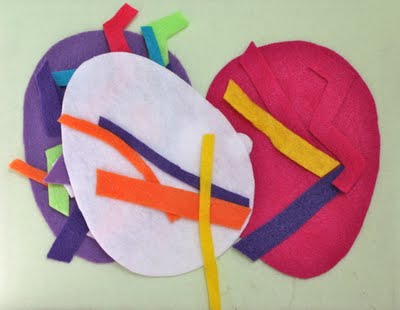
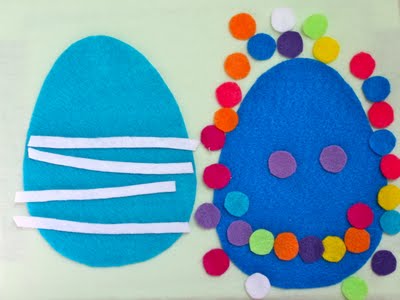
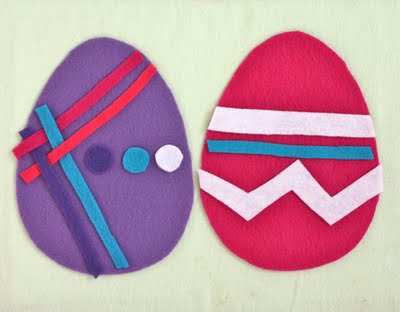
My kids have been begging to dye Easter eggs since the minute Valentine’s day was over. I came up with this little felt Easter egg design kits activity so they could make Easter eggs whenever they want, minus the mess. First I made some mini flannel boards for them. You can get the instructions here. But you could easily do this project without the board. One night while I got caught up on my favorite TV shows I cut a bunch of eggs, stripes, zig zags and polka dots out of felt.

Felt Easter Egg Design Kits 2The kids woke up the next morning and got right to work. You can design your own eggs, or play games with them. (Count the polka dots; now make one with a face; only use white stripes, etc.) Or you can create an egg that everyone needs to replicate…which will help them learn to recognize and follow a pattern. After seeing what my kids came up with, I’ve decided to add some google eyes and some ribbon to the kits. And perhaps a mustache or two. For the extra-ambitious among us, think about updating the kits for the seasons–pumpkin and snowman decorating, etc.

Felt Easter Egg Design Kits 7

Felt Easter Egg Design Kits 8

Post by Christina Williams of justcallmechris.blogspot.com
A throw pillow made of 100% solid gold.

April 1, 2012

At The Land of Nod, we don’t believe elegance should account for comfort. That’s why we’ve replaced the plush softness of ordinary pillows with the exquisite hardness of pure, solid gold. Extracted from a gold mine located in our corporate office’s cafeteria, this 110 lb. bedroom accent is sure to make your kids the envy of all their friends. Pair it up with our diamond encrusted blankets for a truly coordinated look & have a luxuriously happy…. 
Gold-pillow

APRIL FOOL'S DAY

Girls Clothes

March 30, 2012

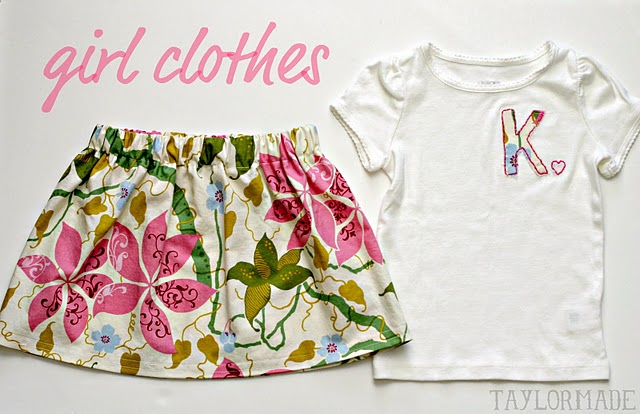
Say whaaaat? It's true, I made some girl clothes a few weeks ago.

1

Finn's friend had a birthday and I took it as an opportunity to make girl clothes 🙂 Here is how the conversation went in my head. "Oh your daughter wants a certain toy and will be bored if she has to open clothes? Welp, I have two boys and would like to make a skirt." I think it's the perfect situation- I get my two funny, rowdy, crazy boys and I will make all of our girl friends dresses so I won't have to miss out on that. One thing I will gladly miss out on… the drama-filled, moody, teenage girl years.

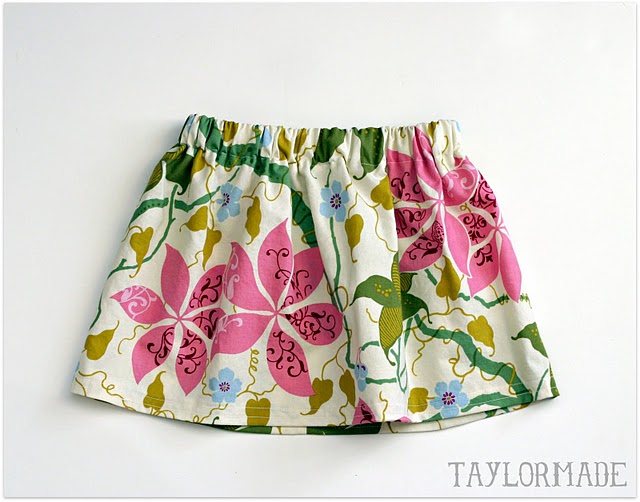
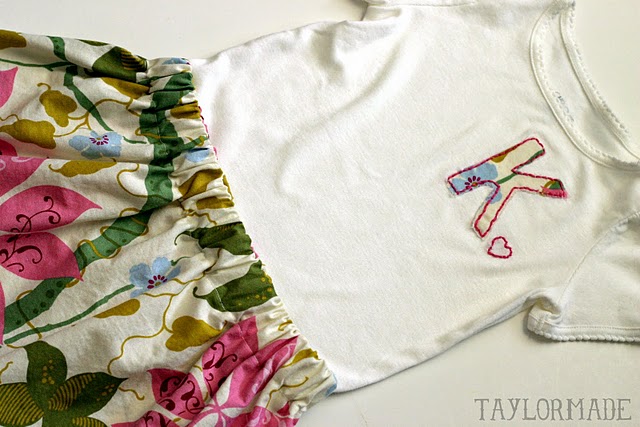
I used Dana's Simple Skirt Pattern for the skirt. Her pattern is for 3-4T so I just subtracted 2 inches or so for a 2T. It was really easy and quick. 

2

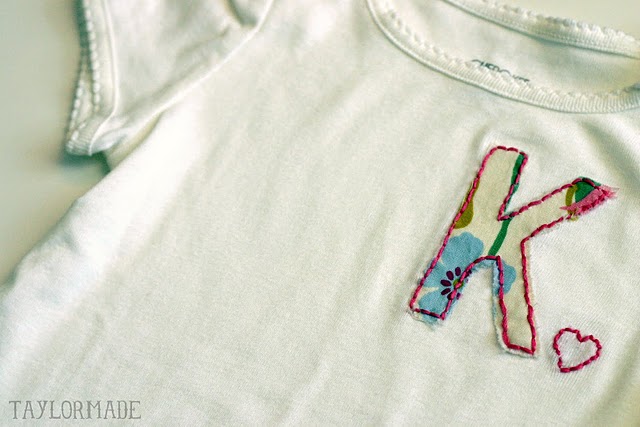
For the top, I started with a plain off white t-shirt. Ironed fusible web to a scrap piece of the skirt. Cut out the letter "K" and ironed it in place. Then I hand embroidered around the edge of the letter. Lastly,  I added a little heart just to girl it up even more.

3

4

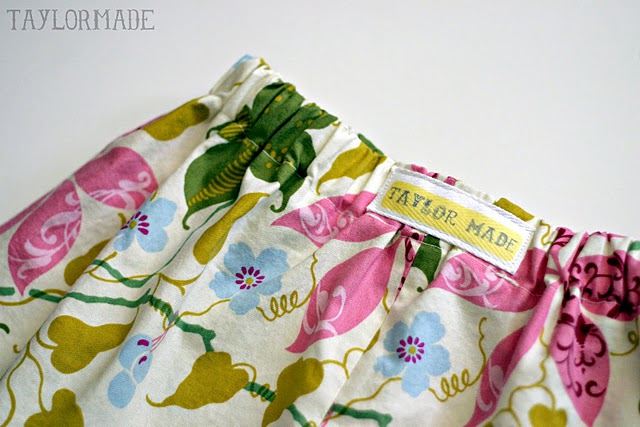
I added a taylormade tag.

5

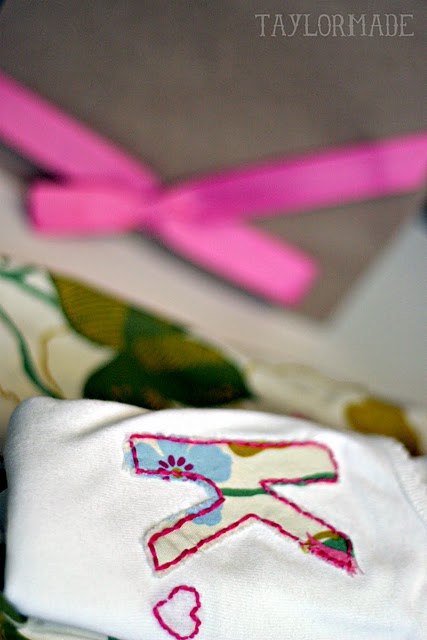
And wrapped it up.

6

Taylor sign

Post by Taylor Urban : www.itstaylormade.com