Close

Blog

Baby Onesie Cutoffs

July 12, 2011

Baby Onesie Cutoffs

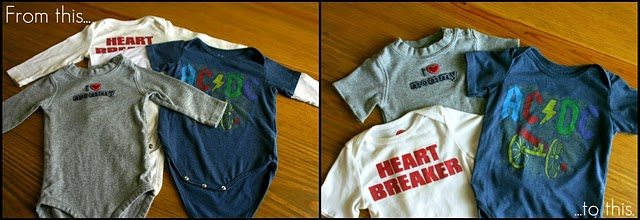
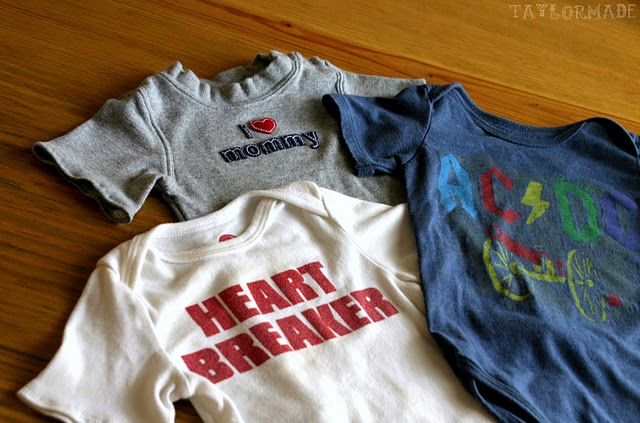
When Clyde was born and I realized I had another boy in the house I thought to myself, perfect! I have a closet full of boy clothes. Well… Finn was born on August 6th and Clyde was born on February 6th. Their dates are exactly six months apart to the day. 

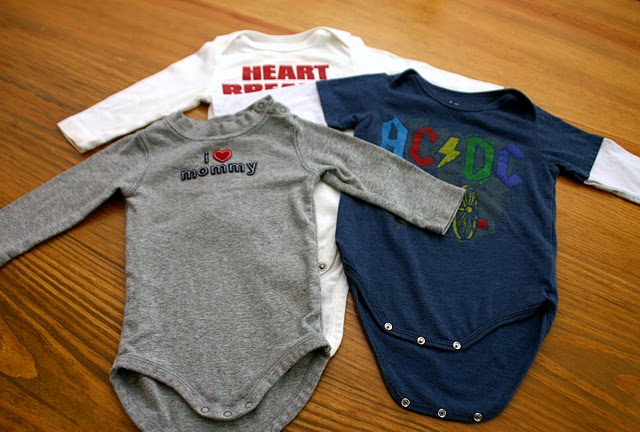
So, we got home from the hospital with Clyde, I opened the closet and BAM a closet full of sleeveless and short sleeved shirts on the only day that Houston ever had a "hard freeze".  Why didn't I realize that all of these clothes were for the opposite season? Now once again all of Finn's old 9 month onesies are for winter and I am about to die of a heat stroke. My poor little poopsie is hot natured just like his Mommy.

Solution… Baby Cutoffs!

Baby Onesie Cutoffs - 2

I did this to some pants a few weeks ago too. I am now on a Baby Cutoff Spree at my house and nothing is safe. Watch out old baby jeans… its over 100 degrees and mama's hot. 

These make me hot just looking at them…

(I really can't describe my hatred for the heat enough)

Baby Onesie Cutoffs - 3

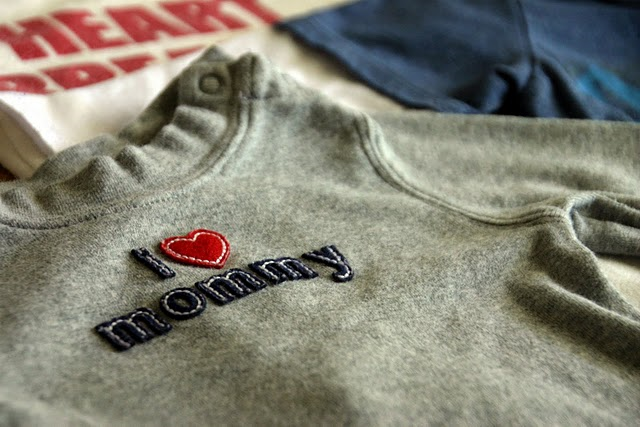
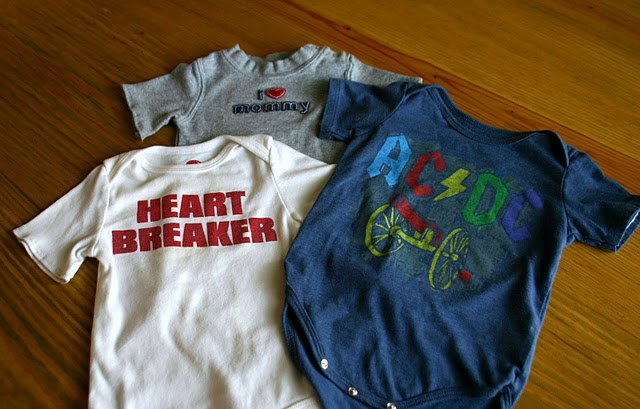
I really wanted Clyde to be able to wear this shirt because it has a special meaning. When I first found out I was pregnant with Finn this was the first thing I bought, so really the first "baby thing" I ever bought in my life 🙂

Baby Onesie Cutoffs - 4

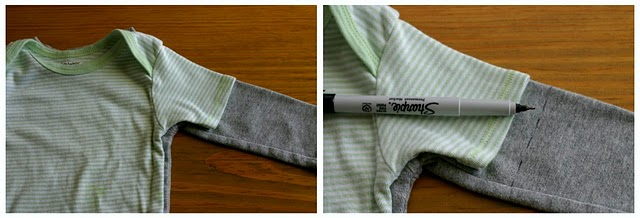
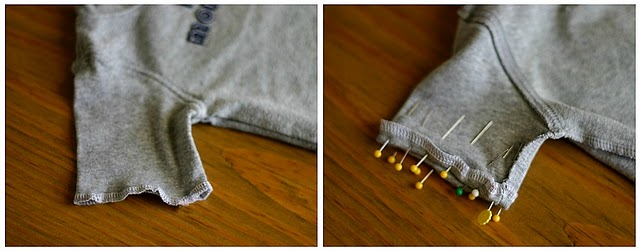
Use a short-sleeved onesie as your pattern and mark 1/2" past the edge of the sleeve.

(Yes I use a sharpie, I don't like tailor's chalk)

Baby Onesie Cutoffs - 5

Serge around the edge and then pin and sew two parallel lines for the seam. 

Baby Onesie Cutoffs - 6

Ahhh…. relief! 

Baby Onesie Cutoffs - 7

Baby Onesie Cutoffs - 8

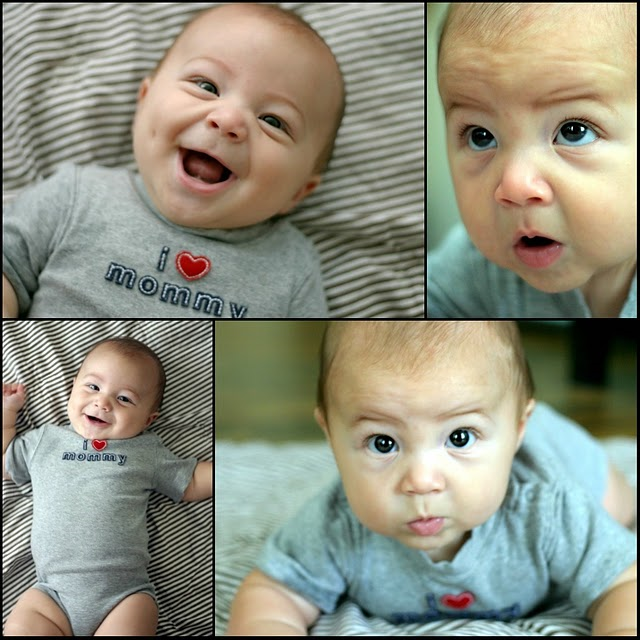
How cute is this little model of mine? What a Happy Boy!

So, what sort of summer refashioning have you done lately?And are you now going to run through your house with scissors looking for clothes to cutoff?

Sign

Post by Taylor Urban : www.itstaylormade.com
Strawberry Milkshakes

July 11, 2011

Strawberry Milkshakes
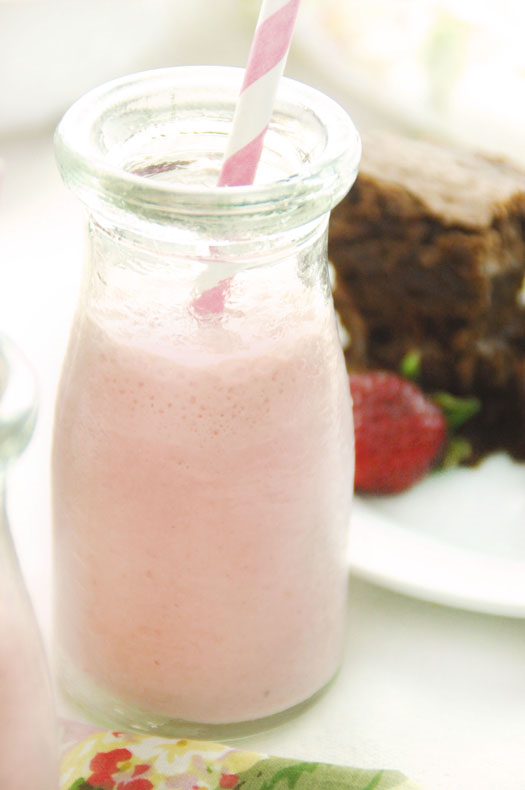
I was never a "pink milk" kind of kid growing up, unless it was a strawberry milkshake made with vanilla ice cream and strawberry syrup from the soda fountain in our sleepy little town. It was a treat to sit at the counter on the twirly stools with my baby brother while we watched the waitress throw together the perfect milkshake: a couple of scoops, a couple of pumps of syrup, a whirl in the blendy thingy. Then she would slide a giant silver tumbler with the longest spoon I had ever seen and a bendy-straw in front of me. I did not share, I did not grant sips. This magnificent milkshake was all mine.

I can't do the big gulp any more, but we often recreate a more petite version with a homemade strawberry syrup and vanilla-bean ice cream. Making your own vanilla-bean ice cream will give the best flavor, but any store-bought natural vanilla ice cream (without gums or stabilizers) will work well.

Strawberry Milkshakes

Yields: approximately 4(6-oz) servings
Prep time: 5 minutes
Cook time: 30 minutes plus 15 minute stand time
Allergy info: soy-free, gluten-free, wheat-free; contains milk

Ingredients:
1 pint fresh strawberries, hulled (or frozen)
1/4 cup organic sugar
1/4 teaspoon kosher salt
10 ounces vanilla-bean ice cream
8 ounces organic whole milk

Directions:
In a medium saucepan cook strawberries, sugar and salt over medium heat. Bring to boiling, reduce to a simmer. Simmer 20 minutes or until reduced by half and thickened. Remove from heat, let stand 15 minutes.

Transfer strawberry mixture to a blender; pulse until pureed. Add ice cream and milk. Blend on high speed until desired consistency. Serve immediately with our mini flourless chocolate cakes.

Post by Dawn Viola : http://wickedgooddinner.blogspot.com/

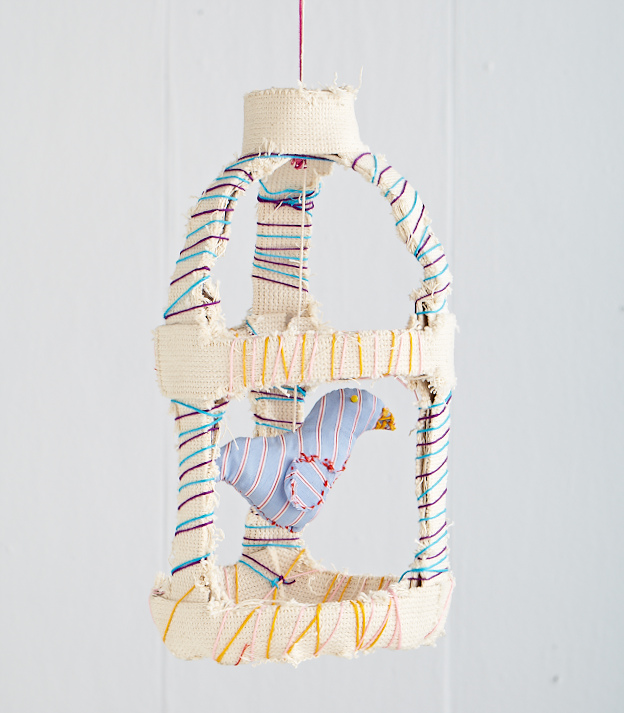
DIY Birdcage Bottle and Bird

July 9, 2011

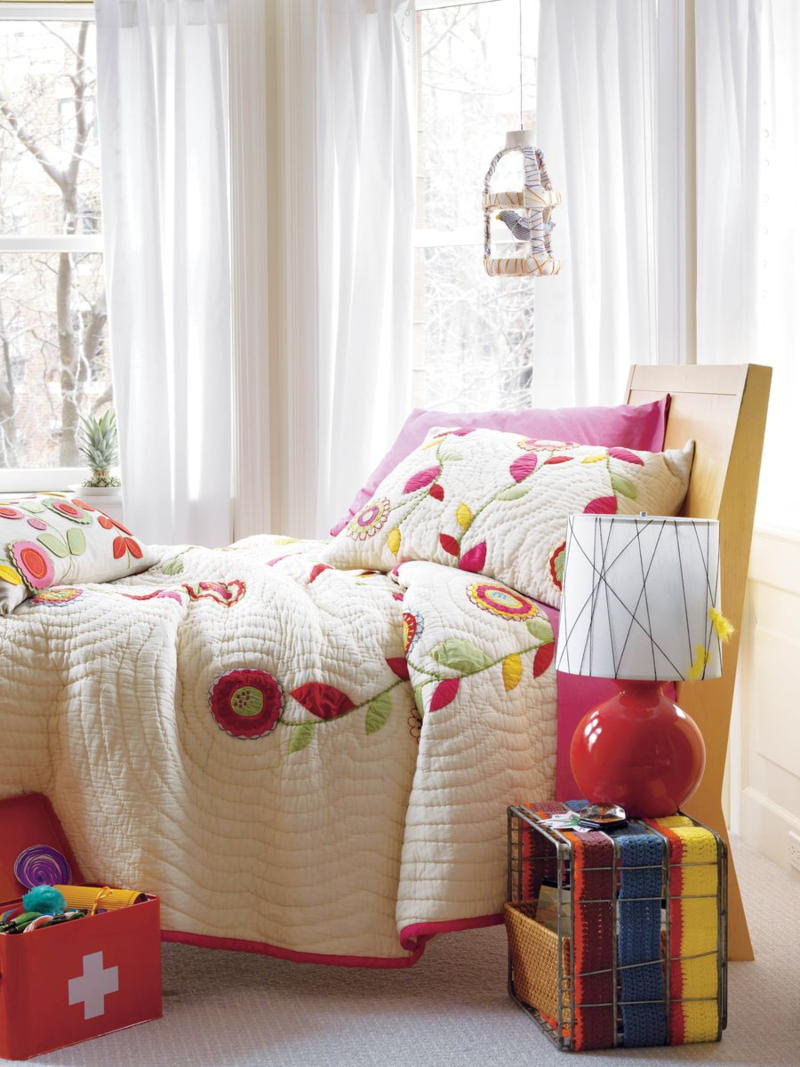
DIY Birdcage Bottle & Bird

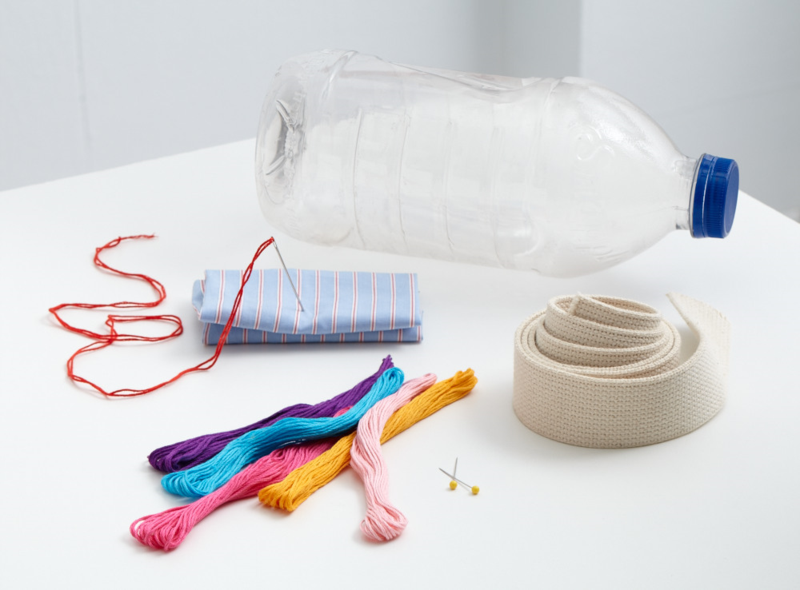
Whattya need?

  • X-Acto knife or utility knife
  • Hot glue gun
  • Large plastic bottle, like a two liter or juice bottle
  • Fabric strapping
  • Embroidery thread
  • Needle
  • Any fabric
  • Batting or any kind of stuffing, such as extra fabric, plastic bags, newspaper, etc.
  • Pins with colored heads, buttons, or other decorations

DIY Birdcage Bottle & Bird - 2

How do I make the birdcage?

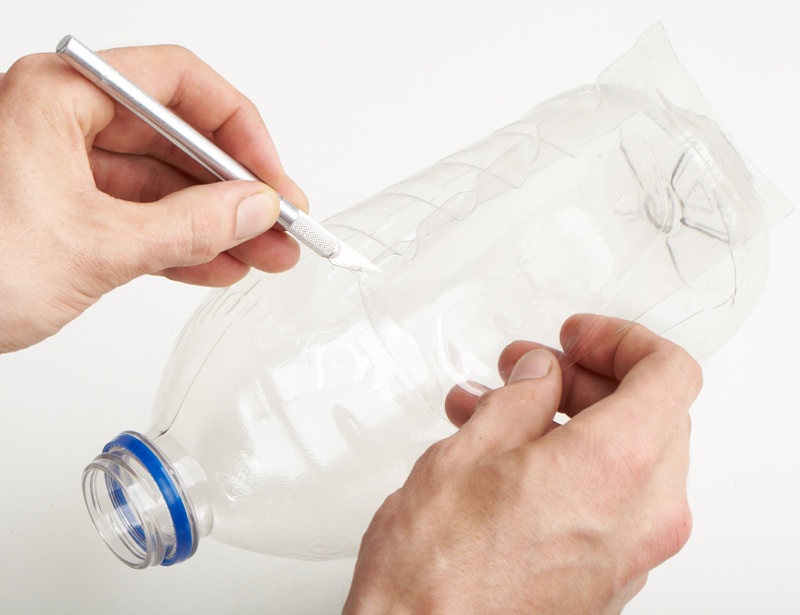
Step 1:  Use knife to cut the birdcage openings in an empty bottle.

DIY Birdcage Bottle & Bird - 3

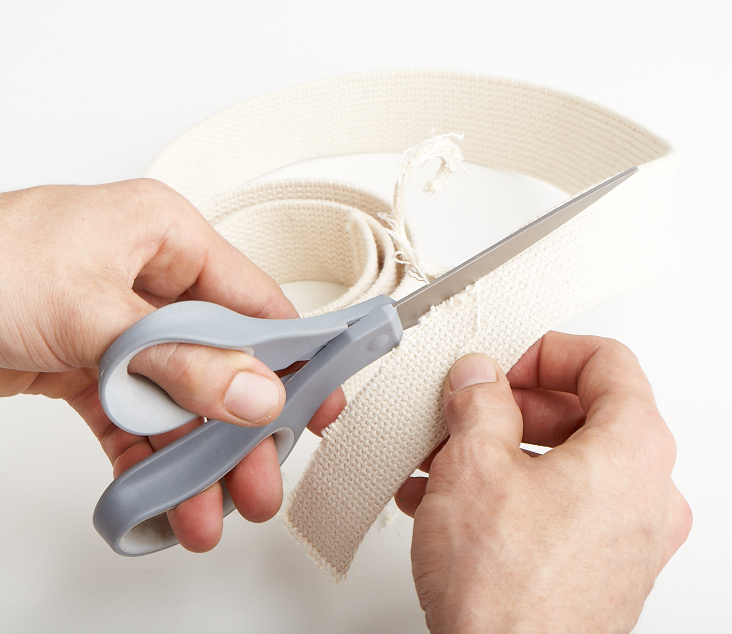
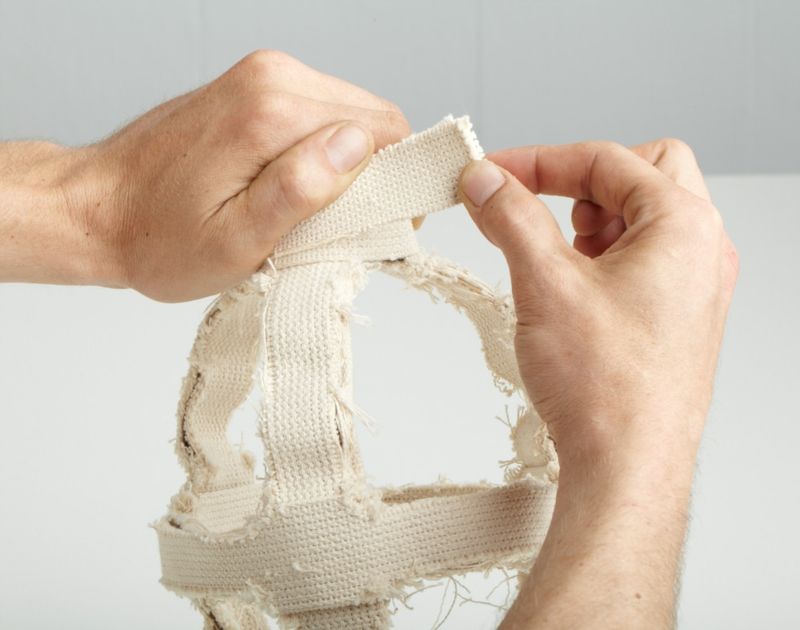
Step 2:  Cut fabric strapping to the size and width of the plastic areas remaining on the bottle.

DIY Birdcage Bottle & Bird - 4

Step 3:  Apply strapping to plastic with hot glue.

DIY Birdcage Bottle & Bird - 5

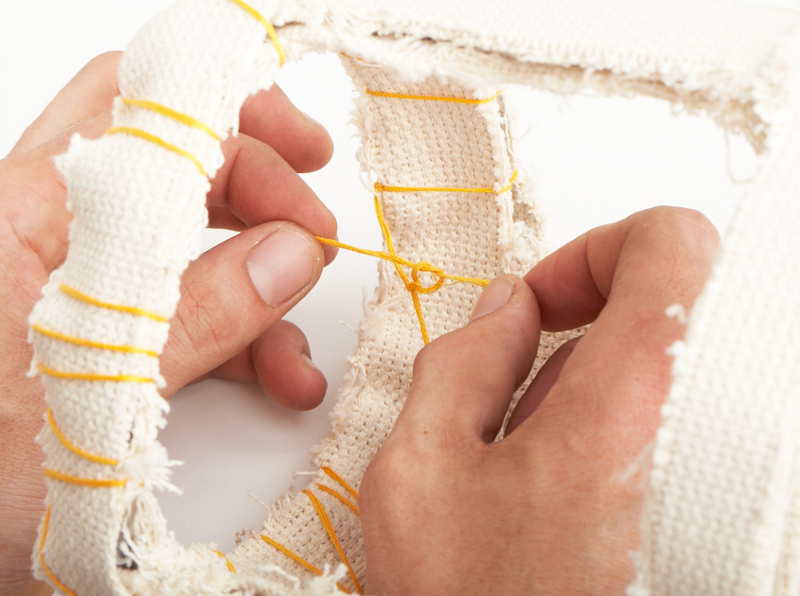
Step 4:  Use embroidery thread to decorate.

DIY Birdcage Bottle & Bird - 6

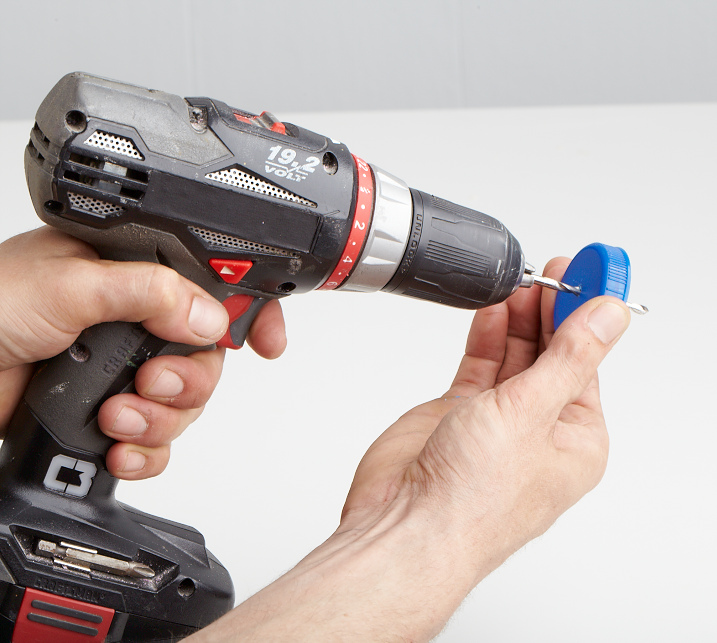
Step 5:  Drill hole into the lid for hanging.

DIY Birdcage Bottle & Bird - 7

How do I make the bird?

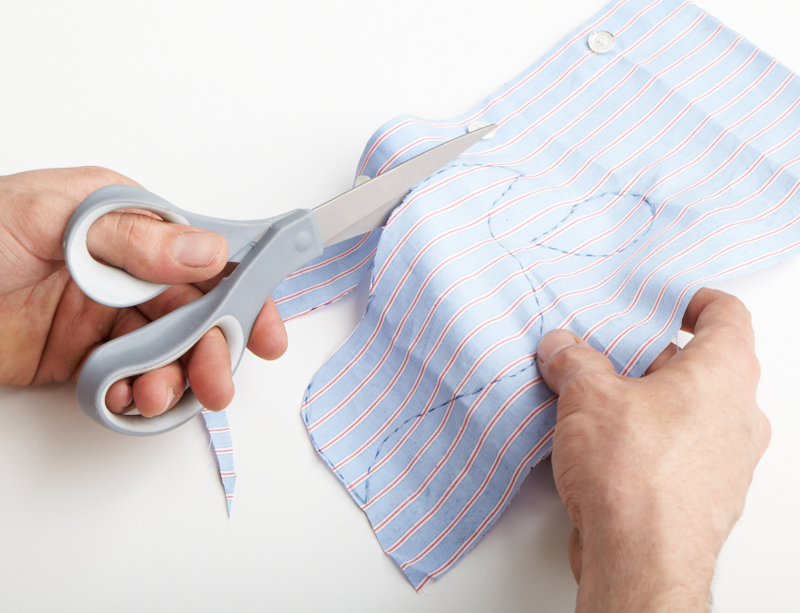
Step 1:  Cut bird body and wing shapes from fabric.

DIY Birdcage Bottle & Bird - 8

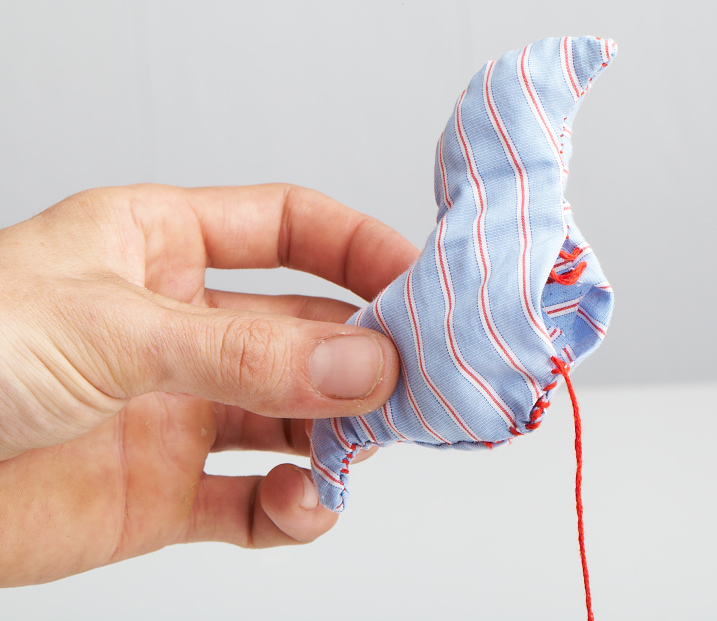
Step 2:  Stitch bird body sides together using embroidery thread and needle, leaving a small opening that’s still big enough for the stuffing.

DIY Birdcage Bottle & Bird - 9

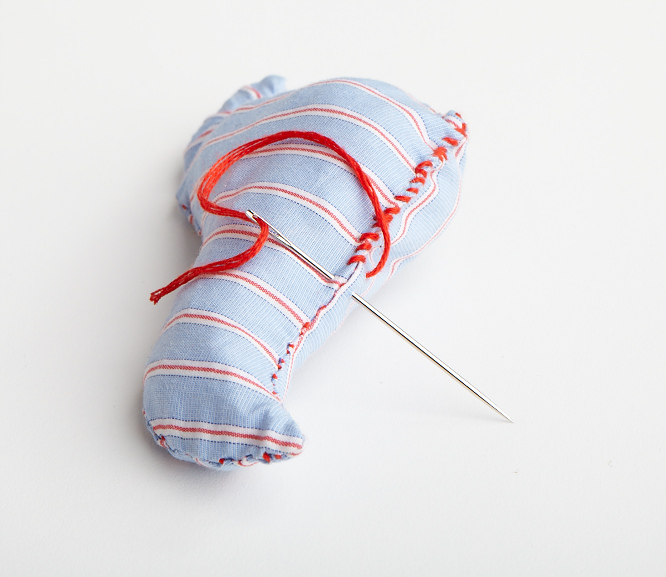
Step 3:  Insert stuffing through open area in stitching, then stitch closed.

DIY Birdcage Bottle & Bird - 9

Step 4:  Attach wings with needle and thread.

Step 5:  Decorate using pins to make eyes or sewing on buttons, fabric or other decorations.

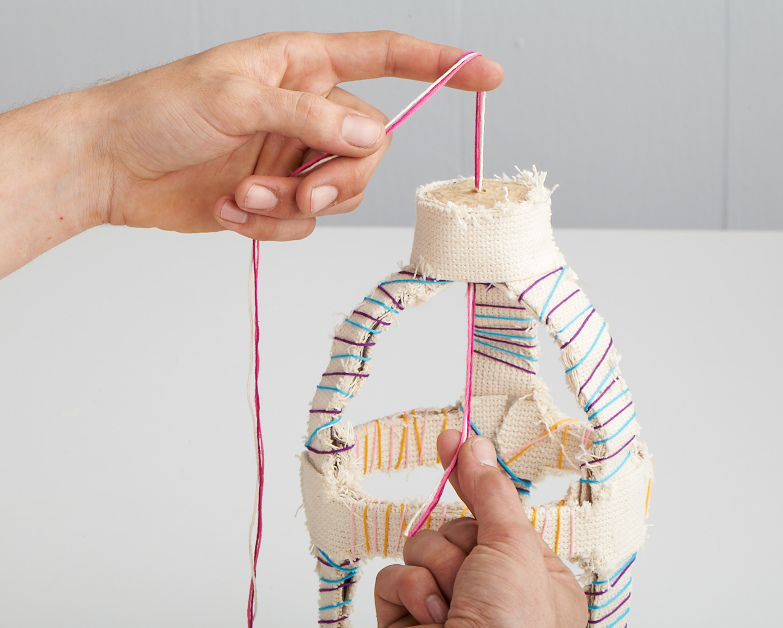
Step 6:  Run string through the bottle top into the center of the bottle.

DIY Birdcage Bottle & Bird - 10

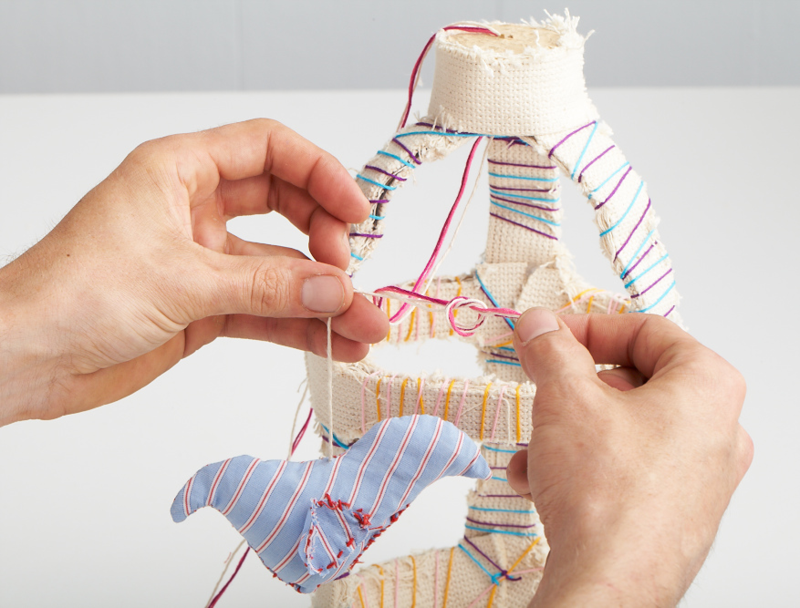
Step 7:  Attach end of string to bird by stitching.

DIY Birdcage Bottle & Bird - 11

Step 8:  Tie two strings together so that the bird hangs centered in the bottle.

DIY Birdcage Bottle & Bird - 12

Step 9:  Hang.

Created by Dane Holweger

Sewing Projects for Preschoolers – Felt Vase

July 8, 2011

Sewing Projects for Preschoolers - Felt Vase

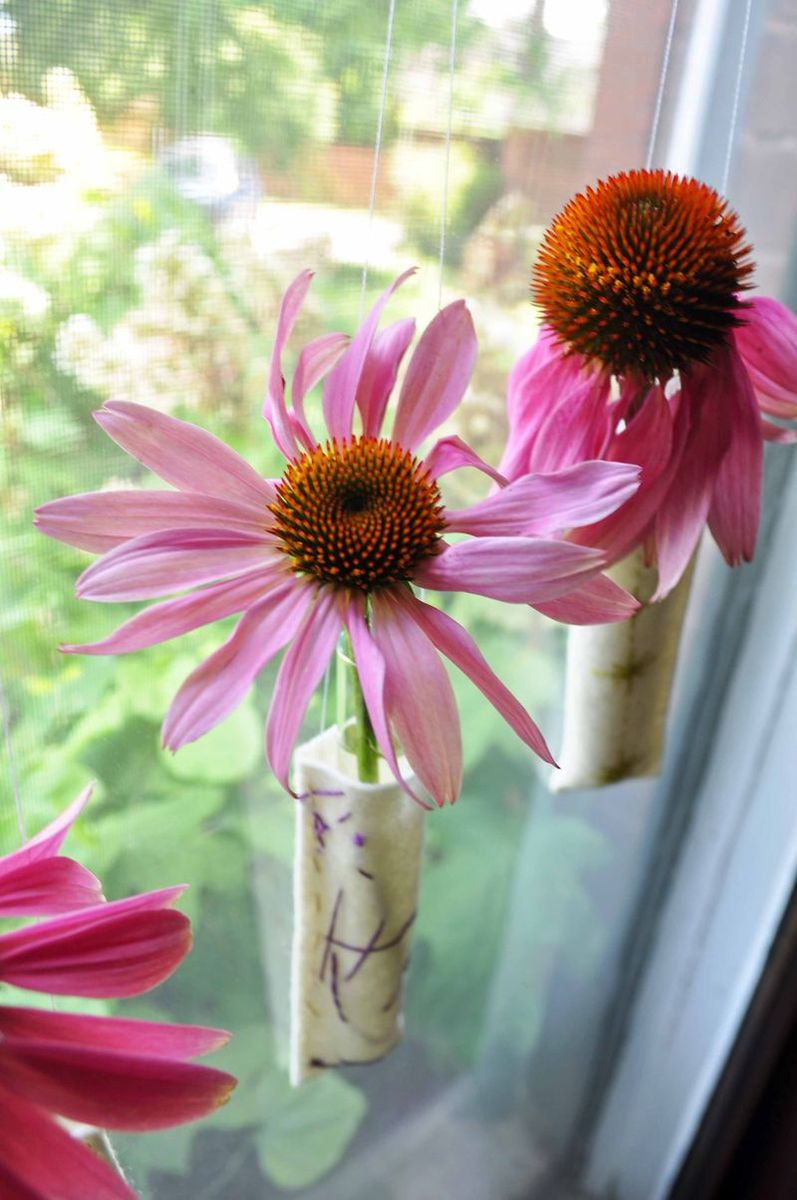
A pretty vase for summer flowers.

 Sewing Projects for Preschoolers - Felt Vase 2

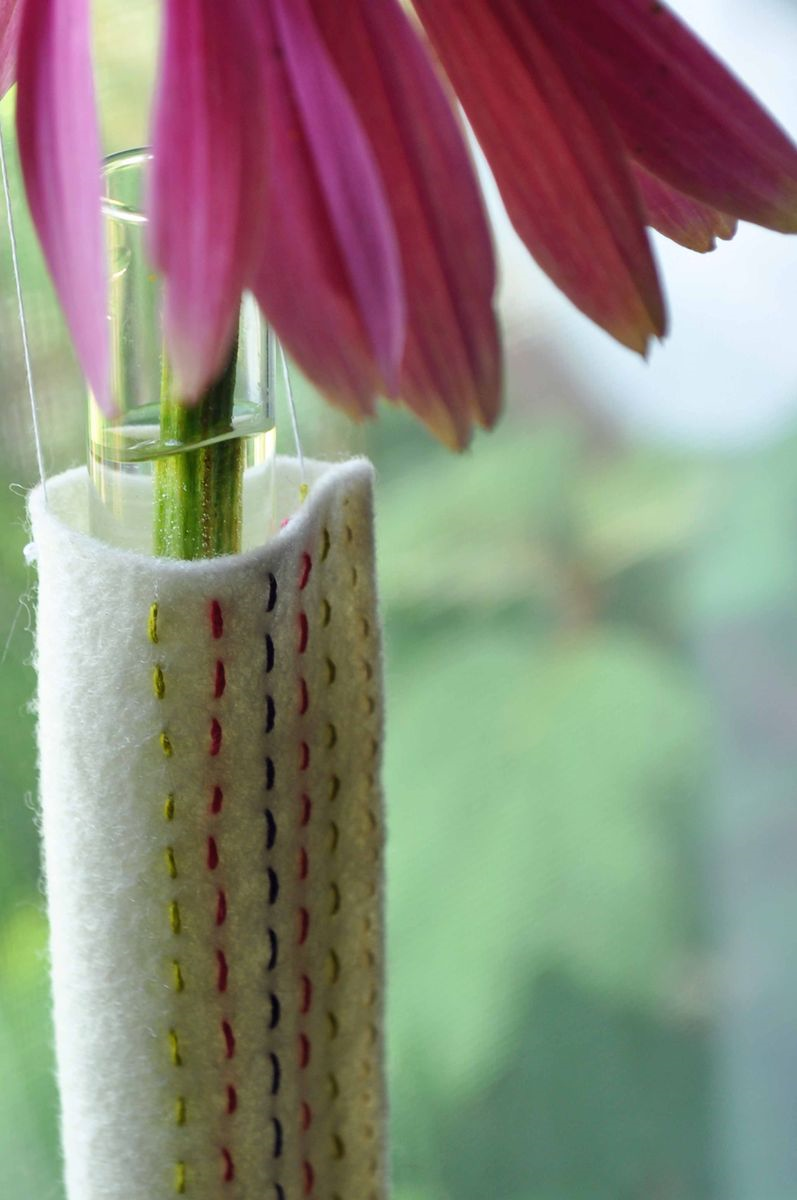
Made out of felt and embroidered.

 Sewing Projects for Preschoolers - Felt Vase 3

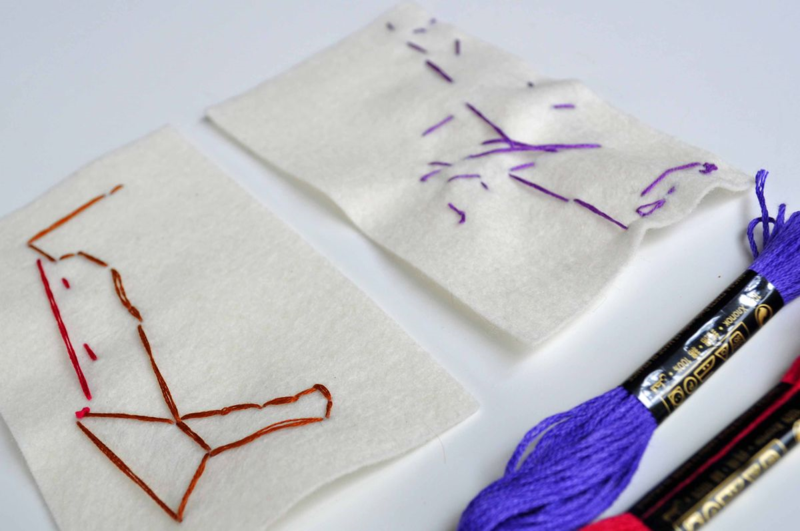
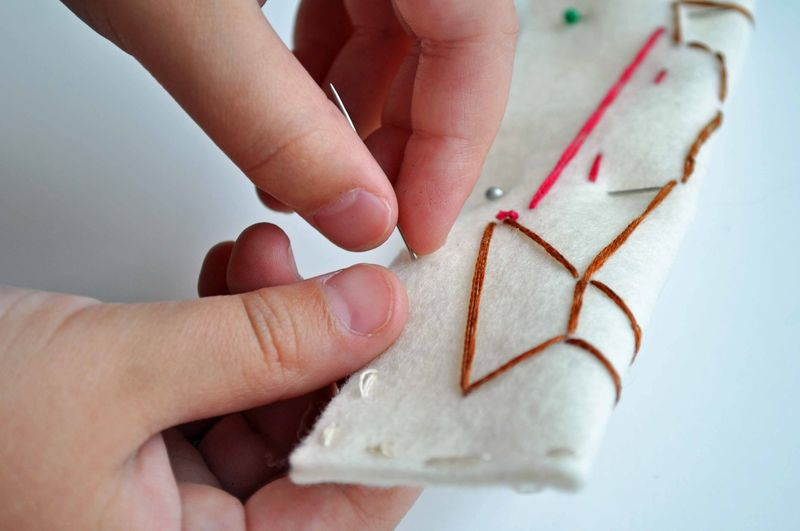
Cut a piece of felt 3"x5" and embroider using 2 strands of embroidery silk. The girls made these all by themselves.

 Sewing Projects for Preschoolers - Felt Vase 4

Fold the felt in half, pin, and sew. I helped the girls make small, even stitches to create the vase.

Sewing Projects for Preschoolers - Felt Vase 5

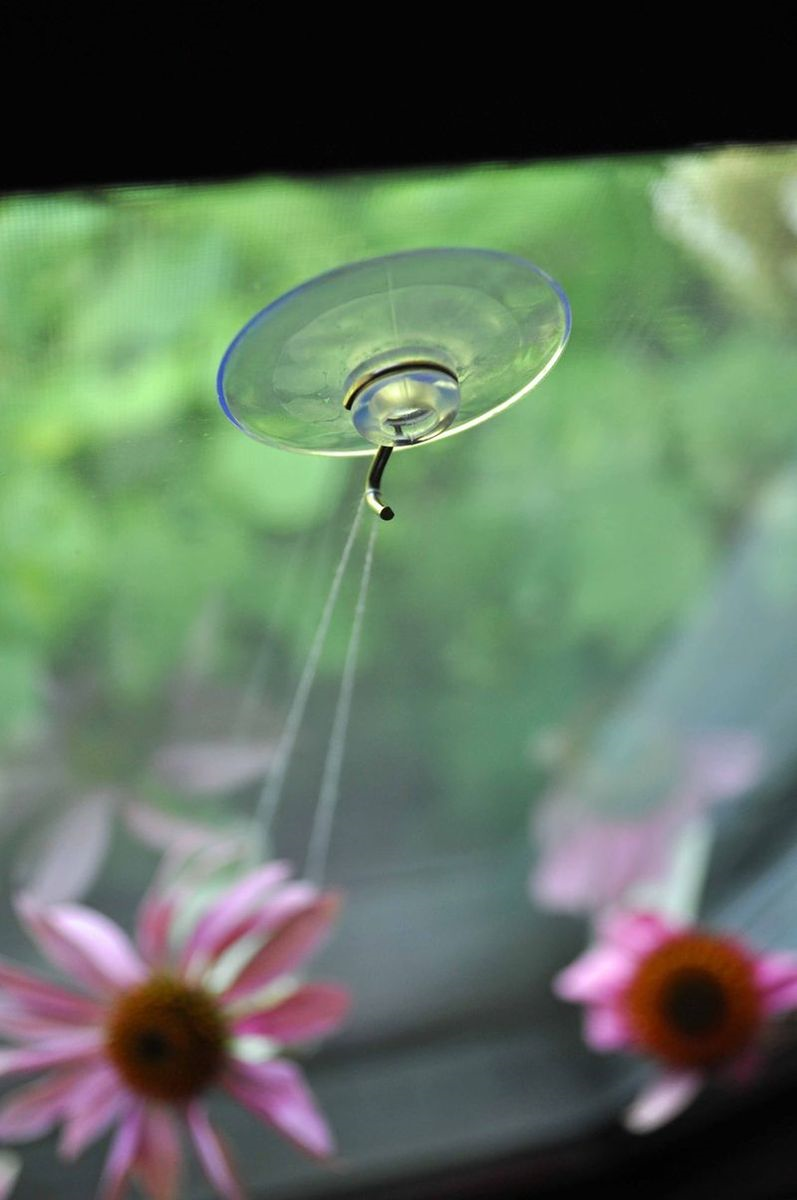
Hang with a suction cup.

We made these felt vases with test tube flower holders last week while my parents were visiting. My mum, the girls, and I each made one and I sent them to my aunt for her birthday. The girls and I love them so much that we are going to make some more and hang them in our sewing room.

Post by Helen Bird : www.curlybirds.typepad.com
How To Say Farewell To a Child’s Beloved Soother…

July 7, 2011

“With the past I have nothing to do; nor with the future. I live now.”

—  Ralph Waldo Emerson

 The wisdom within the words of Emerson's writings never ceases to amaze me.   I have so much respect for him that we gave Ryan the middle name Emerson…it also gave him the initials R.E.M., an old favorite band of ours which was cool coincidence. 

Anyways, I have been focusing on this particular quote today in hopes of moving on from some of the hard stuff I have been hit with this past week.  Finding the now isn't always as easy as one would think.

Although I try to avoid living in the past, as a photographer I am pretty damn good at documenting it.  In tough times looking through my photos always brightens my days.  These pictures were taken a while back when Ryan turned four in April but somehow I never got around to sharing them.

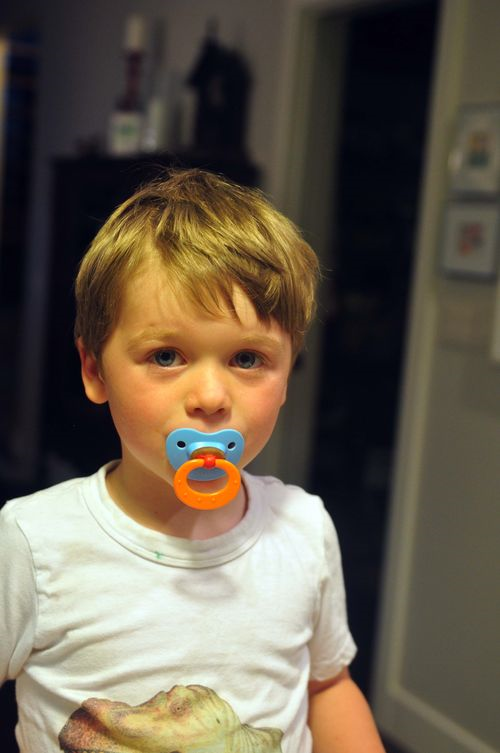
Some babies like soothers, some don't, but some absolutely LOVE them…Ryan had serious sucking passion and even now when he is sleepy and we see a baby sucking one I can see his little lips fondly going through the motions.  With Noah, kiddo #1 I got rid of the soother by the books, nice and early not to interfere with tooth development, baby raising was much more official for me then.  Kiddo # 2, Liam never really took to a soother long term.  By kiddo #3, Ryan, I knew better and was in no rush to steal his beloved Nuk Nuk away…but as he was turning four I had to make my move.

A magazine article passed along to me by my sis gave a good tip on introducing a soother fairy, much like the tooth fairy idea.   They would take the soothers and leave a gift in thanks.

How to Say Farewell To A Child's Soother

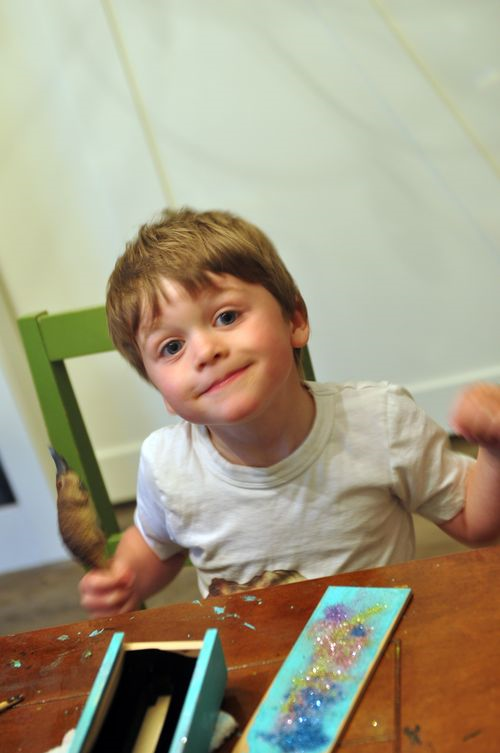
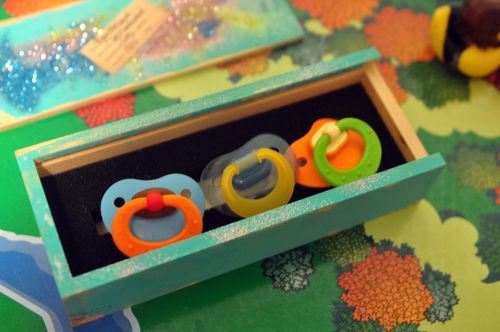
We headed down to my studio and he decorated a wooden box I got my Eminence Organics mineral sunscreen in.  Lots of fairy dust was loaded on the top to woo the Nuky Fairy.

How to Say Farewell To A Child's Soother (2)

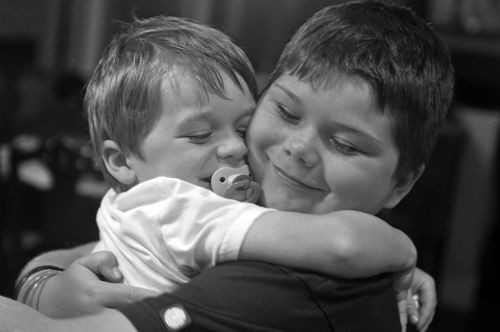
Ryan enjoyed his final sucks to the bitter end and big brother Liam gave him some hugs for support.

How to Say Farewell To A Child's Soother - 3

4

The last survivors of his voracious sucking went into the box and we sealed it.

Our story was that the Nucky Fairy's magic owls (Ry loves owls like me) swooped in at night and picked up the soothers and then the fairy left a present in thanks.

In the morning Ry got a little note from the fairy and a giant bouncer ball…you know the kind they sit on and hold on to handles at the top.  He was thrilled and since he's only asked twice in a casual way about his nuckys.  Sometimes with kids you just have to do whatever works at the time…luckily this time our plan worked like a charm.

Ah, a little trip into the past has made me feel so much better now.  Special photos are always like free therapy for me.

I am ready to get back to the now.

happy day friends,

Post by Kerry MacLeod : www.snickerdoodles.ca

Triple Chocolate Bundt Cake & A Birthday Banner

July 6, 2011

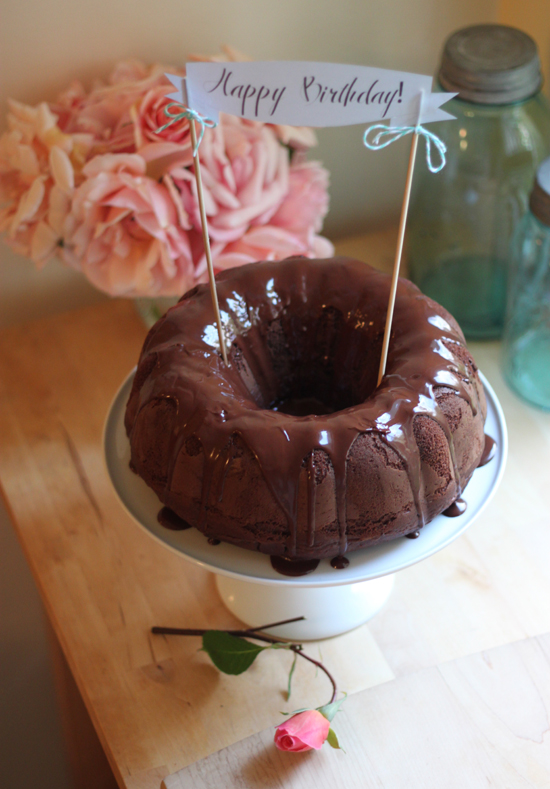
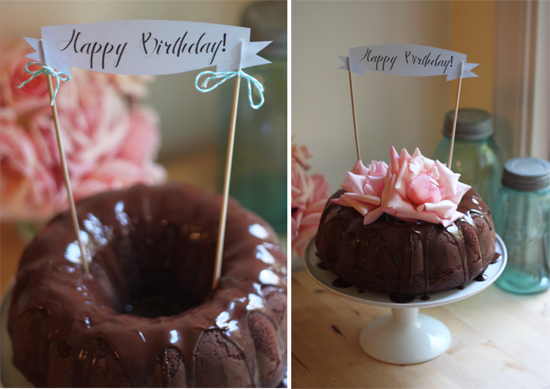
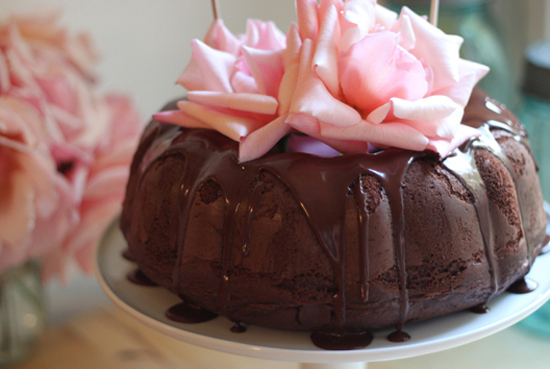
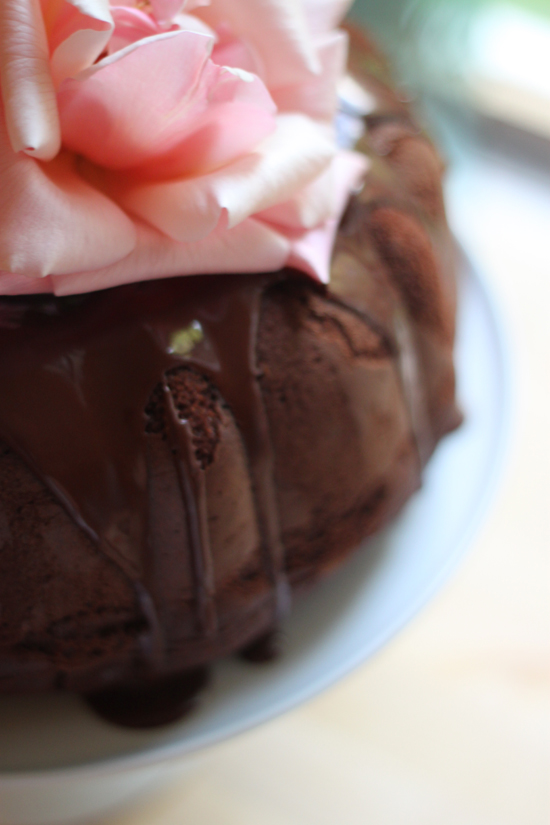
Last week I baked a birthday cake for a co-worker who is a lover of all things chocolate.  I couldn’t resist making a triple chocolate bundt cake, and I have to say it turned out rather delicious.  The chocolate chips inside and the ganache poured over the top were an inspired idea that gave the moist cake surprise hit of extra flavor.  To decorate, I designed and cut a ‘Happy Birthday’ cake banner out of velum paper and tied on a little baking twine for fun.  I even added a few roses from our garden for the photos.  See below for my adapted recipe, and if you’re going to try it out for yourself, make sure to use high quality chocolate- it really made all the difference.

Triple Chocolate Bundt Cake Recipe

Triple Chocolate Bundt Cake Recipe (2)

Triple Chocolate Bundt Cake Recipe (3)

Triple Chocolate Bundt Cake Recipe (4)

Triple Chocolate Bundt Cake

adapted from Food & Wine

Ingredients

cooking spray

1 bag semisweet chocolate chips {I used Ghiardelli}

3/4 cup canola oil

1 cup sugar

1 large egg

2 cups all-purpose flour

1/2 cup cocoa powder

1 tablespoon baking soda

3/4 teaspoon salt

1 cup strong-brewed coffee

1 cup buttermilk

Directions

1. Preheat the oven to 350°. Spray a 12-cup Bundt pan with cooking spray. In a small saucepan, melt 2 ounces of the chocolate chips over low heat, stirring constantly. Scrape the chocolate into a medium bowl and let cool slightly. Whisk in the oil and sugar until smooth, then whisk in the egg.

2. In a small bowl, whisk the flour, cocoa powder, baking soda and salt. Add half of the dry ingredients to the chocolate mixture along with 1/2 cup of the coffee and 1/2 cup of the buttermilk; whisk until smooth. Add the remaining dry ingredients, coffee and buttermilk and whisk until smooth.  If desired, add about 1/2 remaining bag of chocolate chips to batter just before pouring into pan.

3. Pour the batter into the prepared pan and bake for about 45 minutes, or until a toothpick inserted in the center of the cake comes out with a few moist crumbs attached. Let the cake cool on a rack for 10 minutes, then turn it out and let cool completely.

4. While cake cools, bring remaining chocolate chips to a boil.  Once chocolate begins to melt, whisk in 1 tbsp of vegetable oil if needed for pourable consistency. Whisk until smooth. Let the ganache glaze cool until thick but still pourable, about 5 minutes.

5. Pour the ganache over the cooled cake. Let the cake stand until the glaze is set, at least 30 minutes, before serving.

Need more tasty recipes and delicious bites? Check out our Let’s Eat Pinterest Board.

Post by : Becca www.cakeeventsblog.com
100 Things to Do This Summer with Kids

July 5, 2011

Post by Christina Williams of justcallmechris.blogspot.com

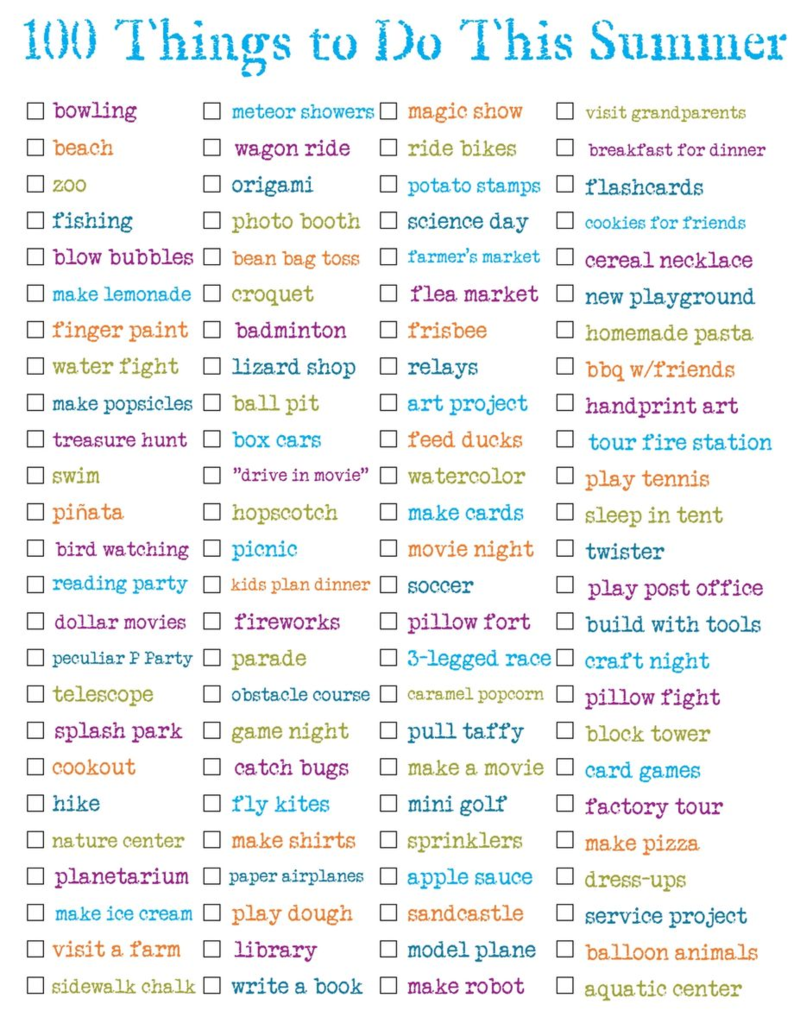
It’s our last summer before my oldest heads off to kindergarten, so we’re going to make the most of it. We made a list of 100 things we want to do together this summer, and we’re off to a great start. The best part is most of the activities are free or inexpensive and take little- to no preparation. I made sure to include some indoor activities for the days it’s just too hot and the pools are crowded. All of the food items I listed are cooking activities we can do together. I’m really excited to make cars out of boxes then have a pretend “drive-in movie.” I still remember the red and orange box cars my dad made for my sister and me one year. My son is way into astronomy, so we’re going to make sure to let him stay up late in August to watch the meteor showers.

100 Things To Do This Summer With Kids“The List” has taken center stage on our fridge. And my son so proudly places a checkmark or two on the list every day. I love it too, because it takes the pressure off of me to plan something exciting every day. What are your plans this summer?

Post by Christina Williams of justcallmechris.blogspot.com

About The Land of Nod

March 1, 2010

LON_AboutImage Hey there, blogosphere. We’re The Land of Nod, the place to find everything from exclusive baby and kids furniture and bedding to toys and gifts for any age or budget. Not to mention our huge collection of storage, rugs, non-toxic room paint, wallpaper and the hottest baby gear brands around. At landofnod.com, you’ll basically find everything from A to ZZZ.