DIY Bobby Pins
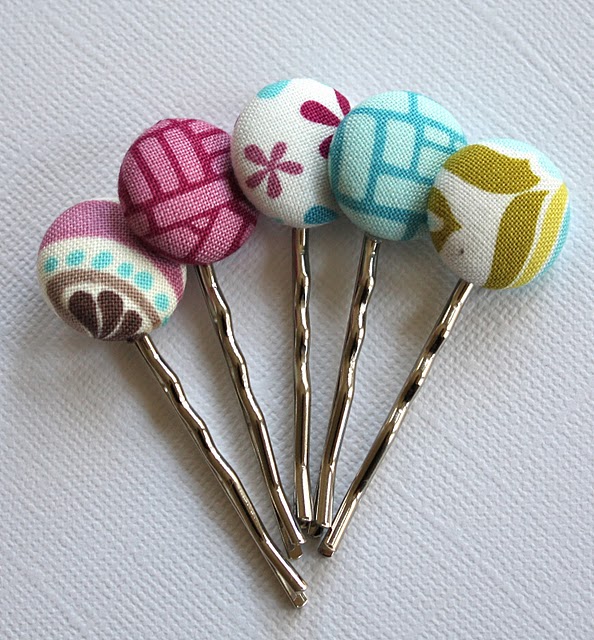
This year, I'd really like to stay on top of birthday gifts. It seems like I'm always making a last-minute run to the toy store on the way to the birthday party. Not this year. I'm going to stay ahead of the game by making birthday gifts ahead of time so they're ready to go well before the party arrives. I've given these bobby pins to several of my friends' daughters and they're always a hit. I've seen these selling online for as much as $2.50 each. But if you buy the supplies and take all of 10 minutes to make them, they'll cost a whopping .25 each. Convinced? Here's how:
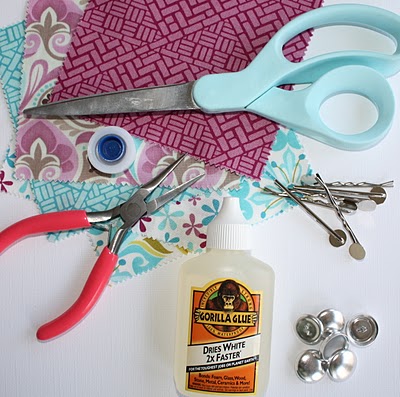
Step 1: Gather your supplies: bobby pins with pads, covered button kit, covered button mold (included in kit), fabric scraps, scissors, needle-nose pliers and Gorilla Glue.
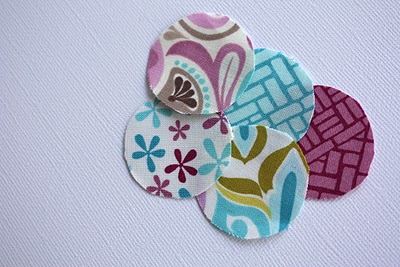
Step 2: Cut circles of fabric to fit the button form. (There's a pattern on the back of the button package).
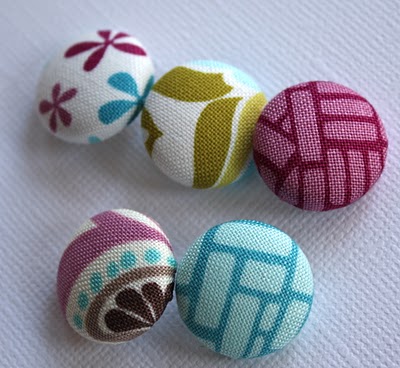
Step 3: Cover the buttons according to package directions.
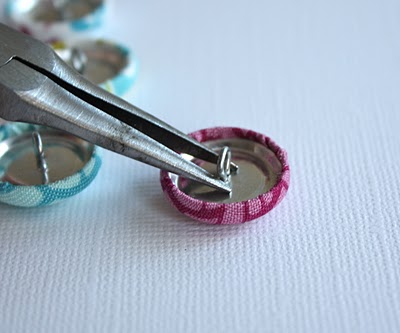
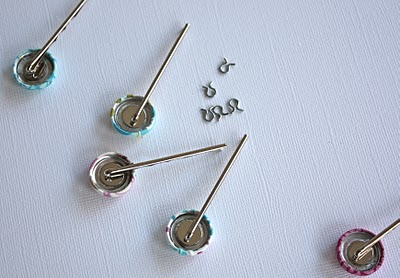
Step 4: Using needle-nose pliers, gently remove the shanks from the buttons.
Step 5: Use a small amount of glue to to adhere the buttons to the bobby pins. I used Gorilla Glue. (Tip: The glue expands as it dries, so take it easy on the glue.) Leave the pins face-down for 30-60 minutes while the glue dries.
All done. See, wasn't that easy? A quick project and a jump-start on the year's birthdays all in one. Have a great day!

Post by Christina Williams : justcallmechris.blogspot.com
