DIY Elbow Patches
One of my daughter’s new favorite sayings is, “Easy Peasy Lemon Squeezy.” Lola, of Charlie and Lola fame says it and she loves Lola so she’s adopted this little tag line……and I adore it! And this little DIY is just that; Easy Peasy Lemon Squeezy.
If you’re looking for a way to add some flair to a worn out shirt or you have a shirt that is newer, but a bit boring this is the DIY for you. I used a long-sleeved shirt of Georgia’s that shockingly still fits her after having had it almost a year. I wanted to spice it up a bit–here’s what I did:
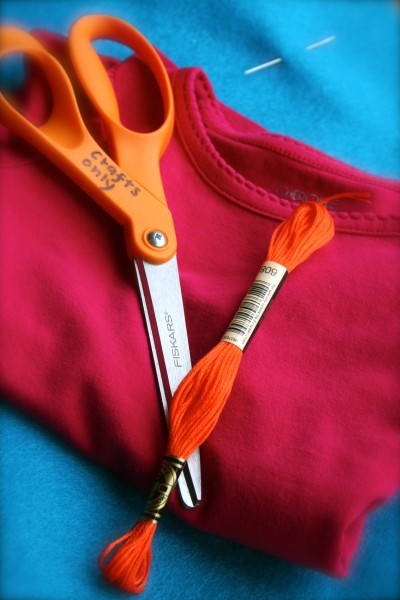
I gathered my supplies; the shirt, some felt, some sewing floss, scissors, and a needle.
- Yes, those scissors say “crafts only.” I learned that from my mom…..otherwise I’d find myself cutting my bangs, flower stems, food, sticks, and paper with them and they’d never be sharp for actual projects.
- Pick bright contrasting colors for all of your supplies.
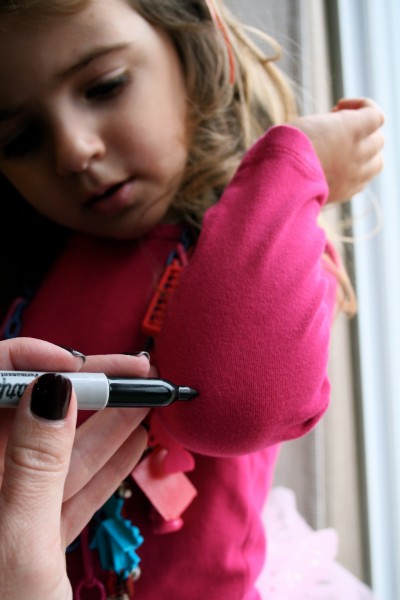
Put the shirt on yourself or your child–whoever it’s for…
Have them bend their elbows and put a dot right where their elbow pokes out. You’ll want to position the patches dead center on these dots.
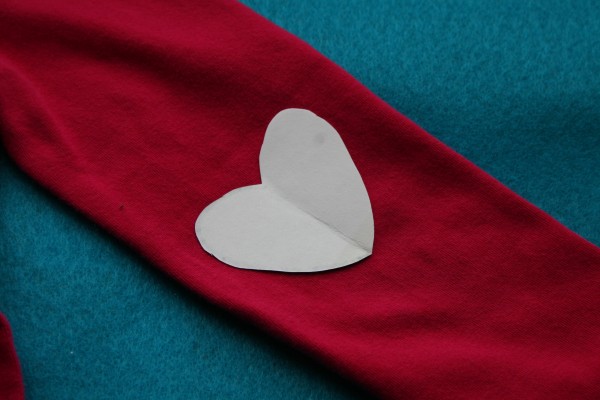
Then cut out a paper shape for whatever your patches will look like (a heart, circles, triangle, oval, whatever). Lay the paper shapes on the shirt sleeves where you think you’ll sew them just to eye the positioning.
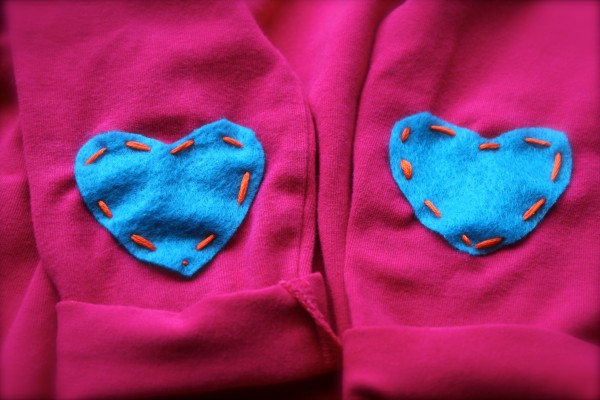
Then…thread your needle with the sewing floss (you’ll want a pretty big needle) and start sewing.
That’s it! And this will work for any gender, any age, any shirt, anywhere! You could also use material other than felt. I just like the look and saturated color of felt. You can also put some fray protector on the edge of the felt if you’re worried about it fraying in the wash. I don’t think it’s really necessary, but if it’d make you feel better–go for it!
Post by Maggie Terryn : Mom Colored Glasses
