DIY Geometric Artwork
Post by Bre of Brepurposed
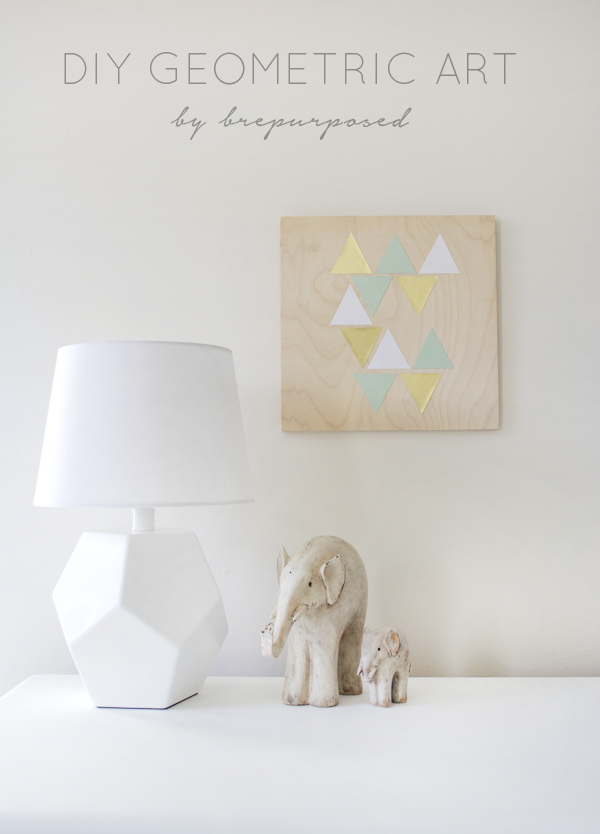
Decorating our nursery has been one of the most exciting projects I’ve worked on. You’re setting the stage for this little human to come into the world and of course you want everything to be absolutely perfect. But chances are, you’re also feeling quite tired and would rather be snoozing on the couch than crafting away. At least for me, there were a lot of those days 🙂 But customizing your nursery doesn’t have to be hard. I’m here today to share this super easy DIY Geometric Art that you can make in no time that is perfect for any nursery or little child’s room.
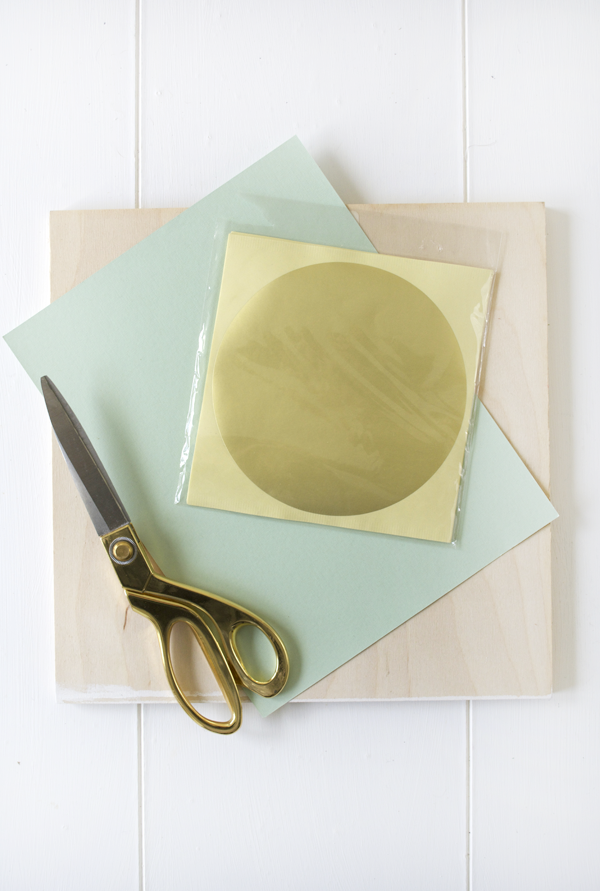
Supplies:
- Blank piece of wood
- Scrapbook paper
- Peel ’N Stick gold foil or vinyl like these Lottie Dotties
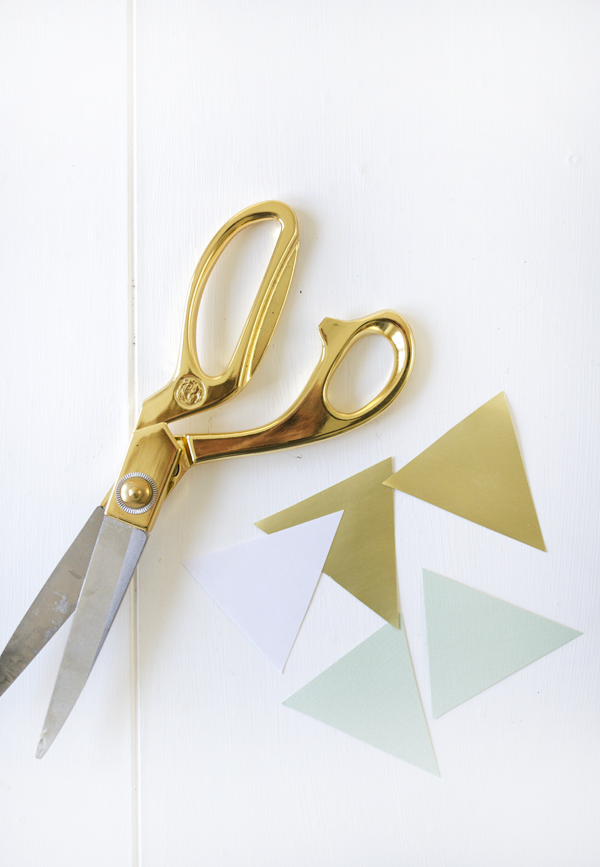
- Scissors
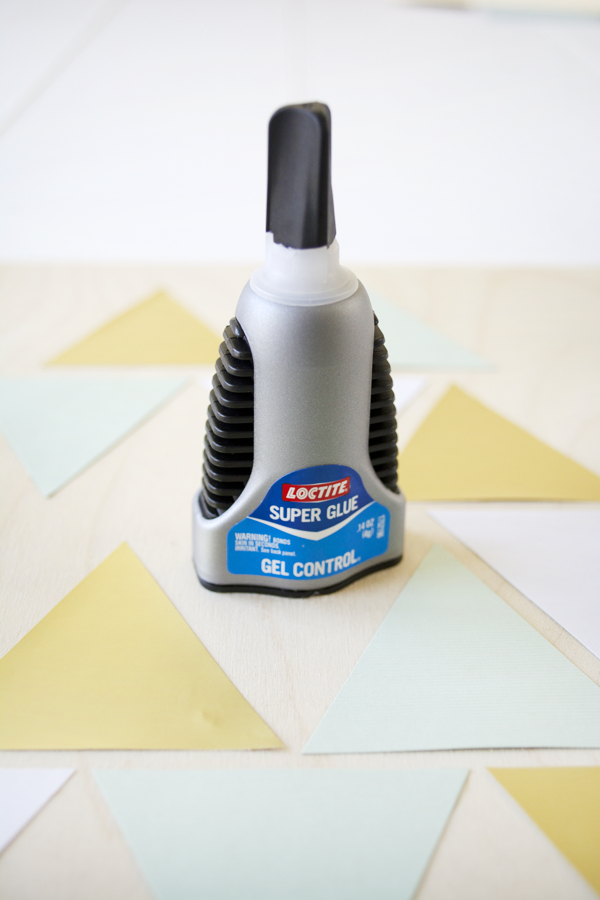
- Glue
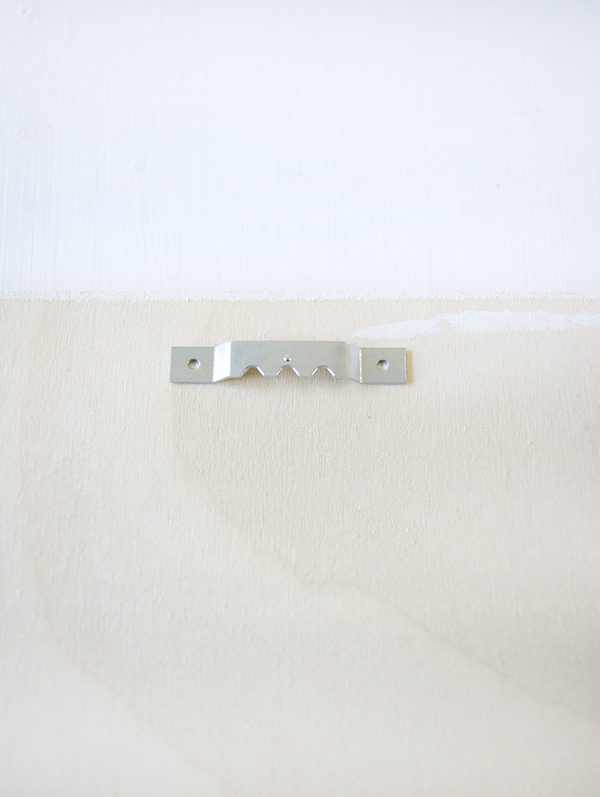
- Frame Hook
Directions:
- Figure out the pattern you want to create first, so you know how many triangles you will need.
- Cut out one triangle to use as your template. (Note: You can skip steps 2-4 if you purchase furniture decals or wall decals and cut to your preferred size.)
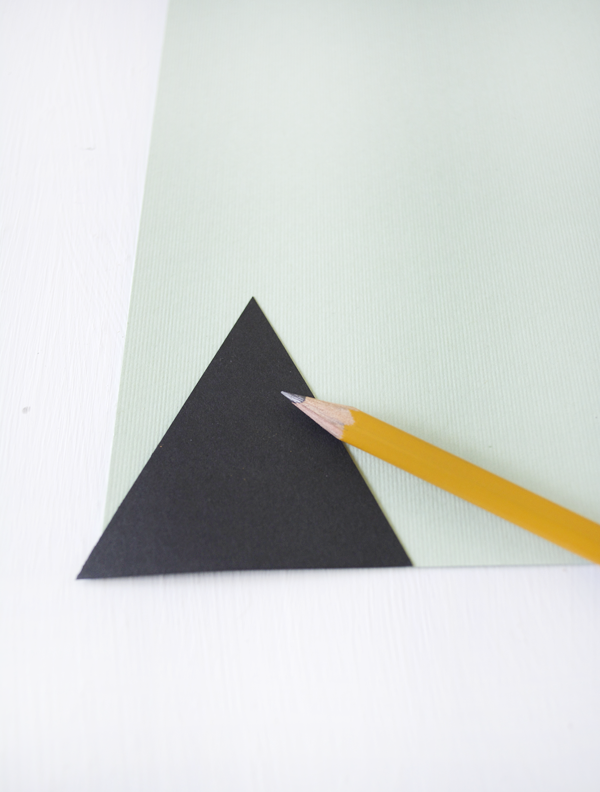
- Trace that triangle onto the back of your scrapbook paper or gold foil paper.
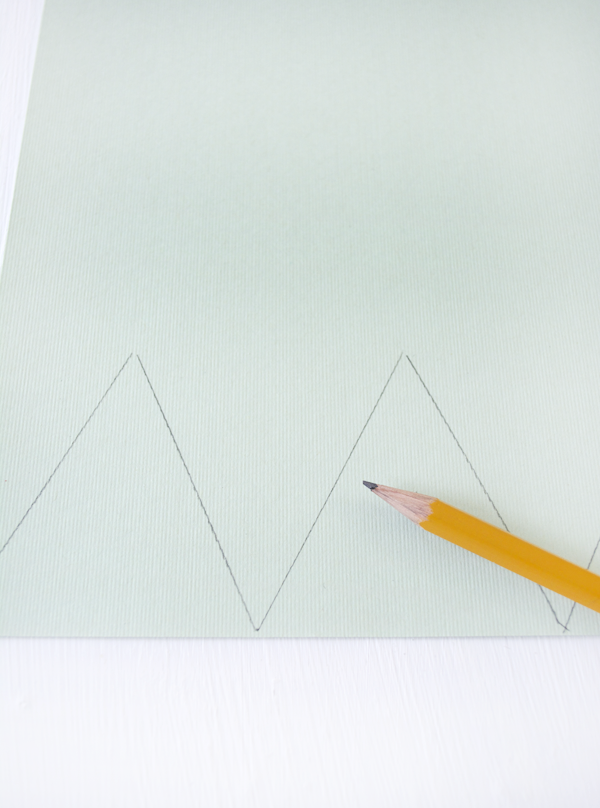
- Cut out your triangles.
- Place your triangles on your piece of wood in the pattern you’ve decided on.
- Glue or stick your triangles onto the wood
- Add a frame hook to the back for easy hanging.
How easy is that? And you can totally customize it based on the colors or theme of your room. You could also use wall decals like these and these in place of the scrapbook paper.
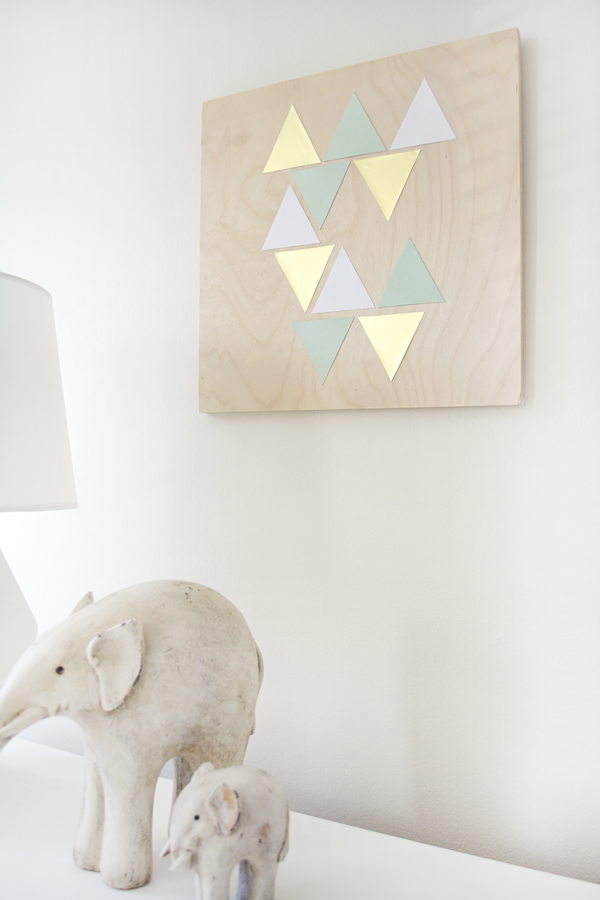
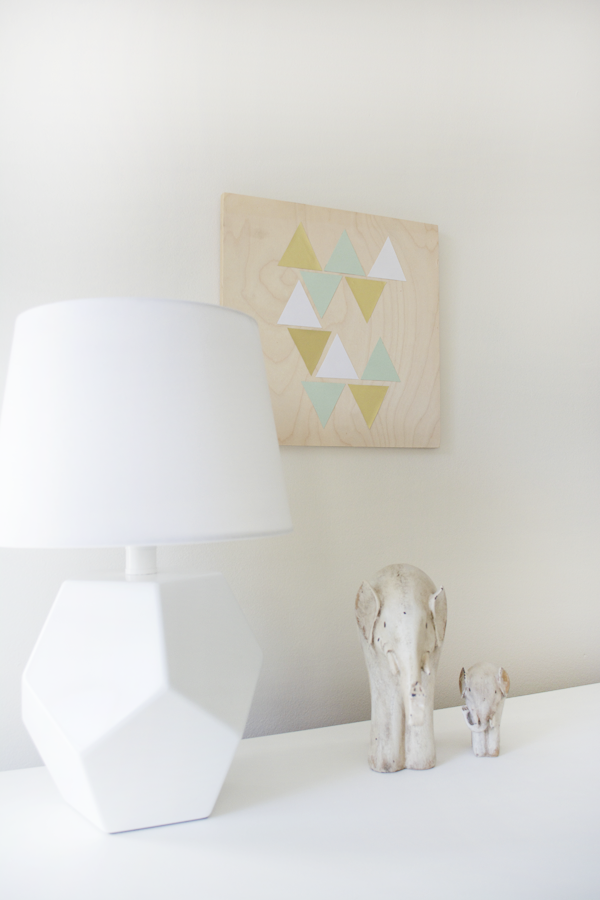
And now you’ve got a pretty piece of art that took no time at all. Perfect for all those pregnant mommas out there!
Bre is the girl behind the blog Brepurposed; a place where she shares her adventures of stalking craigslist, thrift stores, and friend’s basements to find those hidden furniture gems and give them new life. Along with transforming the old into the new, she share DIY crafts and free printables, hoping to inspire others to follow their love of design.