DIY Honeycomb Garland
Post by Colleen of Lemon Thistle
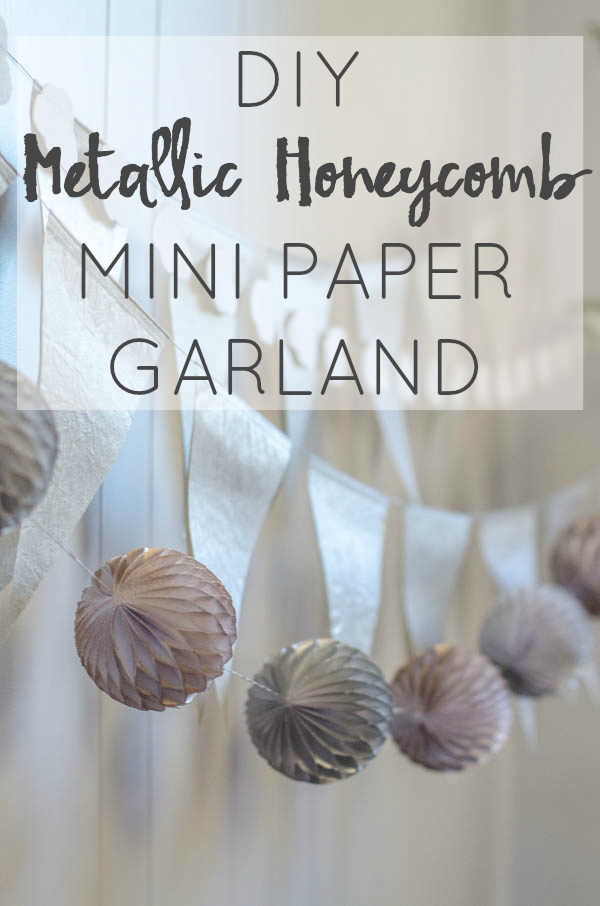 I’m excited to be sharing this DIY Metallic Honeycomb Garland with you today! We’ve been slowly adding in mixed metals to our home decor and I wanted to create something that used the metallics without looking too grown-up for our kiddos’ room. This fun garland more than fits the bill- plus it feels like a party all the time in there now. By using paper instead of the traditional tissue, this garland will stand up to a bit more love from little hands.
 To make your own DIY Metallic Honeycomb Garland, you’ll need:
- White printer paper
- 5mm Double sided tape (and lot’s of it!)
- Scissors
- Pencil and round object to trace (mine was 4″)
- String or embroidery floss
- Spray paint if desired
To make the mini honeycombs, you’ll need to create a template.
- My mini honeycombs are 4″ round, so I marked four inches on a sheet of paper. Those are the pencil lines in the photo. This way, I could fit two across on a sheet.
- Then, mark even spaces in alternating colors. I made my lines .75″ apart.
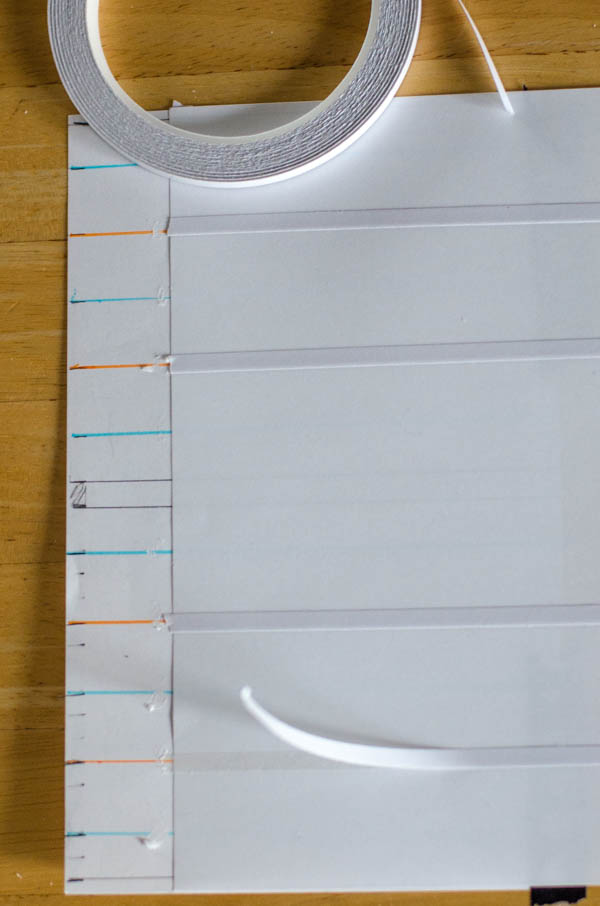
- Tape your template to the table and lay your first sheet of paper on top.
- Use your double sided tape and run pieces across the paper over one of the colors .
- Then place another sheet of paper on top and lay tape on the alternate colored lines. I used 25 sheets of paper per honeycomb ball.
- For your sanity, I’d turn on Netflix. This is super easy to do but it takes a bit of time and is repetitive- you can totally multi-task with some re-runs!
- When you’ve stuck together 25 sheets of paper, trace your circle on top and cut it out. Make sure to line up the circle with the top and bottom lines you drew (my pencil lines).
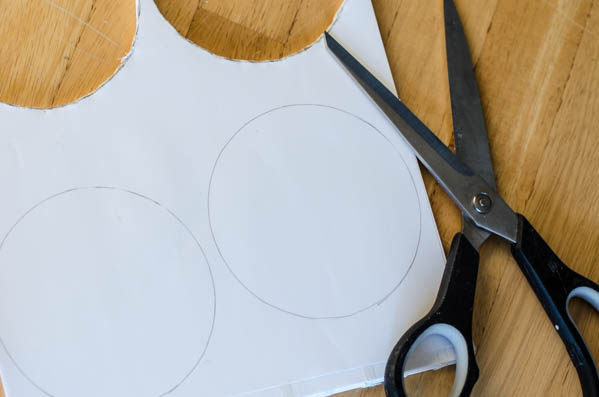
- Mark the center of the circle and staple it.
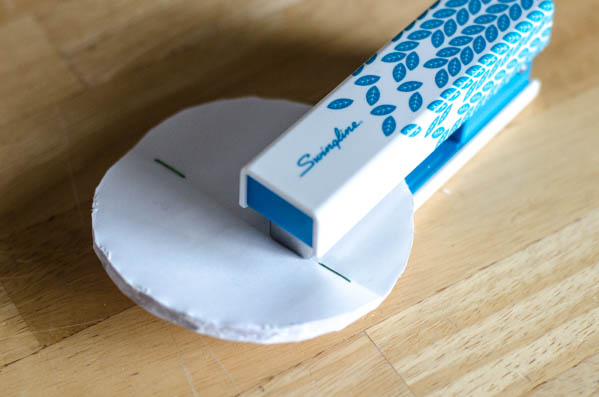
- Fold the circle in half a few times to create a crease in the center where you stapled, then cut a section out of the middle. This will help it bend easier.
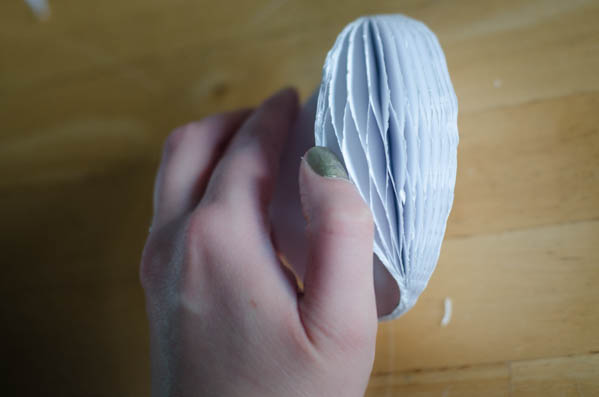
- Now apply double sided tape to each side of your circle and open it, sticking the edges together.
- Make sure to insert your string in one of the sides (as shown in the photo) before fully assembling!
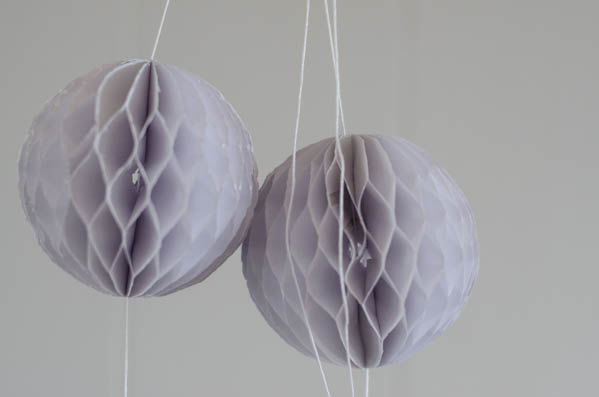
That’s it! Now you’ll have plain white honeycomb balls. I contemplated leaving mine this way- they were so cute and simple! But I stuck with my plan for metallics and misted the balls with gold and nickel metallic spray paint. You could mist them with any color you like!
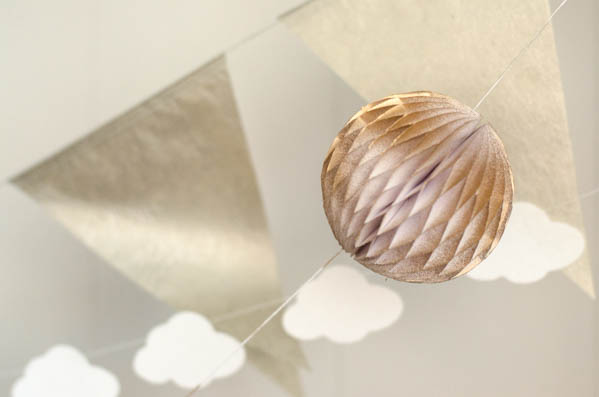

 I love the way this DIY turned out! You could spray the honeycombs with any color of spray paint- to match room decor or a party theme!
Colleen is the lifestyle blogger behind Lemon Thistle – home to DIY, parties, home décor and lots of babies. She’s a wife; mama to 17-month-old boy/girl twins; and lover of pretty things. Colleen believes you can have a beautiful life, home, and party without spending a lot – (keeping it real with a budget). Every day deserves to be special, there’s no accomplishment too small to celebrate. She hopes that her children will learn to love the little things in life.