DIY Mono Marble Printing
Post by Rebecca of Not So SAHM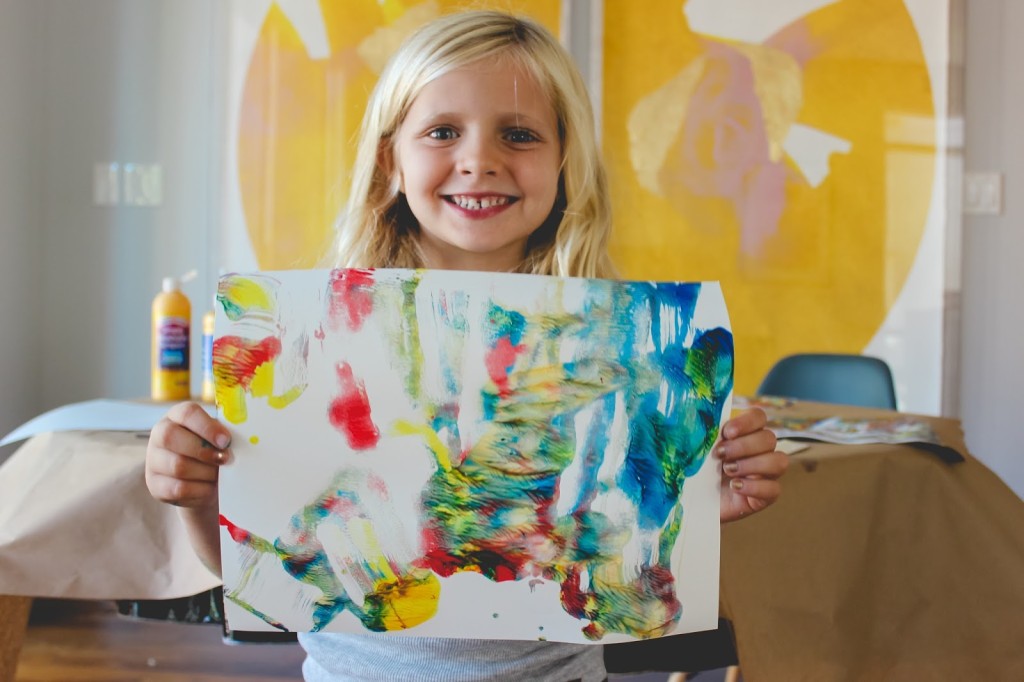
Our kids have always loved mono printing with paint. It’s a really basic printing technique that lets your kiddo transfer an image of their painting from one surface to a piece of paper. We’ve used all kinds of surfaces to paint, including a tabletop, a sheet pan, and even a styrofoam plate. But when we spotted The Land of Nod’s Acrylic Play Table Mat, I knew we’d have to give that a try. I figured it would be a super fun way to try printing that would also be easy to clean up!
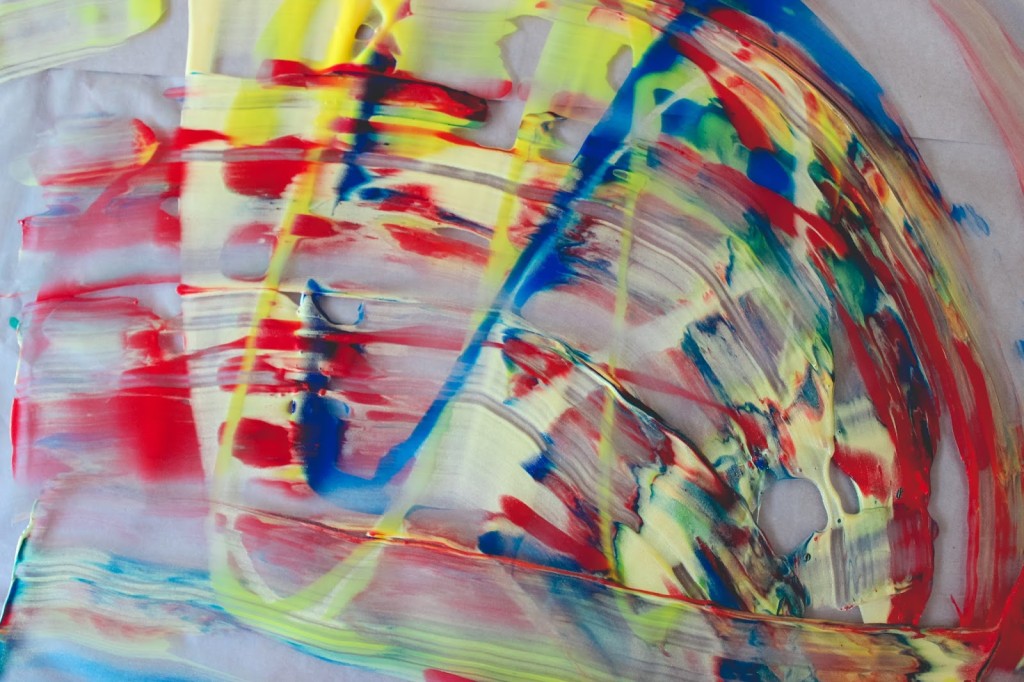
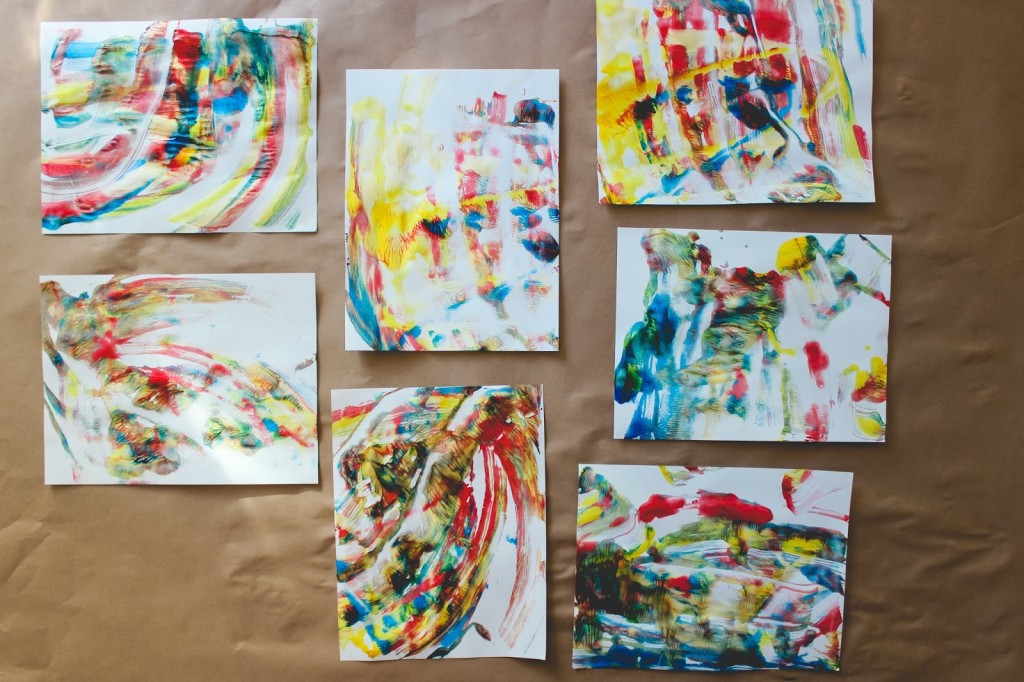
The kids and I went back and forth over what kind of image we wanted to make, but ended up being inspired by the marbled balloons from Kane’s recent board game birthday party and decided to try marble printing. It took a little bit of practice and a deft hand, but we loved pulling print after print of marbled paint. A win!
To try our mono marble prints, you’ll need:
- An acrylic mat (you can use any flat surface that’s easy to clean)
- A few colors of tempera paint (we love Bicolor Paint because the colors stay separate instead of mixing all together to make brown. We also added in a metallic color for a fabulous effect.)
- A scraper tool (we have this one, but you can also use an old credit card or thin piece of sturdy cardboard)
- White paper
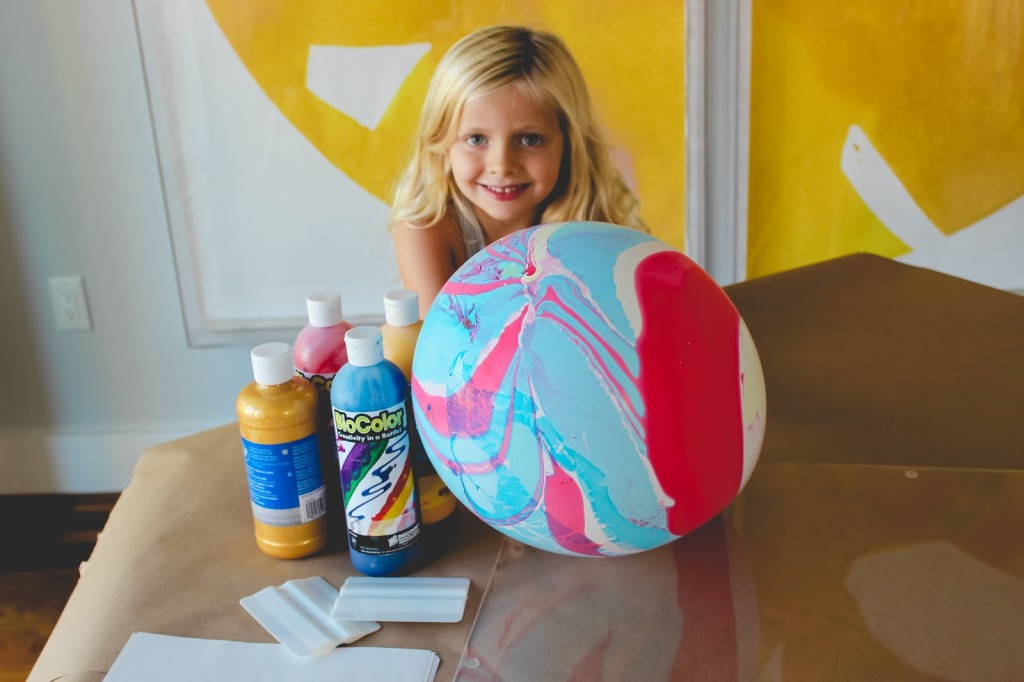
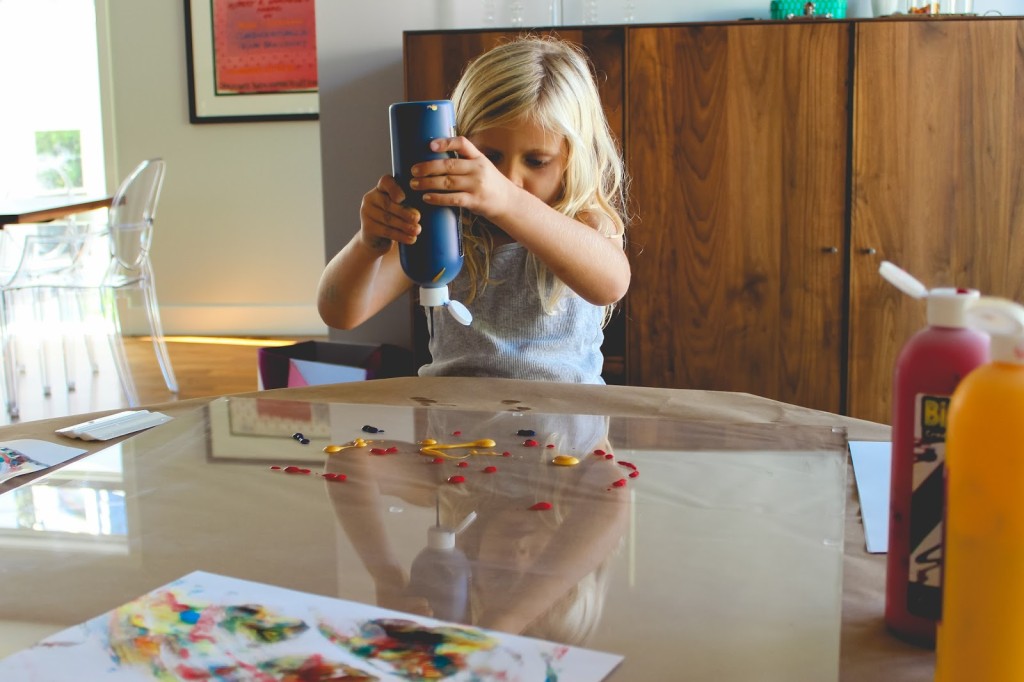
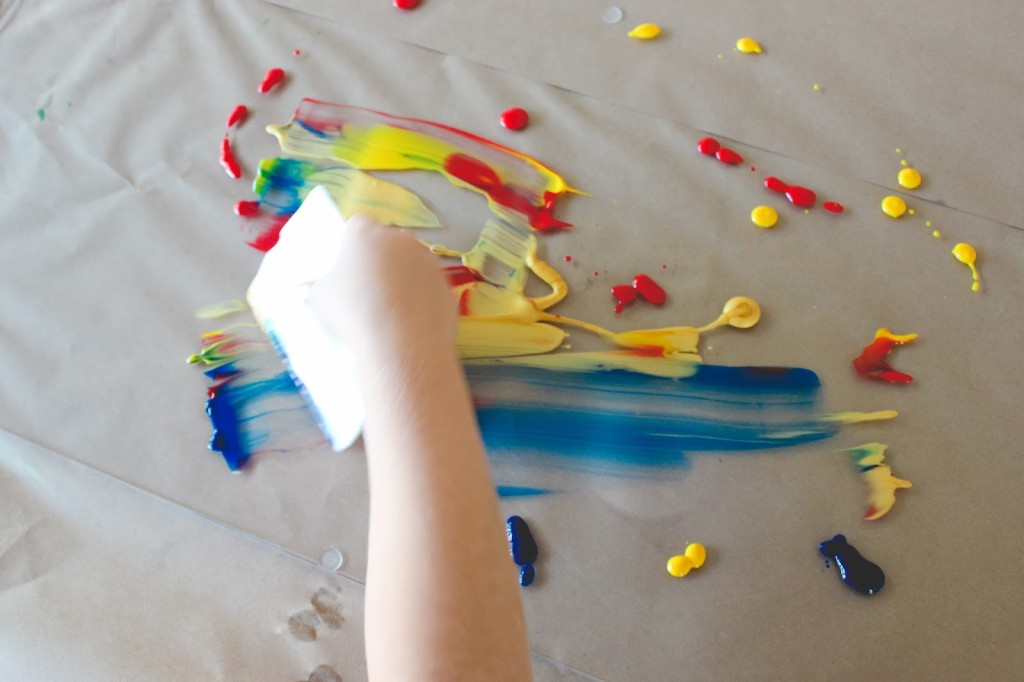
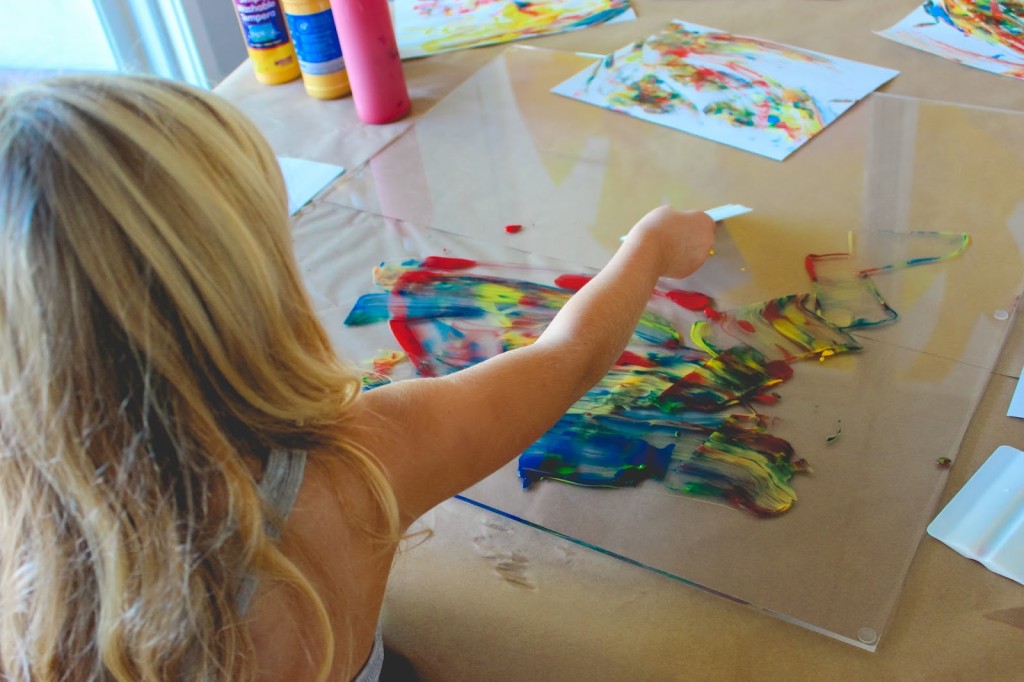
Place a few drops and swirls of each paint color on the acrylic mat — resist adding too much paint, you want to be able to spread the colors around in a thin layer. Using your scraper, very lightly swirl the colors into each other. Place the piece of white paper on top of your painting to transfer the marbled image. Let it dry!
As usual, we ended up making a ridiculous number of prints. So we’re brainstorming ways to use them. I’m thinking of cutting them into pennant pieces to make a party garland!
