DIY Monogram Embroidered Wall Art
Post by Colleen of Lemon Thistle
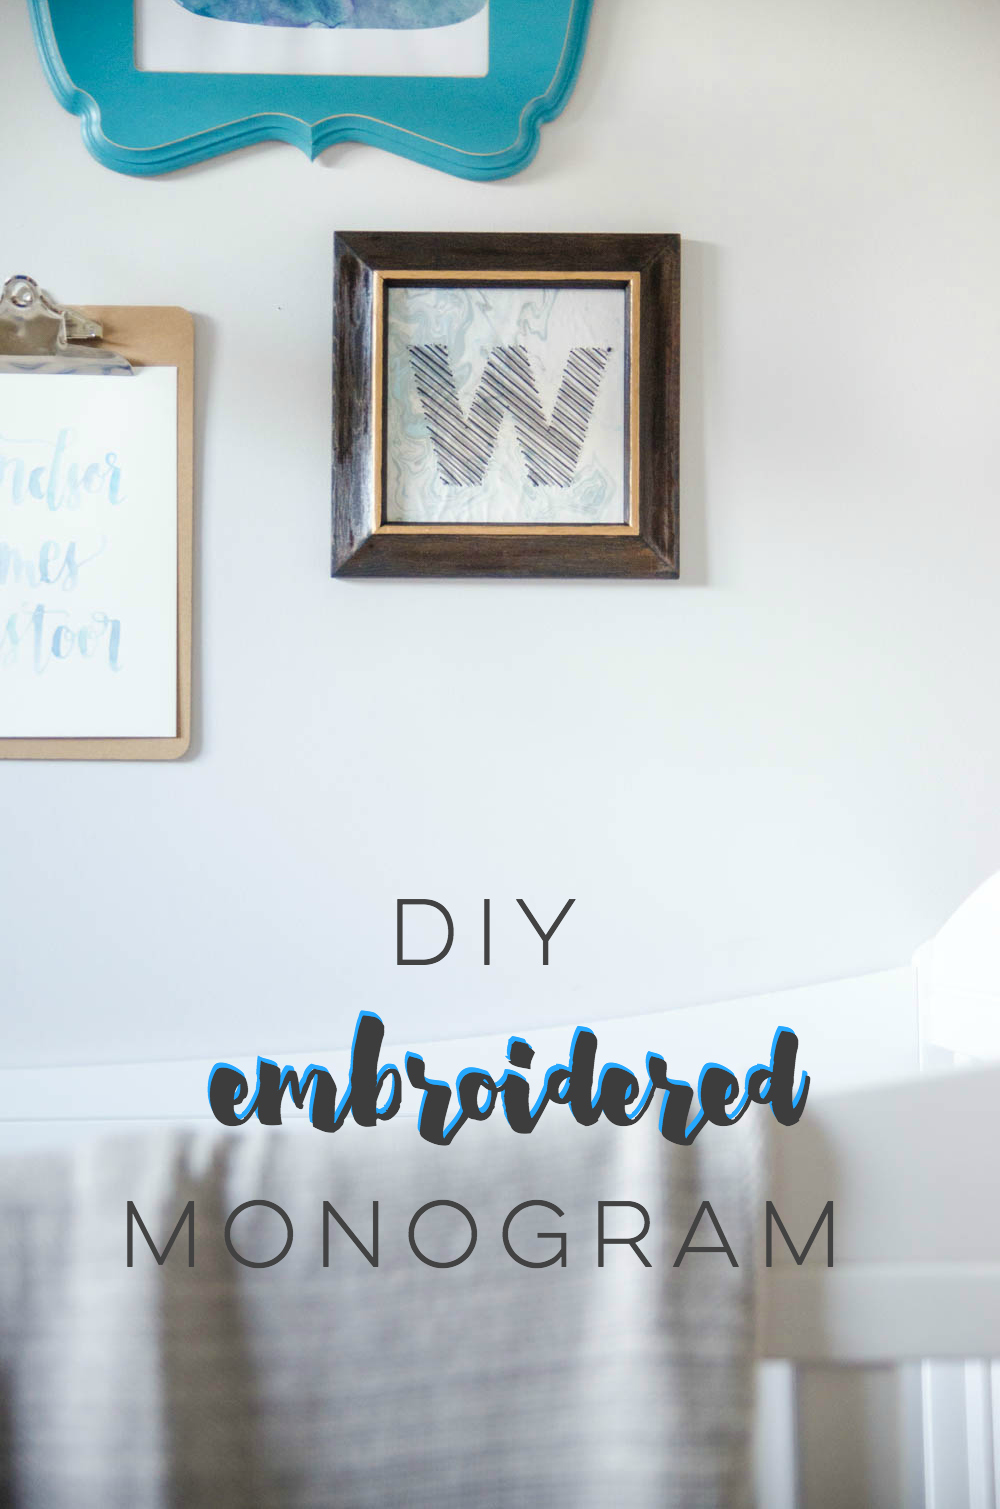
This hand ‘stitched’ monogram is a simple DIY addition to a little one’s nursery or any room in your home. Not only can it be made in any color combination to match your decor, the best part is- you really need ZERO sewing experience to make it happen.
I chose to make mine in a grey and blue palette to match our newest babe’s whale themed nursery. I had a square vintage frame I have been dying to use and this monogram was the perfect excuse to fix it up.
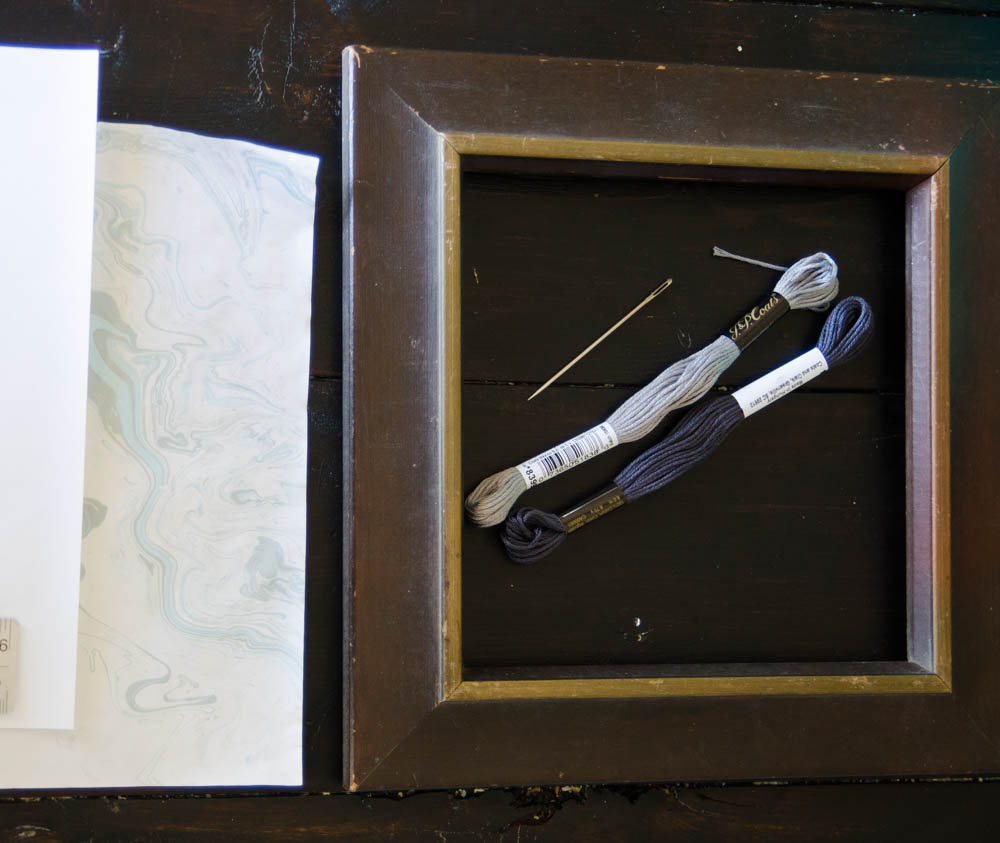
To make your own, you’ll need:
- Frame (mine had no glass or backing)
- Foam board & Craft knife
- Letter outline printed
- Craft paper (I chose to use marbled, but any paper would work fine)
- Spray adhesive
- Ruler and pencil
- Embroidery needle and thread (the embroidery needles have a larger eye)
- Scissors
- Painters tape (or washi tape)
- Thimble (highly recommended! I like the rubber kind for these types of projects)
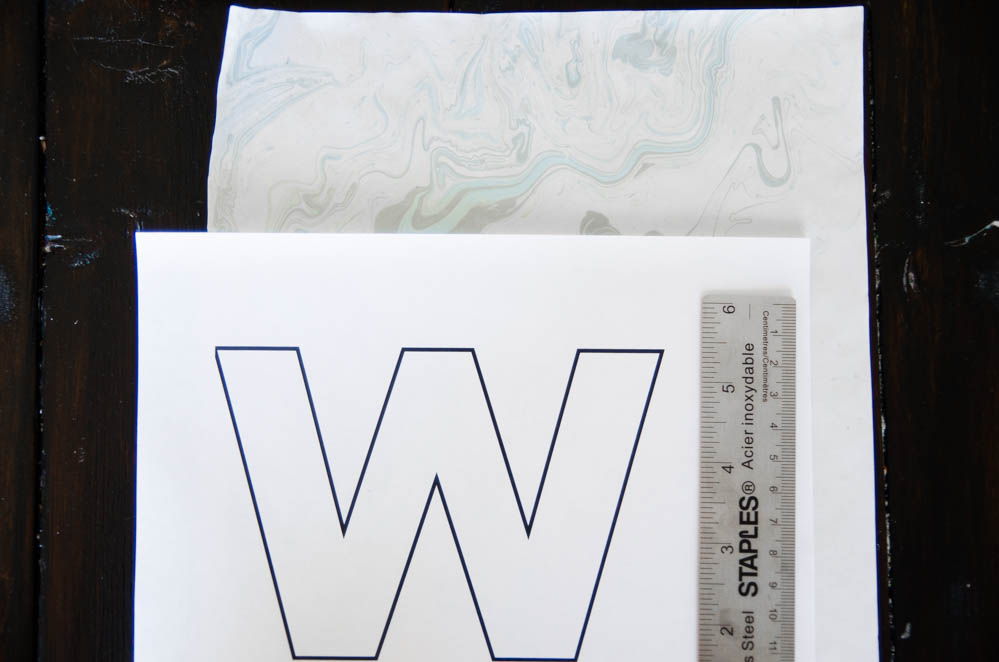
The first thing you’ll need to do is decide the frame you’re using and measure the size of the back opening. You want to cut your foam board to fit within the frame snugly, so you don’t need to worry about backing. Once you have your foam board cut to size, you’ll need to print off an outline of your letter. You can do this in any word publisher, in any font you like (a script would be fun to try!). If your letter isn’t reversible horizontally (like a W), you’ll need to print it in reverse (in your print settings).
Next, you’ll want to attach your background color to the foam board. Do this using spray adhesive or any other type glue you might have. I chose to use some marbled paper I made a while back, but any craft paper- patterned or plain would work lovely.
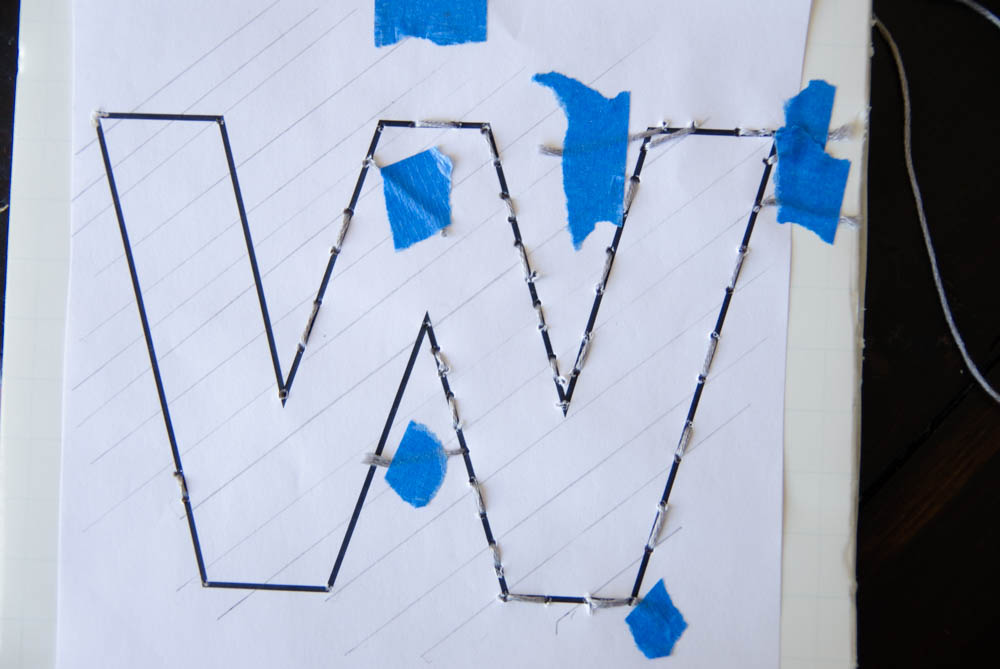
 Use painters tape to attach the outline to the BACK of the foam board. I put it on the back so I could keep all my knots on the reverse. Use a ruler to draw lines in the direction you would like your stitches.
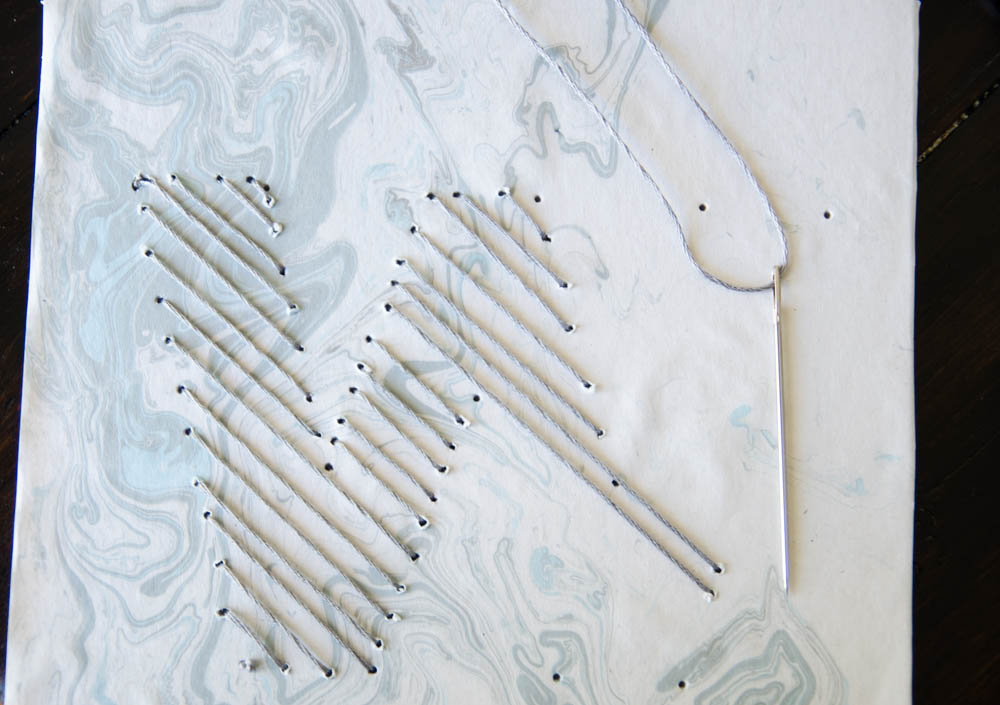
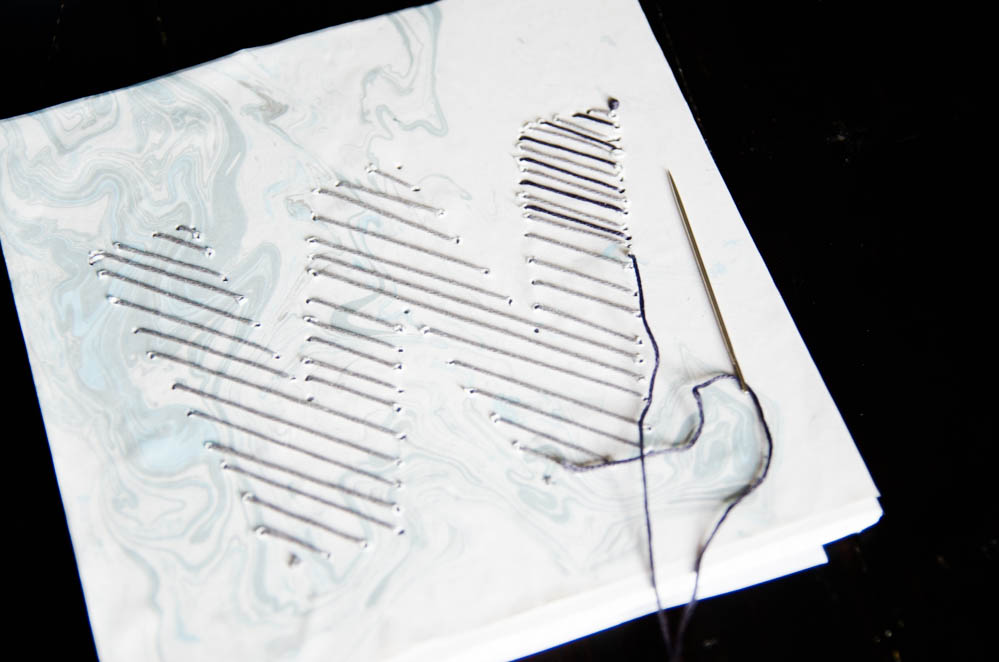
Now it’s time to start ‘sewing’! It’s not really sewing since we’re using tape to adhere it (not knots!). Start at one corner and punch your needle through to the other side. I liked to poke a hole through on the other end of that line so I knew where to thread it back through the foam board accurately. Since I chose to alternate light grey and dark grey embroidery thread, I did every second line until the W was complete, then switched colors.
I cut my thread short enough that it was easy to manage and just taped off the ends, starting with a new piece when I ran out. The back will never be seen so you can do this as much as you need!
I ended up adding knots where the corners were too small to help define the corners. If you had a more script-like design, I’m sure you can skip over this.
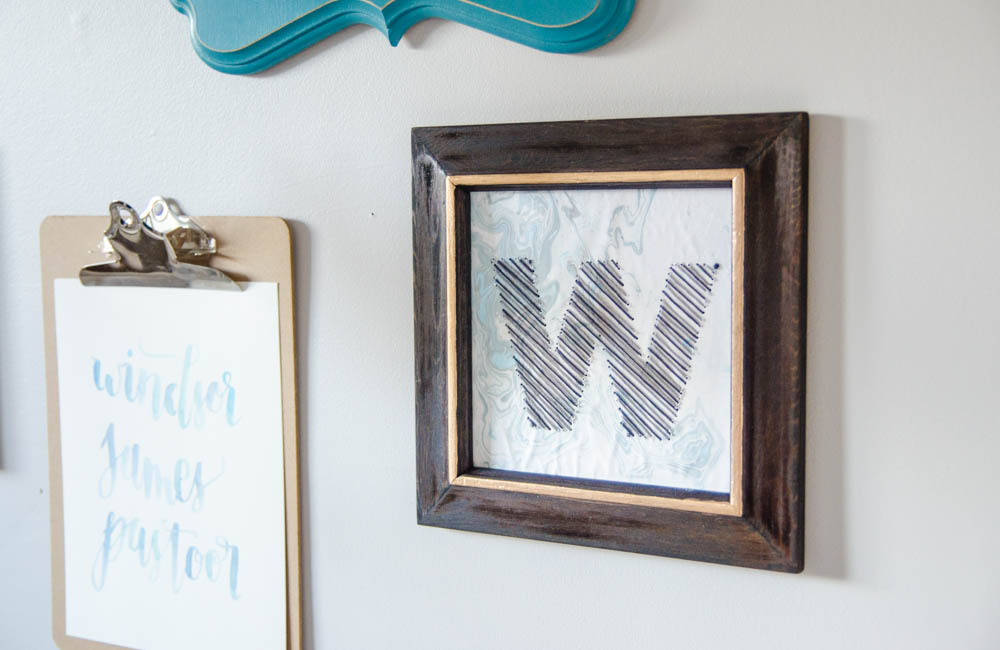
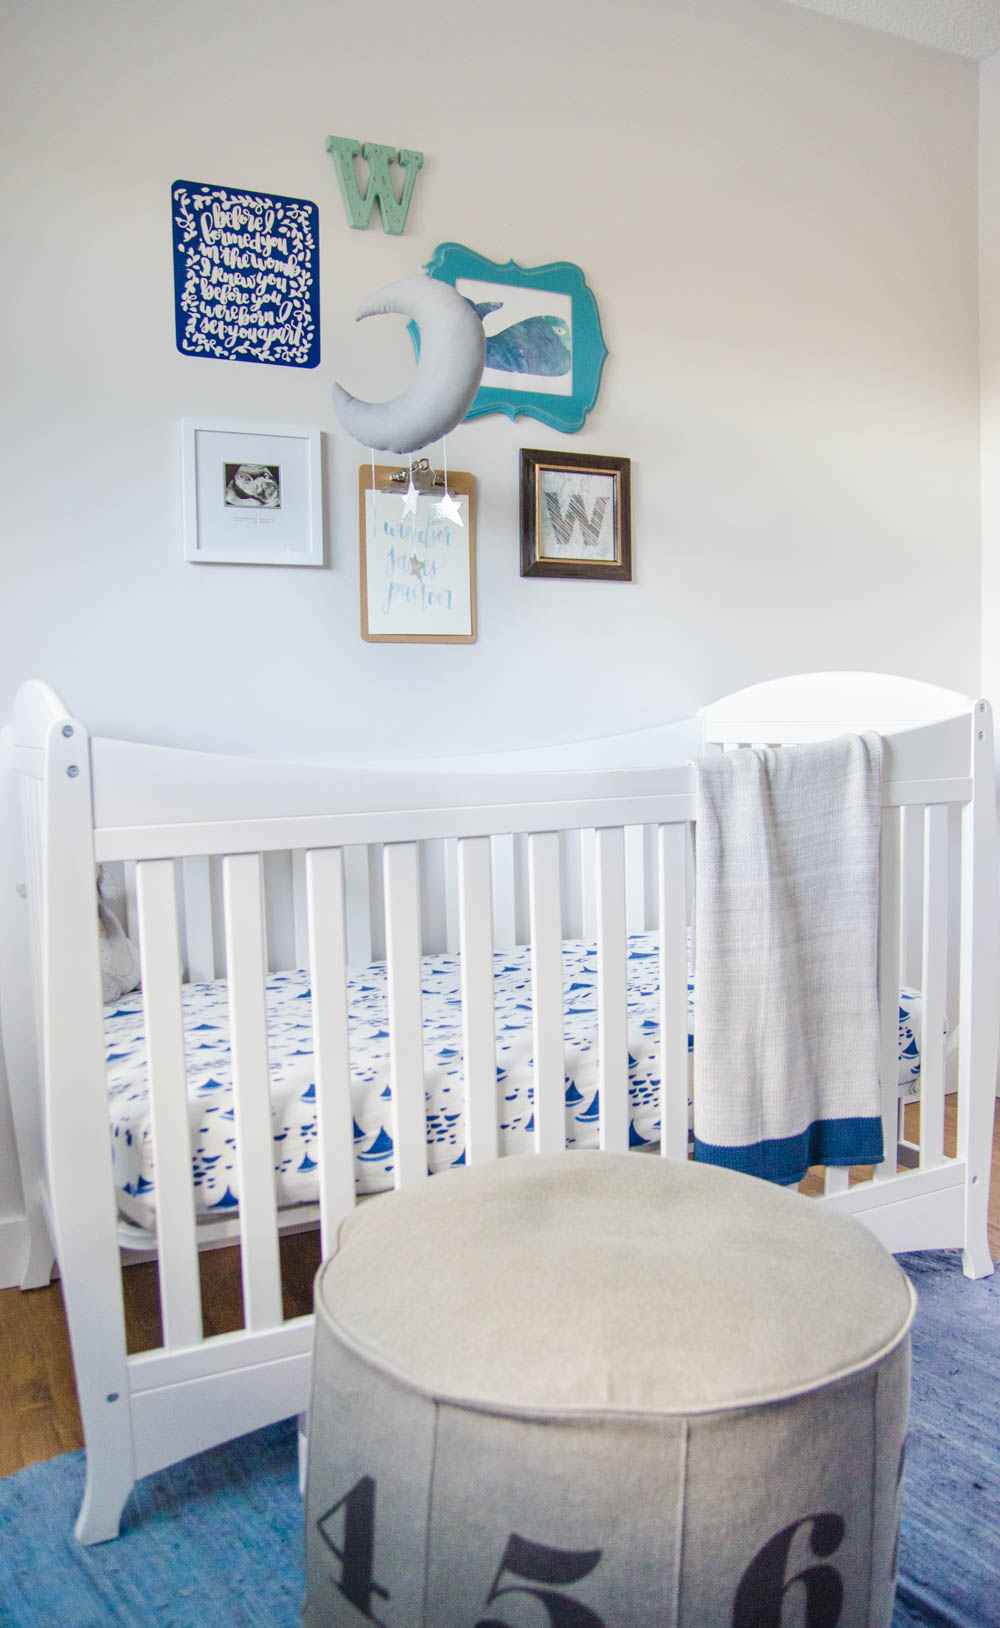
That’s it! It is the perfect piece to mix in to a gallery wall for some unexpected texture, or it looks great on it’s own.
Colleen is a wife, Mama to twins with one on the way, and the DIY and lifestyle blogger behind Lemon Thistle where she shares printable art and hands on tutorials for DIY home decor, parties and gifts. Colleen believes you can have a beautiful life, home, and party without spending a lot- we’re keeping it real on a budget so everyone can join in on the fun.