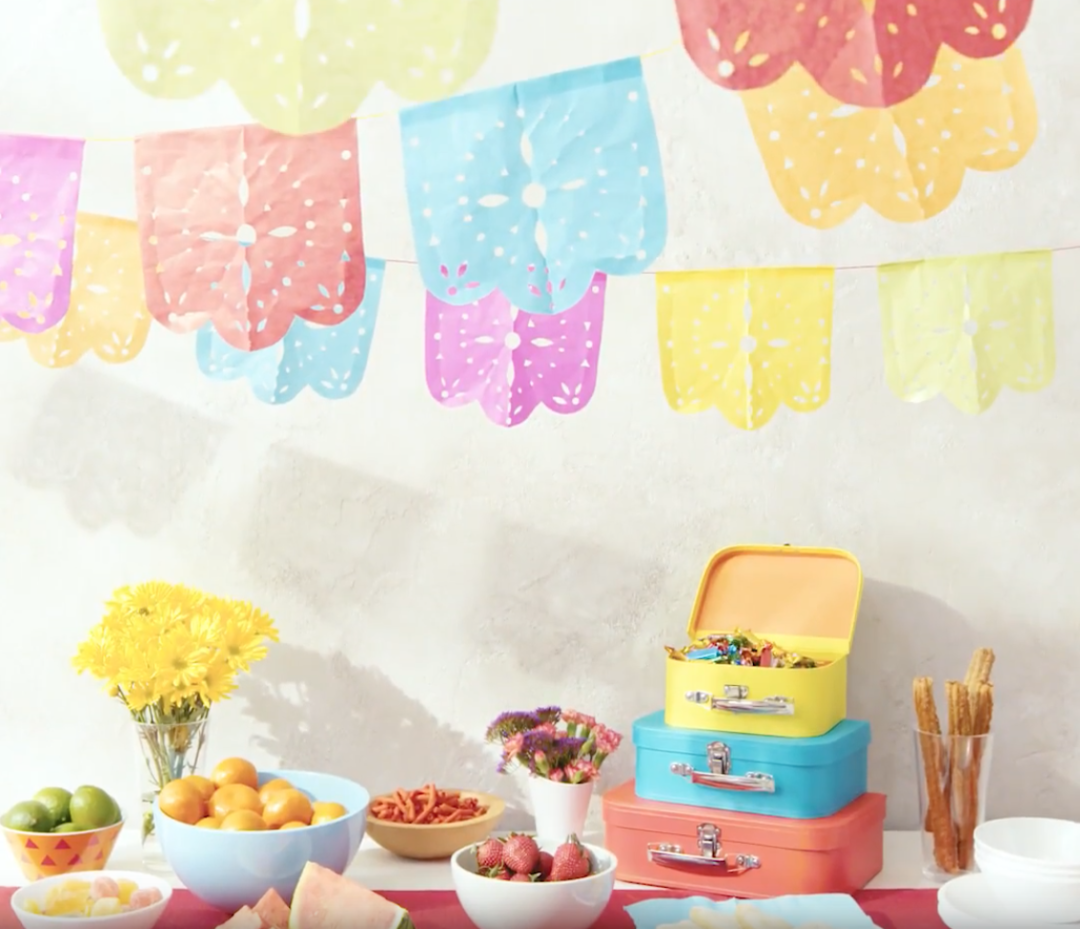
DIY Papel Picado Banner
April 30, 2018
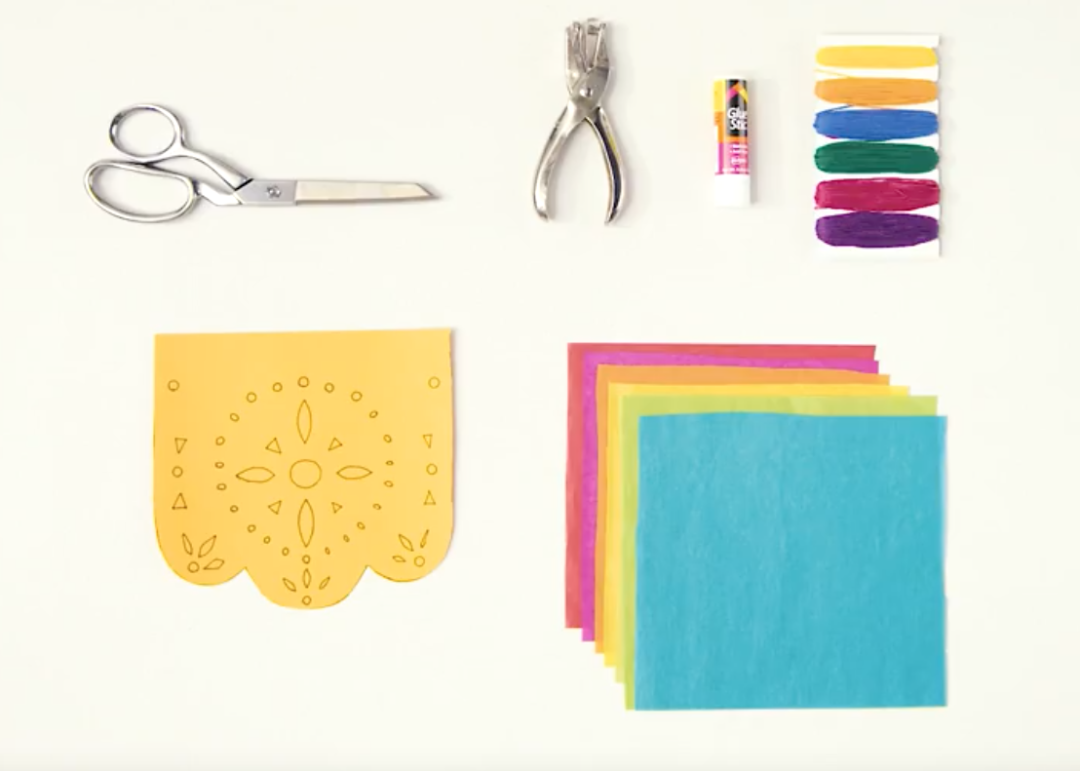
Materials:
Makes 1 banner
- 5 pieces of tissue paper in bright colors
- 1 piece of paper or cardstock
- 1 6ft piece of string
- Craft scissors
- Pen
- Glue stick
- Hole punch
Directions:
- Cut your tissue paper in 8″x8″ pieces, fold in half and set aside.
- Cut your paper or cardstock to 8″x8″ and draw a template for your banner design. We did this by drawing 3 curves at the bottom to create a scalloped edge. On the inside, we drew a repeating pattern using floral motifs made from simple ovals, triangles, and circles.Just be sure to leave the top 1″ blank so that later you add your string!
- Cut along the scalloped edge of your template and fold it in half.
- Next, take your 5 pieces of folded tissue and insert them into your template.
- Begin cutting tissue with the template at the scalloped edge then cut out your inside designs. Tip: We used a hole punch for the circles.
- When you are done cutting your design, unfold the tissue and smooth out the creases. Iron on a low heat, if necessary.
- Now it’s time to string it together! Fold each piece of tissue 1/2” along the top. This is where your string will go.
- Line up your 5 banners 3″ apart and run a thin line of glue along the inner fold you just created.
- Starting 10″ into the string, carefully insert your string atop the glue, fold the paper over the string and press down.
- Allow time to dry then hang and enjoy!