DIY Tassel Necklaces
Post by Rebecca of Not So SAHM
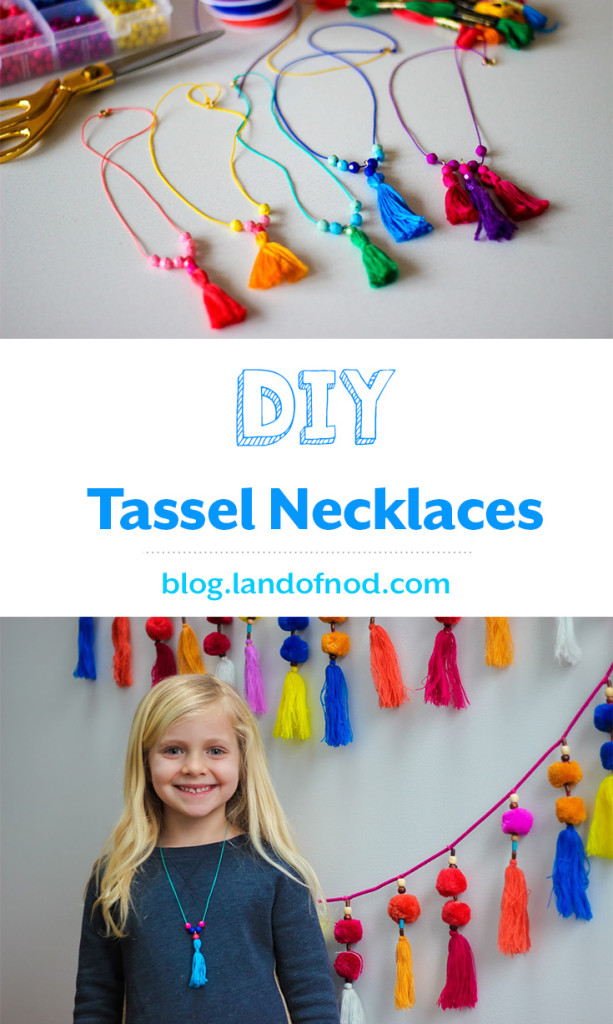
We’ve been kind of obsessed with all things tassel for a while now, but when I spotted The Land of Nod’s Festival Garland, my obsession rose several notches. The combination of tassels and poms is just so fun, and the bright colors almost promise that spring is on its way! We were totally inspired to try our hand at making our own tassel necklaces.
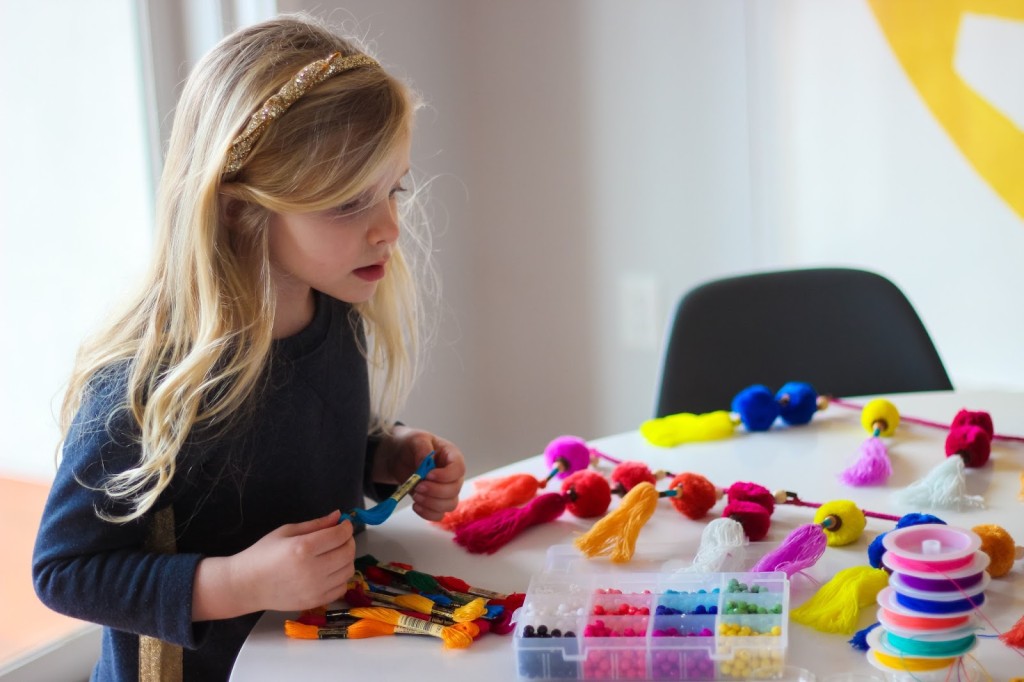
And it turns out that its incredibly easy! With just a little tweaking of embroidery floss (which itself brings back so, so many fond memories of friendship bracelets, hair wraps, etc.) and the addition of a few beads, you (and your kiddos) can make your own tassel necklace in just a few minutes. Seriously.
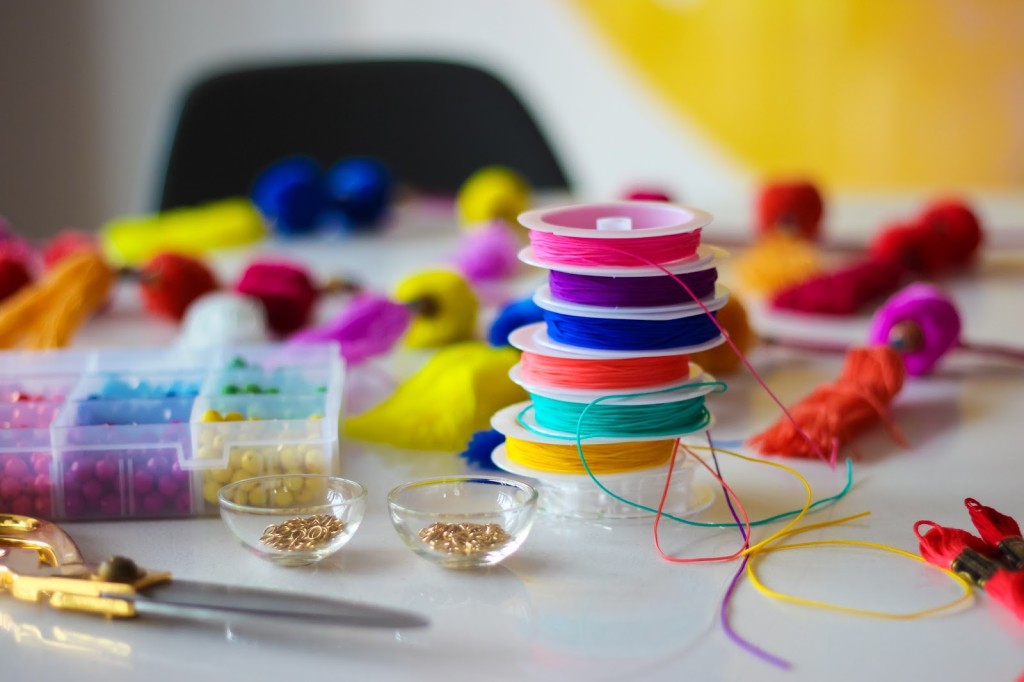
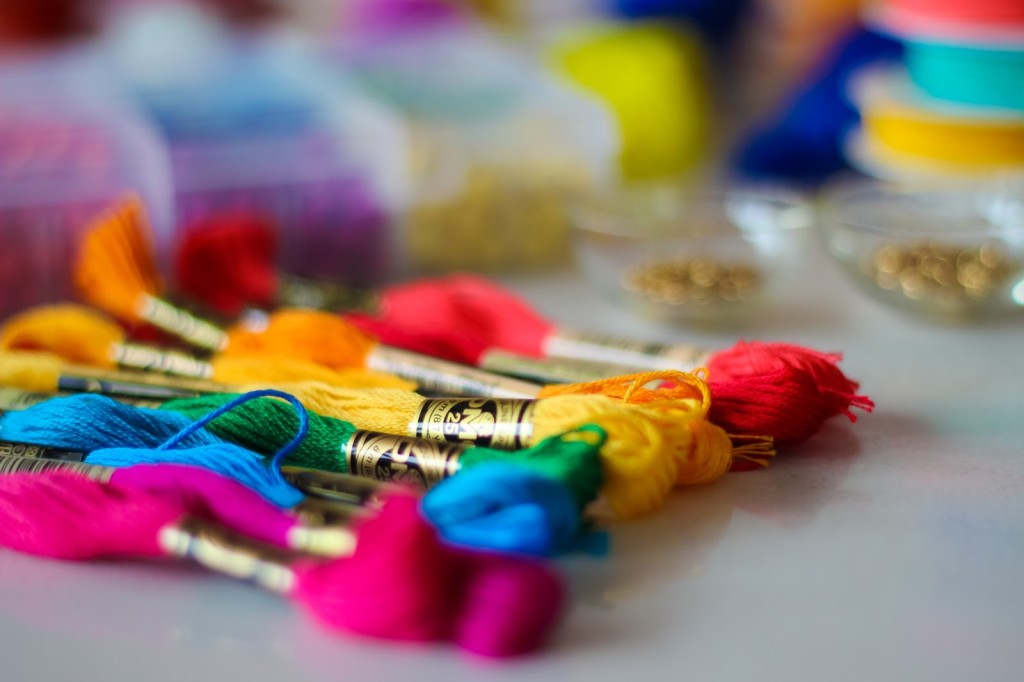
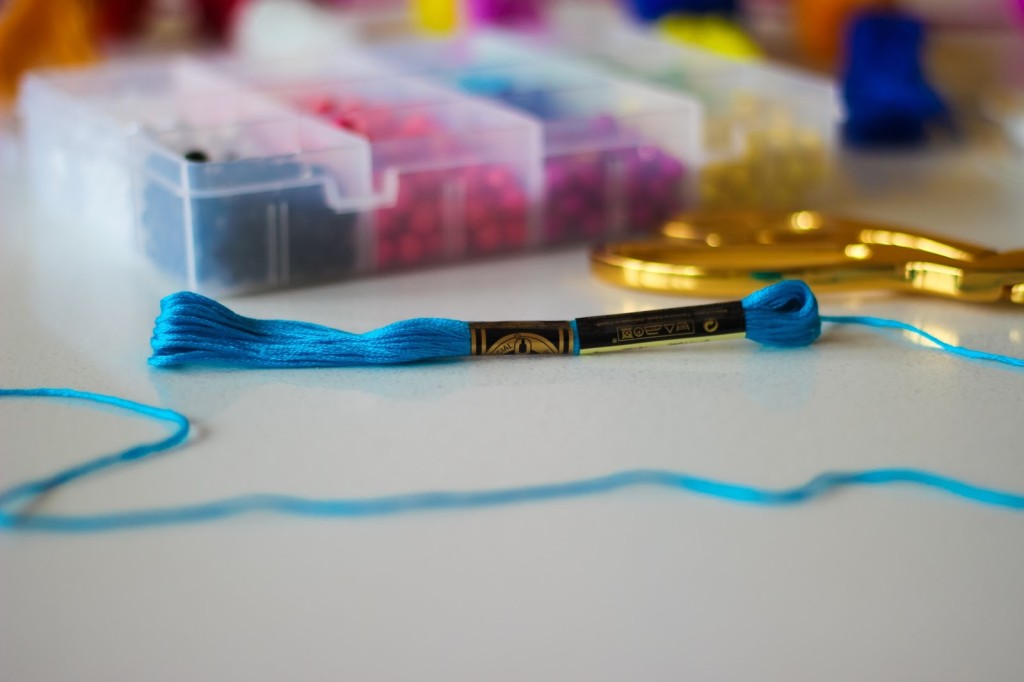
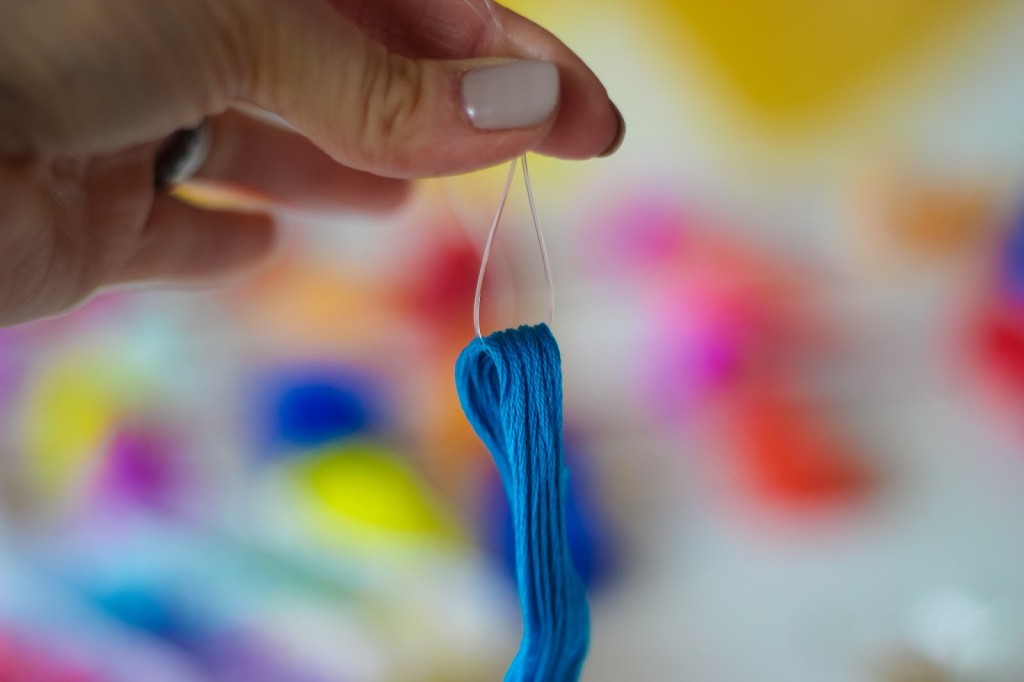
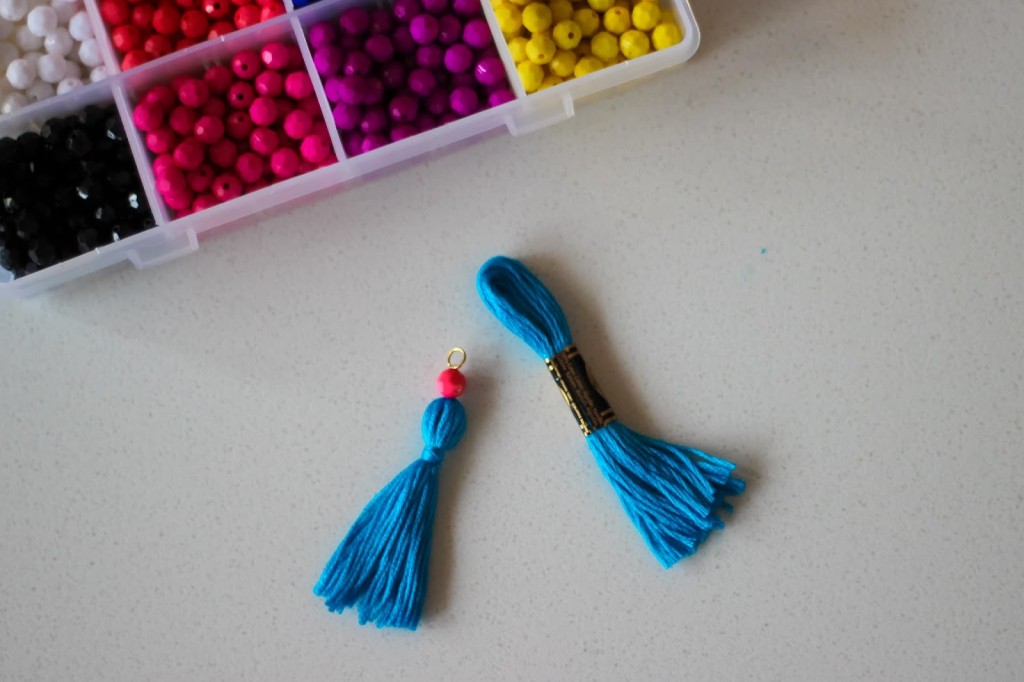
- embroidery floss in looped skeins (like this) — one skein makes two tassels
- clear stretch jewelry cord
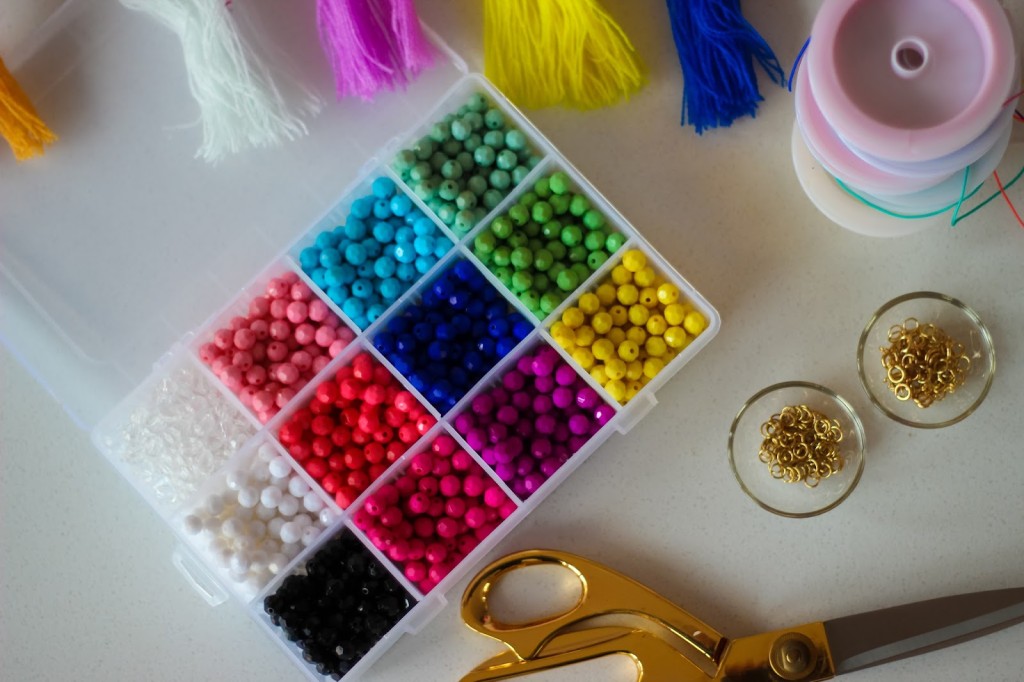
- 7 mm jump ring connectors
- spring ring clasps
- nylon cording
- brightly colored beads (we used this faceted set)
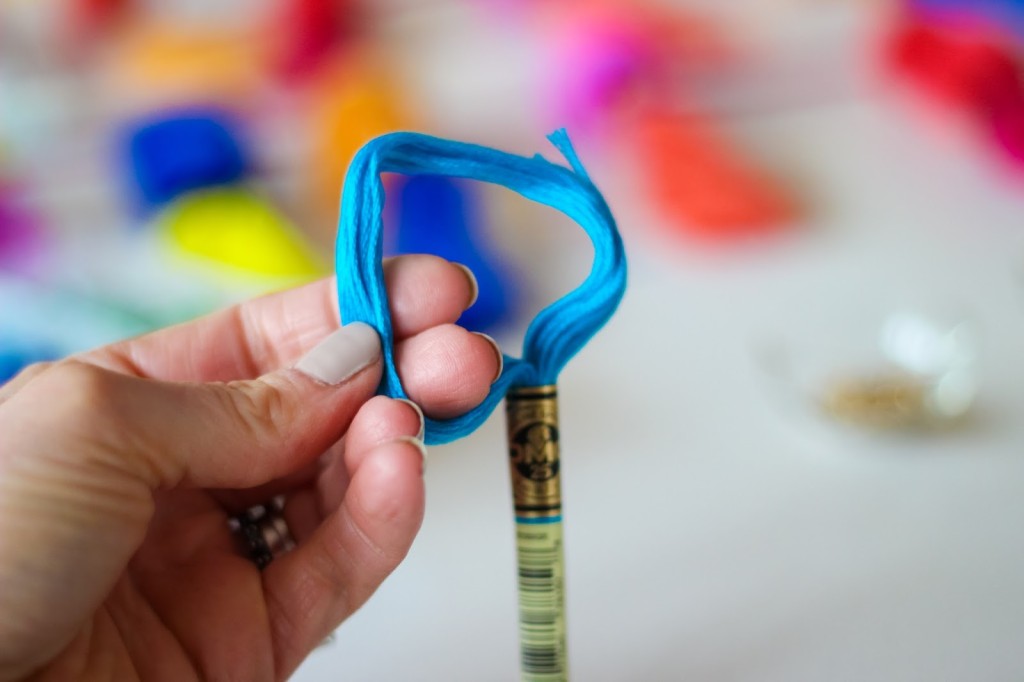
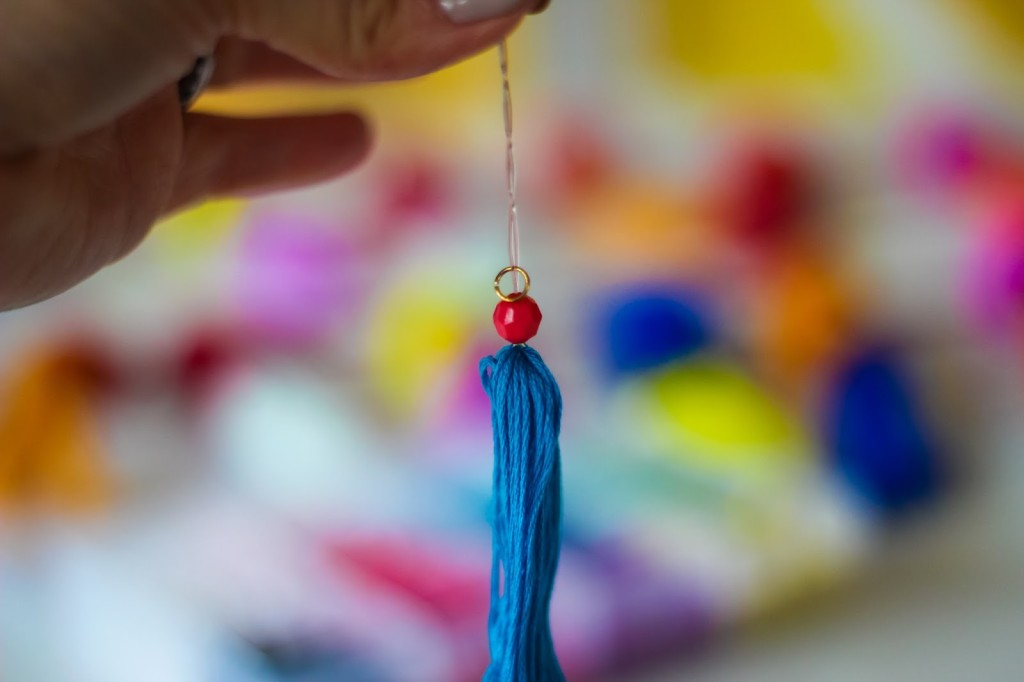
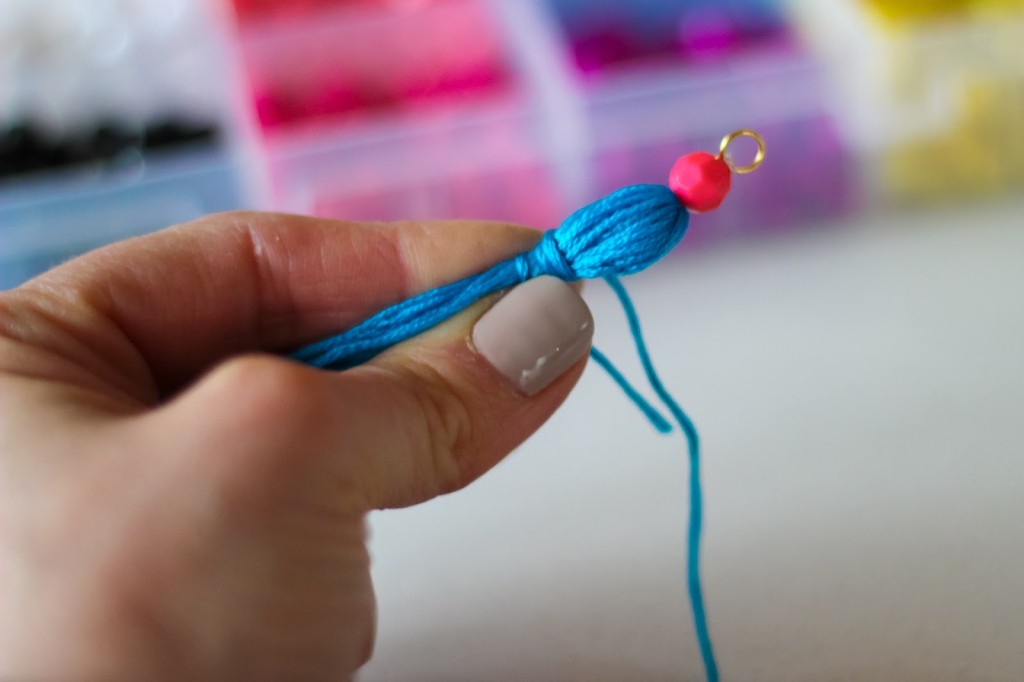
Take the extra lengths of embroidery floss you clipped in the first step, wrap it around the skein close to the top loop. Continue wrapping a few times and then tie tightly. Trim the ends of the tied floss. Then cut the hanging embroidery floss to whatever length tassel you’d like.
Save the other half of the embroidery floss skein — you can use it to make another tassel following the same directions!
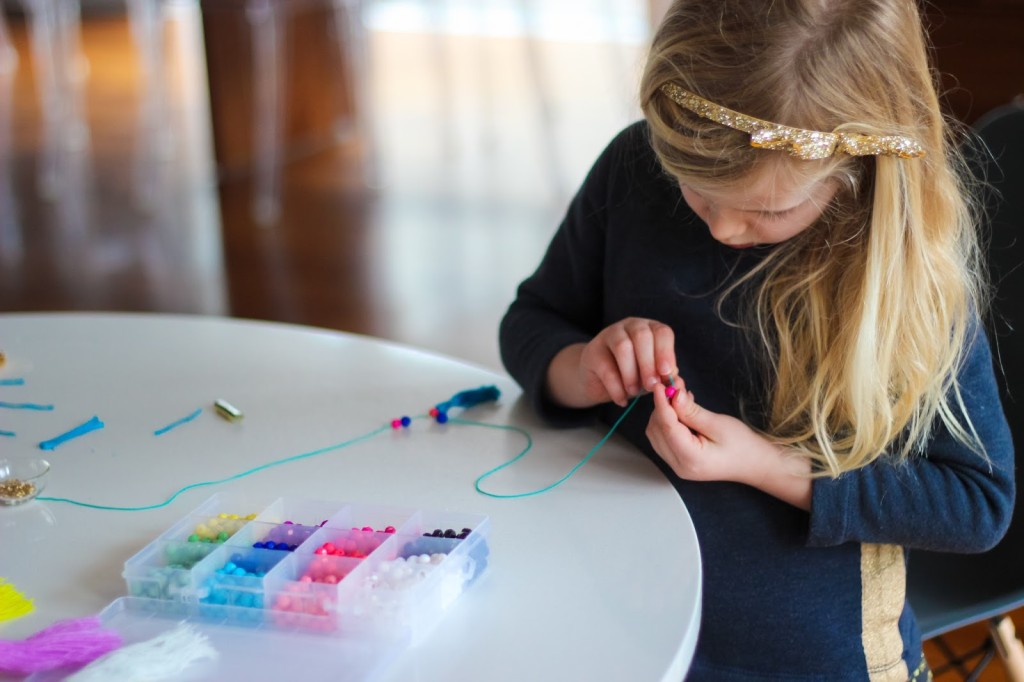
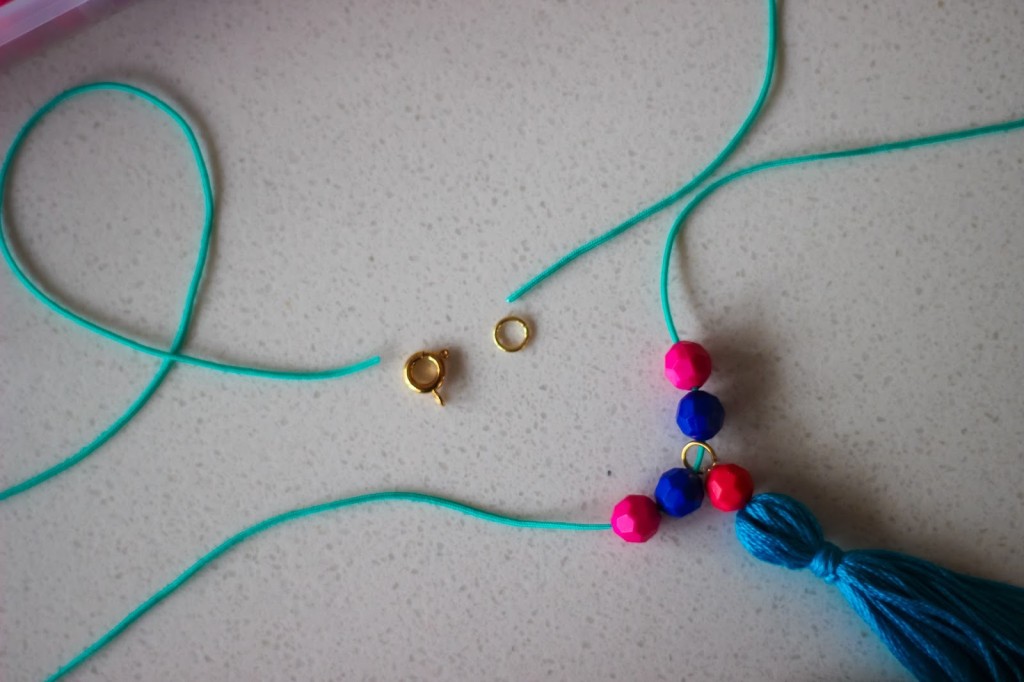
Slide your tassel onto the colored cord and add as many beads as you wish — Cam loved this part. Then tie on the spring ring clasps and put it on!
Play around with colors, length of tassel, and the number of items on each necklace. We ended up making so many that I think we’ll use them in the goody bags for Cam’s birthday party this spring. Or we just might wear a new one every day!
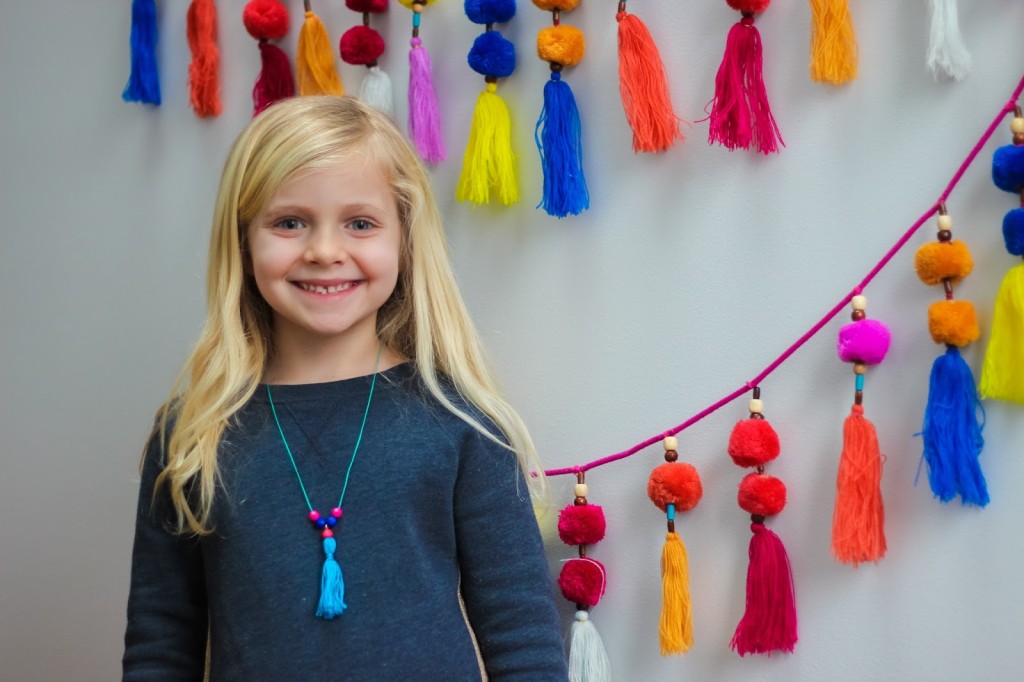
Thanks so much to The Land of Nod for sending the Festival Garland — we’ve got big plans for it in a new outdoor space we’re working on for the spring. Stay tuned!!
Rebecca is a mom to two young kiddos and, in her spare time (ha!), likes to pretend she’s a back-up dancer, craft cocktails, and run long distances. A relatively recent SAHM, she blogs family-friendly activities, DIYs and celebration fun at Not-So-SAHM.