DIY Wall Banner
Post by Joni of Lay Baby Lay.
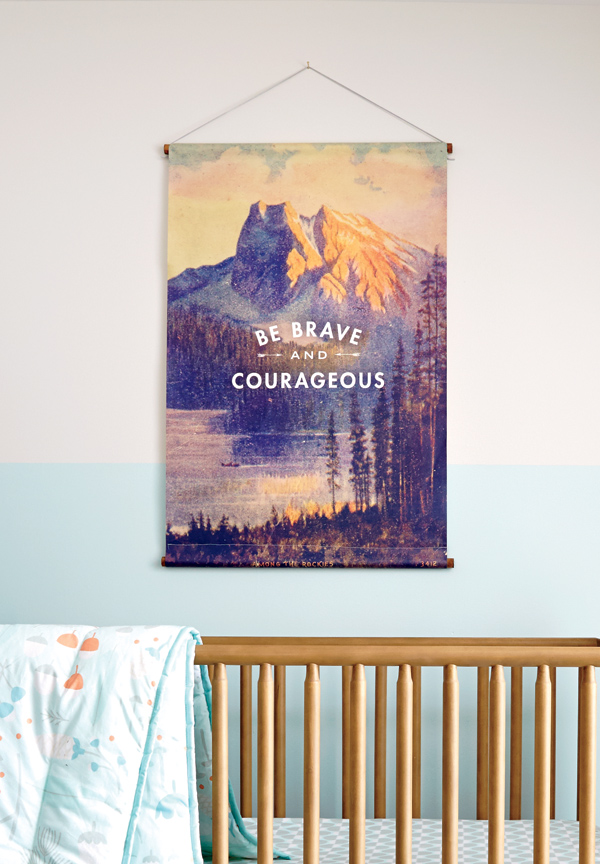
If you caught Timothy’s nursery in the fall catalog, then you probably spotted this canvas banner. I made it especially for his room, and here is a little info on how to create one yourself!
I found this vintage postcard from Etsy, apparently from the late 1800’s. I scanned it at a very high resolution (600 dpi) and then added the text using Photoshop. I sent it to a local digital printer and had it printed onto unstretched canvas. You likely have a printer in your area who can do this – just search for “digital printer” in your city, and they will be happy to help you, I am sure! You can find the wooden dowels at Home Depot or a local hardware store (these are 1” diameter). Trim the dowels to size, leaving a little to hang over the sides, and stitch a pole pocket on each end of the canvas. If sewing isn’t your thing, you can use some stitch witchery instead! Then drill holes in the top dowel, and thread through some suede cord or yarn for hanging.
Finally, here is another approach for a wall hanging, if you can’t find a printer or you’d like to try a different look.
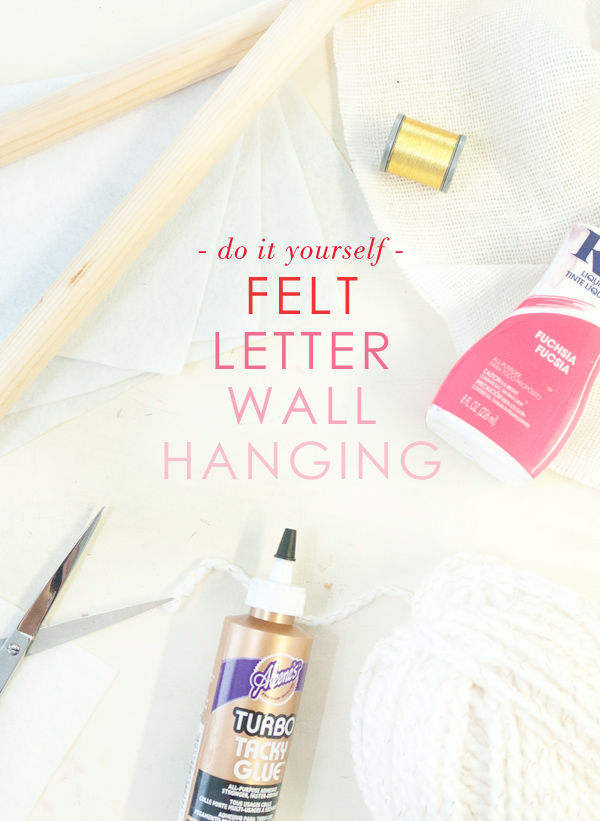
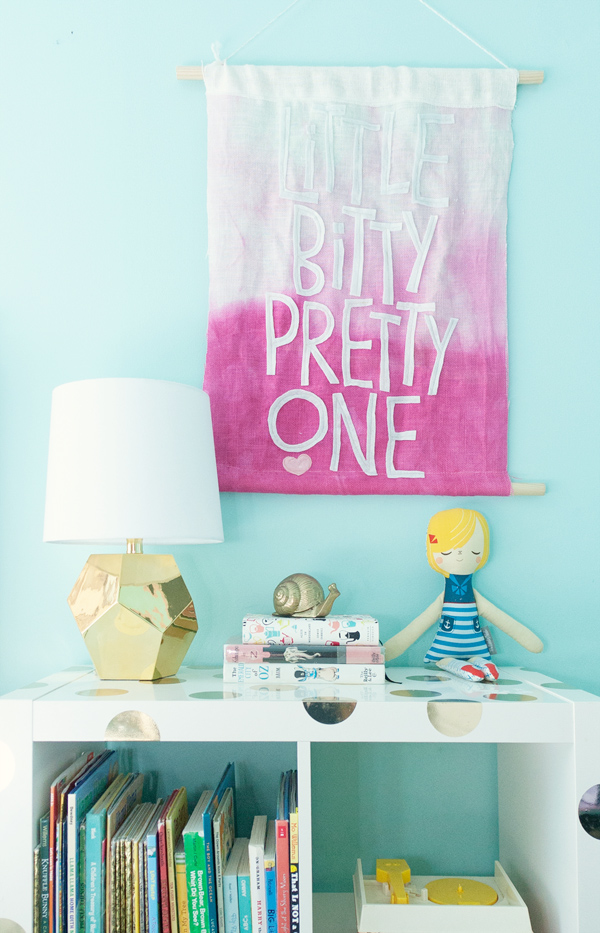
What you need:
(1) Two 1” wooden dowels, trimmed to desired length; (2) Metallic Gold Thread; (3) White Burlap (or other white fabric); (4) Felt sheets (I used four); (5) Fabric Dye (I used Rit Liquid Dye); (6) Scissors; (7) Fabric Glue; (8) Yarn or suede cord for hanging
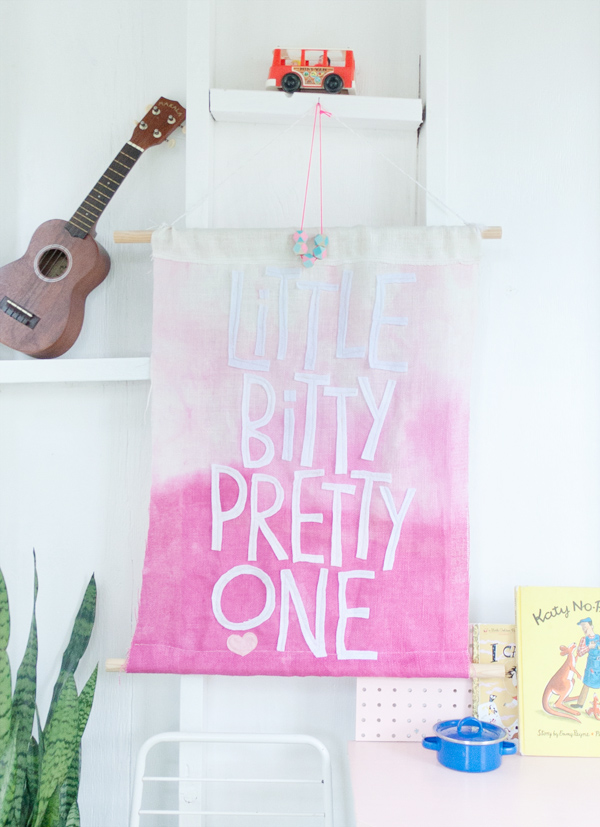
To make your banner:
(1) Trim the fabric to the size you would like (Mine is 24” x 36”).
(2) Fill a sink or galvanized tub with hot water and pour in the dye. Dip the fabric into the dye and let it sit for about 10 minutes. Then let it hang to dry (probably outside!).
(3) Cut out the letters from the felt. I think it’s best to freehand them. It gives it a little more personality!
(4) Once the fabric is dry, lay out the letters, and use the fabric glue to tack them down.
(5) After glue is dry, stitch over each letter with the gold thread. If you prefer not to stitch them, just use a little extra fabric glue to ensure they will stick.
(6) Stitch (or stitch witchery) pole pockets on the bottom and the top.
(7) Insert dowels, and tie yarn or cord around the top dowel to hang!
Joni Lay is the author of nursery decor blog Lay Baby Lay. She began writing and curating in 2011 shortly after the birth of her first baby as a place to provide fresh and unique nursery inspiration with a little dose of motherhood experience on the side. The blog is her creative outlet and it is her hope to inspire others to create spaces for their families and little ones that are full of imagination, color, and delight and also be a place of encouragement in the crazy but wonderful journey of having babies and watching them grow.