Embroidery Hoop {Baby Name} Wall Art
Embroidery hoop wall art is nothing new. I’ve seen countless photos of nursery walls decorated with a collage of embroidery hoops filled with an eclectic assortment of different fabrics….and I always thought it seemed like such a cute and inexpensive nursery decor idea! I knew I wanted to do something similar in my daughter’s room but put my own spin on it by also making it into “baby name” art. Here it is!
Supplies:
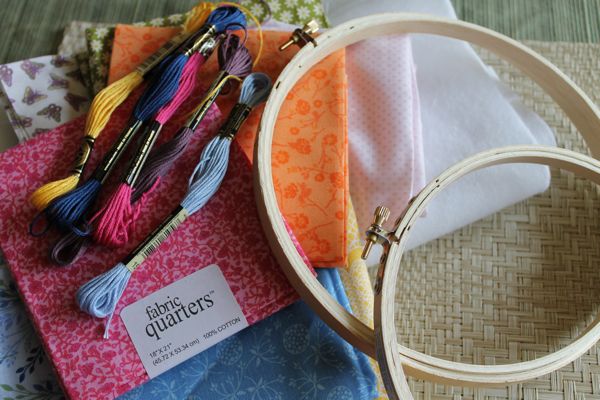
- Embroidery hoops, various sizes
- Fabric pieces to fit into each hoop (cotton fabric quarters were on sale which made this purchase quite cheap and convenient; you could also easily use leftover fabric scraps)
- Felt
- Embroidery floss
- Craft paint
- Paint brush
- Needle
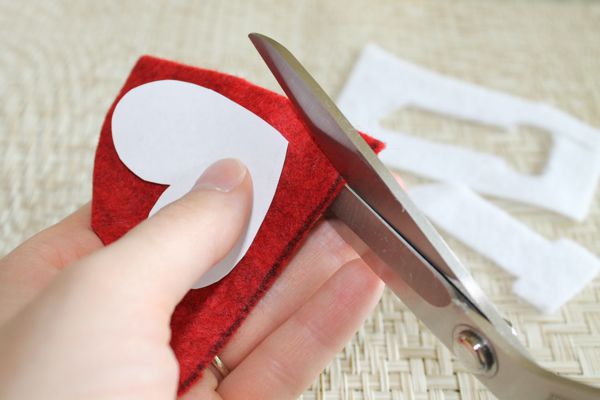
First, cut fabric pieces so they are slightly larger than each corresponding embroidery hoop. Cut letters from the felt to spell out your child’s name. I drew and cut the letters from a piece of paper first to use as a guide when cutting the felt. (I “dotted” my “i” with a heart).
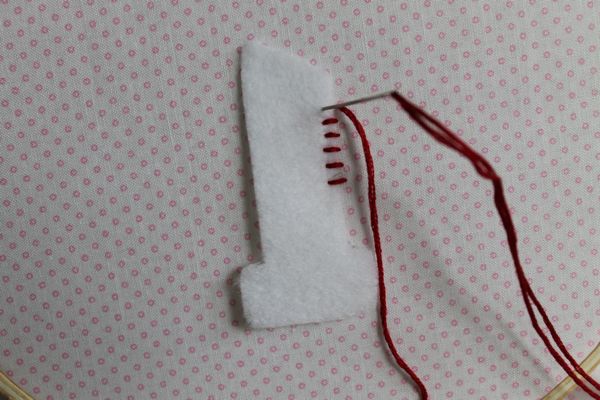
Thread the needle with the embroidery floss and attach each letter to the center of the fabric with simple stitches. This is a great craft to do while catching up on your favorite TV shows in the evening….I always feel better about watching TV if I’m somehow productive at the same time!
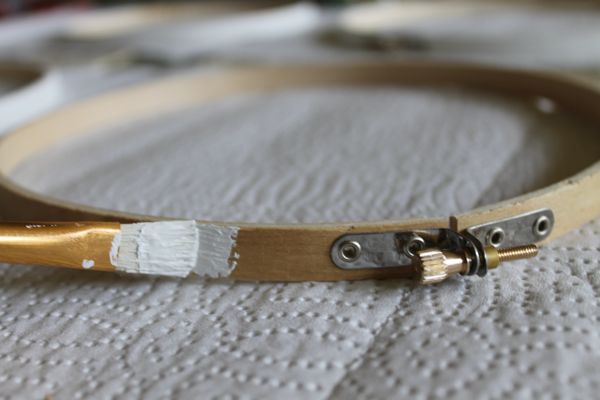
Once you’ve sewed all the letters onto the fabric paint the embroidery hoops the color of your choice. Of course you could leave them “as is”, but white matched my decor.
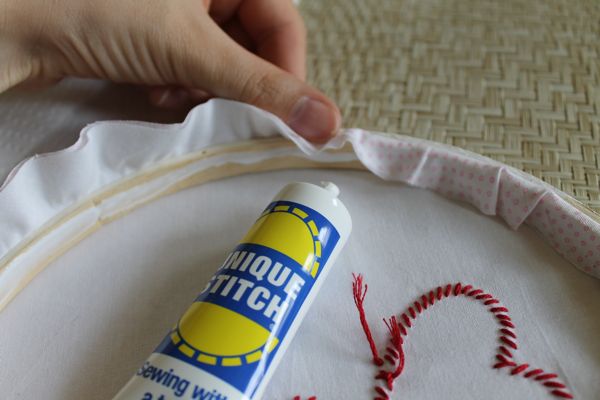
After the paint has dried, center the fabric and tighten the outer hoop. I trimmed off the excess fabric and glued the edges down with fabric glue.
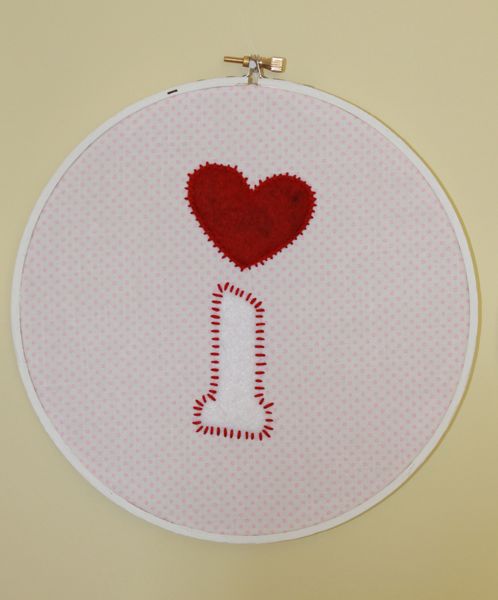
There you have it! Here’s the “i” in Matilda…
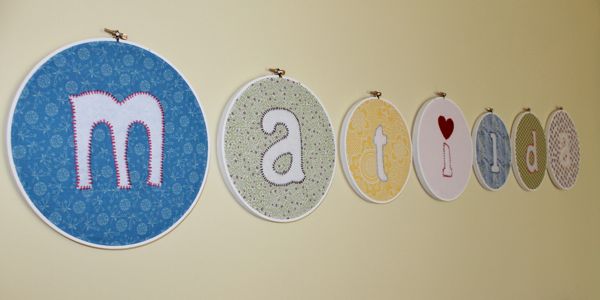
….and here’s the finished product!
Post by Renae Wortz : Mom Colored Glasses
