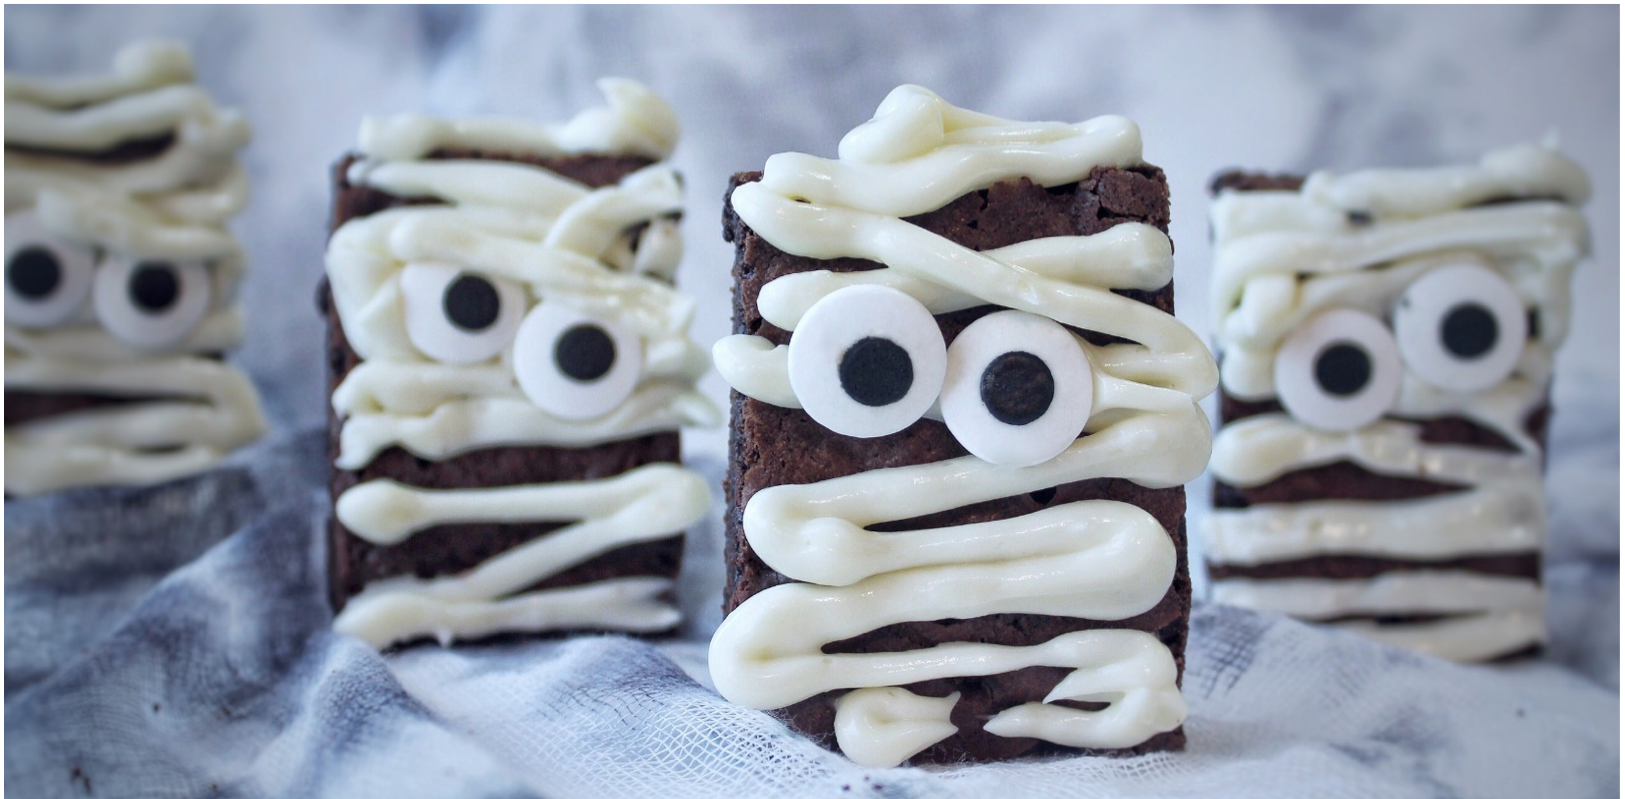
Vegan, Dairy-Free & Gluten-Free Brownies Recipe
These little vegan, dairy-free & gluten-free mummies are chocolatey, delicious, and super allergen-friendly! If you still have time to make something up for Halloween night, make these little guys. And, if it’s too late for this year, don’t worry: just save this recipe. It’s mom-tested, kid-approved and could be adapted for other holidays as well (think, frosted and topped with Christmas sprinkles, etc.). No tricks here; just a fun, delicious dessert that is vegan, dairy, and gluten-free! HAPPY HALLOWEEN!
BROWNIE INGREDIENTS
- 1 cup + 2 tbsp dairy-free milk (I used Ripple Original Milk Drink)
- 1/2 cup + 3 tbsp oil
- 1 tbsp pure vanilla extract
- 1 cup gluten-free flour (I used Bob’s Red Mill)
- 1 cup cacao or cocoa powder (unsweetened)
- 1/4 tsp salt
- 1/2 tsp baking powder
- 1/2 cup brown sugar (could also use coconut sugar here)
- 1/3 cup unrefined sugar
- 1 tsp xanthan gum
- 2 tbsp non-GMO cornstarch (loosely packed)
- A handful of dairy-free mini chocolate chips (I used Enjoy Life Foods brand)
ICING INGREDIENTS
- 3/4 cup Plain Cream Cheeze Style Spread from Daiya
- 1 tbsp agave nectar (or raw honey)
- 1 tbsp powdered sugar; more or less depending on personal preference (I used Wholesome brand)
- You will also need candy eyes
DIRECTIONS
- Pre-heat oven to 325 degrees and grease a 9 x 13 pan. Set aside.
- Combine milk, oil and vanilla extract in a medium-sized bowl. Mix well, then set aside.
- In a large bowl, combine all remaining brownie Mix until well-combined.
- Pour wet ingredients (medium bowl) into your dry ingredients (large bowl) and mix until well-combined.
- Pour batter into the prepared pan and smooth/shake pan until batter lays evenly.
- Sprinkle mini chocolate chips scattered on top of batter. I like to push some into the batter and leave others exposed. Yum!
- Bake approximately 15 minutes (please note: these may look a little undercooked. This is normal) then remove the pan from oven.
- Cover and refrigerate. This brownie recipe works best when the brownies are left to firm up in the refrigerator for a couple hours or overnight if easier.
- Once firm, cut your brownies into rectangles then set aside.
- Prepare the icing by combining all icing ingredients in a small bowl then transfer the icing into a small resealable bag and snip the end so that your bag resembles a piping bag.
- Next, take brownies and decorate them by piping icing in lines across the top of each one. Push in a couple of candy eyes and voila! Mummy-yummy treats that are allergen friendly and still super tasty!
POST BY LUNCHES + LITTLES
Lunches + Littles focuses on quick, healthy and fun meal options for little ones while sharing practical tips & tricks on how to make meals enjoyable, all the while keeping things simple. A lover of colorful plates and an advocate for getting kids in the kitchen, Lunches + Littles is also a great resource for parents of picky eaters, parents looking for healthy family and toddler recipes and those mamas (dads too!) who are short on time. A mantra of sorts: Making meals fun doesn’t have to be hard! With 3 little ones (3 and under) it can’t be! Follow @lunchesandlittles for all of the above… And more!