Instatime: A DIY Instagram Photo Clock
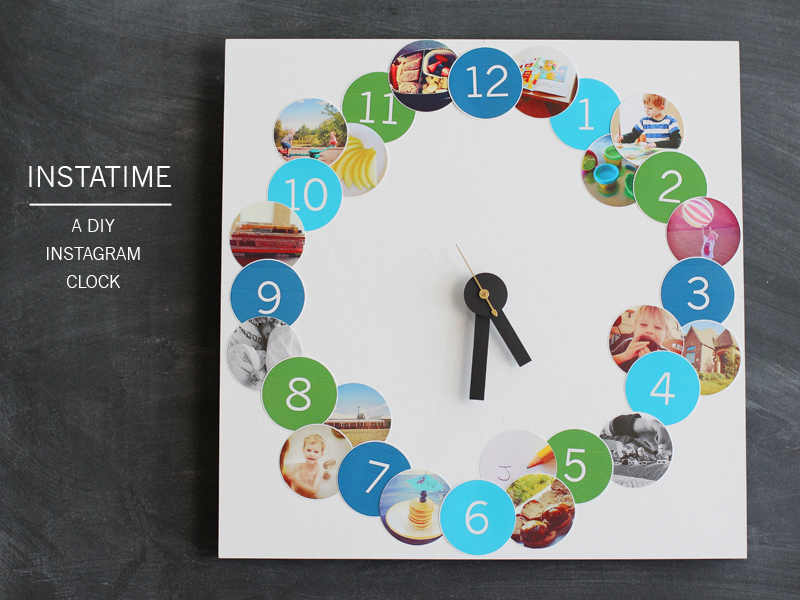
My son is starting kindergarten this year, and I’ve recently started talking to him about all of the things he’ll be doing at school. And since I’m pretty obsessed with Instagram, I decided to make a clock out of recent photos to illustrate ‘a day in the life’ once he starts school. This way, he’ll have a visual depiction of what to expect – and helping him learn how to tell time is an added bonus!
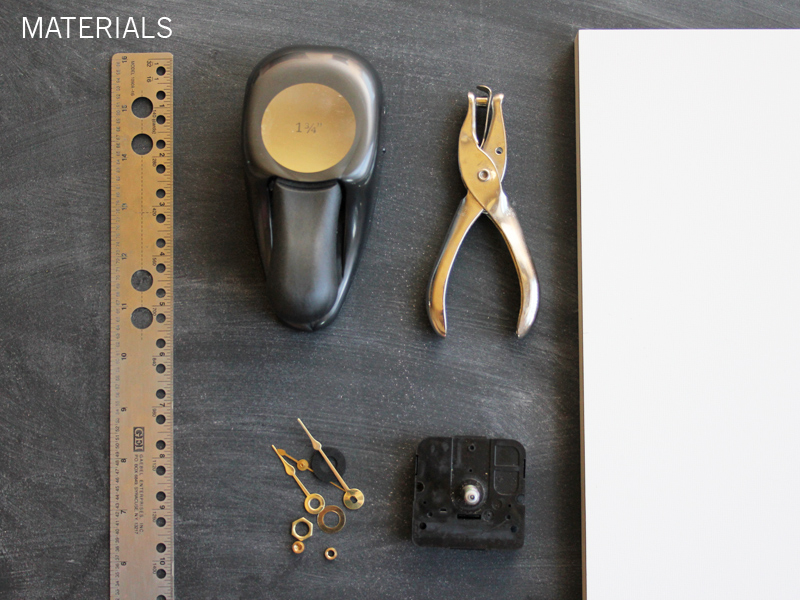
I started with the following materials:
- Ruler
- Clock kit (purchased at a craft store)
- A 12 x 12 canvas mounted on wood
- Hole punches
- An Instagram feed filled with the daily activities of my children
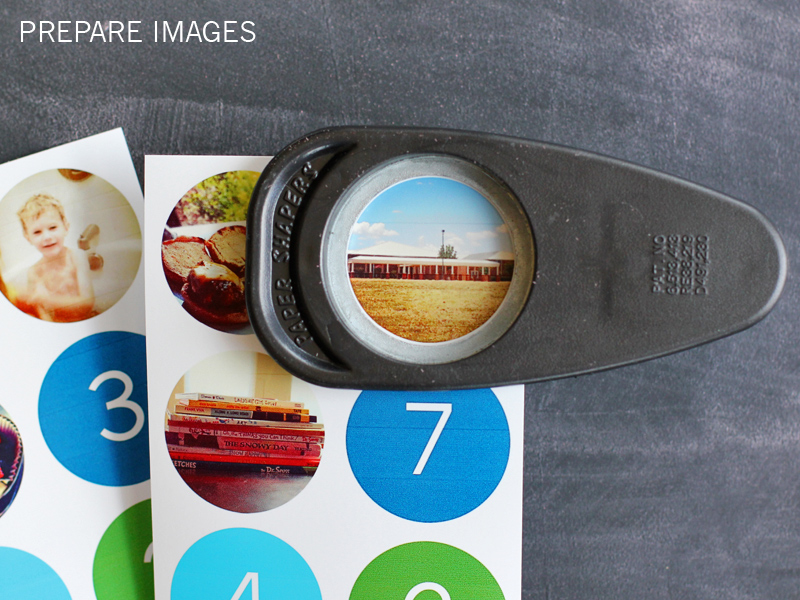
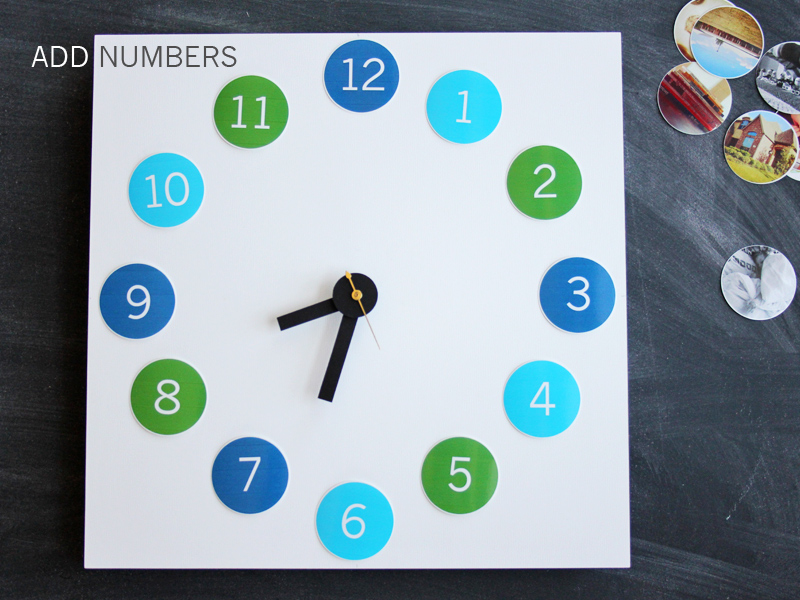
I started by making a list of all the activities I wanted to illustrate and then went through my Instagram library (using followgram.me to view my photos on a desktop computer). I saved the selected photos to my desktop computer and then used Photoshop to format the photos into small circles. I chose a 1.75 diameter circle because I have a hole punch in that size, but you could work with any size that suits the base of your clock. I printed my circle photos along with similarly formatted numbers for the hours of the day and cut them out using my hole punch.
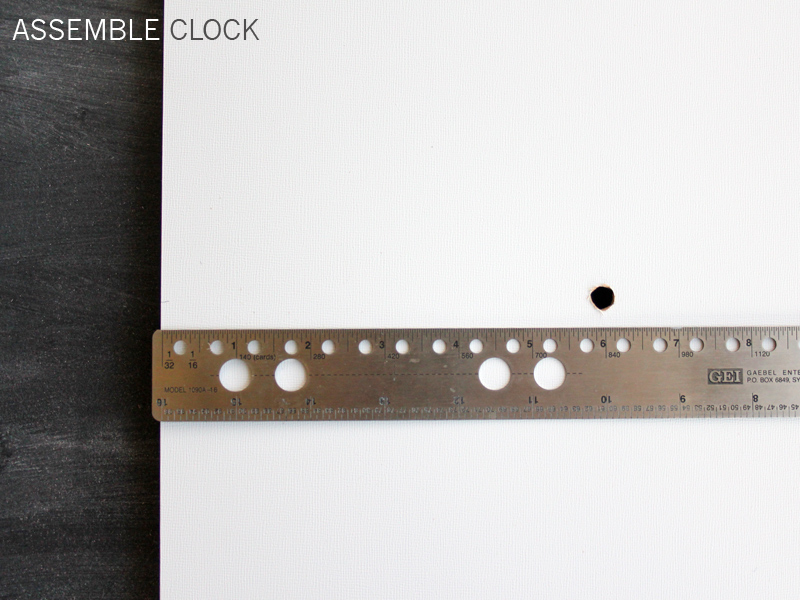
Next, I turned my attention to the clock itself. I started by measuring the center of the canvas and cutting a hole through it. I had to use a drill because the canvas had a wood backing.
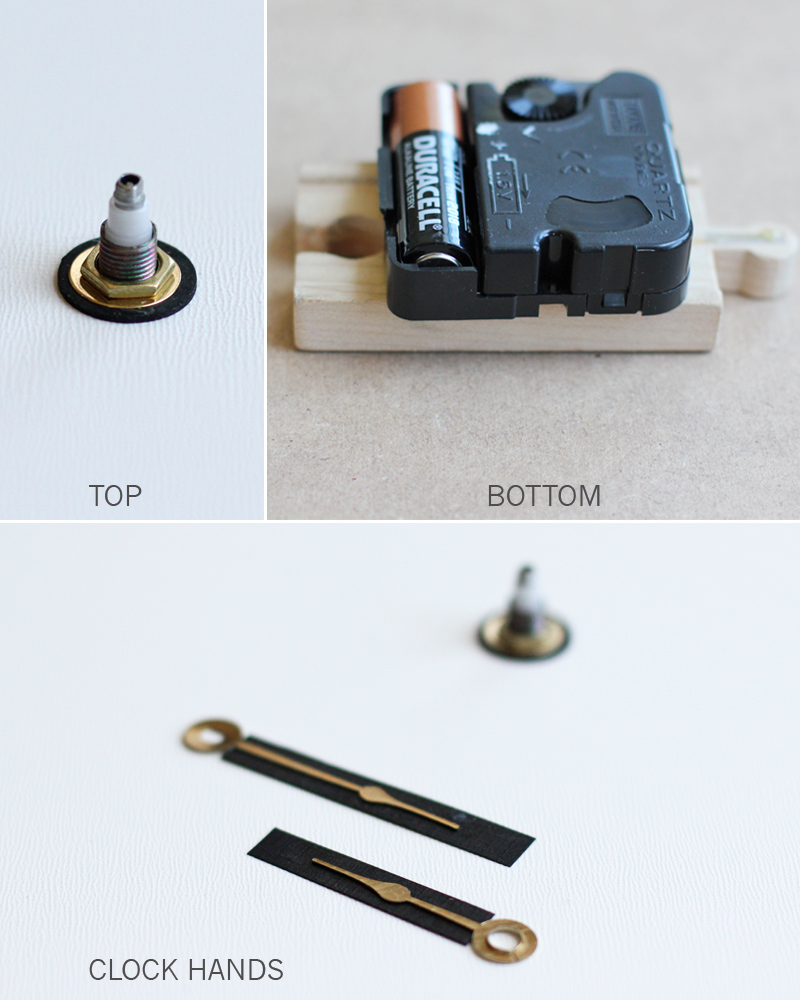
I assembled the clock pieces on the canvas base following the instructions on the packaging. I realized that the canvas/wood base was too thin and caused the arms of the clock to extend out too far, so I got creative and inserted a piece of wood (from a wood train track) between the clock and the canvas base. I also decided to cover the clock hands by gluing black cardstock to them and cut a cardstock circle to cover the clock parts.
Once the clock was assembled, I arranged the numbers in a circle (but didn’t glue them at this point).
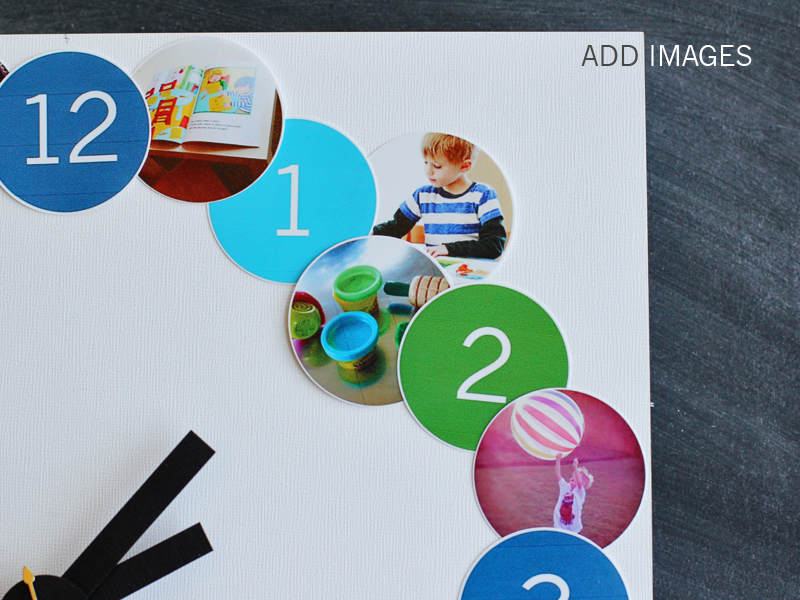
Once the numbers were arranged, I started arranging the photos in their respective timeslots. Once I arrived at a layout I liked, I started gluing everything to the canvas. I did this by dabbing glue in the center of the circles so that I could rearrange the photos if necessary. I also plan to cover the entire surface in decoupage glue, but I’m going to wait until after the upcoming school open house. I’m hoping to add a couple of pics of his classroom before I completely finish it.
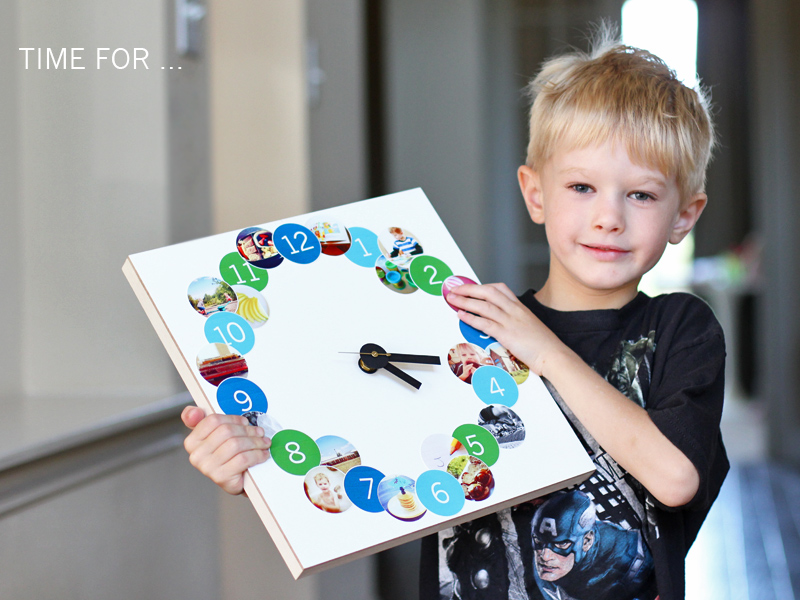
And here’s Jason with his new clock:
Post by Julee Dyer : Warm Hot Chocolate
