Leprechaun Rainbow Mobile
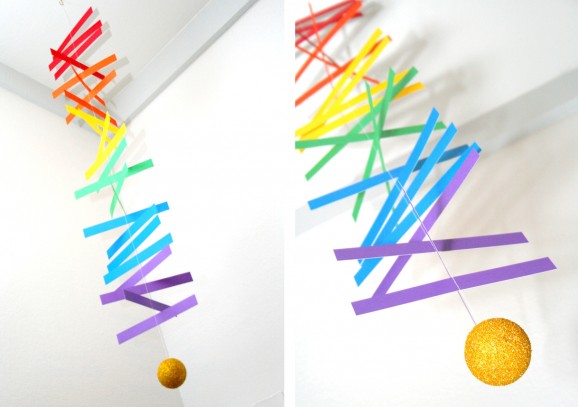
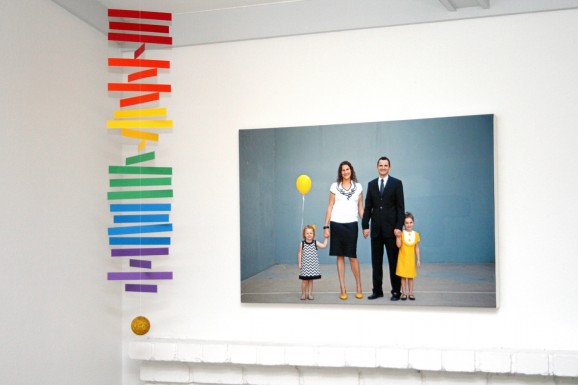
I was noticing that I really don’t have many St. Patrick’s Day decorations, and after shopping a couple of my favorite decor and craft stores it is pretty clear to me why my stash is so lean — there just aren’t many St. Patrick’s Day decorations out there that I love. I wanted something modern and fun and decided that rather than pursuing a shamrock theme, I’d focus on rainbows and Mr. Leprechaun’s pot of gold. I remembered seeing these colorful vellum mobiles and decided to make one using cardstock in true rainbow colors. I had originally hoped to find a miniature pot to fill with gold coins, but no luck. So I used a little artistic license and decided that a gold, glitter-covered, styrofoam ball would be my “abstract” pot of gold.
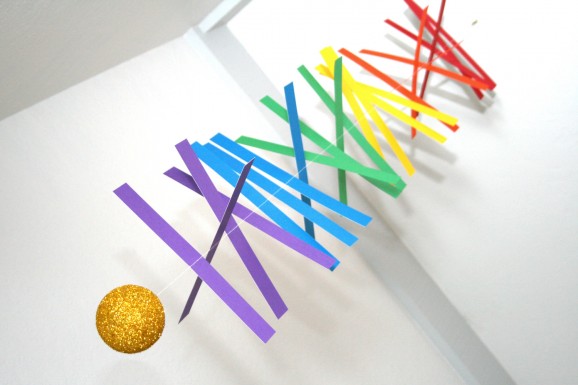
The Rainbow Mobile has certainly added some color to our family room. It’s fun how it is always twisting and turning so every time I glance over it looks different.
To make your own Leprechaun Rainbow Mobile you’ll need:
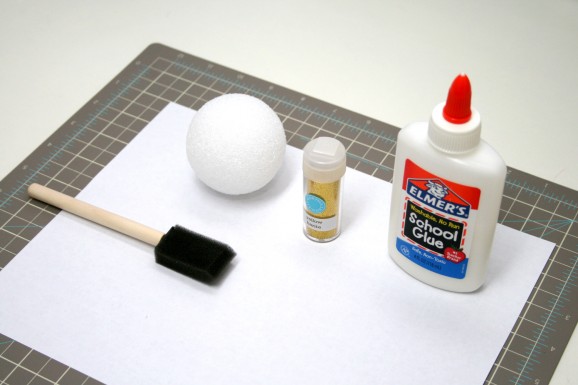
:: 2.5-inch styrofoam ball
:: school glue and gold glitter
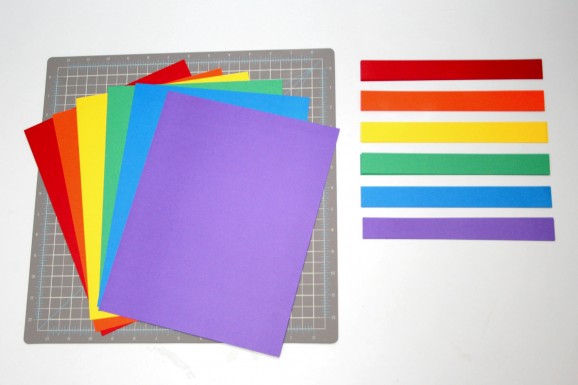
:: one sheet of 12×12 paper in red, orange, yellow, green, blue and purple
:: paper cutter
:: needle, white thread, and scissors
:: sewing machine
Since I do my scrapbooking on 8.5×11 sheets, I’m always looking for ways to use the many paper scraps created by cutting 12×12 scrapbook paper down to size. So I was excited when I realized I could design this Leprechaun Rainbow Mobile to use the scrap pieces that would be cut off a 12×12. I ended up being left with fully usable 8.5×11 sheets and pretty much nothing wasted — very fitting to be “green” on my St. Patty’s day project.
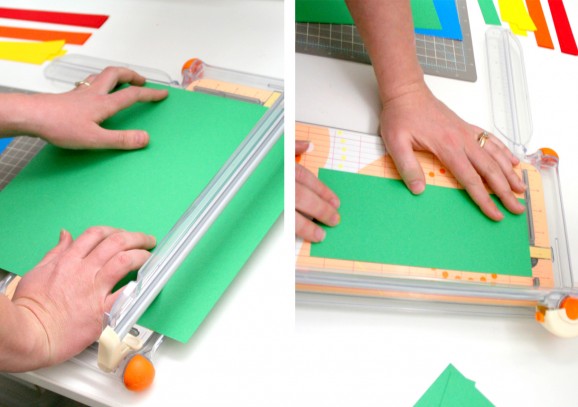
To make it work with the scraps, I first cut the 12×12 paper down to 8.5 inches. Then I took the 3.5×12-inch scrap and cut it down long ways into three, 1-inch strips. I placed my main paper (which now is measuring 8.5×12) back in the cutter long ways and cut off the extra inch — this created my final mobile strip measuring 8.5×1 inch. I set aside my 8.5×11 sheet for a future scrapbook page and stacked the four, 8.5×1-inch strips in a neat pile. I then repeated this process for all of the colors.
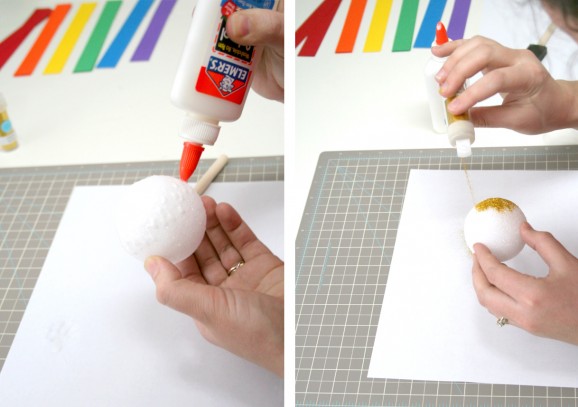
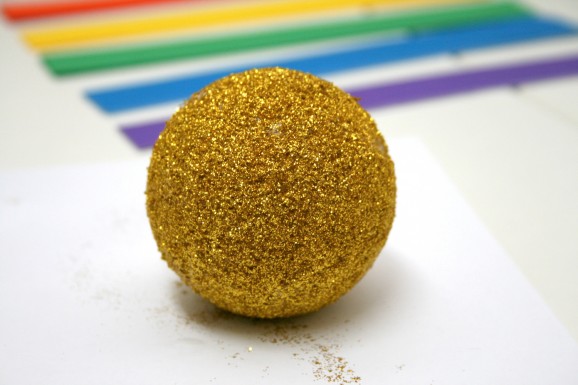
On to the gold ball! I took a 2.5-inch styrofoam ball and covered it with school glue, using a foam brush to help spread the glue around evenly. Then I sprinkled on gold glitter and set the ball aside to dry.
While the glitter ball was drying I stitched up the mobile. First I measured 4.25 inches from the needle on my sewing machine and placed a blue piece of masking tape on the machine as a guide for feeding the paper strips evenly. I loaded white thread and used a straight stitch to sew the paper strips together. Be sure to leave about a 20-inch tail of extra thread at the beginning and end for hanging.
The top tail gets tied into a loop to hang from the ceiling. Thread the bottom tail onto a needle and then attach to the dried gold ball. I poked my needle through perpendicular about a quarter-inch down from the top of the ball. Go straight through then tie off the thread with a square knot. Trim the extra thread and dab on a little more glue and glitter to hide the knot.
That’s it! Now you have a lucky little rainbow to enjoy be it rain or shine.
Post by Aimee and Bettijo : www.supermommoments.com
