Sand Cast DIY
This DIY for you and the kids definitely allows for creativity as we celebrate our theme this month. And as an added bonus you can do it while you’re hanging out at the beach and you can make a ton of these for less than $5. I made these on almost every cottage vacation I ever went on growing up and as an adult…..including the cottage vacation I just got back from two weeks ago. And what’s really cool is that I have a lot of them saved…..reminding me of great times, different beaches I’ve been on, and when I was where. These rustic little memories are a snap to make and may just become a beach tradition of yours for years to come!
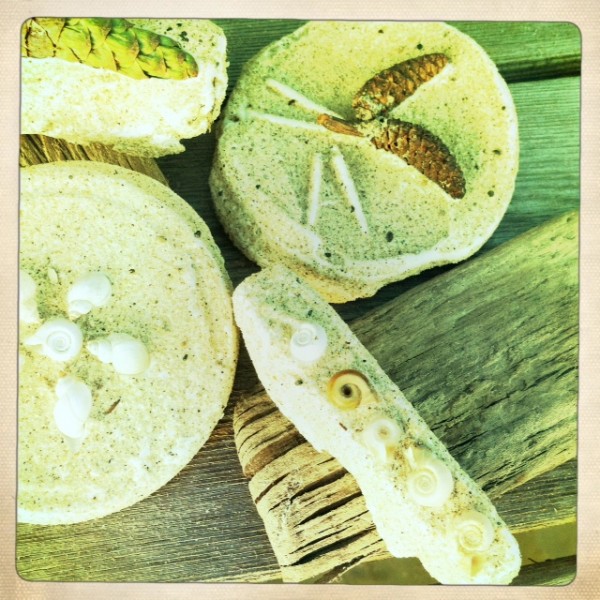
If your kids are anything like my Georgia or like me for that matter you know that a lot of time on beaches is spent collecting shells, cool pieces of wood, and unique stones. All of that can go into this DIY project…..additionally you can put your sand toys to good use here too.
Here’s what you need:
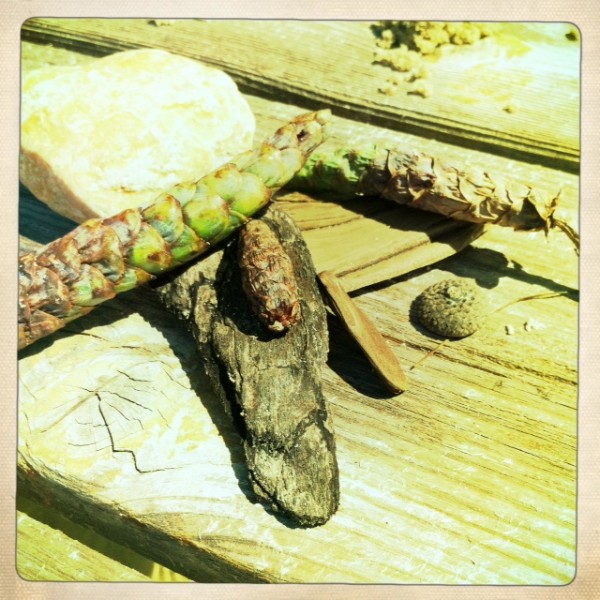
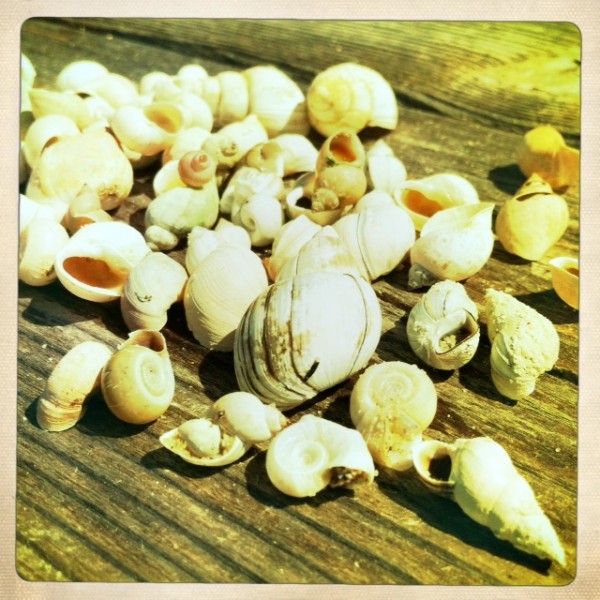
1. A collection of shells, pine cones, stones, beach toys, sticks, drift wood, or whatever else you can find that will last a long time.
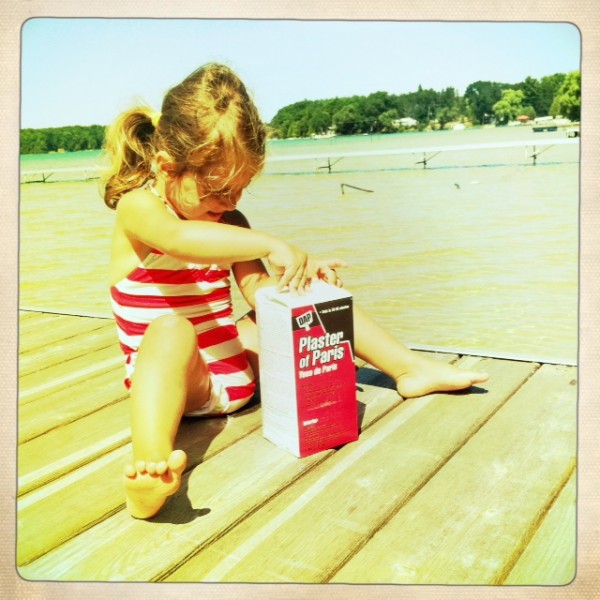
2. Plaster of Paris. You can buy this at any hardware store……one container of it is plenty for all of your kids to make a sand cast…..unless you’re the Duggars from “19 Kids & Counting.” You’ll also want a plastic container to mix up the plaster in that you can just throw away when you’re done.
Whoa…..who needs their swim diaper changed?
3. Firm, damp sand–the kind that is about a foot away from the waters edge….almost like brown sugar. You don’t want the soupy sand or the powdered sugar sand….just nice damp sand that packs well.
To create your masterpieces:
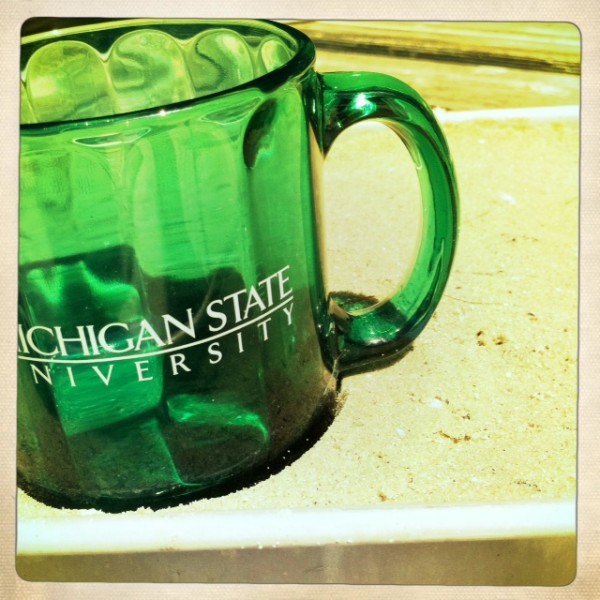
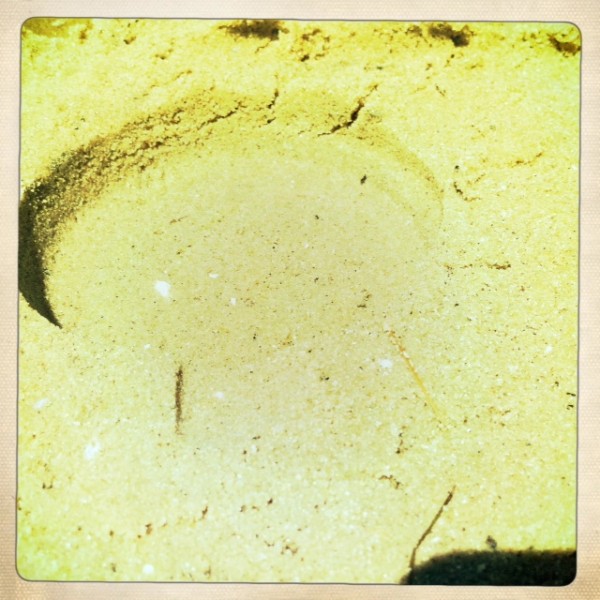
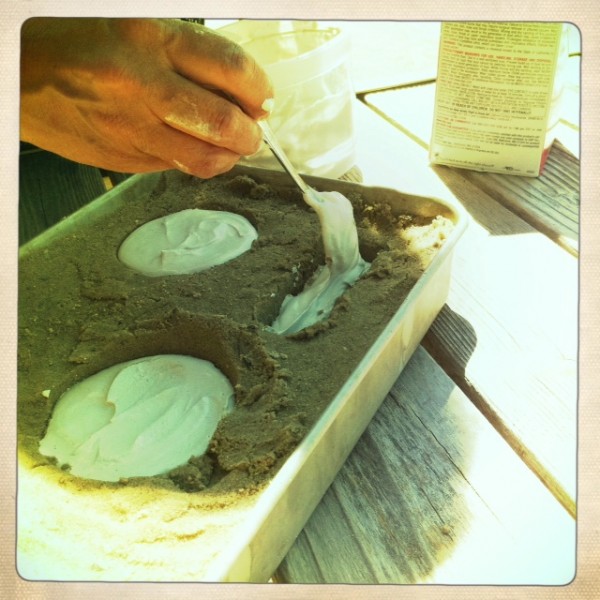
1. Create a well in the sand that is the shape you want your sand cast to be; a square, a circle, a triangle, a rectangle…whatever. It doesn’t have to be perfect, however it should be at least 6-7 inches deep. Make sure the sides and bottom are packed well and even. I used a coffee mug to make a perfect circle for some of mine. (Also….you’ll notice that I’m doing this in a brownie pan – we couldn’t find the right consistency sand at our cottage…way too wet, so we just put a whole bunch of sand in this pan and let it dry a little bit and did it right in there. It’s way cooler right on the beach though.)
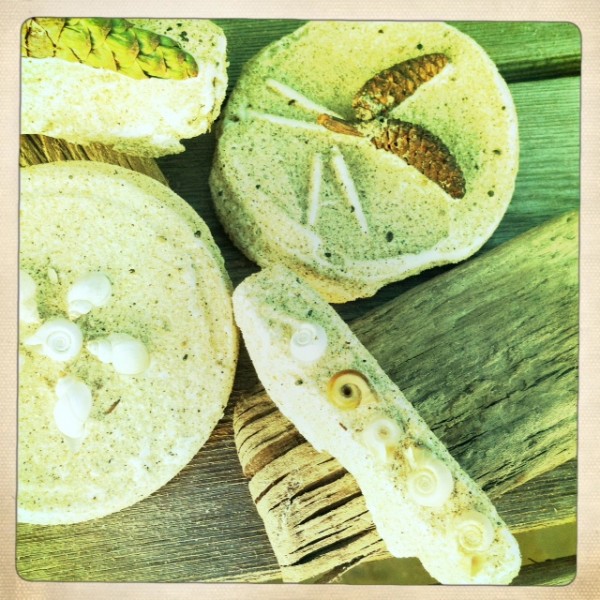
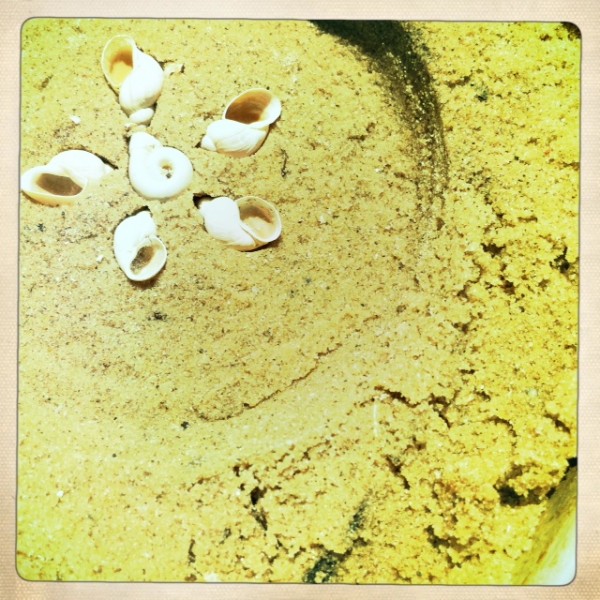
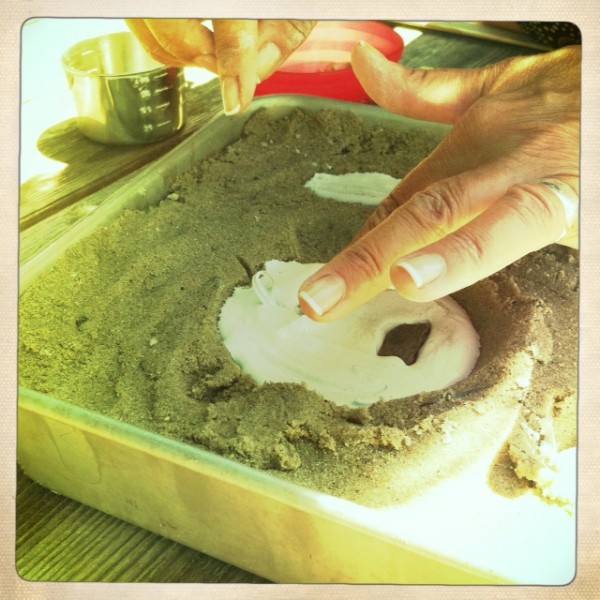
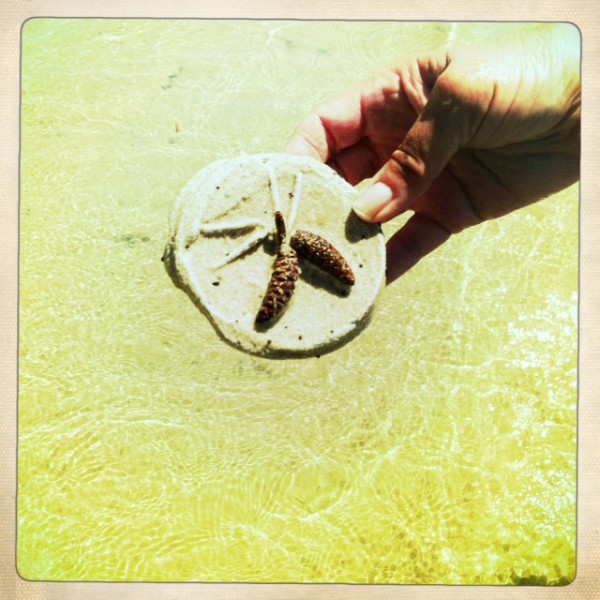
2. Next add in any decorations you want to be a part of the finished product. We put seashells and pincones in ours this time. However, if you don’t want tangible “things” in your sand cast you can just make indentations, letters (make sure you “draw” them in backwards though so when they are flipped around once the plaster drys they are the right way–”draw” them with a stick or your finger), or any other random shape that you fancy. Just press your objects or indents firmly into the sand. Arrange them in a pattern or don’t—this is your chance to be creative!
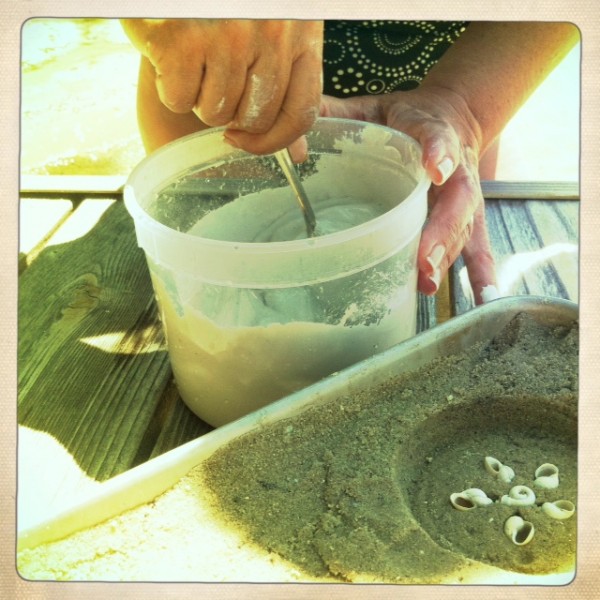
3. Mix up your plaster. The box will tell you exactly the ratio of water you need to plaster–follow those directions! We just use lake water and a junky plastic container and usually a stick to mix it up. Once it’s mixed up pour your plaster over your creations. Make sure you spread the plaster evenly into your wells so that it touches all sides and provides a thick layer of plaster over the top of your designs – about 2-3 inches.
We always put a little “hanger” into the plaster so we can hang it up if we want once it’s completed. You can see it ever so slightly here–we just used a little twist tie. We looped it around once and just stuck into the plaster to dry there. You can also use pop can tabs or just use nothing at all!
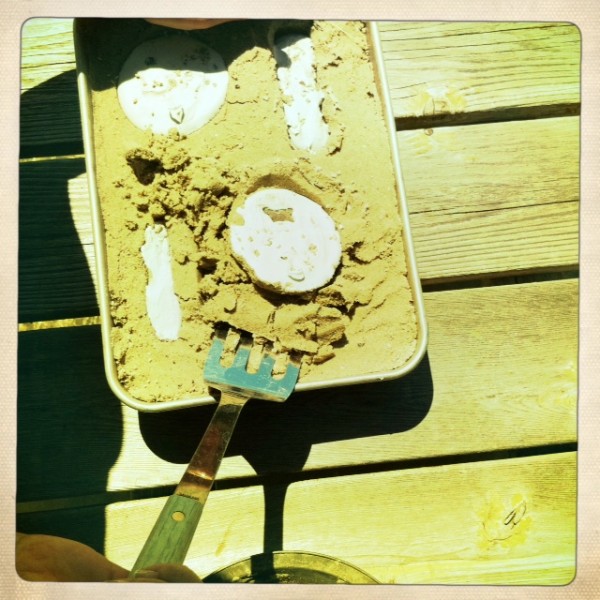
4. Let them dry! For at least an hour–that’s why if you’re going to do these on a beach trip do it early in the day so while you play they can get good and dry. They need to be rock hard before you remove them from the sand. We gently took ours out of the sand with a spatula and then rinsed them off in the lake quickly to remove any excess sand.
Here’s my mom’s pinecone cast. She used a knife to make indents for little branches and she’ll glitter them later on with dark green glitter–she knows how to use that stuff like no one else–well, my sister holds her own too.
That’s it! Stupendously easy. When we were kids we’d bring them home and paint them too.
Have fun with this and enjoy your last few weeks of days at the beach–and if you’re not at the beach, steal some sandbox sand, get it wet, and do it in a brownie pan like I did.
Post by Maggie Terryn : Mom Colored Glasses
