Shrinky Dink Cupcake Toppers
Post by Alexandra Hedin
For Christmas last year my children got a Shrinky Dink kit. I can’t even tell you the last time I played with Shrinky Dinks, but I can tell you I was suddenly obsessed. I Shrinky-Dink-ed everything.
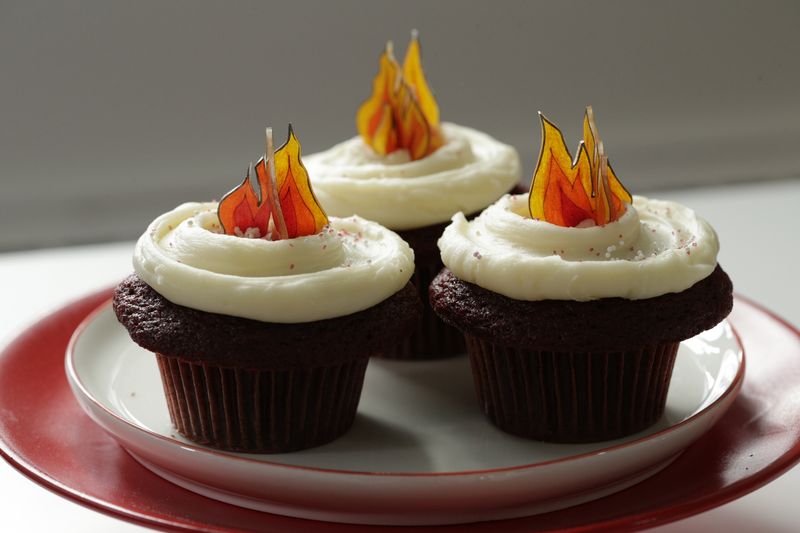
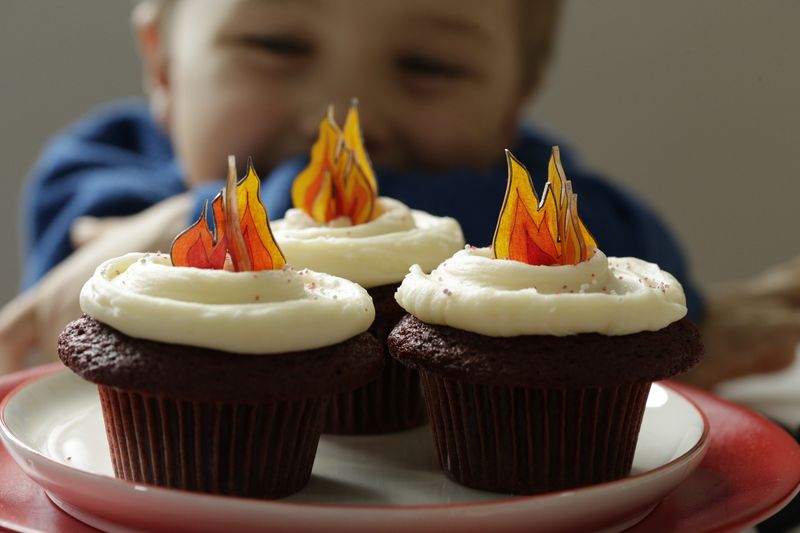
When we started planning a photo shoot at the firehouse with Land of Nod, I knew that I would somehow use Shrinky-Dinks. Did you know that they could be made into three-dimensional shapes that stand up remarkably well? Why does that matter? Because it makes the PERFECT cupcake topper!
You’ll need:
- 1 package blank Shinky Dink paper
- Yellow, red, and orange colored pencils
- Permanent marker in thick and thin
- Scissors
Step 1 :: Trace the stencil onto the Shrinky-Dink paper using the thick permanent marker.
Step 2 :: Fill in the detail ‘flame’ lines using the thin permanent marker.
Step 3 :: Color in the flames using the colored pencils. To get the gradient look, start
with the lightest color in the center and work out, overlapping the color as you go.
Step 4 :: Cut out the shapes and follow the package instructions for shrinking.
Step 5 :: Let cool and assemble on the top of a cupcake!
By Alexandra Hedin: As a lifestyle and entertaining expert, this mother of three constantly juggles her life at home with her life at the office. See more of Alexandra’s decorating tips & recipes at Alexandra Hedin.com


