Spooky GHOST Party Invites
Post by Aimée Lowry & Bettijo B. Hirschi from PagingSupermom.com  We recently celebrated Harrison’s third Birthday with a party. As you might guess, parties cause quite the commotion around our home, and my boys like to brainstorm party themes. Of course, since my kids are… well… kids, they change their minds frequently. Last Halloween Harrison fell in love with ghosts, and he has been talking about a ghost Birthday party for almost an entire year. I didn’t bother brainstorming ghost party ideas until just a few weeks ago — I thought for sure Harrison would change his mind to a more typical three-year-old birthday theme. I mean, seriously, what three year old picks a GHOST party? Mine! From a blogging perspective, it was actually quite convenient of Harrison to request a ghost party in September so that we could have all these fun Halloween ideas ready to share with you! Check out a quick sneak peek and a fun party photo prop tutorial from Harrison’s ghost party over at JennV Photography. Jenn took all the pictures at Harrison’s party — we are so excited to work with her! First up: invitations. No ghost party would be complete without ghosts, right?
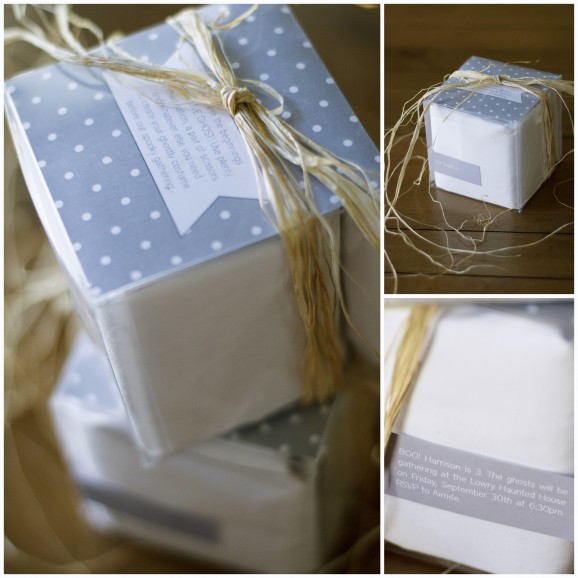
The invitation came with just enough instructions to get the party guest’s imagination flowing… “You have here the beginnings of a real, LIVE GHOST!”
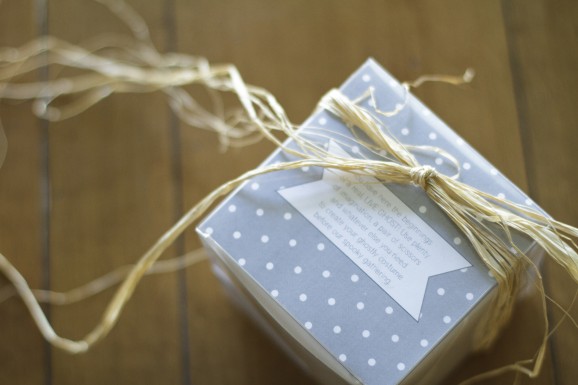
I love the raffia… it’s been a while since I’ve broken my raffia ball out of the cupboard, but it was just right for our Country Ghost theme. The rustic touches added a bit of whimsy while still feeling masculine enough for a boyish celebration, and there was just enough spooky for a three year old!
To make these invitations you need:
- Clear 4x4x4 Plastic Boxes
- Twin Flat Sheets (you’ll get 2 invitations per sheet)
- Printable “Live Ghost” Instructions Template
- Raffia
- Scissors
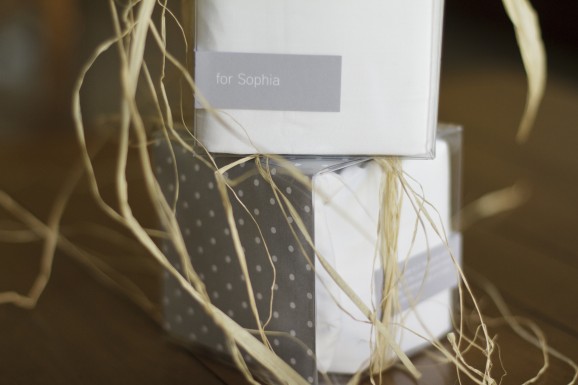
Cut enough sheets in half the short-ways to create 66×48-inch fabric pieces for all your little guests. Fold each cut sheet in half several times until you have a long piece that is about 4-inch wide (the correct width to fit in the clear box). Now fold in half once in the opposite direction, and then starting from the unfolded end, tightly roll the sheet up and place inside the box. Print the Live Ghost instructions template and cut down to size. Slide into the box covering the top and back sides. Position the rolled sheet so that the messy end is facing the back of the box and covered by the paper. Close the box and tie on a generous amount of raffia using a simple knot. We finished the invitation off by adding a simple gray label that included all the who/what/where/when party details and the recipient’s name. Reposted with permission by Aimée Lowry & Bettijo B. Hirschi from PagingSupermom.com


