Weaving Workshop
Post by Joslyn of J. Villa Workshop
I have created small, handheld mini looms to teach even the youngest of weavers and have discovered that even those kiddos who aren’t inclined to spend much time painting or drawing LOVE weaving. The simple over-under-over process of adding fiber to the warped loom is wonderfully relaxing and gratifying. Any fiber can be added to the weaving so the final piece can be full of scraps of old t-shirts, blankets, and other materials that add meaning to the finished weaving.
In the Chicago area? Join me on January 16th at The Land of Nod’s North and Clybourn location from 10am-12pm for a weaving gathering! Children ages 6 and up welcome. You’ll leave with your own mini loom and toolset to keep and a finished mini weaving. Feel free to bring in your own materials for adding to the weaving, but plenty of material will be provided.
Here are the steps to completing a weaving using her mini looms:
Step one:
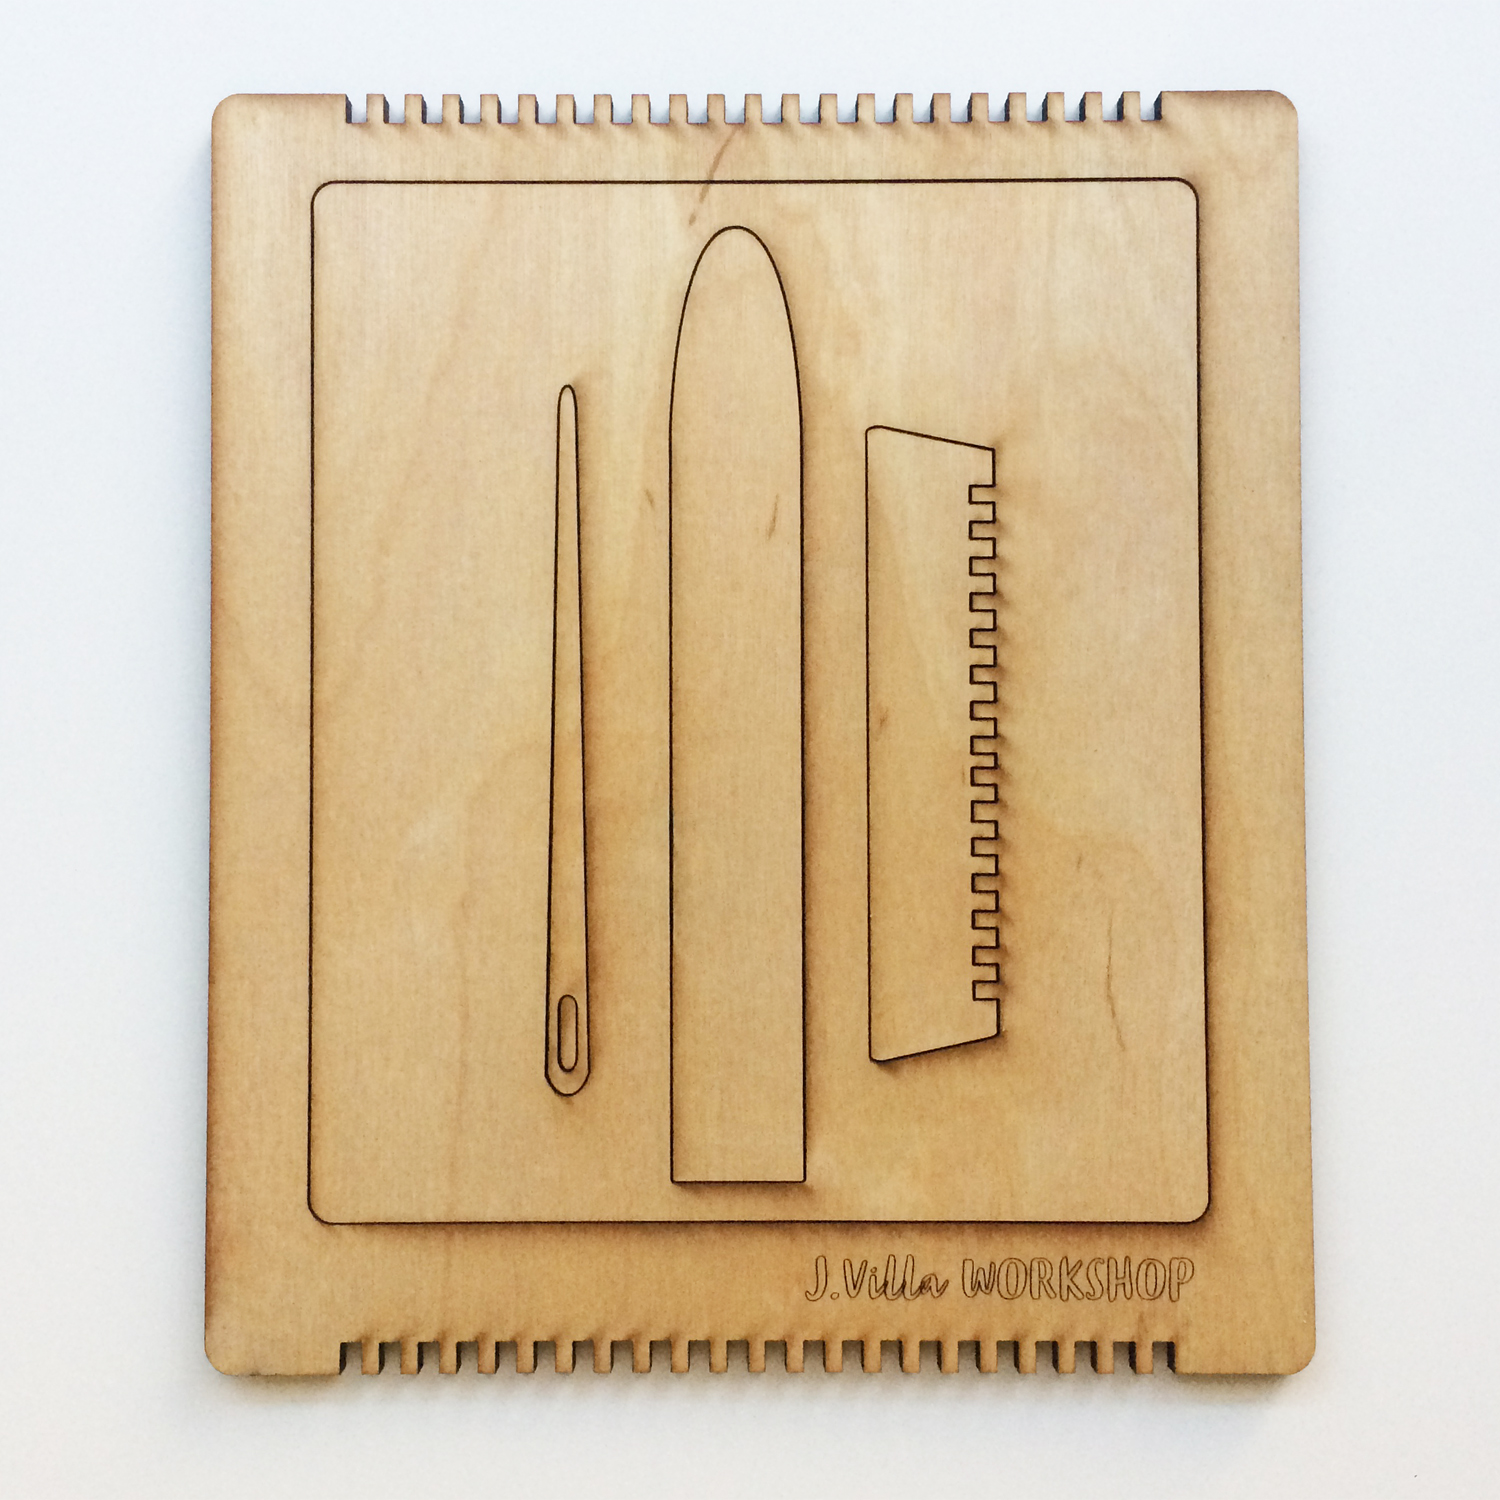
Peel the tape off the back of your mini loom to free the needle inside. The middle piece can be discarded. Note: Mini looms for children only have the small wooden needle, not the other tools shown here.
Step two, warping your loom:
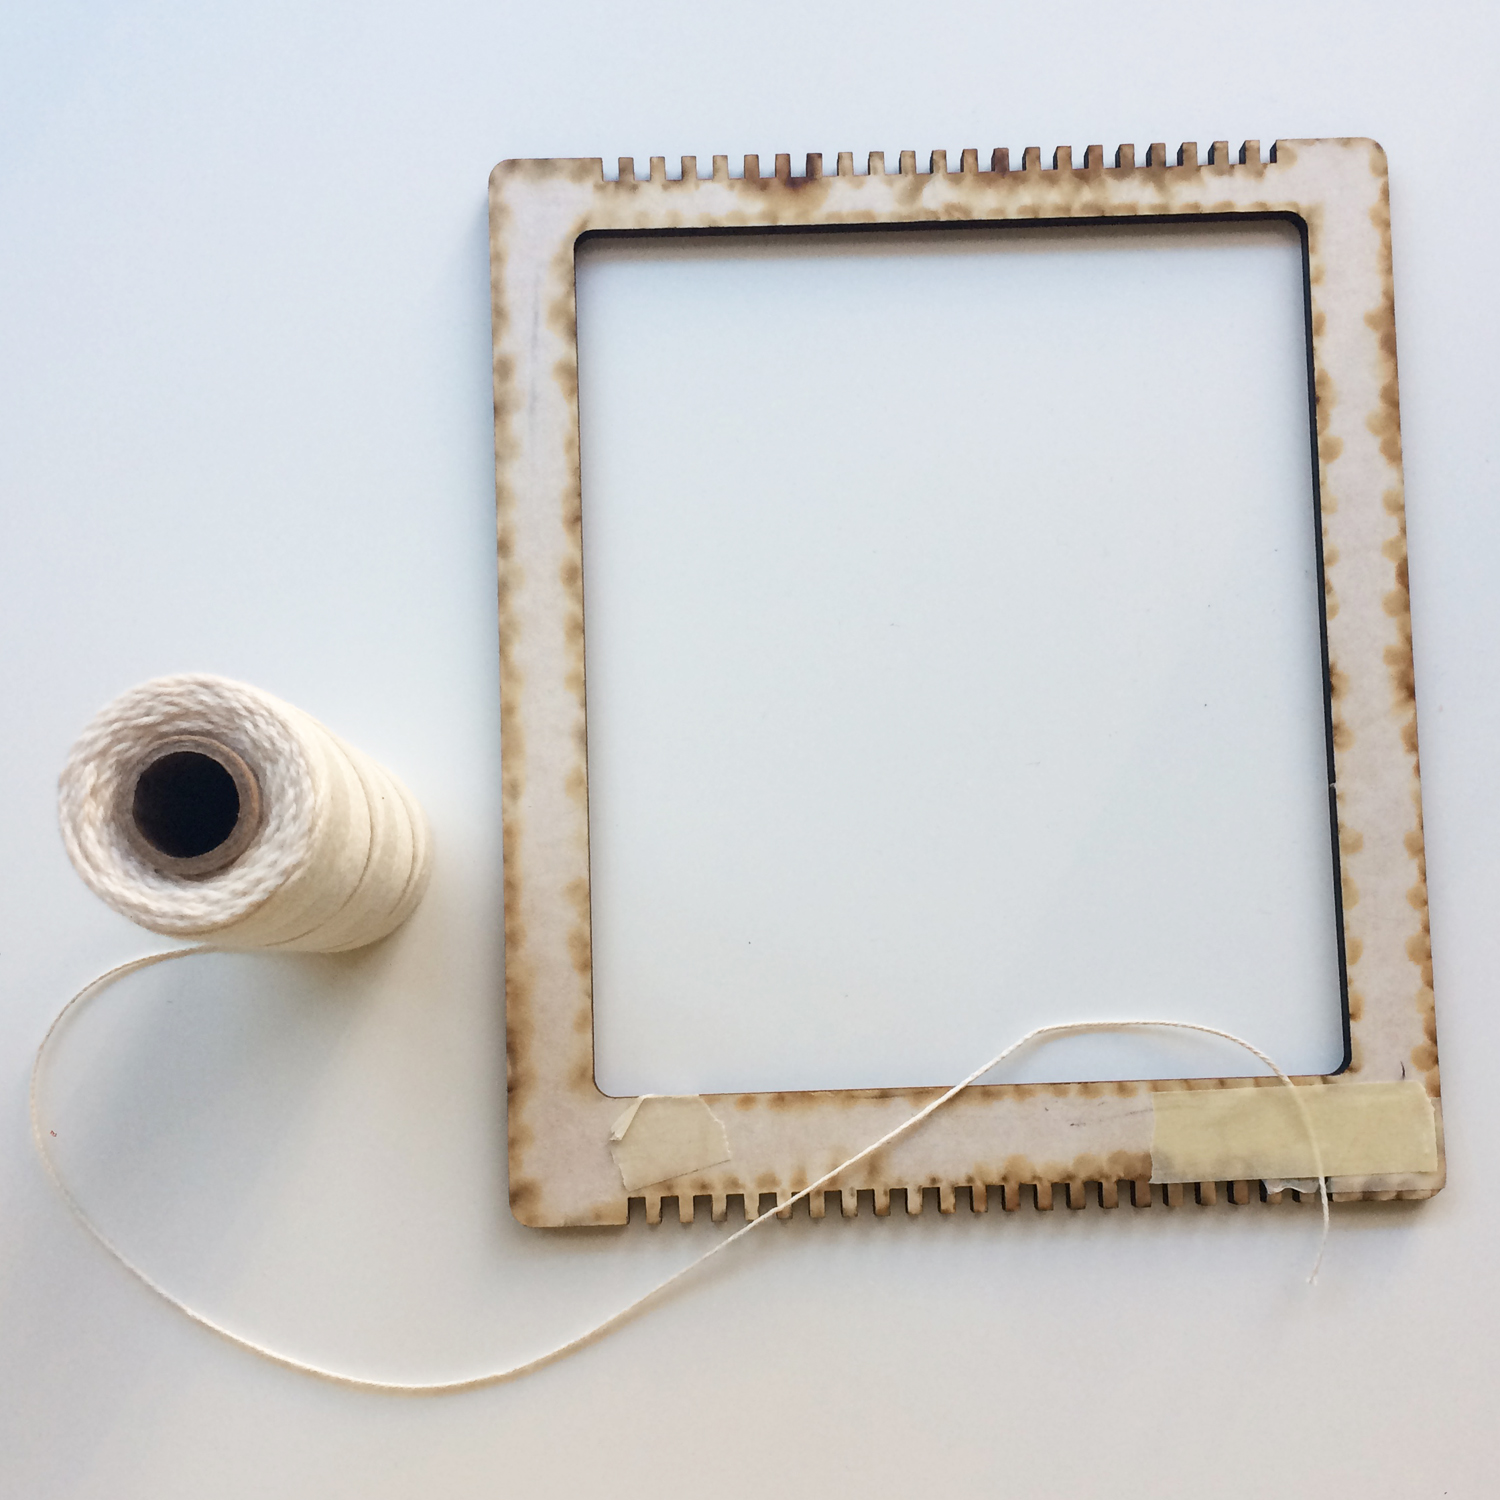
Using any strong string or yarn, tape one end to the back and bottom of the loom (bottom is where the J.Villa Workshop logo is).

Bring the string around to the front of the loom and go up to the adjacent groove at the top. Wrap around the tooth next to it and go back down to the adjacent groove at the bottom. Each time you get ready to go back up or down, wrap around the next tooth of the loom. These strings that go up and down are called the warp.
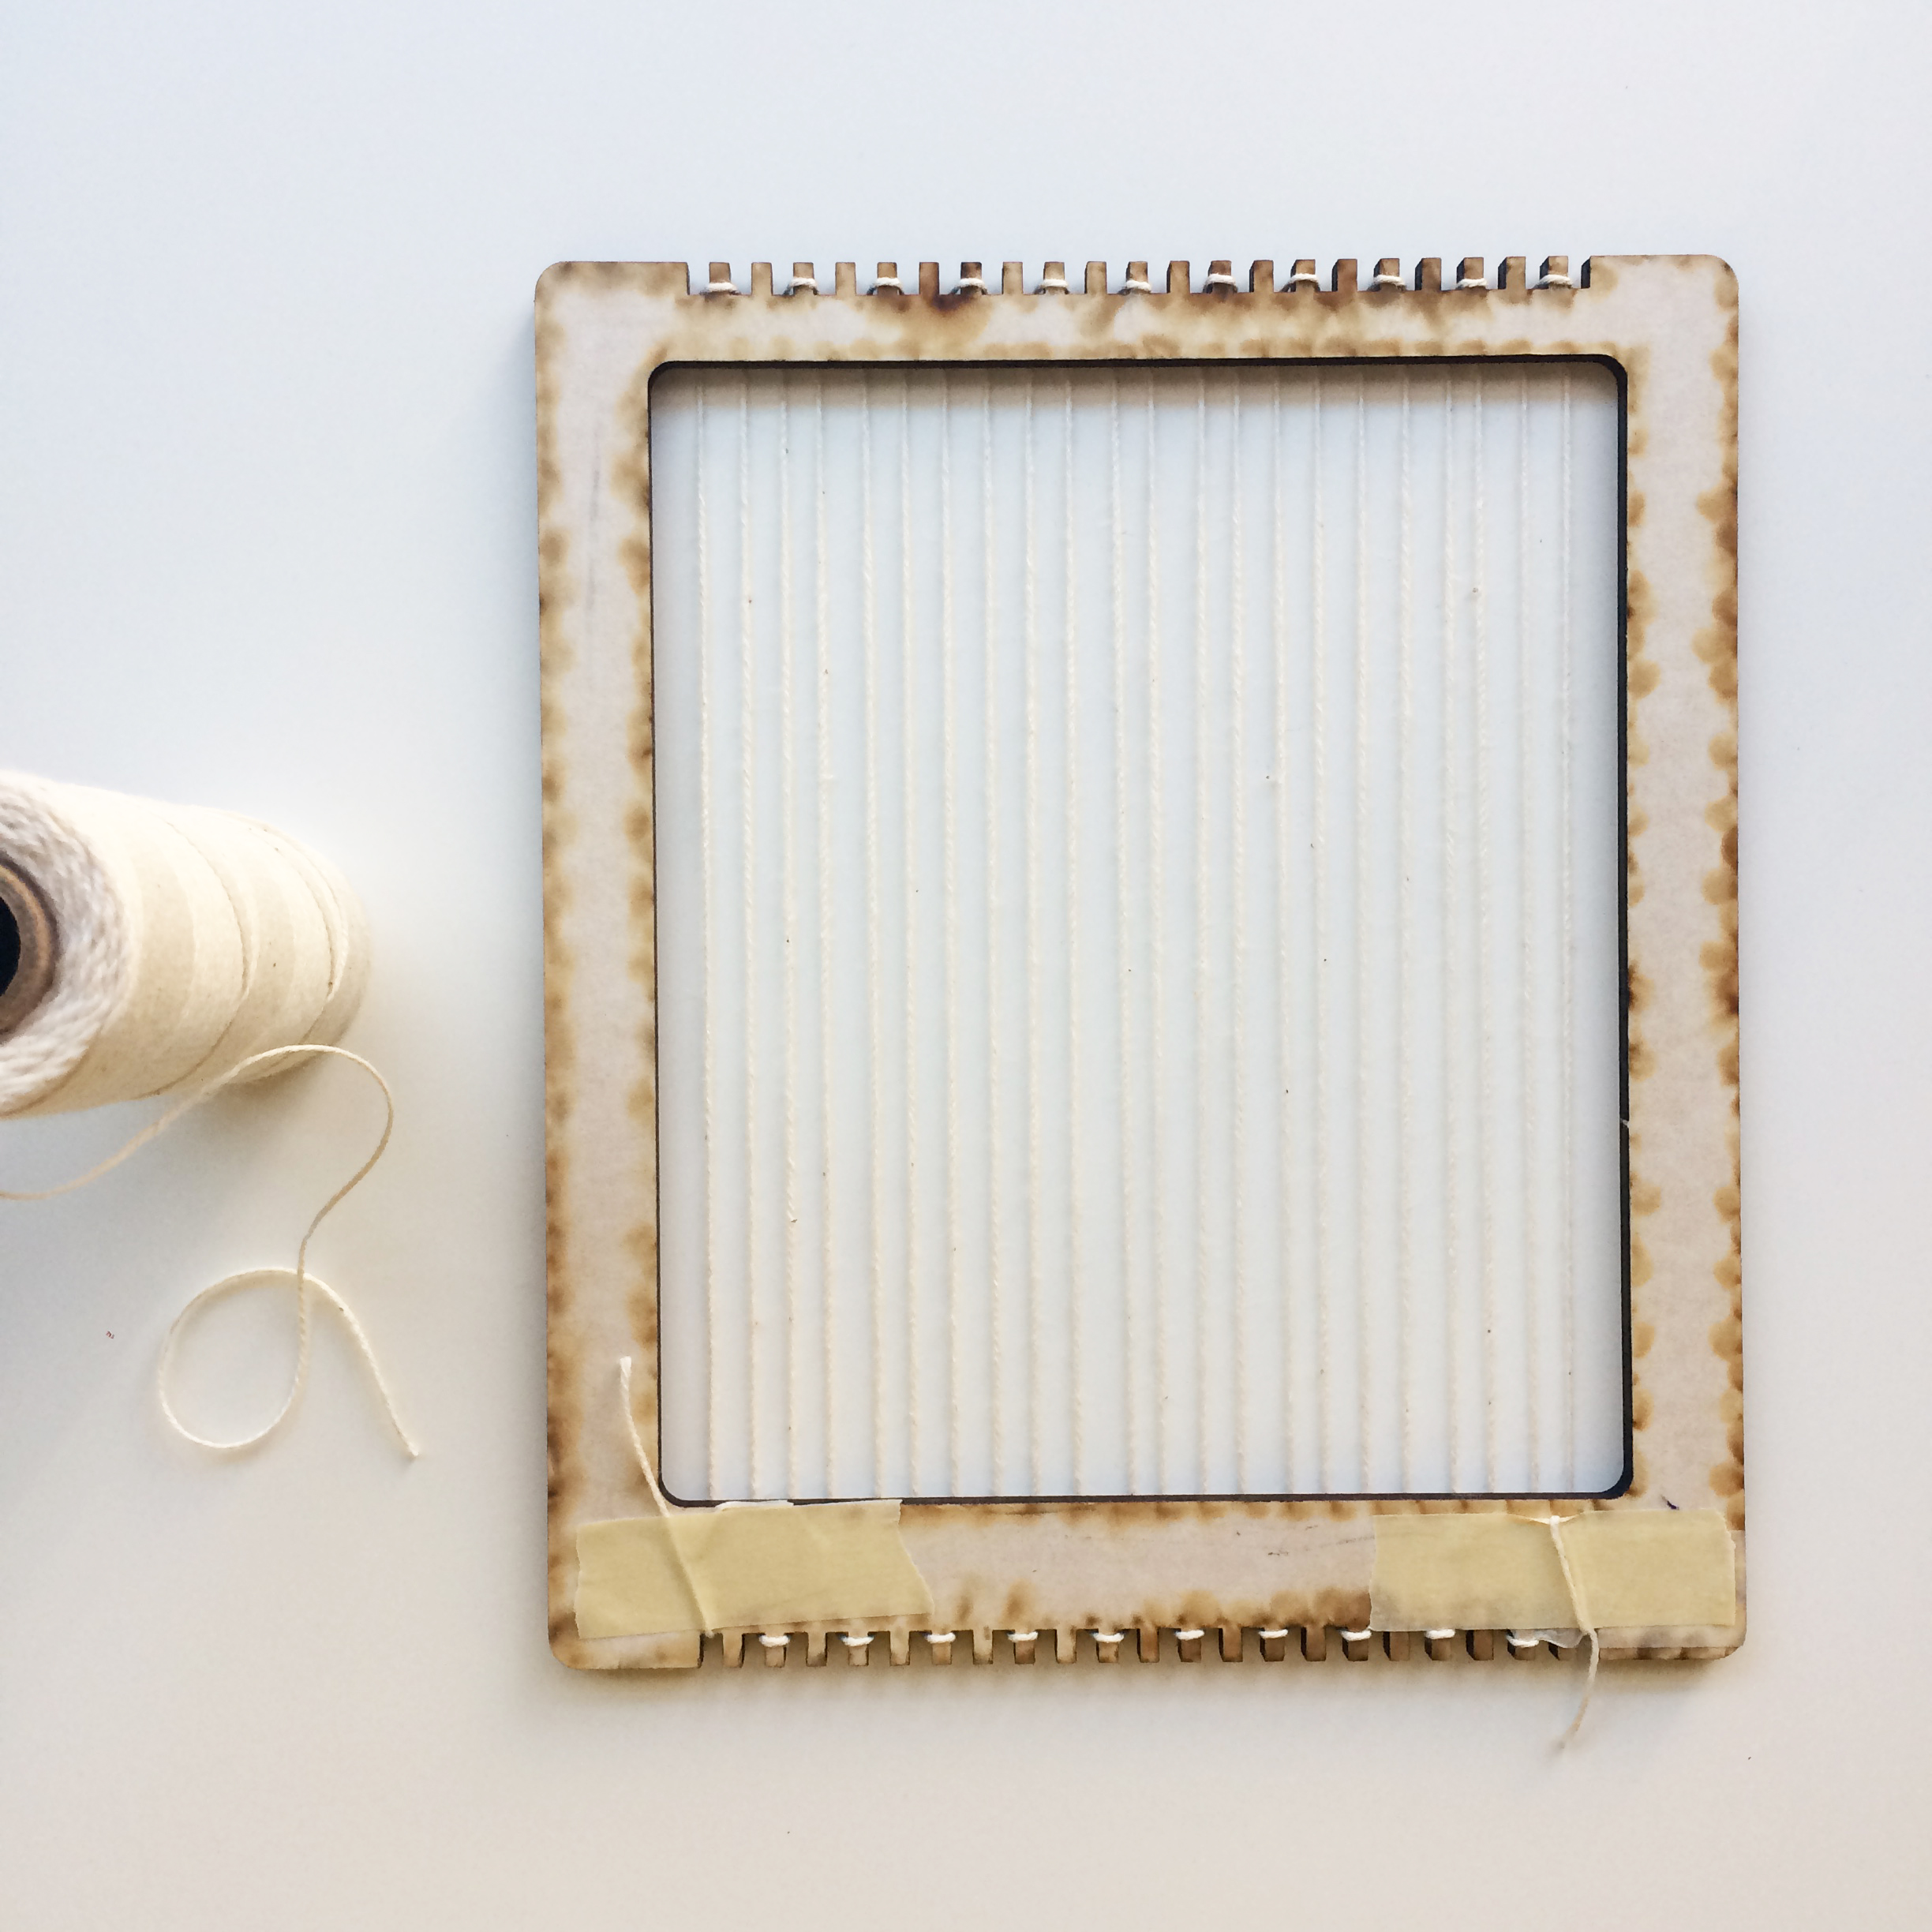
When you are done with the warp, cut the string and tape the end to the bottom.
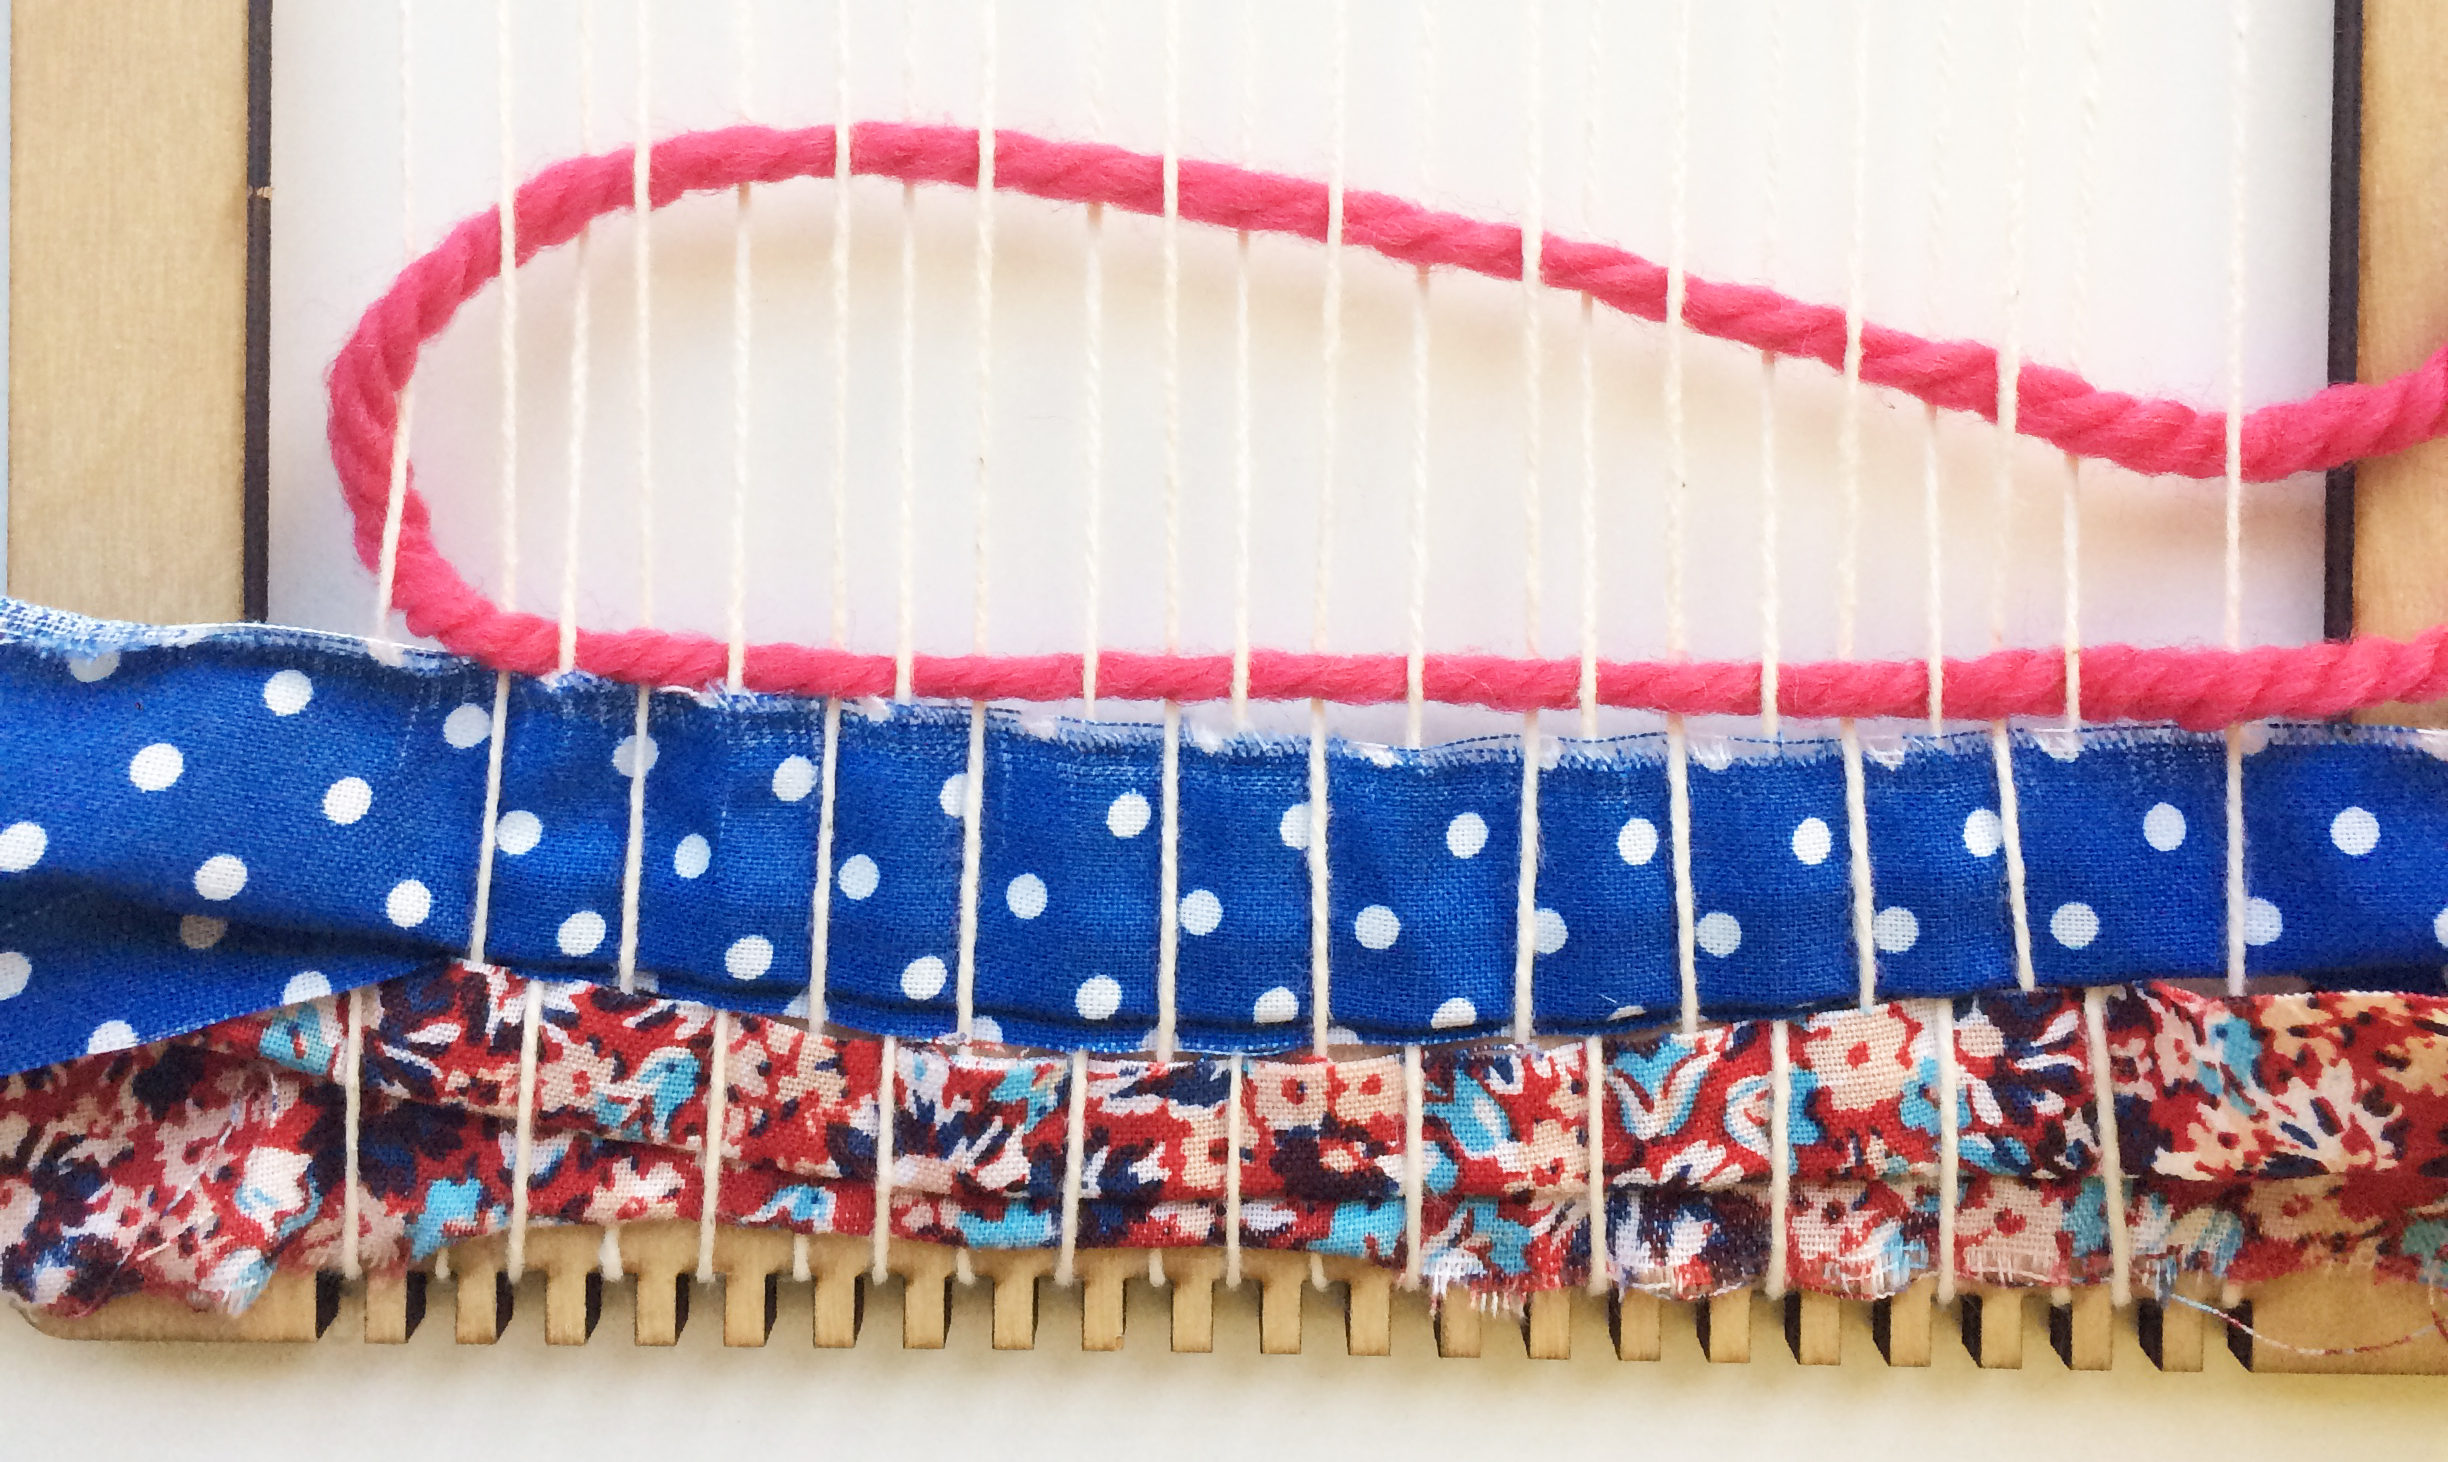
Step three, adding the weft:
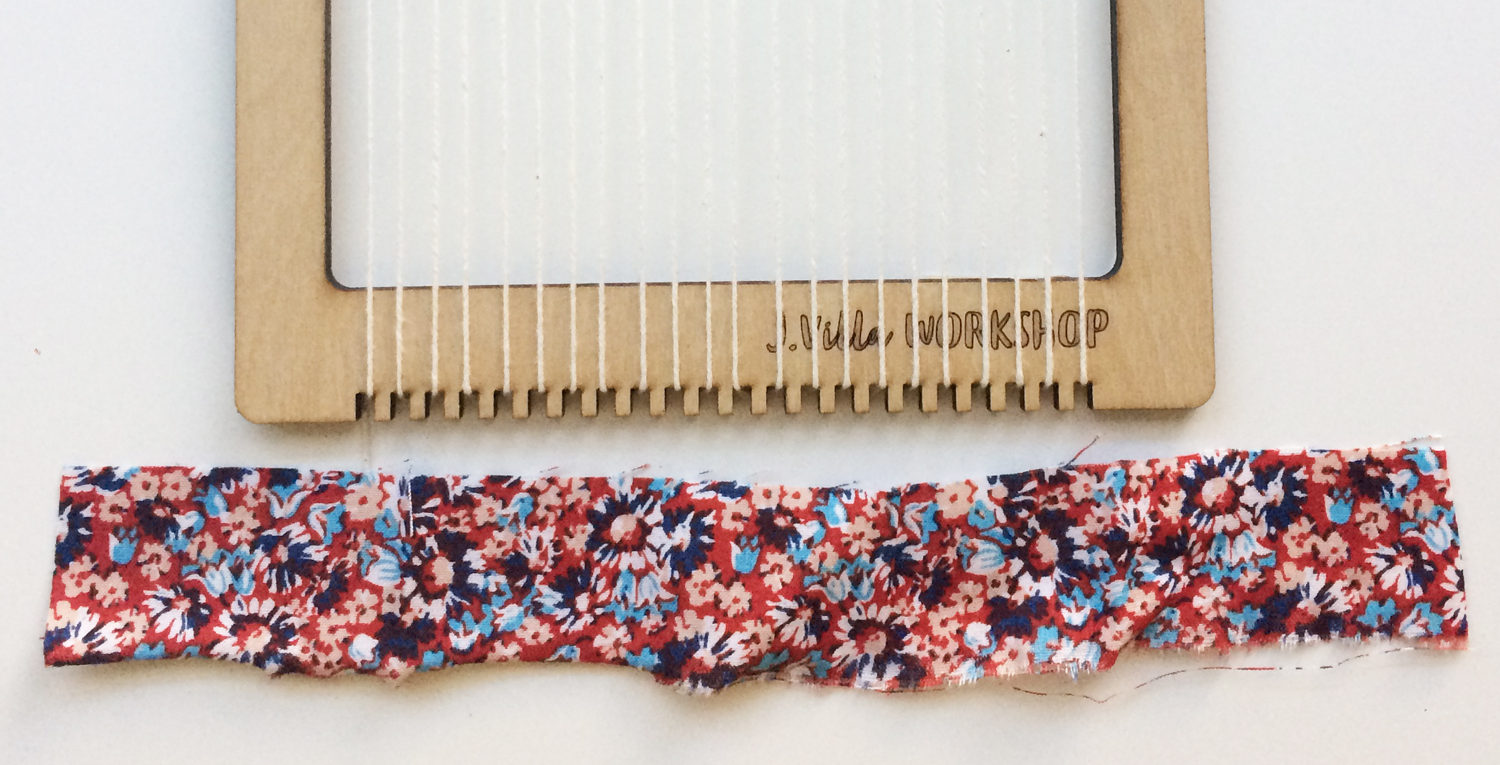
Cut strips of any material slightly wider than your loom. You can use fabric, yarn, string, pipe cleaners, natural materials, etc. These materials are called the weft.
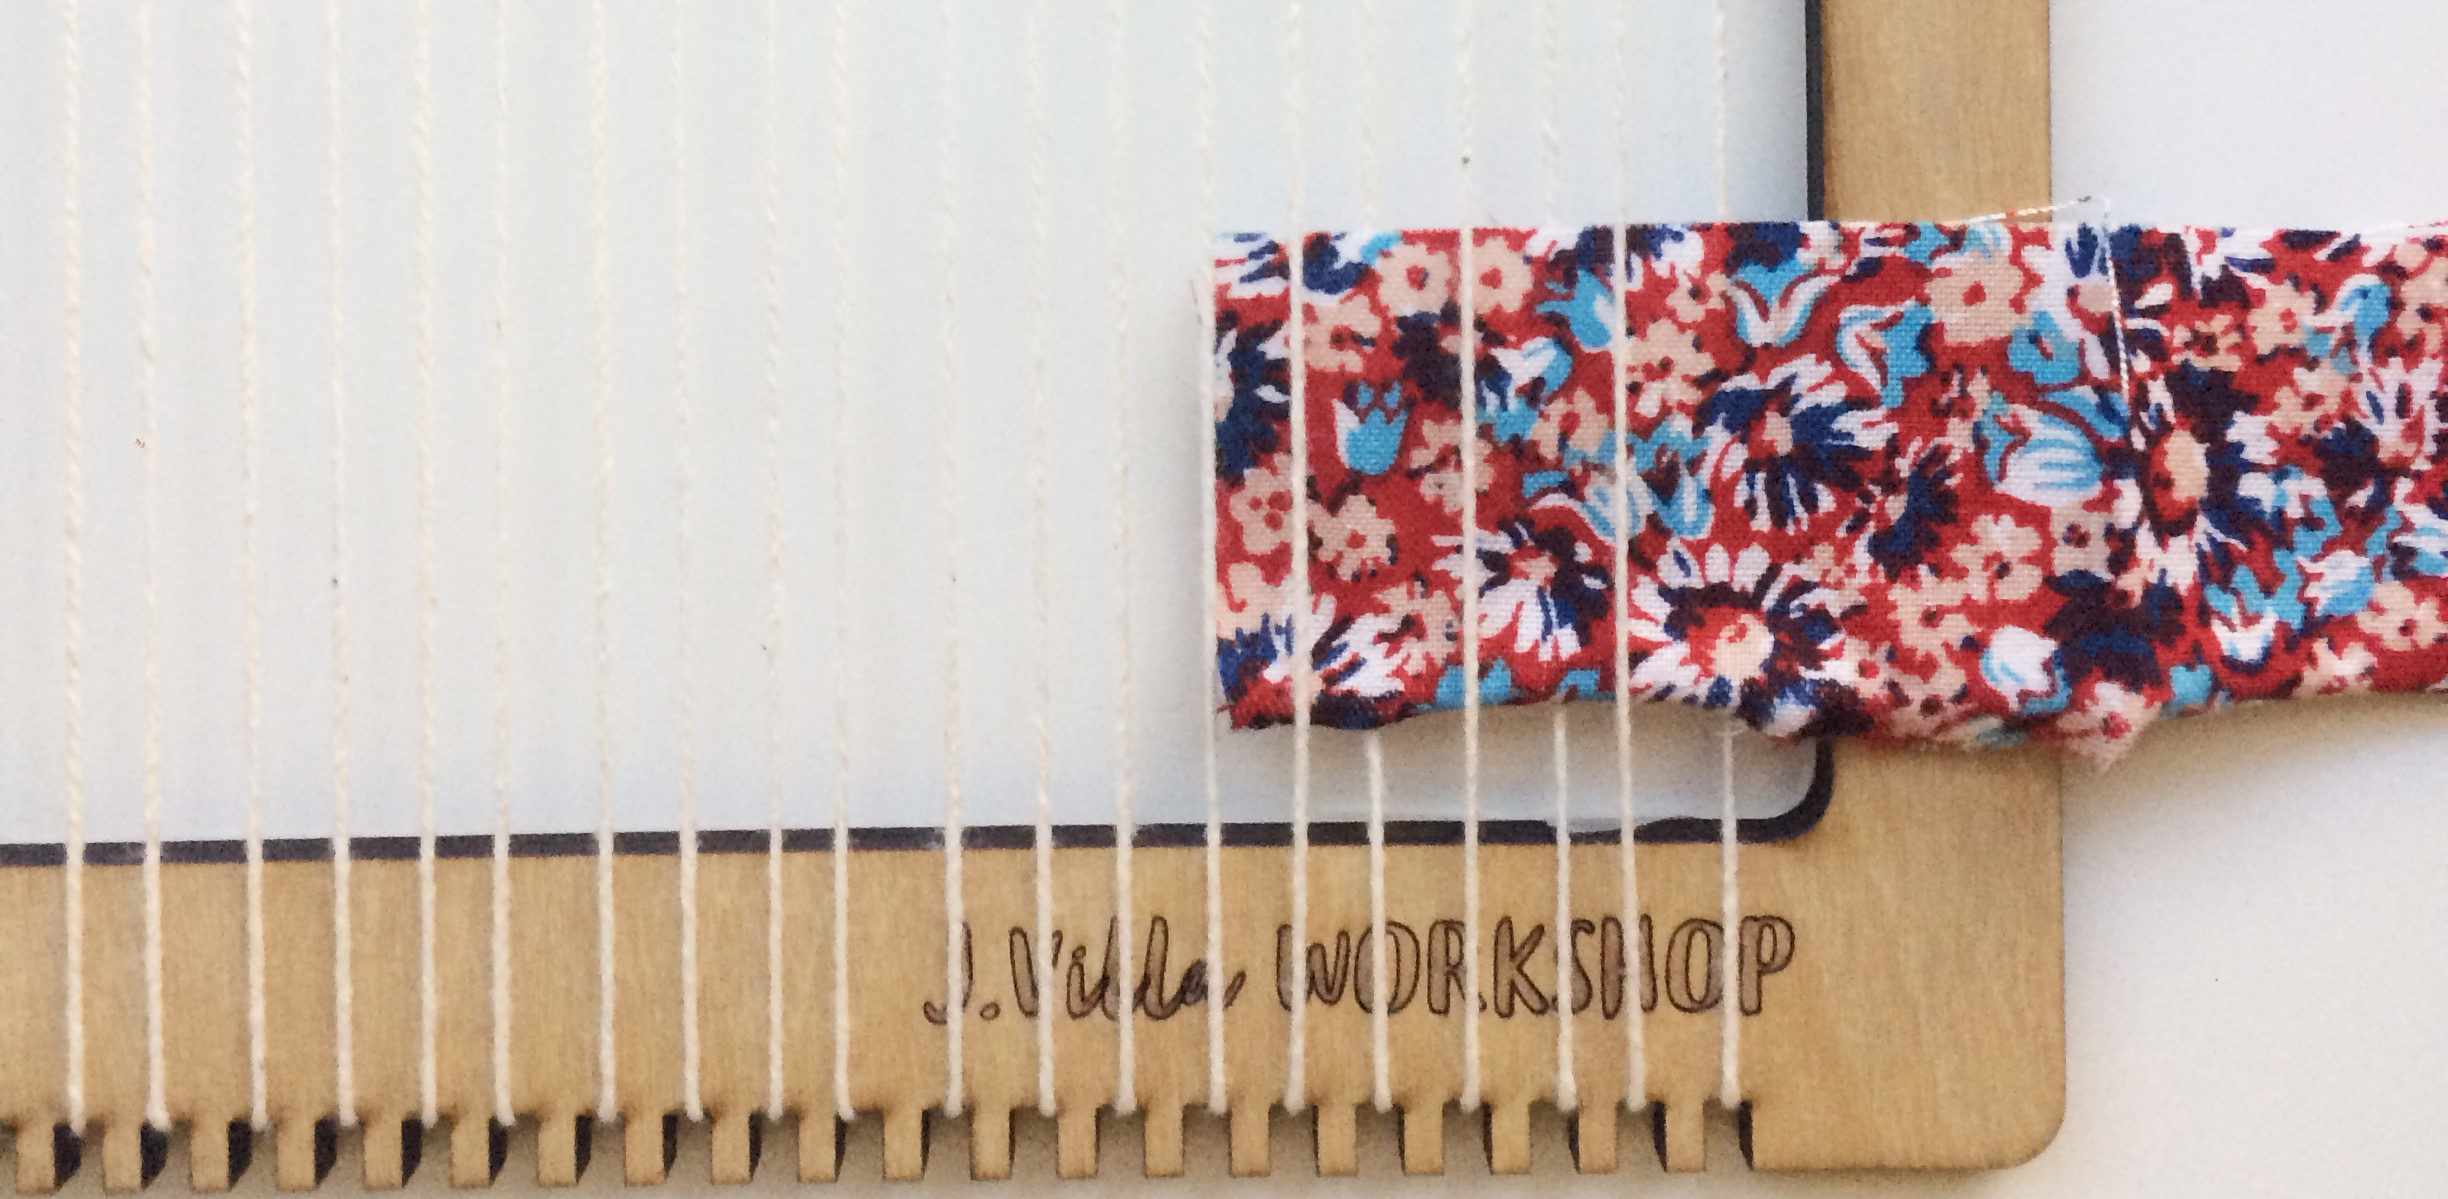
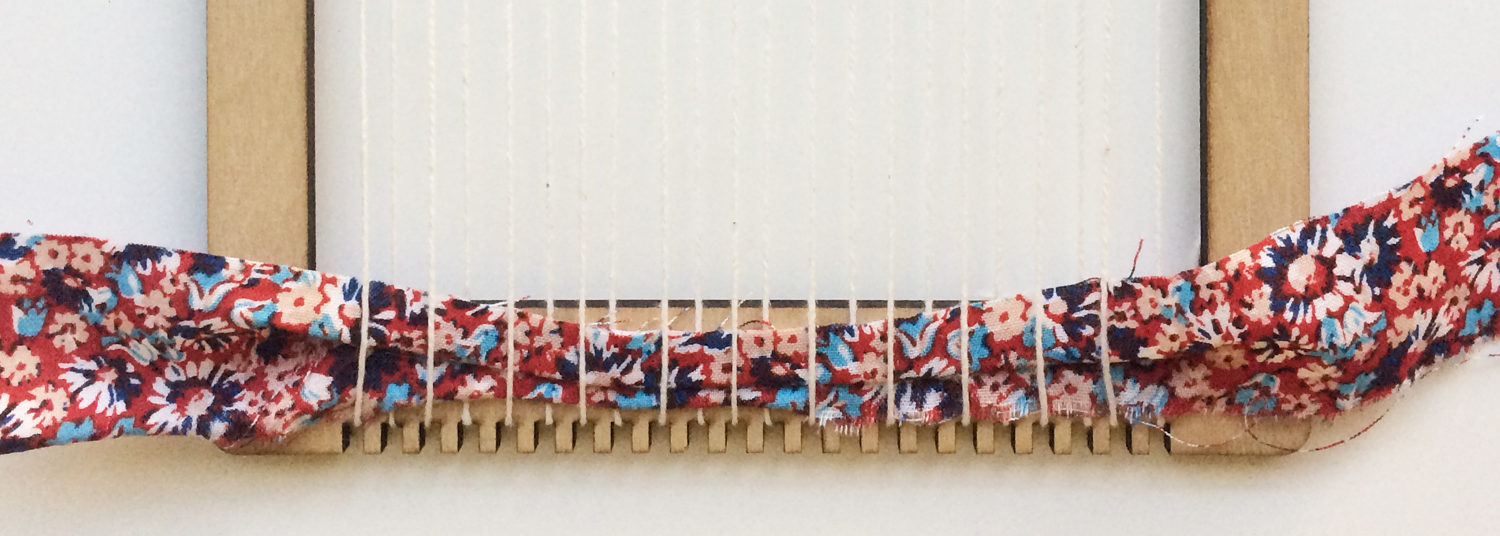
To start weaving, you can begin on either the right or left side. Begin feeding the material in going over the first warp string, under the next. Repeat until the whole piece of material is woven in.

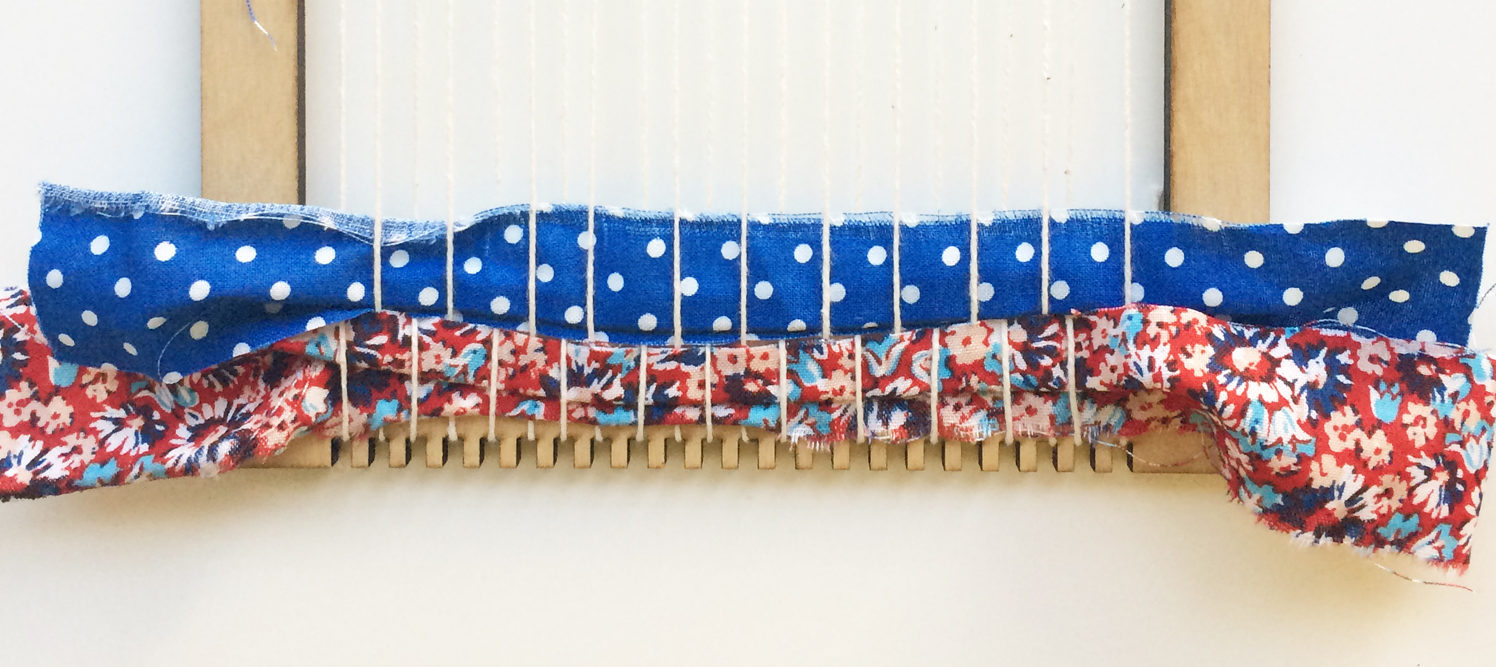
To add the next piece of material, weave it in the opposite way you started the first piece. If your first piece went over-under, your next piece will start under-over. Each new piece you add is doing the opposite of the one below.
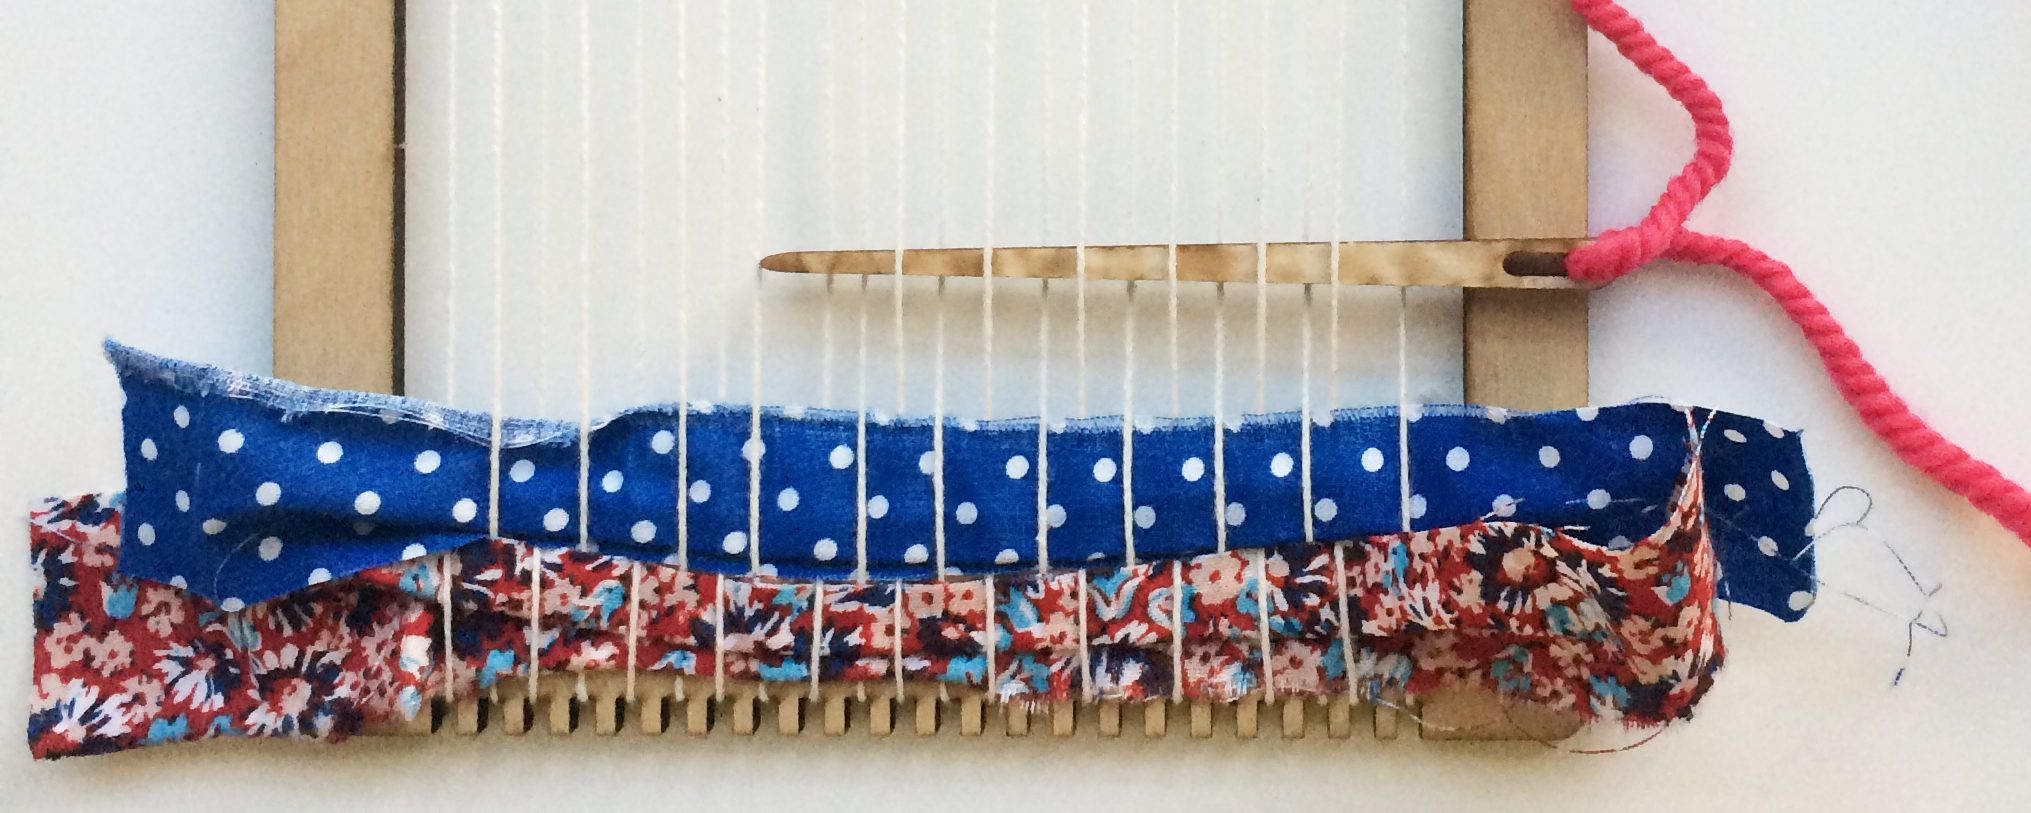
You can use your needle when weaving with string and yarn. Simply put the piece of yarn through the eye of the needle and tie a small knot to keep the yarn from coming out of the needle, if need be.
If your string is long enough, you can turn around and go back the other way. Remember to do the opposite of the row below.
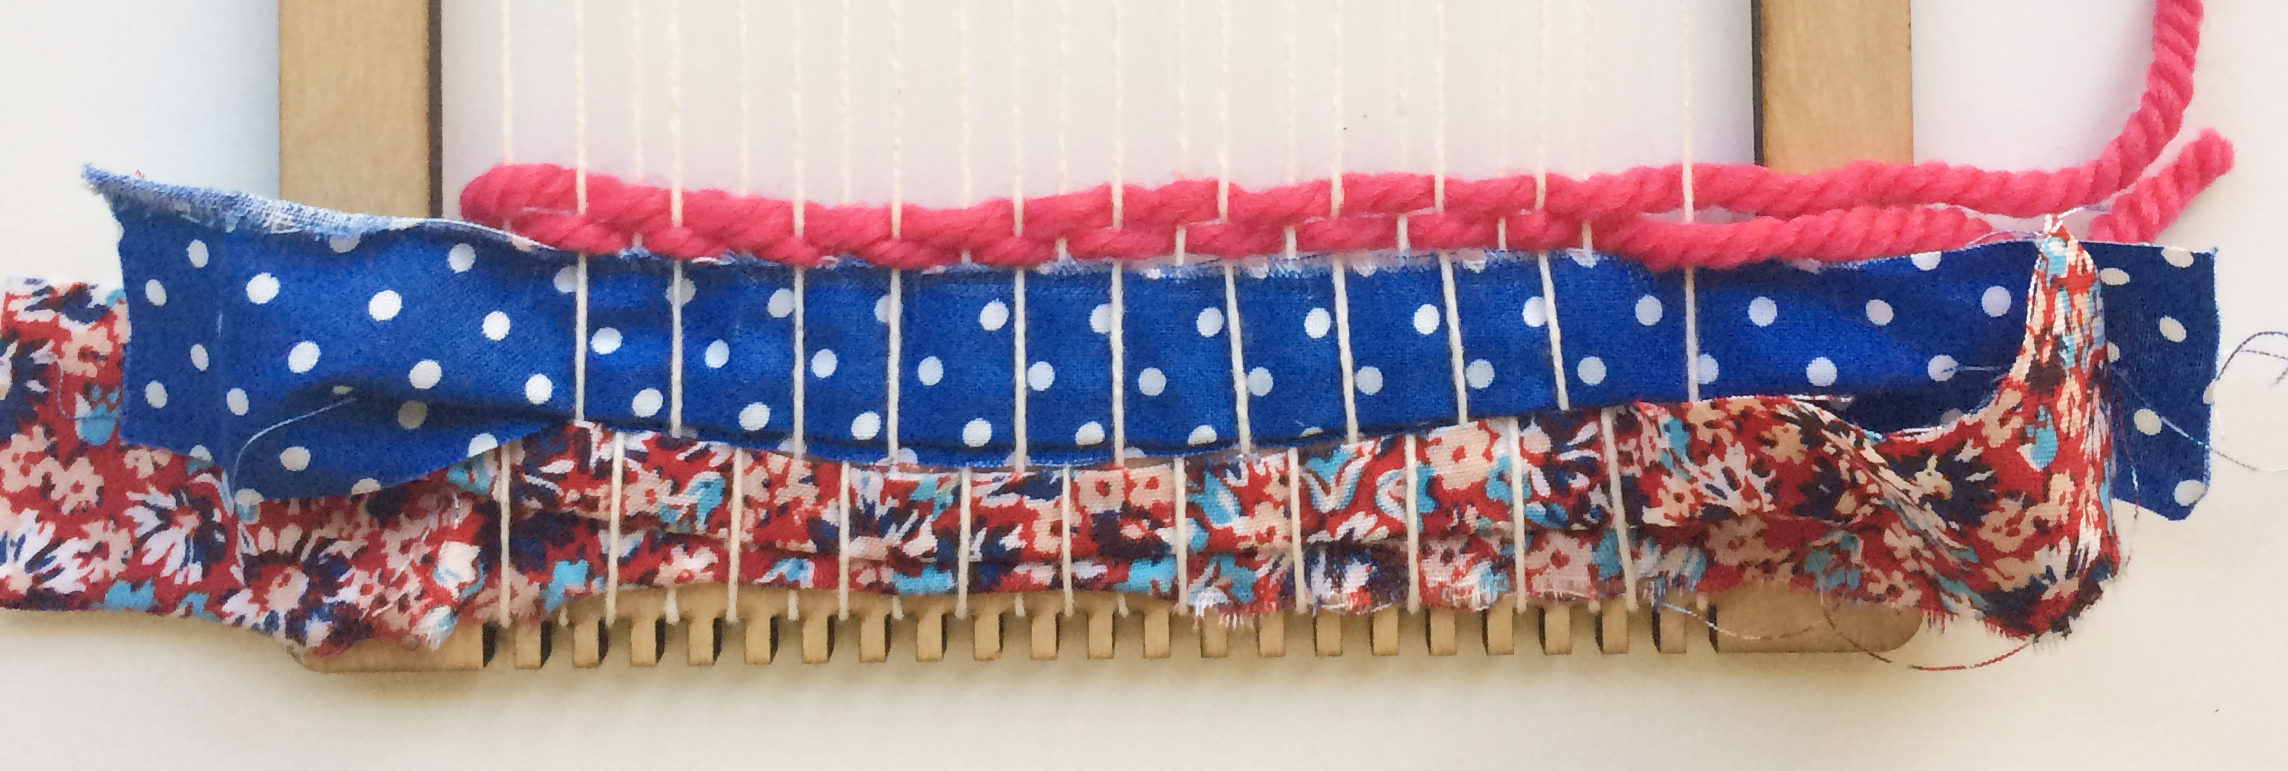
Push the material down as you continue to weave. Keep adding your weft material until you are at the top of the loom.
Step four, finishing your weaving:
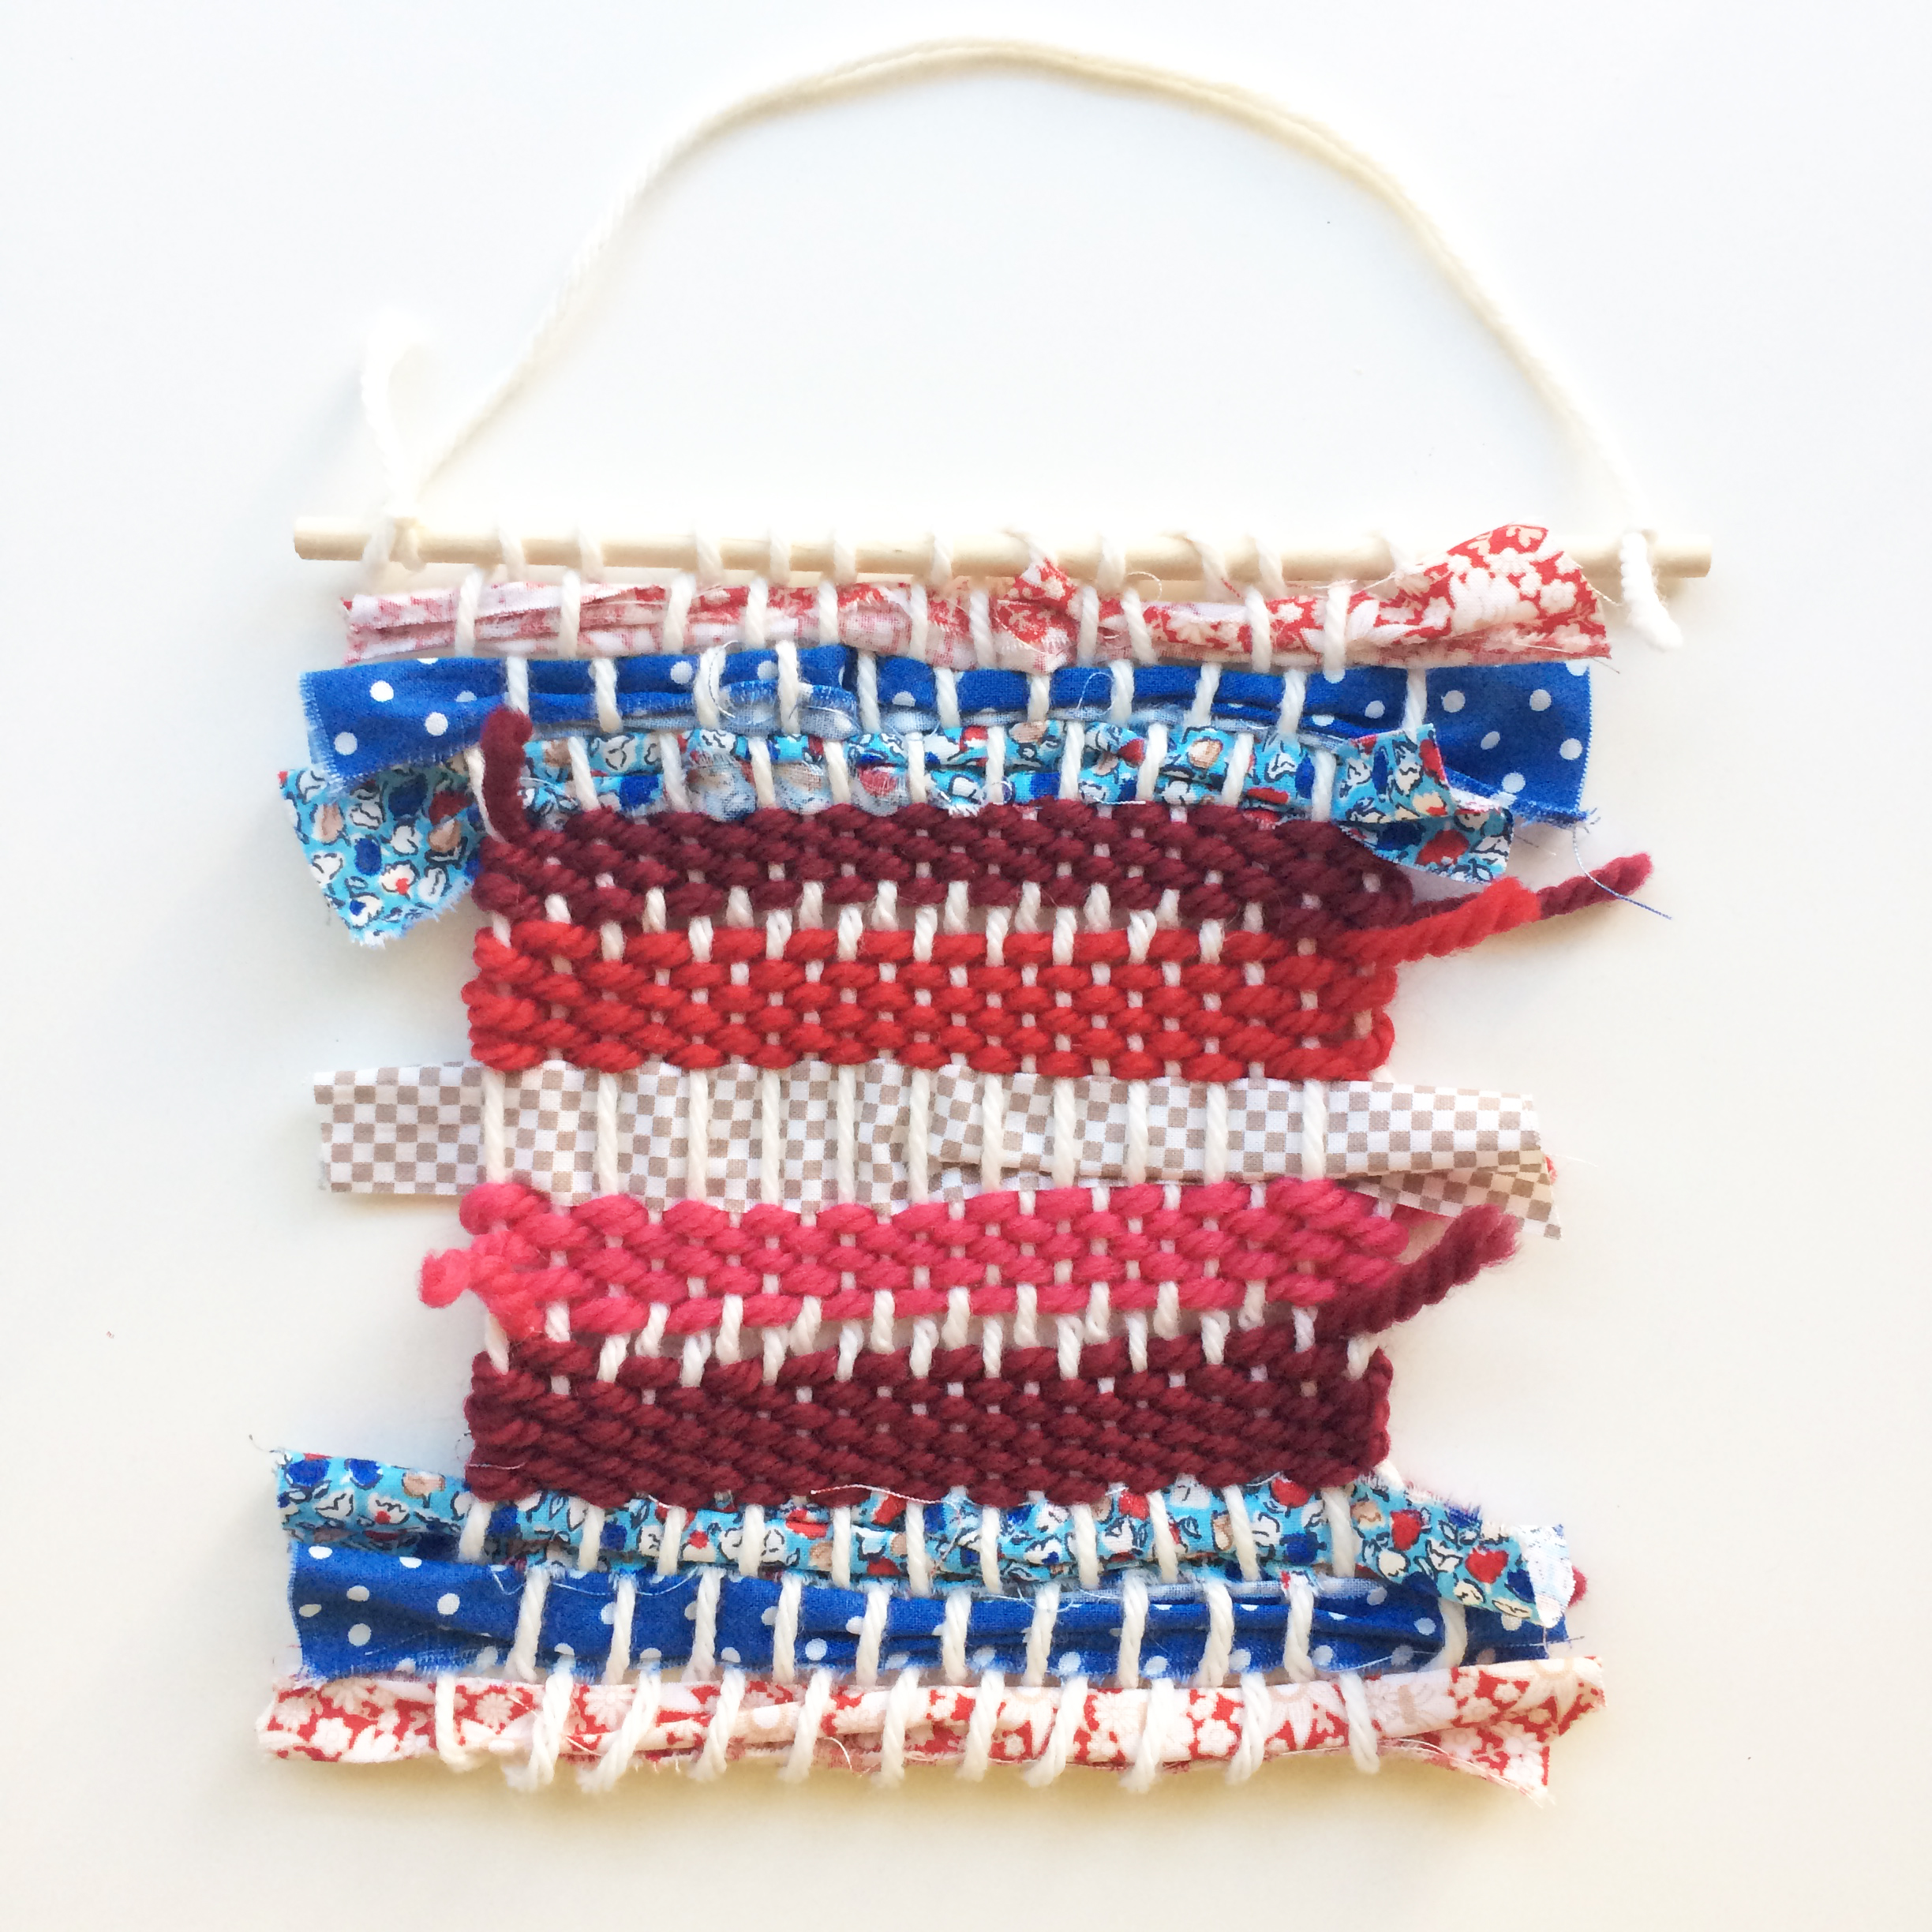
When you are done with your weaving, pop each warp string off the bottom of the loom. The two end pieces can be taped to the back of your weaving to secure them. Then, carefully lift your weaving off the top of the loom and place a dowel rod through the warp strings at the top. Add a piece of yarn to the ends of the dowel rod and hang your weaving in your favorite spot!
Joslyn Villalpando of J. Villa Workshop, is a working artist and art educator in Chicago. She spent 8 years teaching elementary art in Chicago Public Schools. While teaching, she completed a master’s degree at the School of the Art Institute of Chicago (SAIC), studying the impact of craft and fiber art on art education. Her small research group of young participants grew into a little community while learning to weave, sew, embroider, spin, and dye; sharing the stories, memories, thoughts, and ideas that arise when creating together.