White Wood Floors Tutorial
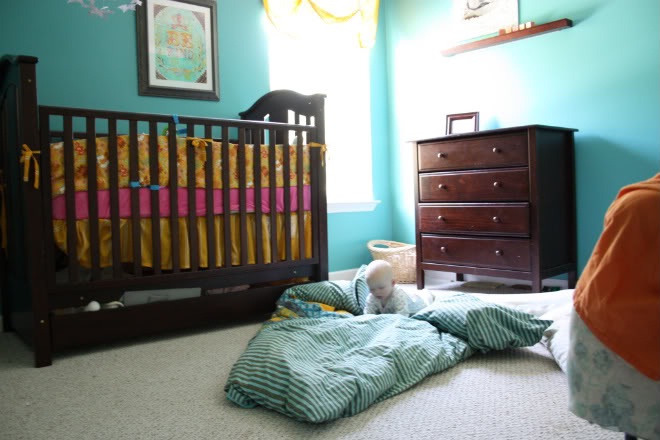
It all started with lovely, perfectly good carpet. Then a bloody nose (which looked more like a crime scene) made it not so perfectly good. That, combined with a nearly-ready-to-crawl baby, motivated us to pursue a cleaner, less allergenic (is that a word?) option for the nursery floor.
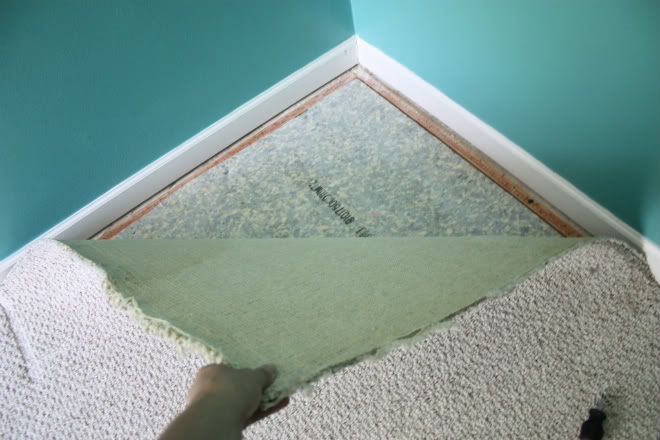
It definitely took some cahones, but one day I just grabbed at one corner and started pulling.
I felt a little guilty pulling up perfectly good padding underneath, but I was focused on my goal. After the carpet and the padding came the tedious job of pulling up all the nail strips and staples. I recommend having a buddy or music or something for this part or it can get pretty long and frustrating.
Once all the nails and tack strips are up, vacuum the room really thoroughly.
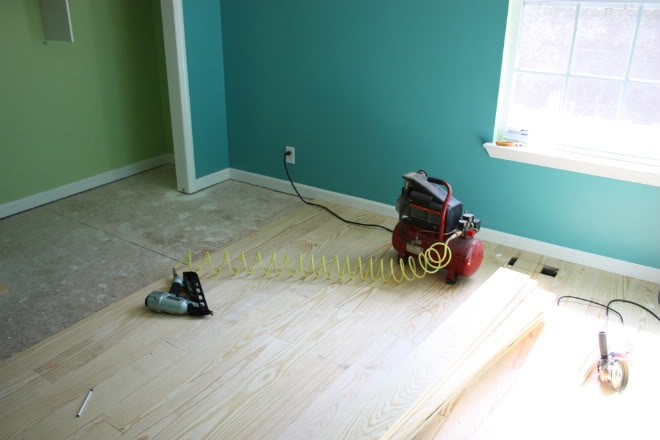
Next came the fun part: actually laying the wood and seeing things come together.
We used 6″ wide southern yellow pine purchased at Lowe’s or Home Depot, I can’t remember which. Ryan spent the better part of an hour in the lumber aisle hand picking each plank for straightness and uniformity. (My job was to cart the kids around the store, gathering our other supplies and finding a quiet part of the gardening section to nurse a very insistent baby. Yes, that happened. Not my favorite moment, but we pulled it off.)
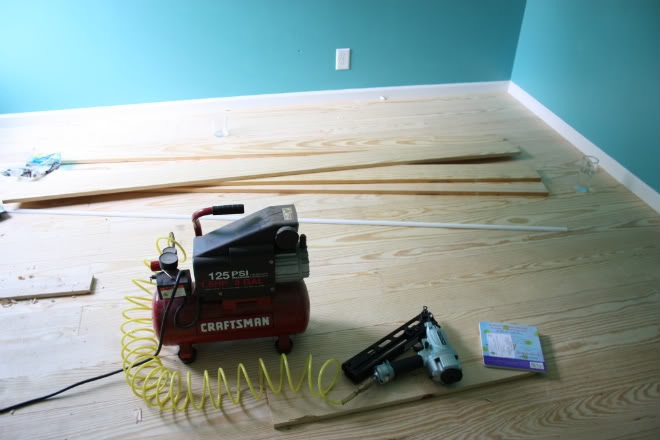
I wish I could tell you lots of useful details about the laying of the wood, but that really was Ryan’s job. He used a pretty hardcore nail gun per the suggestion of the Lowe’s employee who was concerned that the boards might creak if you didn’t tell them who’s boss. He started at the back of the room and made his way to the front, using a chop saw to cut the boards to size.
We decided that we definitely wanted the wood to continue into the closet and that was a little tricky but we figured it out. There’s actually a tool you can purchase for about $14 that helps you cut your door frame trim higher to fit flooring under it. Nifty.
Also, at the back of the closet we needed to rip (cut longwise) a few boards. We didn’t have a table saw at the time (bought one at a yard sale the following weekend for $15. Blerg.), so the cuts were a little choppy – nothing a little quarter round couldn’t hide.
Ryan was tempted to leave it unfinished. It really was pretty, but I was focused.
Besides, I’ve always wanted to roll paint right onto a floor. Kinda hard to mess up.
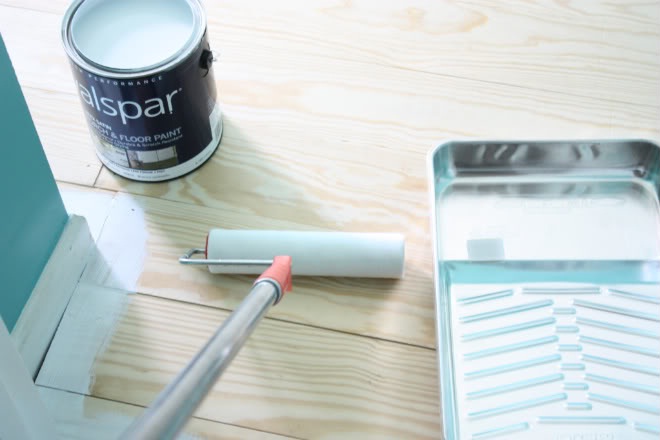
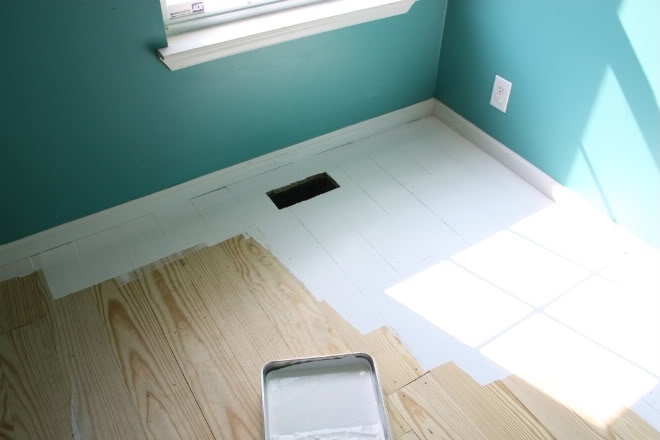
I used porch and floor paint and a really low-pile roller cover. It took about 3 coats and it was honestly so much fun. At one point I threw restraint to the wind and sloshed a big glop on the floor to push around. I’ve always wanted to do that.
(Note: if you want more cracks and pits to show in the end, don’t slosh your paint on the floor. It fills the pits, which is just fine and maybe even desired if you want things to look nice and solid. But if you want things to have a more rustic look, no sloshing.)
(I think the above picture was taken after the first coat.)
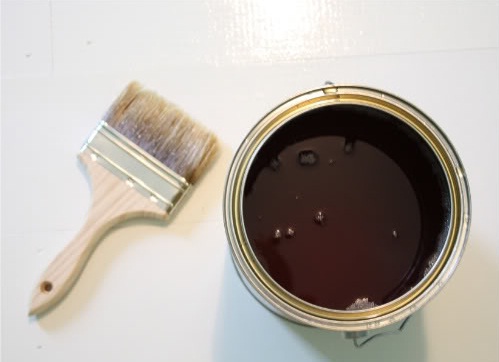
After about three coats, protect your hard work with polyurethane.
This is the part where you get to learn from our mistakes though. We naively purchased clear satin polyurethane thinking it would dry, well, clear. But, when the final coat dried, there was a bit of a yellow cast in some areas. It wasn’t bad – in fact, we thought maybe our eyes were playing tricks on us – but a quick Google search told us that oil based polyurethanes will have an amber cast that will get darker with time. Dern it.
So, hear me now: buy WATER-BASED polyurethane to finish your floors. You’re welcome.
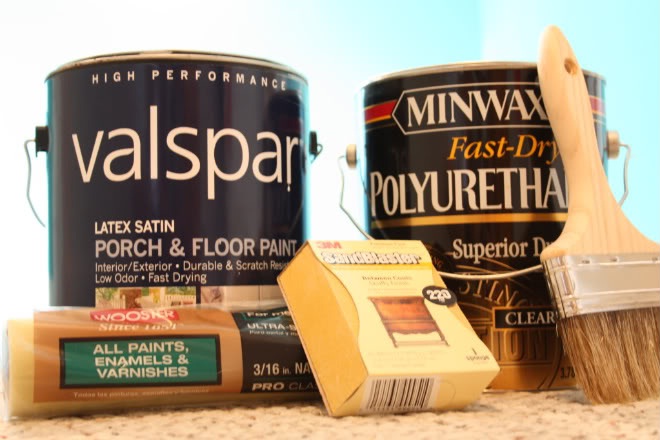
In conclusion, here are some of the supplies we used and what we learned about using them:
Floor-Finishing Tips:
- Use latex satin porch and floor paint – rolled on with a low-pile roller and cut in the edges with a regular paintbrush.
- Use water-based Satin Polyurethane
- We rolled the first coat of the varnish on with a foam roller and quickly learned that it wasn’t the right tool. It left bubbles. You can use a Wooster Floor Applicator (a block of wood with shearling wrapped around it) and you’ll be very happy. Also, you can cut in the edges with a natural bristle brush.
- We sanded the first coat of varnish really thoroughly with fine sanding sponges and cleaned the floor well before applying a second coat.
After we got the carpet up and the wood down, the rest of the steps didn't require a lot of manual labor. The curing time between coats and the odor from the varnish were the hardest parts. Fortunately, we managed to keep everyone out of the house most of the time.
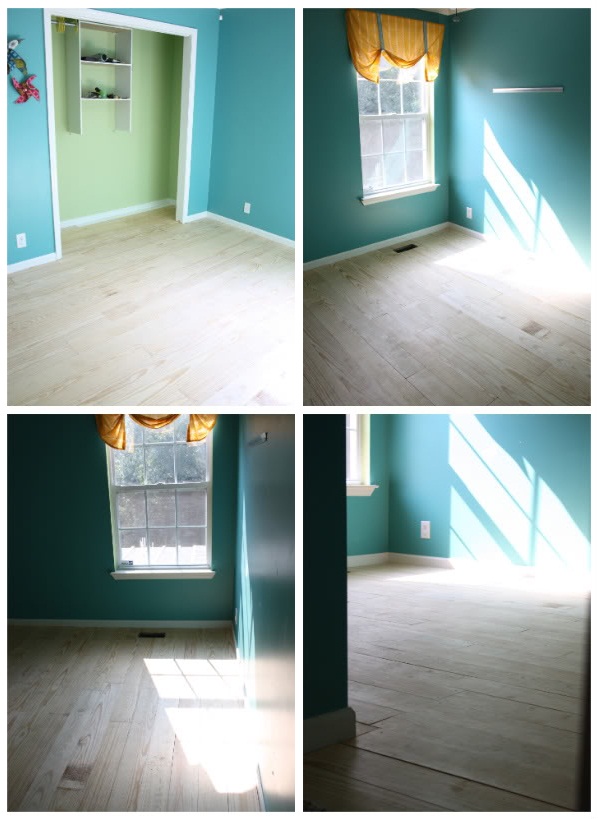
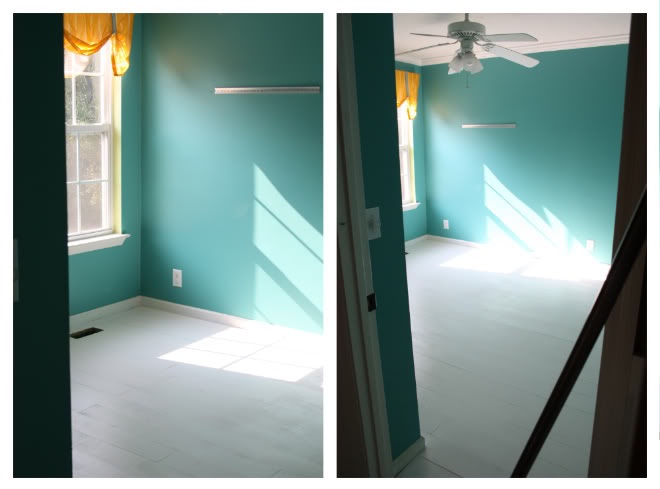
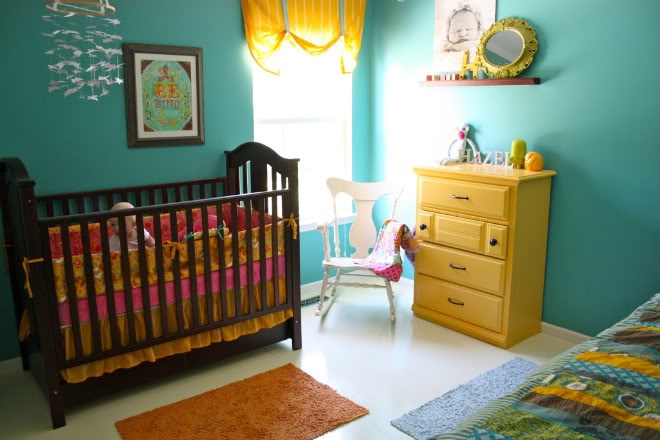
So, 1 weekend, 40 planks of southern yellow pine and a couple of good sloshes of paint on the floor later, we upgraded the kids’ room from this:
COST:
Each 1x6x8 board ran between $9-$10 for us. You do the math with your own square footage. Other than that, you will need a gallon of paint, a gallon of varnish, brushes, quarter round (if you choose to use it) and a new register cover in our case. All said, for the kids’ room (I think it’s about 11′x12′ or so) we spent $400 give or take. (It will be more if you need to buy or rent a nail gun and air compressor.)
OTHER QUESTIONS:
How smooth is it to walk on? It really is just like any other wood floor. I would say that there are probably places where it’s a little higher or lower than others, but we never notice it.
Does it scratch easily? So far, so good! That was part of why we put down two good coats of polyurethane. That way, if something scratches, it’s the finish and not the paint.
How about showing dirt? How are you cleaning it? I just broom sweep it regularly and I’ve been using diluted lysol liquid floor cleaner less regularly than I should be. :)
By Raechel Myers at Finding My Feet
Raechel is just a mama, trying to raise her children to love the Lord and take their dishes to the sink. She loves sewing, fun design projects, finding killer deals at garage sales, and drinking peppermint mochas all year long! You can also find her at SheReadsTruth.com.
