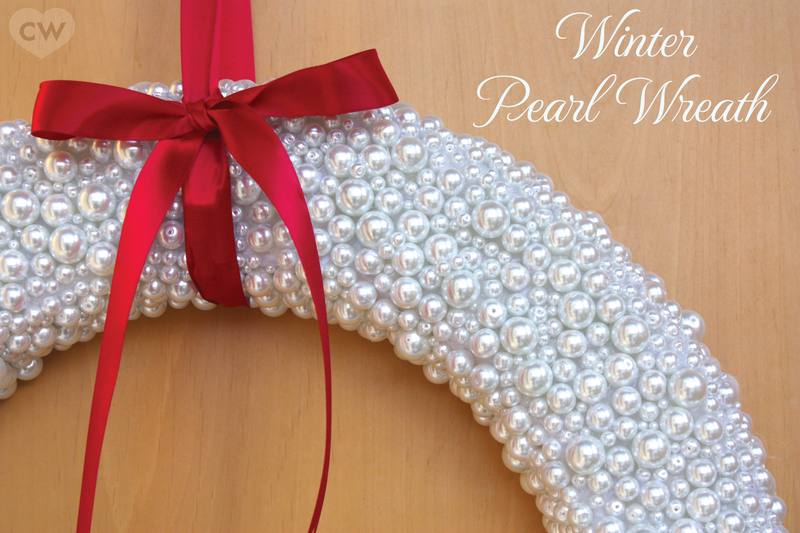
Winter Pearl Christmas Wreath
Post by Christina Williams of justcallmechris.blogspot.com

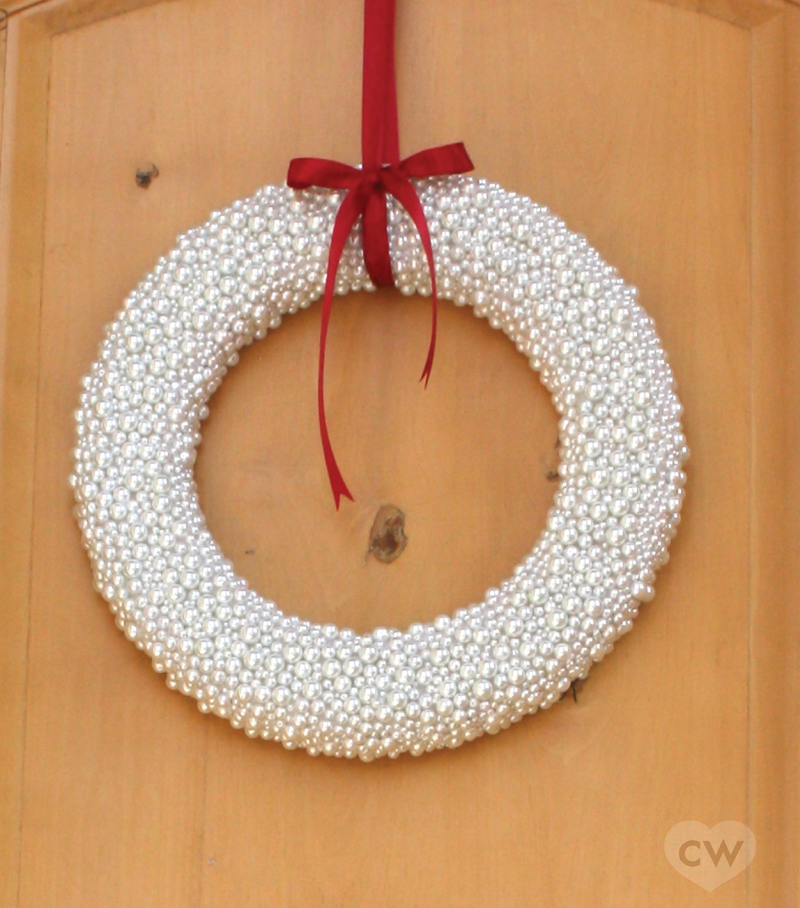
I’ve been dreaming of doing this winter pearl Christmas wreath project for several years now…but the stars never quite aligned in my favor. This year, however, I made it happen. It was a real labor of love, but I’m so happy with the results. I designed and made these wreaths for a display window of a brick and mortar store in my hometown. The whole window was done in frosty whites, pearls and tiny white lights, and turned out really beautifully, if I do say so myself.
Pardon that scrawny red bow on the wreath. I needed something so I could snap a quick photo before I sent these babies onto their final destination, and red was the best I could do. But the finished product actually has a beautiful white bow at the top, so just use your imagination. Thanks.
Anyway, if you’d like to make a pearl Christmas wreath of your own, here’s how I did it:
Supplies: wreath forms (I used 18″ white foam wreaths…the biggest I could find.) Keep in mind, though, the bigger the wreath, the more pearls you need. White grosgrain ribbon, pearls (I used an assortment of 4mm – 16mm white glass pearls, and lots of hot glue. Right now, let me do you a favor. Go get your little namby pamby mini craft glue gun. Walk it out to the garbage bin and drop it right in. Now go get yourself a rough, tough glue gun at the hardware store. You’re welcome.
Seriously, I used my mini craft glue gun for 2/3 of my first wreath, and it was terrible. The glue wasn’t hot enough to hold the pearls and those things were bouncing all over my kitchen. Bad news.
Step 1: Wrap the foam wreath form with grosgrain ribbon. Use hot glue to secure the ends. This makes the back look a bit prettier since you don’t cover the back with pearls.
Step 2: Start gluing pearls to the front of the wreath. I worked in about 2″ square sections. Squeeze the glue onto the wreath form, and stick pearls into the glue. I started with the largest pearls to cover the most space, then filled in with the smaller ones. I started with the face of the wreath, then worked on the outside and inside sections last.
For a 18″ wreath, I’d say it took me about 5 hours…so it’s definitely not a quick, easy project. But it’s definitely worth the time and effort. I’m actually making another one to layer over the top of the mirror in my entryway. I’ve also got some little foam cone shapes I’m going to turn into little pearl “trees” using the same concept.
Happy Crafting!
Post by Christina Williams of justcallmechris.blogspot.com
