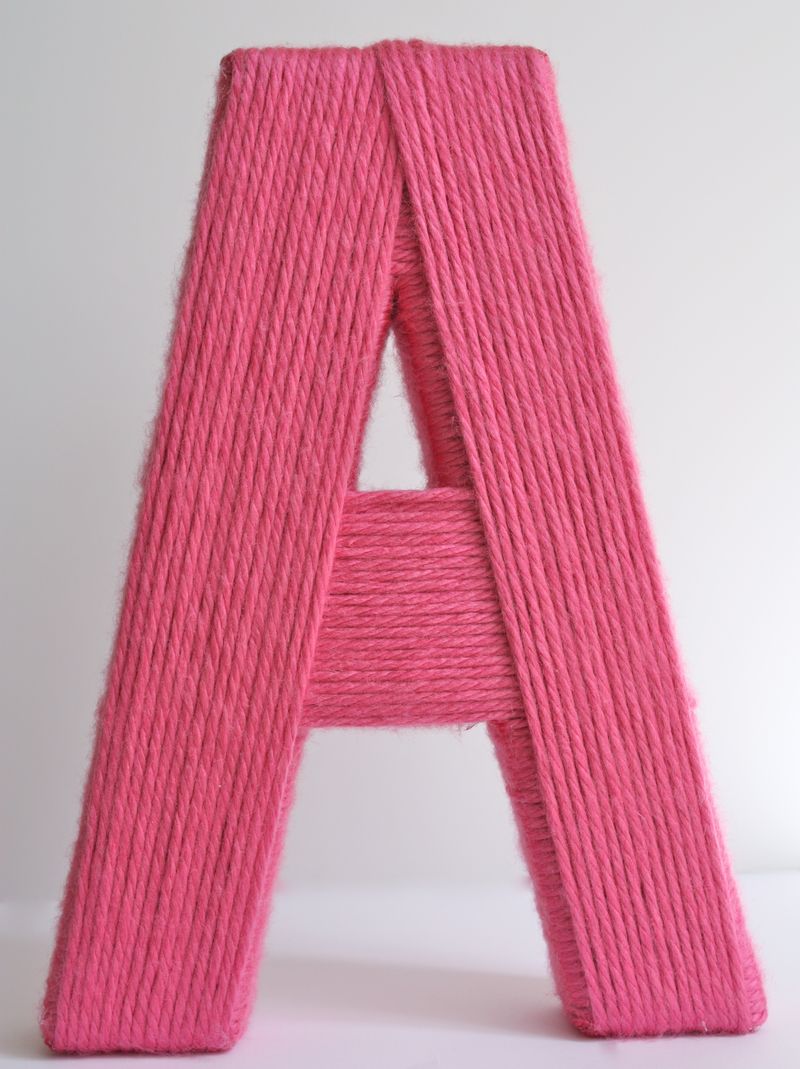
Yarn-Wrapped Letters
Post by Christina Williams of justcallmechris.blogspot.com
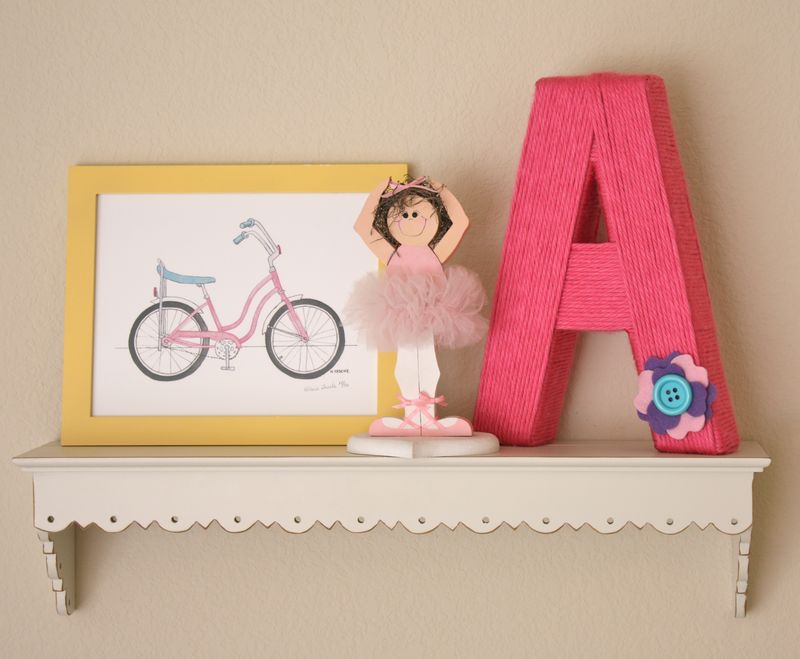
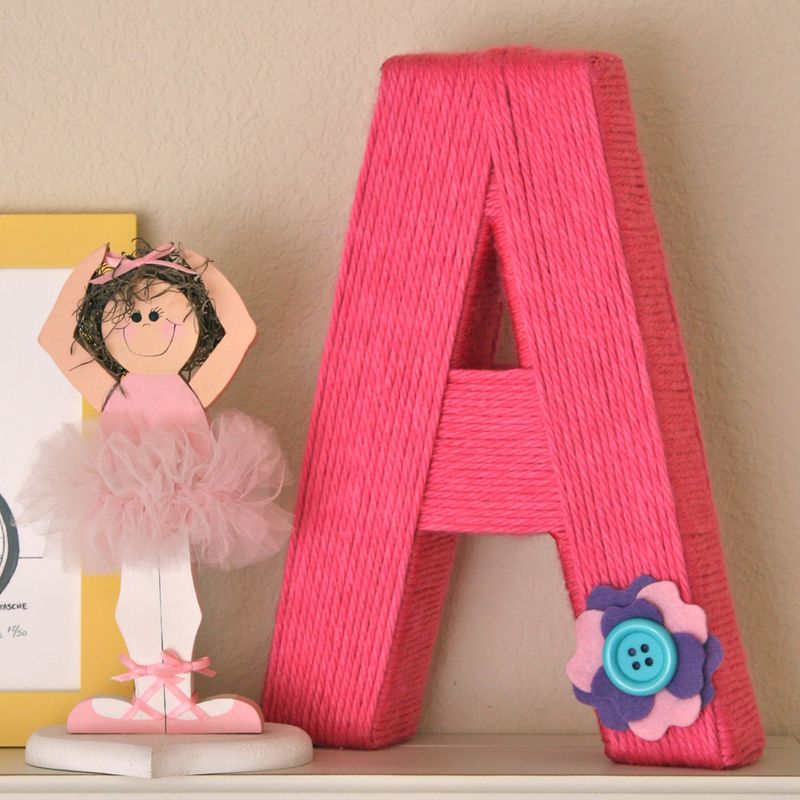
I love to make handmade gifts for friends and family, and since I’m not the best seamstress in town, I’ve had to come up with some other ideas for baby gifts. These yarn-wrapped letters are so quick and easy. I made this one for my new niece, Audrey. It will be the perfect addition to the bookshelf in her bedroom. Ready to get started?
Step One: Grab your supplies…
- a large kraft letter, I bought mine locally, but you can get them online at CreateForLess
- glue gun
- your favorite yarn
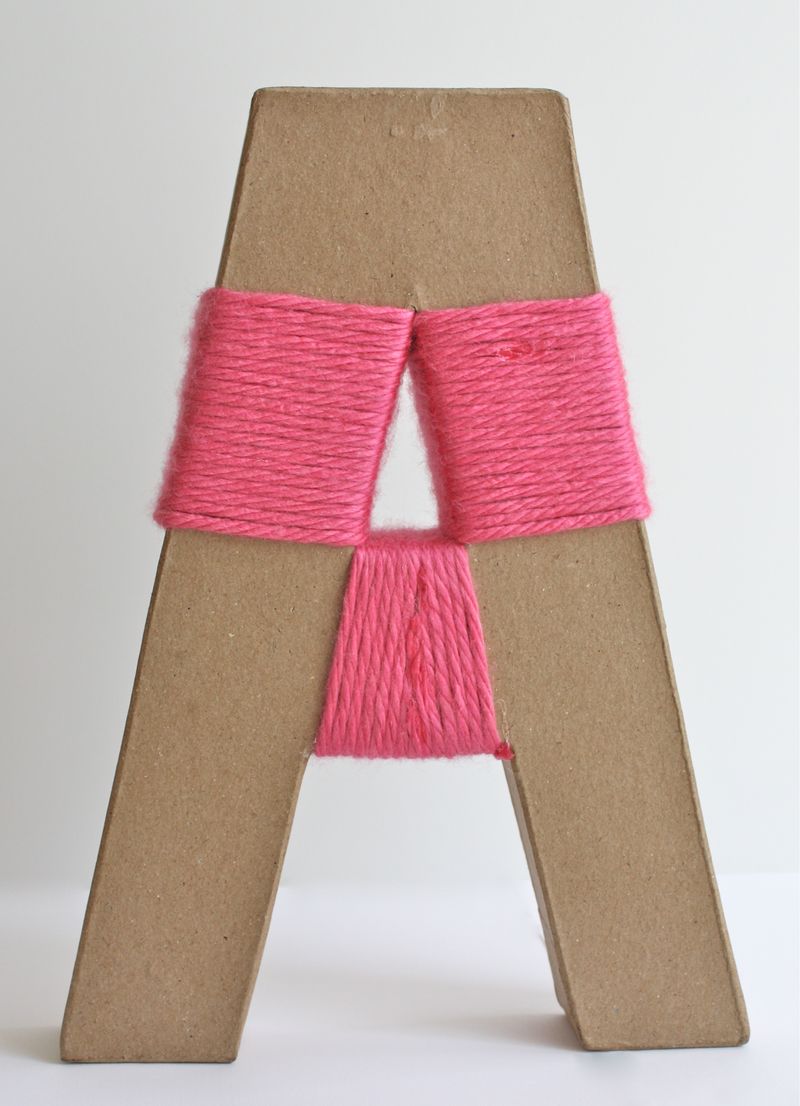
Start wrapping the closed-off areas of the letter. You’ll have to take a length of yarn and cut it from the skien, so you can wrap through the opening of the letter. Secure the ends of the yarn with hot glue and keep wrapping till the area is covered.
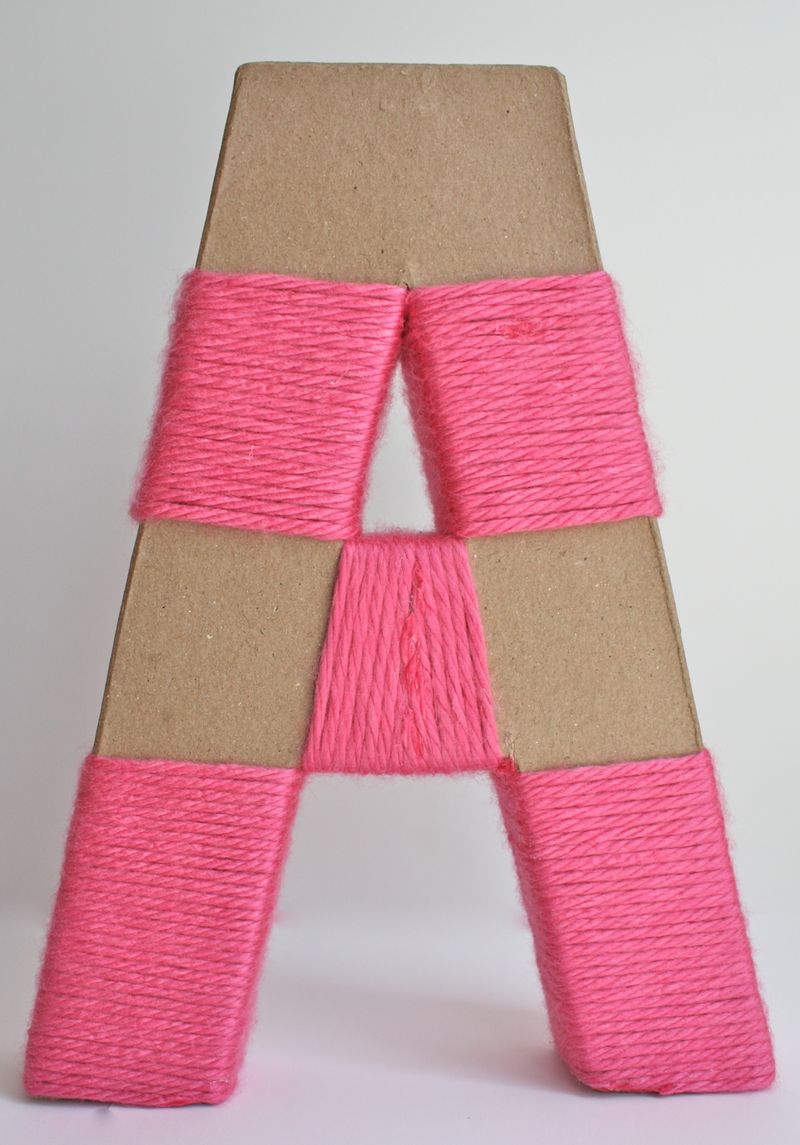
Step Two: Pick another spot and keep wrapping. The open “legs” of the letters are super easy, because you can leave the yarn attached to the skien and just wrap like crazy. The main purpose of this layer is to make sure the side-parts of the letter are fully covered.
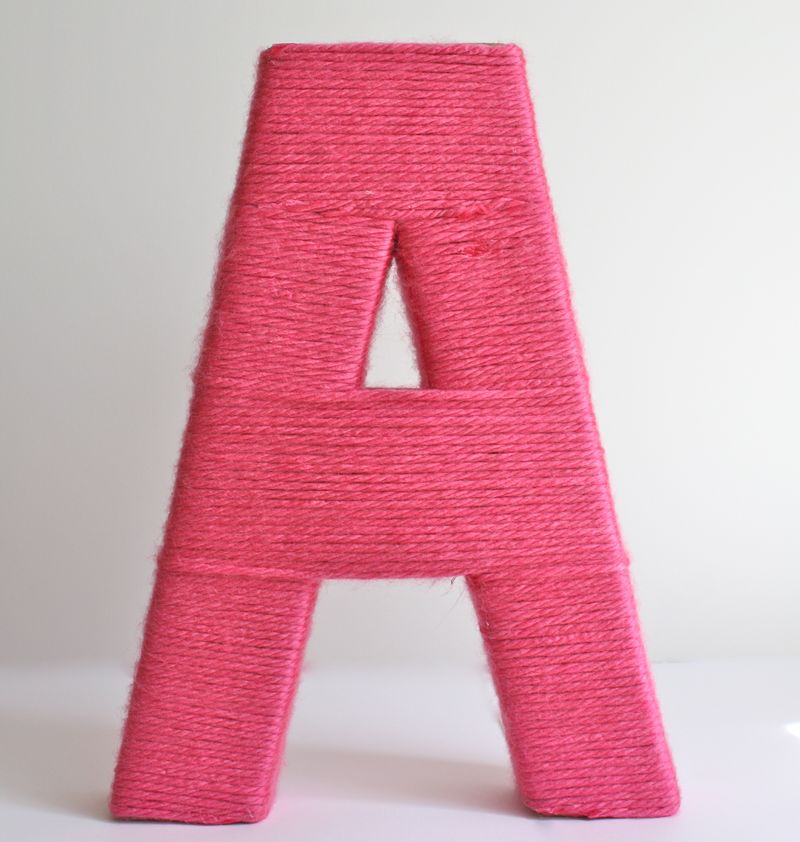
Step Three: Keep wrapping. I had a few bald spots, so I cut little pieces of yarn and glued them into those areas. I knew I’d be wrapping another layer, so I didn’t stress too much about it being totally perfect.
Step Four: Keep adding layers until you like it. The first one I made, I didn’t like at all, so I simply cut the yarn off and started over. Also, the thicker the yarn, the quicker the coverage. I finished it off by cutting a little flower out of felt and gluing it onto the leg. Ta-Da! Quick, inexpensive, custom decoration!
Post by Christina Williams of justcallmechris.blogspot.com
