Homemade Magical Unicorn Pancake Recipe
April 19, 2018
I love color. And… Unicorns. It’s true. I actually loved unicorns before they were cool, and at one point even though I could find one at my local zoo. Ha! But, alas, the closest I ever found was a zebra, which to my younger self was too disappointing to even try and put into words.
Anyways, as a mother of a spunky little gal, I now get to love all things unicorn for and with my daughter. Together we have been loving this fun and magical craze – and love that you can find rainbow and unicorn stuff pretty much everywhere these days. Have you seen some of Crate & Kid’s unicorn goodies, like this, or this? So magical!
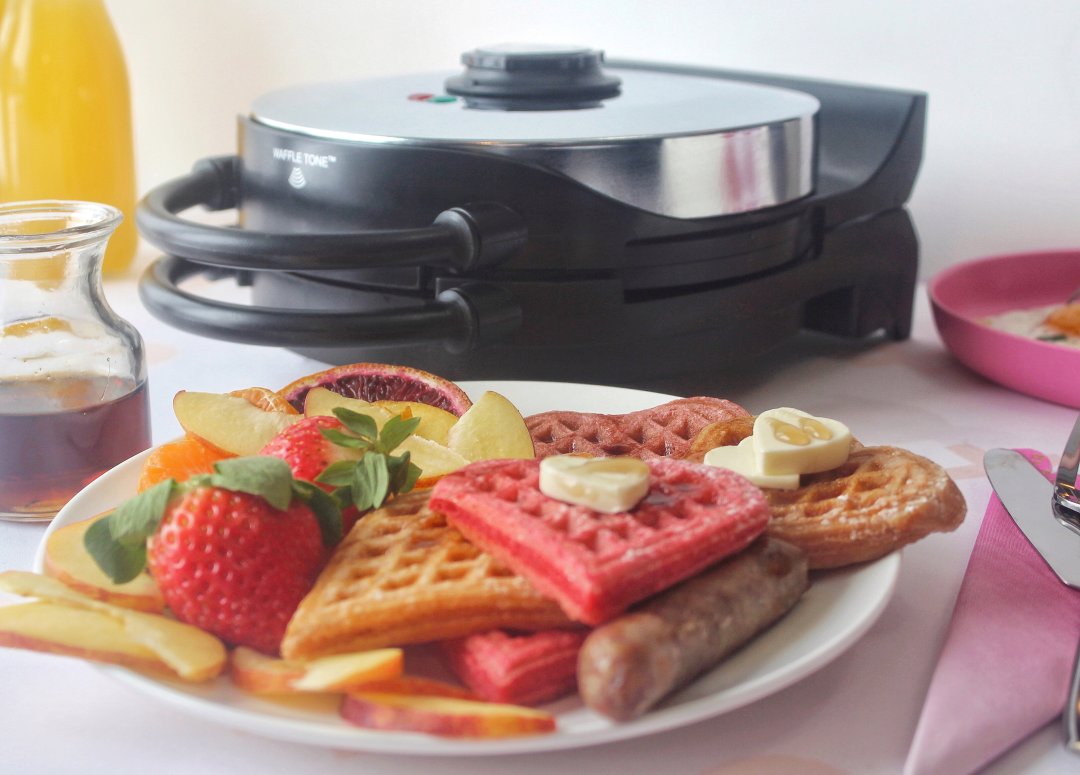
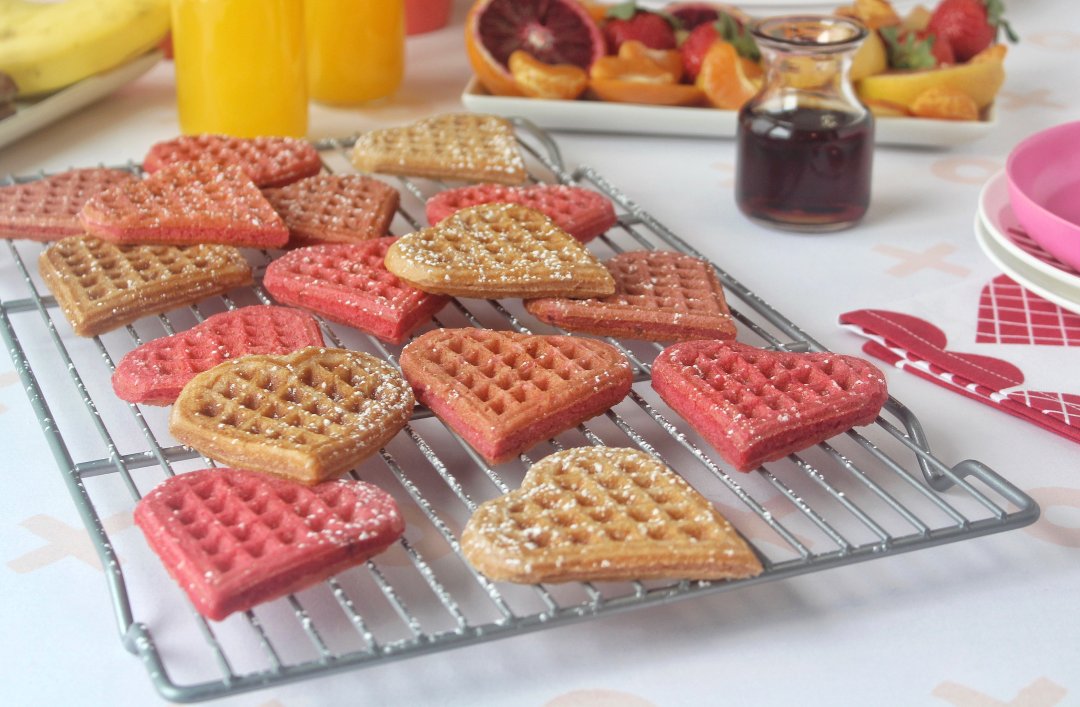
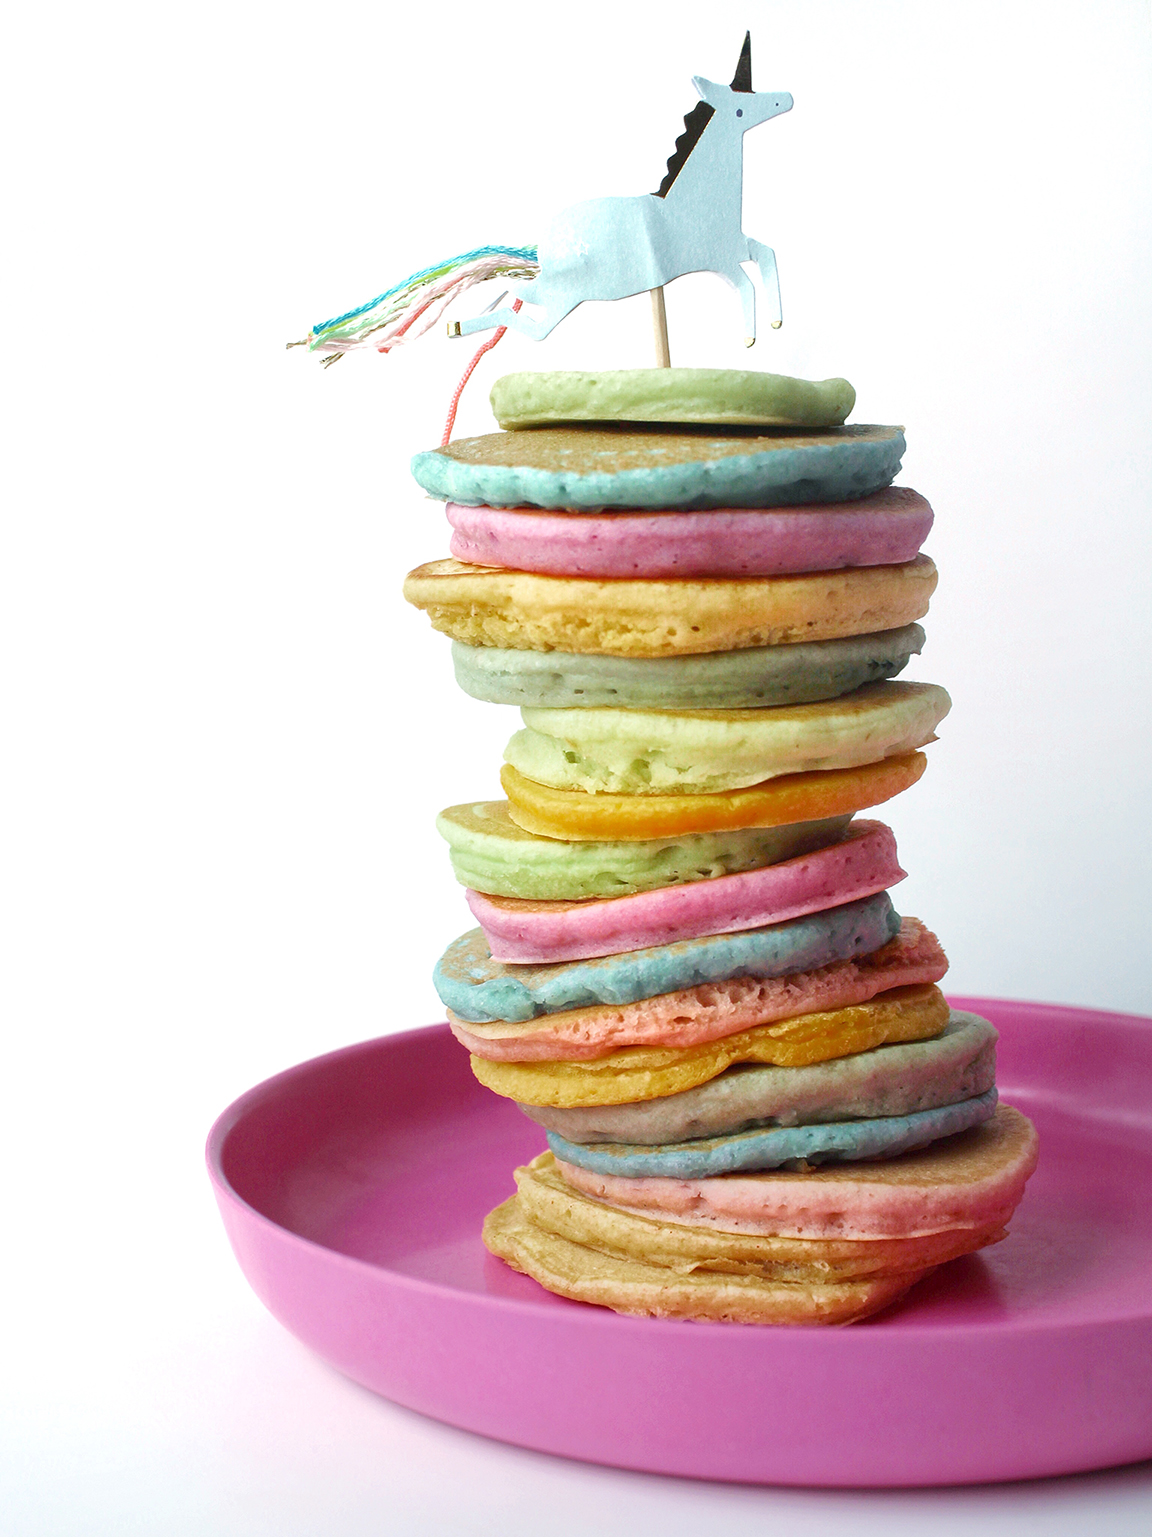
The very first thing that I knew I wanted to make was a big ole’ stack of unicorn rainbow pancakes to share with my family – specifically the kids. And these dyes, with their subtleness in color, were perfect for a unicorn stack. Oh so pretty and made possible simply through the use of fresh produce.

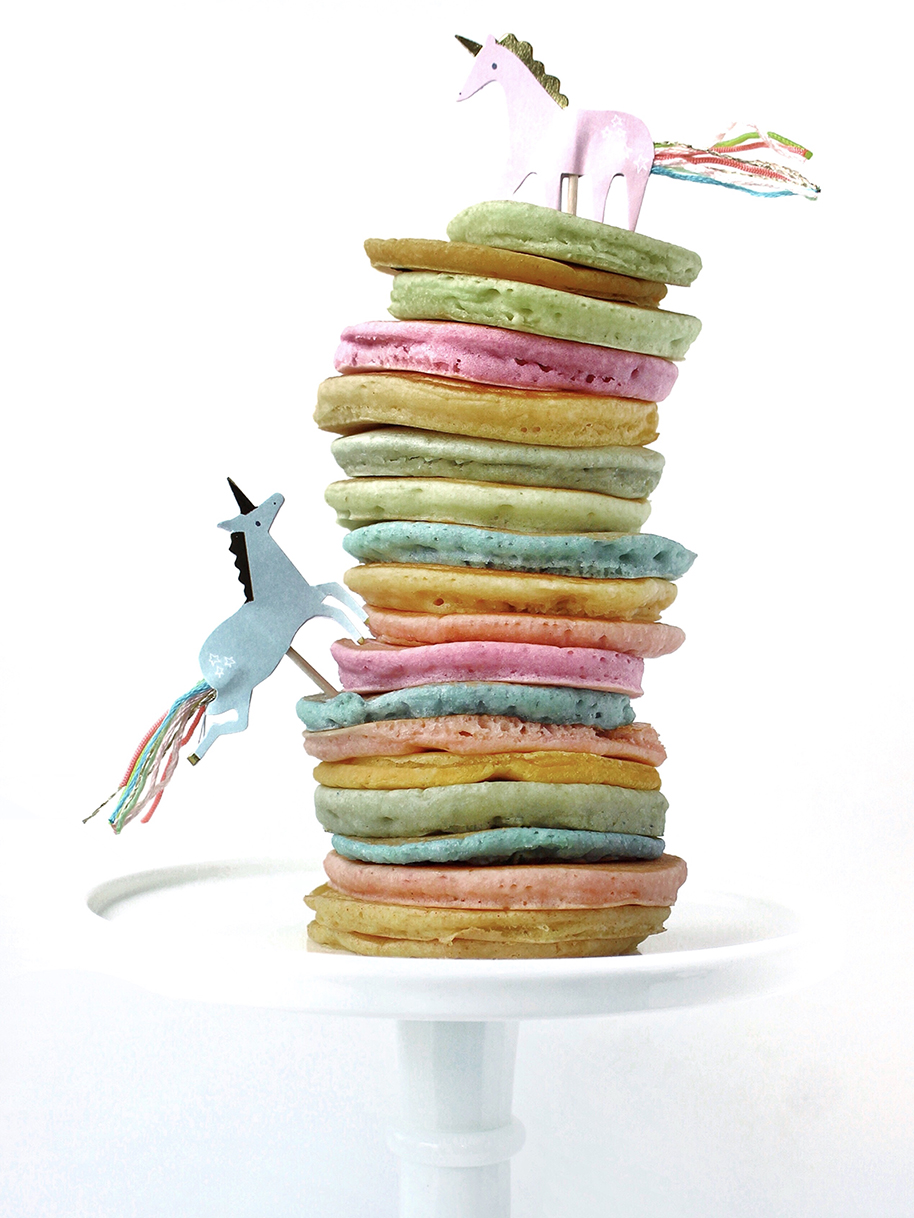
To make your own unicorn inspired pancake stack, simply use your favorite pancake recipe, or search for a basic one online (here is a yummy whole wheat one that we love). Then divide your batter into 5 or 6 bowls. Pour some of your food dyes into each bowl and mix until you have the desired color(s), adding a bit more flour to thicken batter if needed. Then just make pancakes as normal, stack up and serve! Just look at how magical these turned out!
And, speaking of magical… A year or so ago I made up a fun stack of rainbow pancakes that my daughter immediately called “Unicorn Pancakes.” They were yummy, beautiful, and to her, magical – but also full of artificial dyes. Now, if you follow me over on my feed, @lunchesandlittles, you may already know that over time, using less and less artificial dyes in food has become very important to me. I am thankful that along the way I’ve found some great natural options, but have known for a while that at some point I wanted to try my hand at making up some of my own food dyes. So, that is exactly what I recently did.
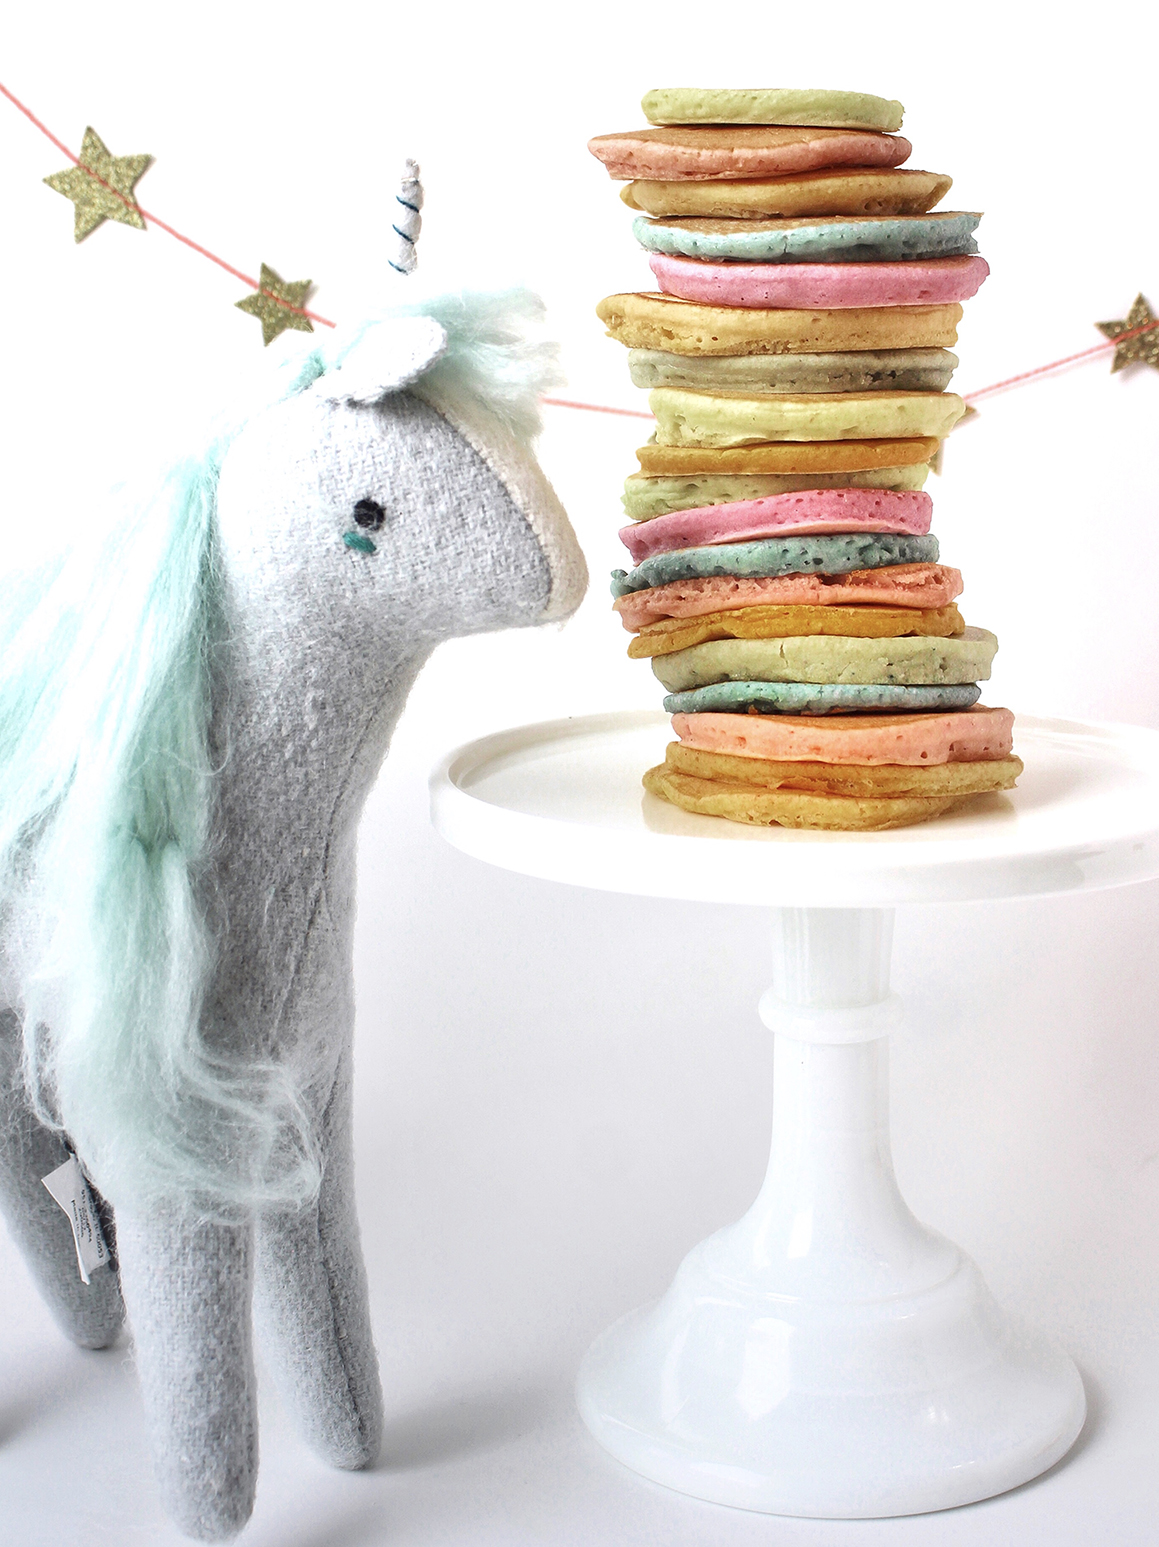
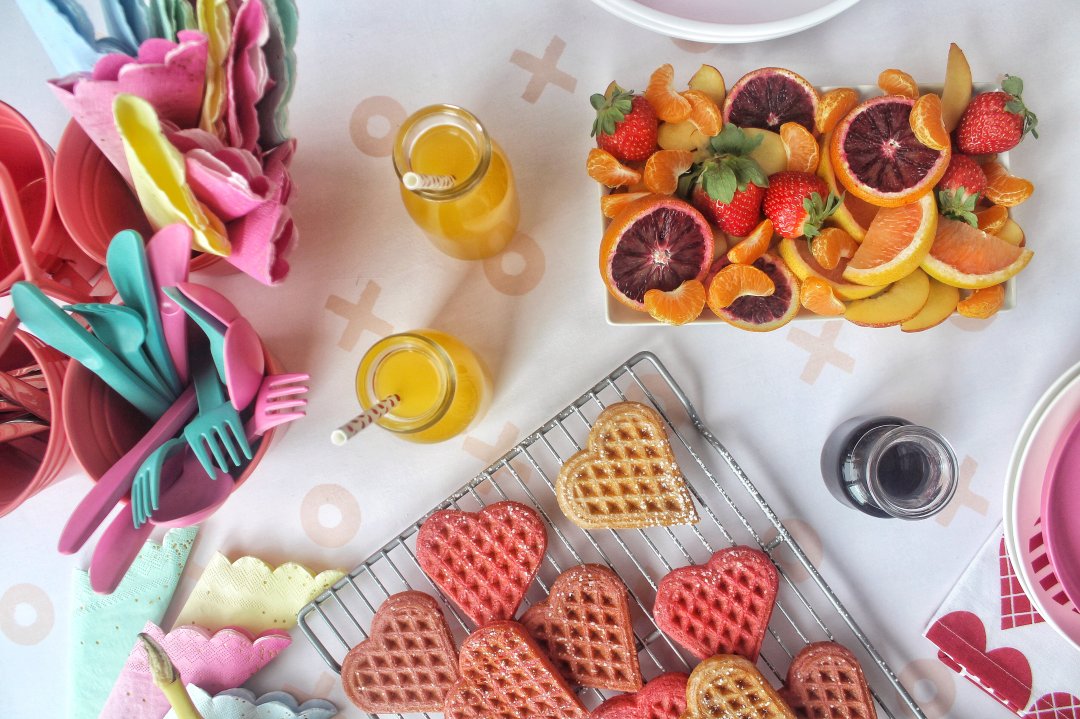
Earlier this month I went to the store with my three-year-old rainbow loving gal, on a quest to find everyday foods that we could use for dyes. Once back in the kitchen we failed on a few of our first attempts, but in the end, made a fun little five color rainbow collection of homemade food dyes that we later turned into Magical Unicorn Pancakes – completely artificial dye free!
Are you interested in making your own all-natural homemade food dyes? Read on. I will break down each color and our method used, and then show you the dyes in action in our Magical Unicorn Pancakes! So fun!
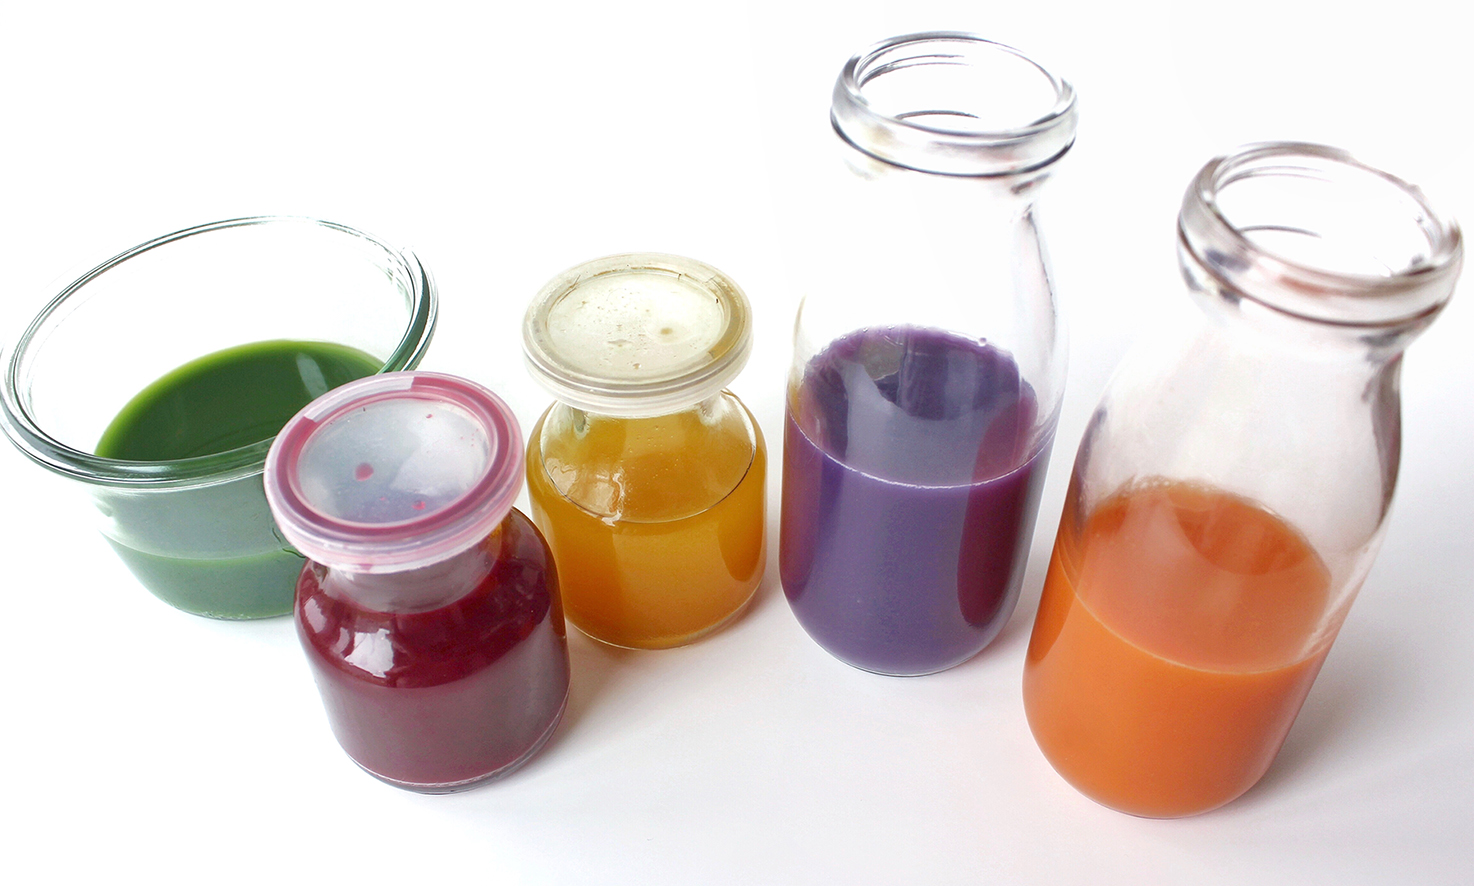
Five All-Natural Homemade Food Dyes
Red/Pink:
- What you need: 3 baby beats (pre-cooked) or 1 small beet, chopped and cooked (approx. ¾ cup chopped) + 1/2 cup water
- Method: In a high-powered blender (I use a Vitamix) combine beets and water and blend until smooth. Then, strain mixture through a cheesecloth. Once strained, pour liquid/ juice into a small container, cover and refrigerate. Discard pulp.
Orange:
- What you need: 3 carrots (peeled and cut in halves or thirds) + 1/2 cup water
- Method: In a blender combine carrots and water and blend until smooth. Add more water if/ as needed. Then, strain mixture through a cheesecloth. Once strained, pour liquid/ juice into a small container, cover and refrigerate. Discard pulp.
Yellow:
- What you need: 1 tsp turmeric + 1/2 cup water
- Method: In a small saucepan simmer turmeric and water for approximately 2 or 3 minutes. Then, remove from heat and allow to cool. Pour into a small container, cover and refrigerate.
Green:
- What you need: 1 and 1/2 cups fresh spinach + 1/2 cup water
- Method: In a small saucepan simmer spinach and water for approximately 2 minutes. Then, remove from heat and pour into blender. Blend until smooth, adding more water if/ as needed. Then strain mixture through a cheesecloth. Once strained, pour liquid/juice into a small container, cover and refrigerate. Discard pulp.
Blue/Purple:
- What you need: About a 1/4 – 1/2 head of red cabbage (depending on size) + 1 cup water
- Method: In a small saucepan simmer cabbage and water for approximately 3 minutes. Then, remove from heat and pour into blender. Blend until smooth, adding more water if/ as needed. Then strain mixture through a cheesecloth. Once strained, pour liquid/juice into a small container, cover and refrigerate. Discard pulp.
Some Notes on These Dyes
- The above recipes will each yield a little over 1/2 cup of food coloring, give or take. These dyes can be stored in the refrigerator, covered, for approximately one month.
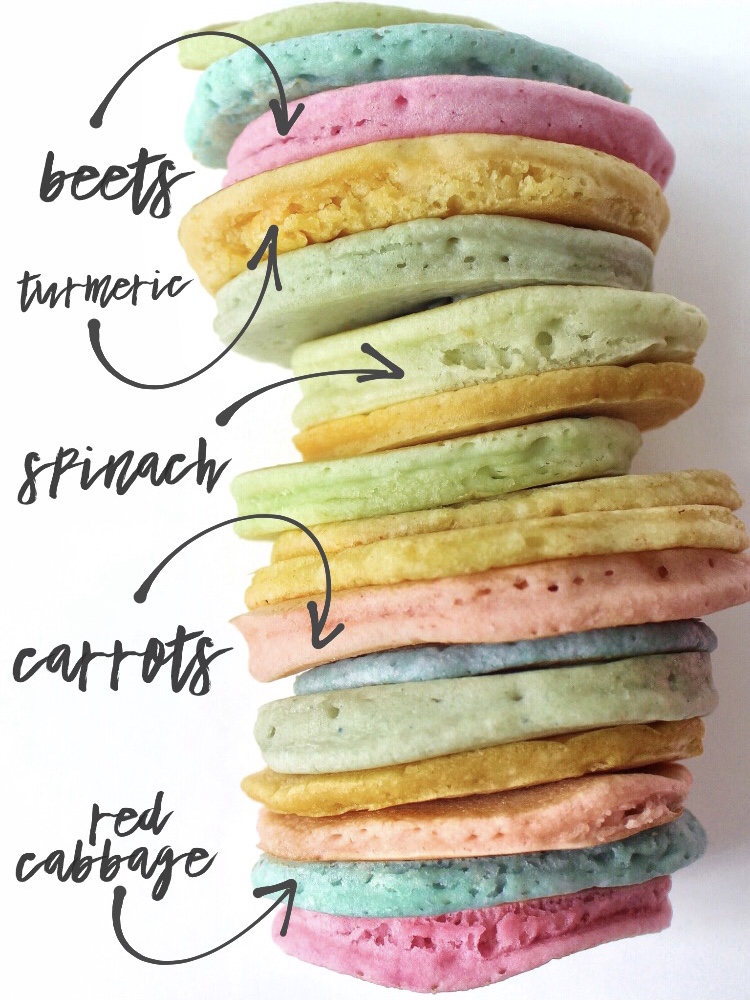
- Some of the colors achieved in a final dish may not match the liquid coloring shown in the bottle. For example, the purple shade shown in the jar above is how I achieved the bright blue pancakes. Initially, I tried blueberries, but this yielded a very reddish-purple result; closer to the color achieved with the beets (red/ pink), and not blue.
- These food dyes are not concentrated and are liquid, versus a gel-like consistency you can often find down the grocery store aisles. Because of this, they will be better for some things vs. others. I have found them to be very good with baking, adding to icing, etc. but a little trickier with pancakes, etc. The important thing to note is that because you will have to use more of these liquid dyes than just a few drops, they can make batters too thin. Be sure to take this into consideration and/or thicken up the batter, etc. in recipes first when adding these kinds of dyes.
- You can achieve different shades and vibrancy by combining some of the above together. For example, for a little more vibrant orange, add a bit of the red/ pink coloring (just be sure to not add too much!).
- Surprising to some – most of these food dyes have little to no taste once baked or added to various foods. I topped our pancakes with butter and syrup and none of our little ones detected the various tastes. I have also used these dyes in cupcake frostings, etc. and they have been completely non-detectable. The one that may be the most detectable in some foods would be beet, but even still it is not overpowering.
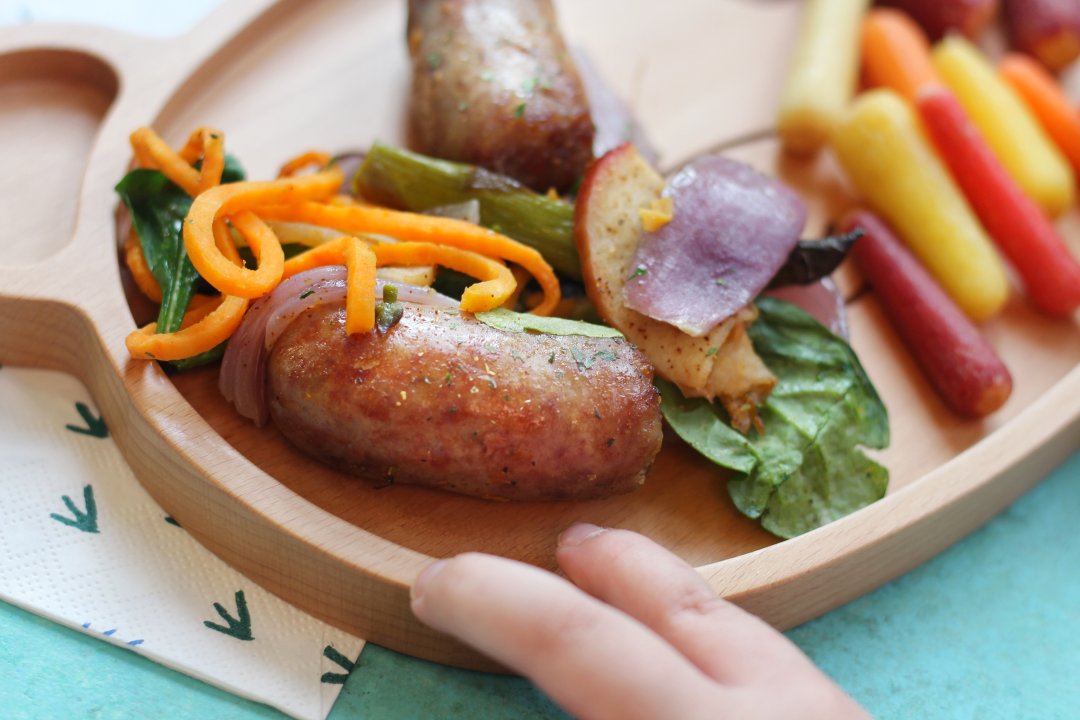
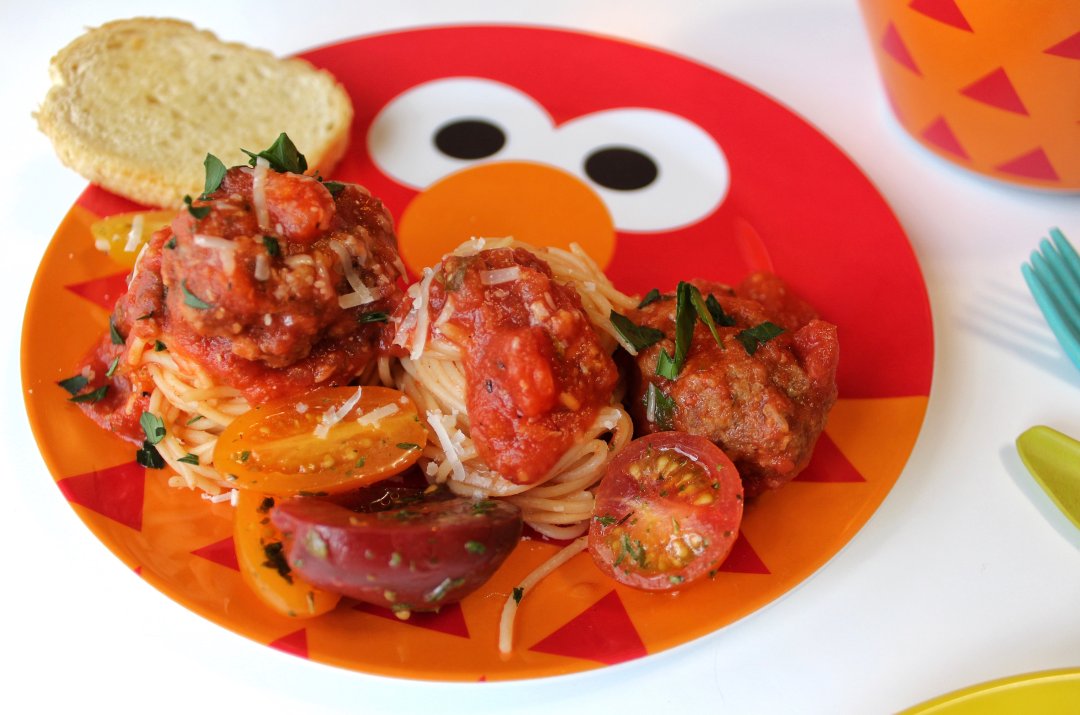
Want more fun, easy and kid-friendly recipes? Be sure to check out Lunches + Littles on Instagram, where we are making up fun plates like this all of the time. And if you try your own hand at homemade food dyes, we would love to see. Be sure to tag #lunchesandlittles and #cratekids in your re-creations!